To recap: on the outside of a water tank we had a glass tube full of steel washers, flipping over as a magnet floating inside the tank moved up and down with the changing water levels.
The relentless march of time brought with it not only wisdom, but also corrosion. It turns out that, despite efforts to seal the glass tube at both ends, moisture found a way to infiltrate the mechanism, occasionally manifesting as condensation on the inside of the tube, but, more perniciously, resulting in rust of the steel washers, despite the presence of paint on both faces. This should not have been surprising - we are working with water, after all. Furthermore, some pixels were apt to get stuck, probably due to slightly bent axles or other imperfections. This displeased me, for removing and reworking the assembly was awkward.
Then, the ball valve at the inlet of the tank failed, as ball valves at the inlets of tanks do, and, while replacing it, I found myself on top of a ladder, draped over the tank with my head inside the hatch. That was when I inadvertently pushed against the tube, sending it crashing into the trunk of the carob tree. Miraculously the glass was unbroken, but several, nay, most of the pixels were damaged beyond repair, mostly due to their fragile axles having been bent by the impact.
This event at last supplied sufficient impetus to catalyze a redesign of the mechanism.
The following major changes were made, in the hope that they would be improvements:
- No more stainy steel (only stainless, or similarly inert materials). Corrosion is no fun.
- Straight, strong, and shiny, stainless steel sewing pins make marvellous axles, if they can be found in the correct length. (Spoiler: they can.)
- A modular design, to enable the replacement of individual pixels in case they misbehave. Not that they ever will, but still...
- Improved environmental sealing, augmented by desiccant, to further combat the insidious moisture ingress.
- No more spot welding. To our horror we learned that few people have spot welders, while everybody and his dog seems to have a 3D printer. (We have both - but not a dog. Not after Servaas, the dog who did many things in the nighttime, and who also found thunder and lightning very, very frightening.) So, it seems we shall be pandering to the unwashed masses yet again.
- A built-in black background, to maximise the visual contrast. Radiometry matters, too.
- Higher resolution and fill factor. Each pixel has a functional height of 20mm, which is about half of what it was in the previous version, while the indicator flaps themselves are 18mm tall, and rectangular.
The indicating element is now a printed rectangle, black on the back, green in front. How is this achieved, you ask? You don't? You should. Get into the habit of asking questions, and teach your children to do the same. Your grandchildren too.
But we digress - where were we? Ah, yes, the bicoloured 3D-printed flippy flappy: slice in your favourite slicer, and then modify the gcode, inserting a pause after two or three layers, during which you deftly swap the filament from black to green. And not the other way round, for the flap is actually not quite symmetrical - because of the overbalancing mechanism, and the fact that less than 1g of material goes into each flap, there are some subtleties to the design. The axle is ever-so-slightly closer to the black back than to the green front, and the magnet is also not centered vertically.
Print the flippy flappies by starting in black, then switching to something light, like green, by pausing after 2 or 3 layers and swapping filament. Or maybe you have one of those newfangled 3D printers that can do it on the fly. Files found at: https://www.thingiverse.com/thing:6302230
Magnet? What magnet is this that is sprung on us so unexpectedly? Enquiring minds want to know. Most printer filaments exhibit negligible magnetism, so, to supply something for the actuating magnet inside the water tank to grab ahold of, a tiny 3mm round NdFeB magnet (1mm thick) is pressed into a slot in the flap. This slot is tangent to the hole for the axle, which enables the small magnet to touch the sewing pin. This pin serves as a far more robust axle than the thin wire used previously, and the magnet touching it prevents it from sliding from side to side. Not that it can go very far - at my favourite sewing supplies shop I found pins that are 35mm in length, heads included, while the inner diameter of the glass tube is ~36mm. Apparently it is unusual for customers to browse the shelves of the sewing supply shop with dial calipers in hand, measuring the length and thickness of the stock. One despairs for humanity – I even had to bring my own calipers. The shop did not have one, and none of the other customers did either. How do they ever know what they are buying, and selling, for that matter?

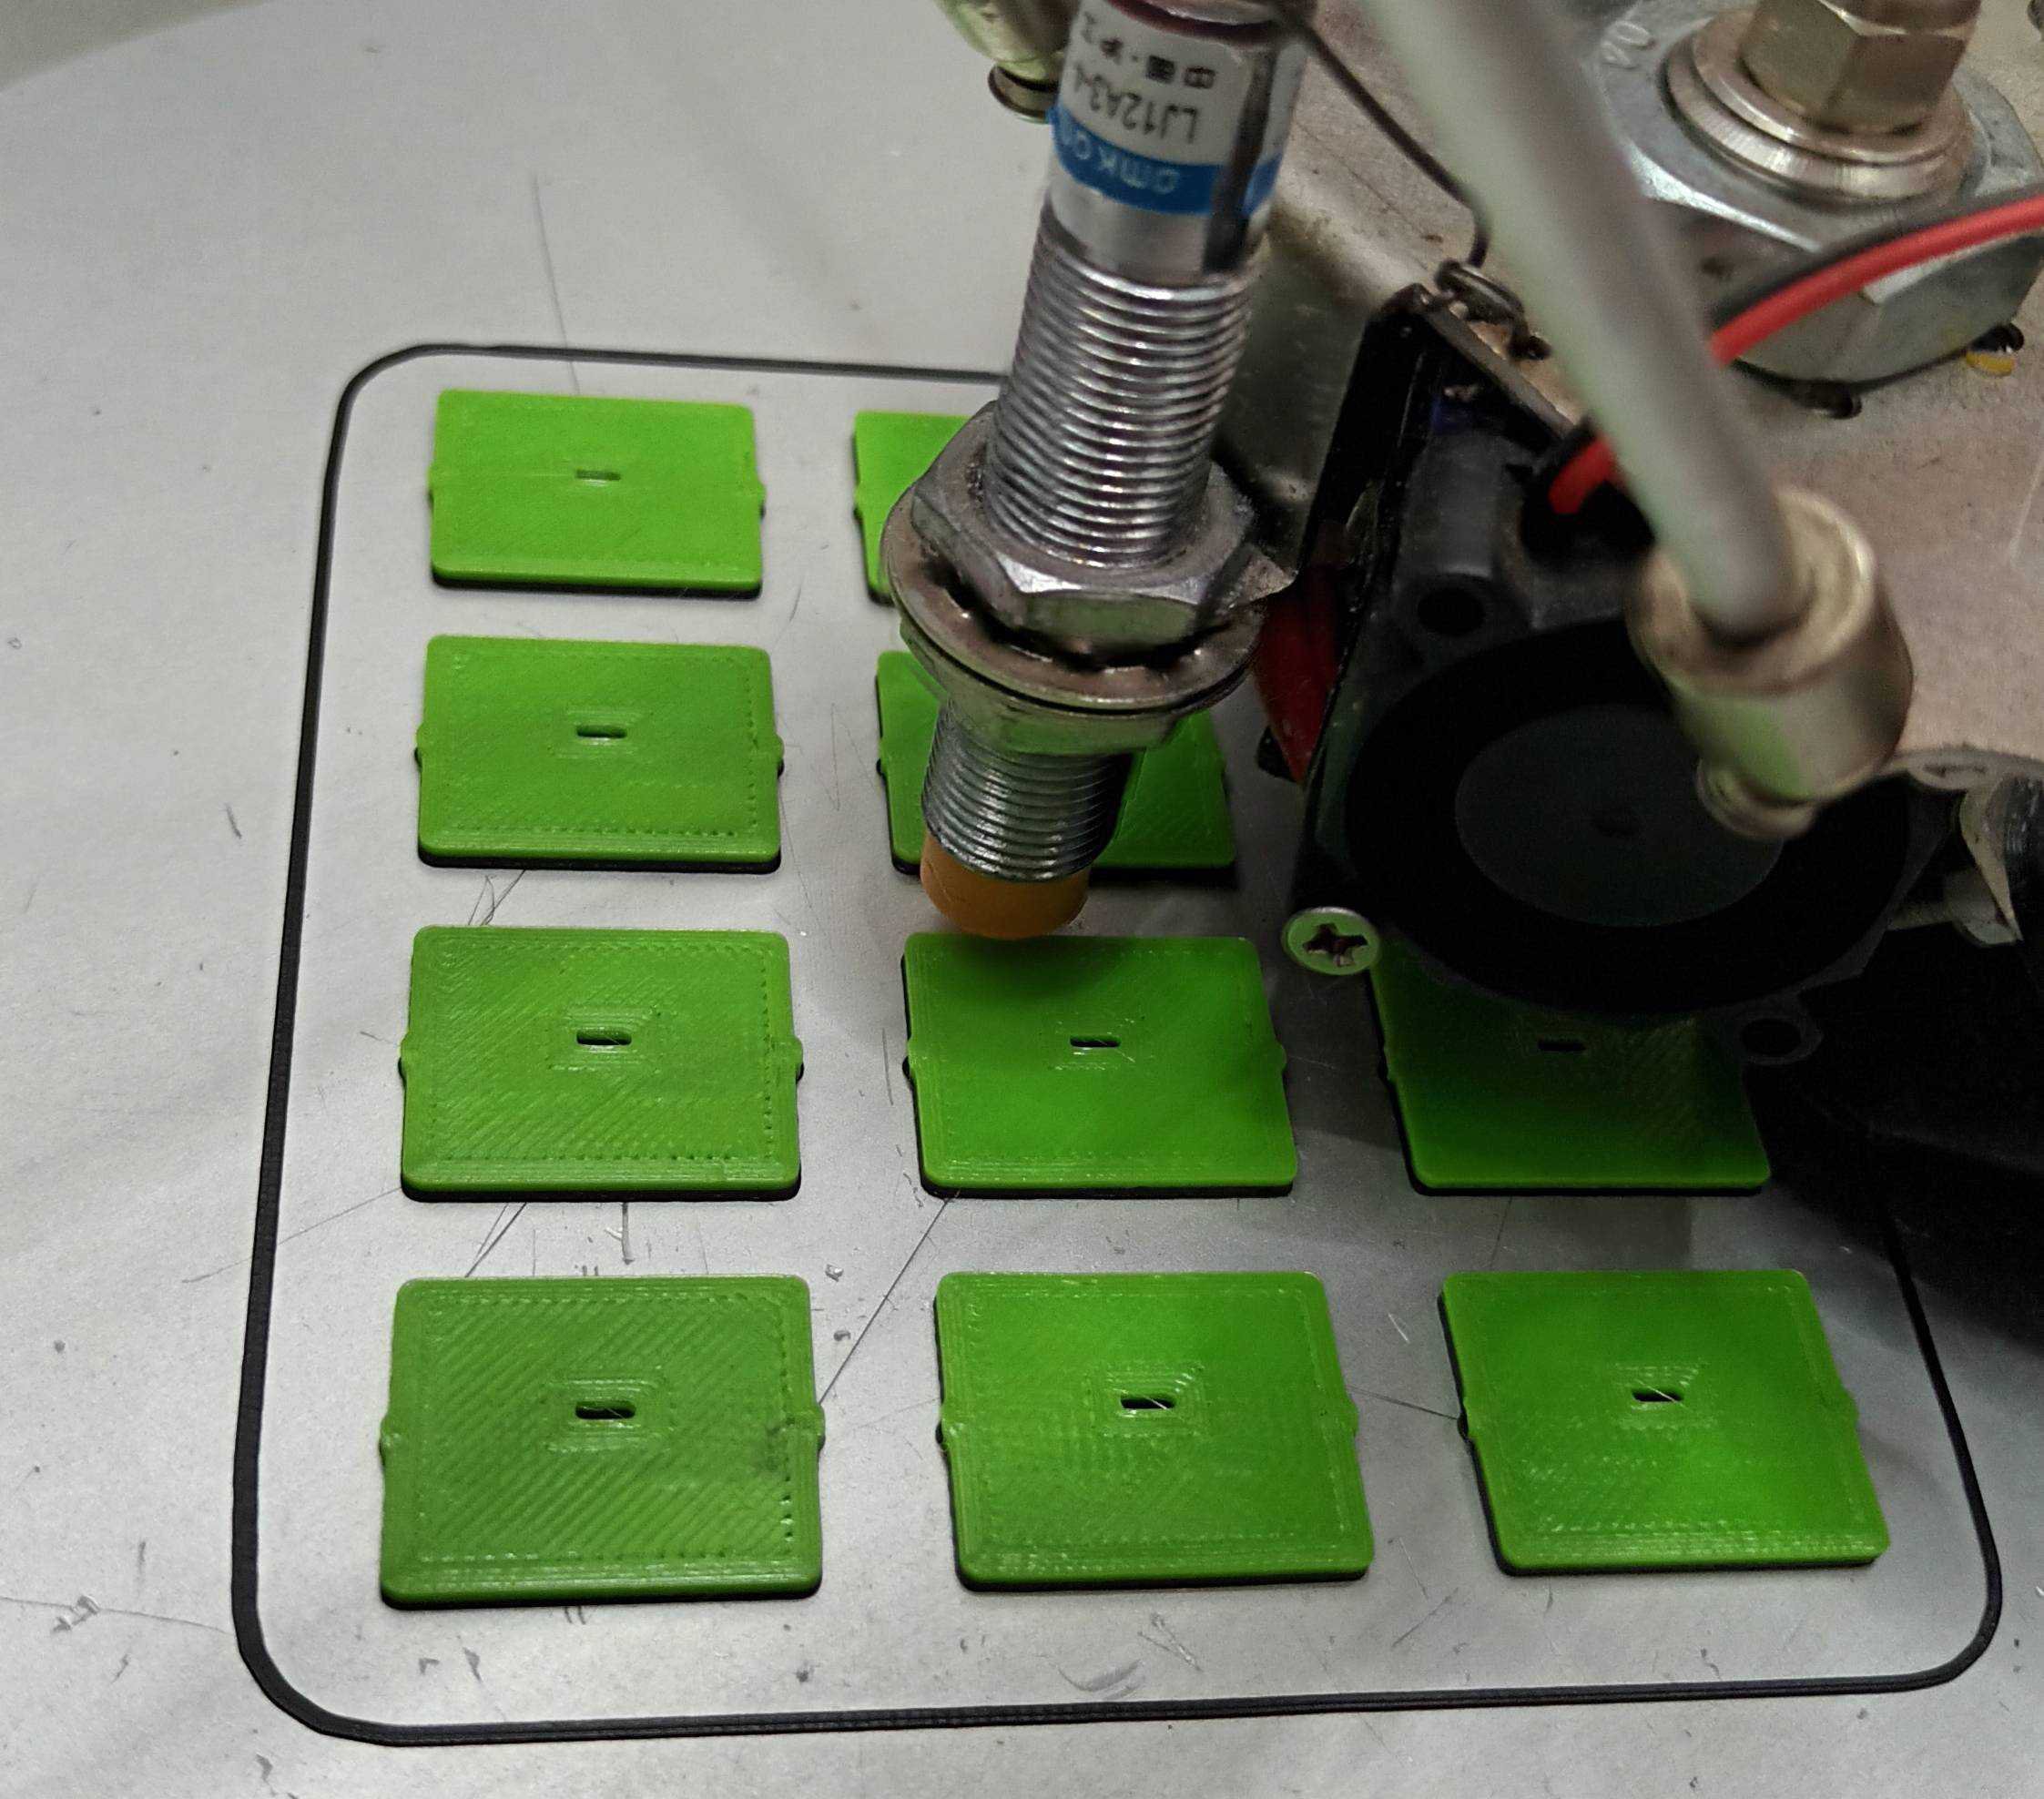
An assembled pixel, with the four constituent parts shown at right. The black frames and bicolour flaps are 3D printed, while it is suggested that you rather buy the pins and the 3x1mm round magnets.
The other major component is a frame in which the flap can swivel. These have a nominal outer diameter of 35.5mm, to ensure a smooth fit inside the glass tube (which started life as a T12 fluorescent tube, and no, I do not really want to discuss this any further), and they interlock, greatly simplifying assembly and alignment. Because the flaps are so light, even the merest wisp of a fibre or filament stringing can cause interference, therefore it is important to ensure that everything is quite clean. Playing the flame from one of those blow-torchy type of lighters over each part is a very effective way of eliminating such irritations. Just be careful not to heat the parts themselves to the point where they may deform.
Before assembly, the holes for the axle (both in the frame and the flap) are cleaned out with a 1mm drill bit - the sewing pins that I found are 0.6mm in thickness, but I could not remember where my really tiny drill bits were. It turned out just fine using the 1mm drill bit.
What else? Spacers at the top and bottom of the assembled system supply hollow space into which one can stuff some desiccant bags. Now you regret throwing away (or eating?) all those desiccant baggies, don't you? (I would never have considered eating them had the warning not suggested it. Makes one wonder what you may be missing out on.) Dry them out properly before installation - one way would be to leave them for a few hours on the warm bed of your printer, or maybe in the oven set at very low temperature. More 3D printing: there are end caps on the tube, covered with adhesive aluminium tape burnished smoothly onto the glass, and then covered with stretchy self-fusing silicone tape for good measure.
After a couple of months out in the open, I am quietly optimistic that we may have mostly muzzled the moisture monster. All forty-odd pixels are also still behaving impeccably.
A question from Nyles regarding the magnet floating inside the tank set me to thinking, and then testing. It turns out that this version works perfectly well with the actuating magnet oriented vertically (with the magnetic poles at top and bottom), instead of pointing a magnetic pole horizontally at the indicators; this means that there is actually no need any more for stainless steel guide rails - and my beloved spot welding - to keep the magnet from rotating or floating away inside the tank. Oriented vertically a simple plastic pipe will also do, as it only needs to constrain the movement of the float to the vertical axis.
This even facilitates a certain measure of remote monitoring, still fully passive, because now one can also mount everything outside the tank if so desired, with as long a feeder pipe (which can be of small diameter) as needed, providing that the water level in the vertical tube containing the float can follow that inside the tank (and the water is still shielded everywhere from light, to thwart the dreaded algae growth). Just be sure to have some kind of air vent at the top of the water tube. One which will let air in and out, but not significant amounts of light or macroscopic invertebrates. Or vertebrates, for that matter.