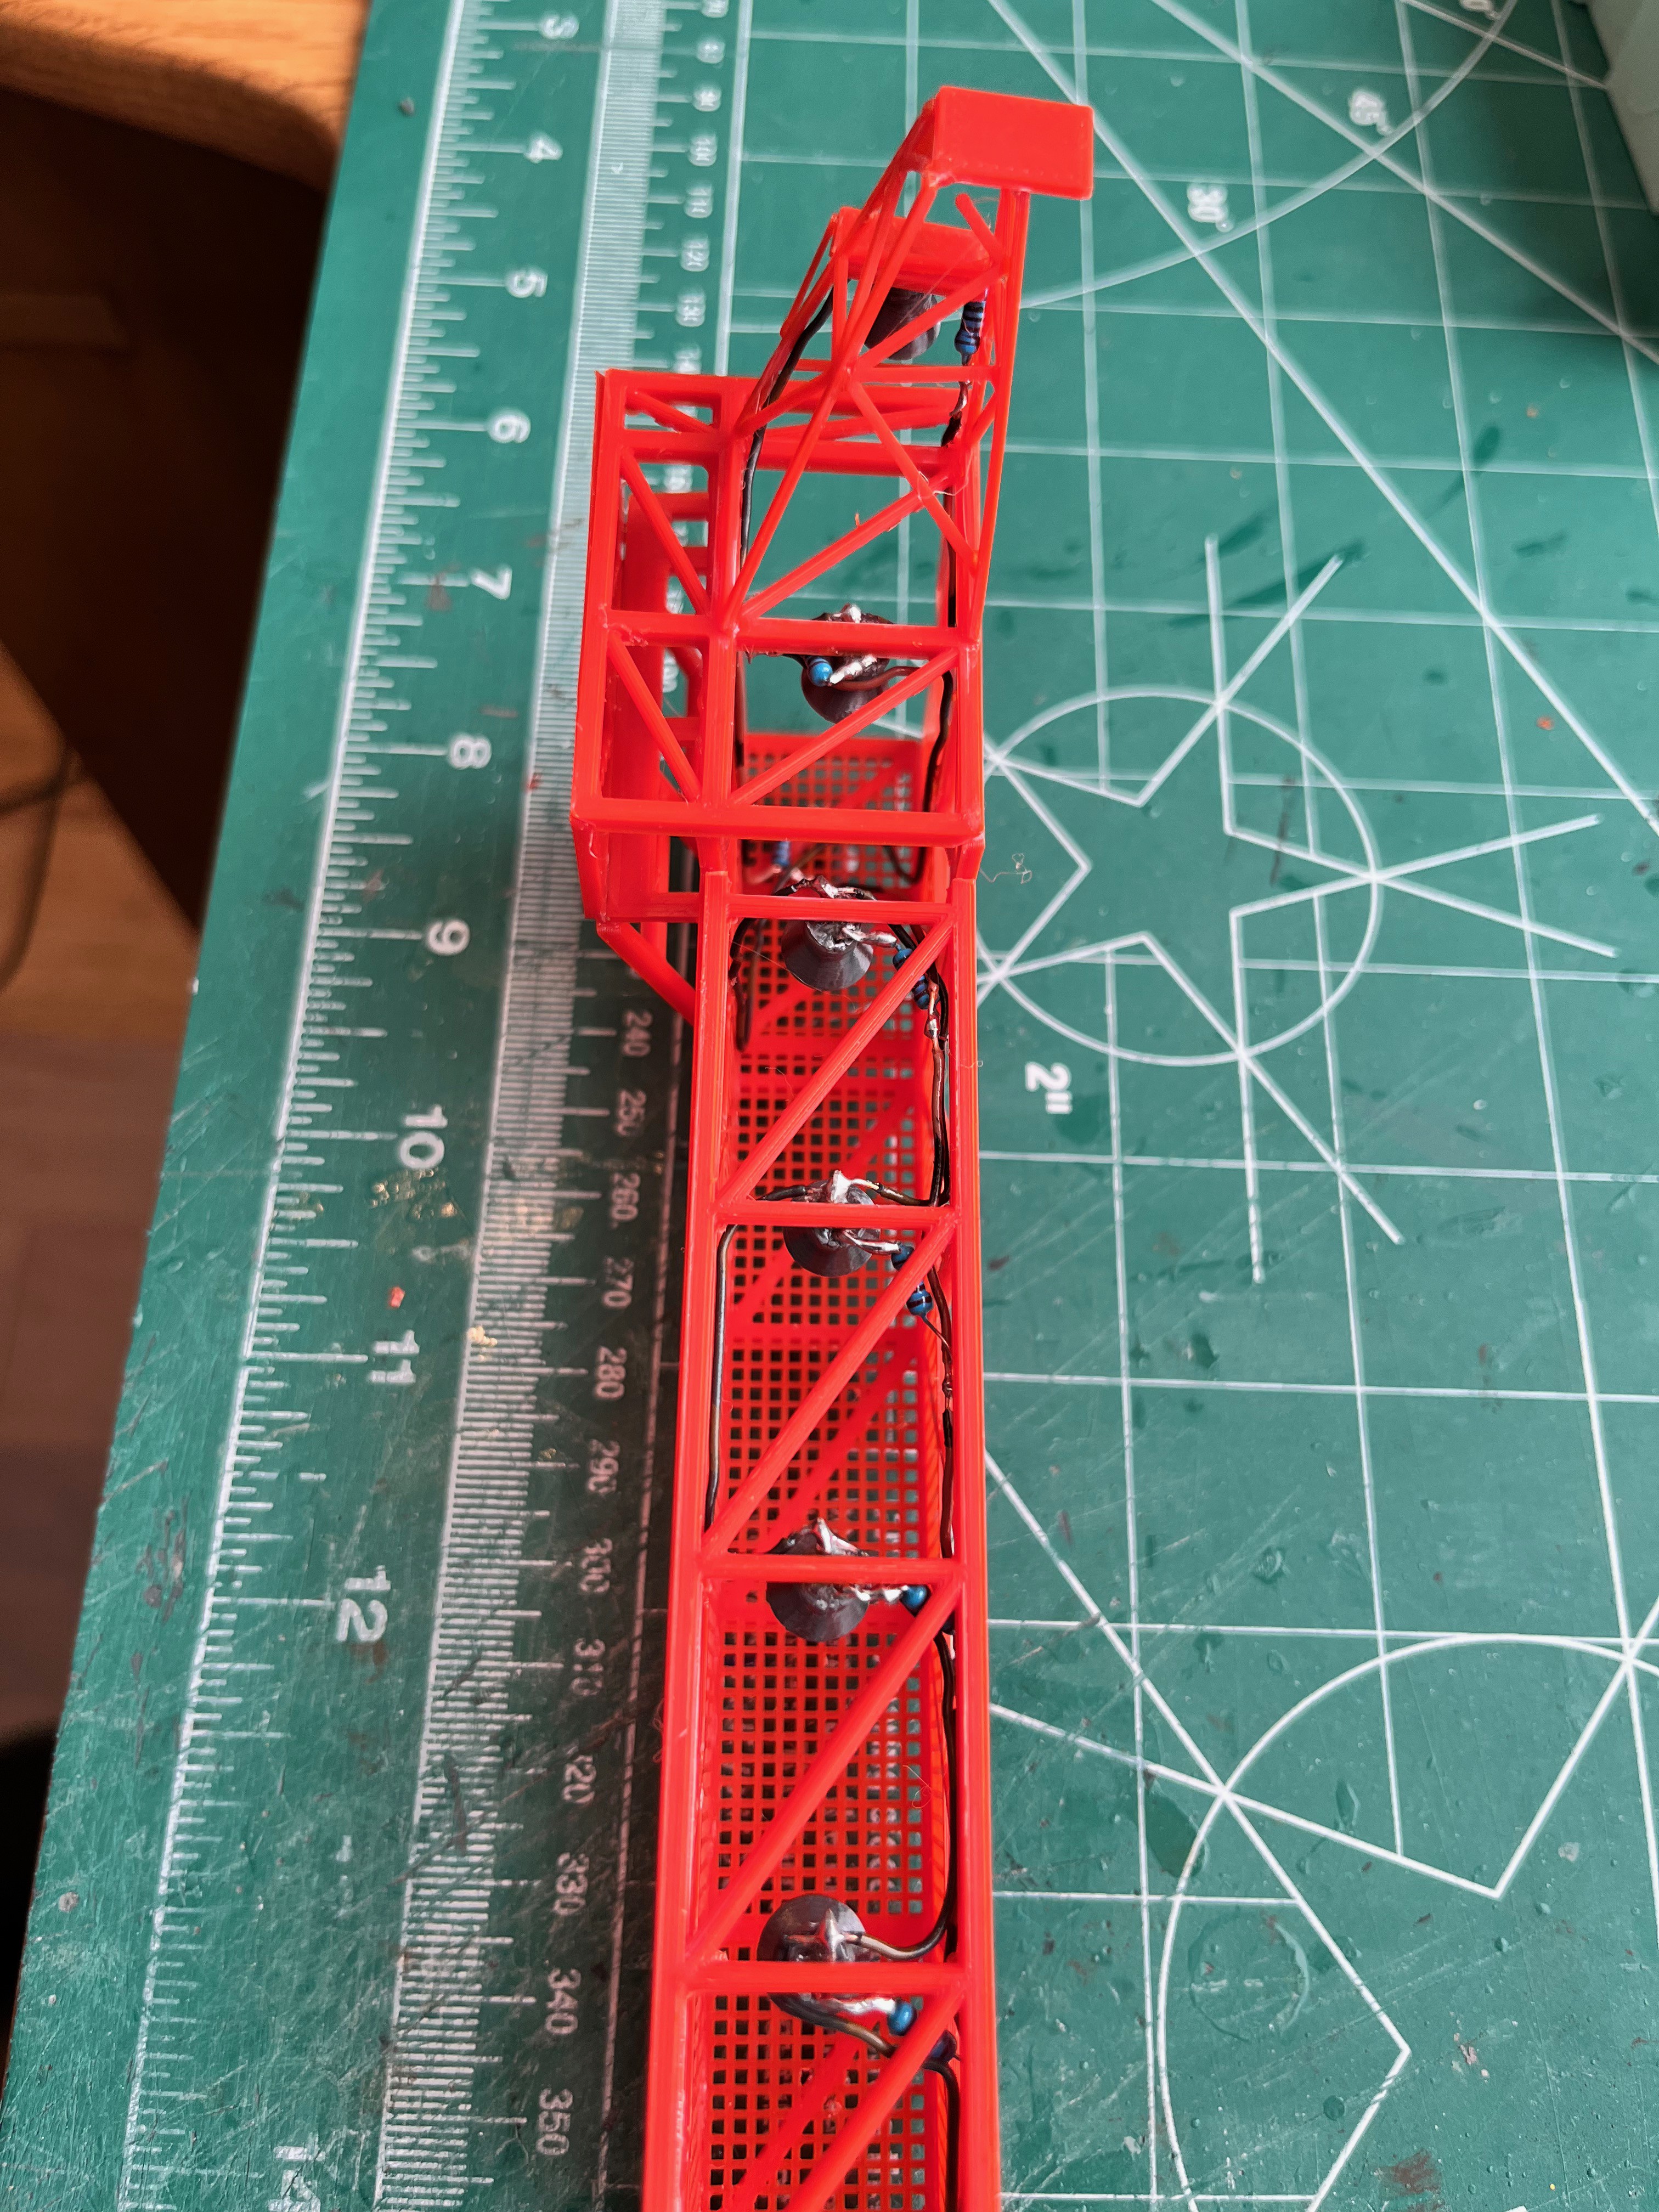
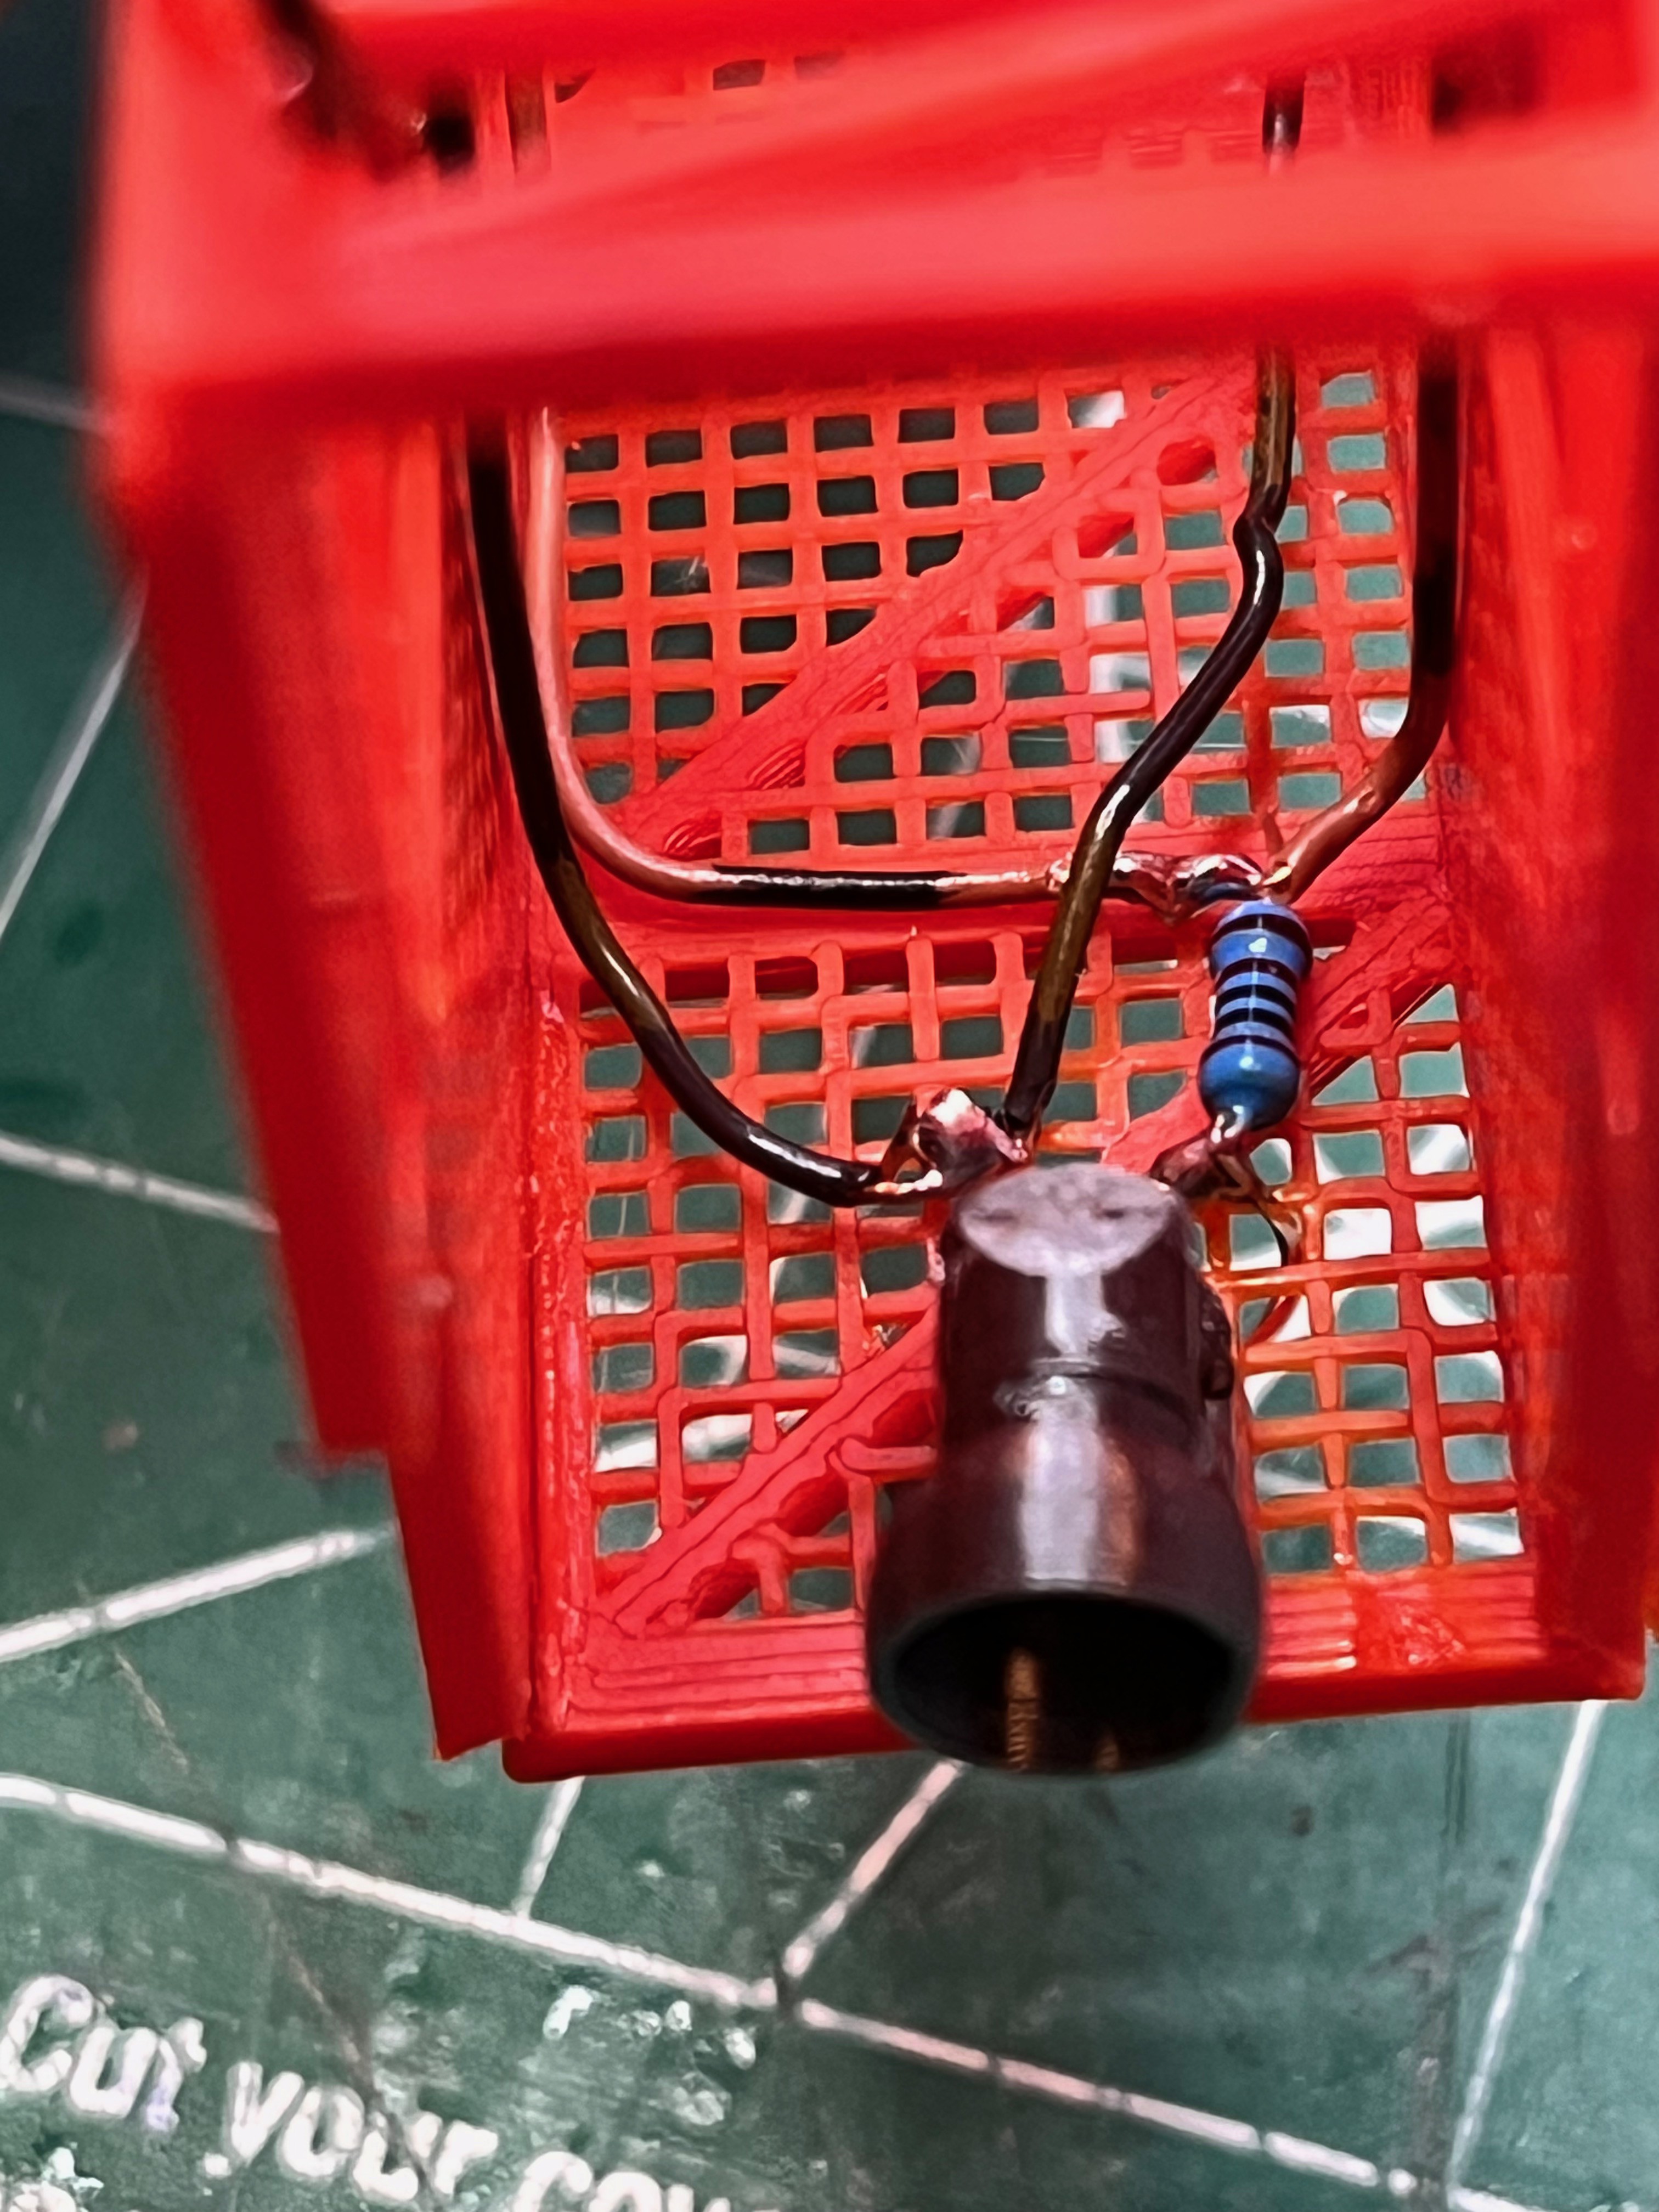
I tied something different with the lights on swing arm #4. Instead of covering the positive side resistor and solder joints with shrink wrap I think it looks better to just leave them exposed. The thin wire is easier to hide behind beams and braces without that thick black shrink wrap. This was the first swing arm that has a light on the bottom, probably to illuminate swing arm.
There is quite a bit of detail and mystery inside swing arm #4. The three main sources I am using are TurboSquid, MicroArtwork and the ApolloManiacs pictures/drawings. Unfortunately I missed that the upper end panels of the main gantry are screened in. It was not obvious in the TurboSquid pictures, but is obvious in the ApolloManiacs pictures. If you want to add that I will leave that up to you.

Beyond that there are obvious cable trays inside the TurboSquid but not the MicroArtwork.
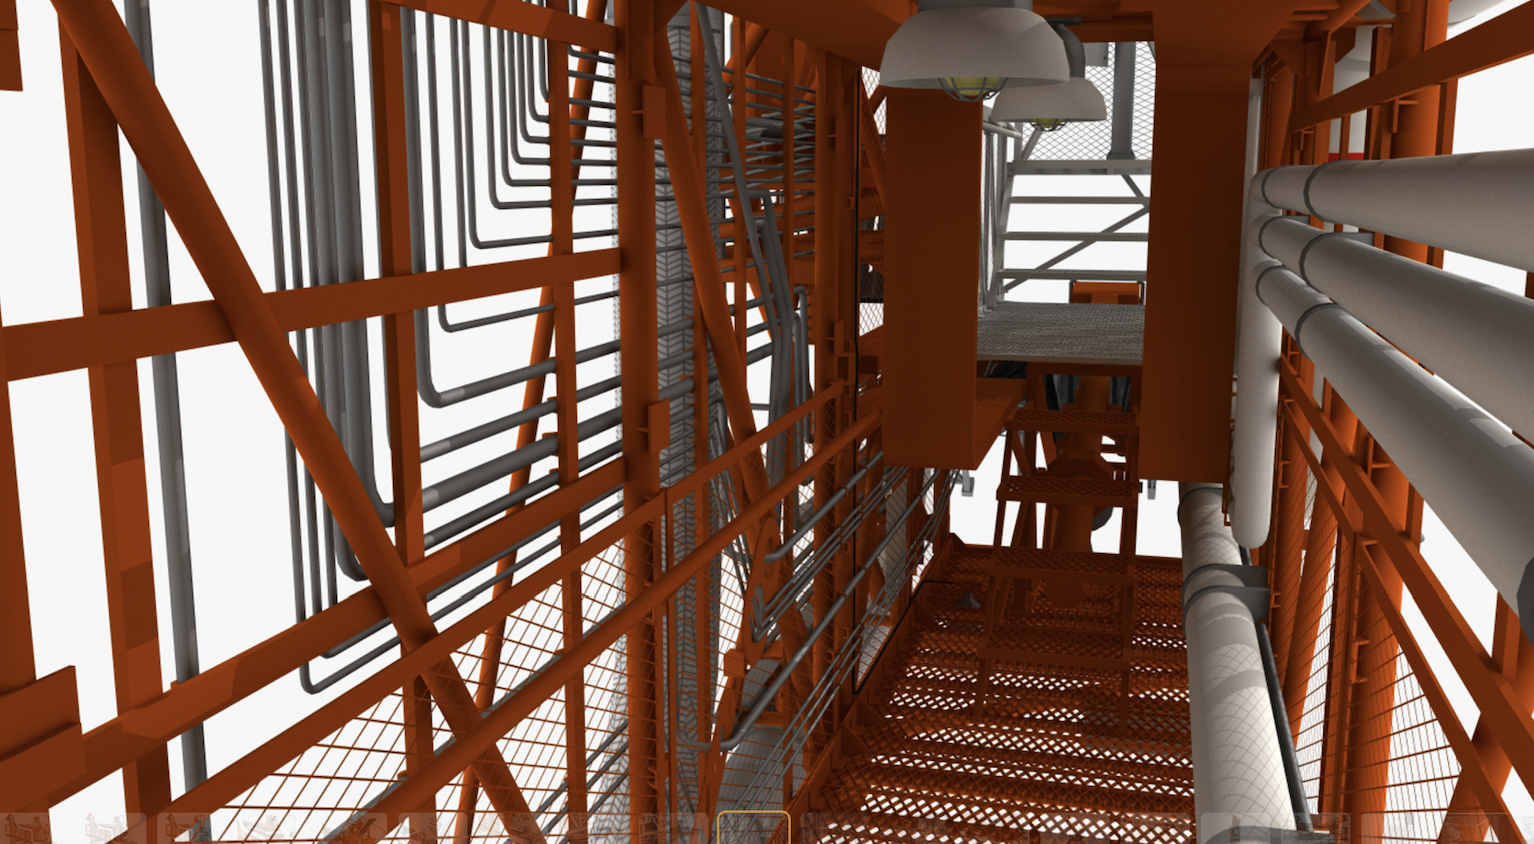
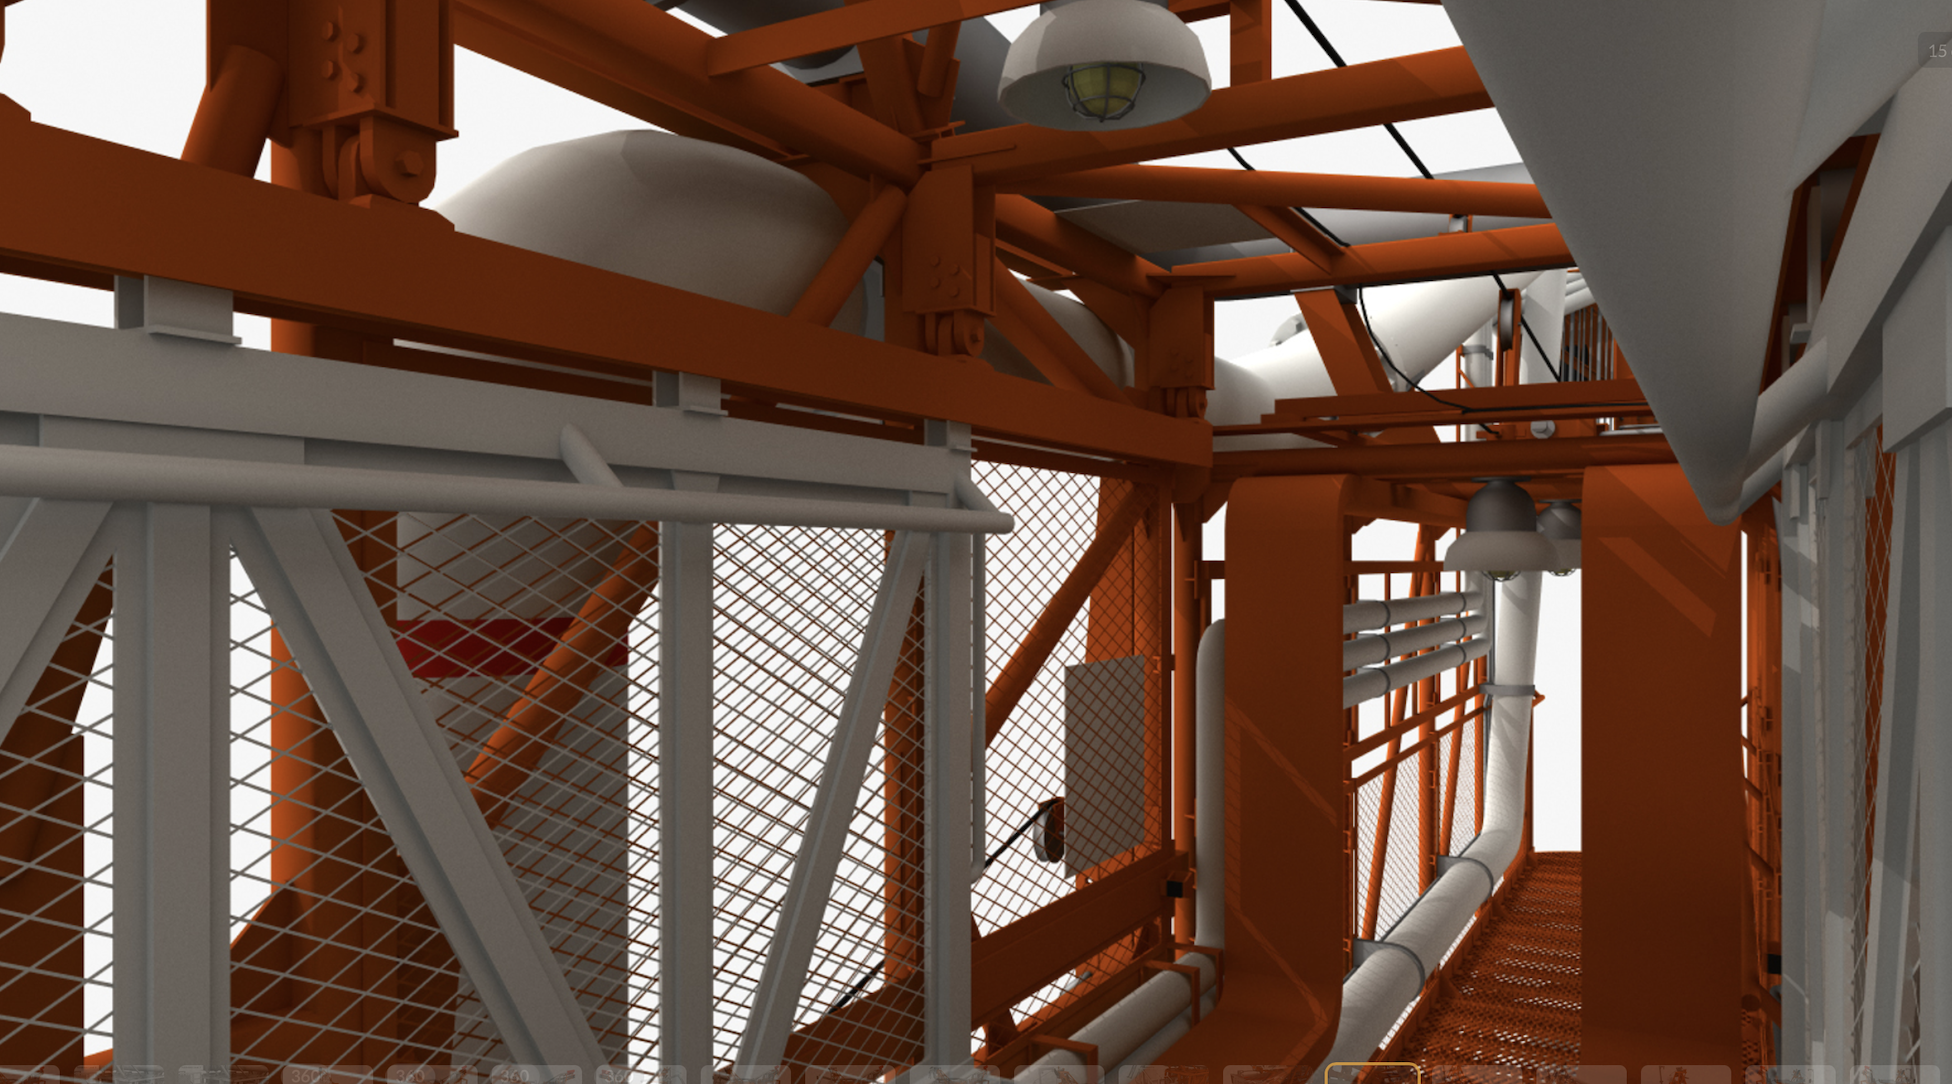
It is hard to tell with the ApolloManiacs but in the picture I think I can just see the cable trays.
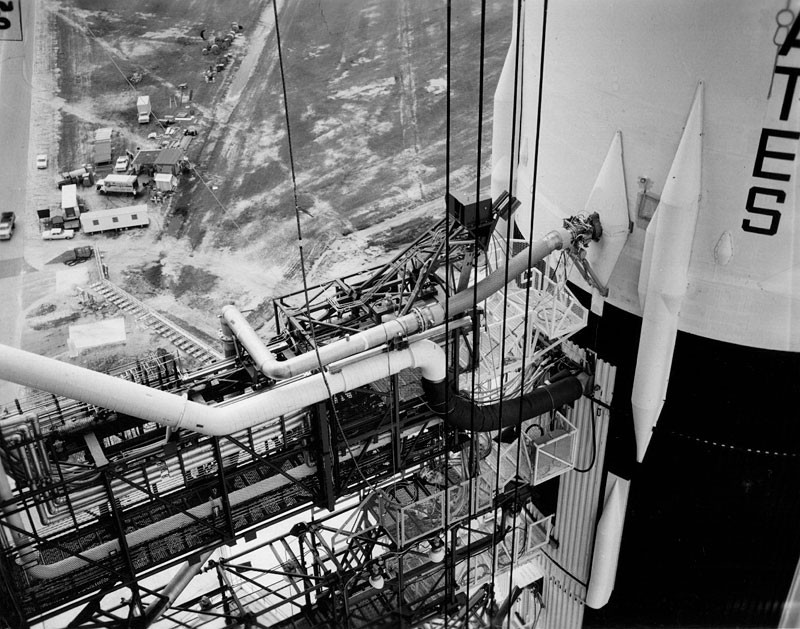
A search of the internet could not give me a definitive answer, including this picture of swing arm.

TurboSquid also shows the three white pipes on the inside of the right side as pipes whereas the MicroArtwork show them as flat ribbon cables. For the most part I will design to the TurboSquid and ApolloManiacs depictions.
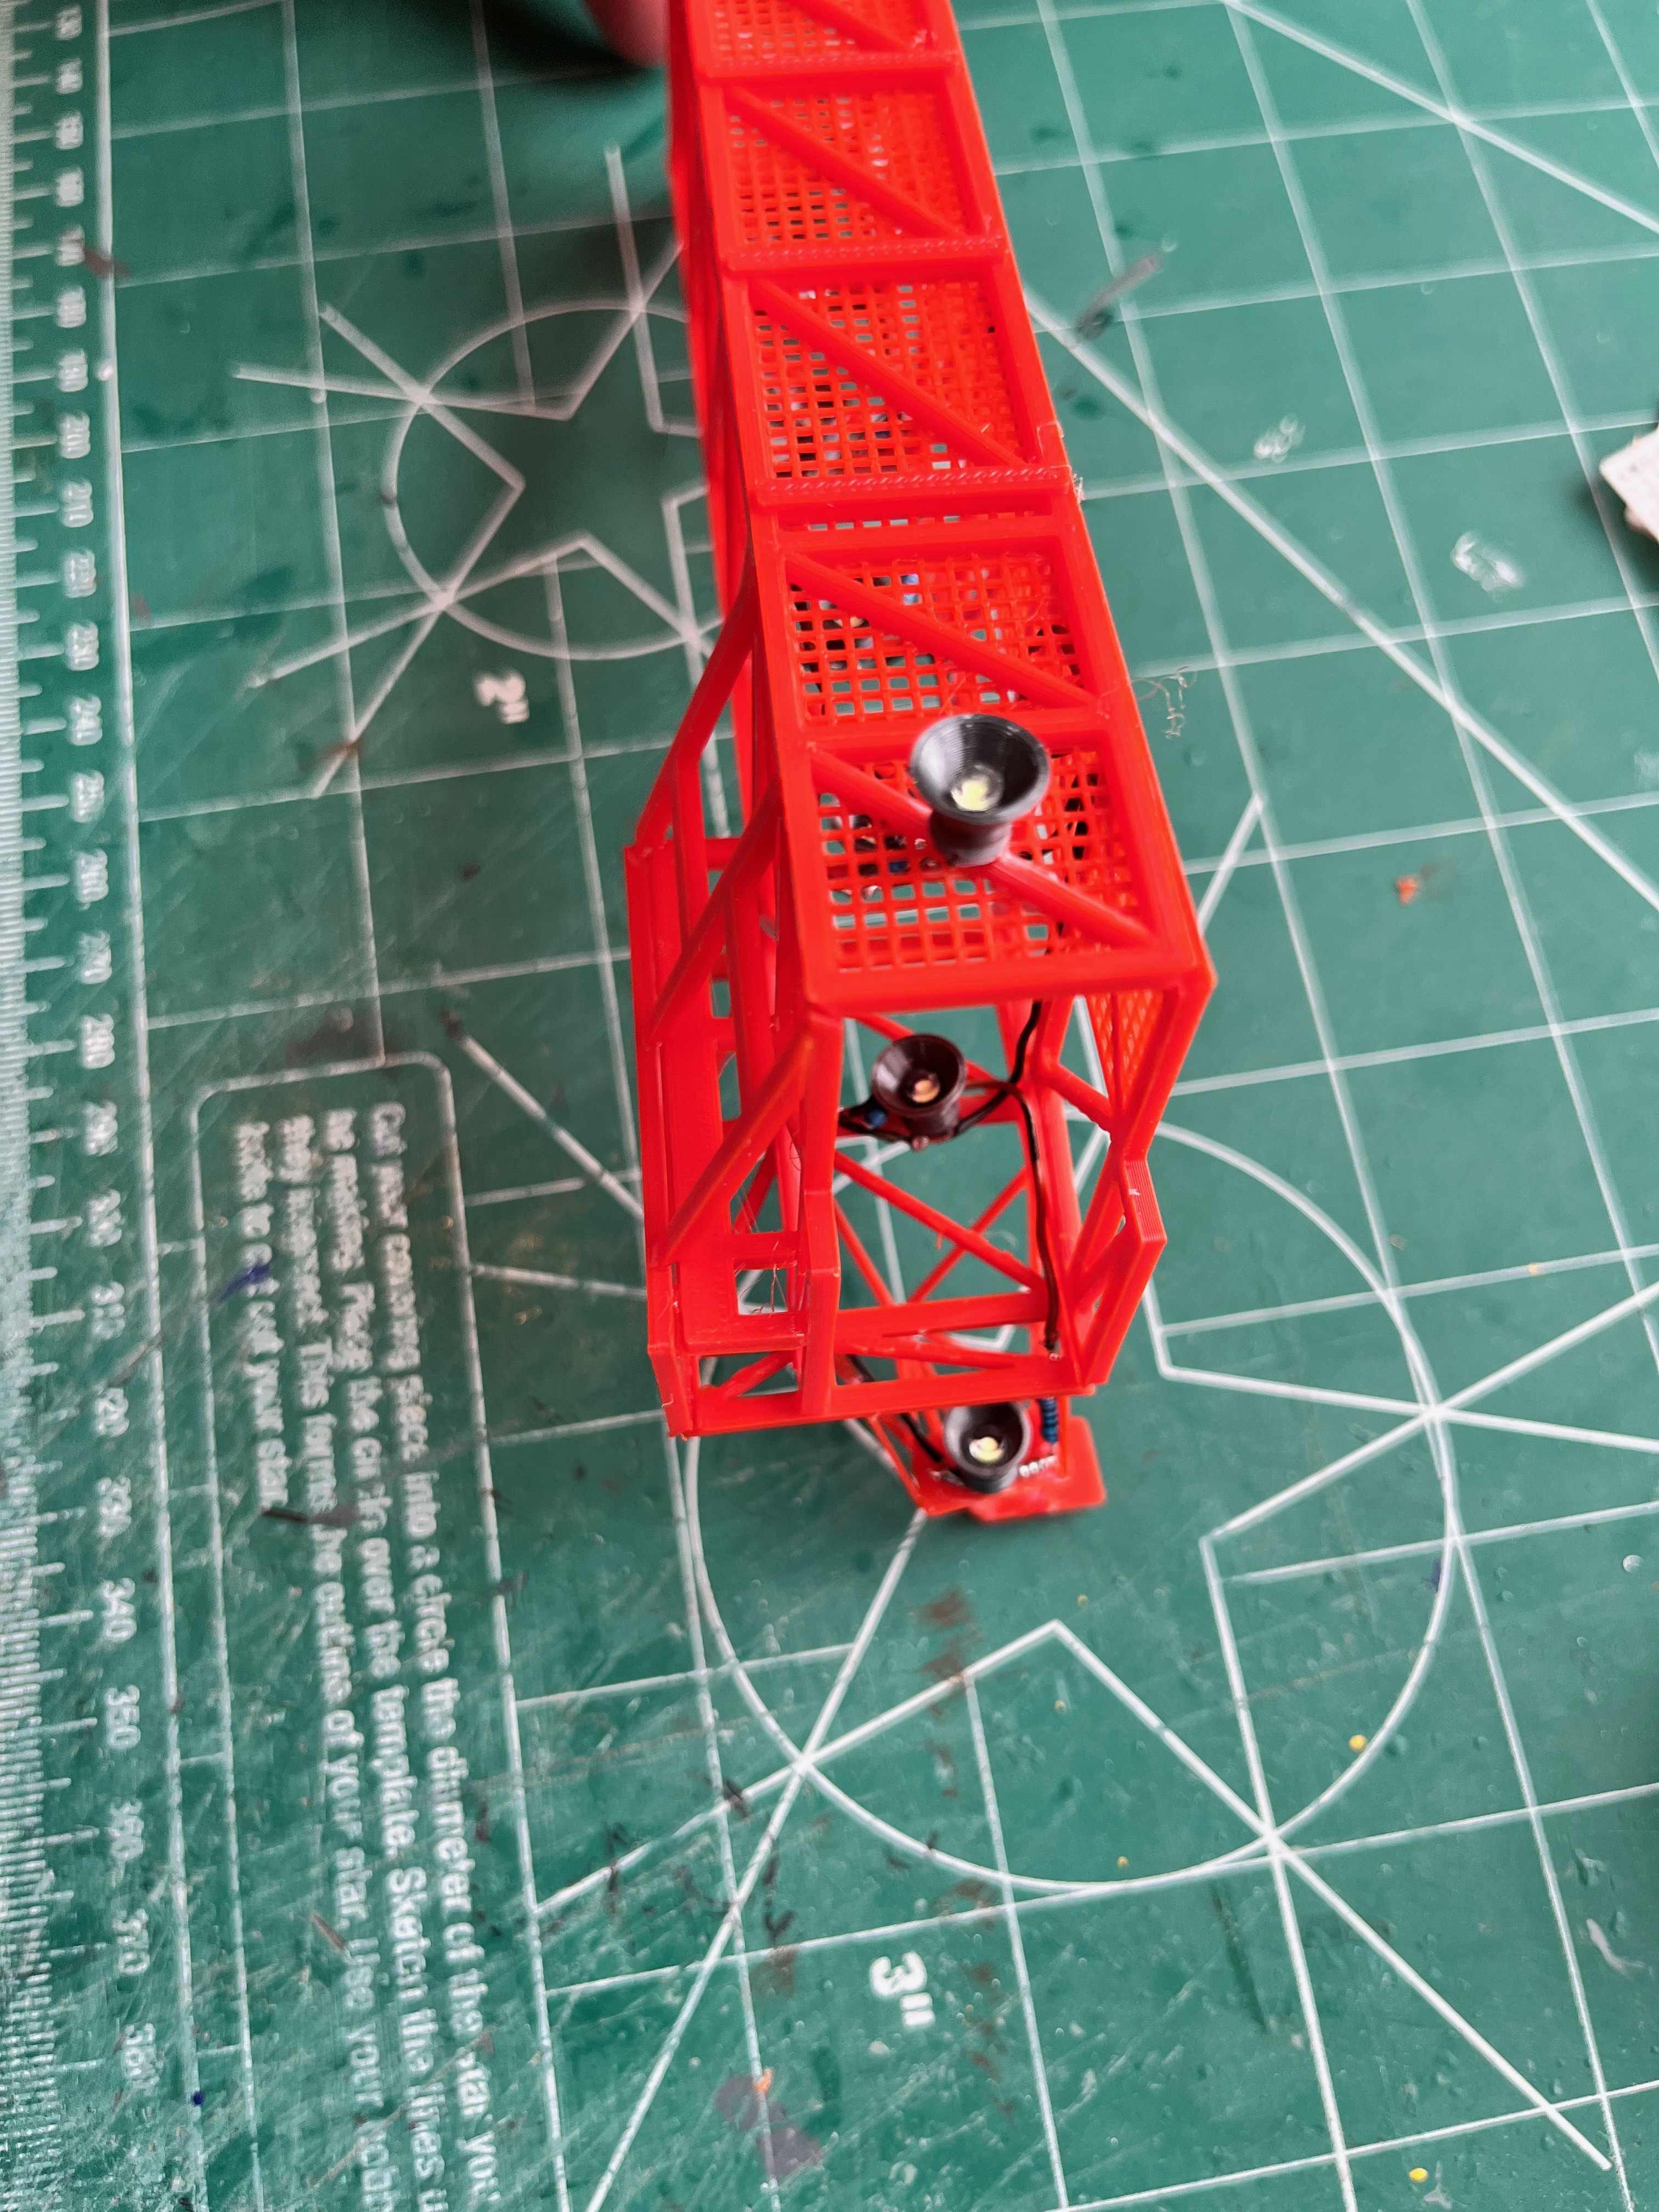
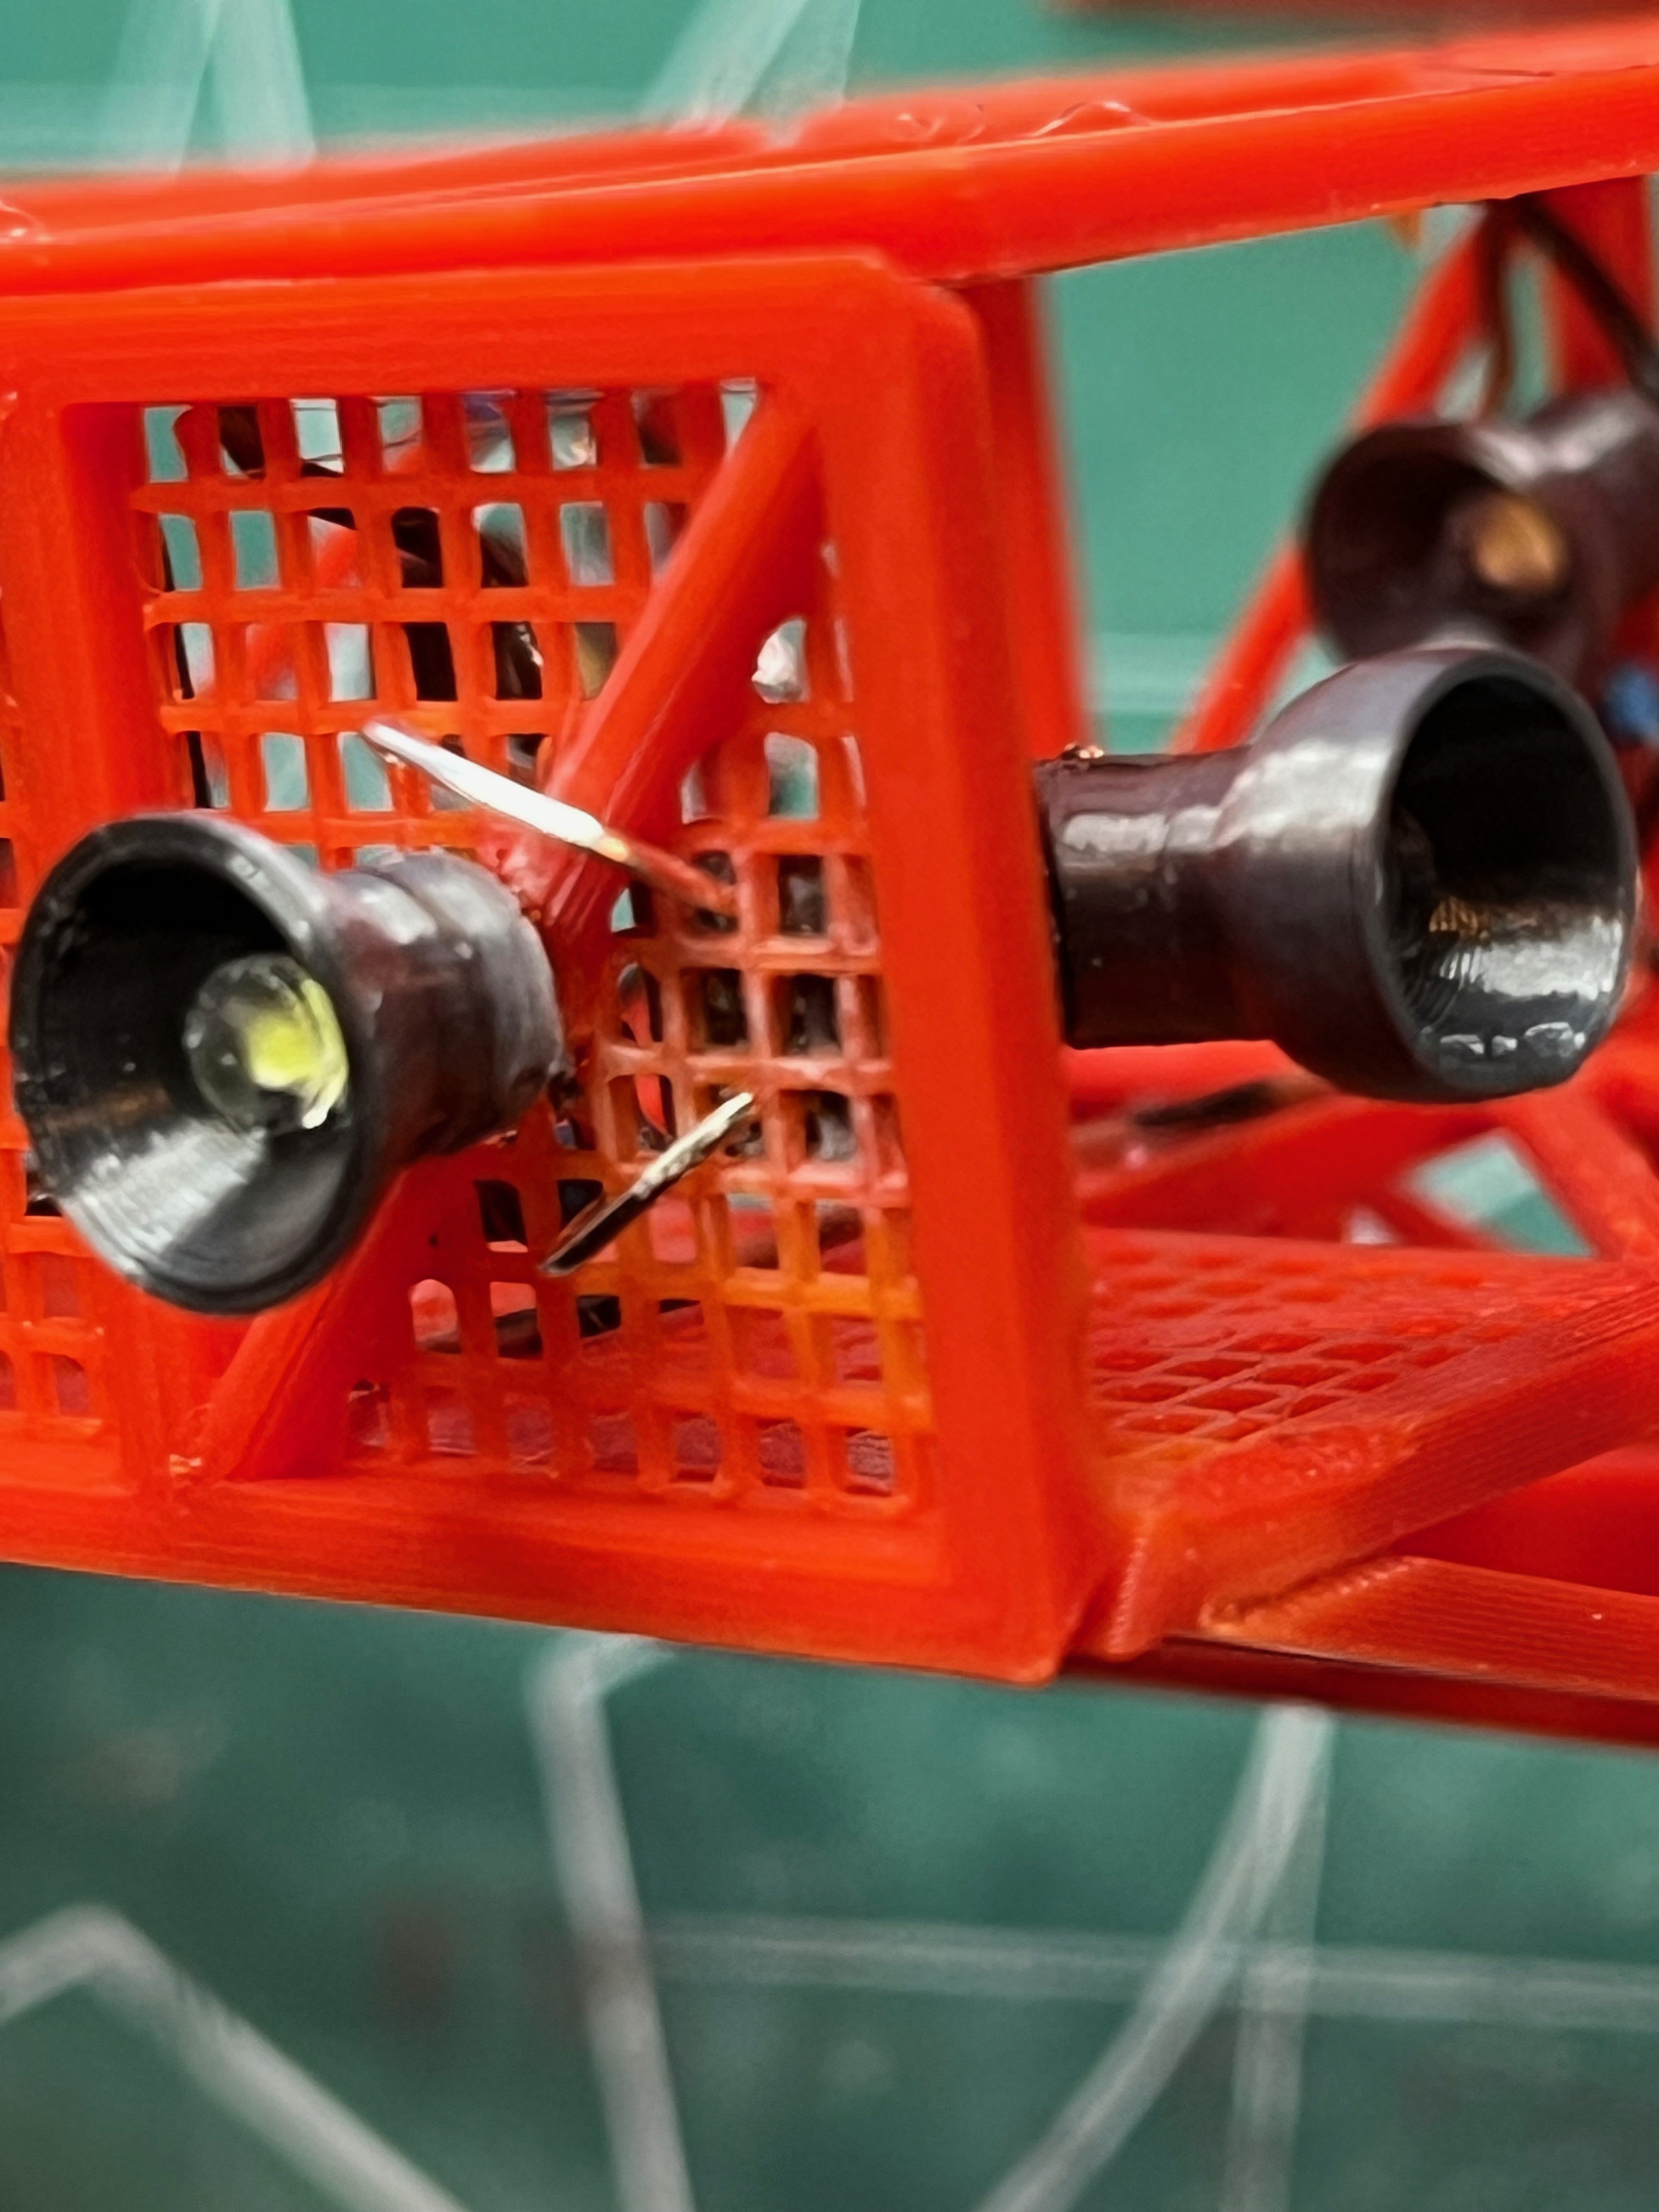
I initially forgot an end light one the inside of the structure. This light had to be added. It was really tight quarters, like the game operations, if you hit any of the plastic it would melt. I'm also glad I didn't use shrink wrap tubing.
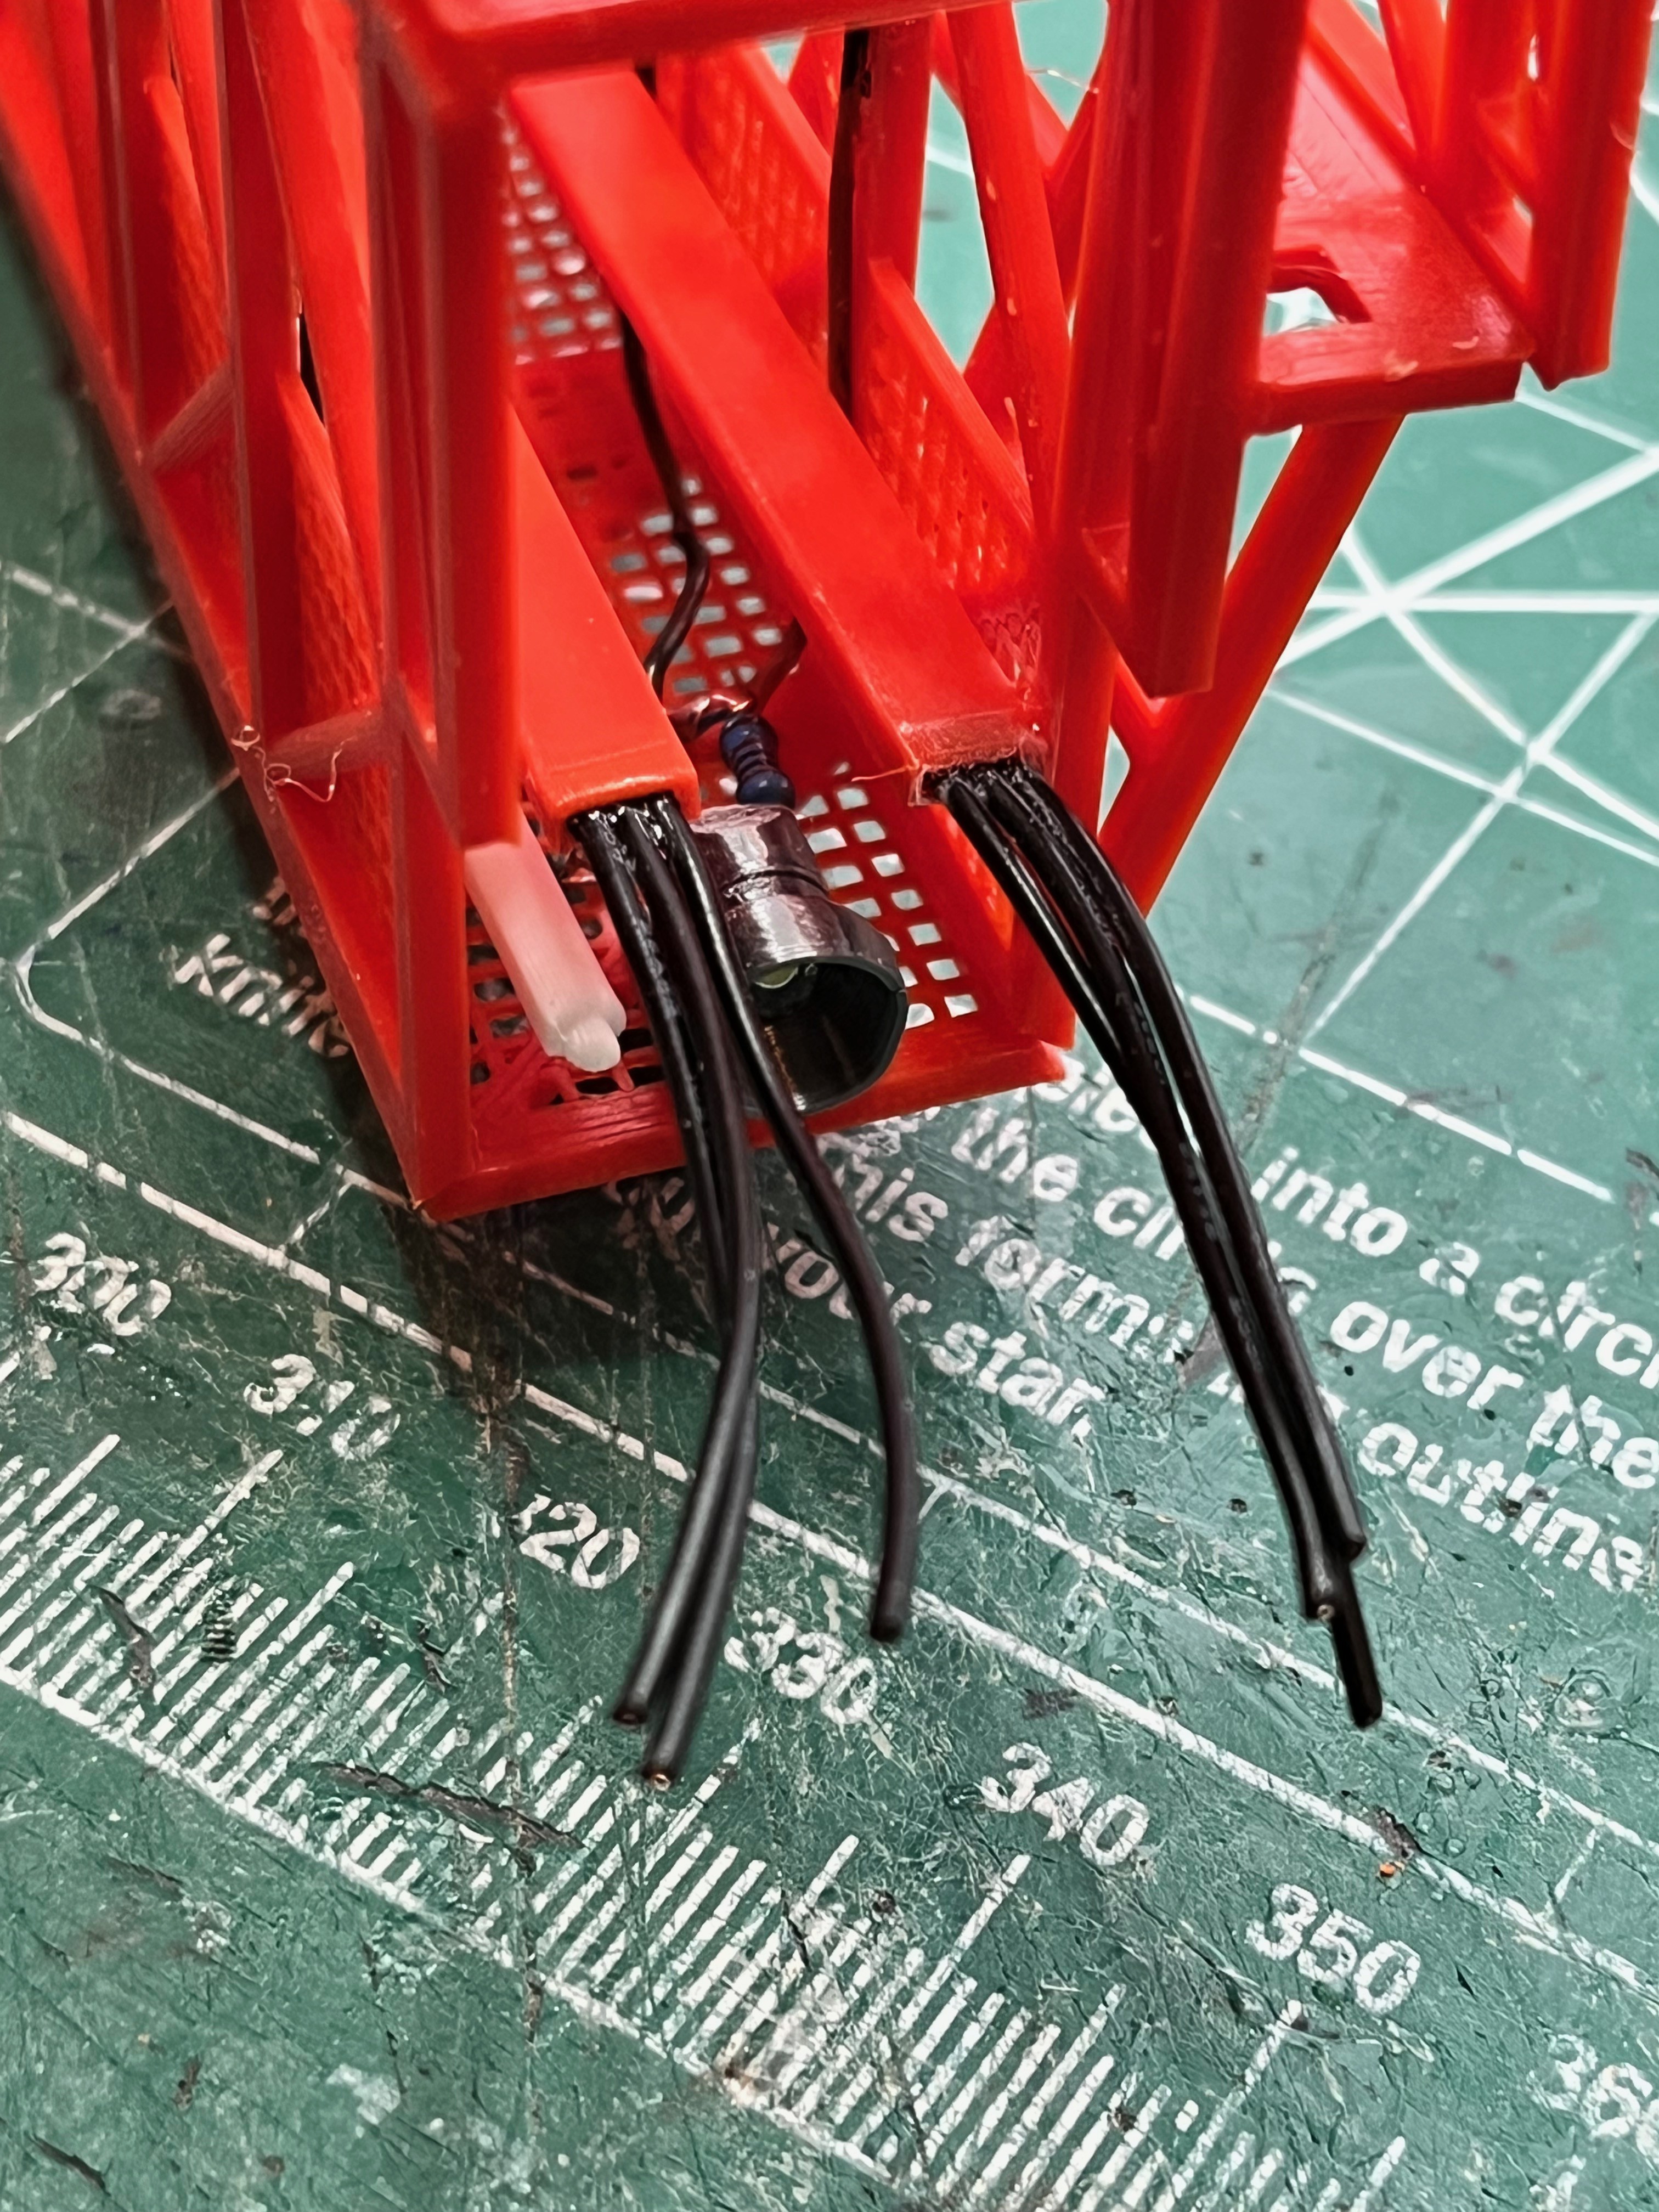
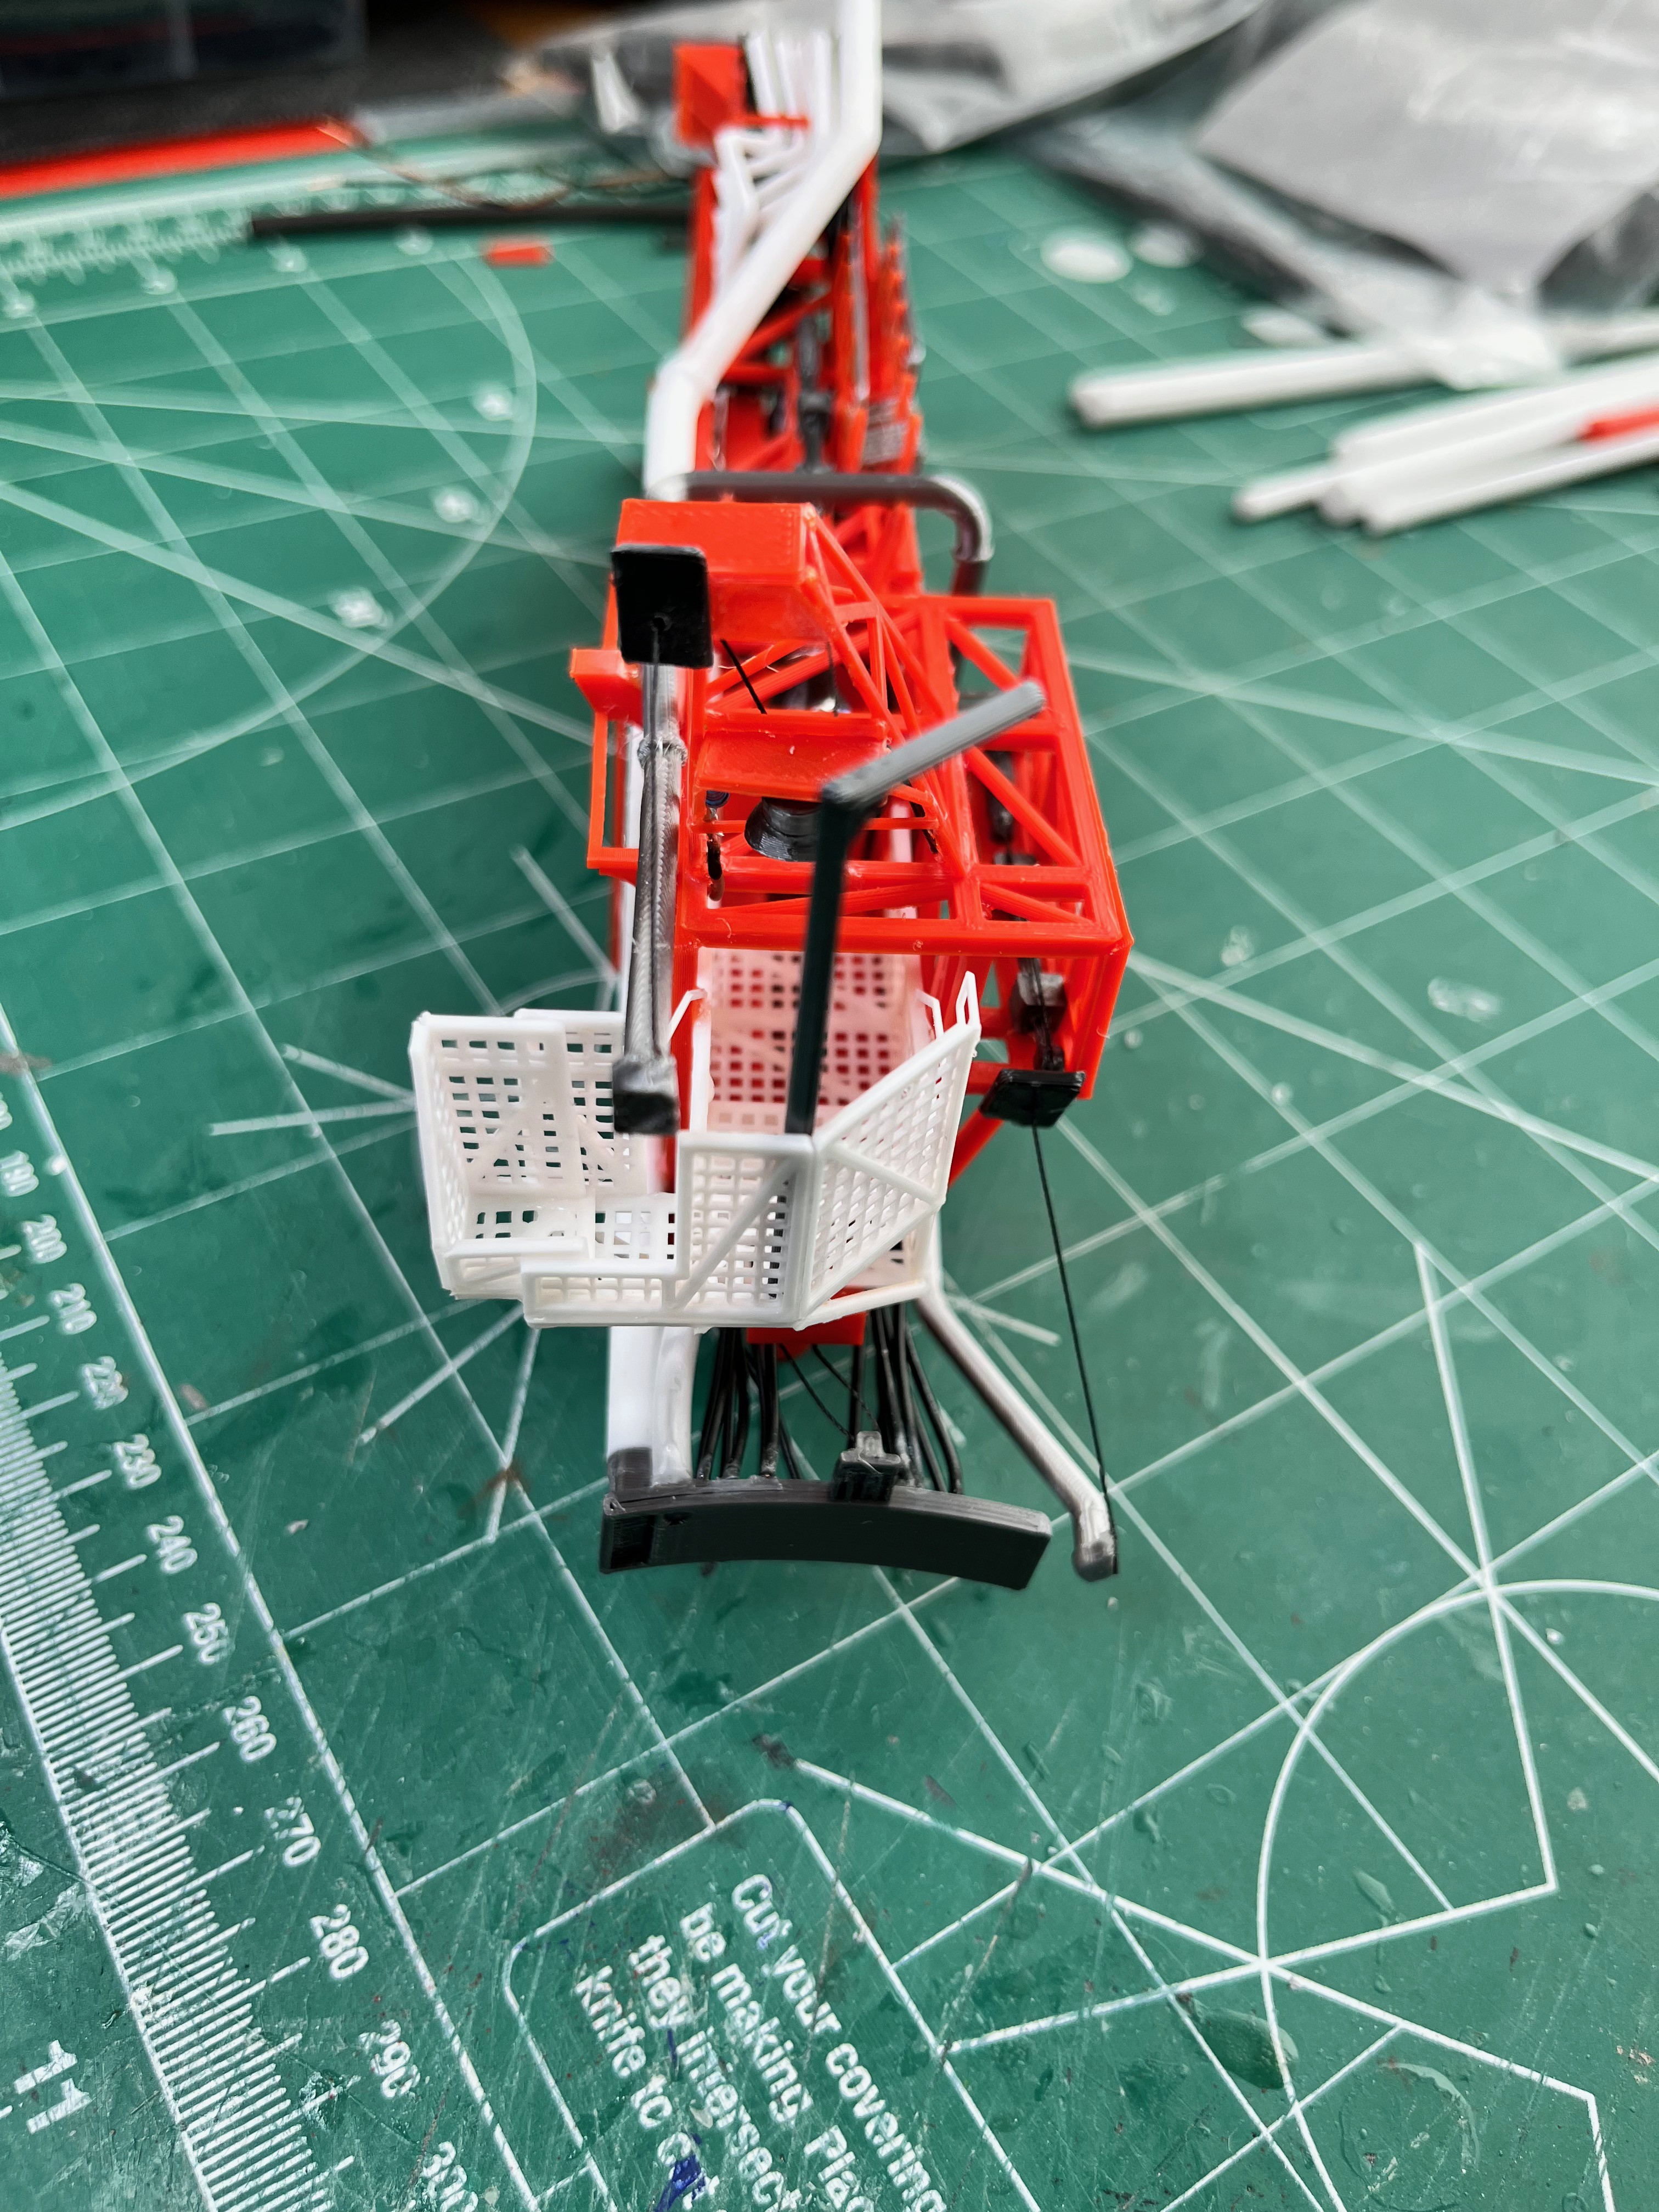
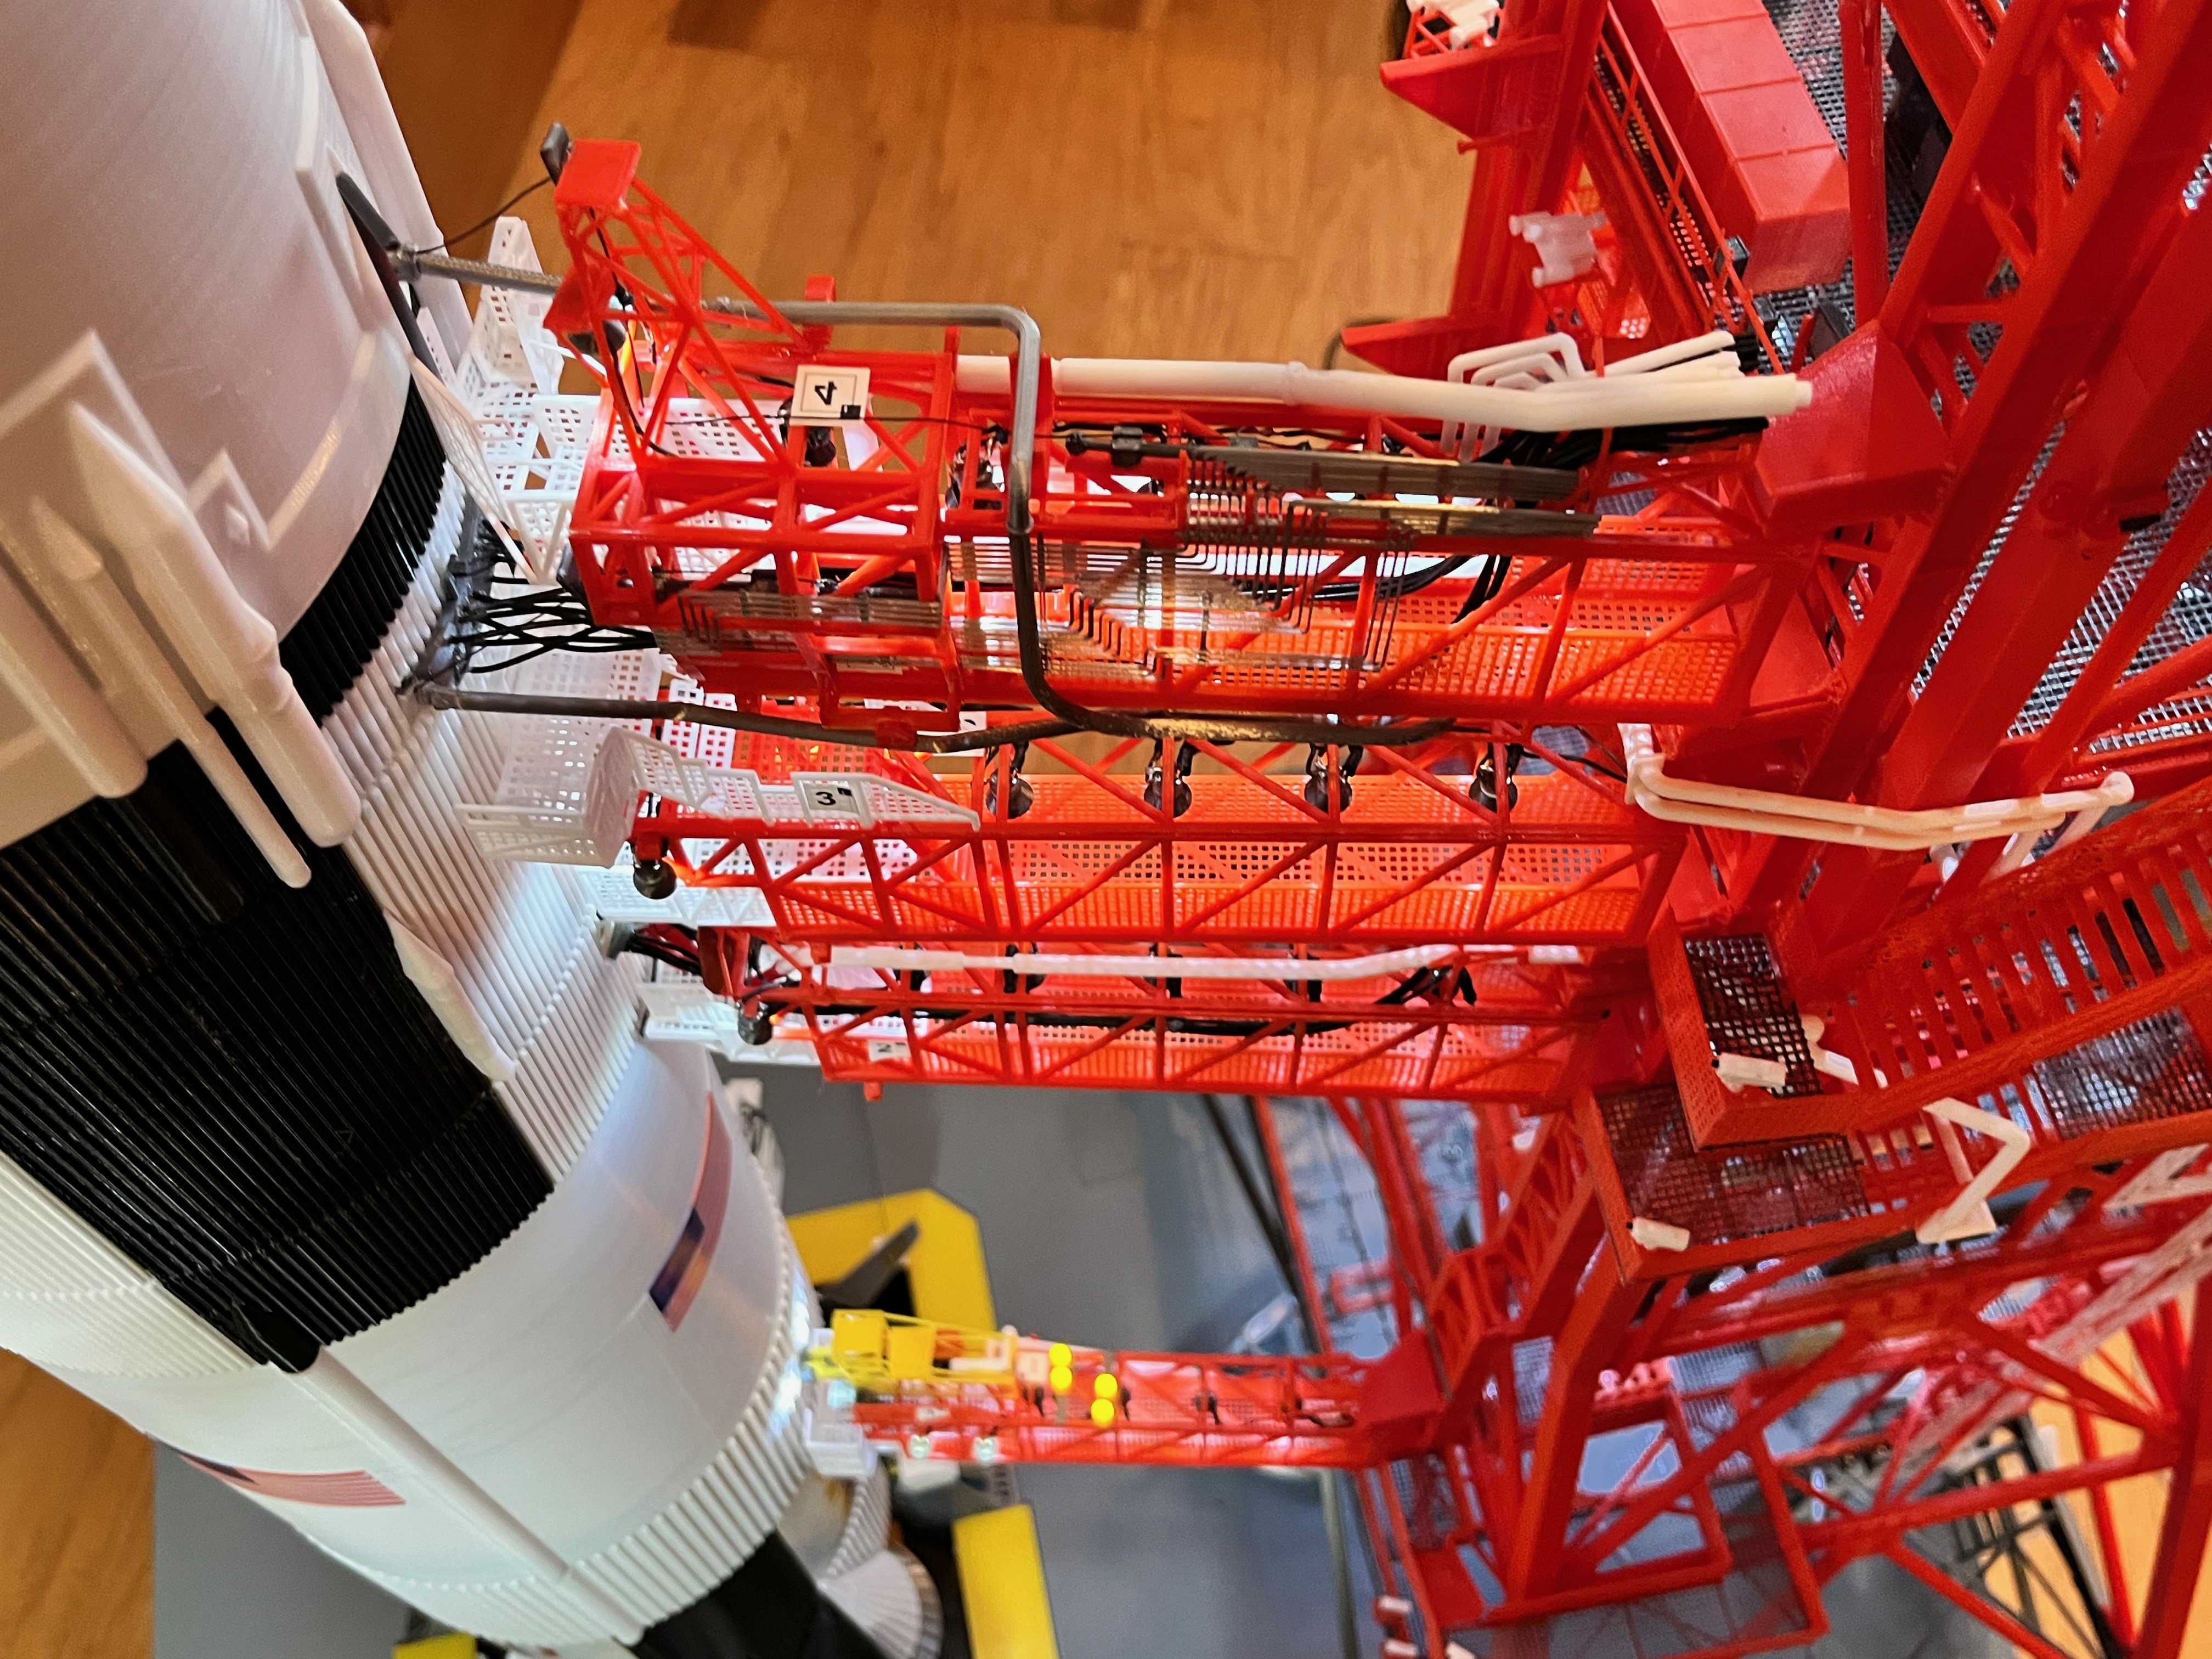
Here are the cable trays inside swing arm #4. I thought about making them grey but went ahead and printed them red. You can see I was just able to glue 3 wires into the ends. The actual arm had many more wires but this was the smallest I had. There should be a set of stair between the cable trays going up to the extension platform, but this space is so small I am not going to add these stairs. The inside space is getting tight. I should have just enough room between the cable trays to squeeze in the lower winch arm.

Swing Arm #4: I went ahead and added four cables per side that run along the bottom inside corners. These along with the cables from the upper cable trays give me enough to add to the lower front connector along with the other two larger pipes. You can also see that I added the two cable retract mechanisms, one on top and one inside the bump out on the left side. There are also some pipe supports ready for the LH2 pipe. You. can also see that for the pipe retract bumpers the main part is grey and there is a one layer thick black part glued to the front to simulate the rubber. I then drilled a small hole through the middle to run the black thread (cable).
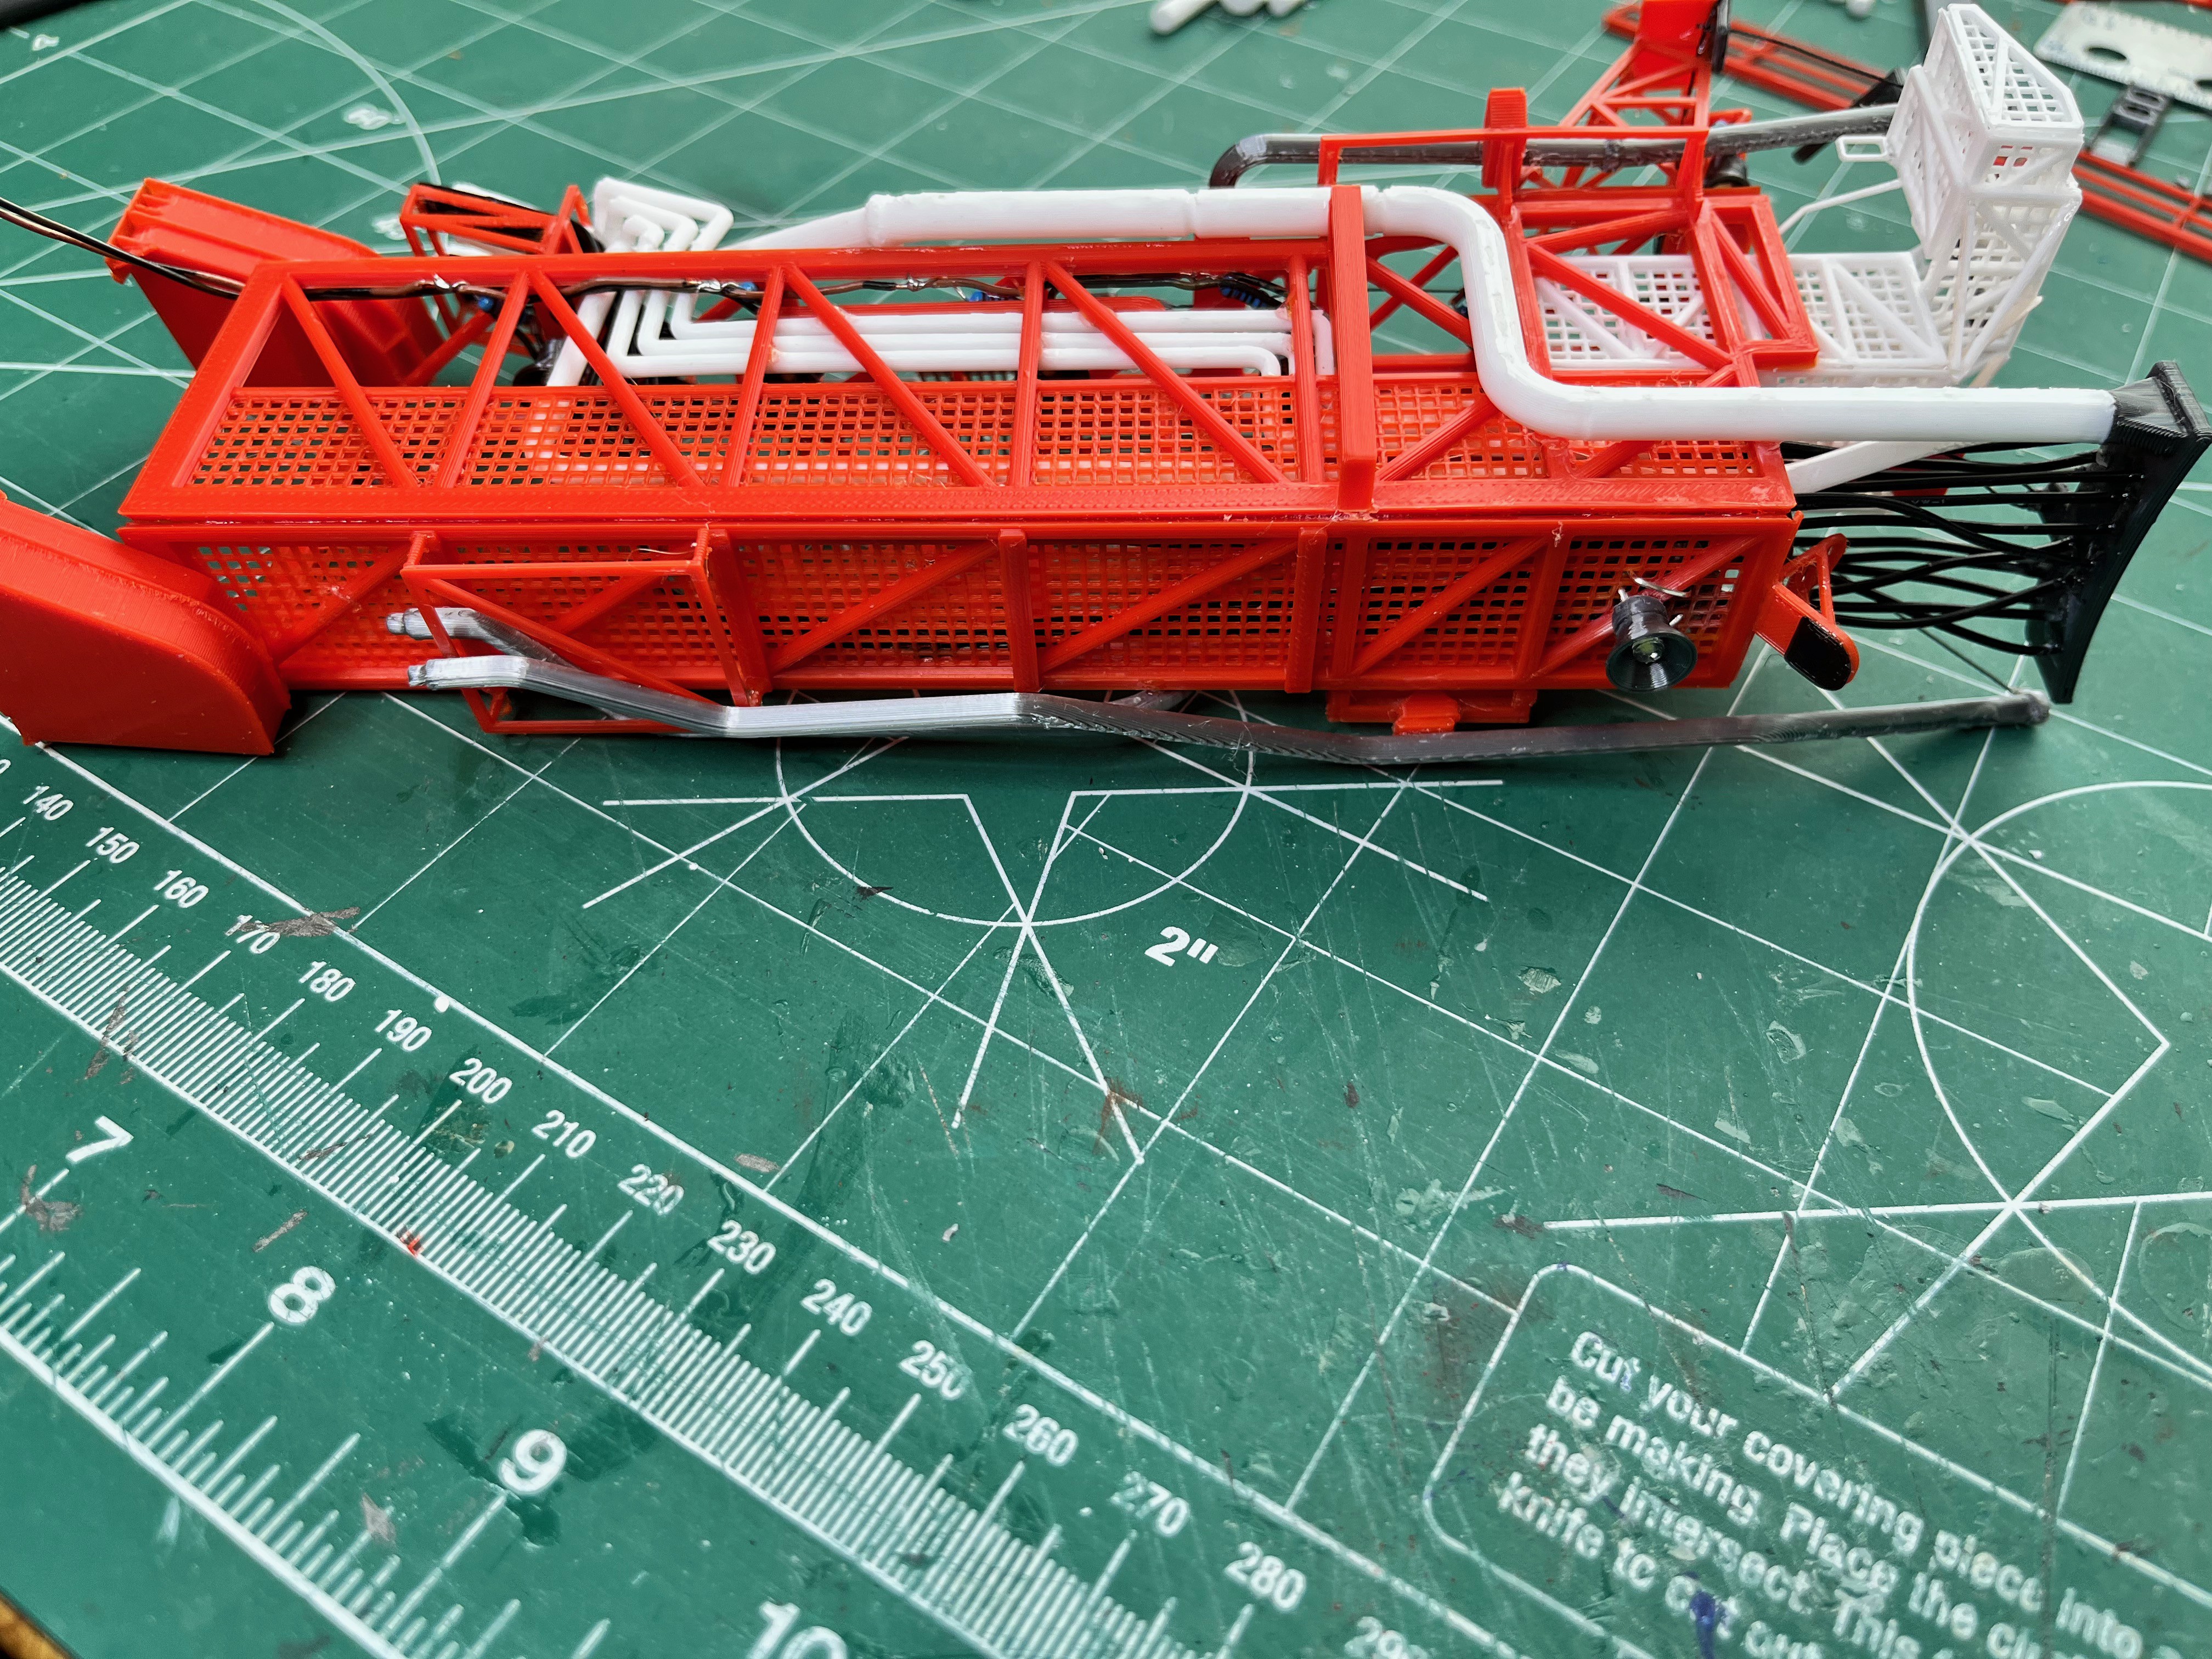

You need to sharpen your print nozzle and clean the print surface for this part. I think these pipes came out ok. It's getting to where the limits of what you can print is limiting the detail that can be added. I think these pipes are critical for the overall look of this swing arm.

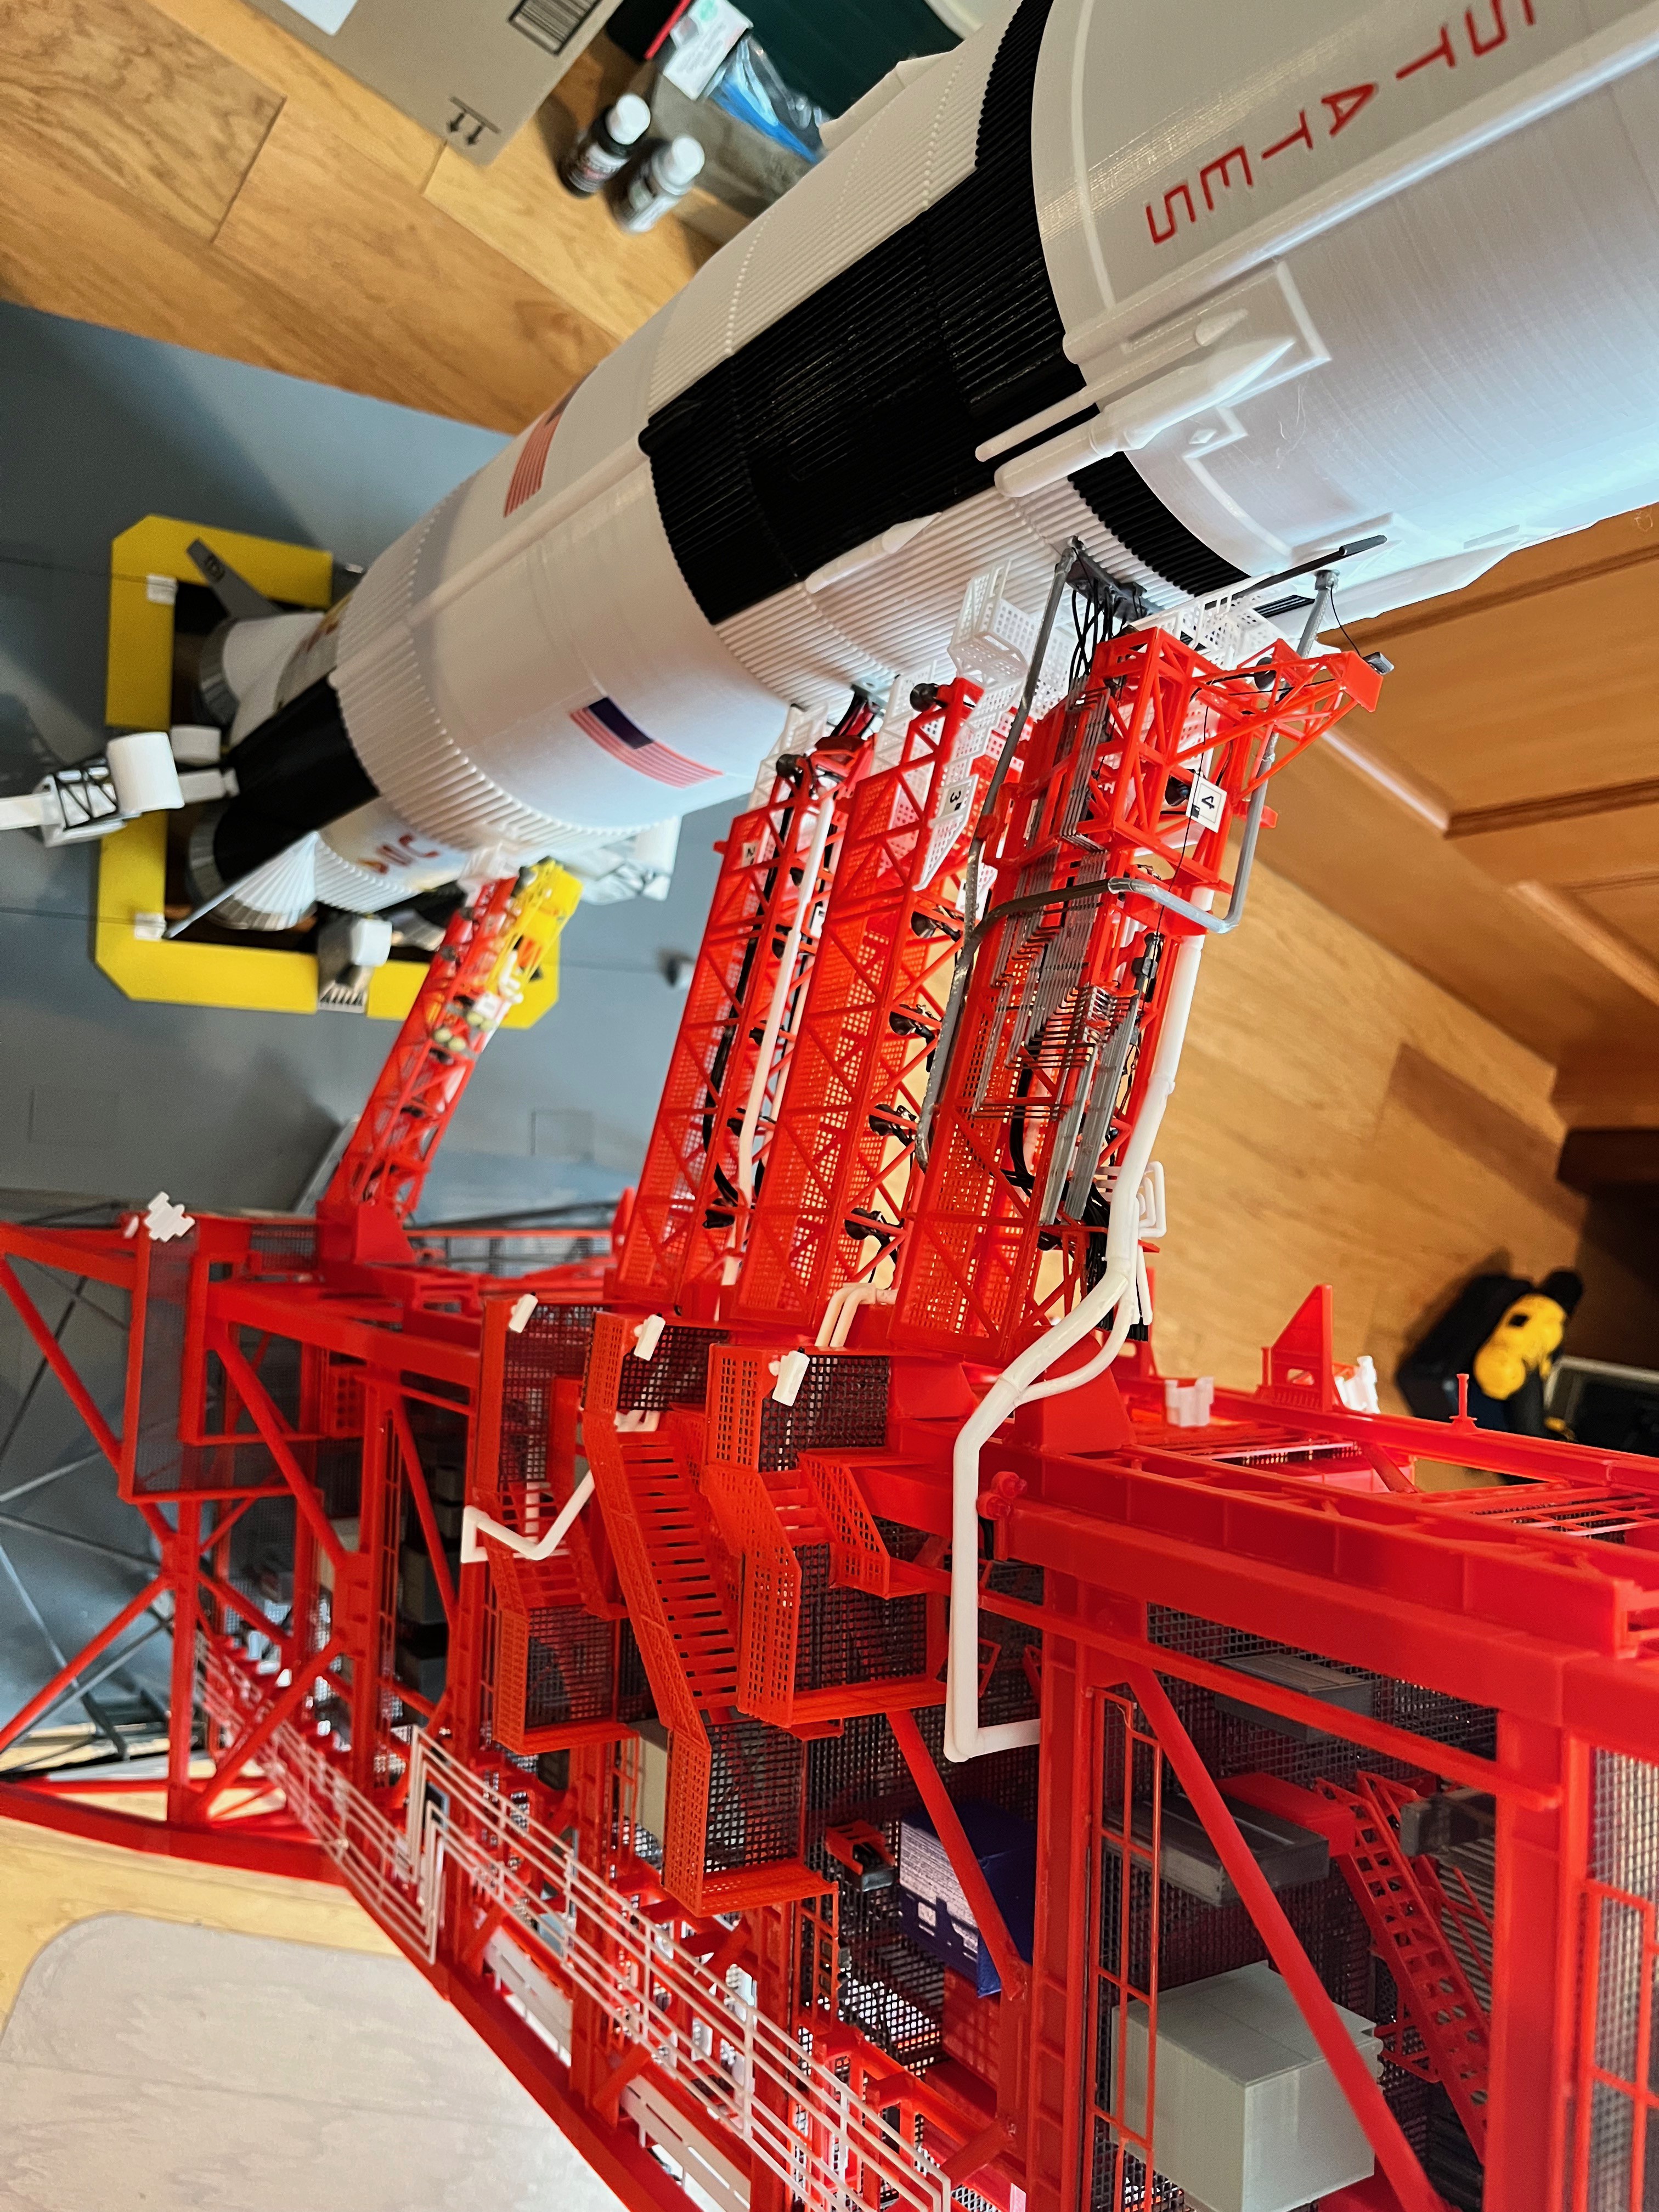
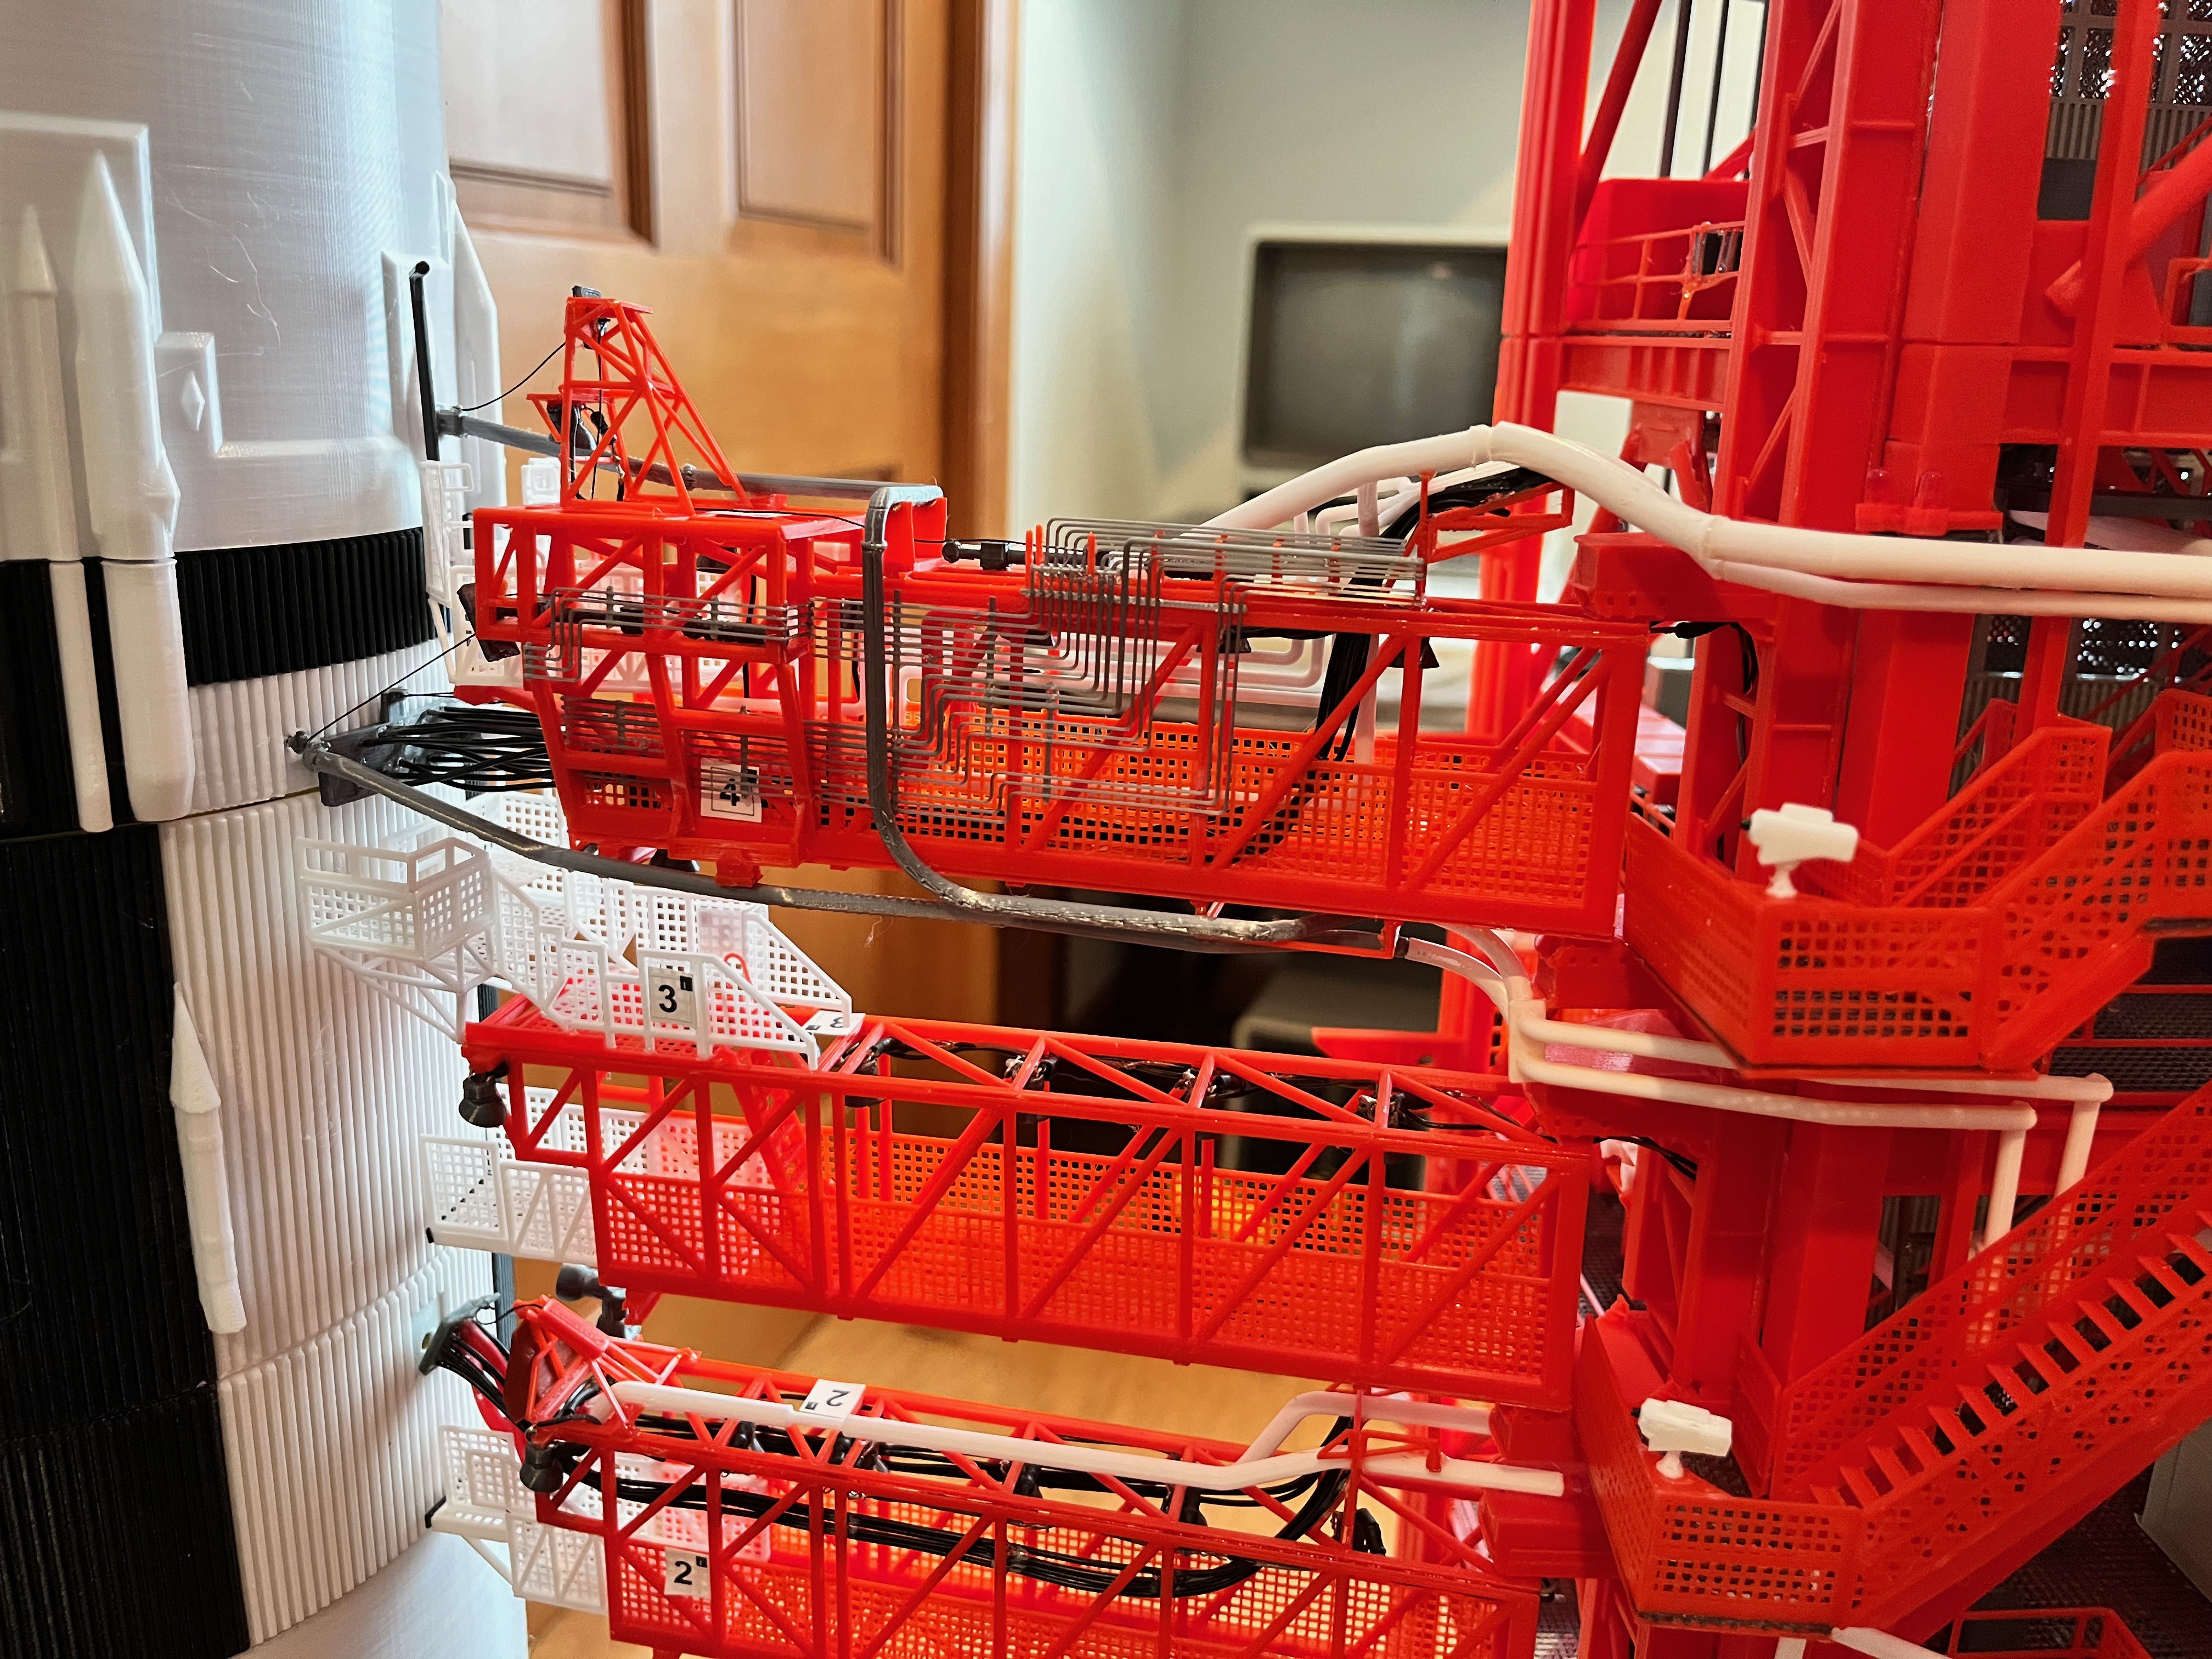
Swing Arm #4 is installed with the lights and lower pipes connected.

Discussions
Become a Hackaday.io Member
Create an account to leave a comment. Already have an account? Log In.