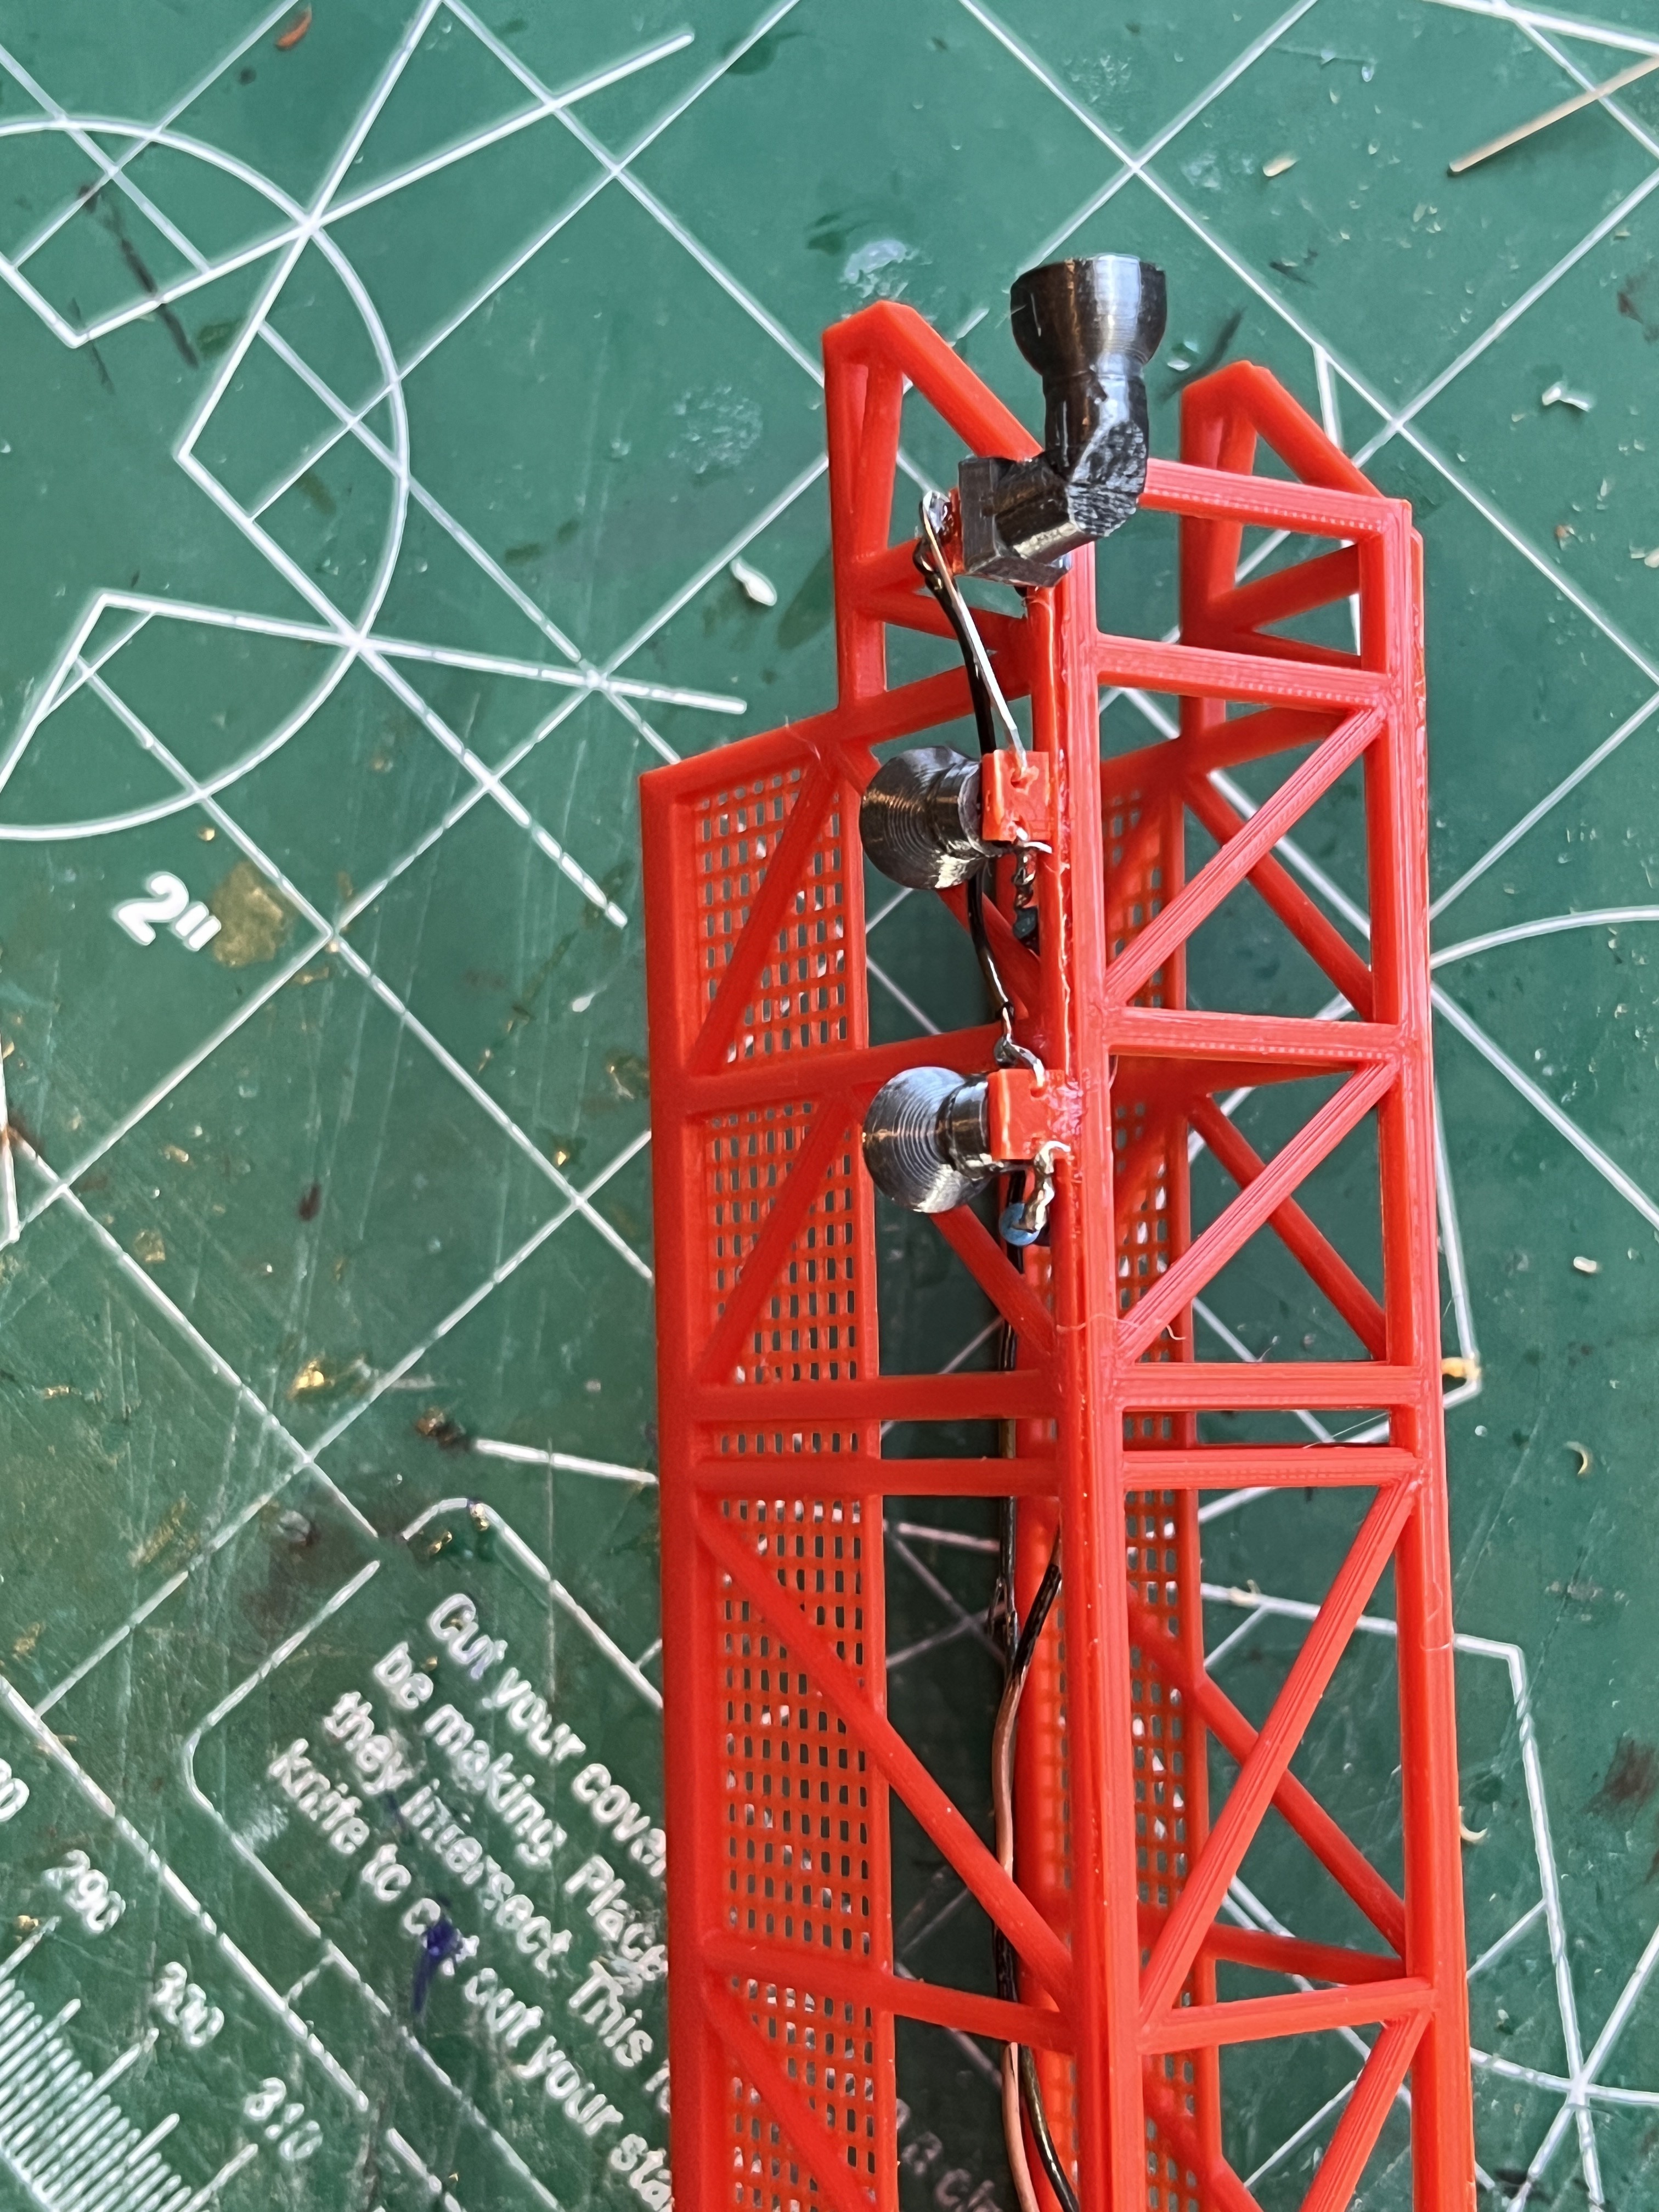
As I do more lights I refine the technique. By the time the last light is installed, I should have the technique perfected. For the swing arm lights that hang from the side I now drill two holes in a small square of plastic to thread the leads through. This is then glued to the side of the arm. In lower the arms I have tabs that are printed along with the arm side. That strip of red plastic is like the strips of bass wood I used when building a wooden ship. Just cut off a piece and shape it if you need to tweak an install.

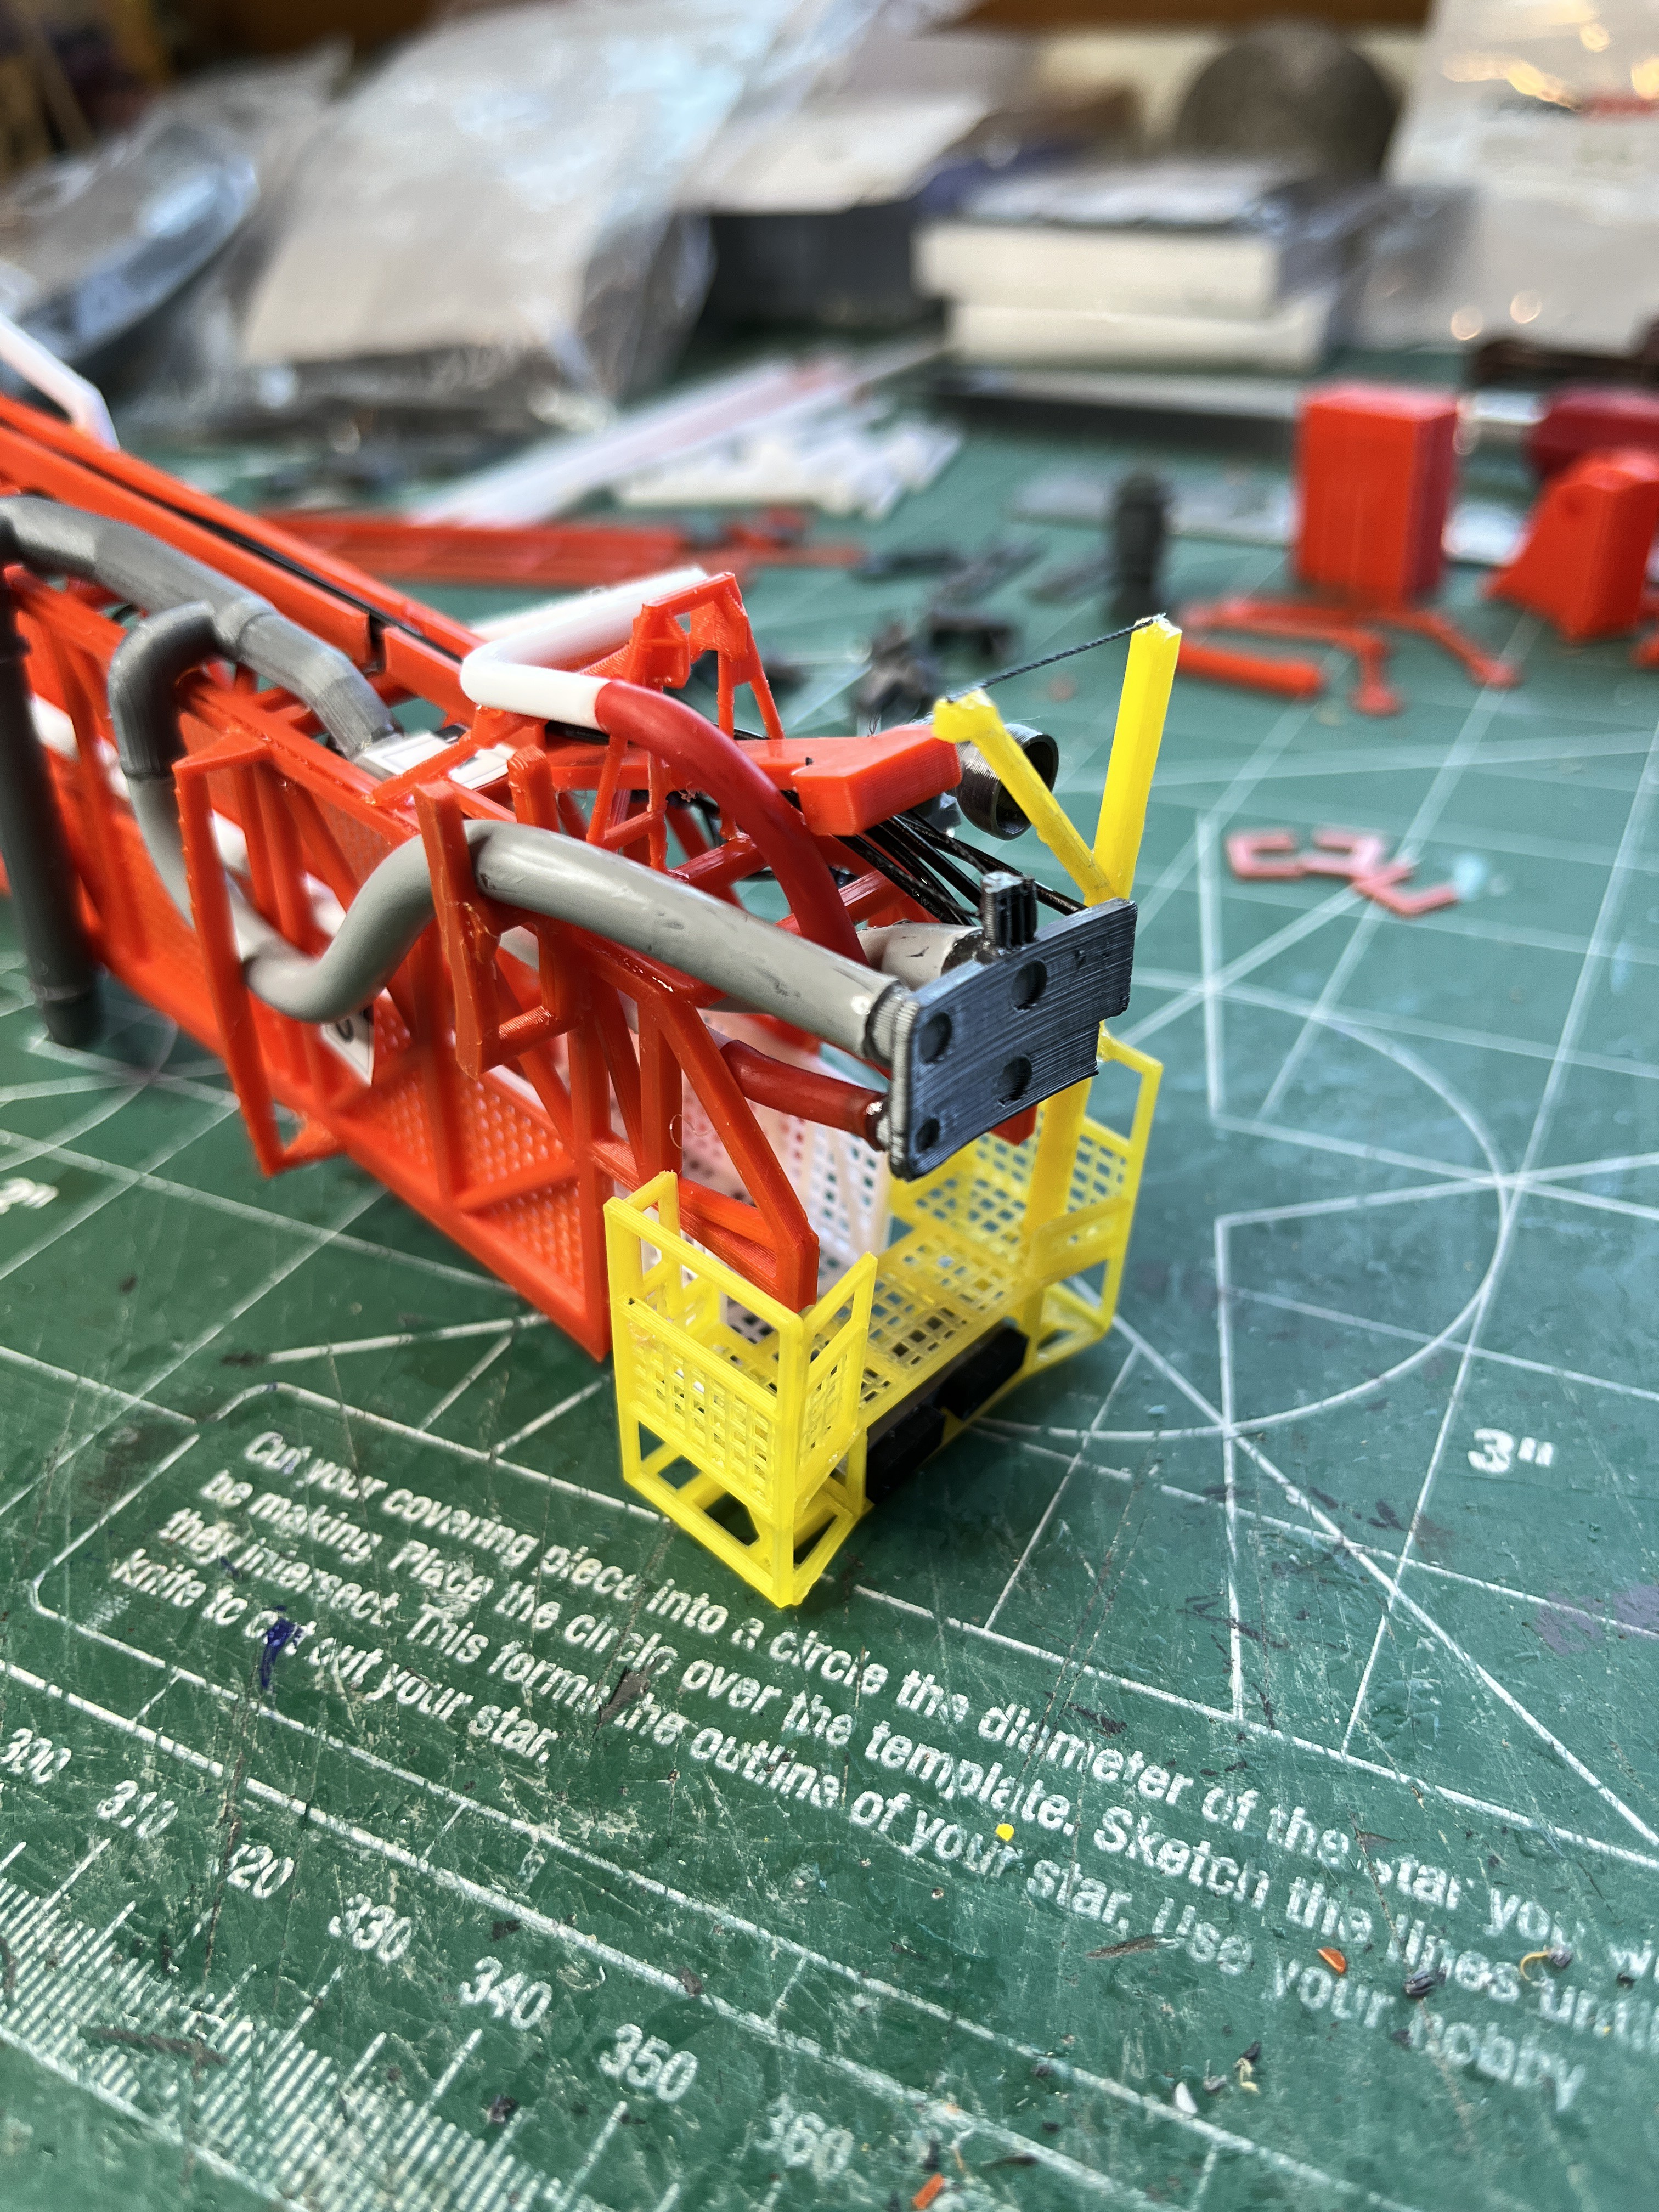
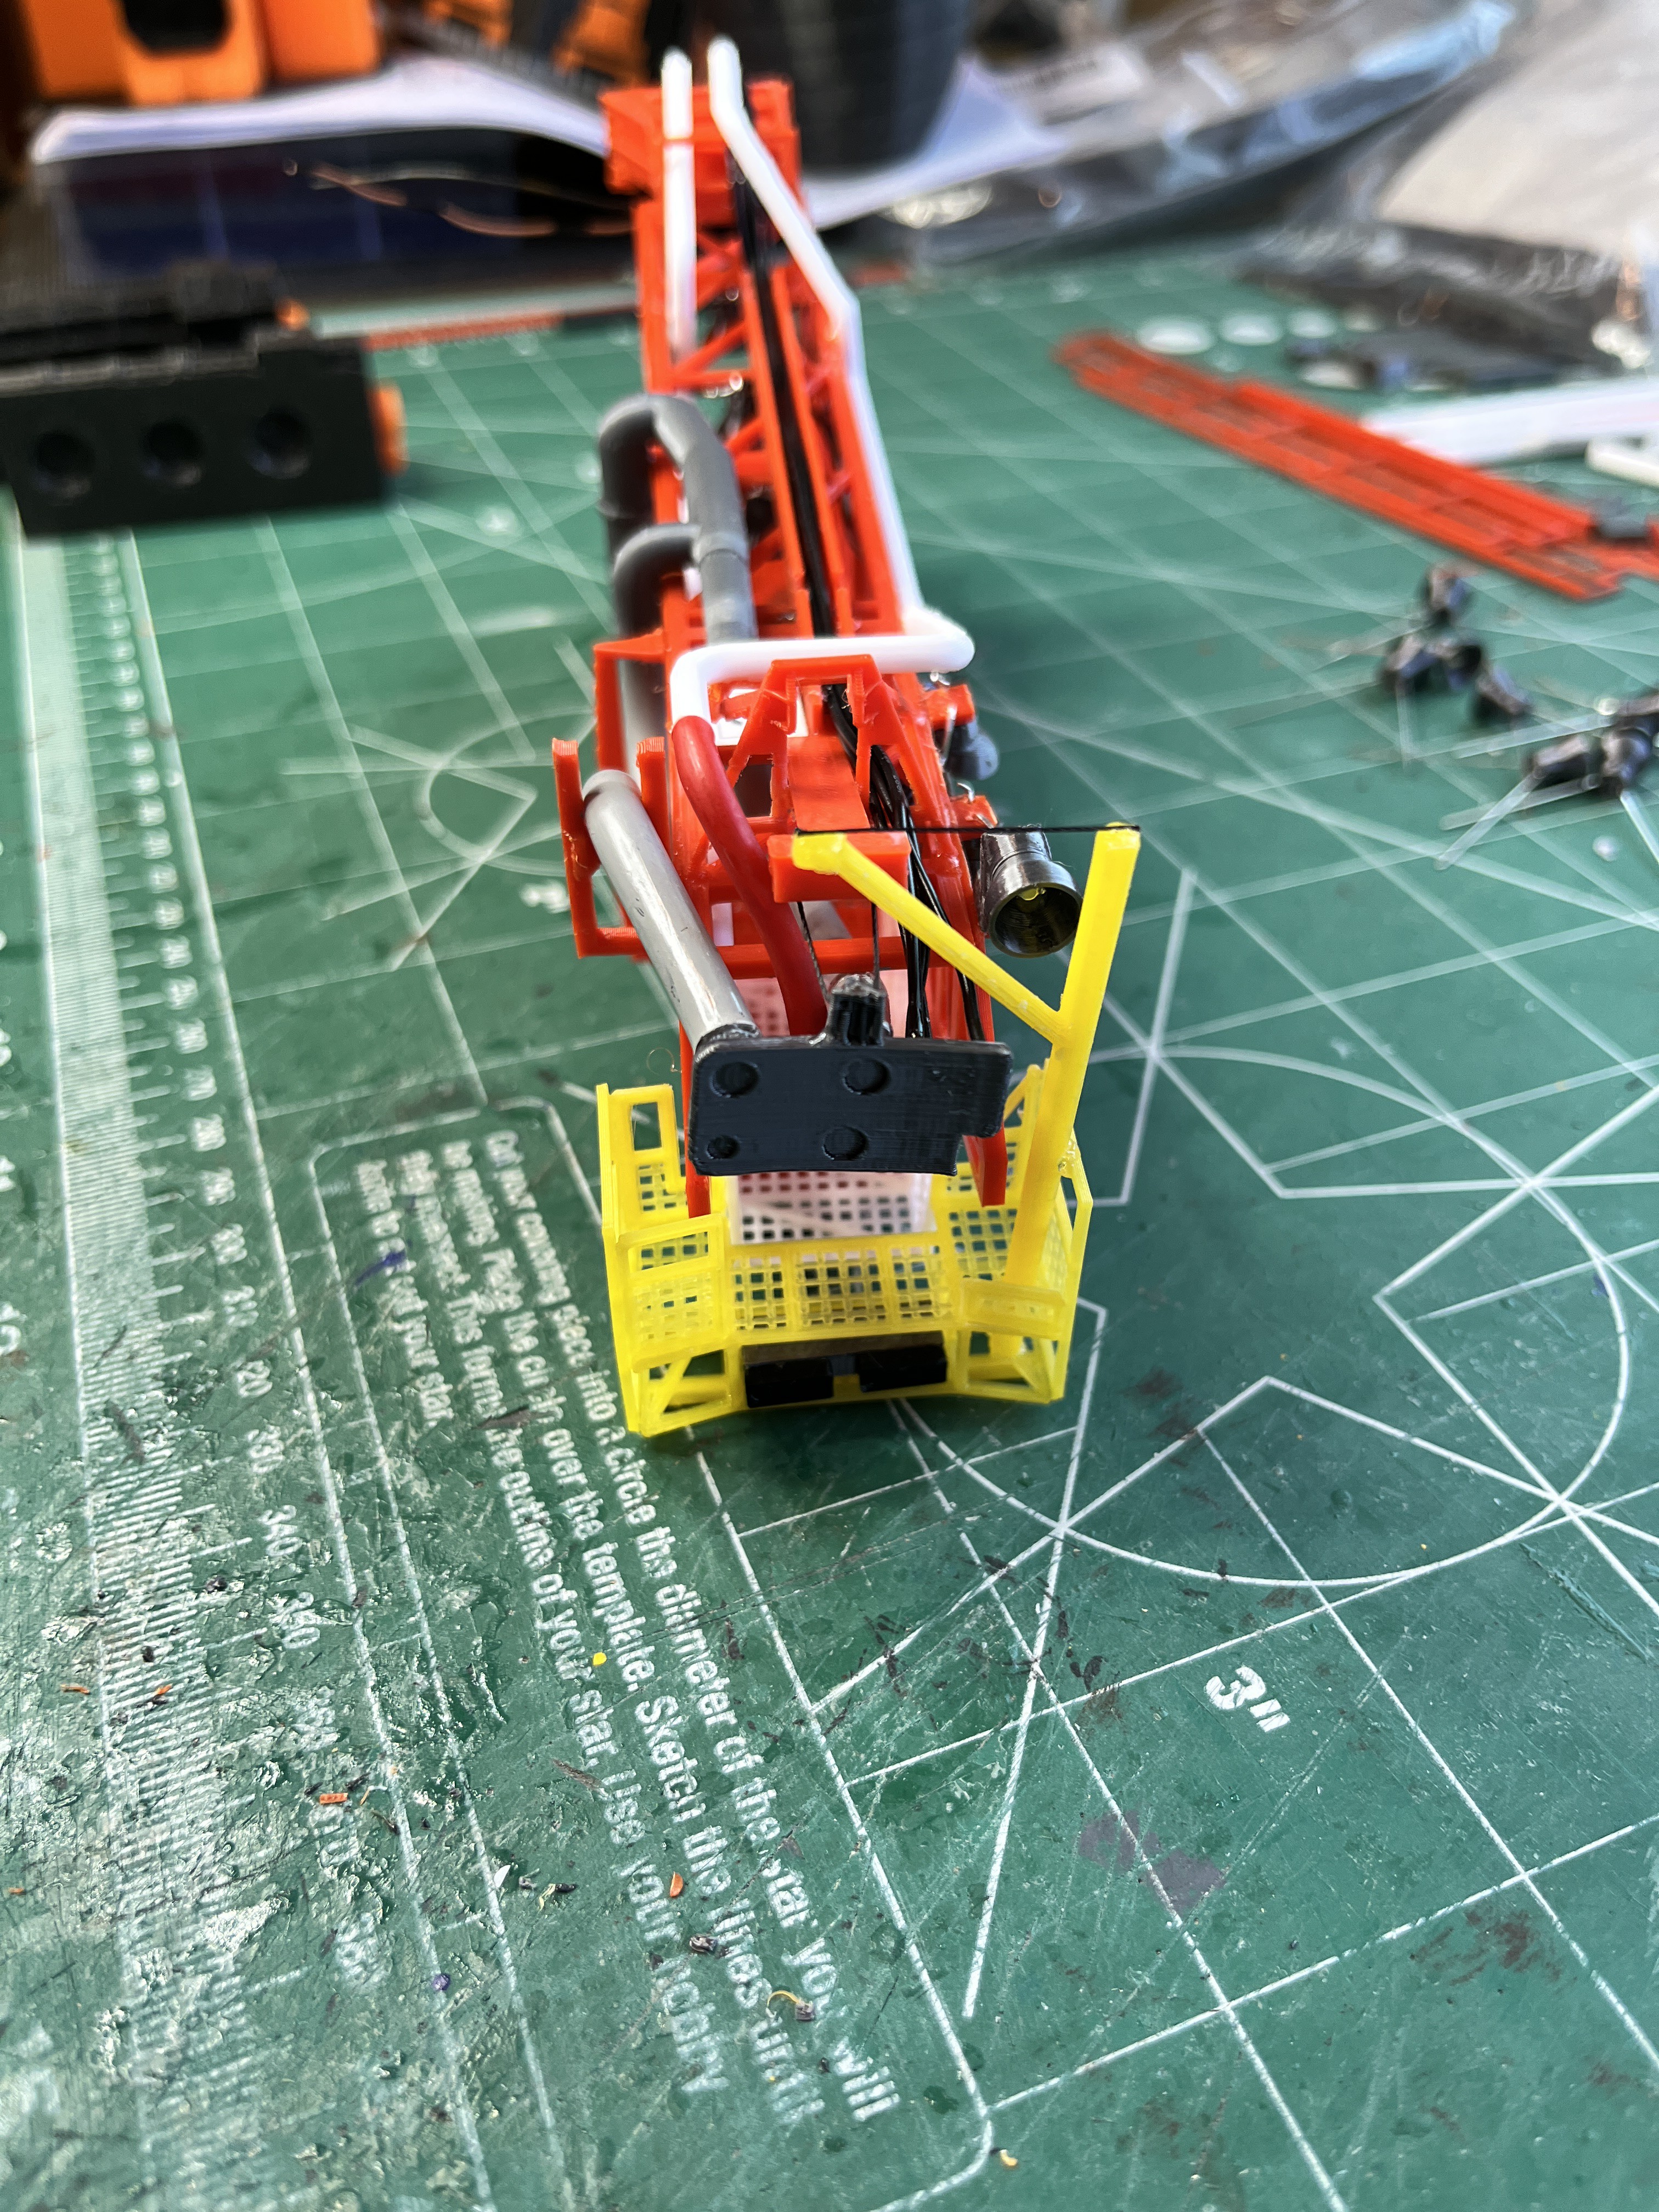
Swing Arm #5: Built and ready to be attached. For some reason the Turbo Squid decals for some of the arms have two of the four numbers reversed. Not sure why this is. I went ahead and installed them. If this is not correct I can easily re-print and install new ones. Also I have improved the shared part that first showed up on SA4, the bar that the retract cable attaches to has been improved. I will not go back and replace the one on SA4. You can see the new and improved bar in the second and fifth photo.
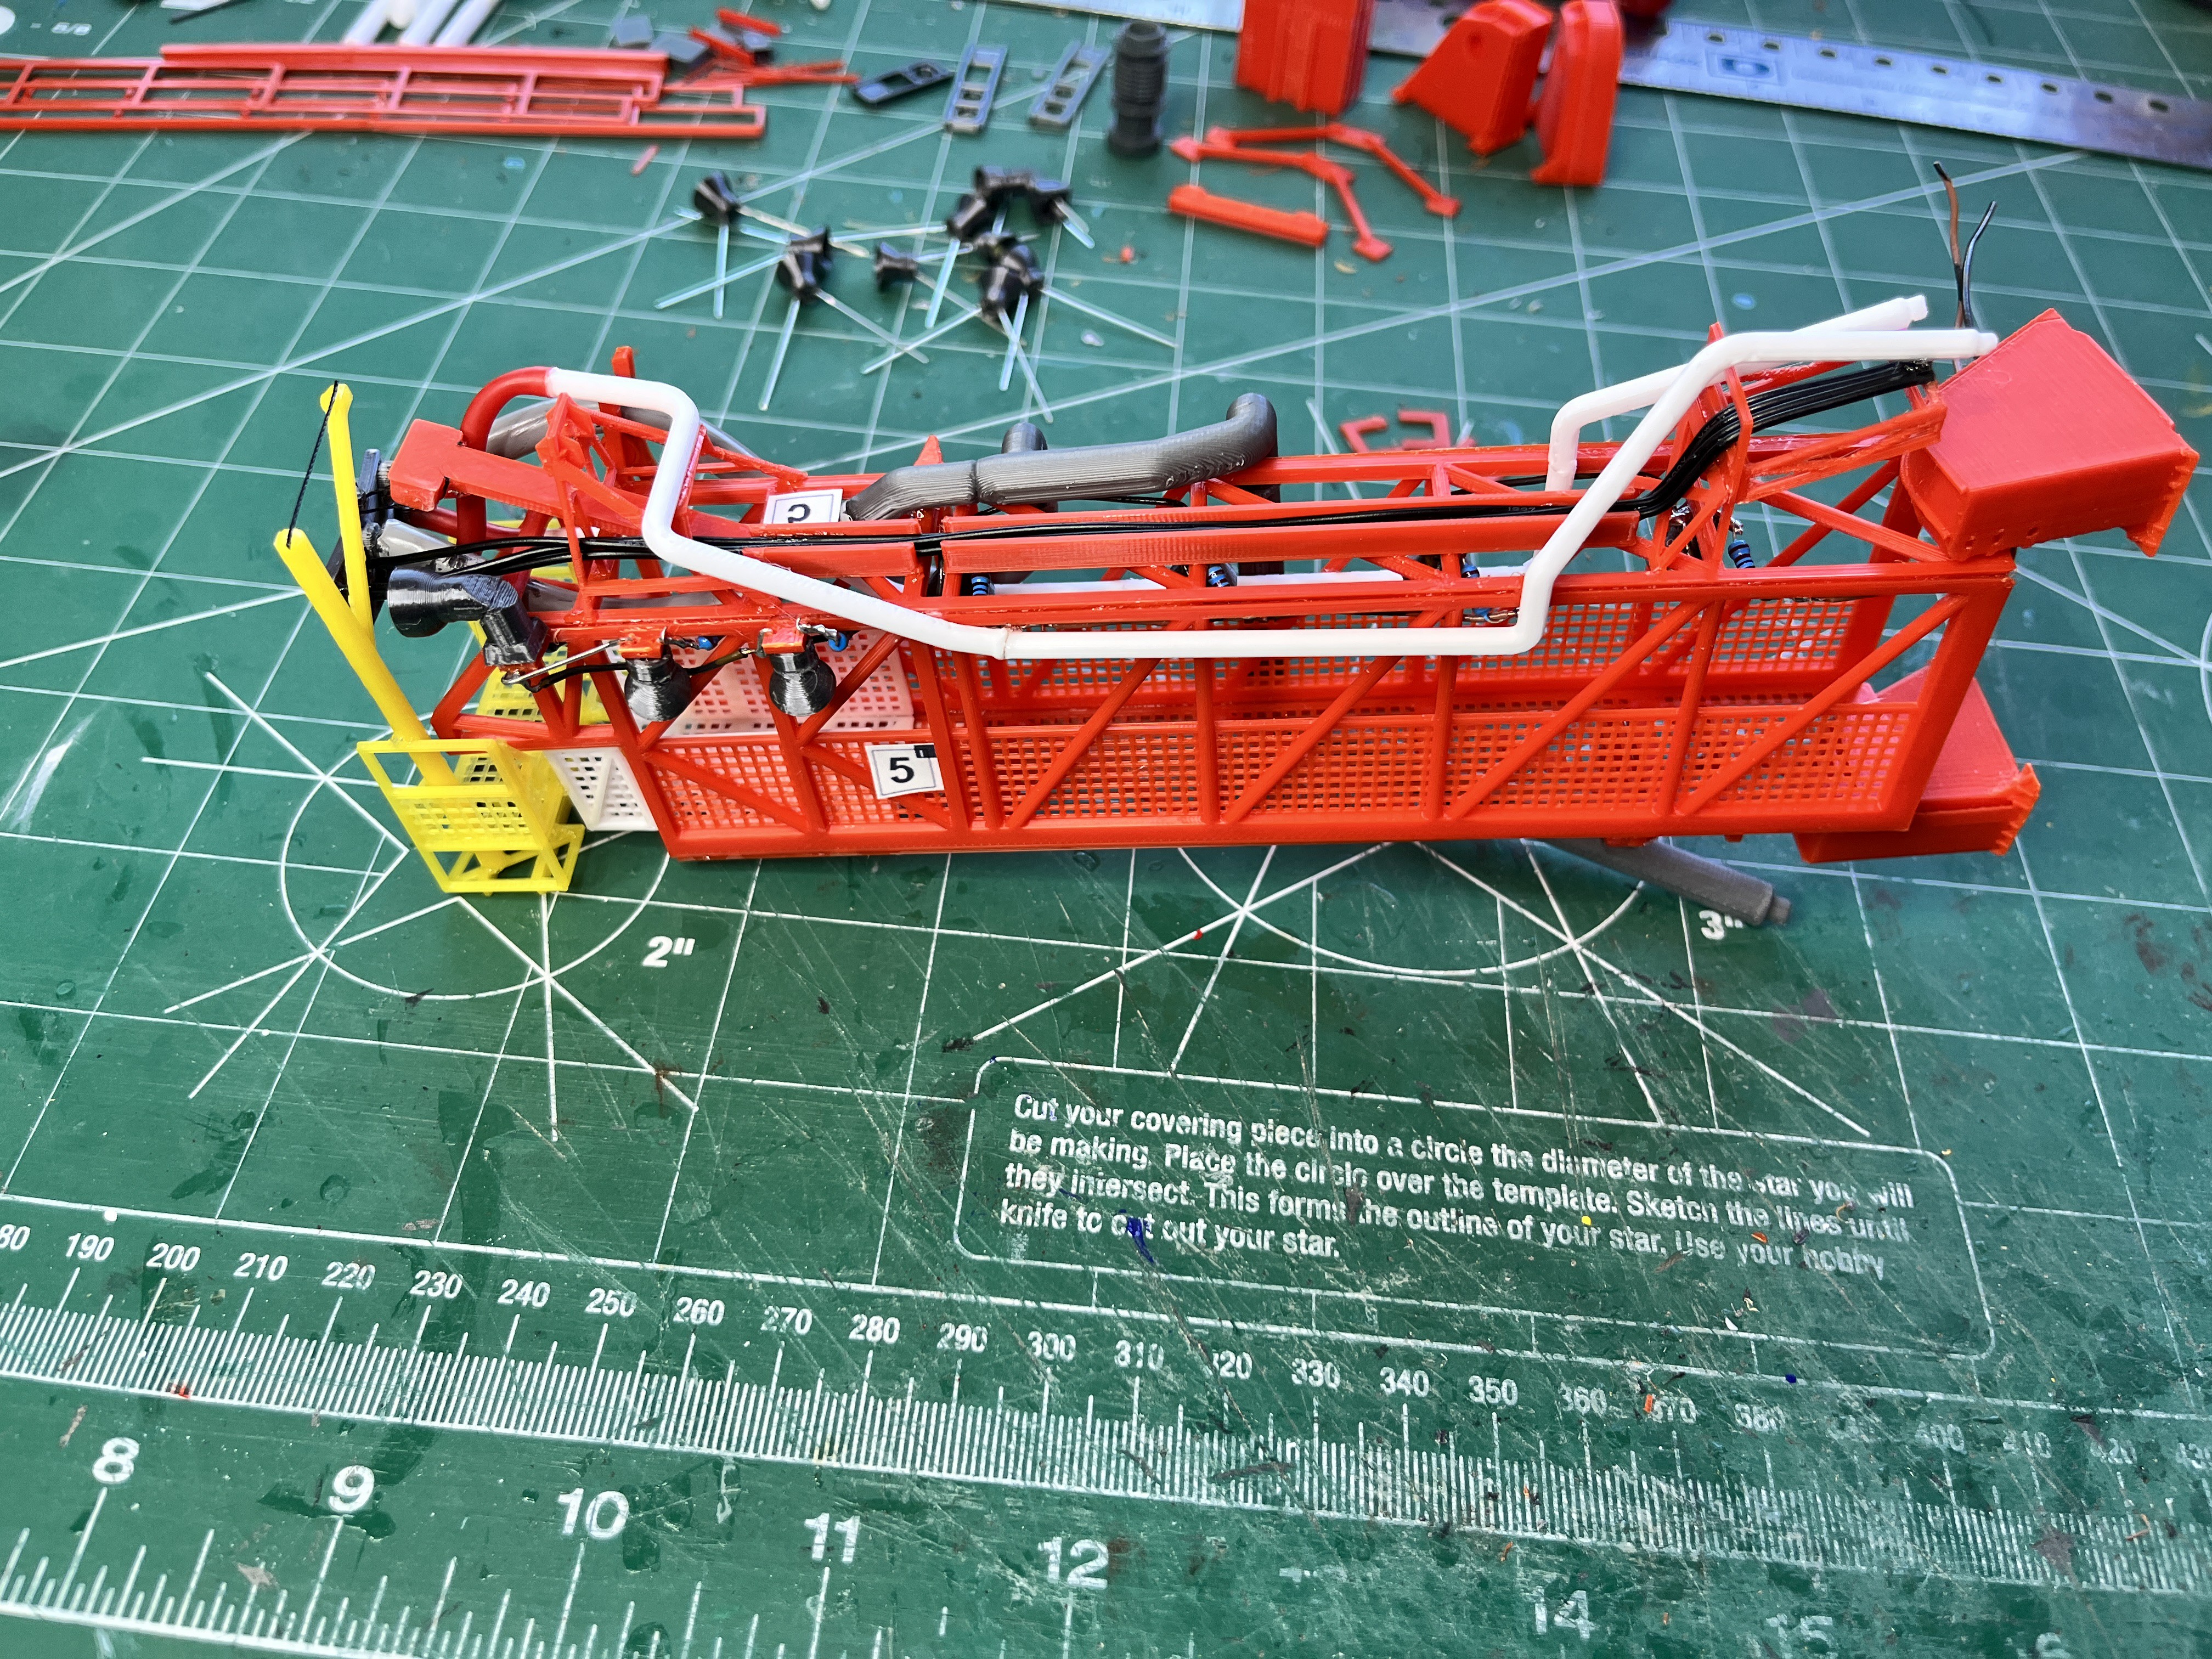

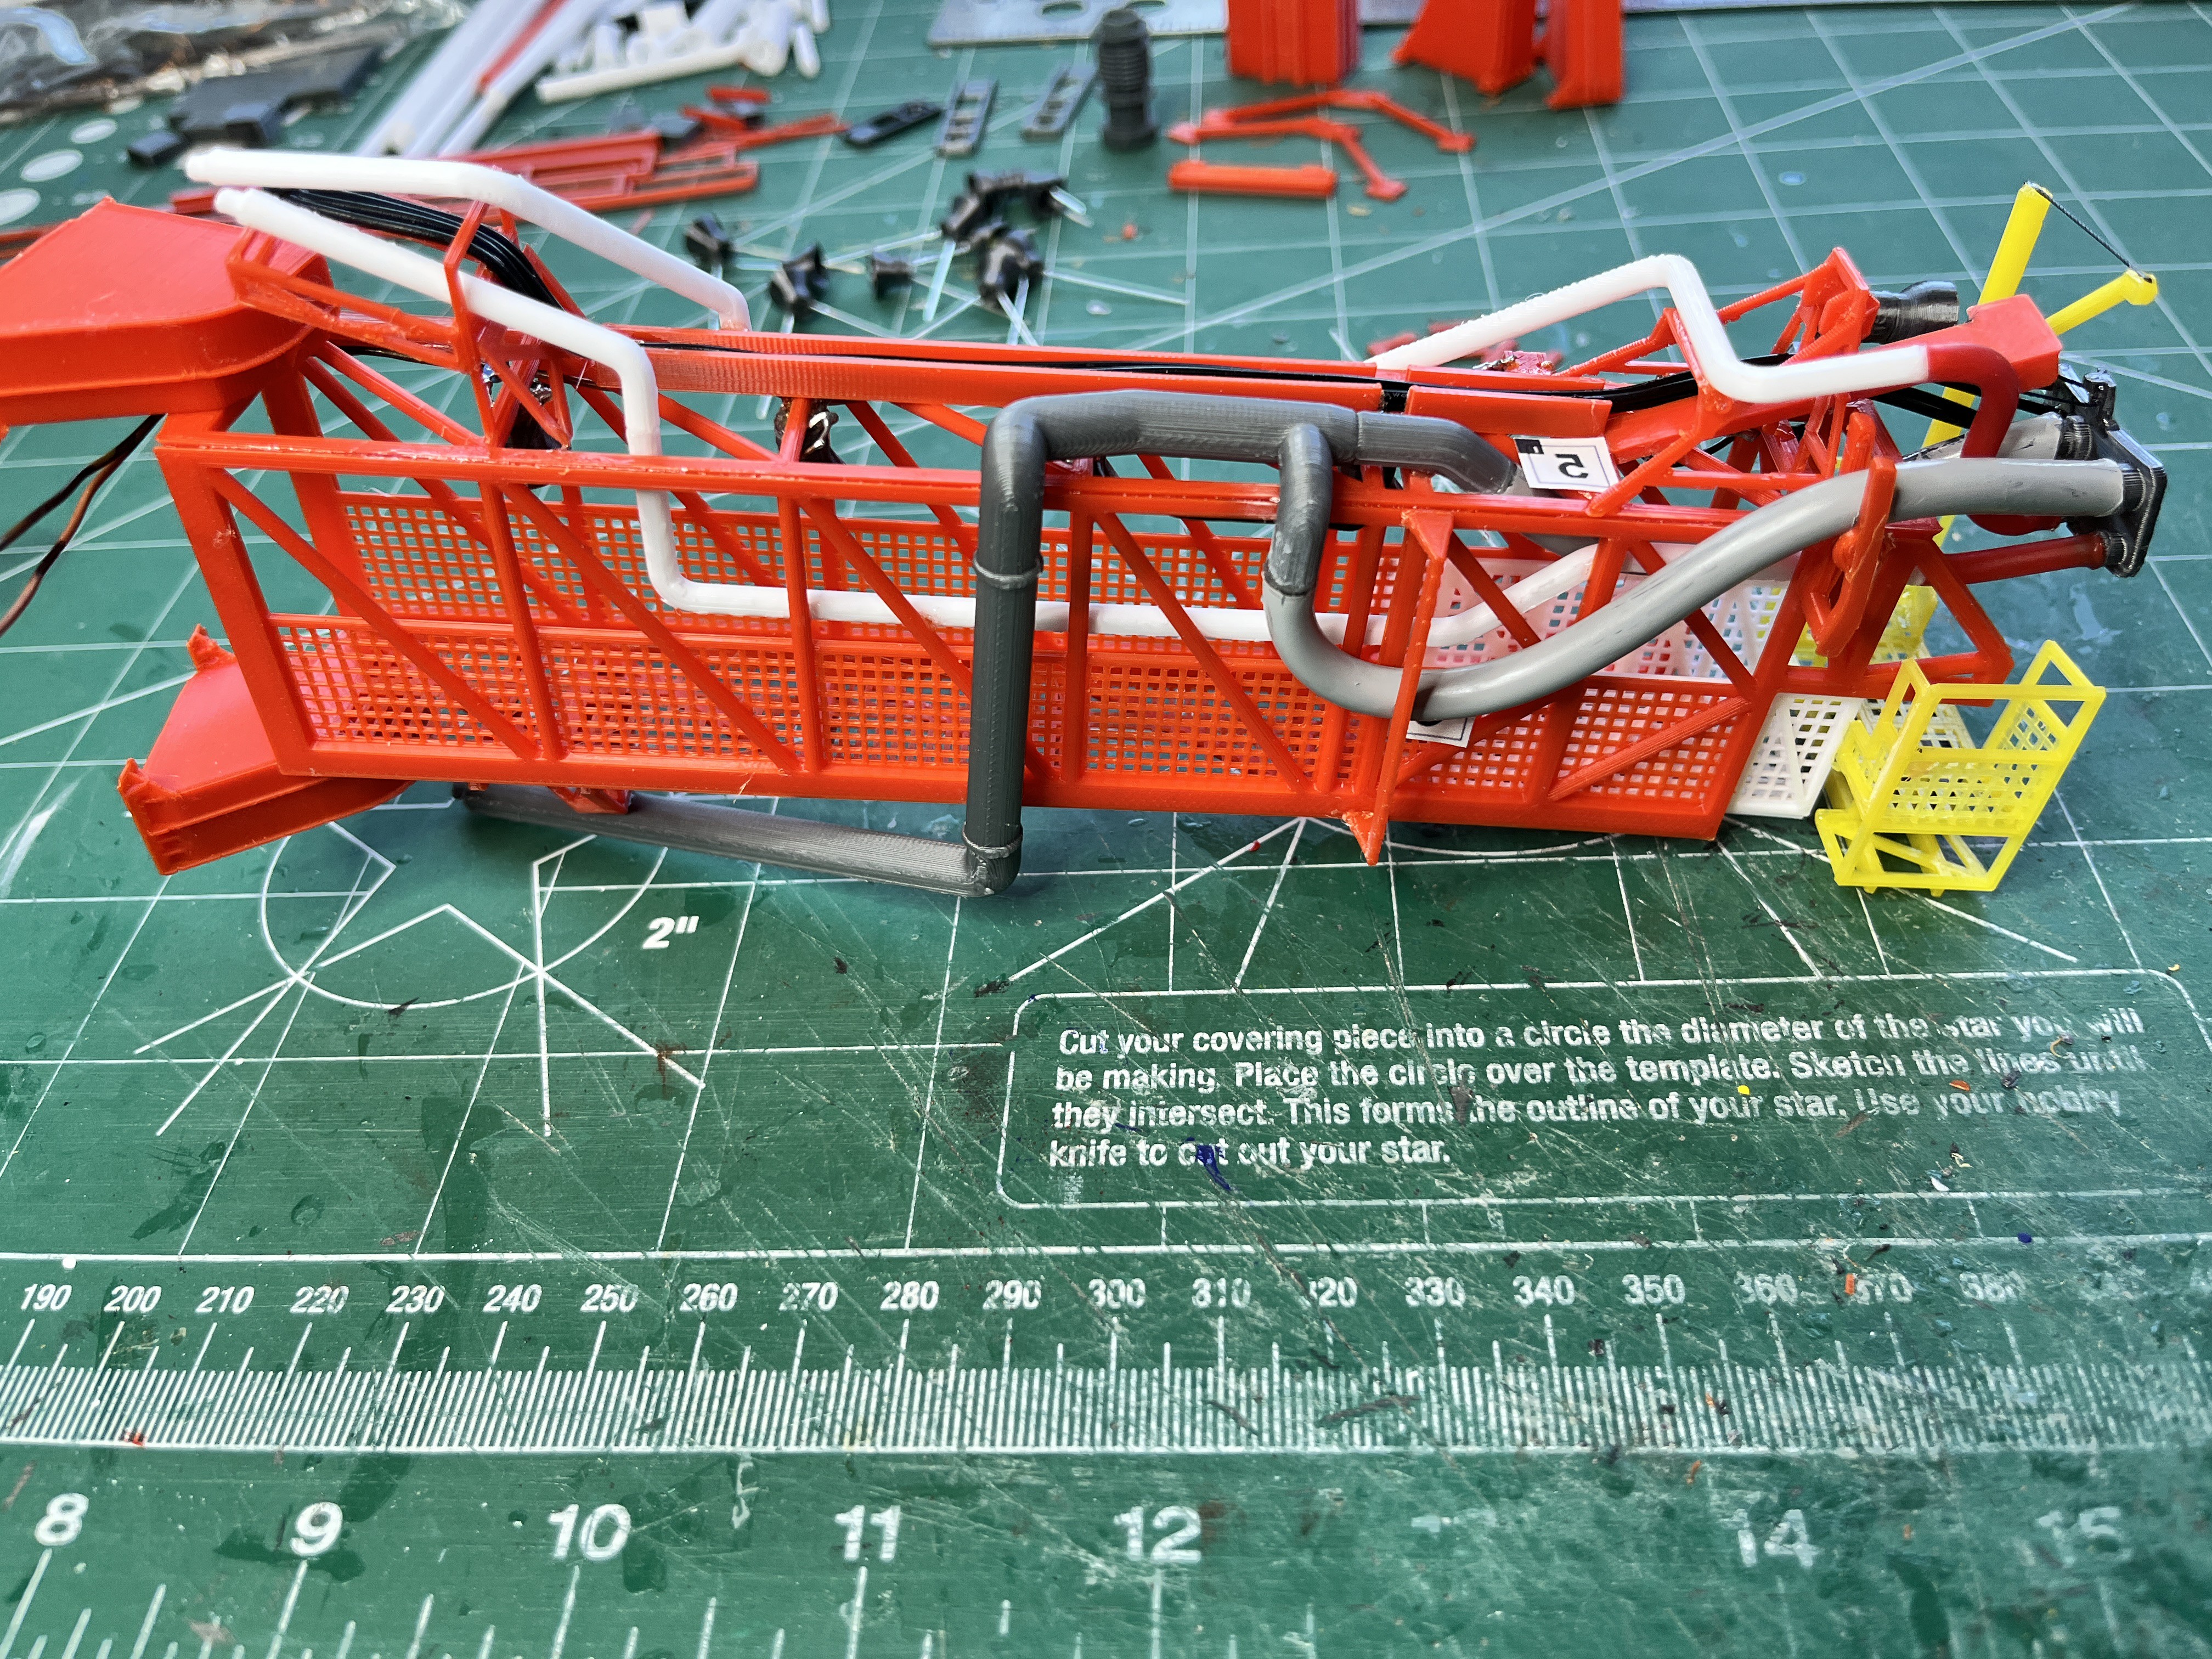
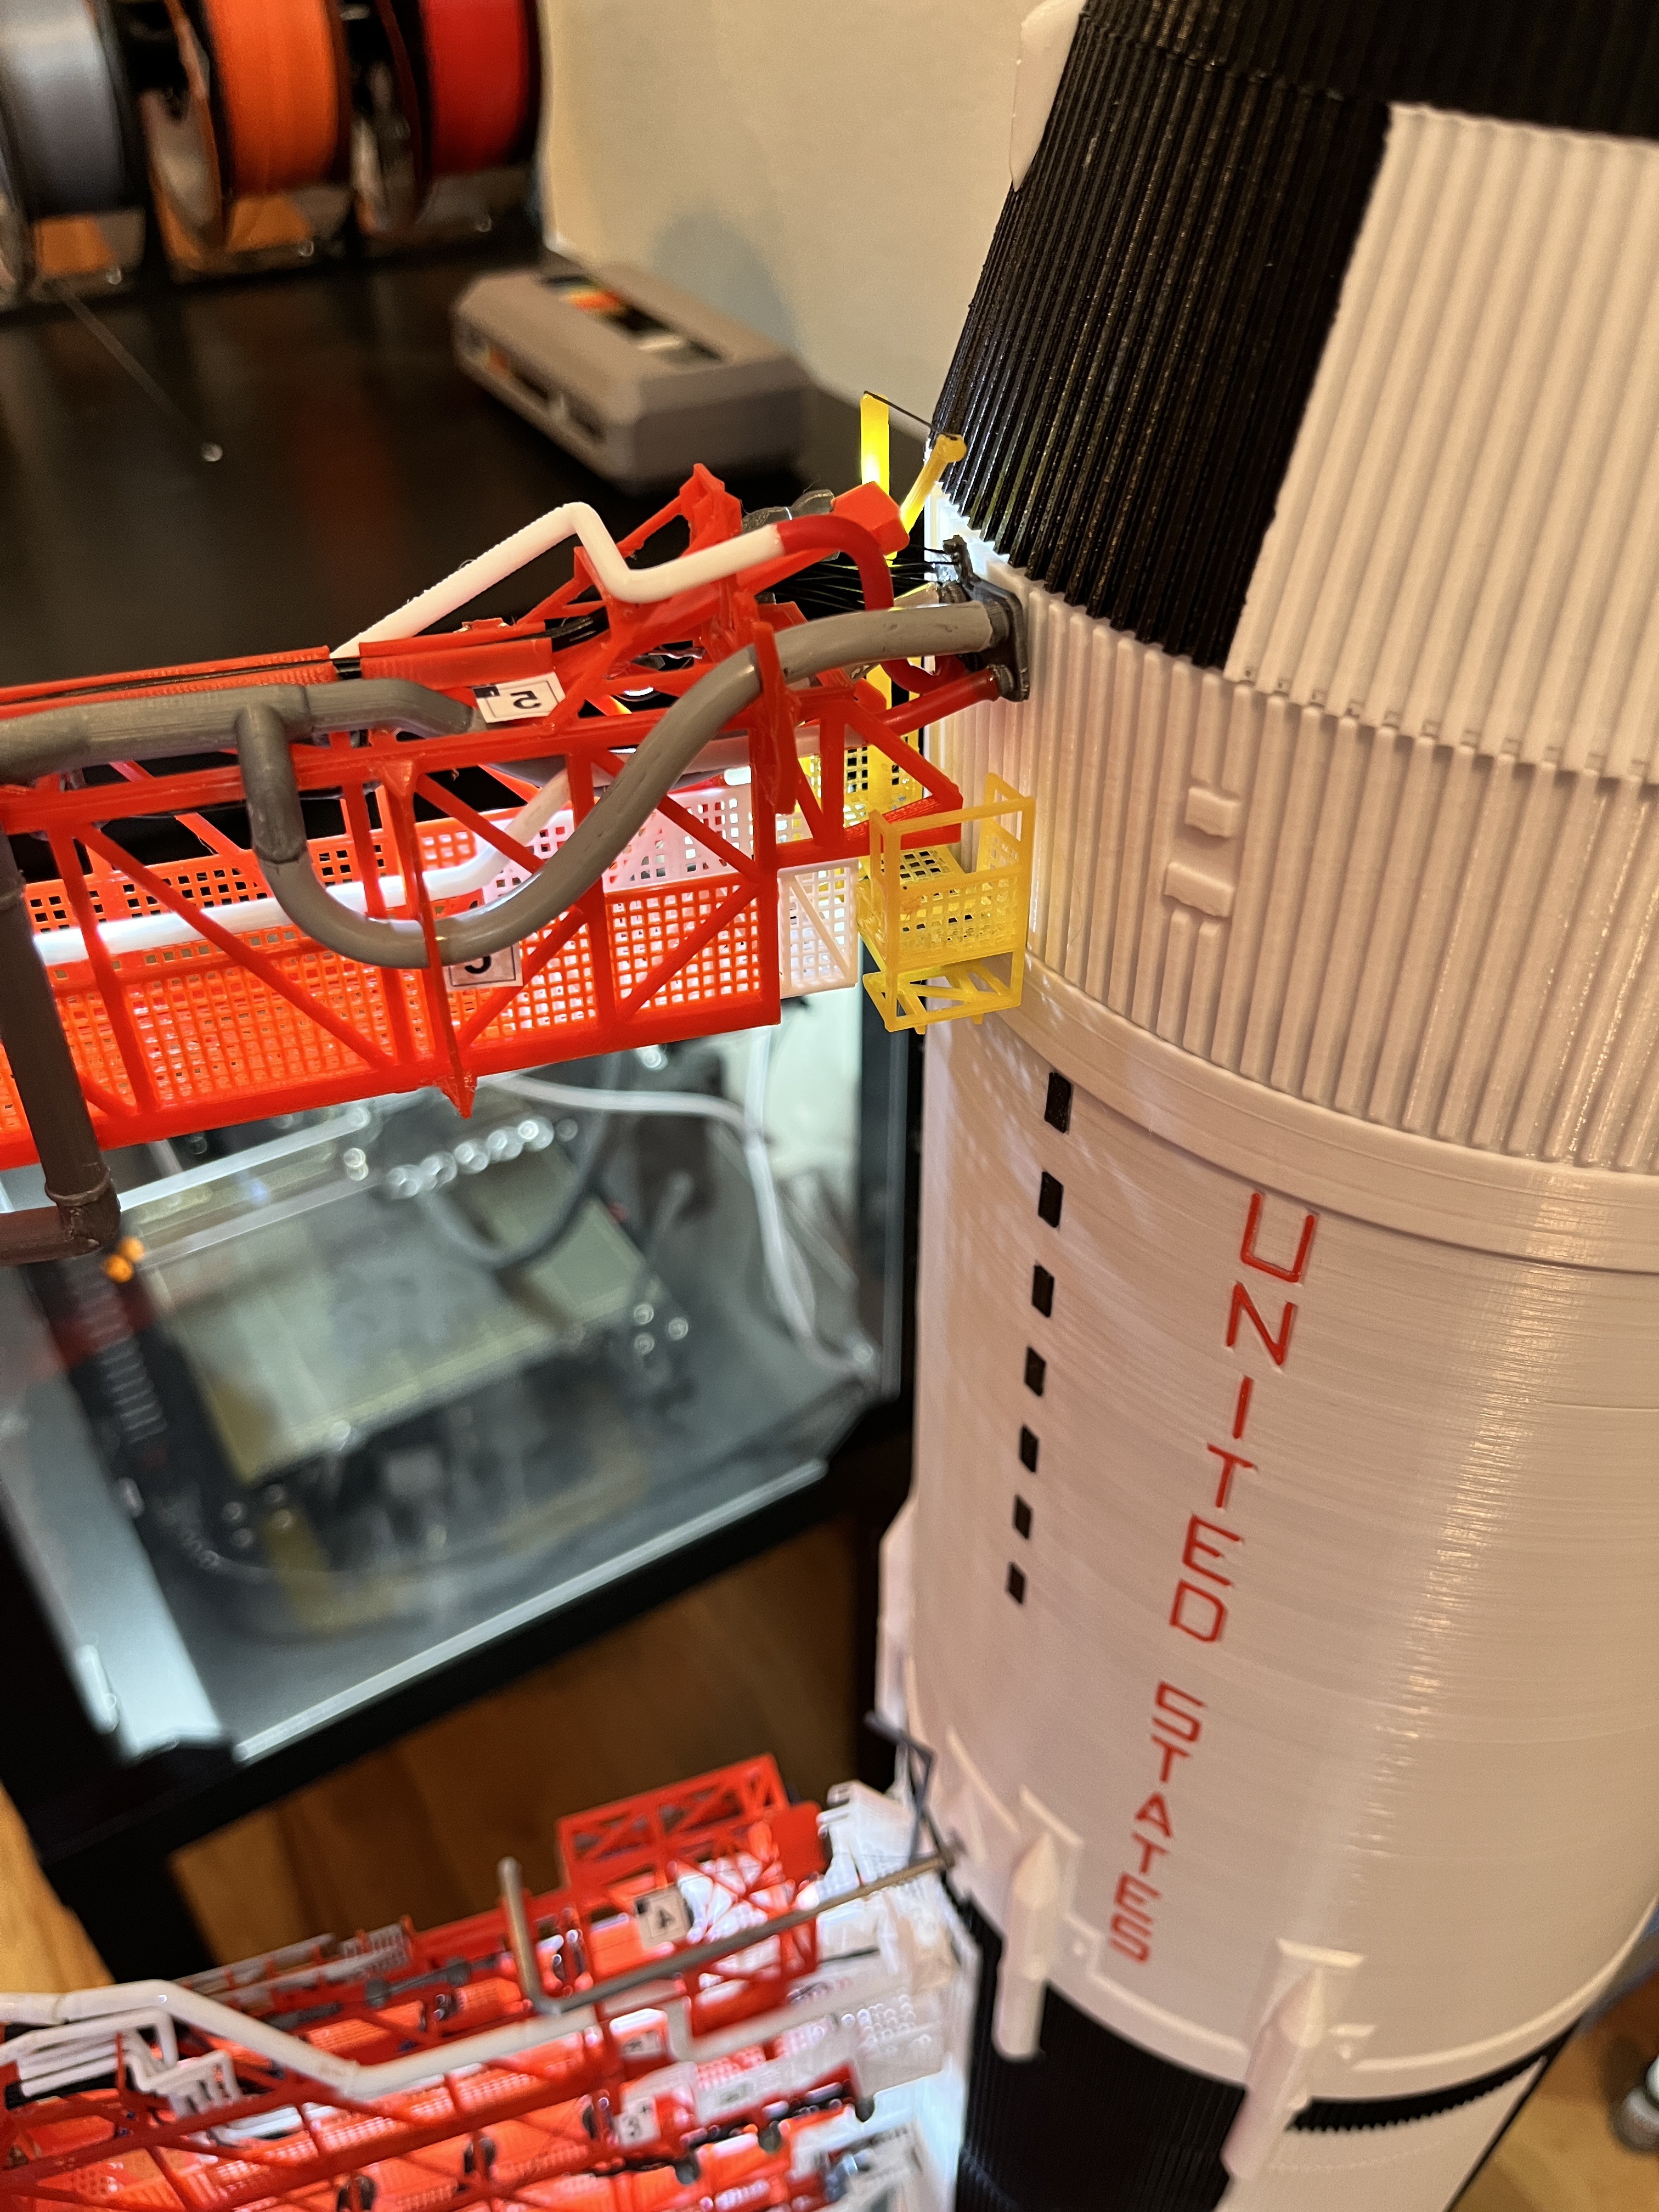
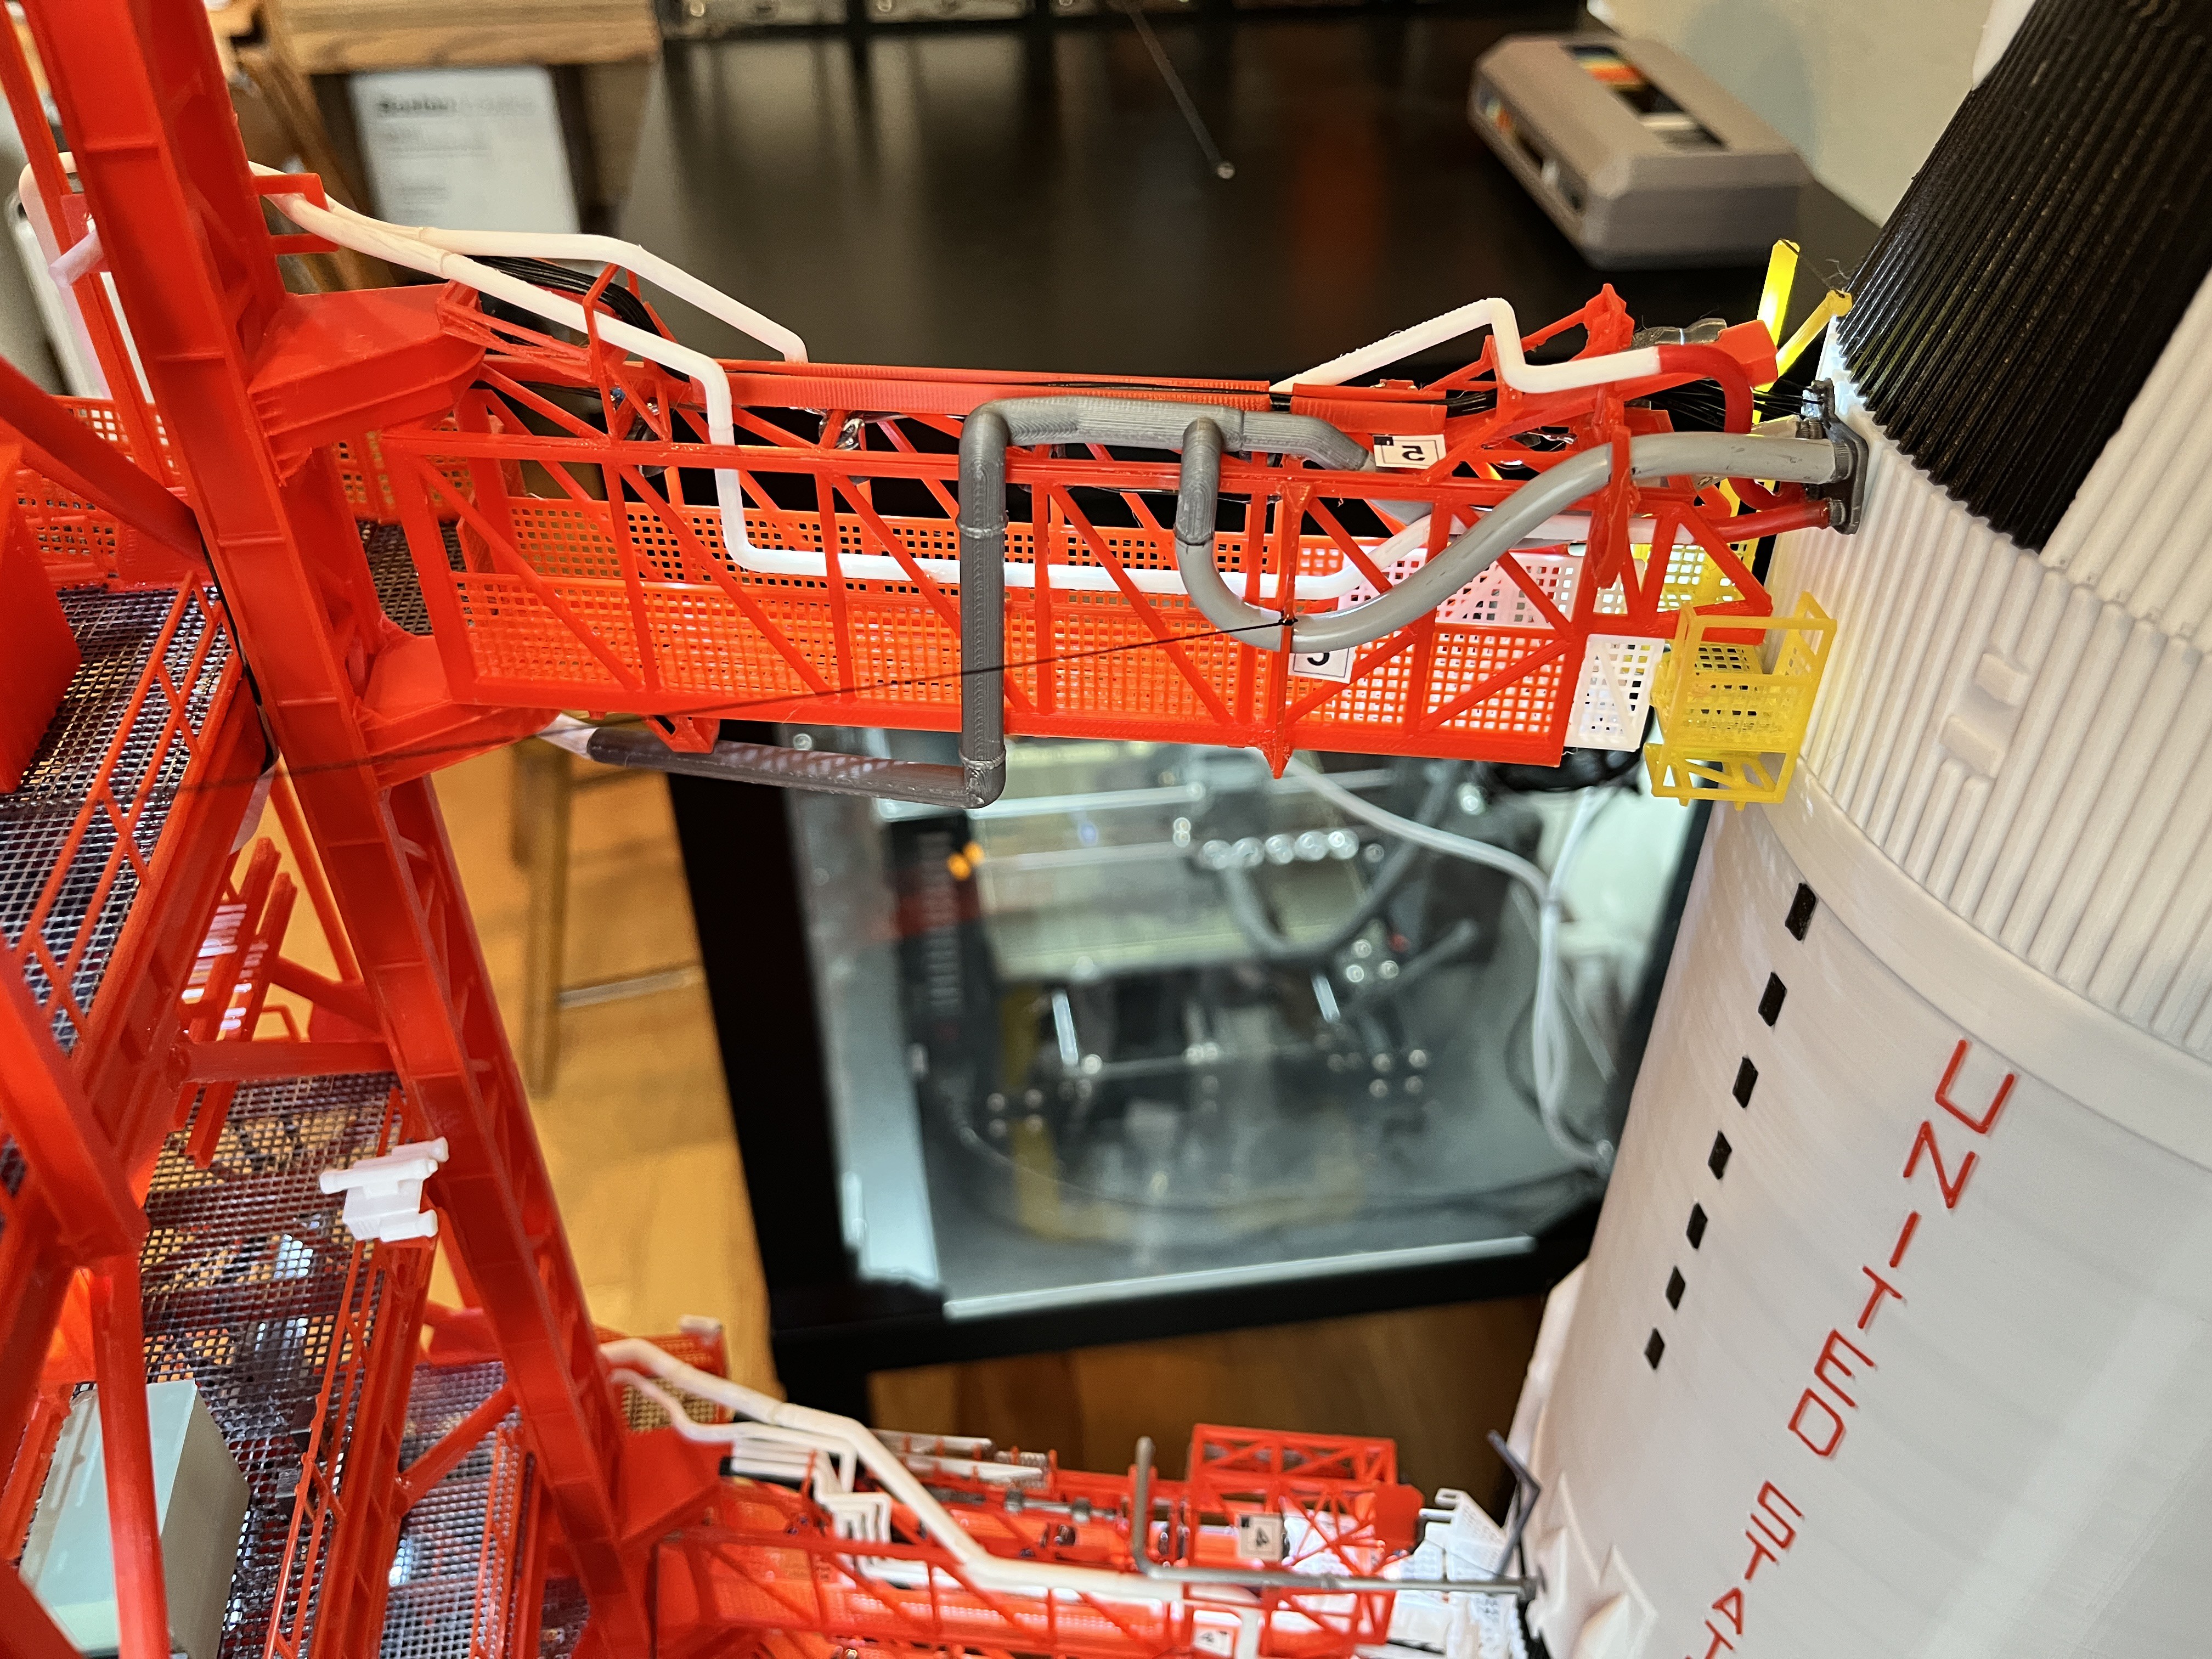
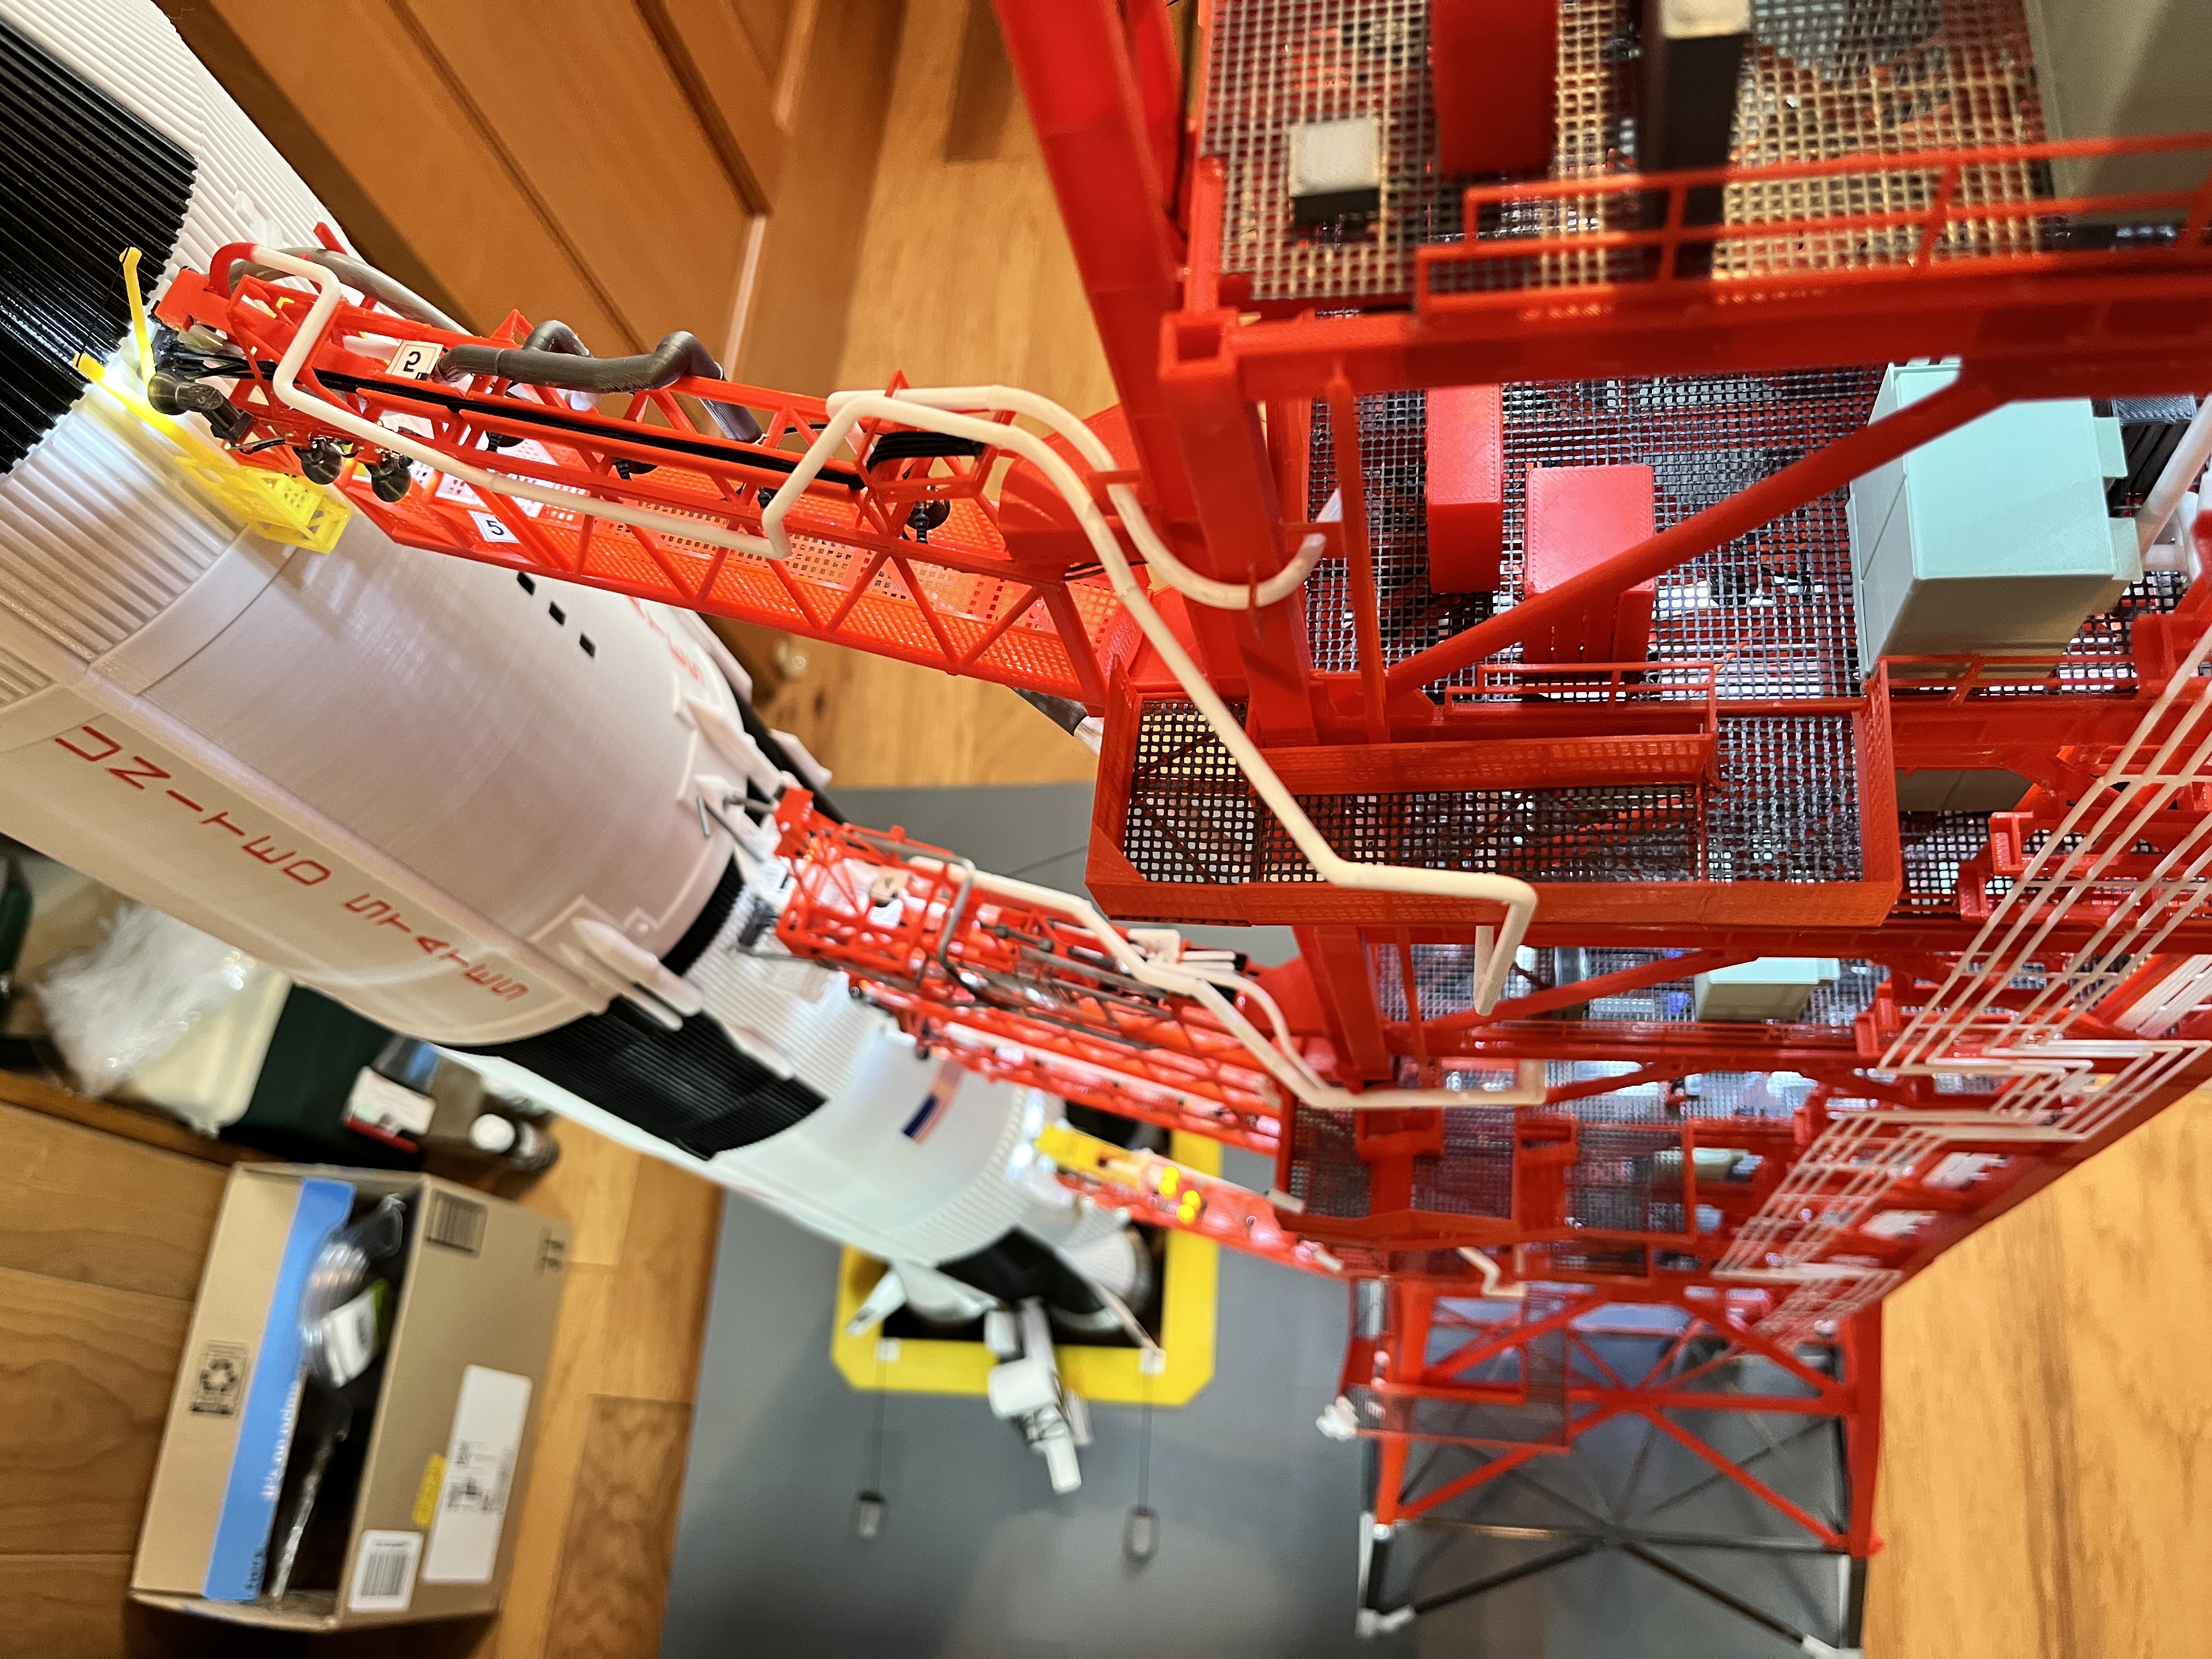
Swing Arm #5 attached: Now I need to extend and attach the pipes, the light wires and design and install the walkway.


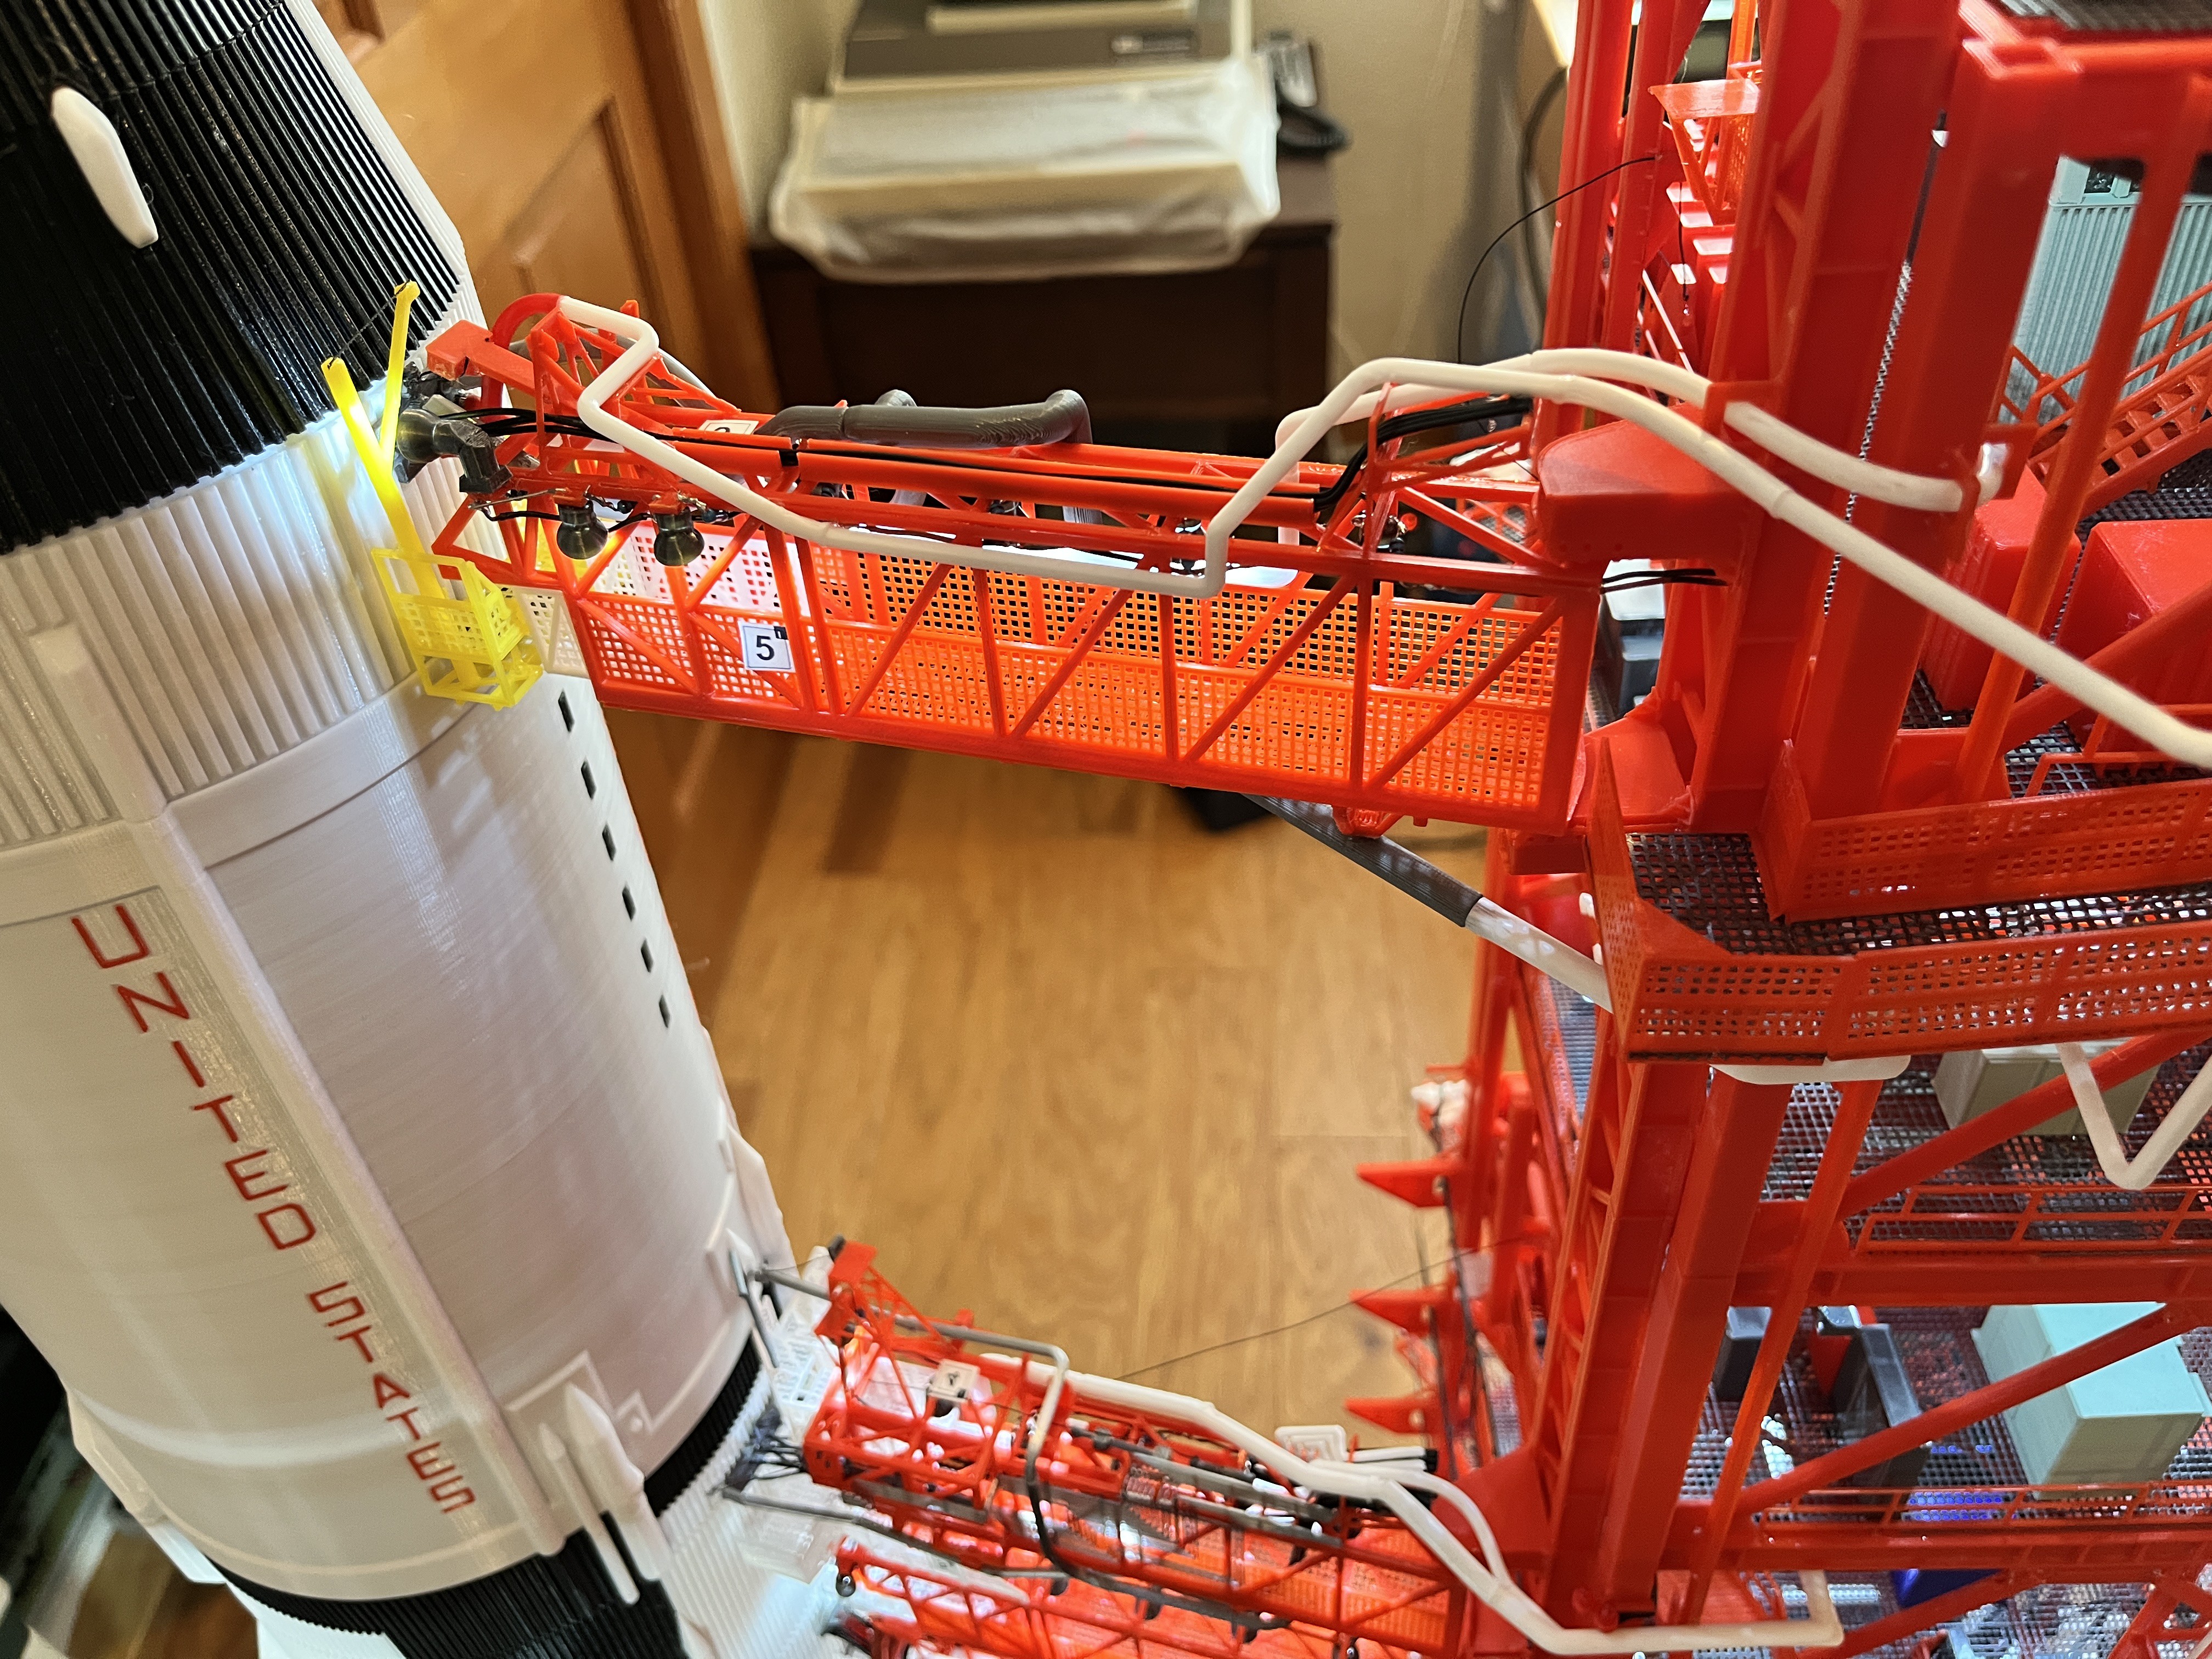
Swing Arm #5 is complete! It always looks better with the lights on. I'm really glad I chose to add lights. The second stage can now be fueled. Now on to SA.
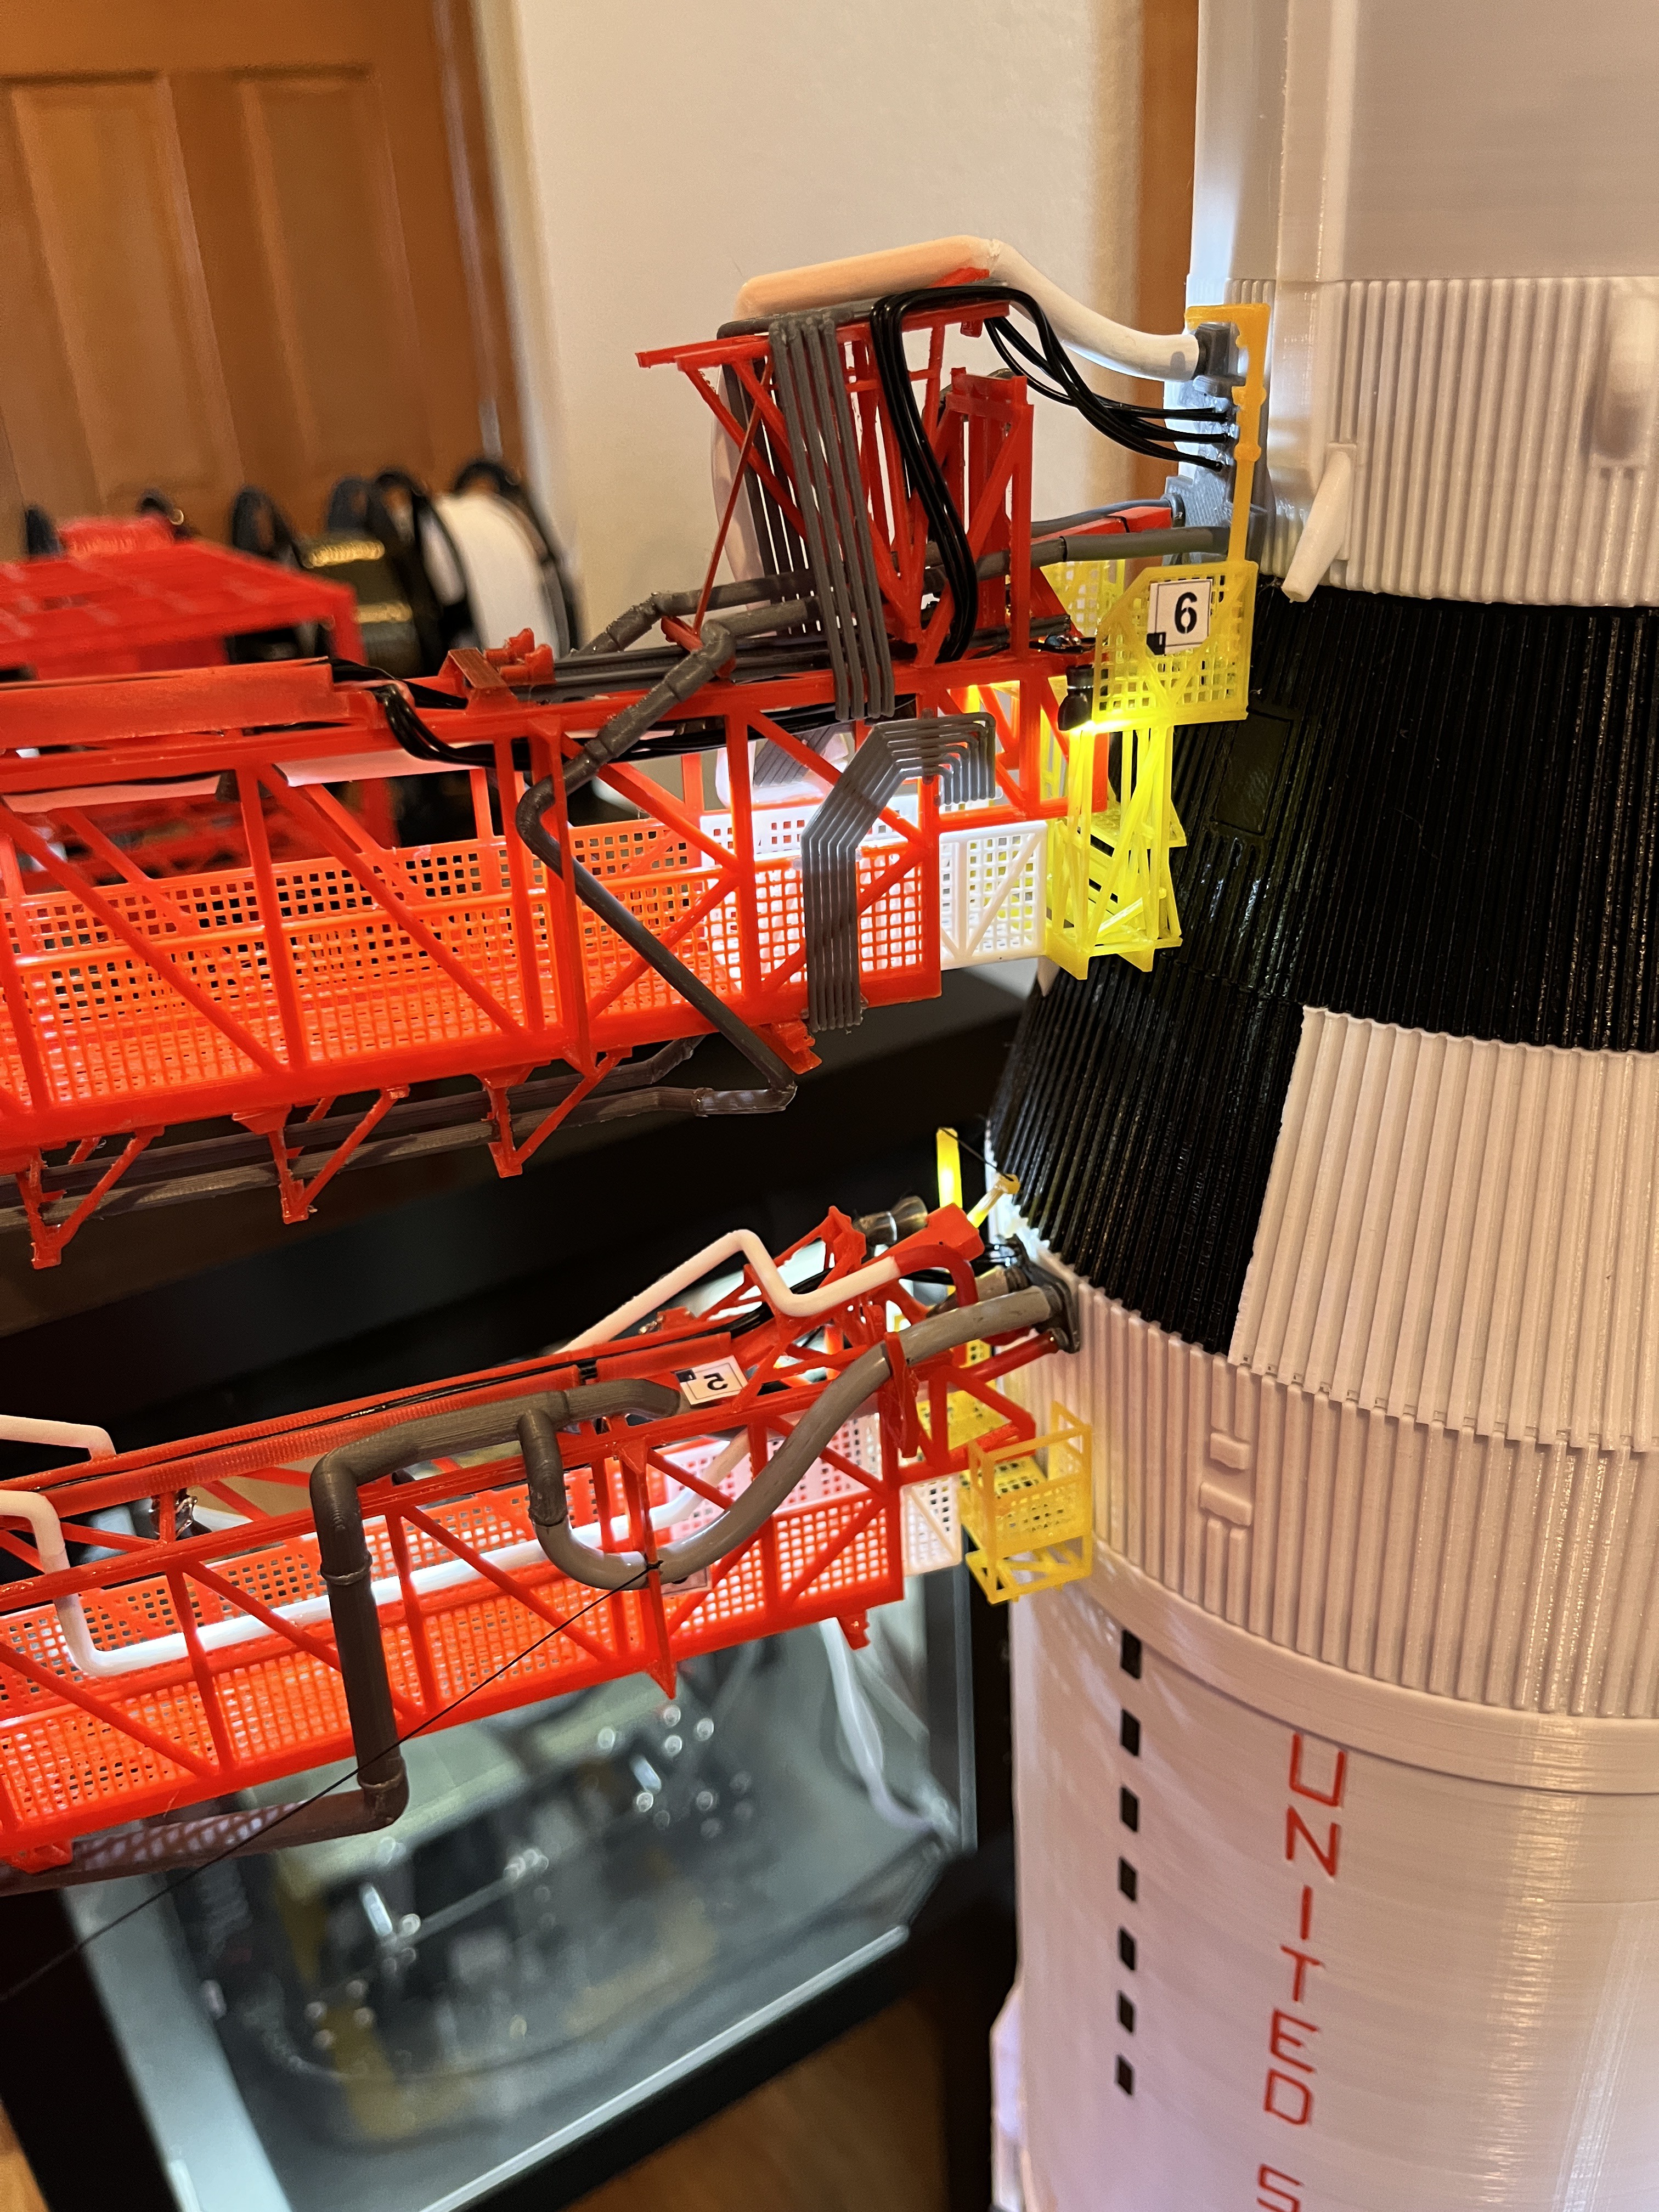
SA6 Extension: The main part of Swing Arm #6 and the extension platform is complete along with the lights. Now I need to design the rest of the fueling mechanism and the pipes.
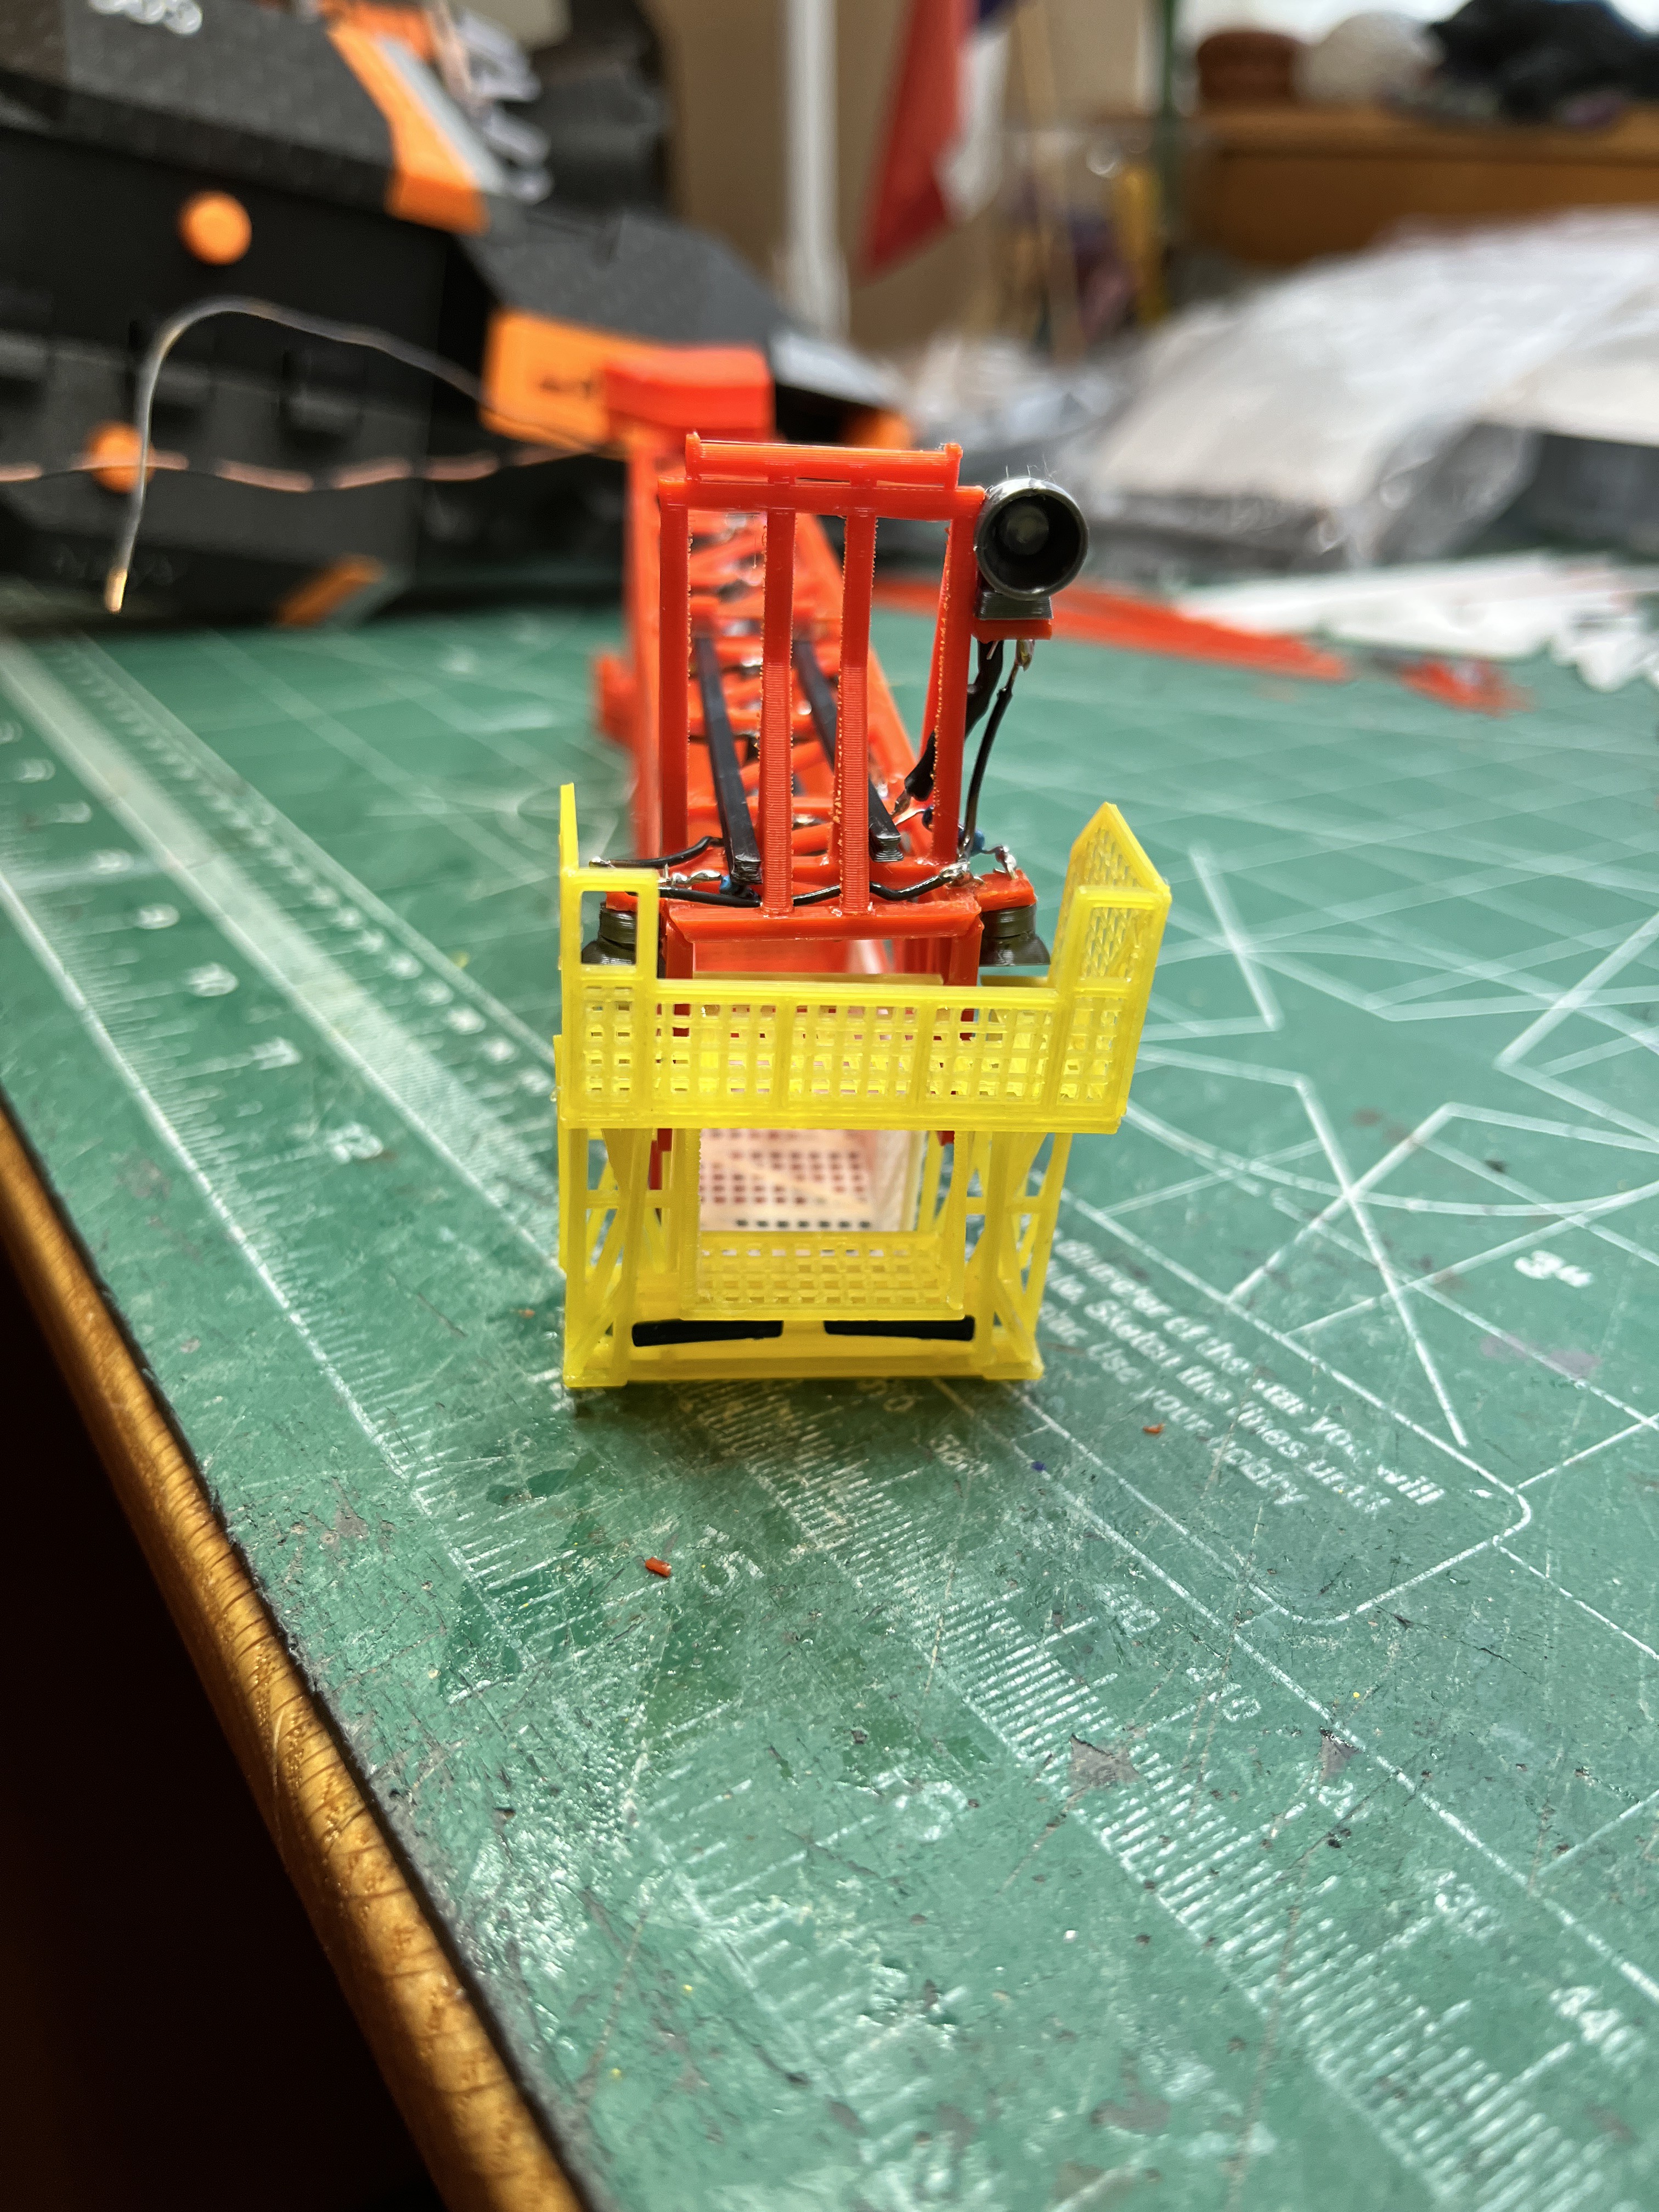
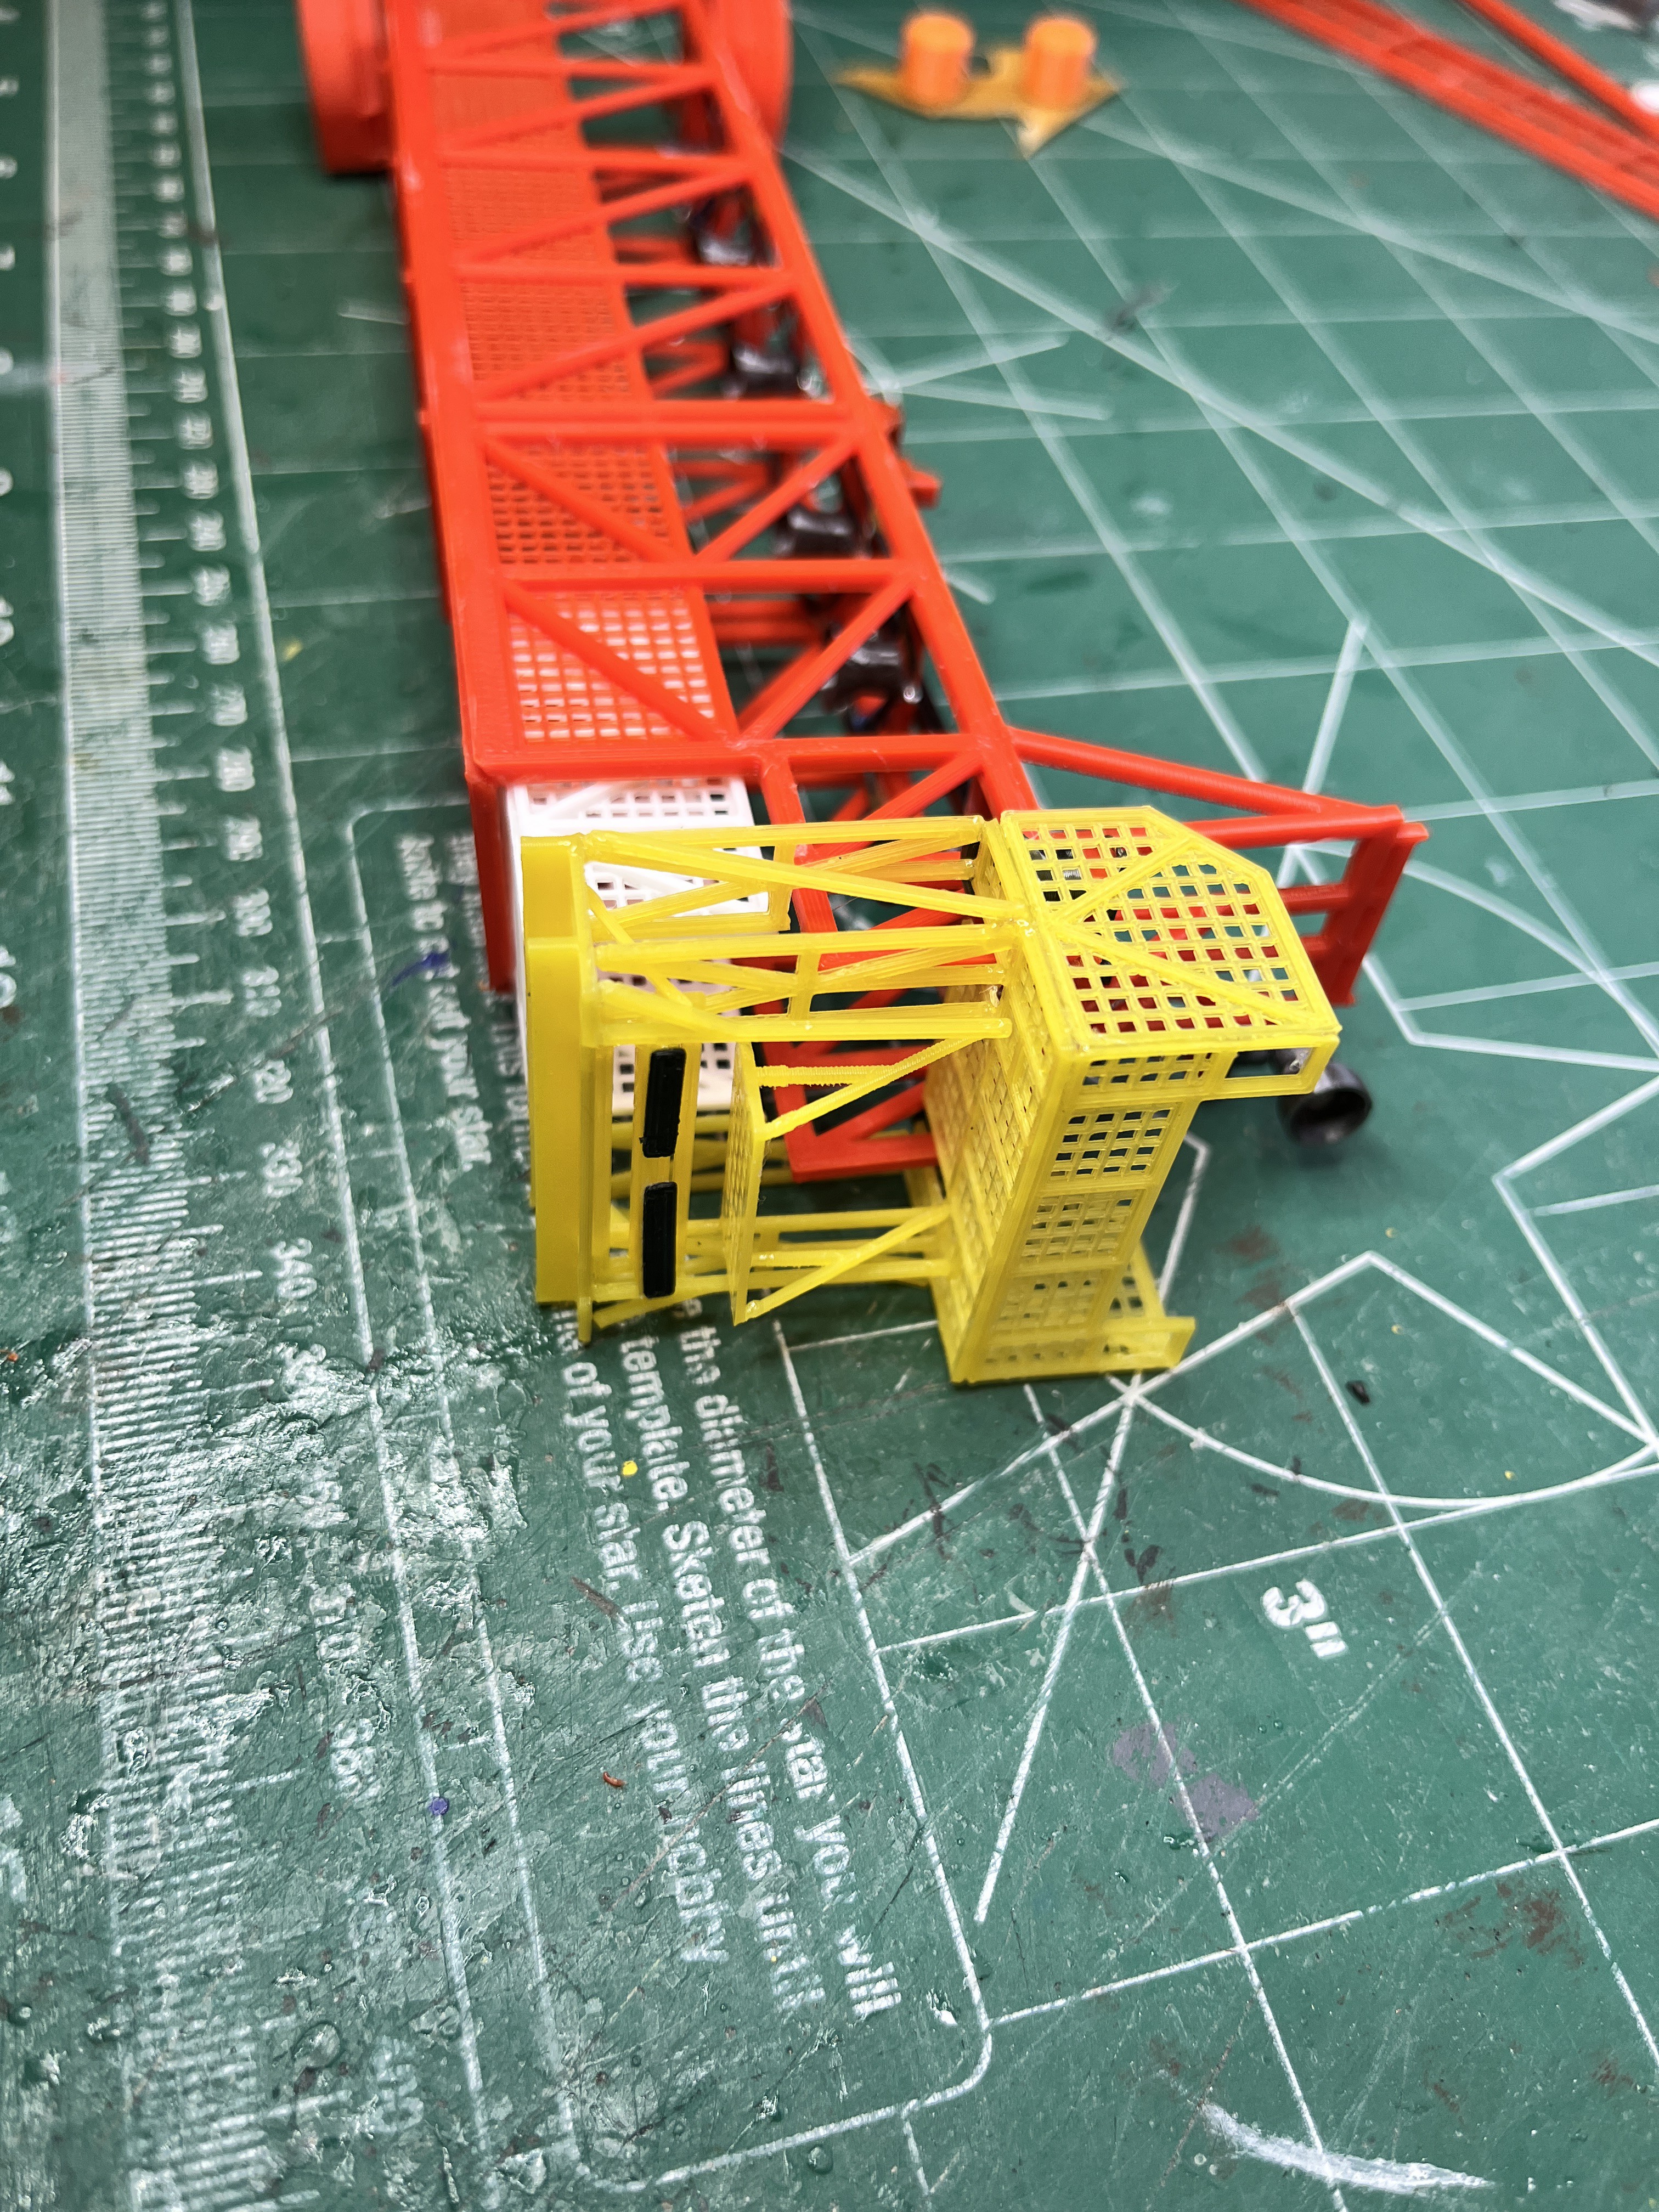


Swing Arm #6 is ready to be installed. This was yet another fairly complicated swing arm. Given the number of arms and the fact that they perform a similar function (connect a bunch of pipes and hoses to a connector plate, attach the plate to the side of the rocket, at the exact time, activate a winch to disconnect the plate and retract the plate and hoses enough for the arm to swing out of the way) you would expect there would be more common parts. Other than the hinges and the first element, almost everything else is unique. Its like the design of each swing arm was given to a separate team of engineers that did not talk to each other. Each arm has a fairly unique retract mechanism (what I chose to call the fueling mechanism). I add as much detail as I can given the scale and then call it good. If you really wanted to make a detailed, fully functioning swing arm model you should scale up to something like 1/30 to 1/20 scale. Each arm would make a very unique and impressive model by itself at a larger scale.


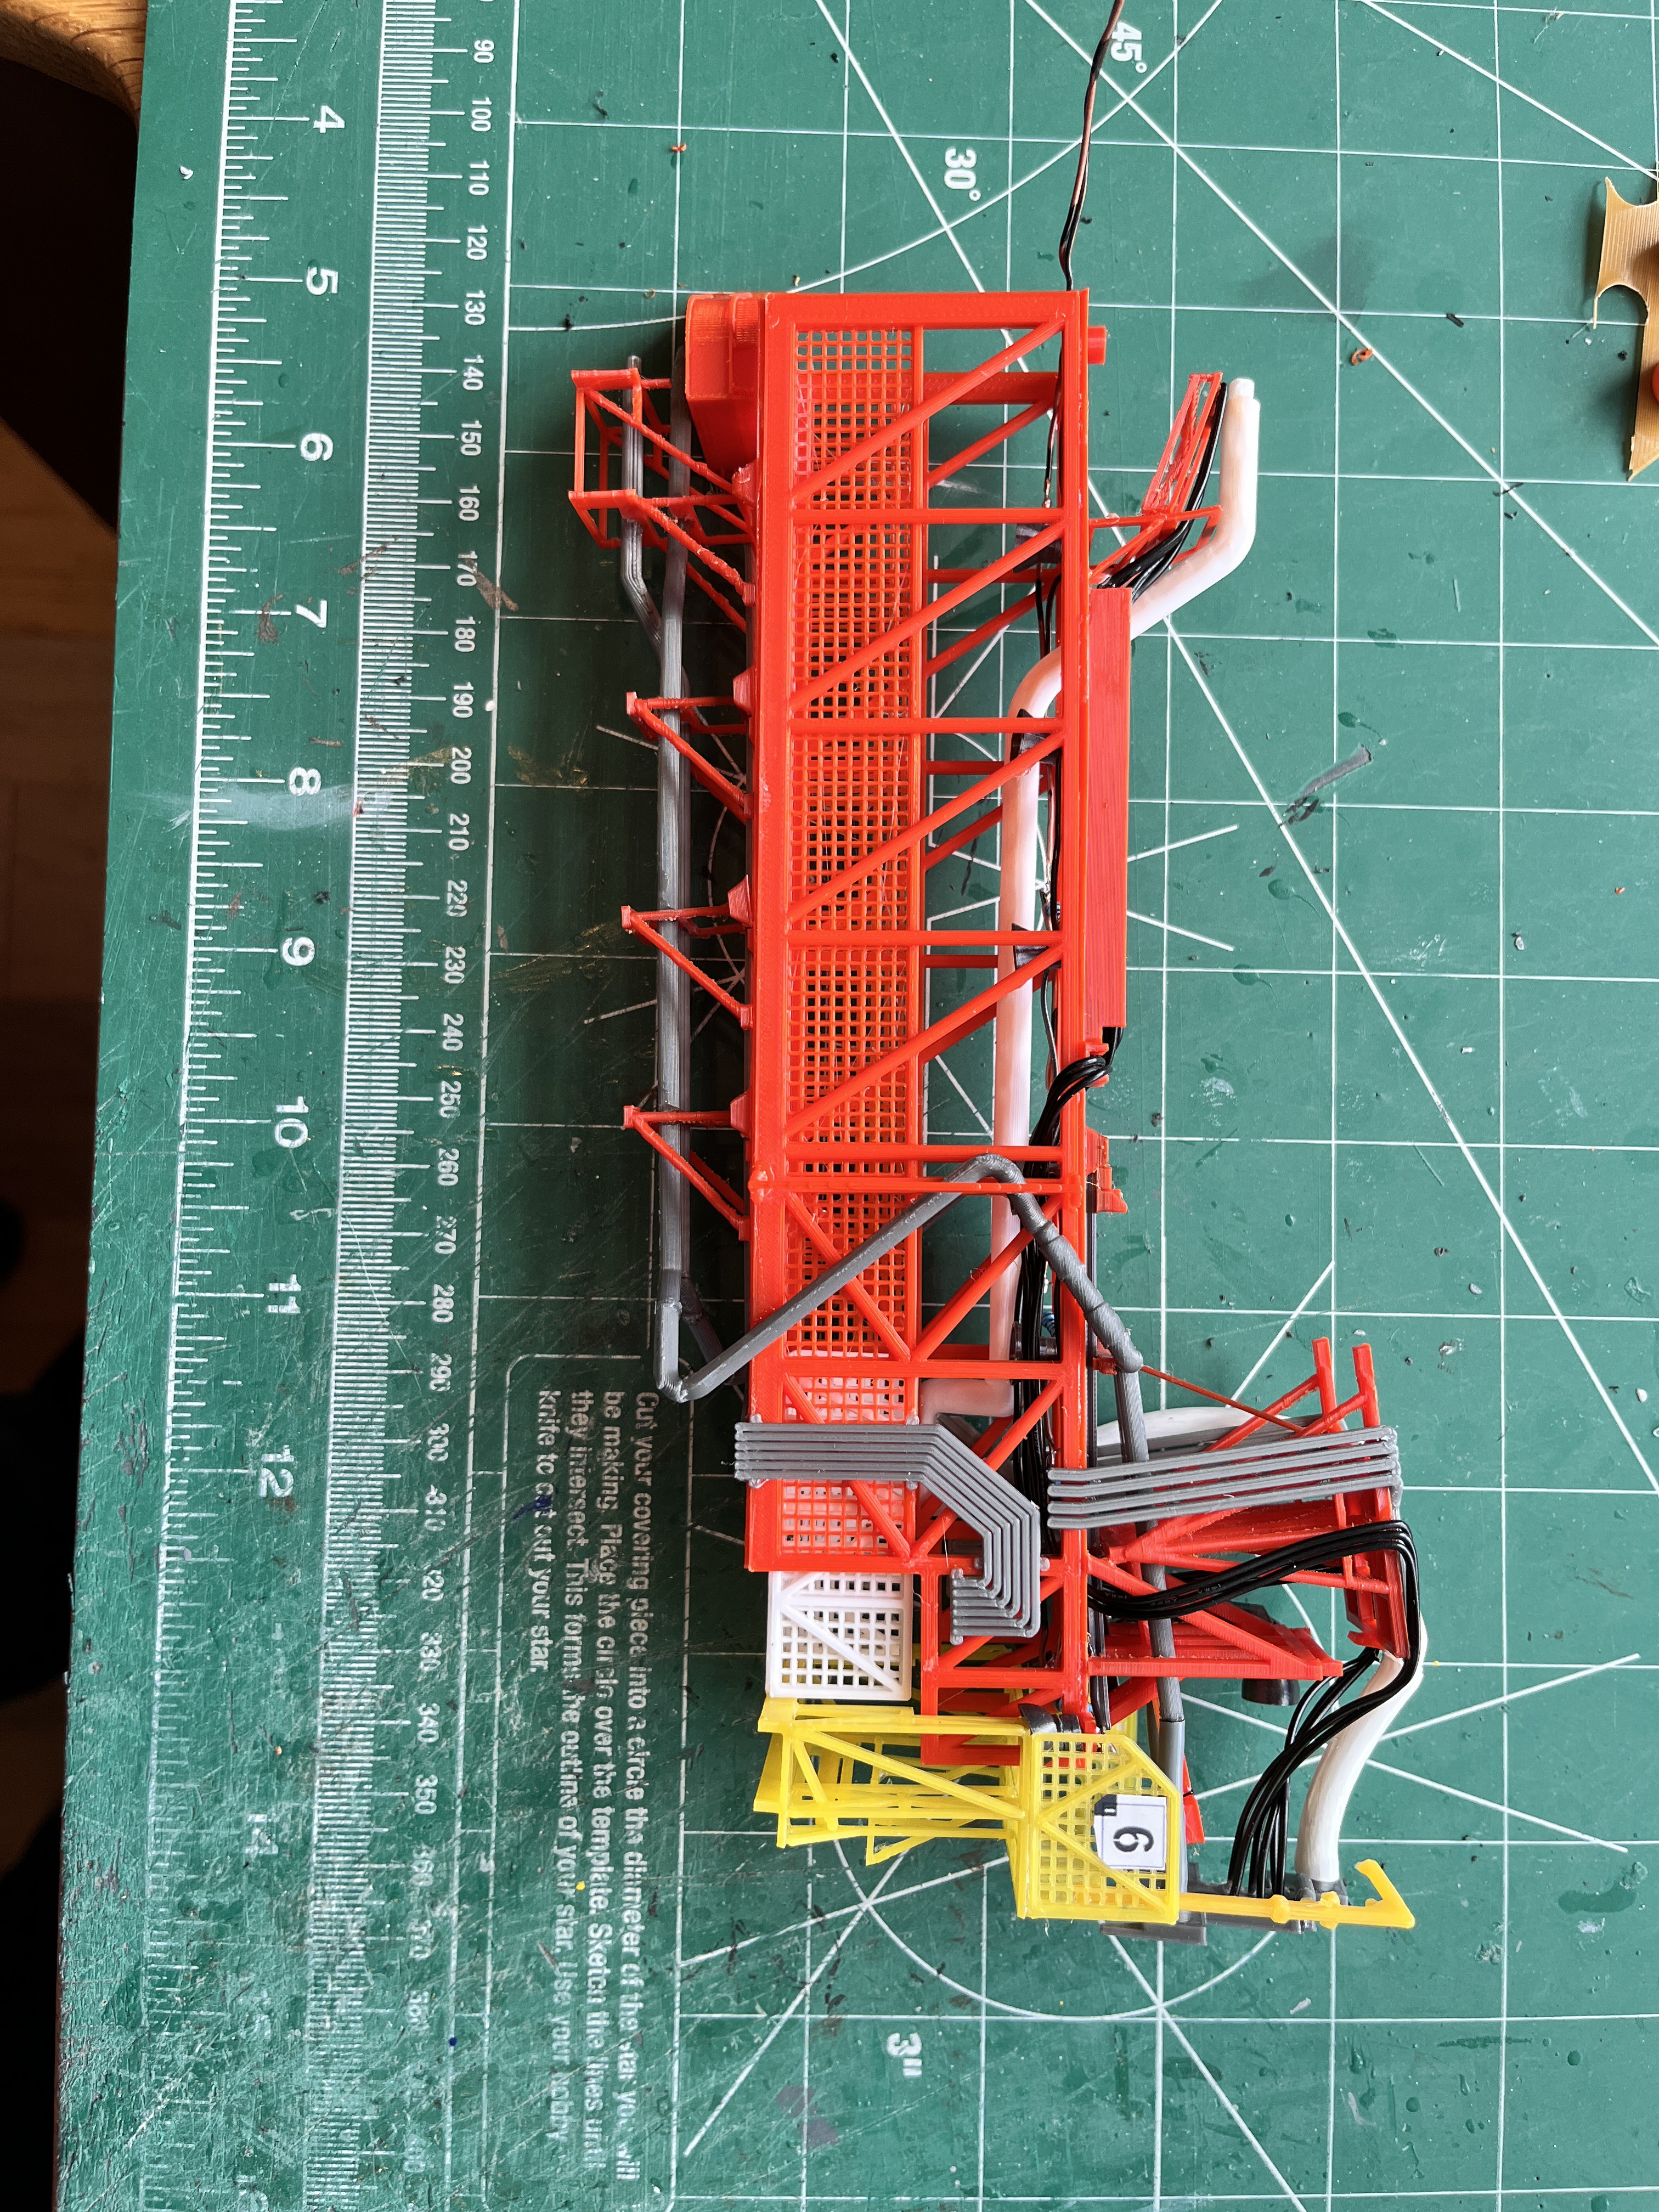
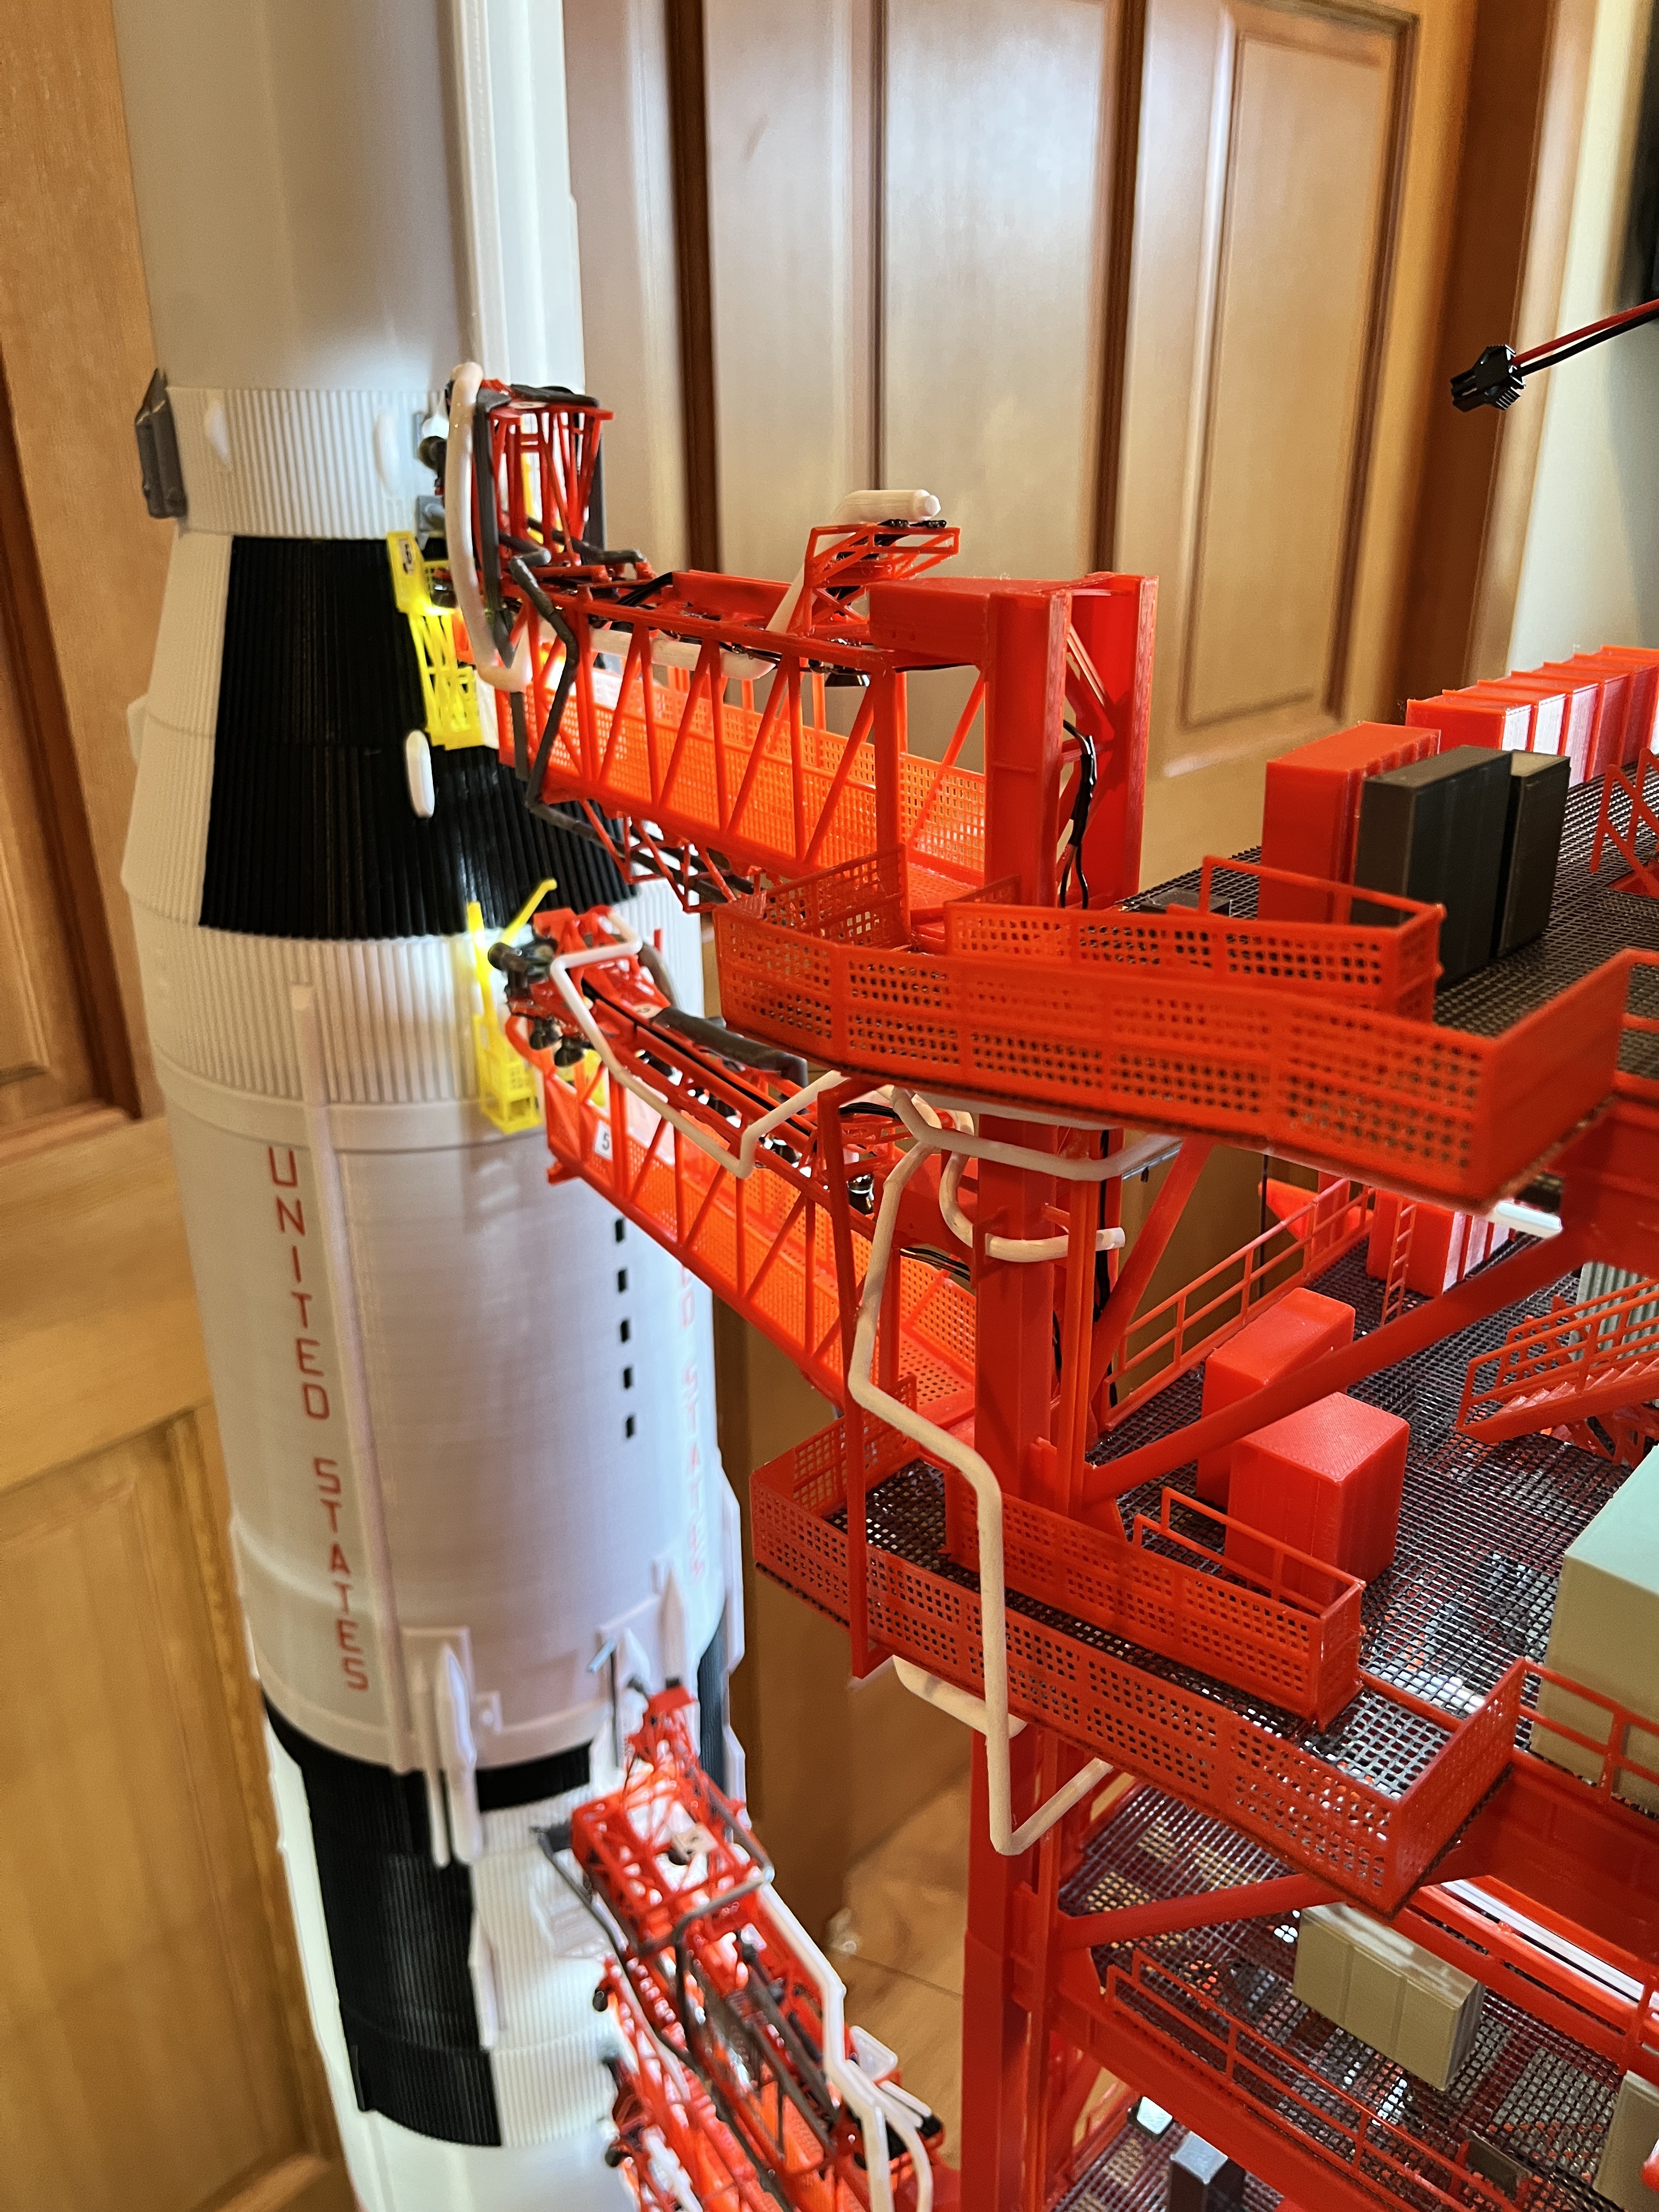
Swing Arm #6 Complete: This arm and its walkway was easy to attach. Notice that the support column extends beyond the L220 floor. This should help stabilize the next section.


Discussions
Become a Hackaday.io Member
Create an account to leave a comment. Already have an account? Log In.