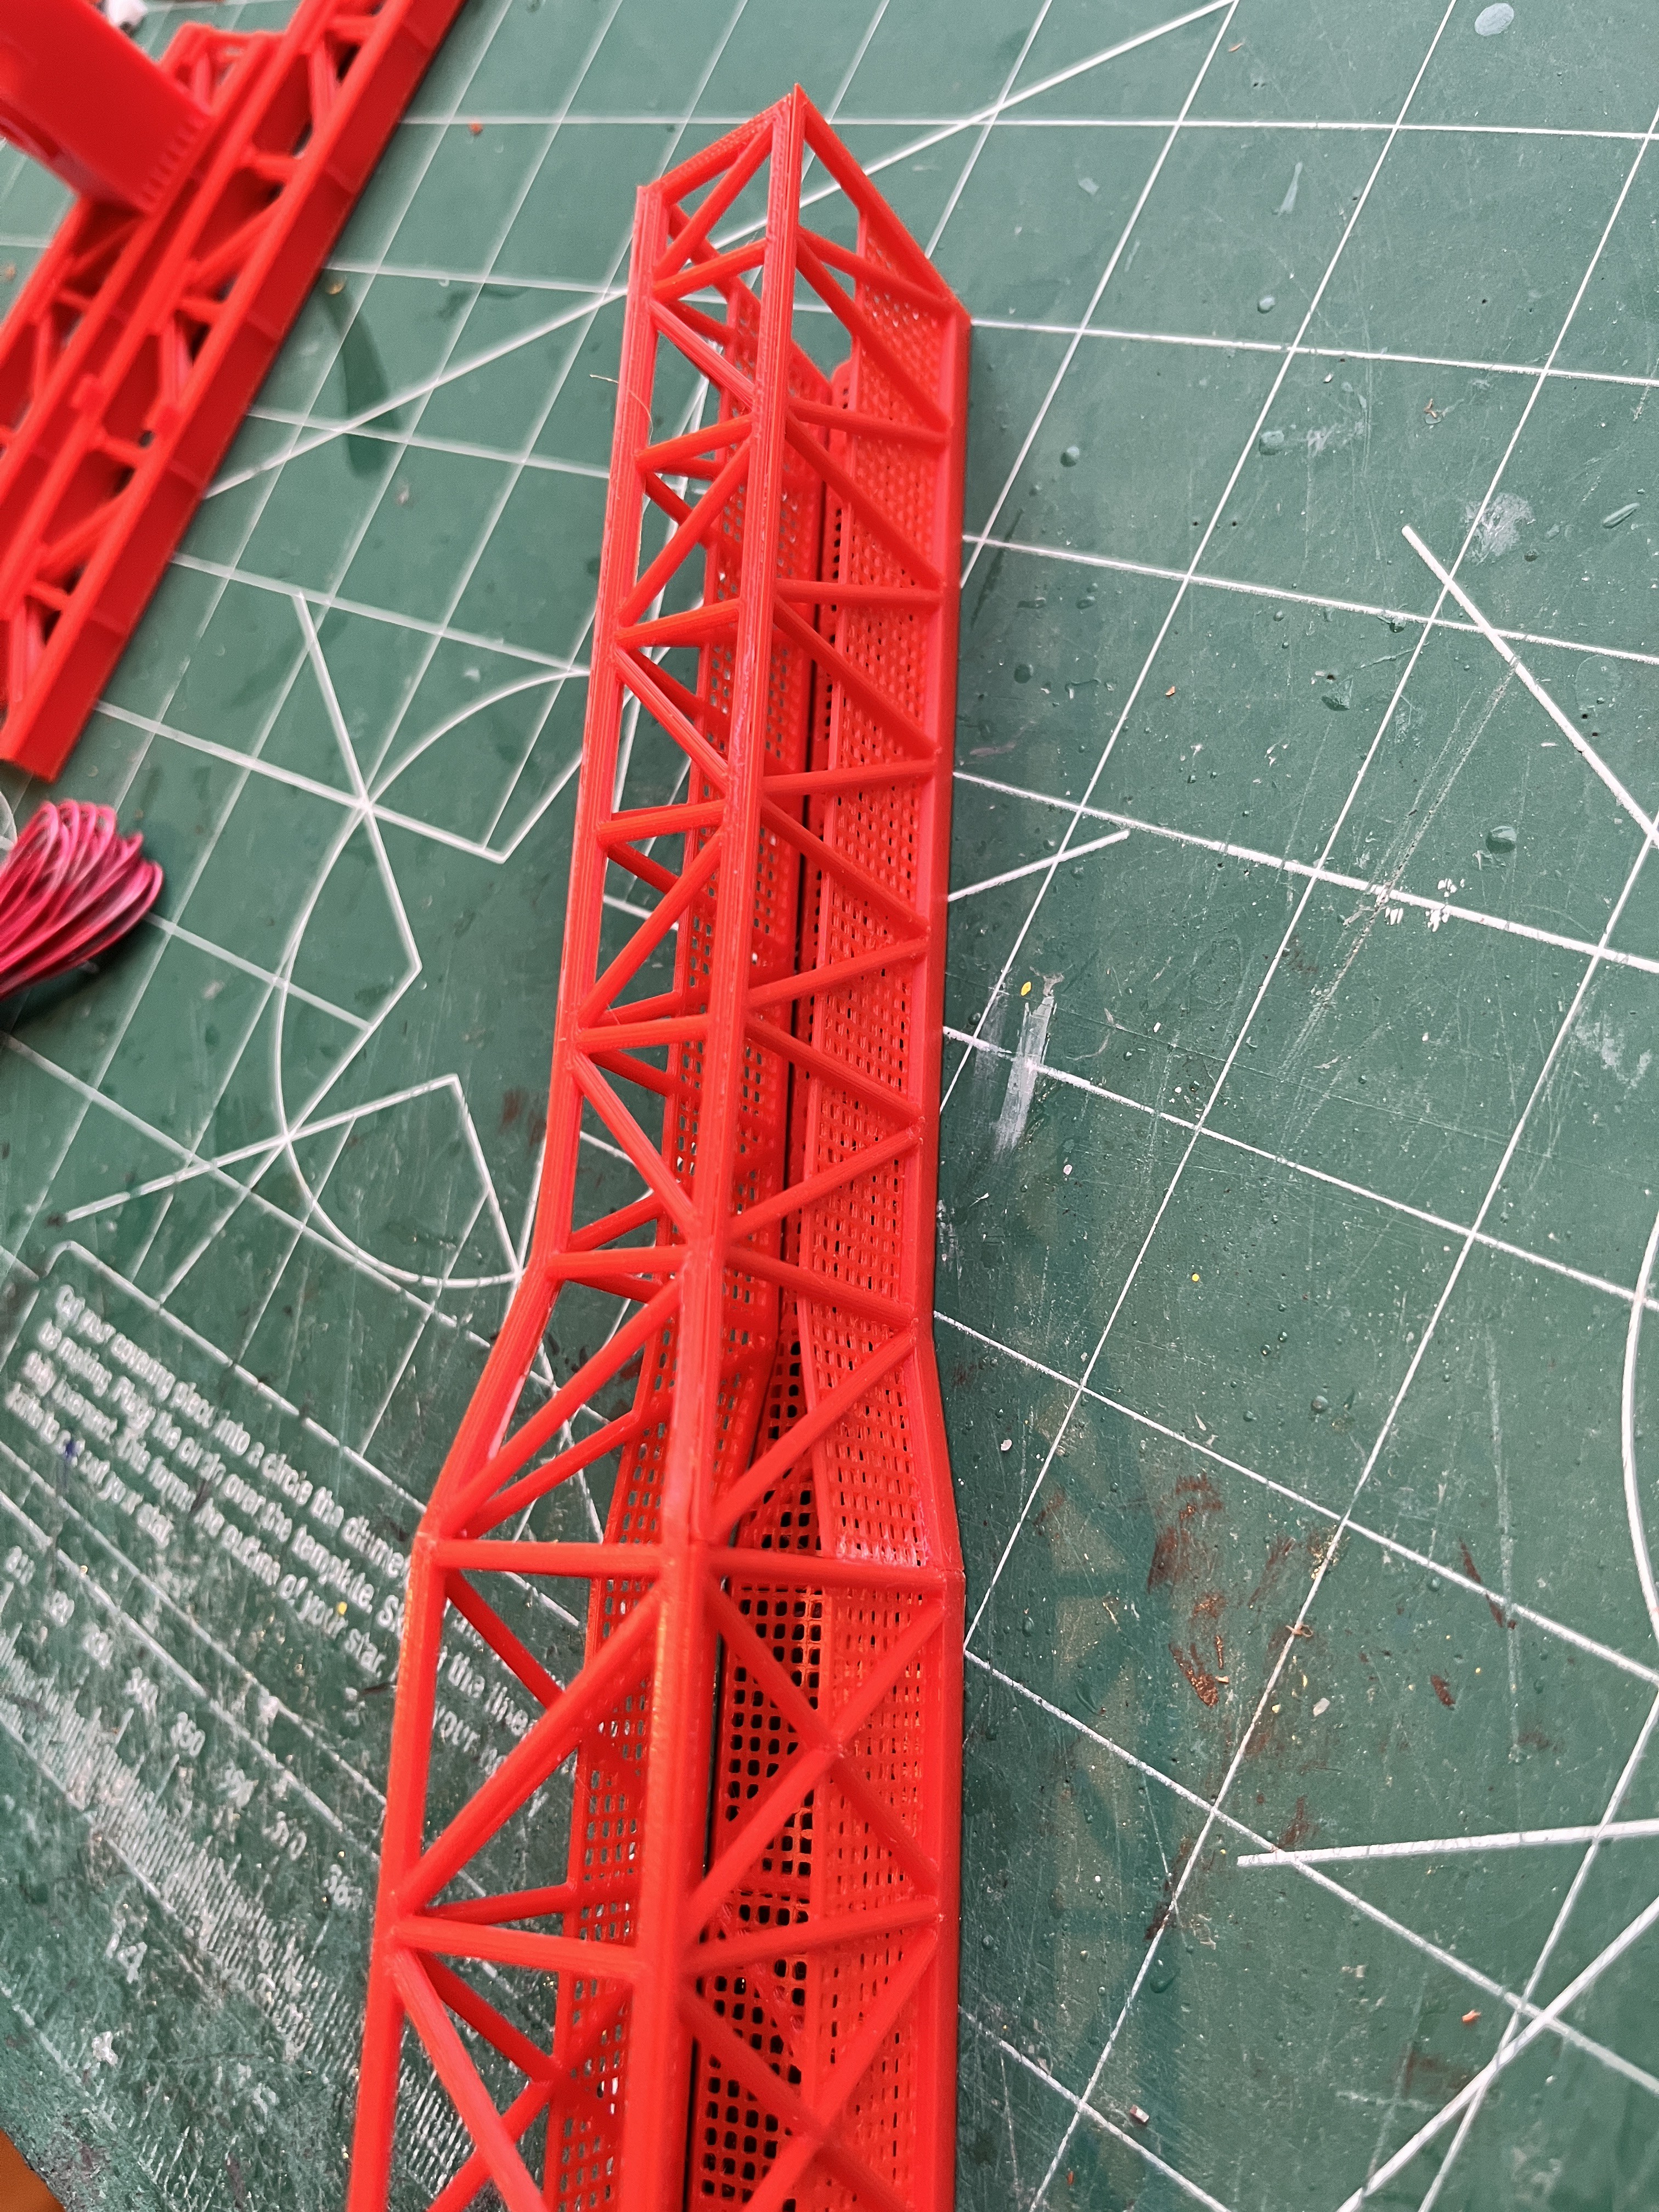
All swing arms have common parts except SA9. After drawing up the new hinges I realized for some reason I made the side 4 support column way too narrow. A simple change to the width and a reprint gave a column that supports the new hinges, so I cut the old column off the model. Even though these side 4 parts are not truly common, the common swing arm parts are the best match so I have published these parts and declared success on the swing arm common parts.

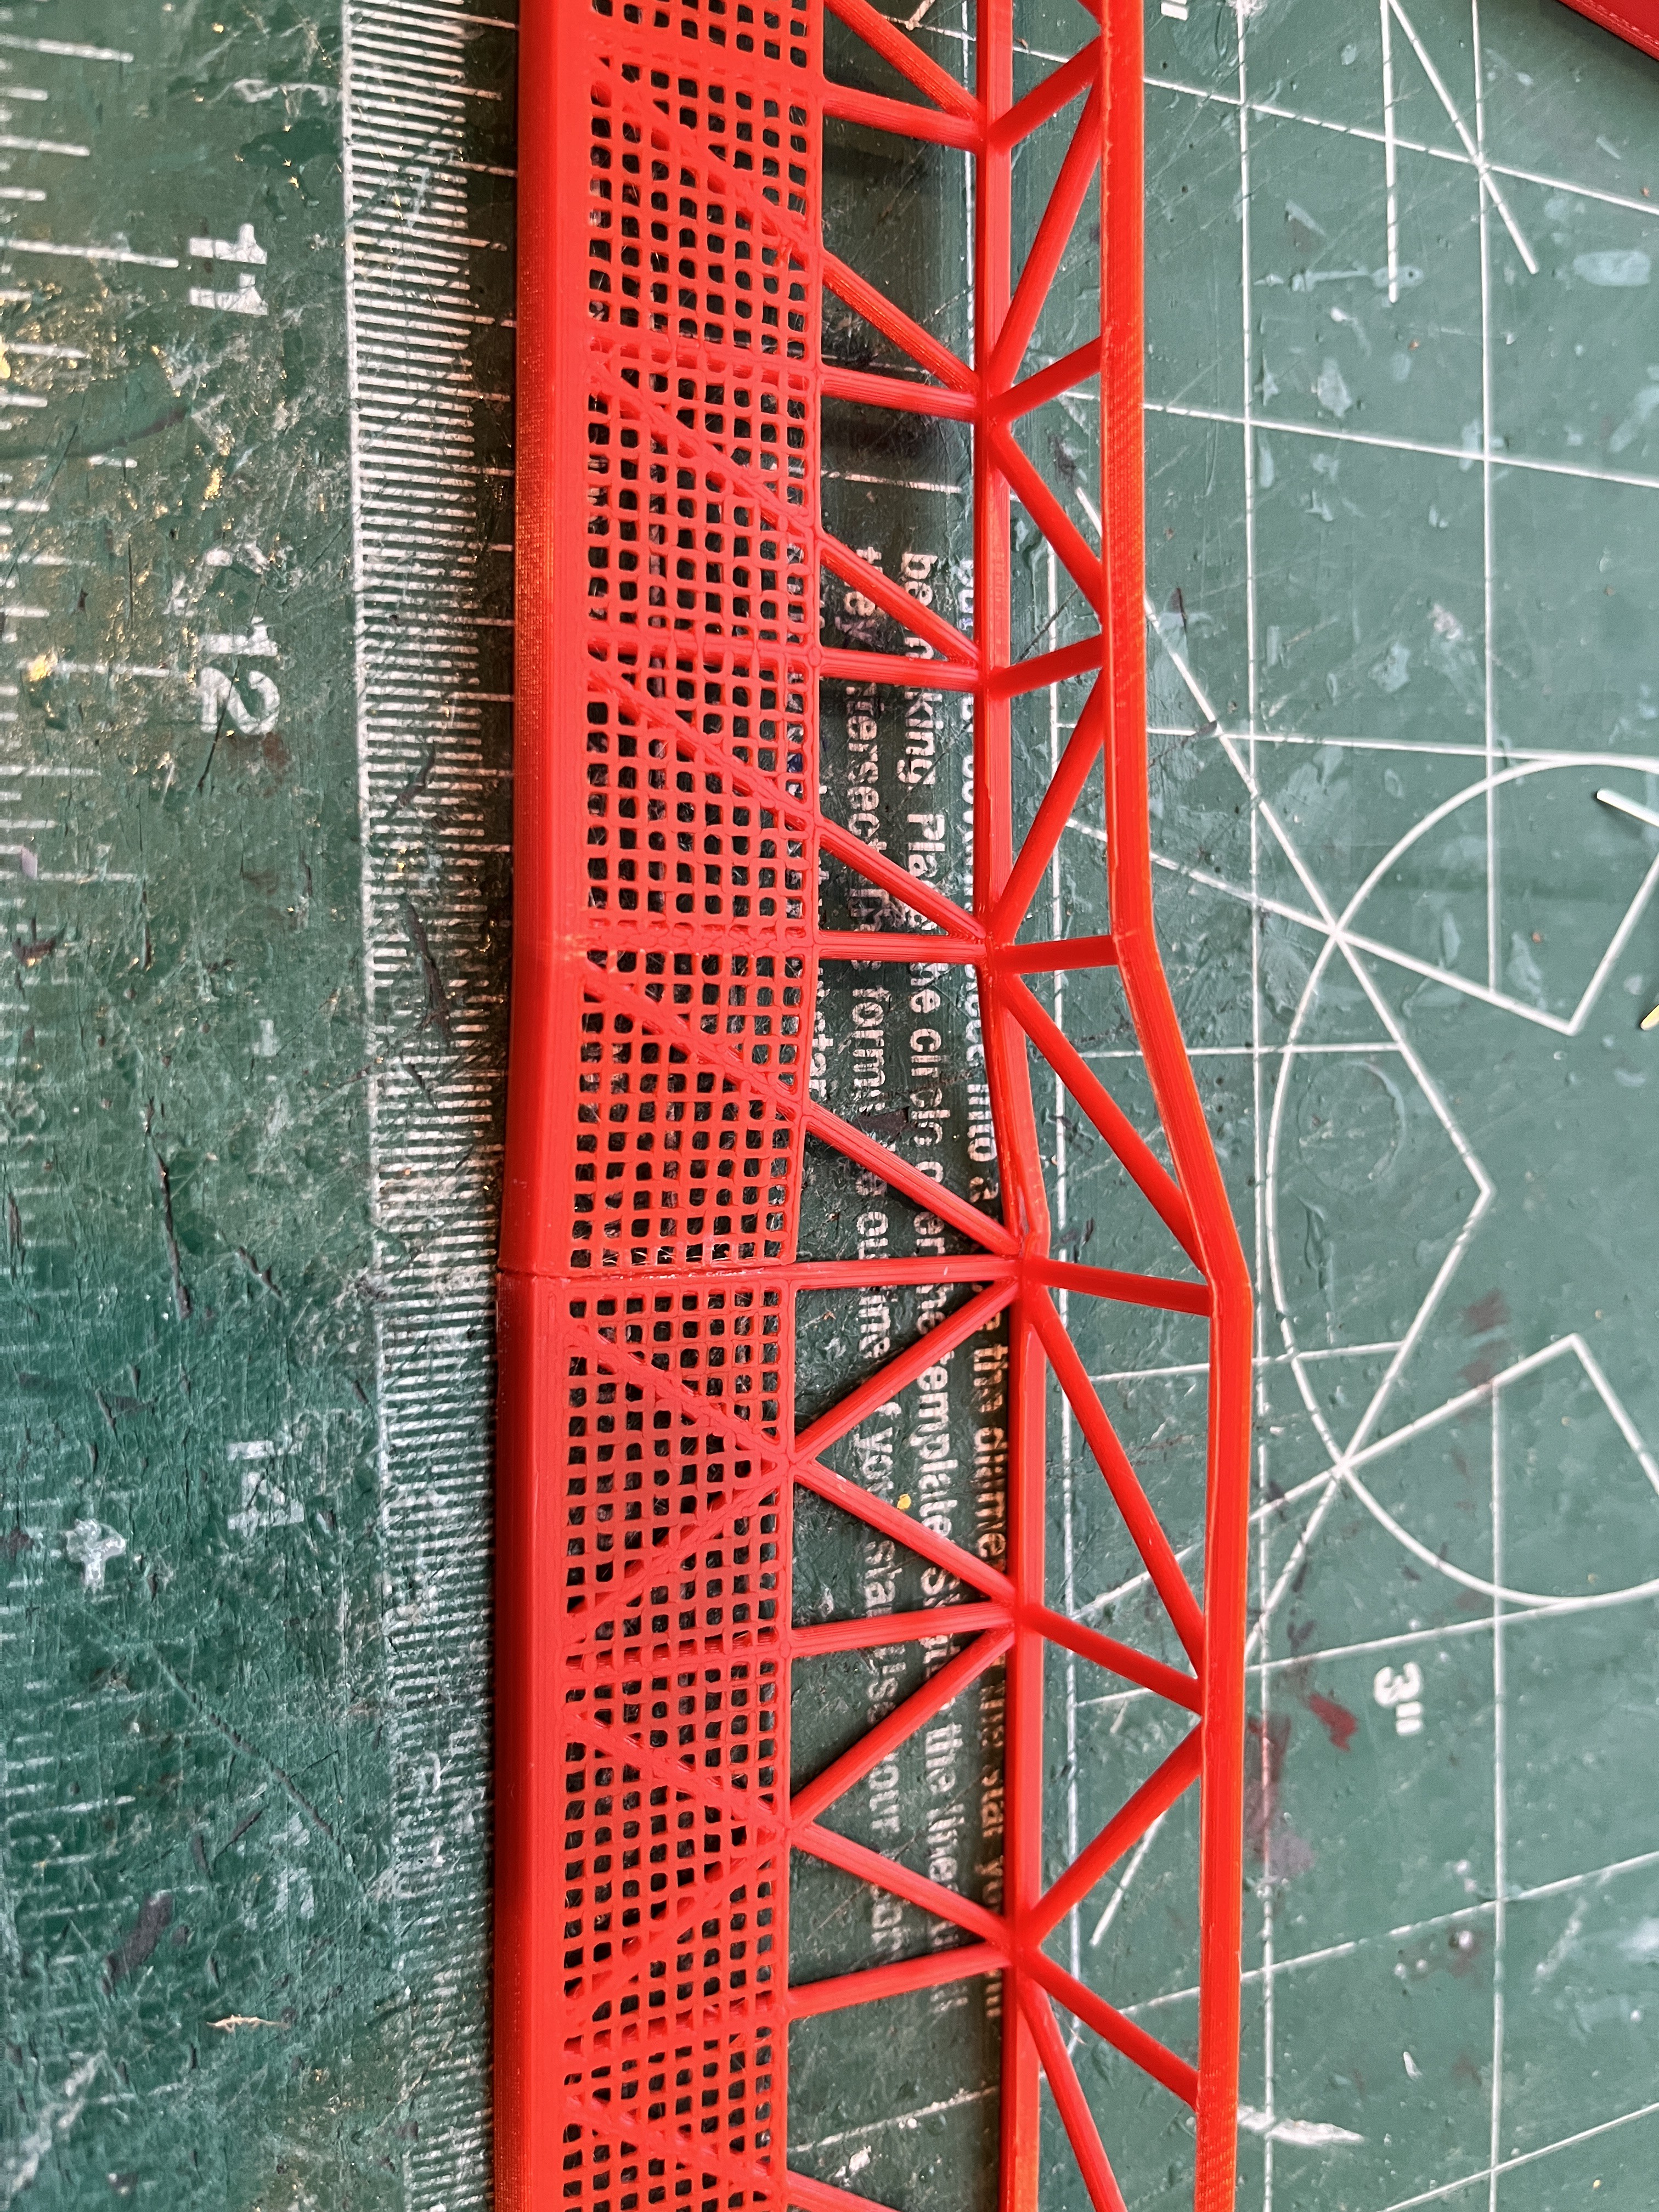
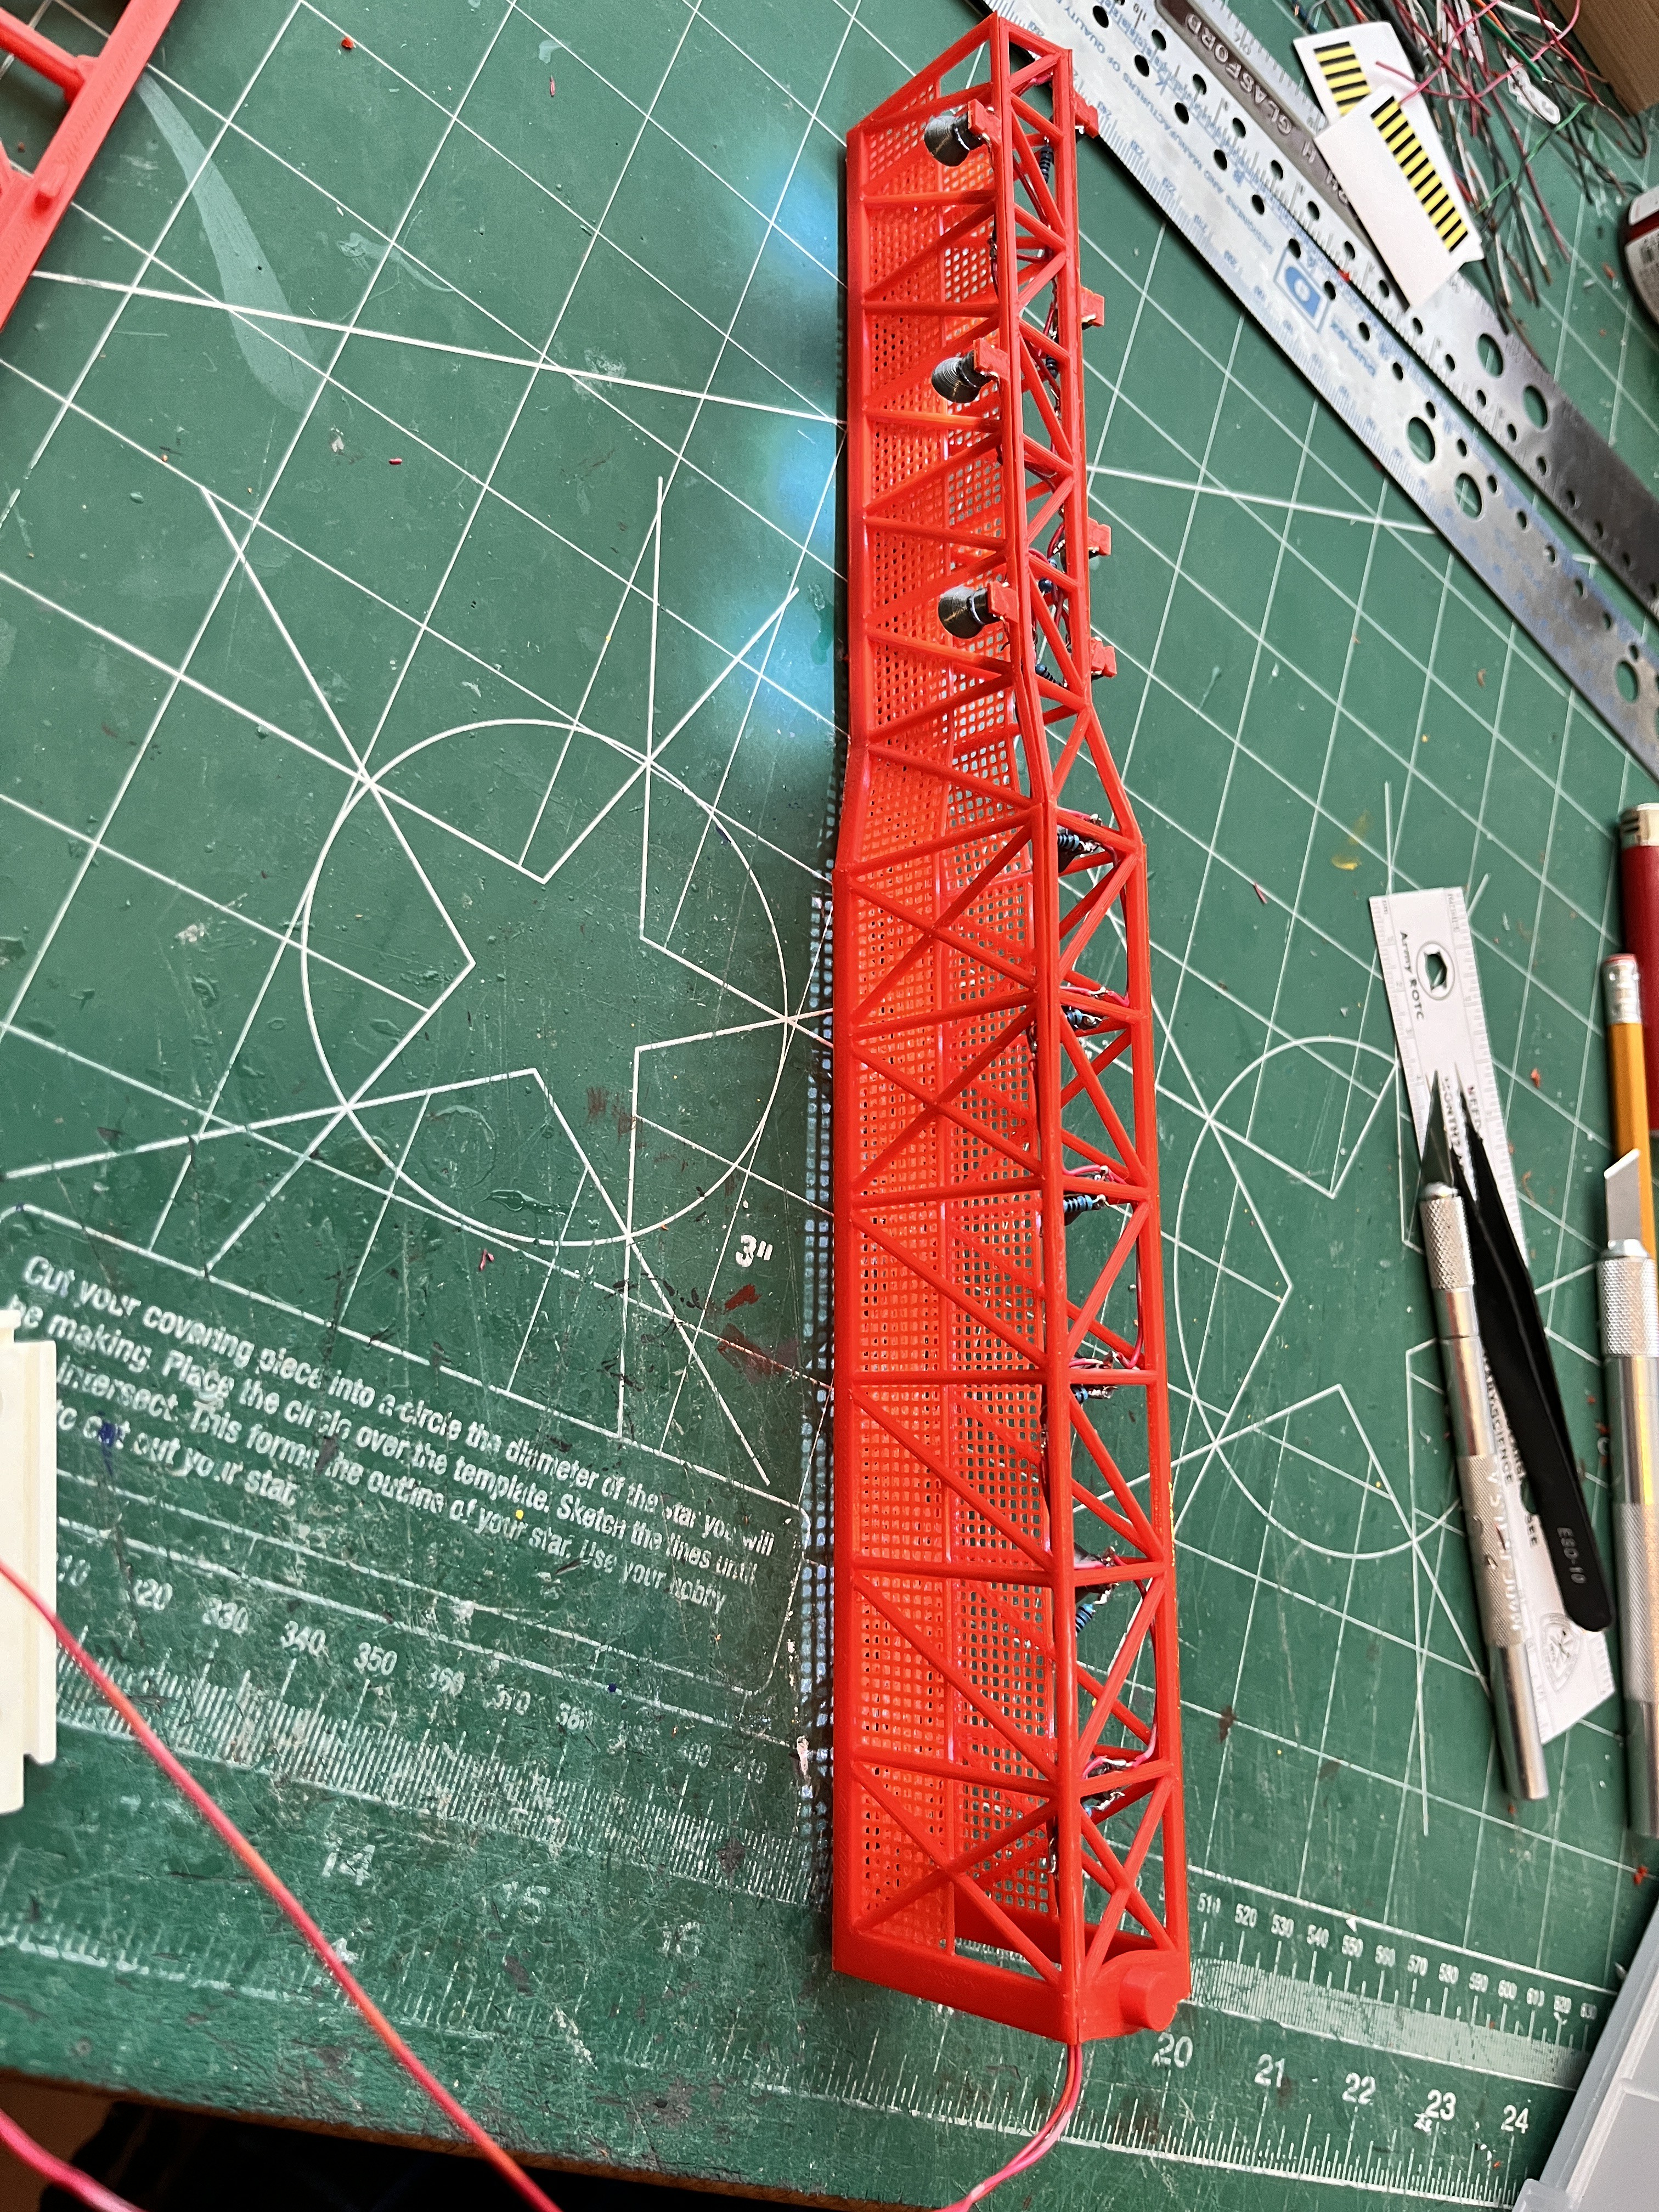
Here is the swing arm #9 box. This arm is so long only the top and bottom can be printed as one piece if you turn it sideways. The sides had to be printed as two parts, the first and second elements.

Here you can see that the arm narrows midway. To keep things straight and looking good I printed them as part that you will need to bend a bit. I held each part with pliers right where it should bend and pushed a bit.
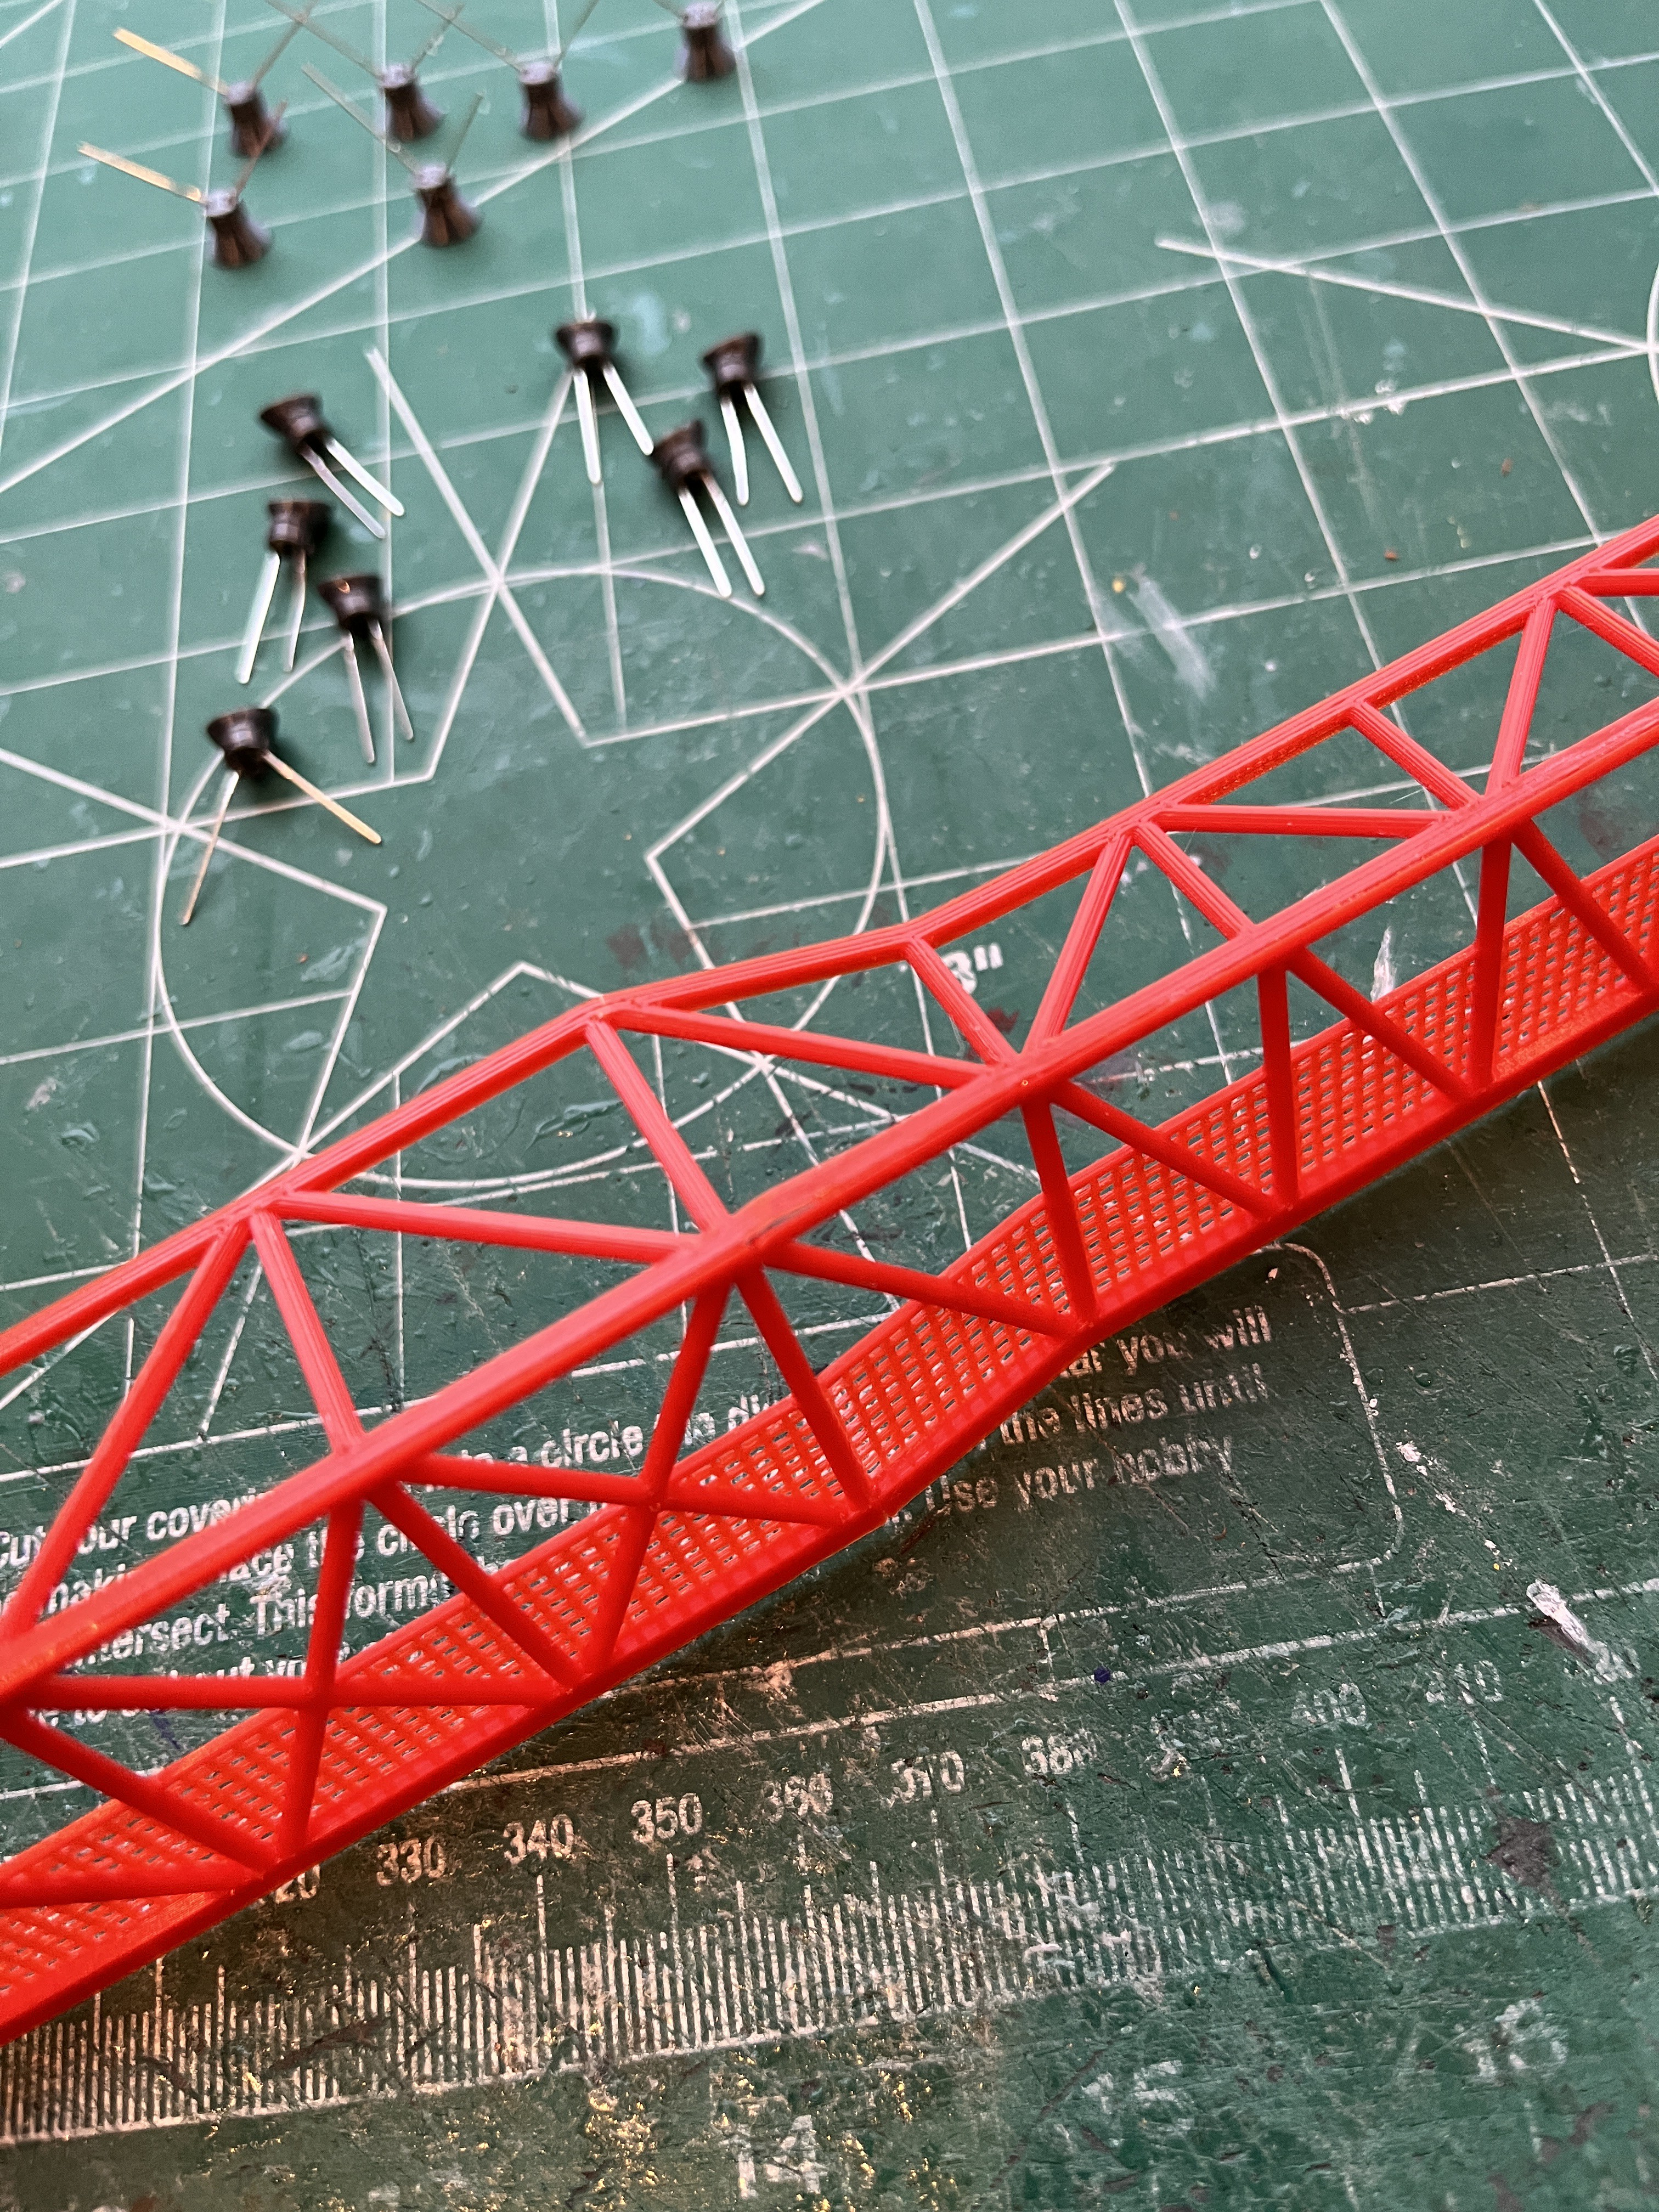

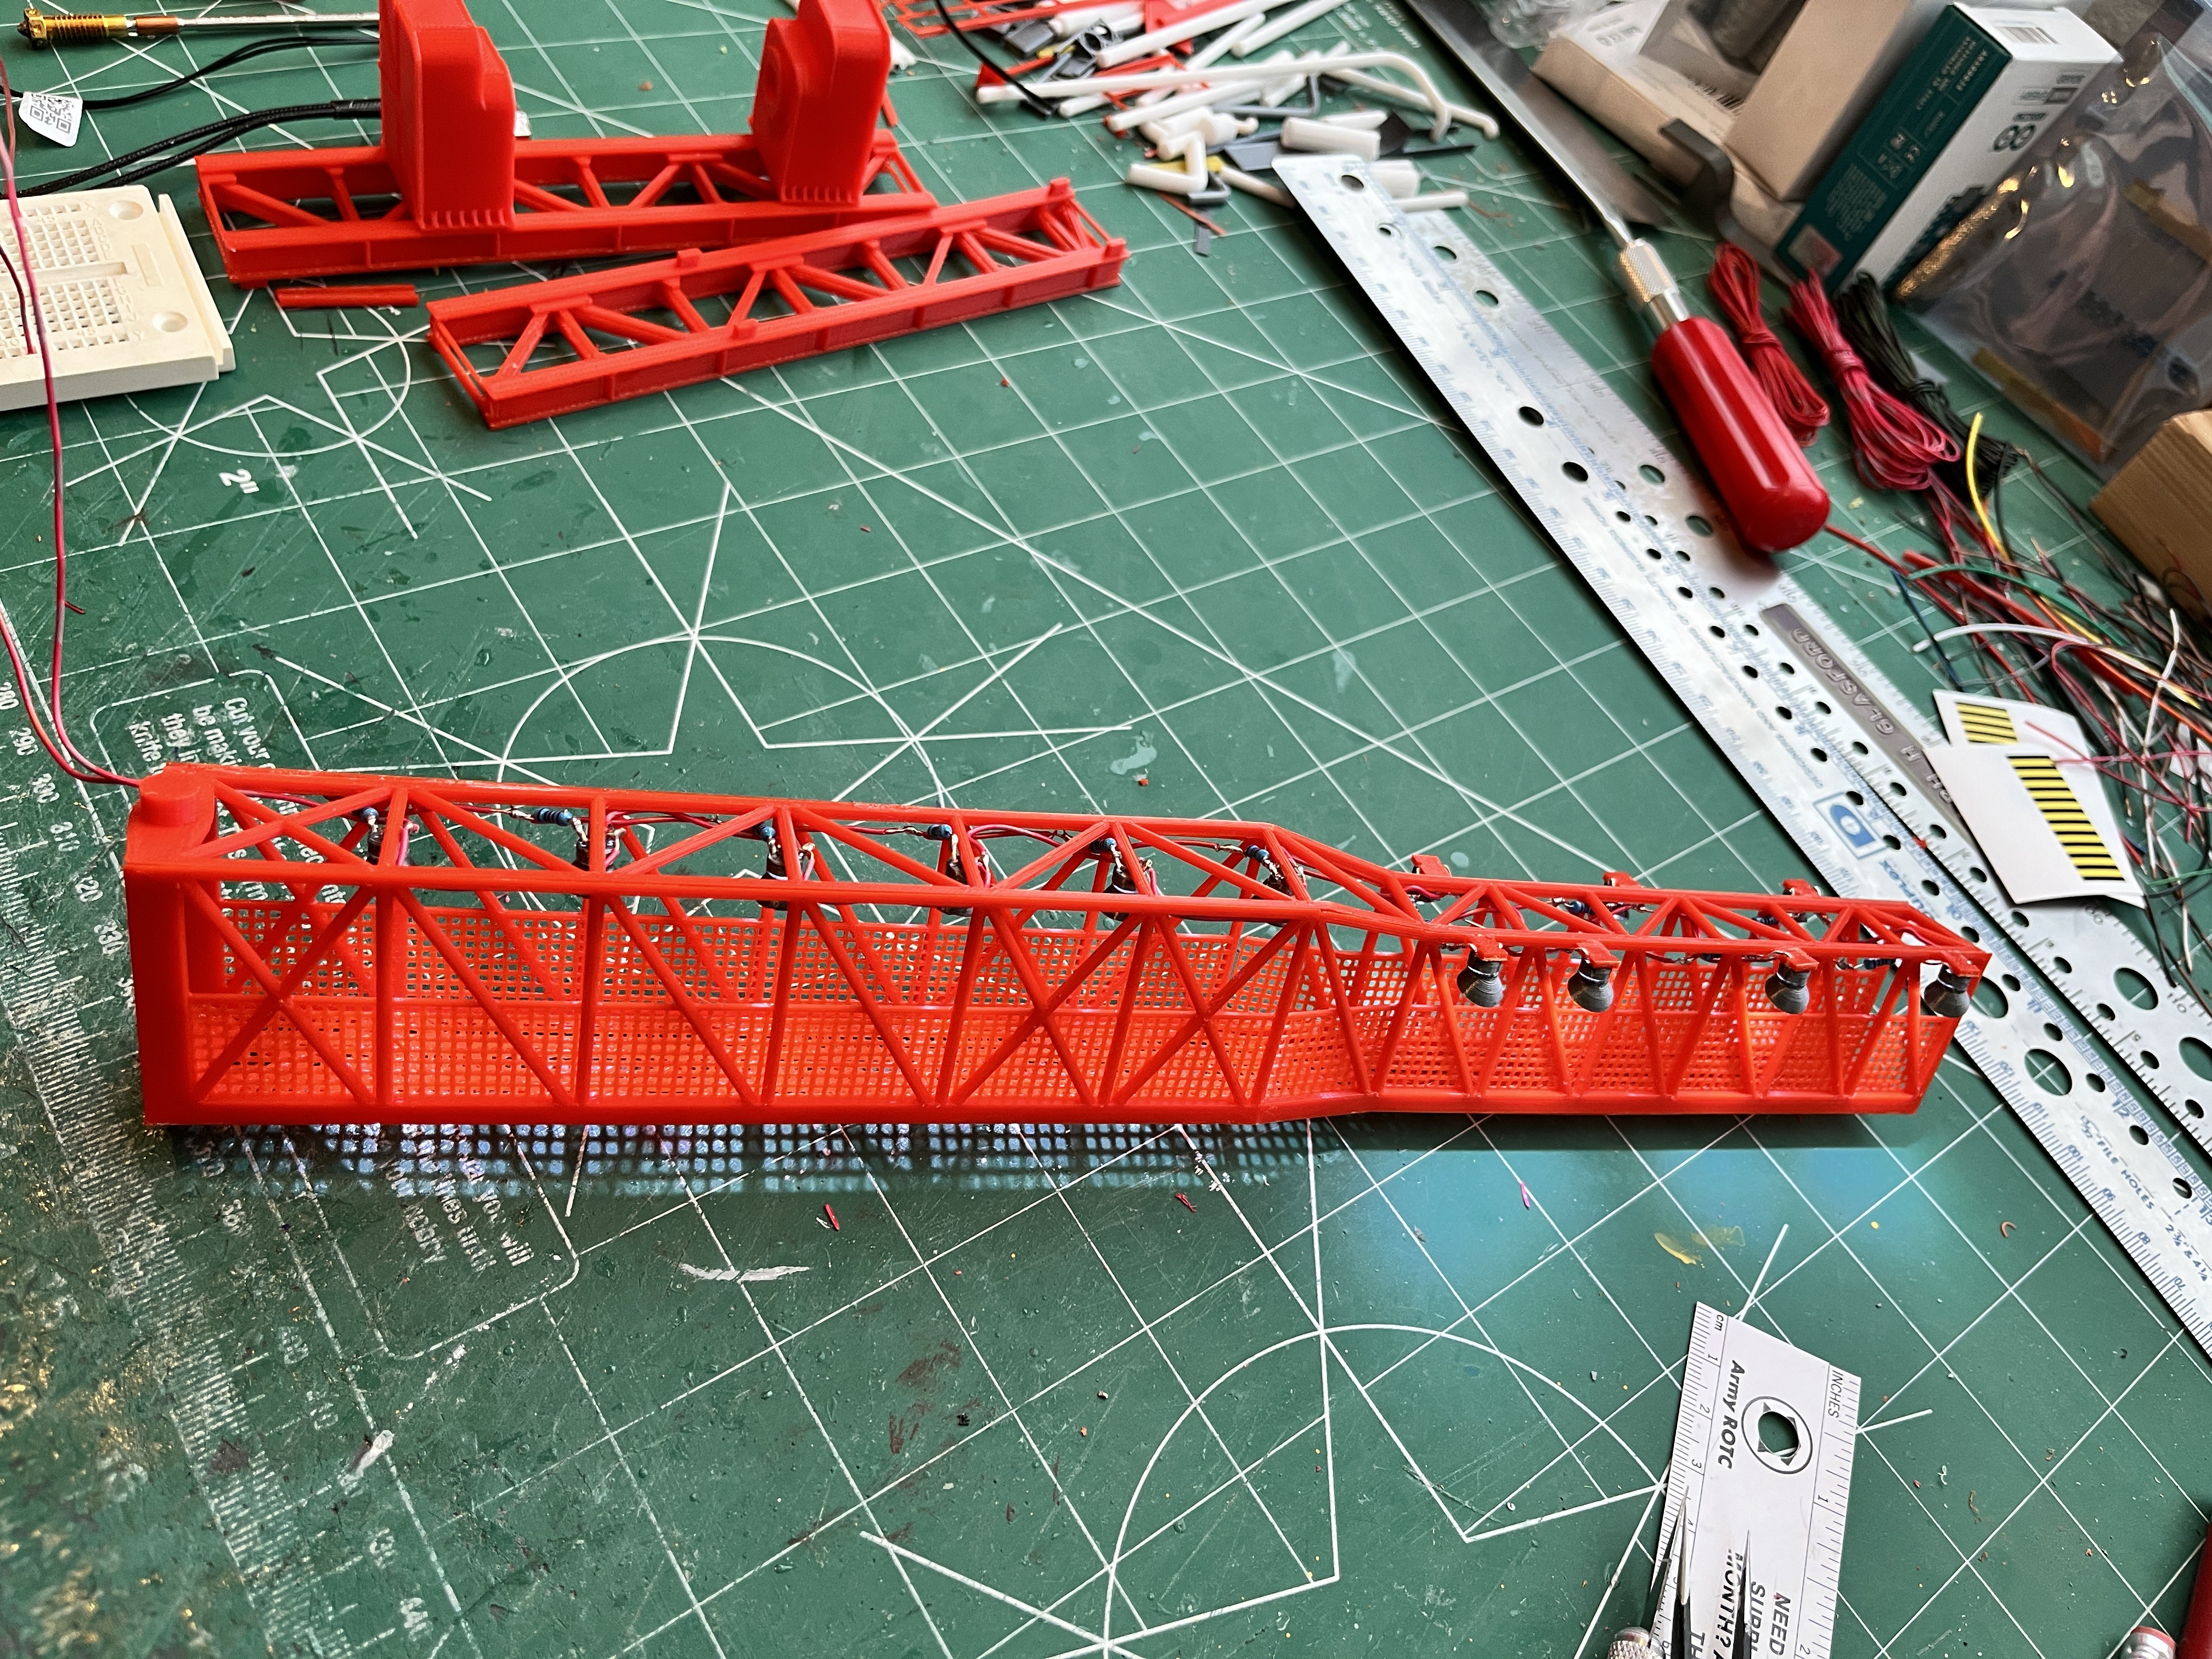
As always, before gluing the bottom on I installed the lights. Here is the arm boxed in with the lights installed and lit. I later realized the lights on the second element are incorrect, they should be swapped side for side. You will see this in later pictures.
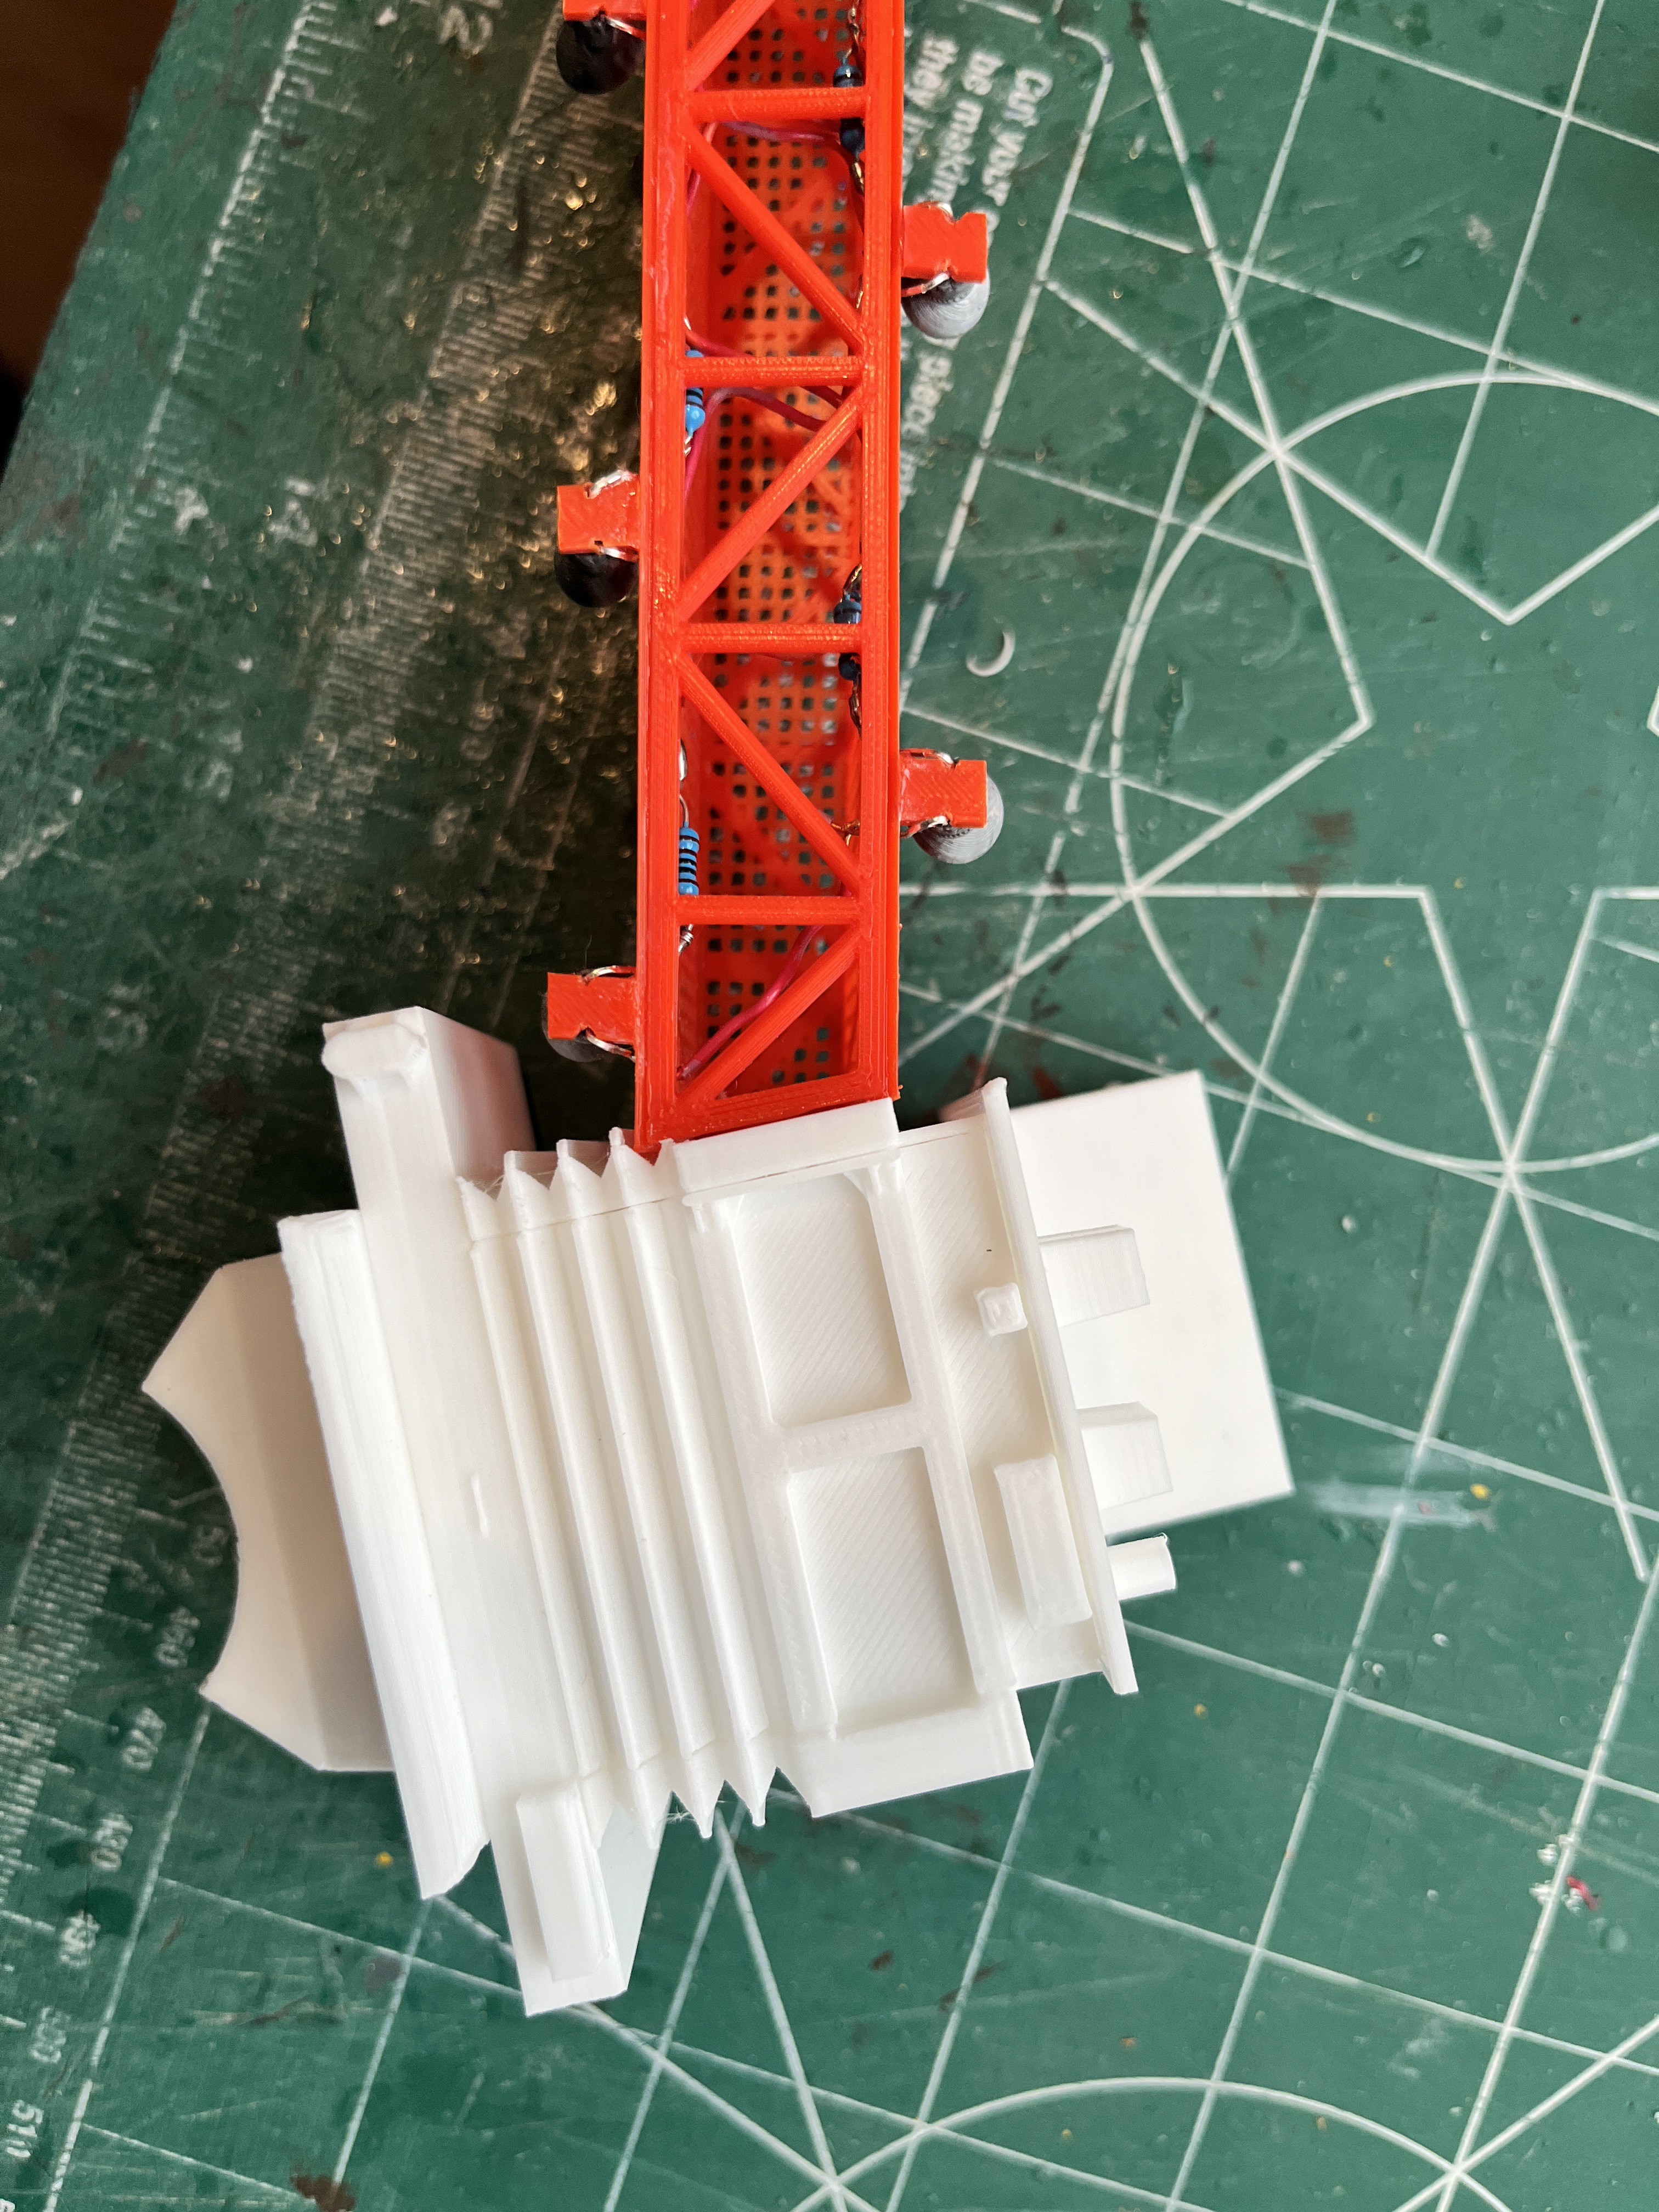
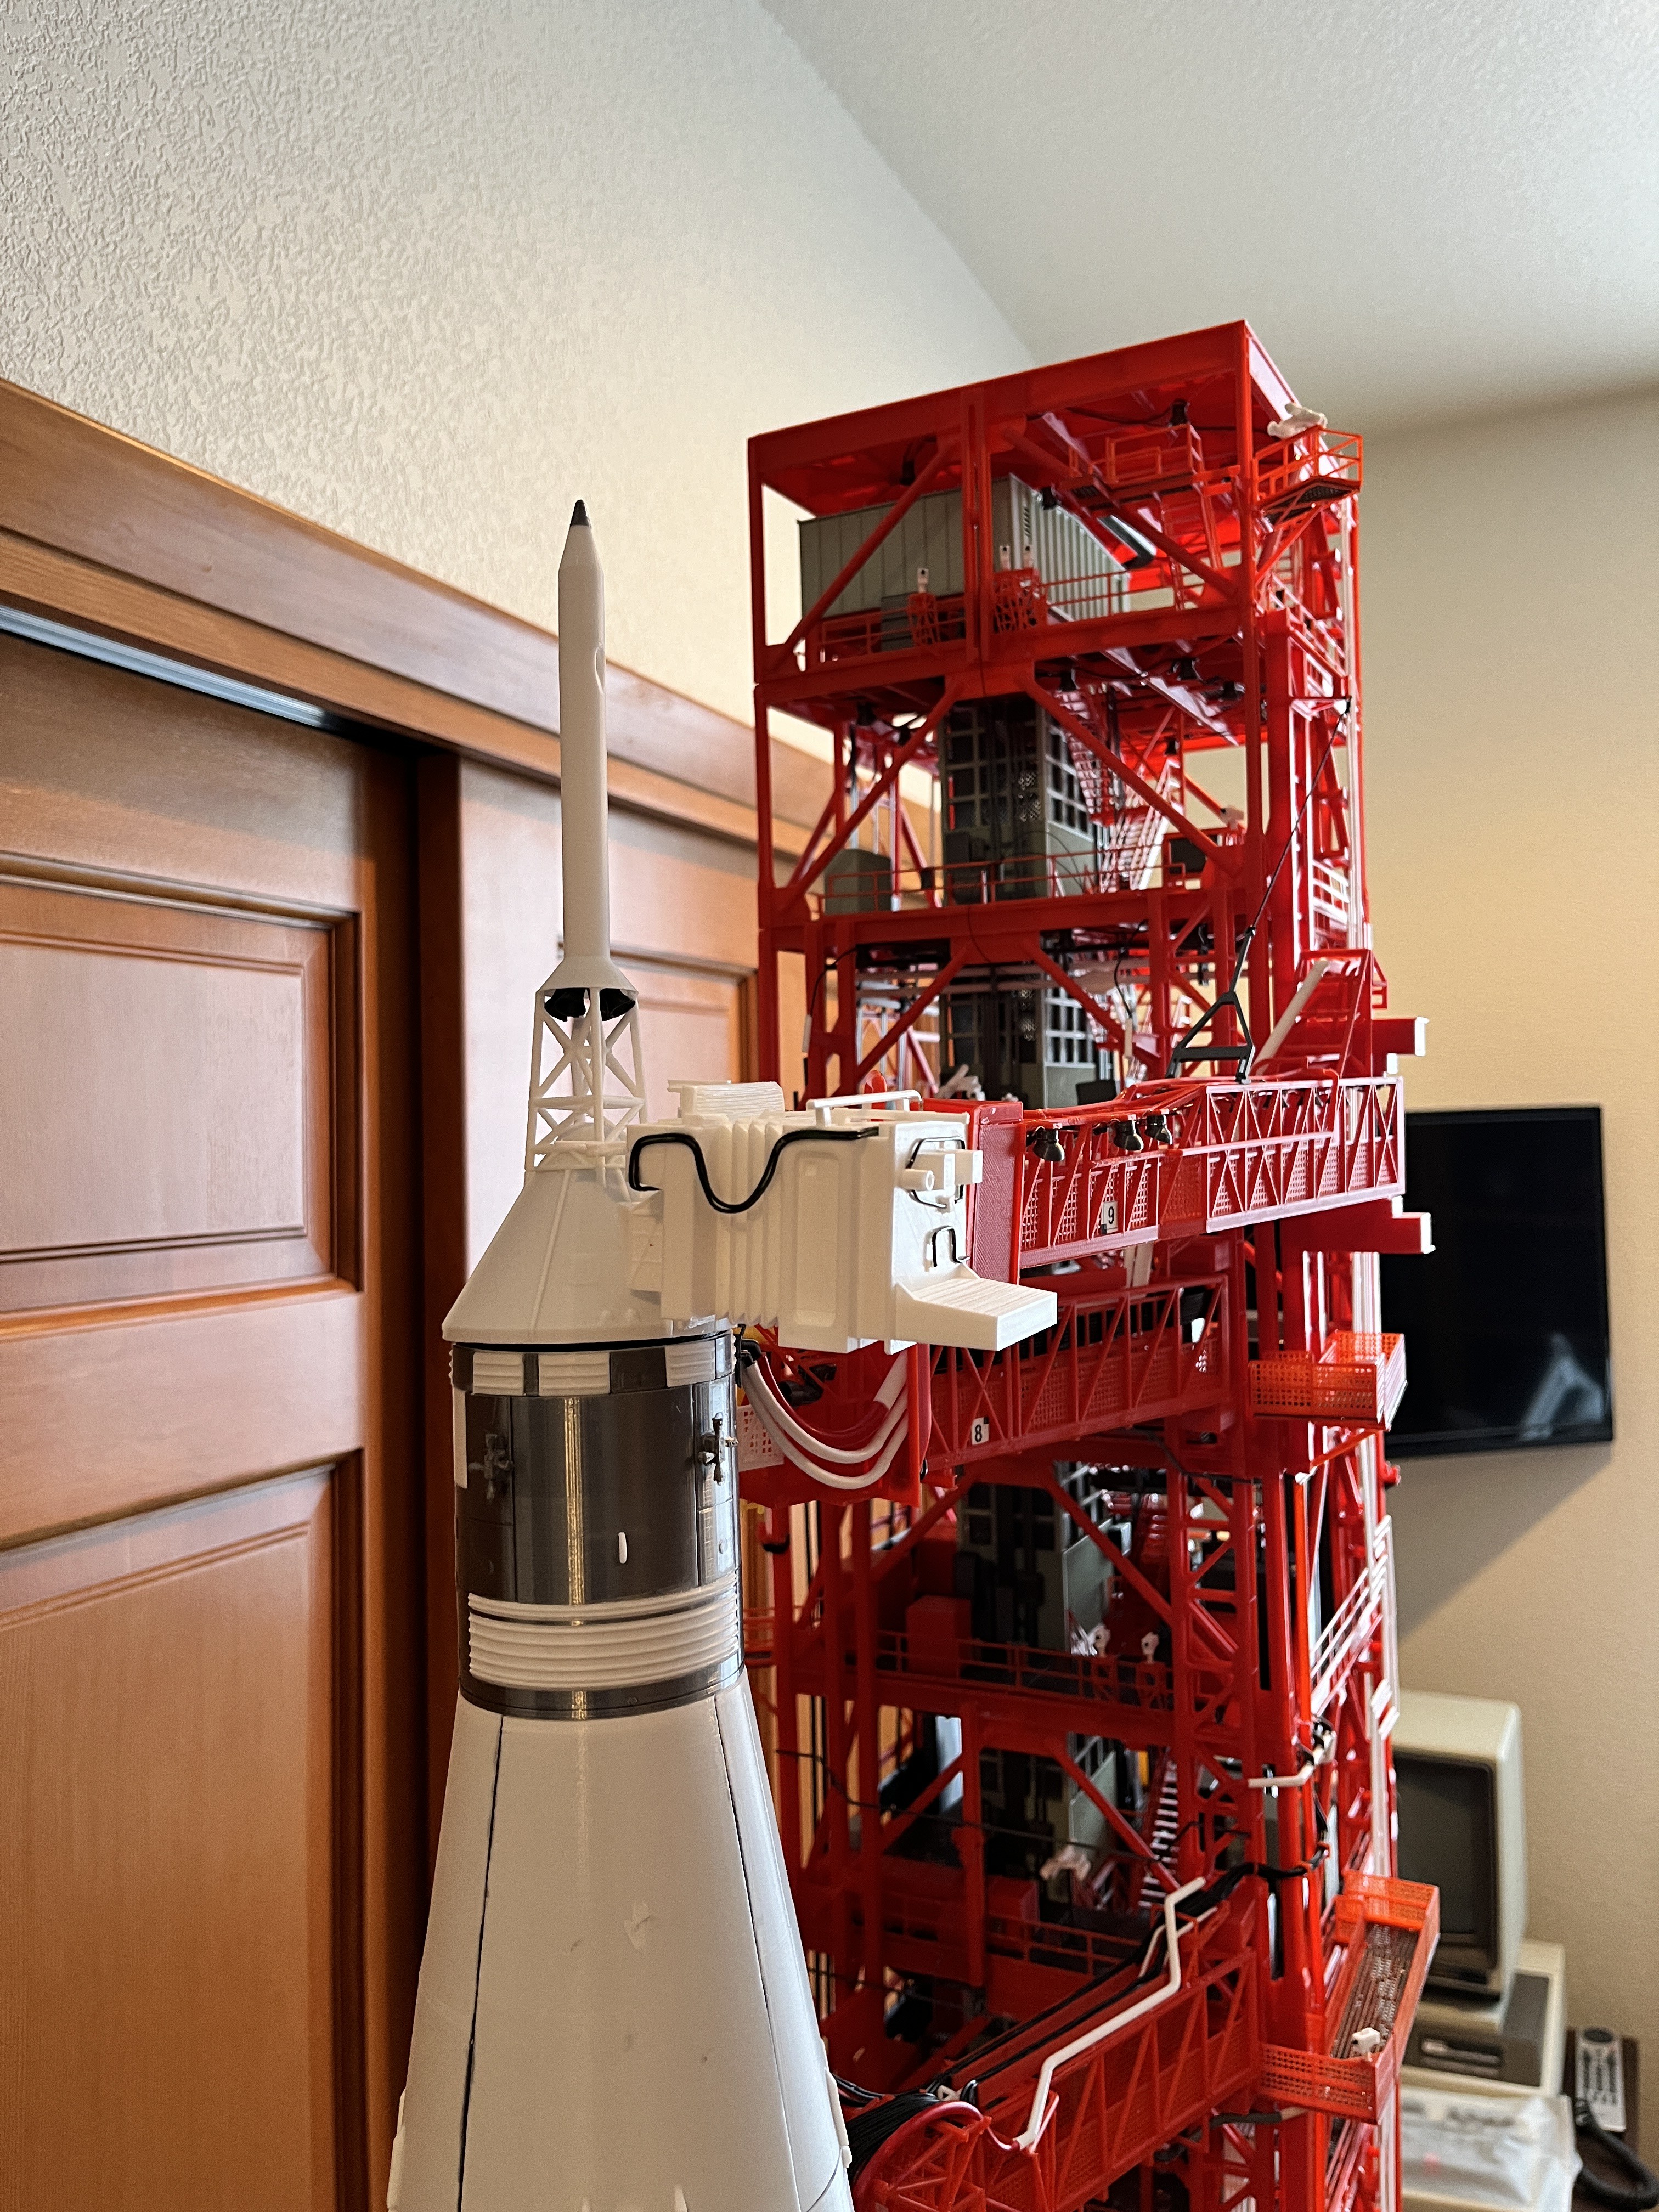
I went ahead and used aviator67's white room. The dimensions are not exact. When I tried to mate up the walkway to the door. The door is too narrow and tall. The overall height seems correct, but you can see in the picture below the indent for the doorway hangs below the walkway. That's OK because there will be cables obscuring this.

The plate around the doorway is also too narrow. From the top view you can see that I simply shifted the walkway towards the bellows to leave enough of a gap for the angled plate that will be attached later. In the end no one will notice and I really don't want to redesign the white room. I can tell a lot of work went into this.

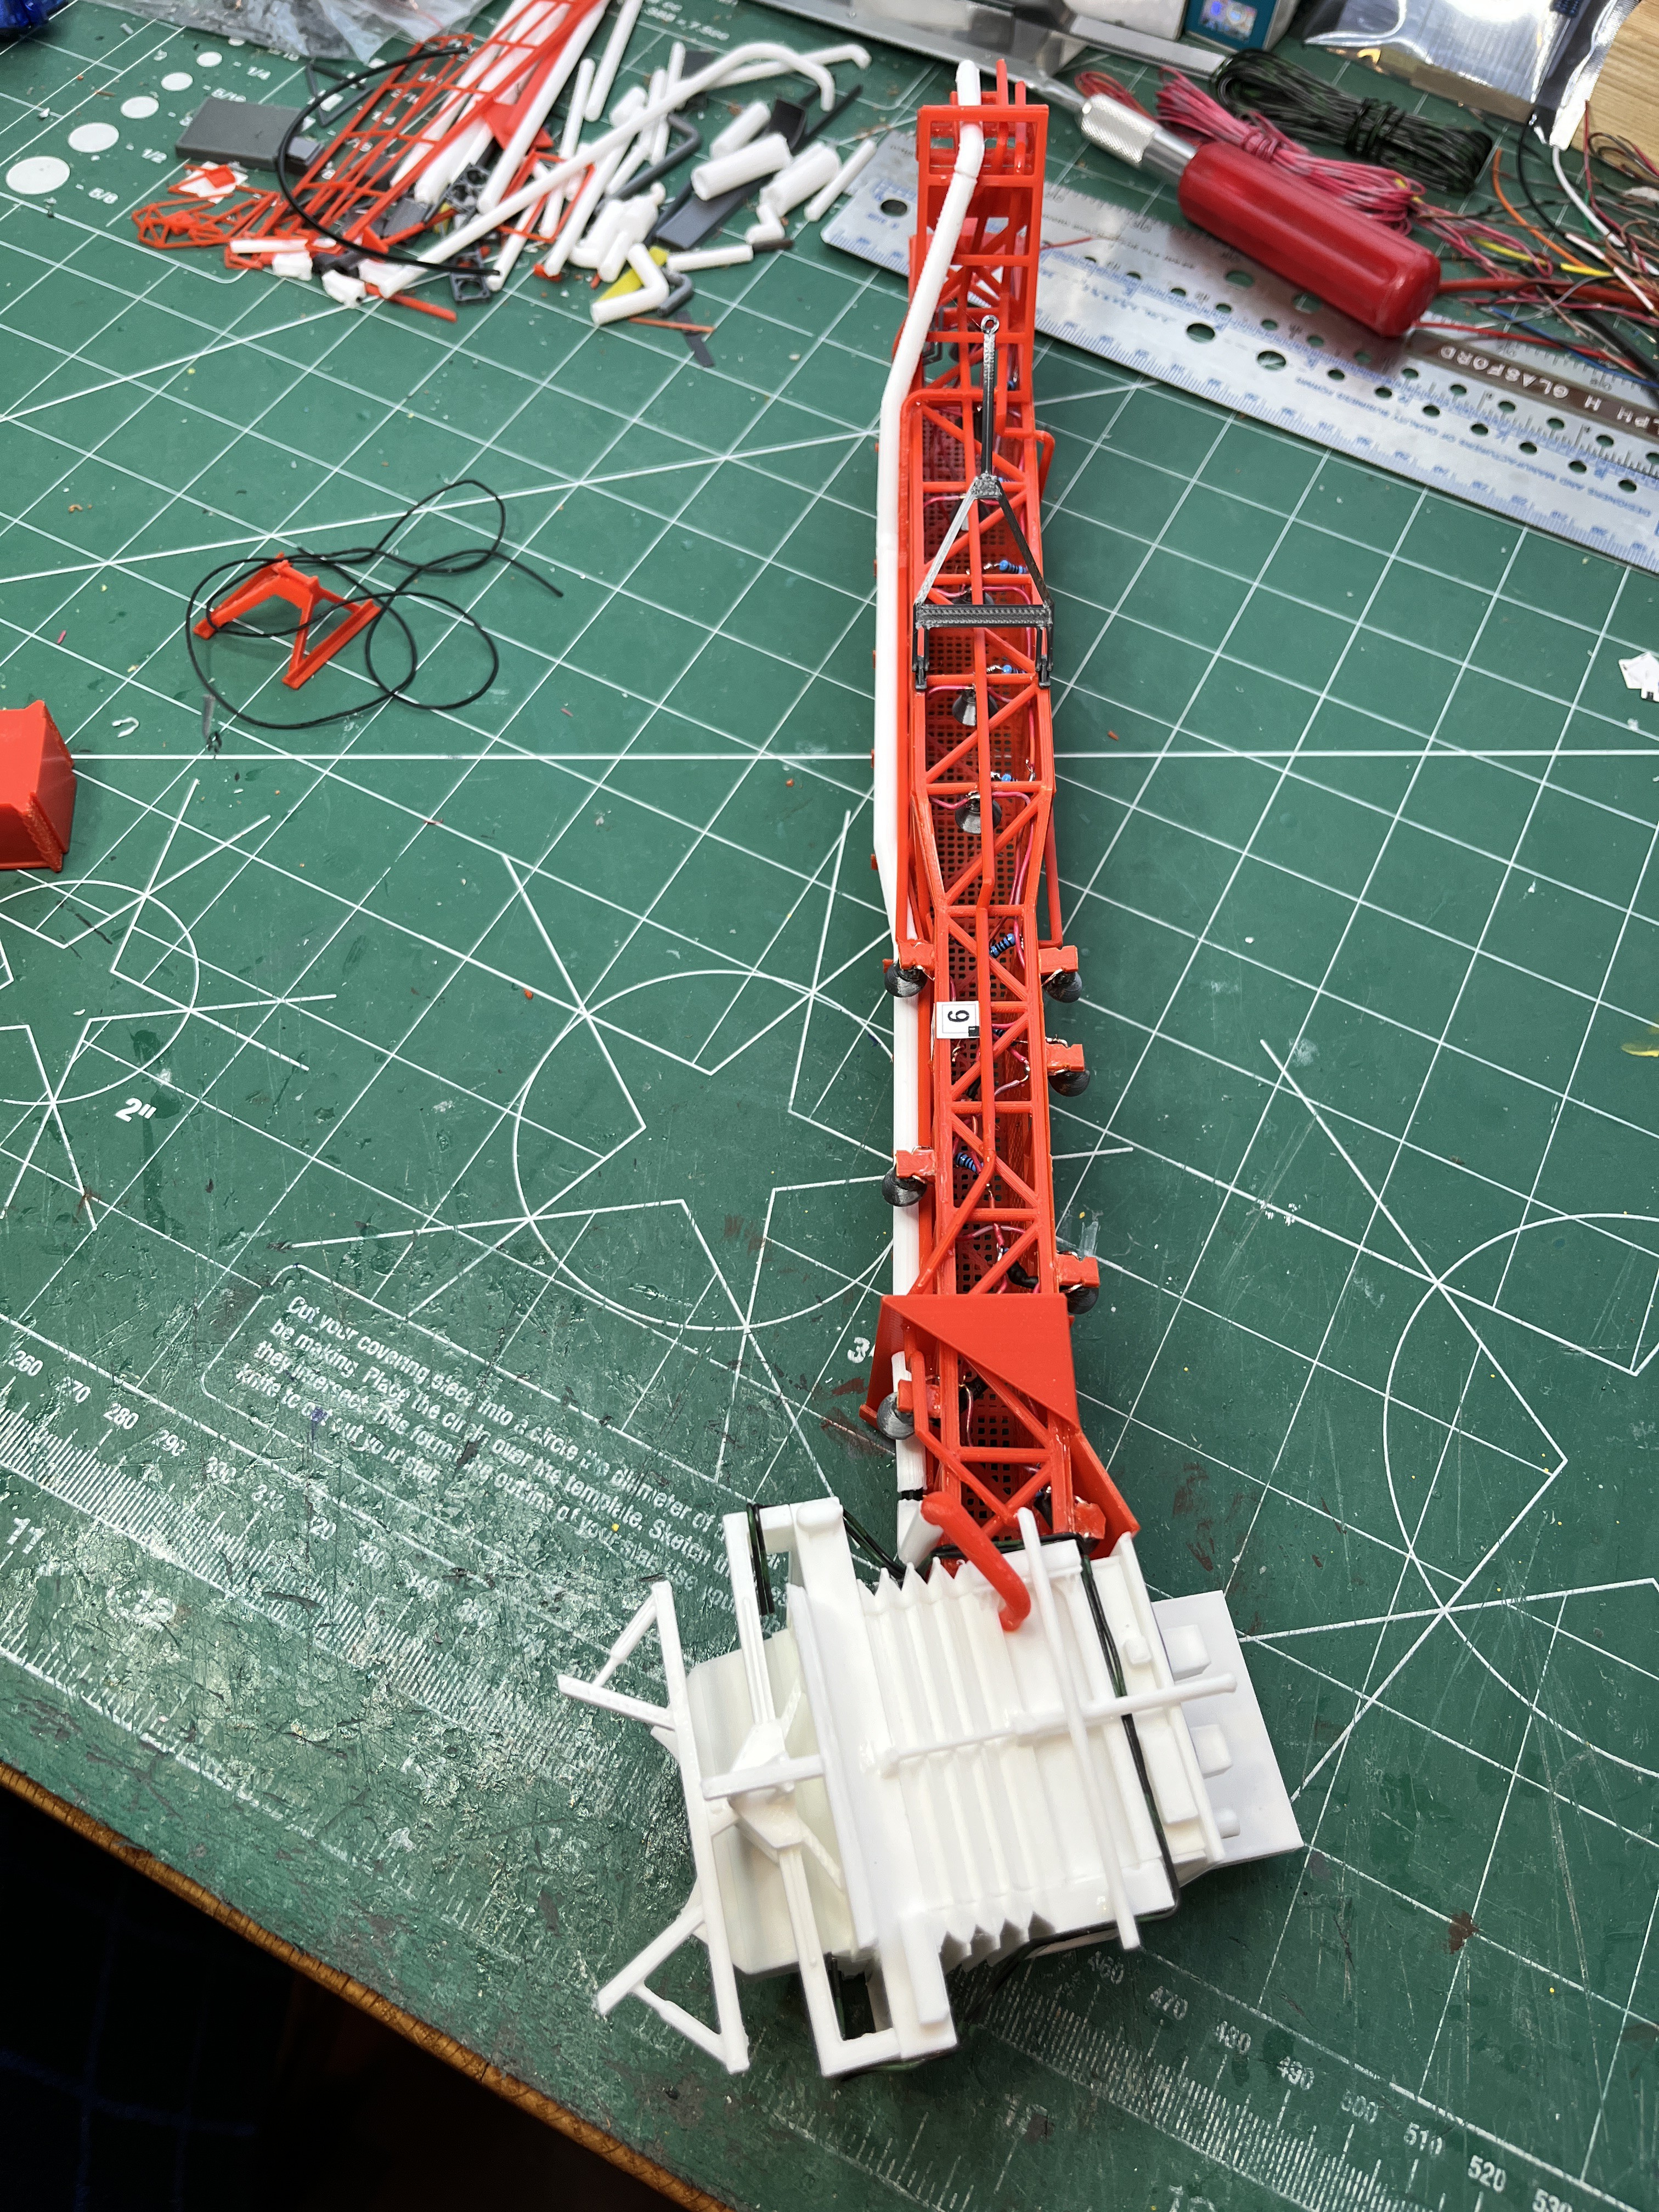
The white room was looking like a large white blob so I added some piping.


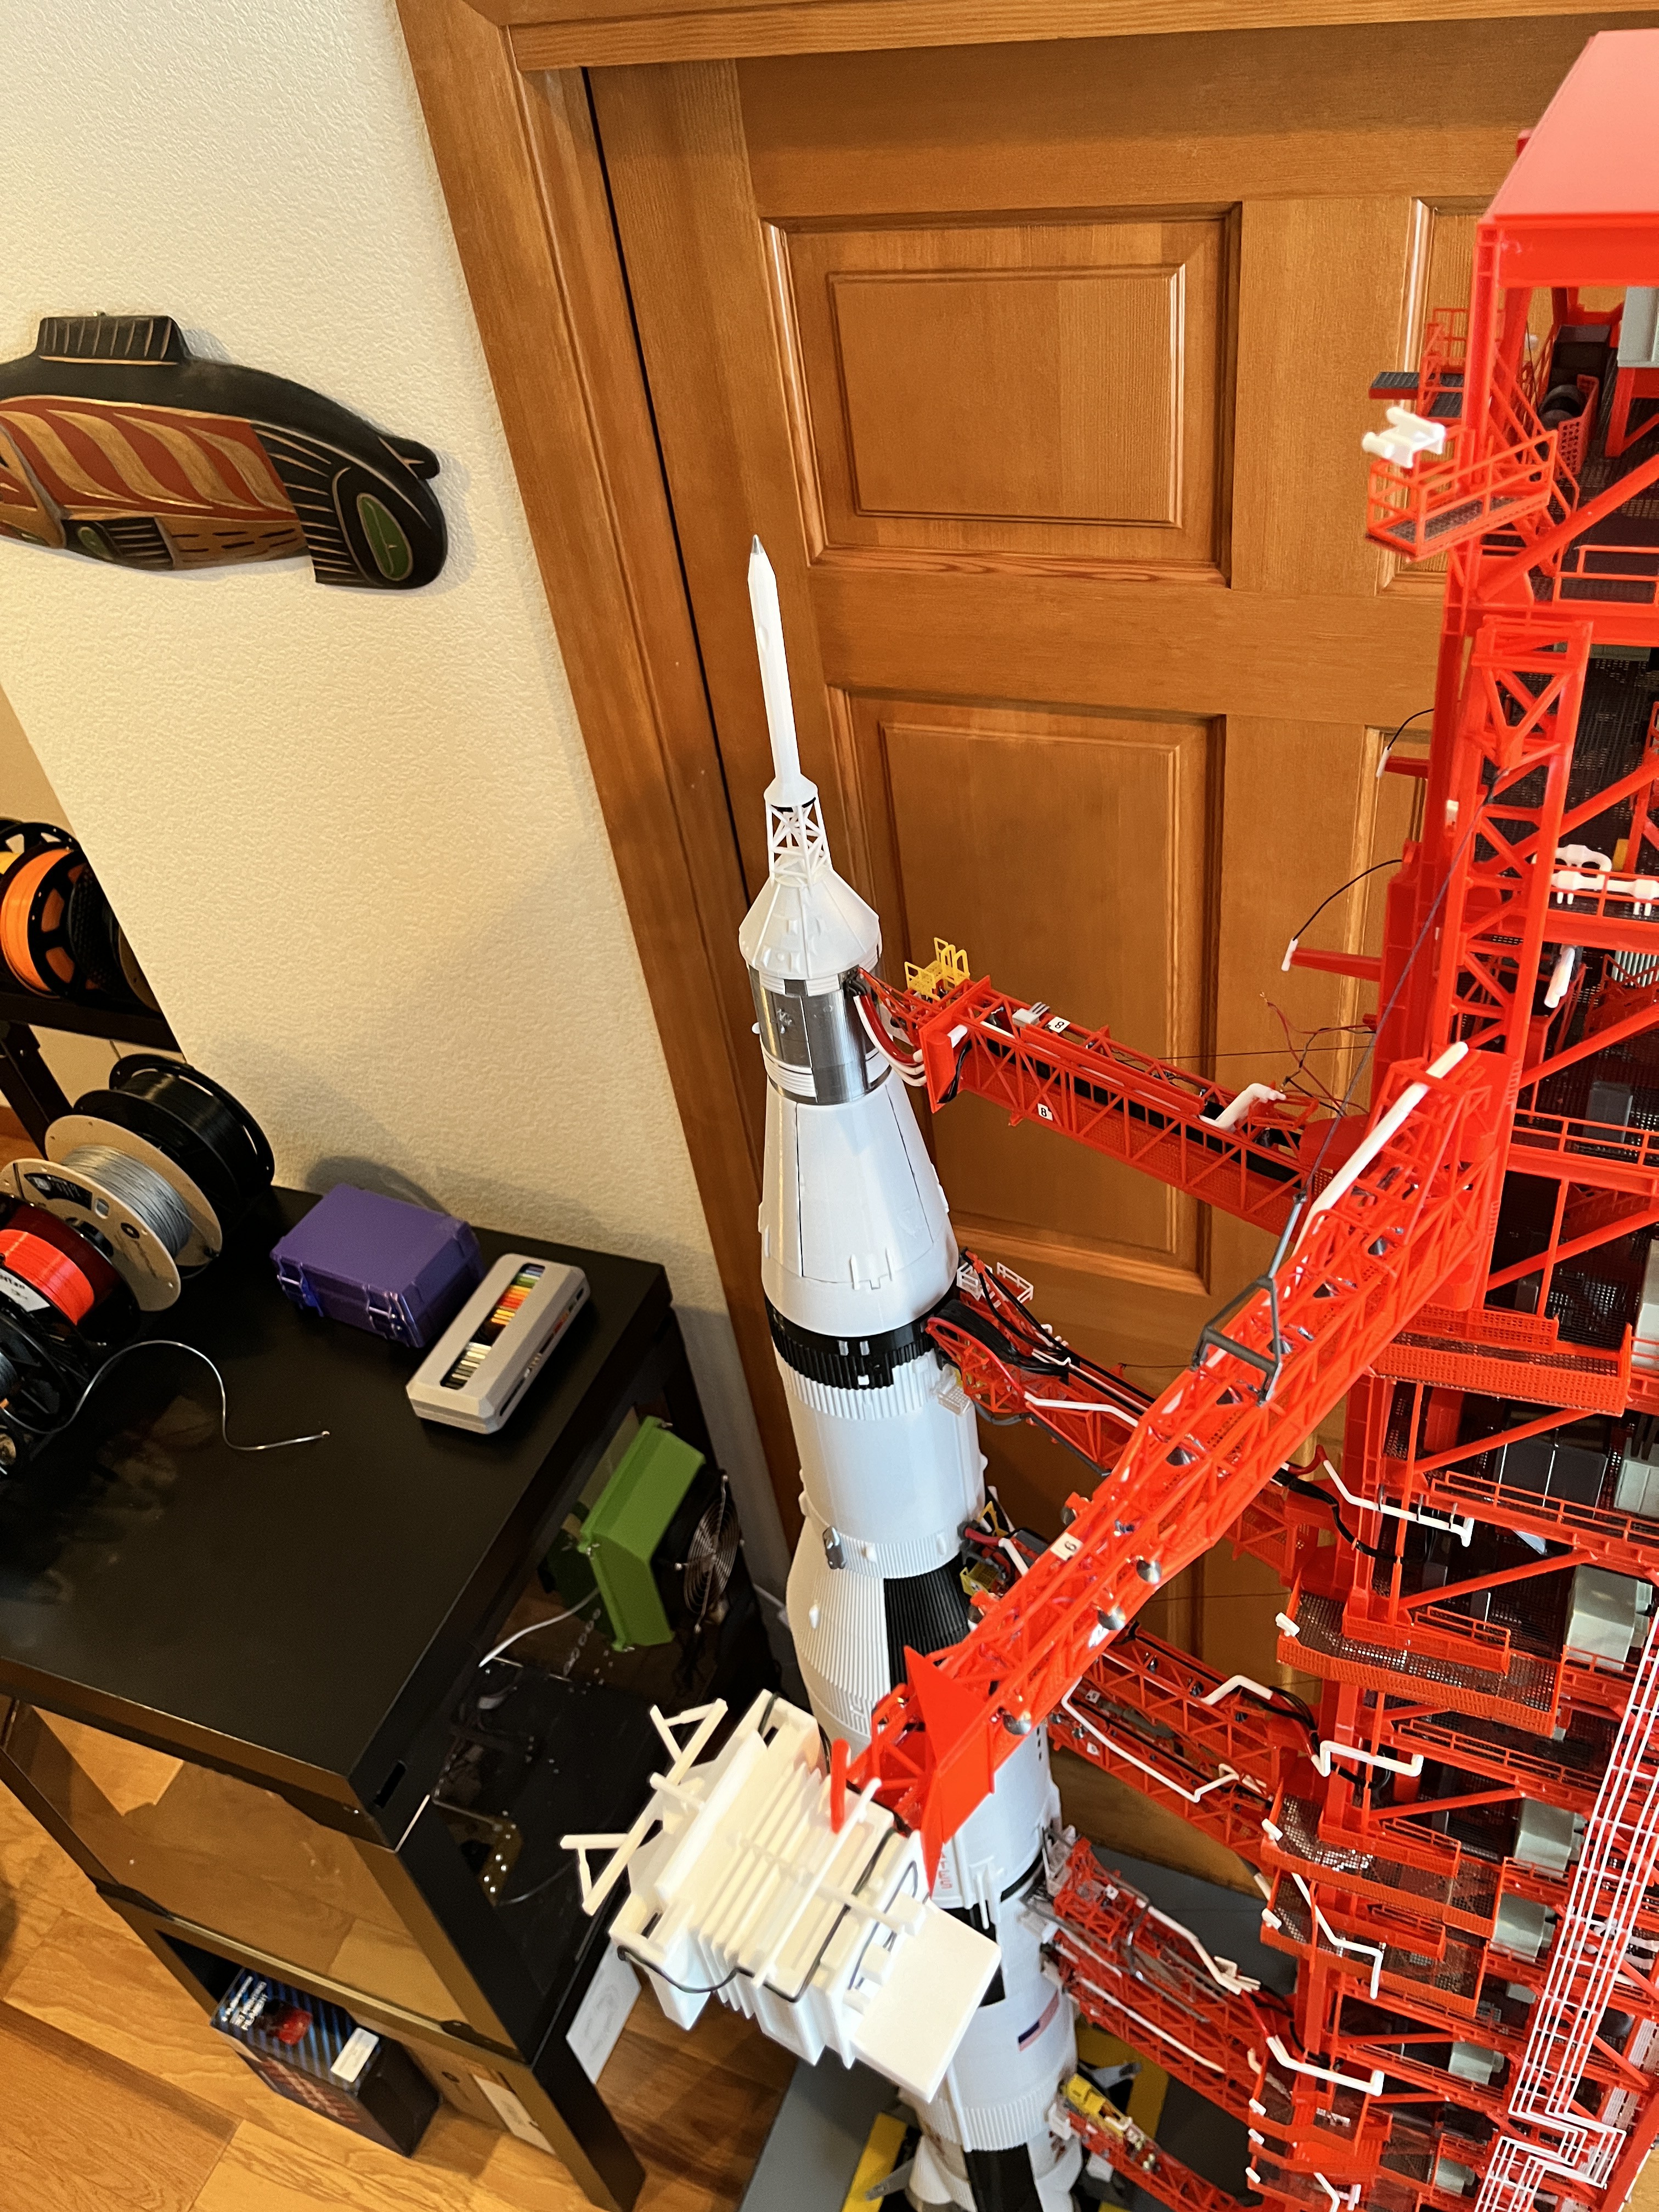
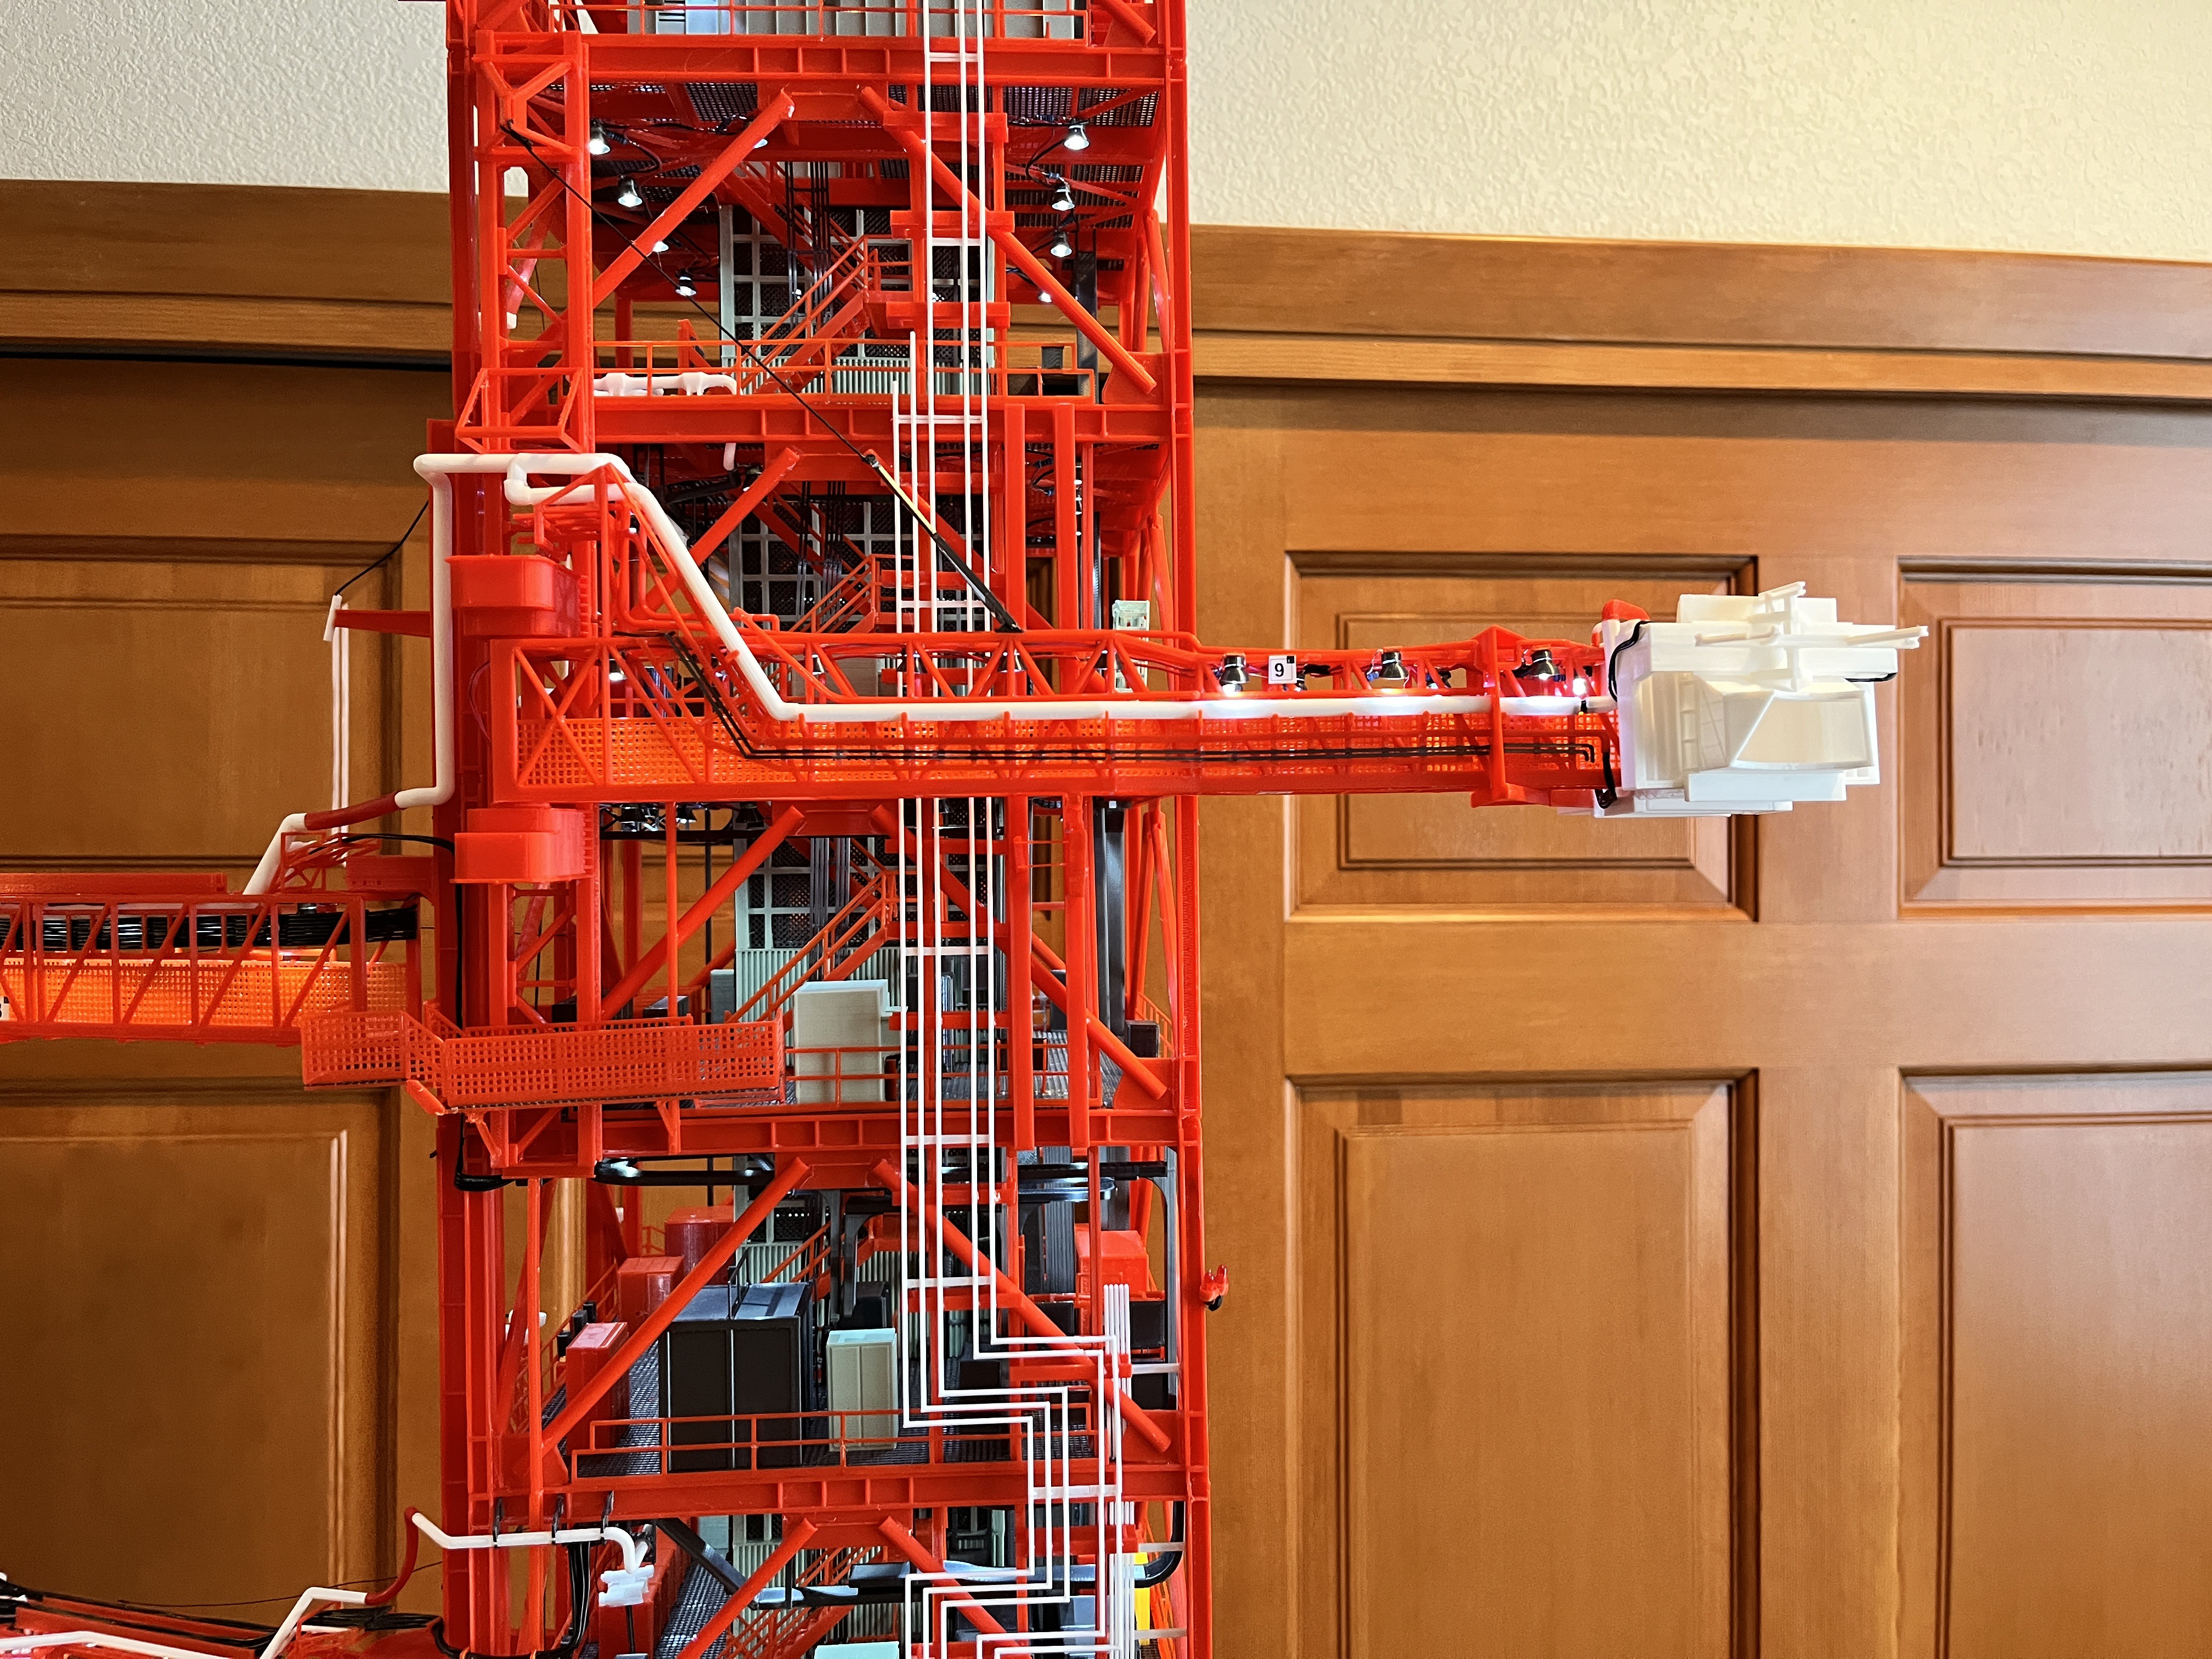
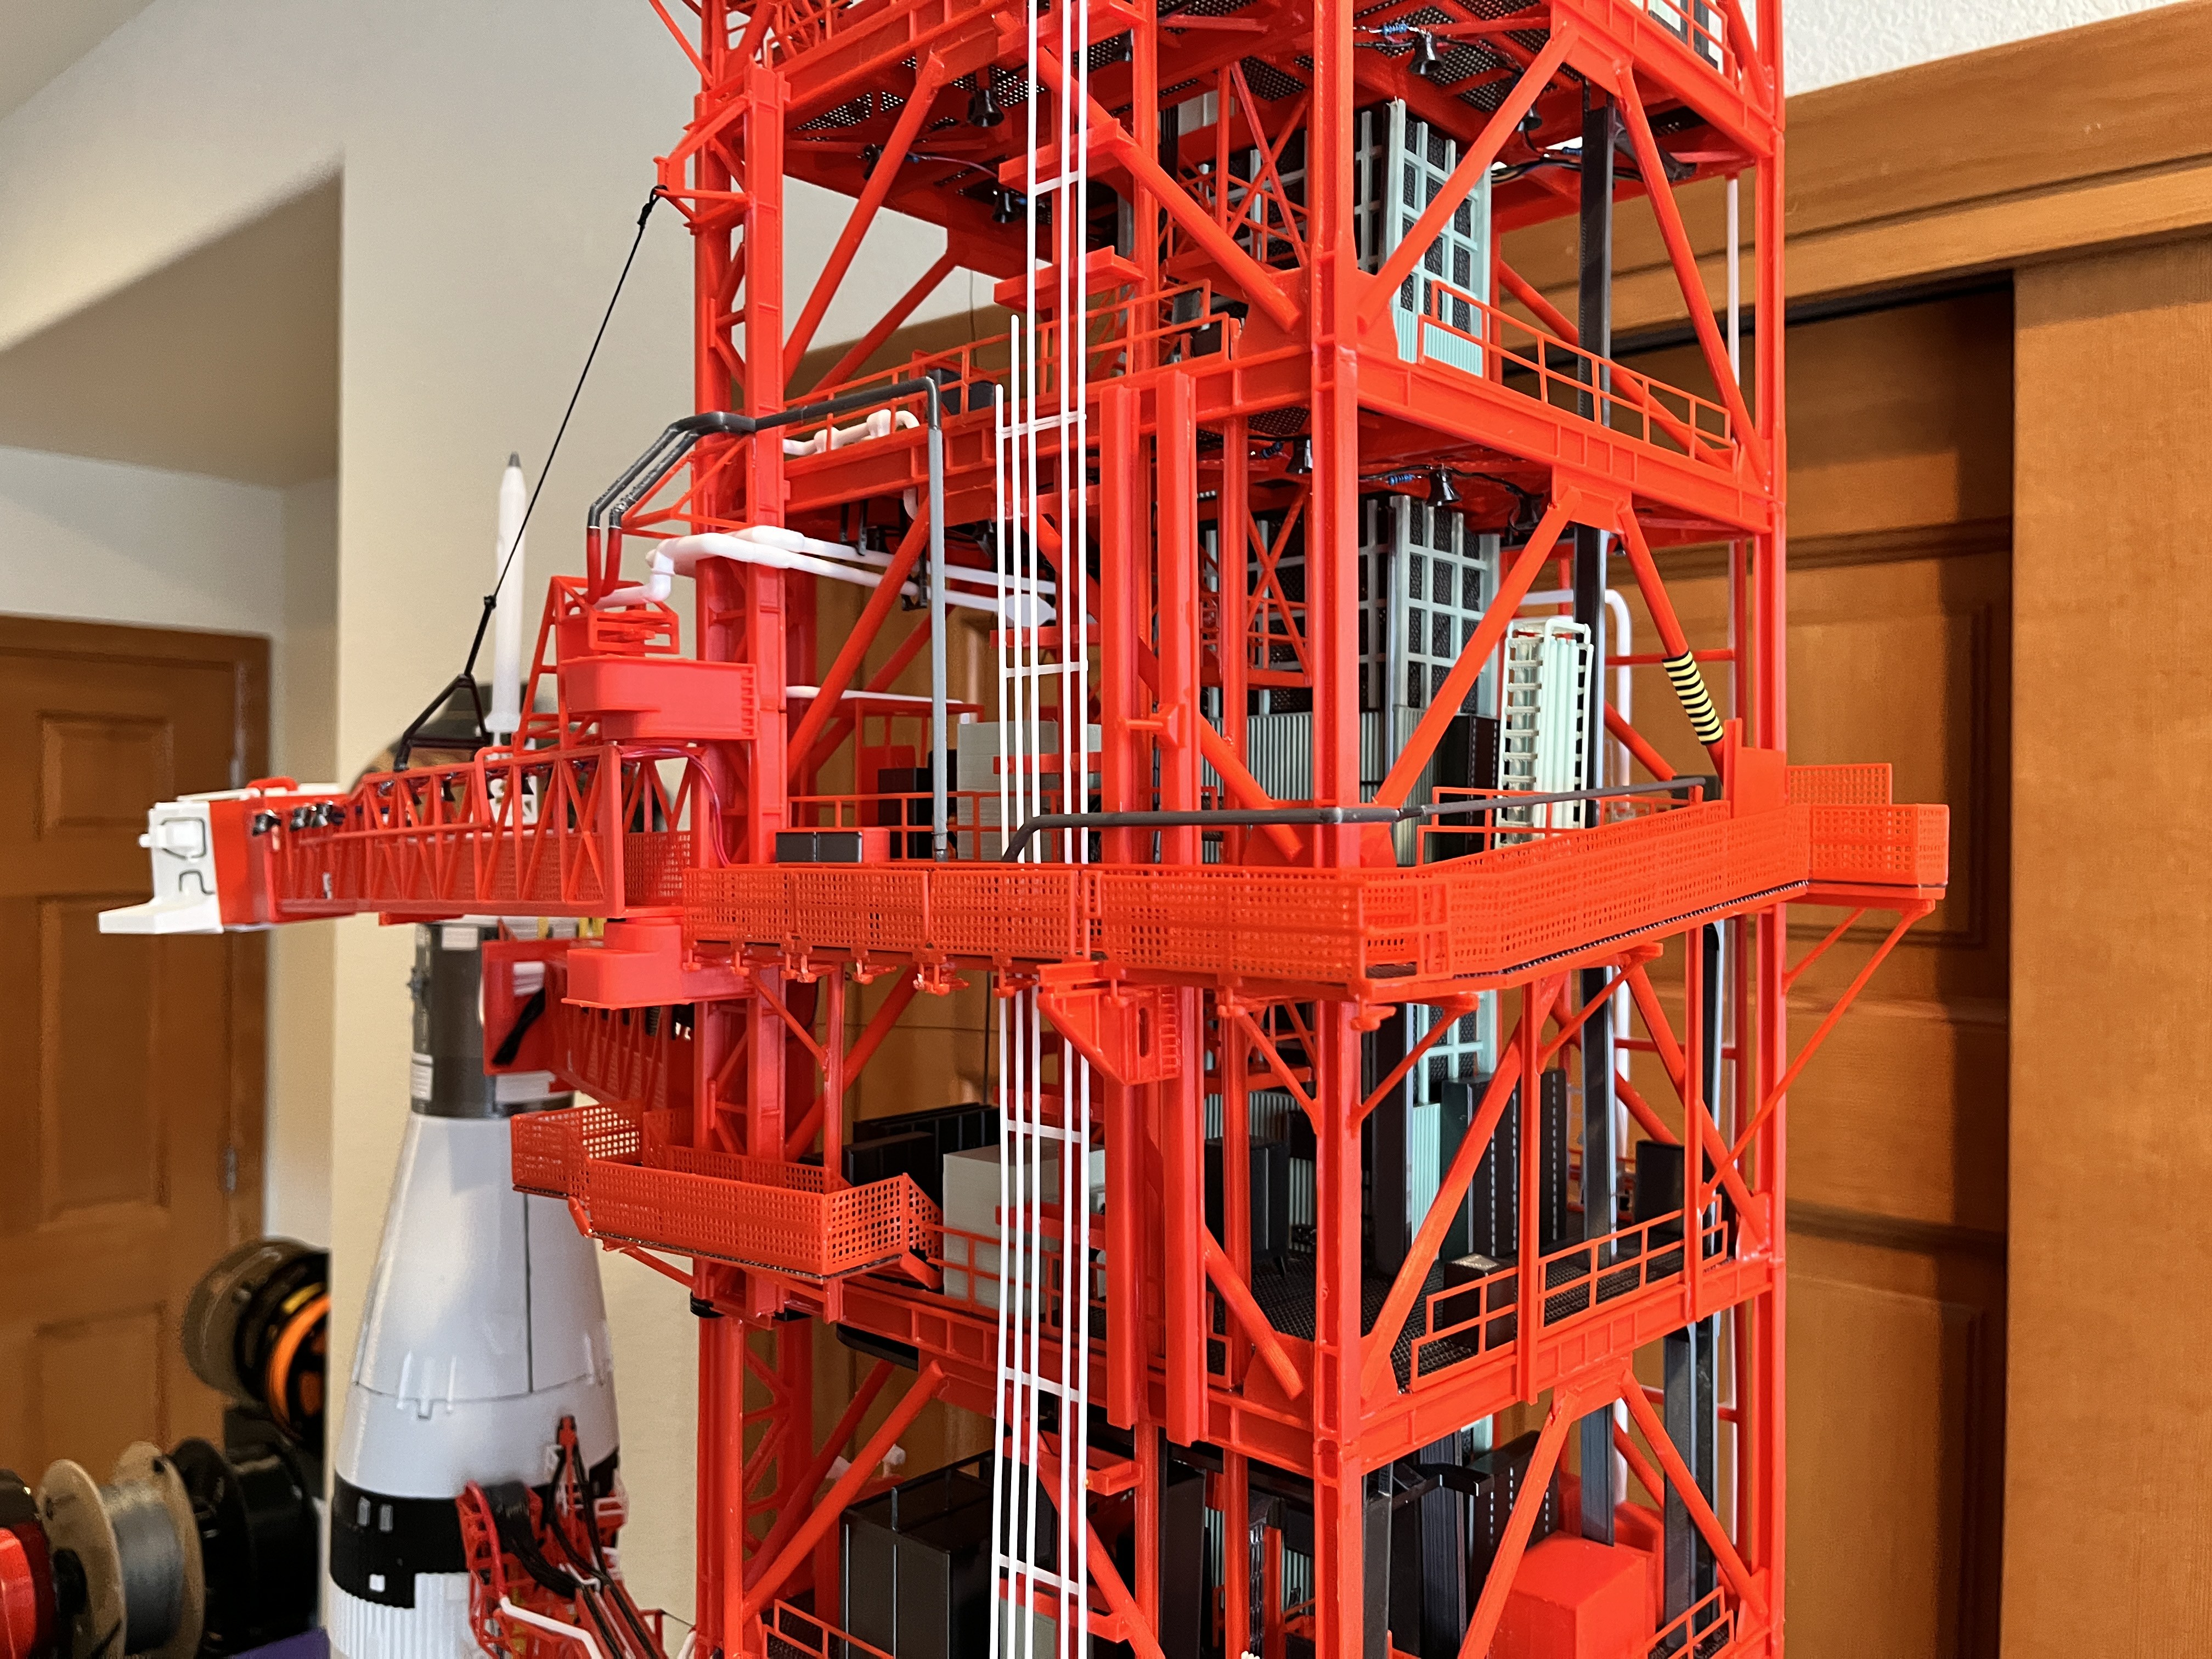
Swing Arm #9 is ready to be installed.


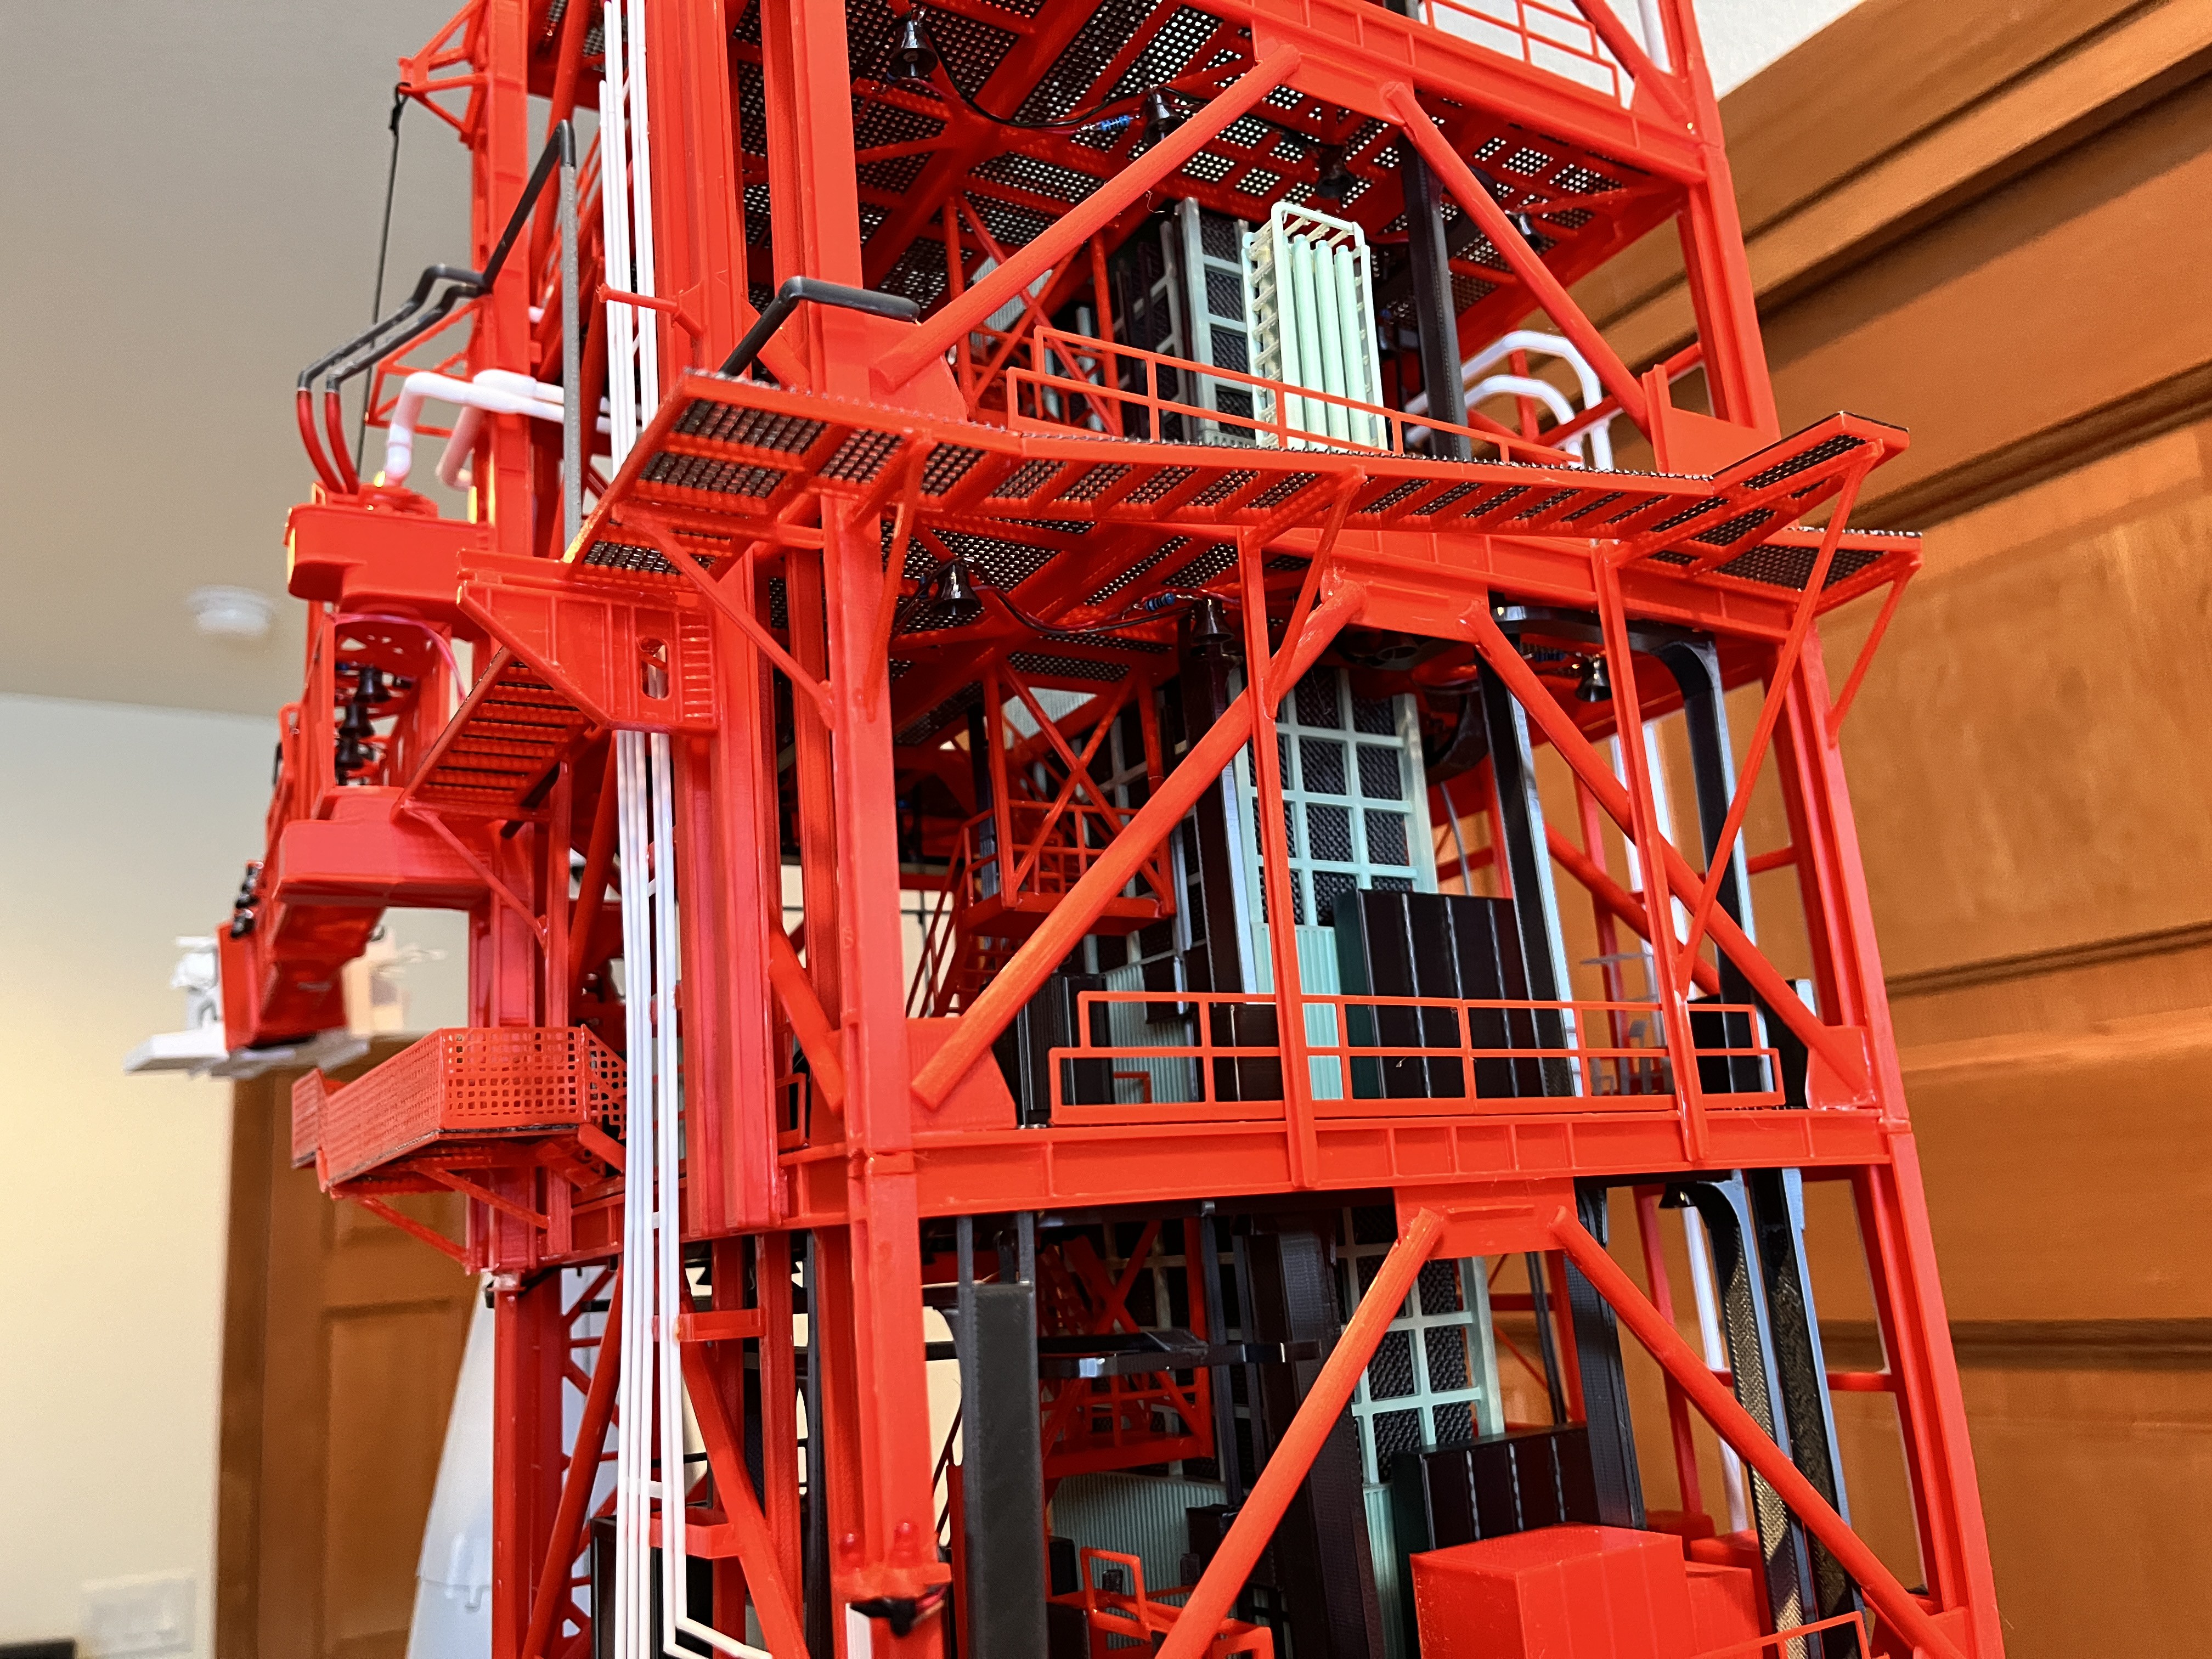
Swing Arm #9 is now installed. You can see it swung out as well as attached to the CM.


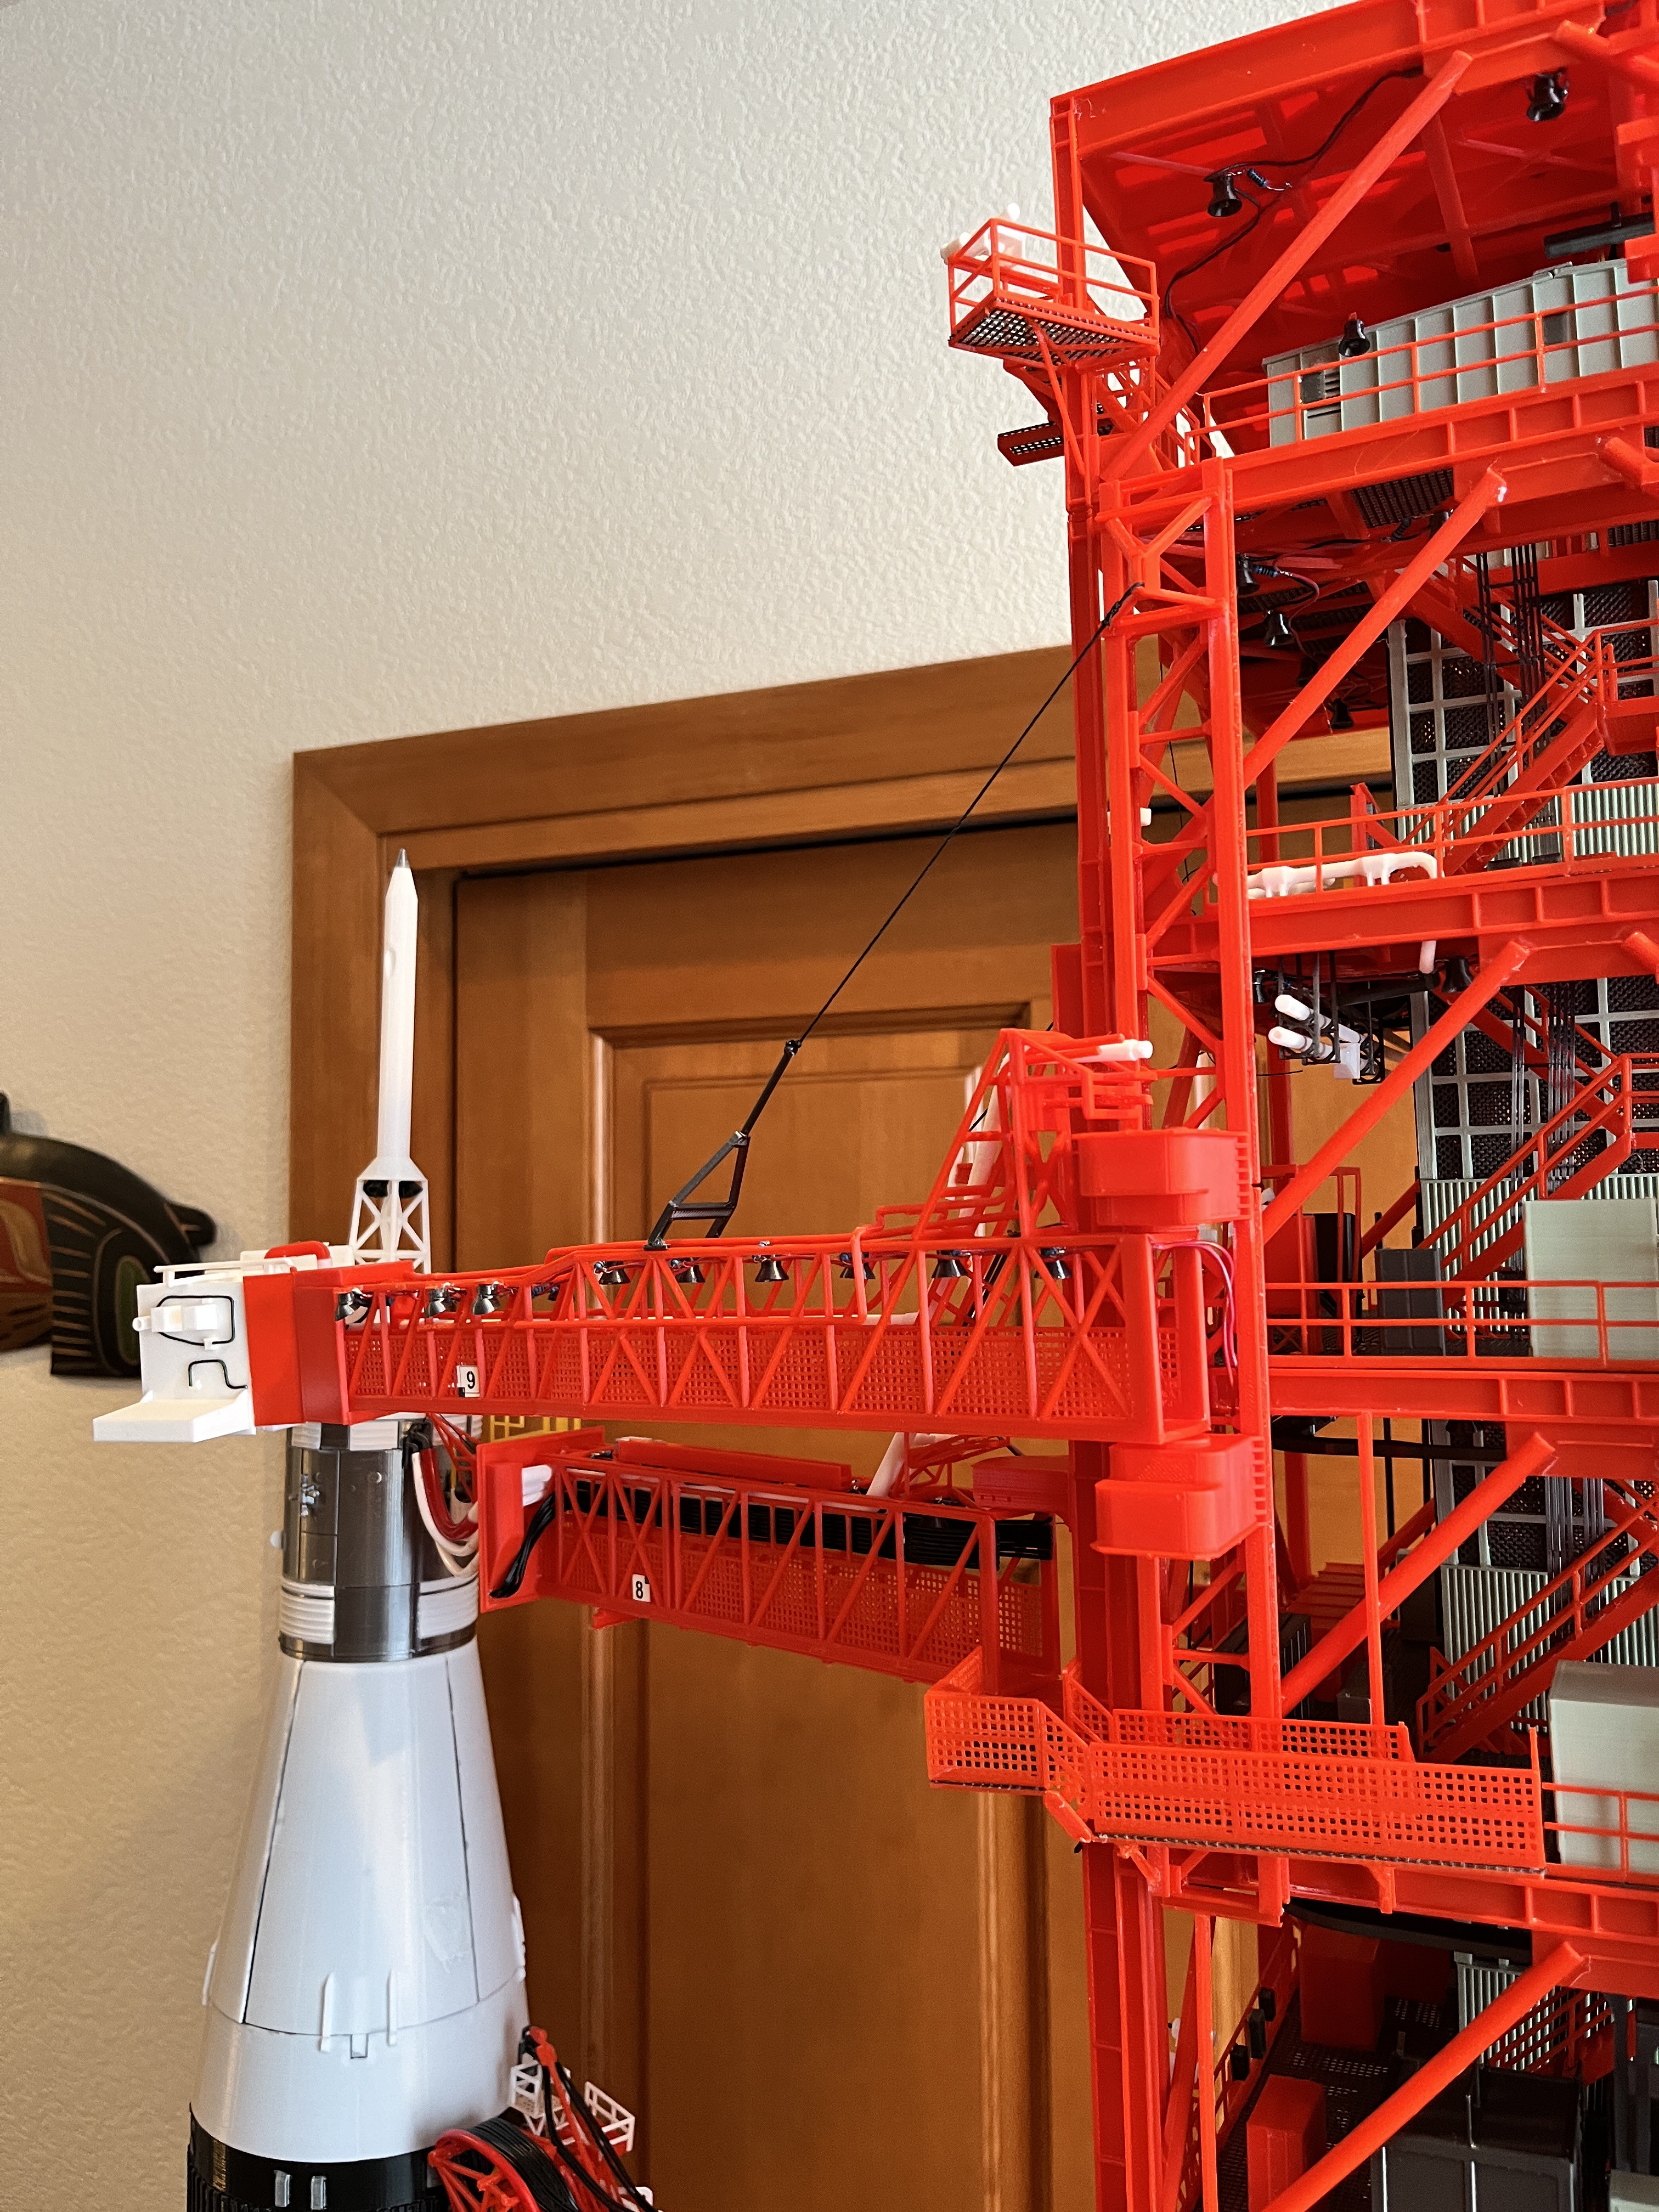

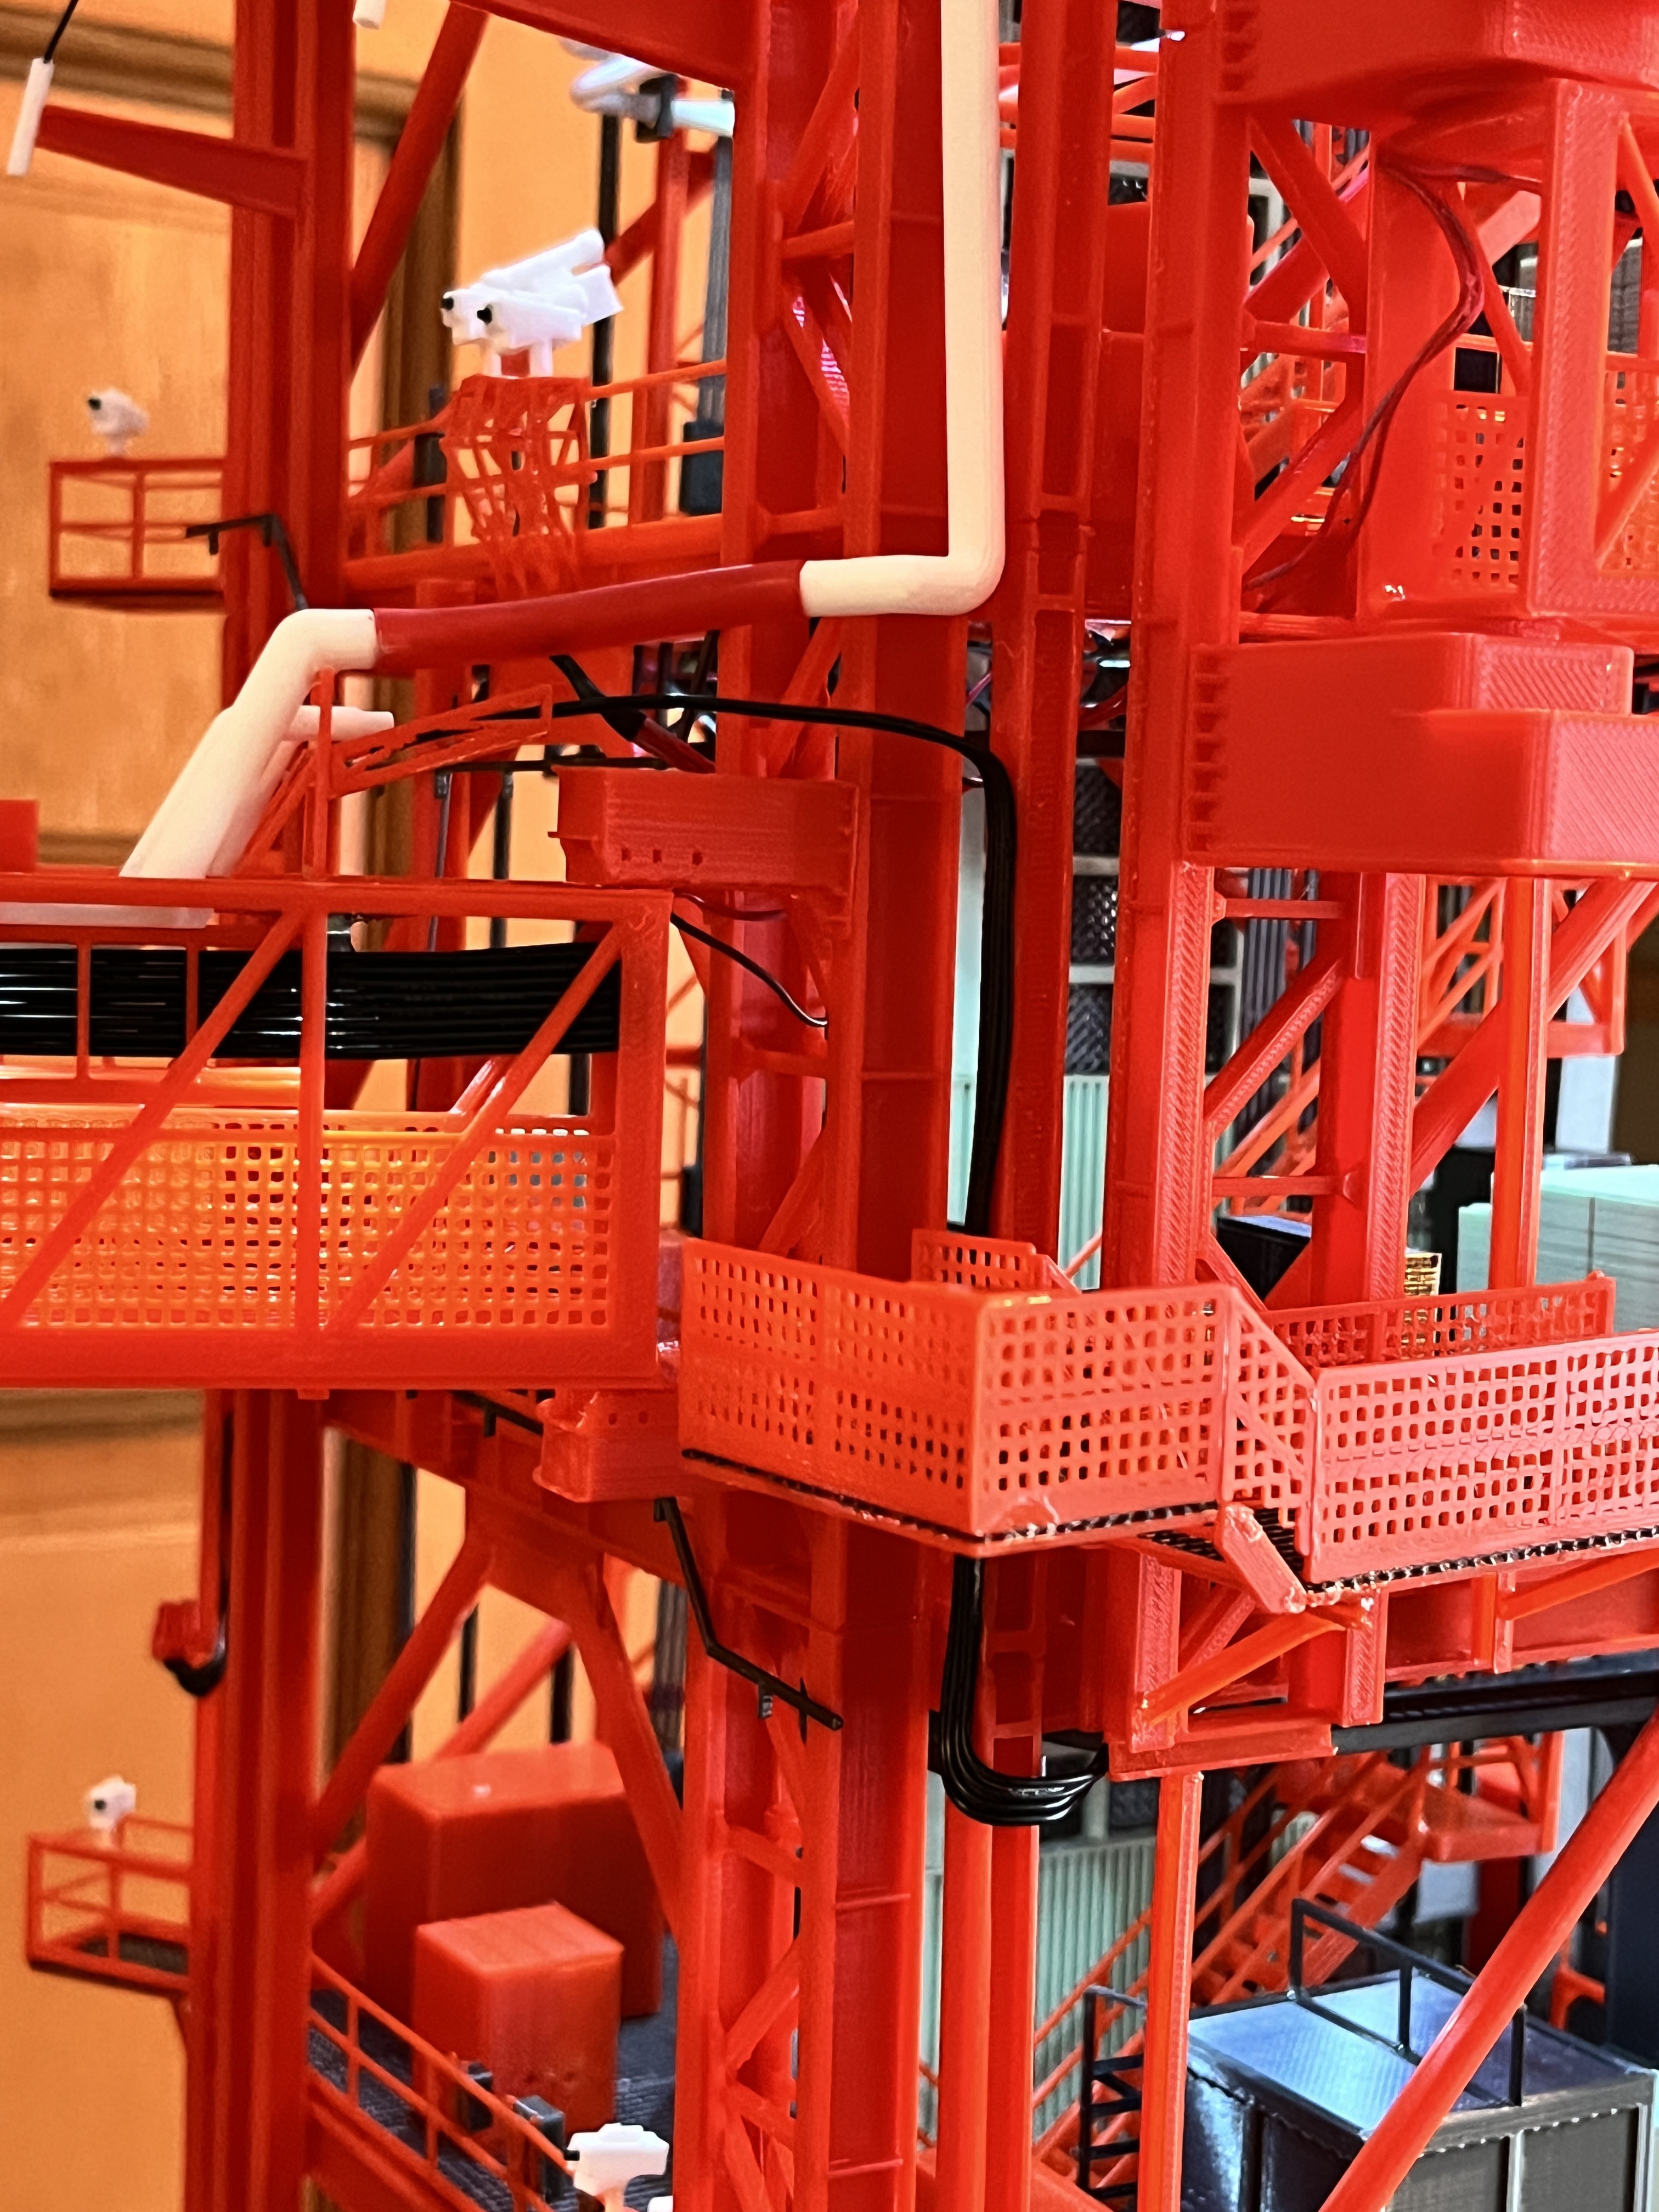
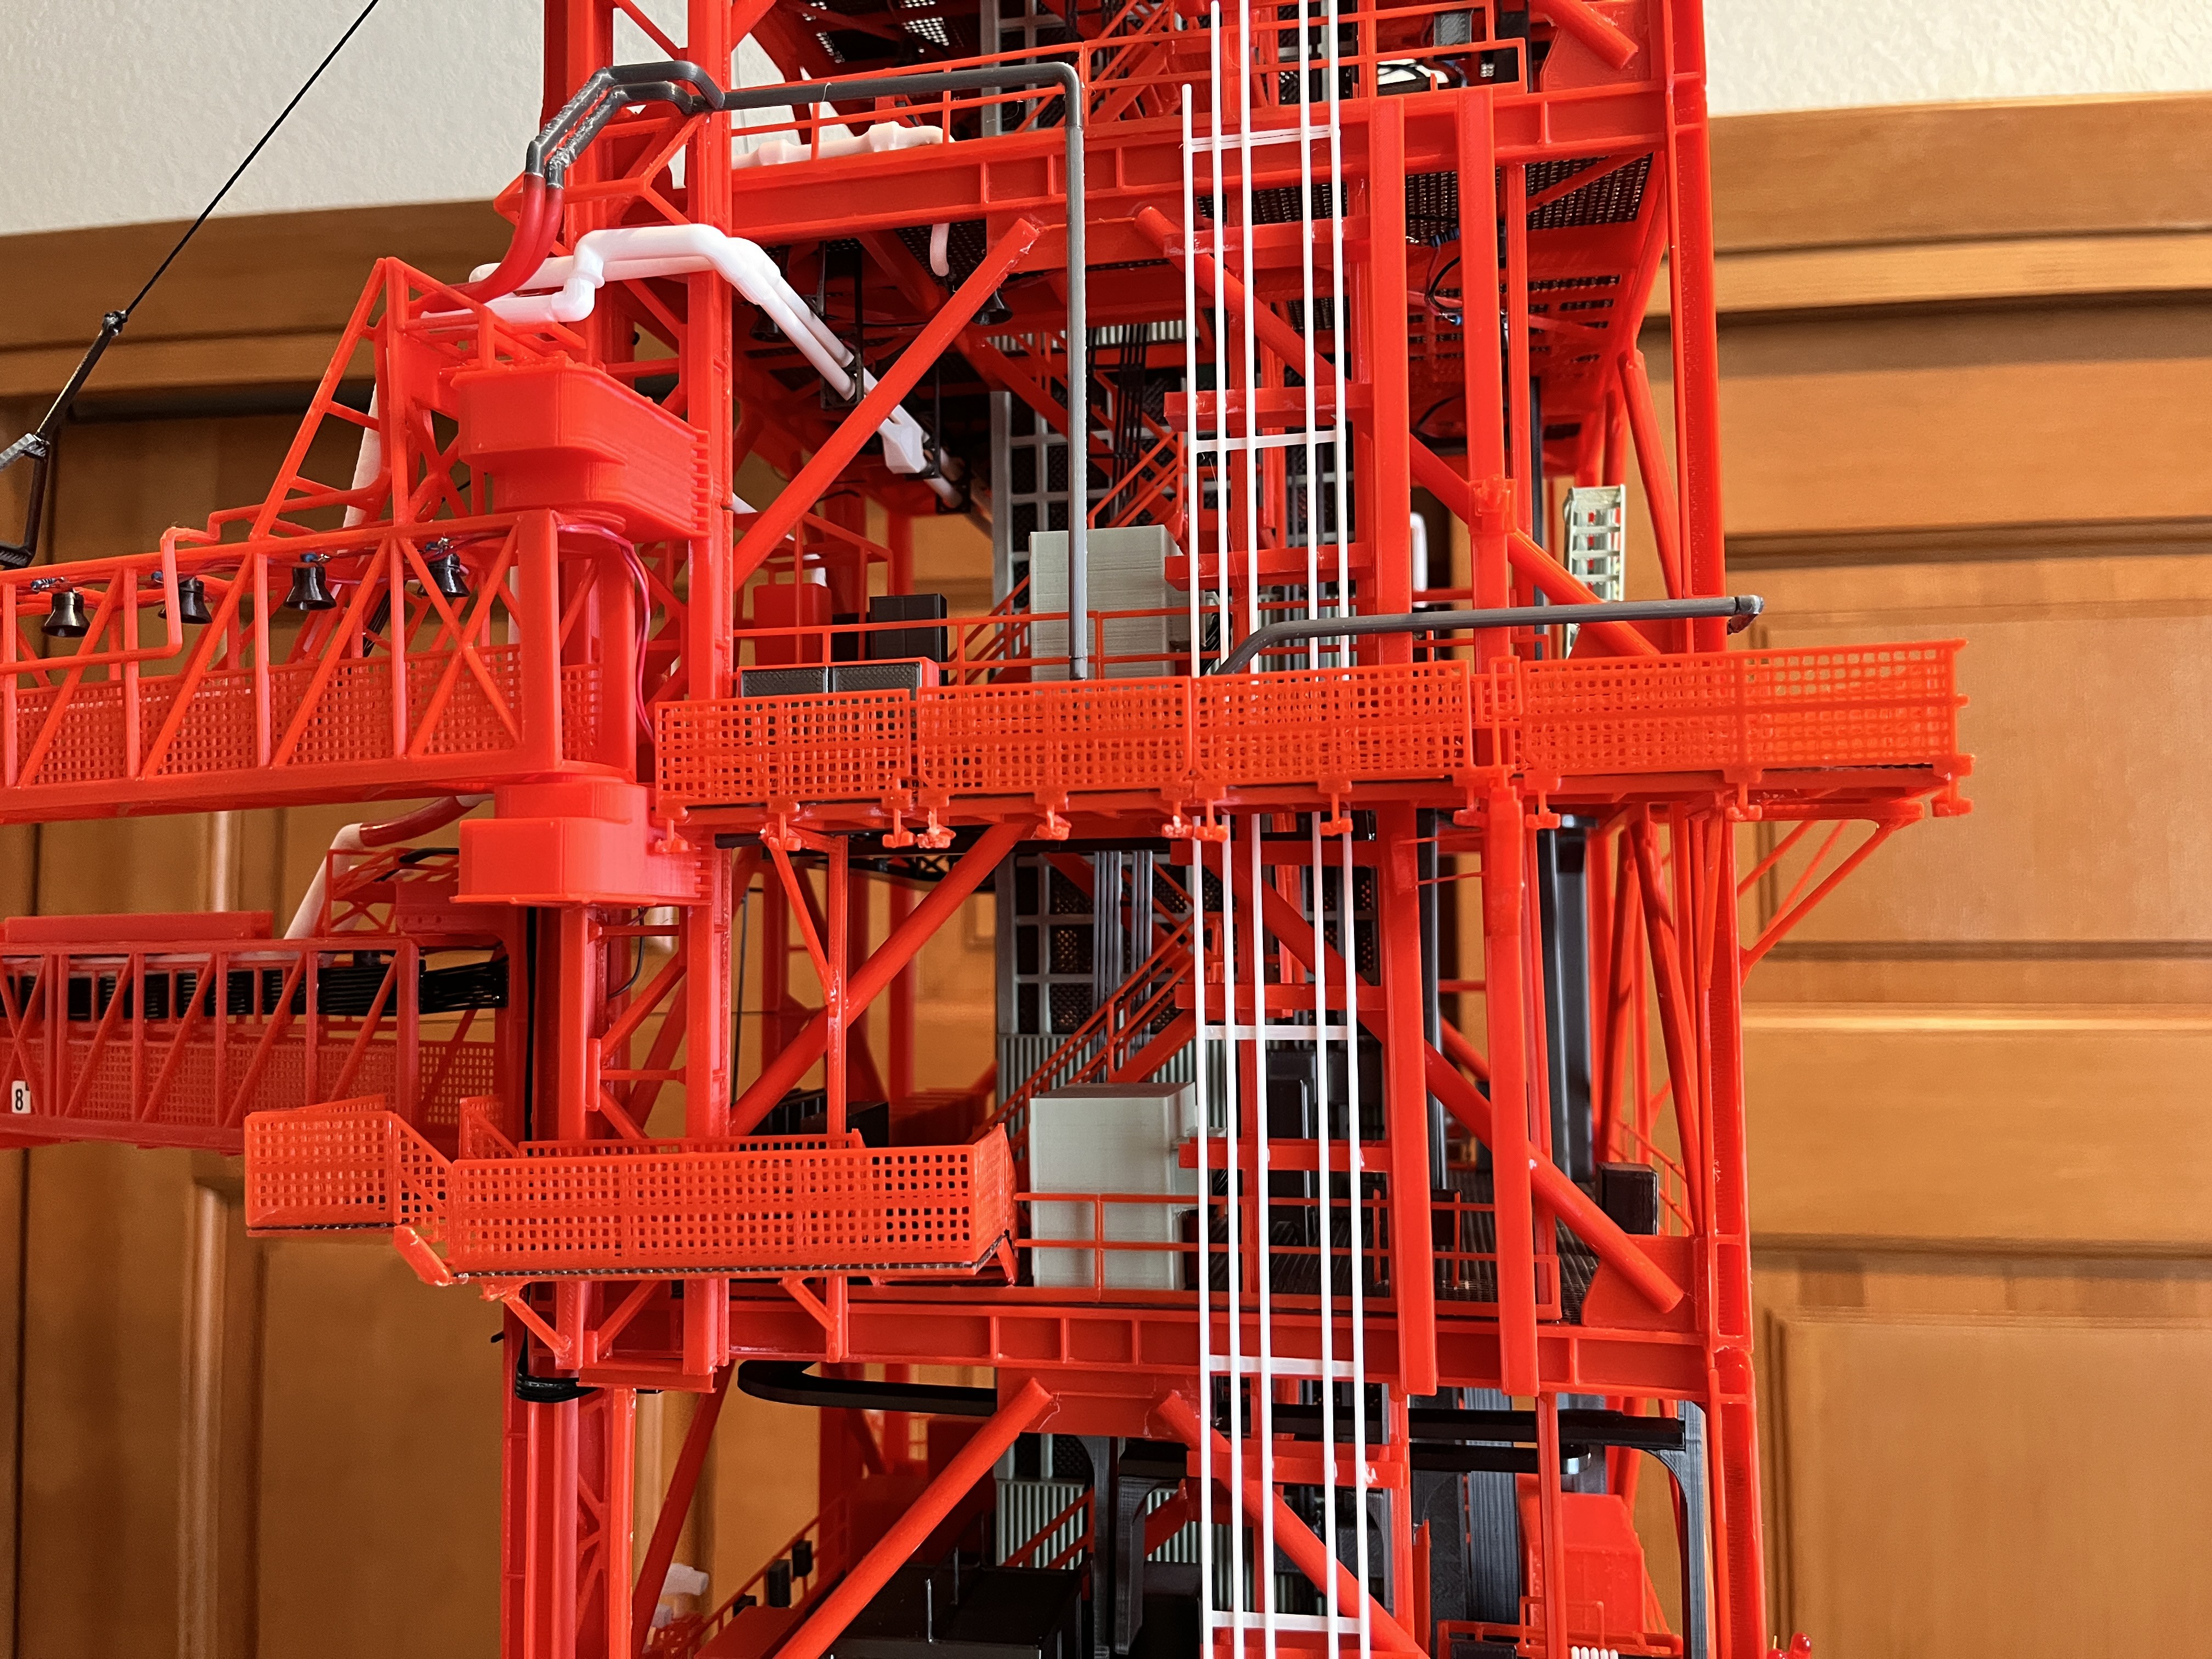
Before adding the SA9 walkway there are a few pipes that need to be added. Here are the pipes going to SA8.
Another thing to add before the walkway goes on is the latchback mechanism. This is a good time to swing SA9 completely around to get the mechanism in the correct location. There is a gap in the walkway and the walkway is level with the top of the mechanism.
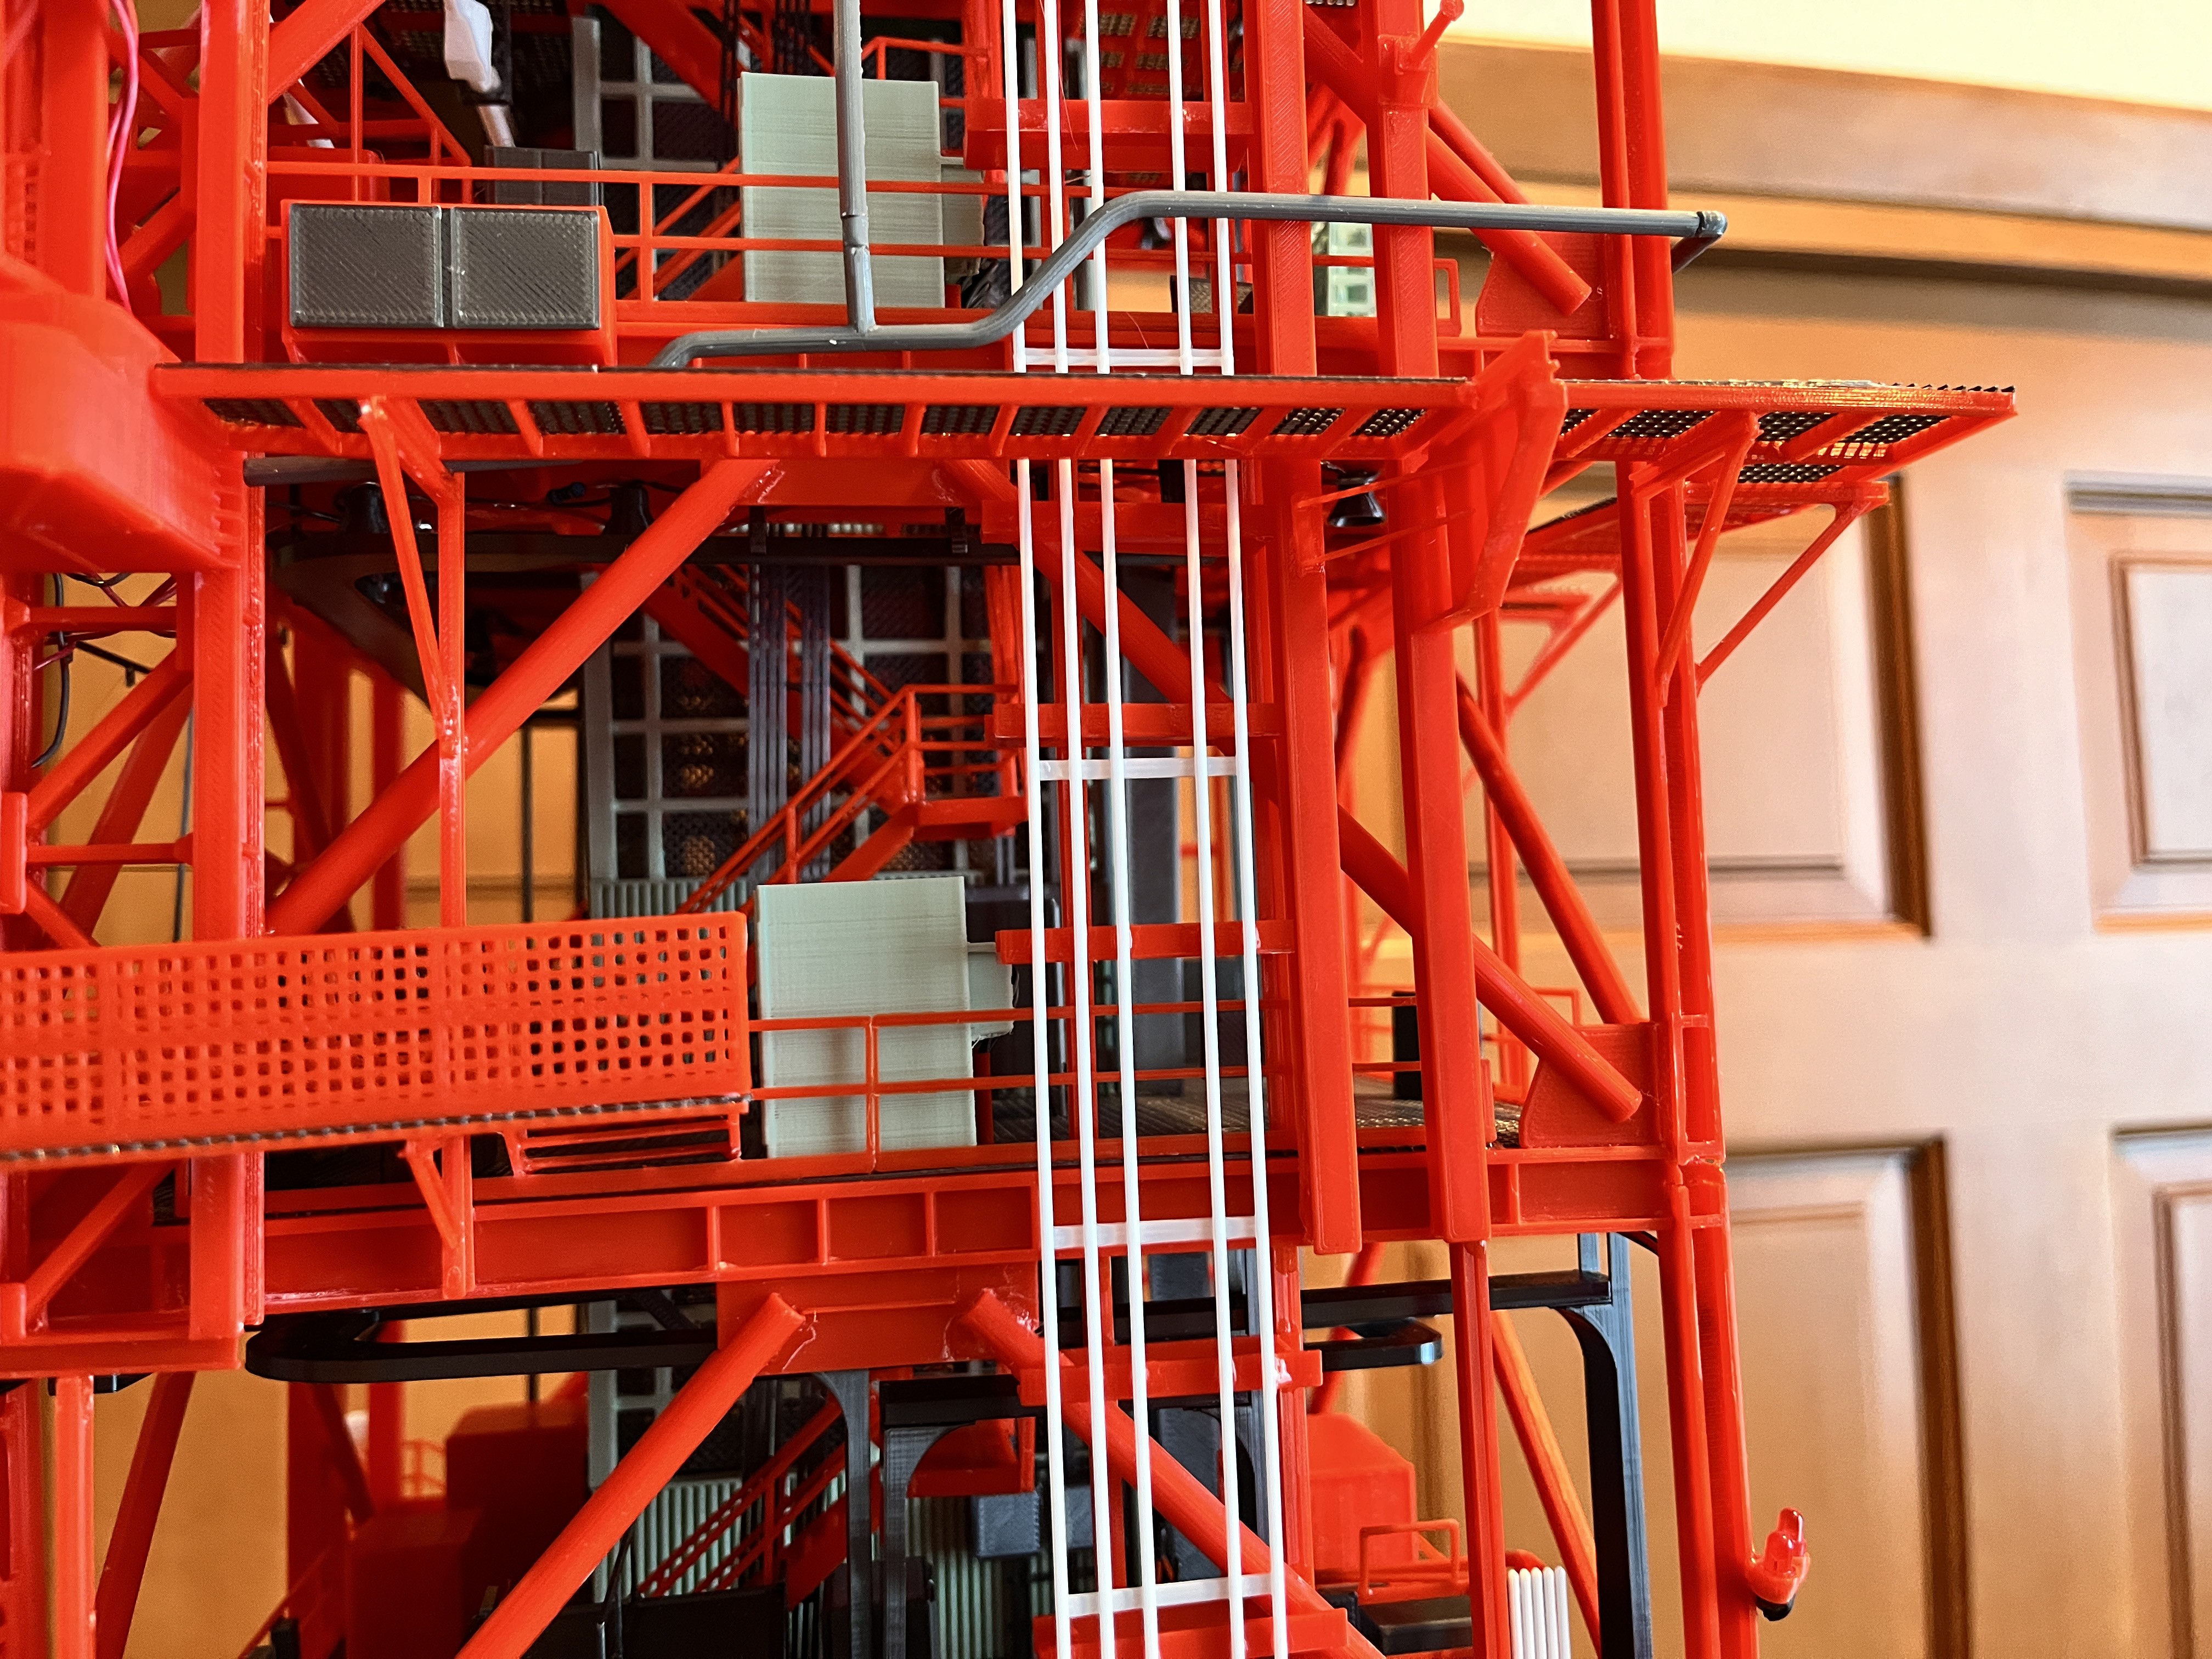
And here is the installed walkway without the railings. Notice on side 4 there is a control console mounted to the floor I-beams. This walkway is not only the most complex, you have to be careful because it is right at the break between section #6 and section.

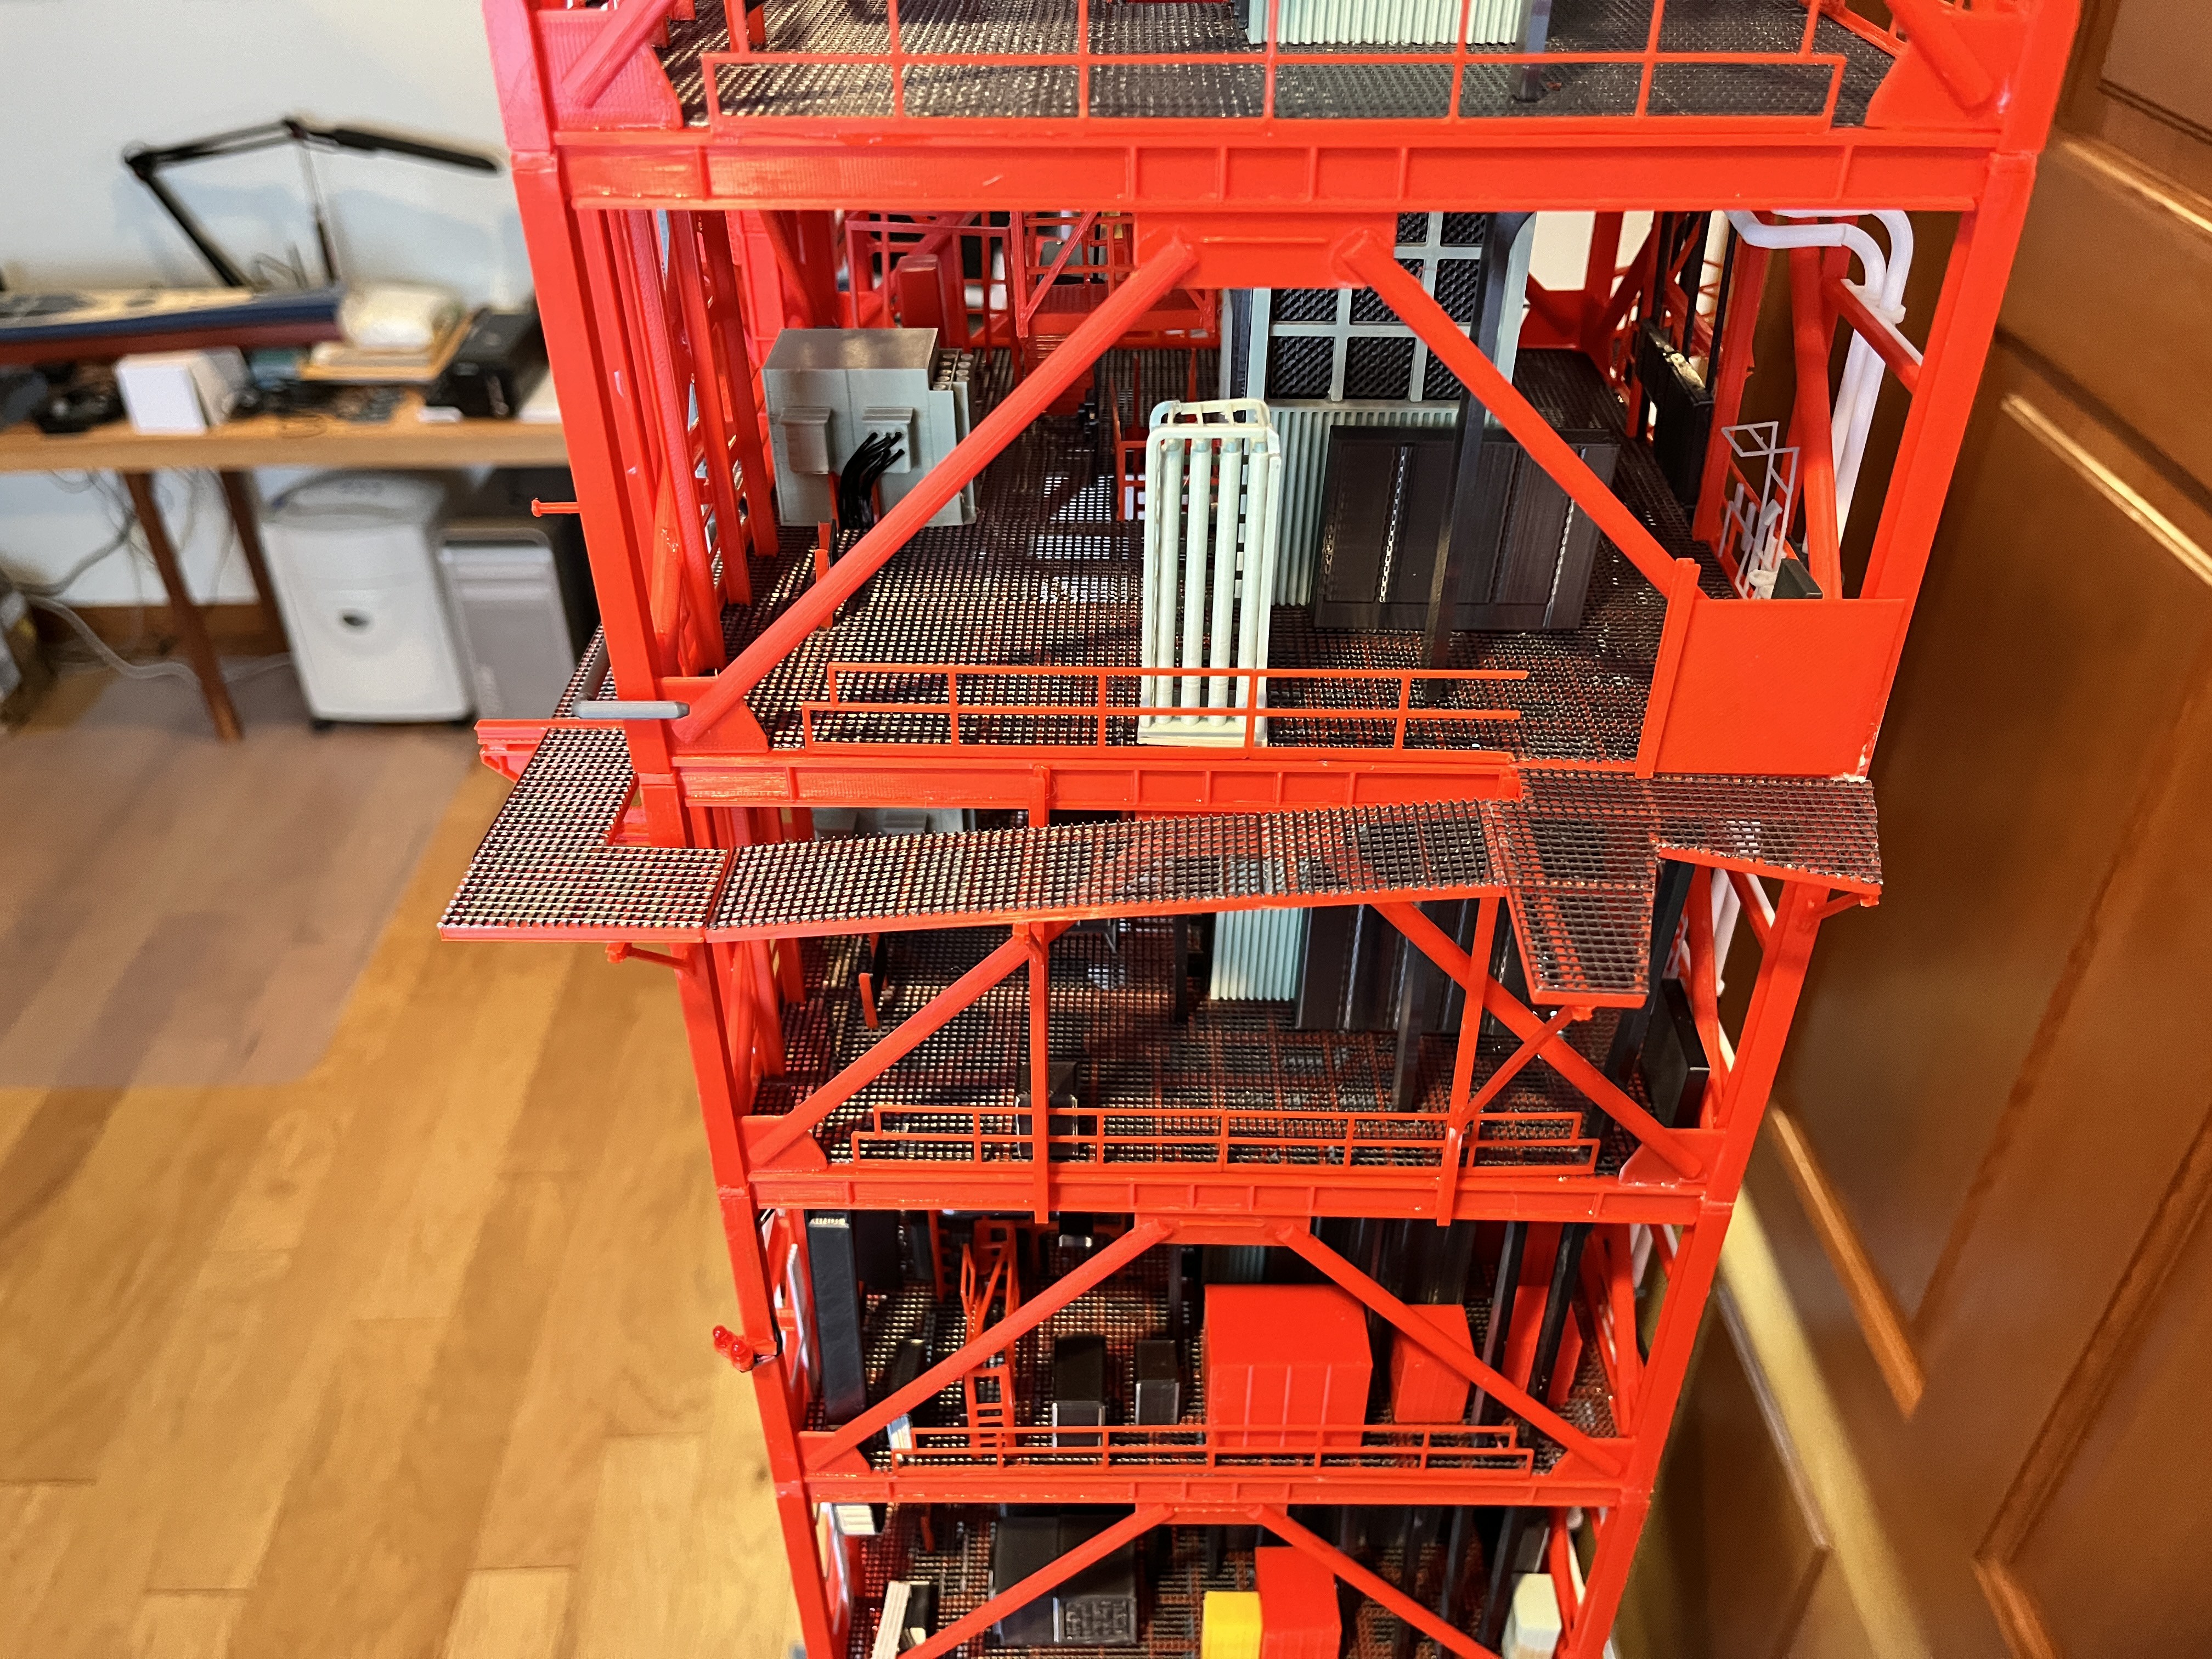
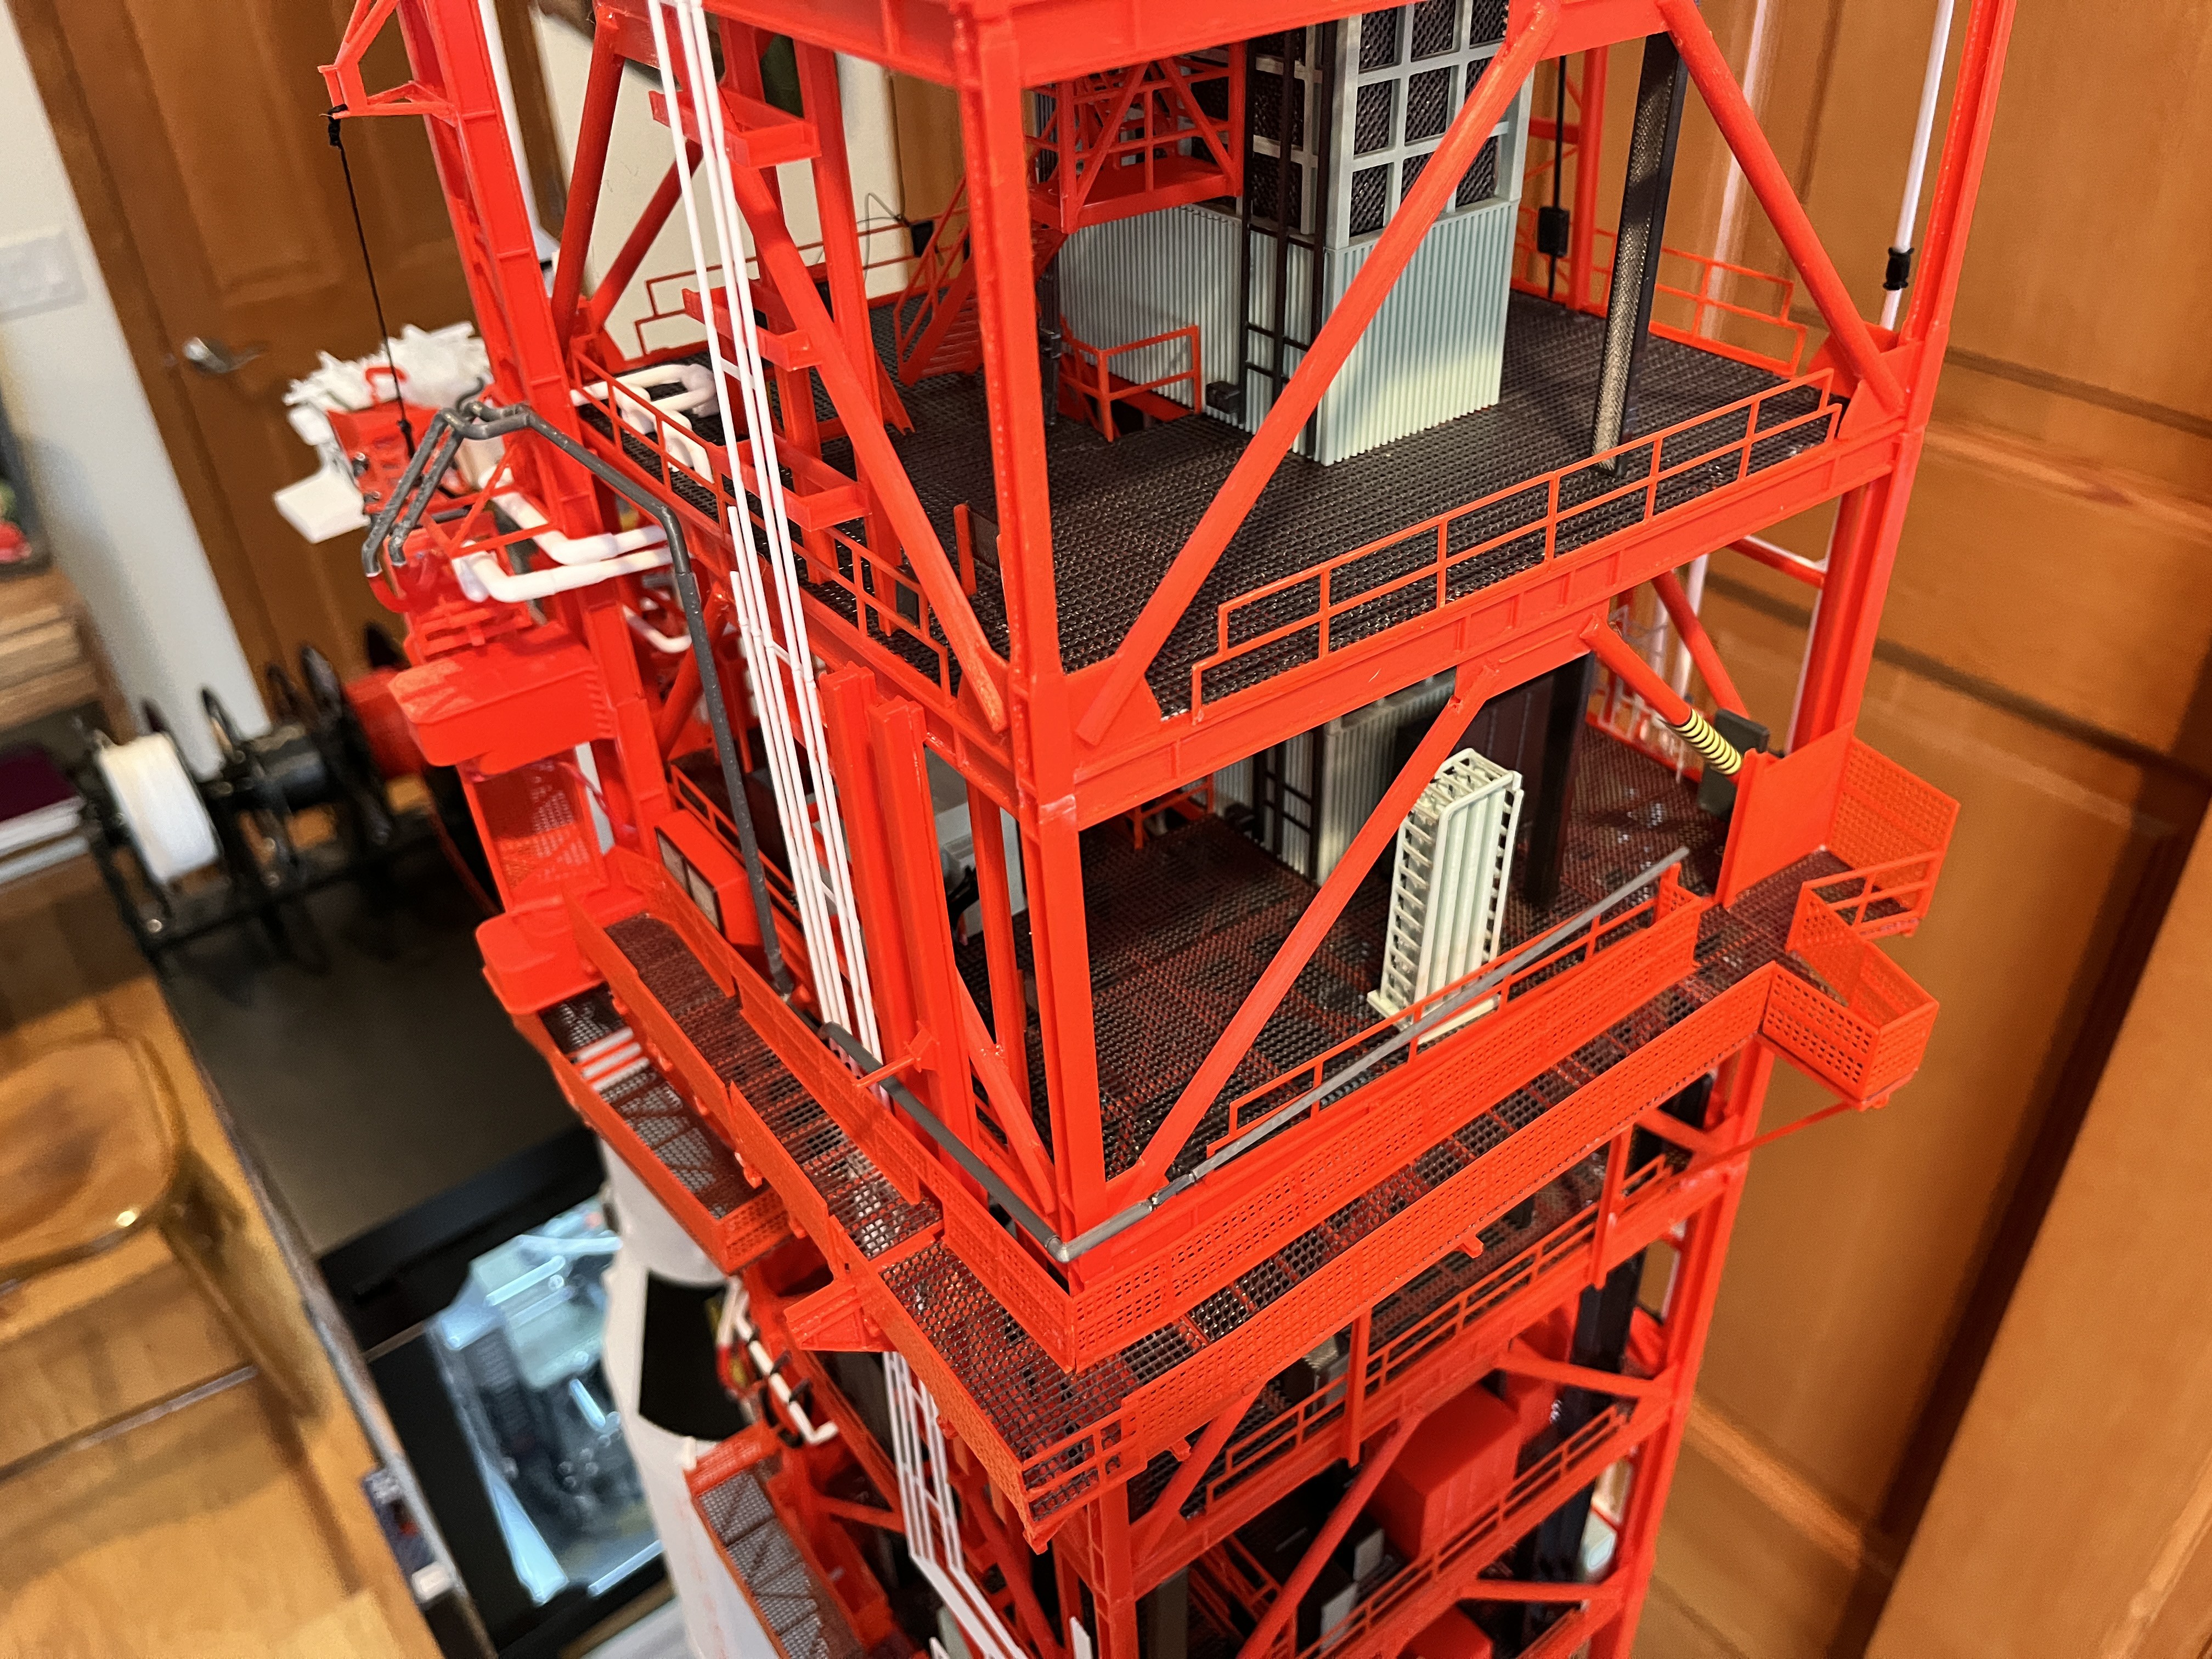
SA9 walkway is complete. Here are the inner rails.
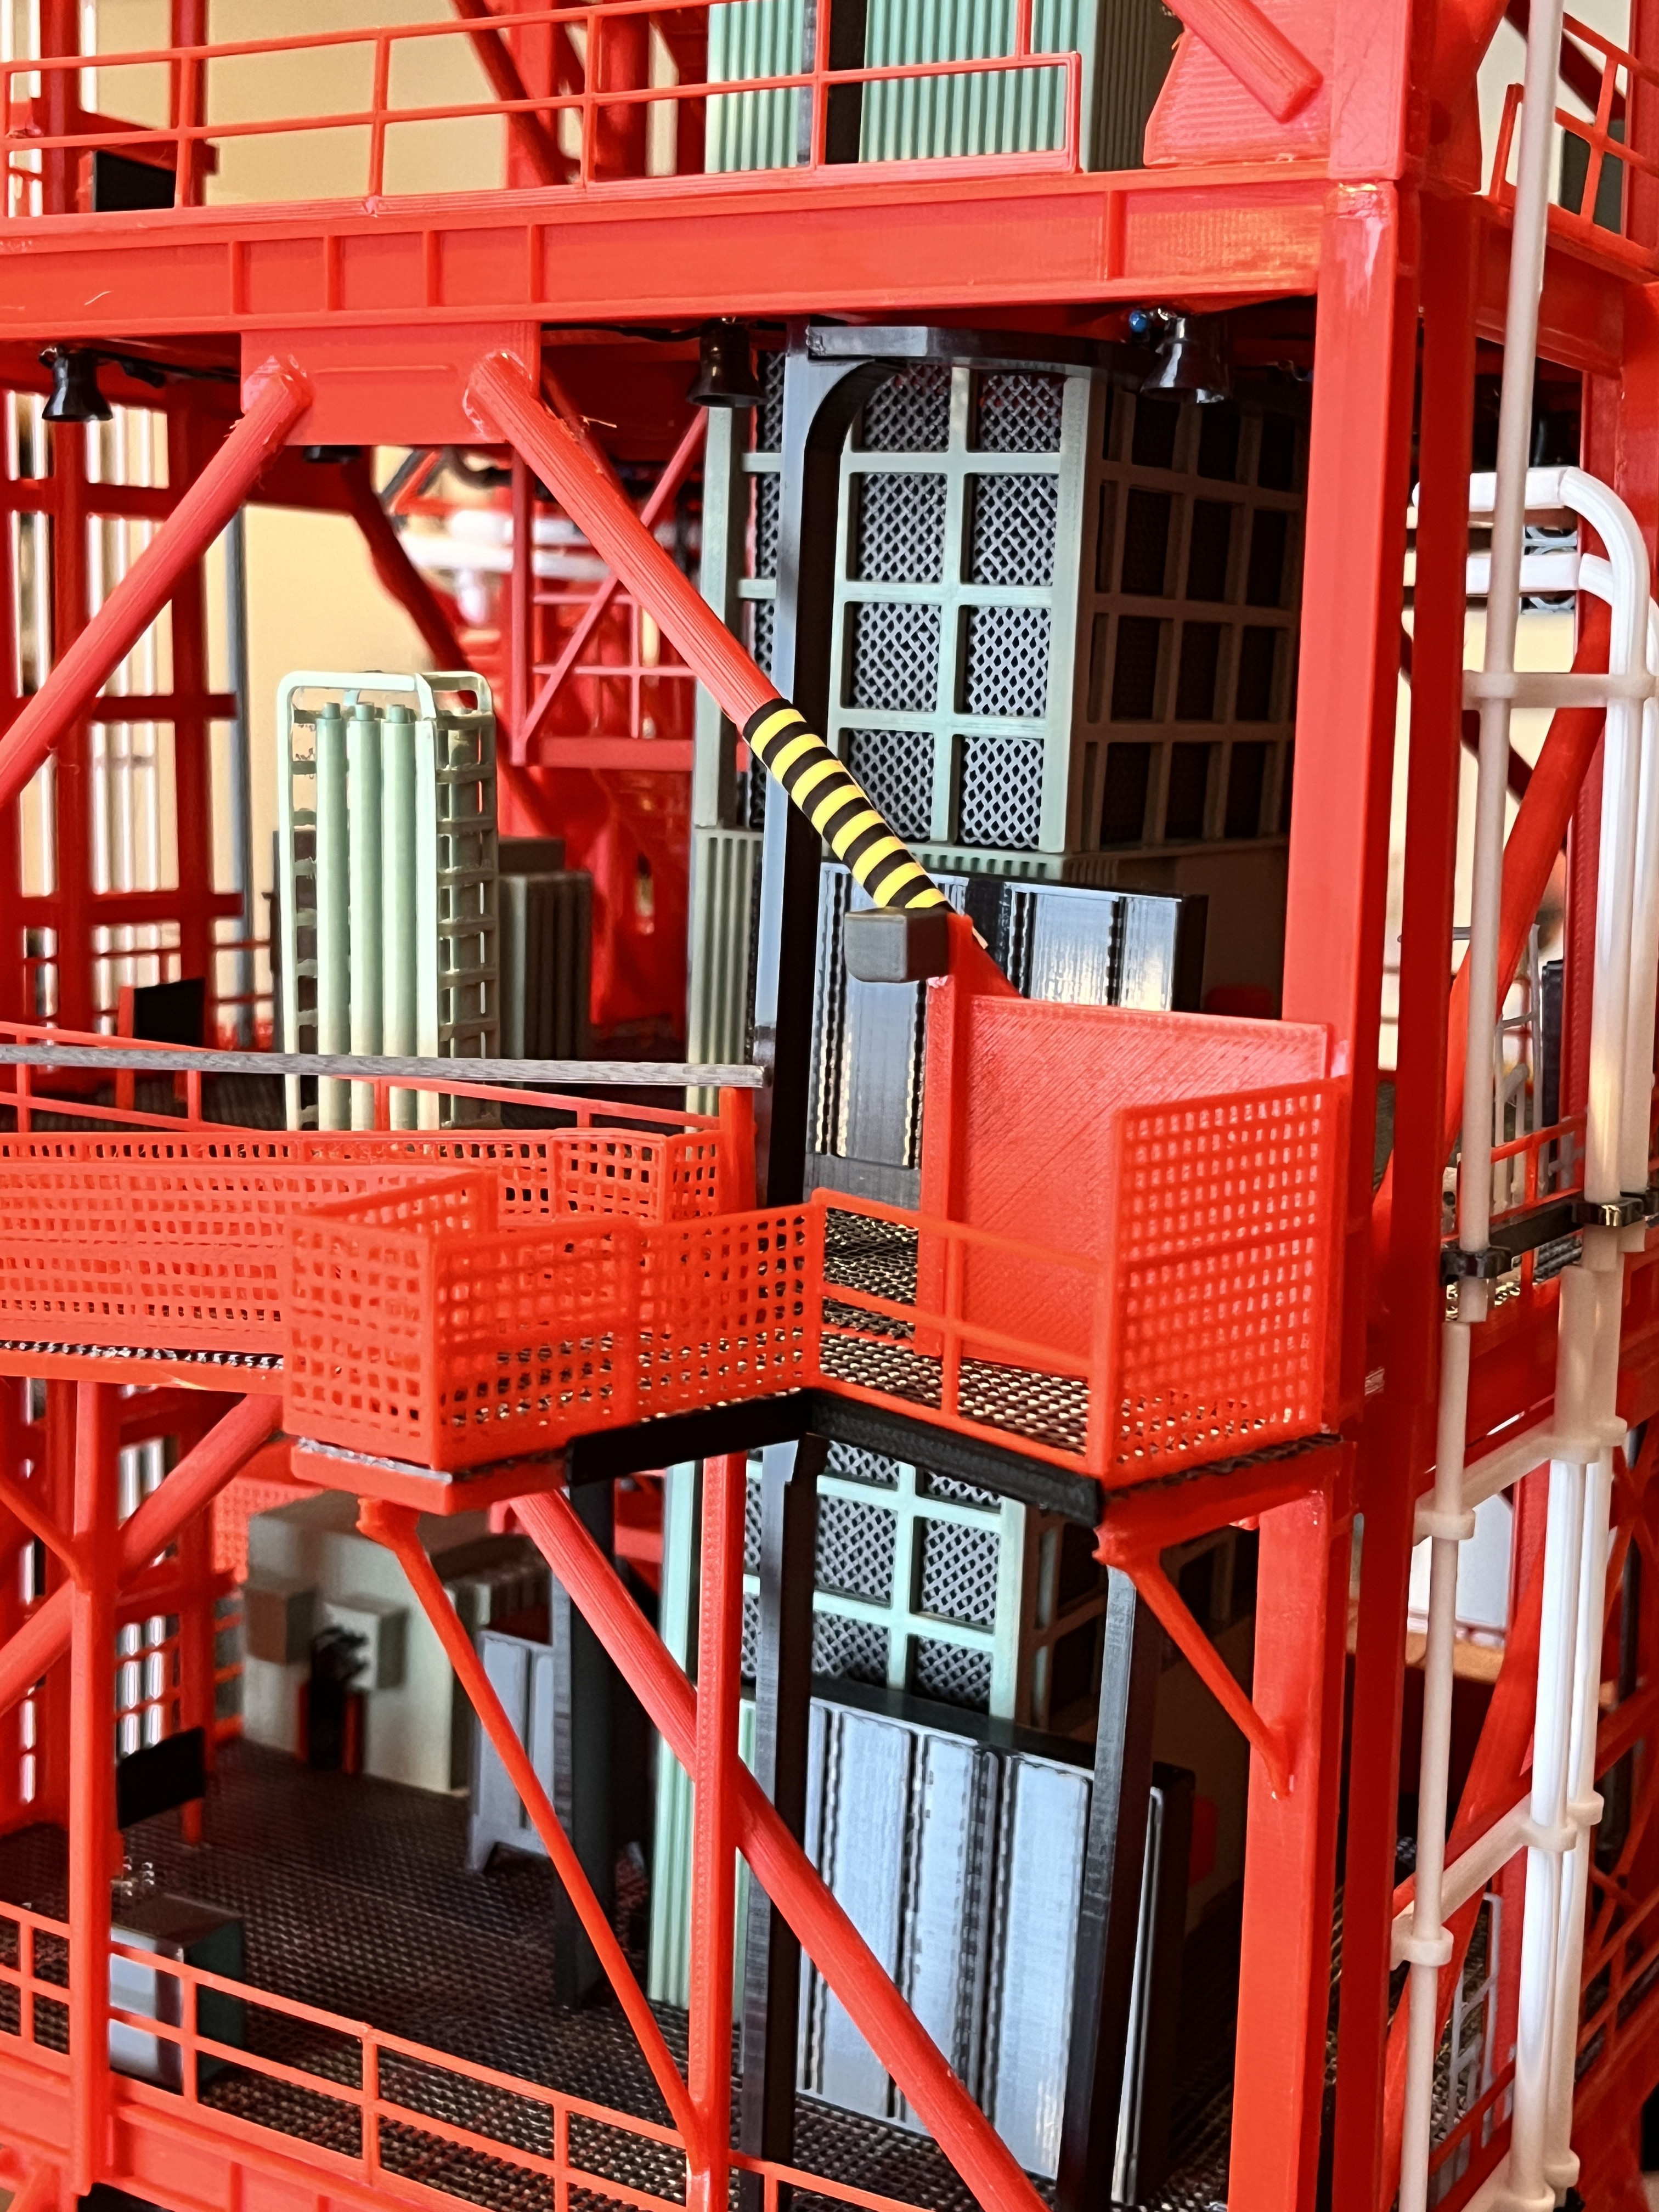
The outer rails on Side 4 have to fold down so SA9 can latch. Here are the counter weights.

And here are the completed walkways. In the last picture you can see a black/yellow sticker.
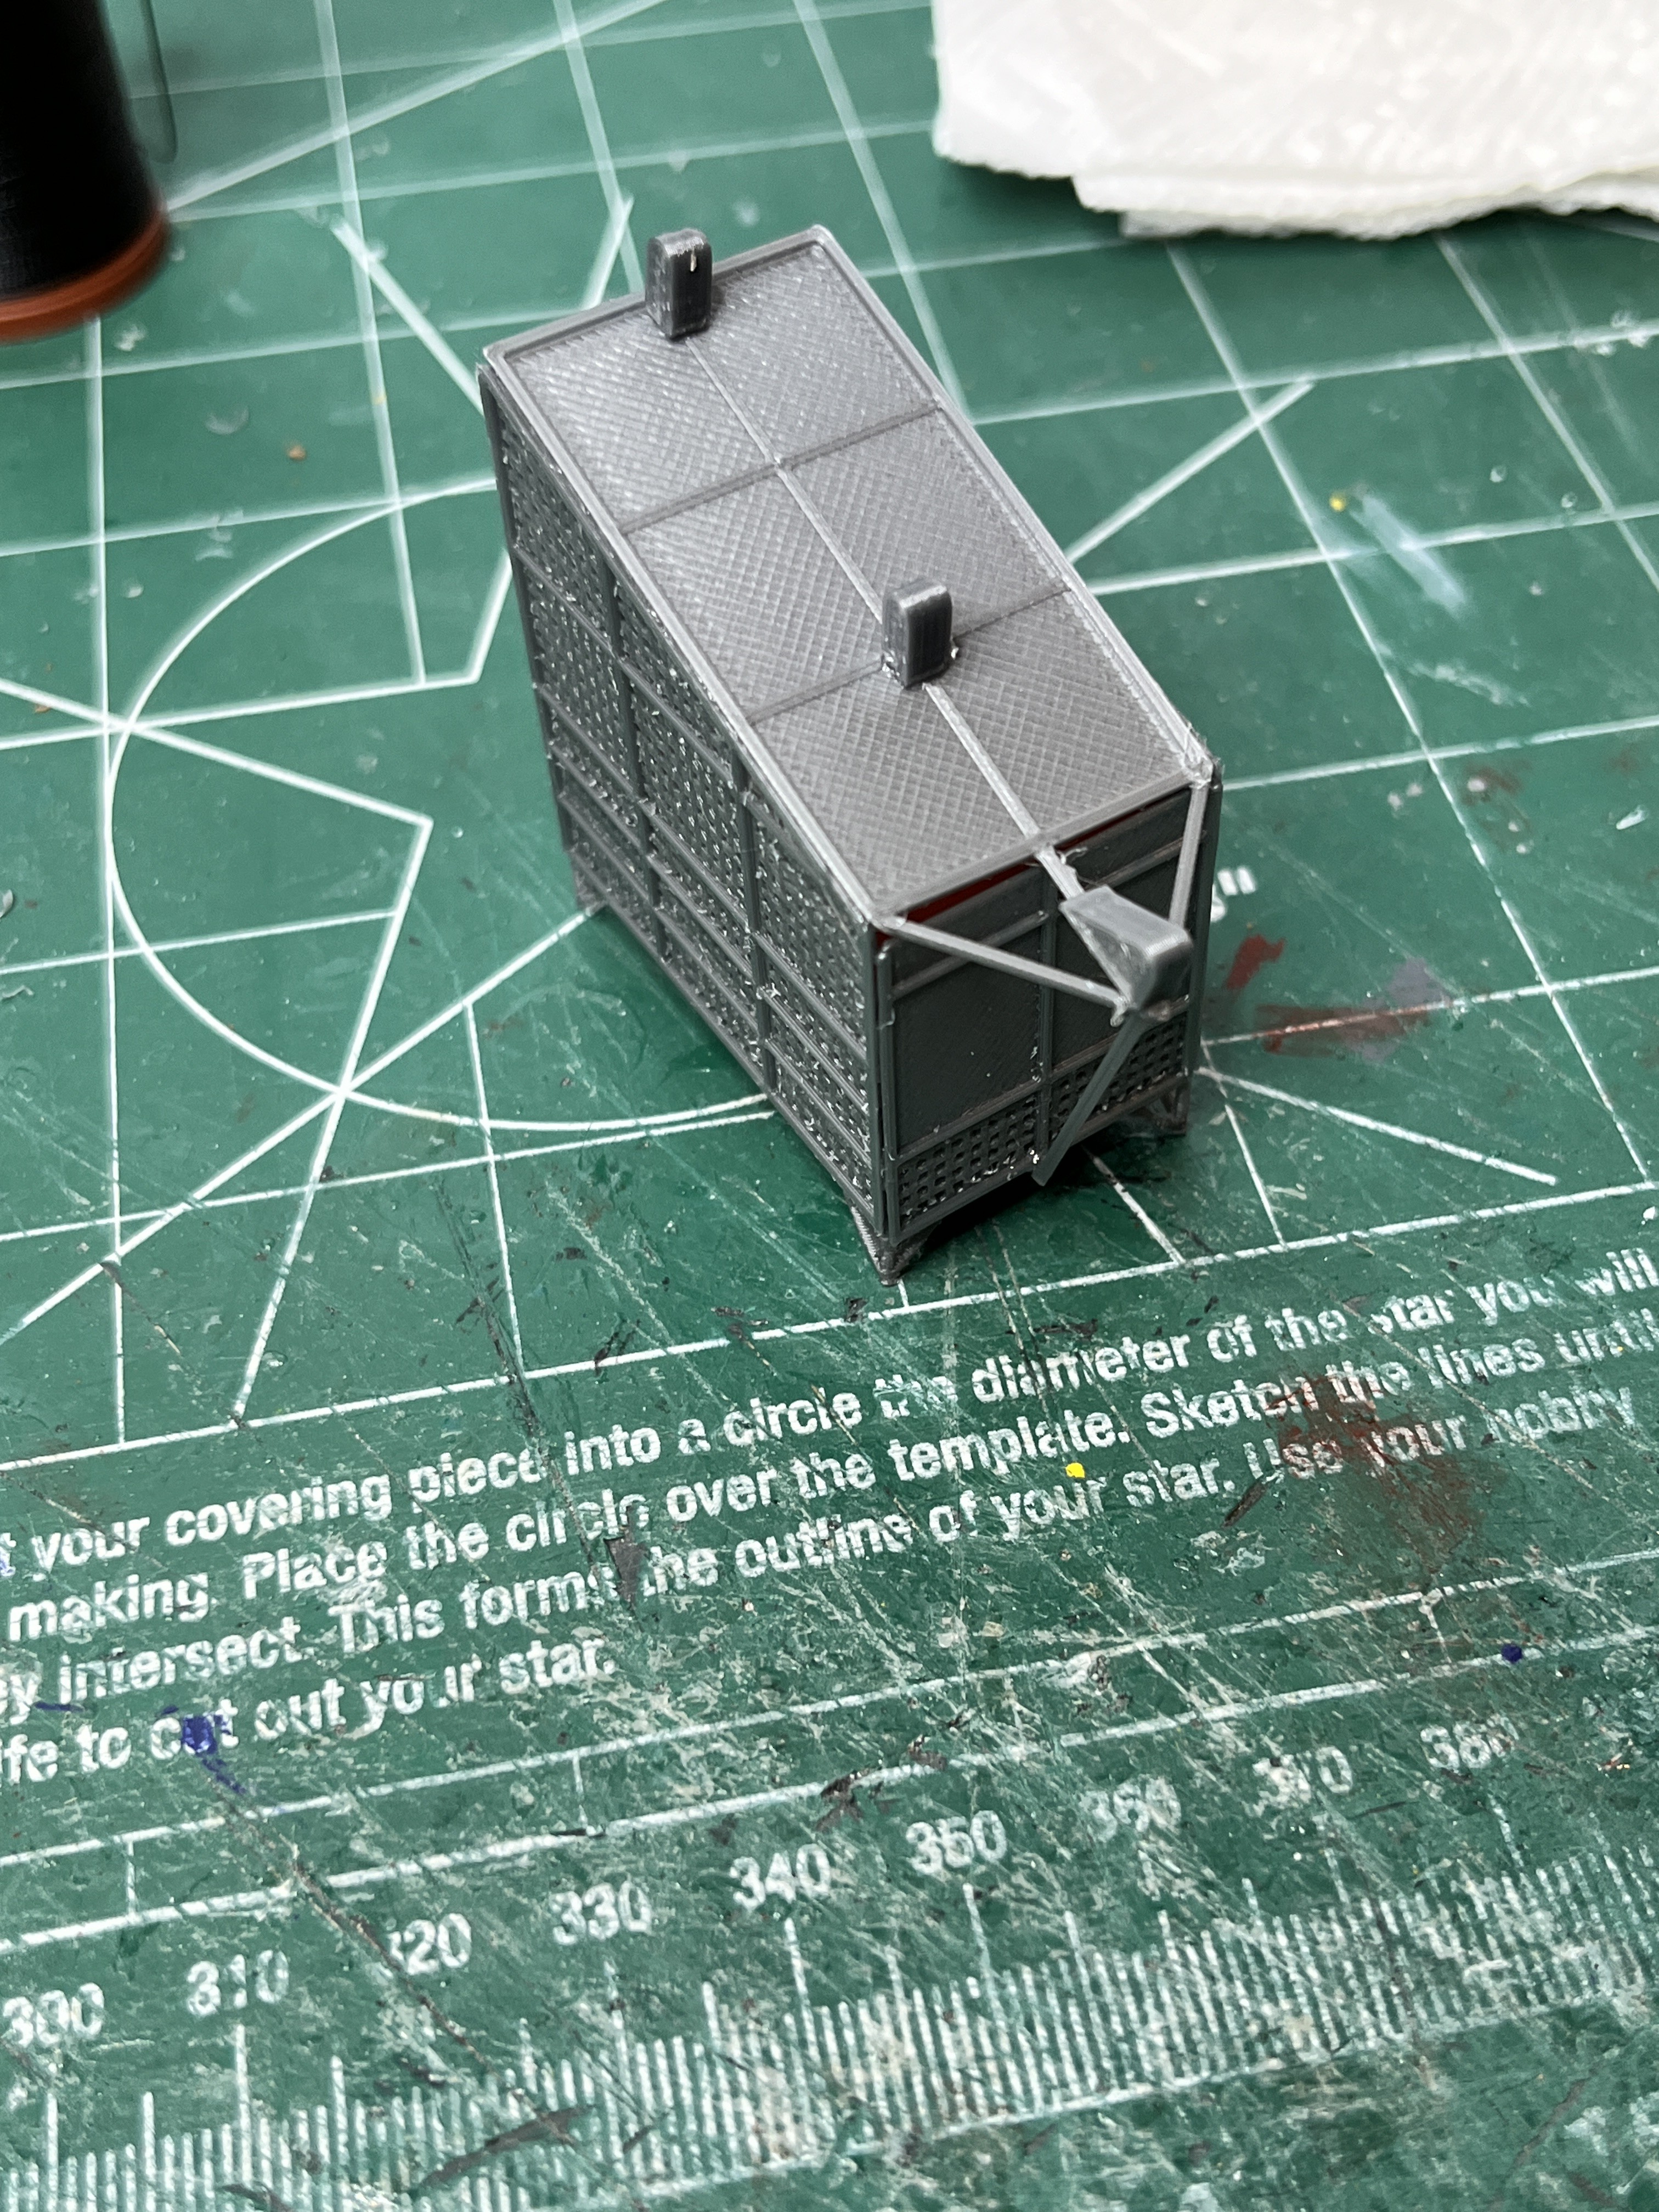
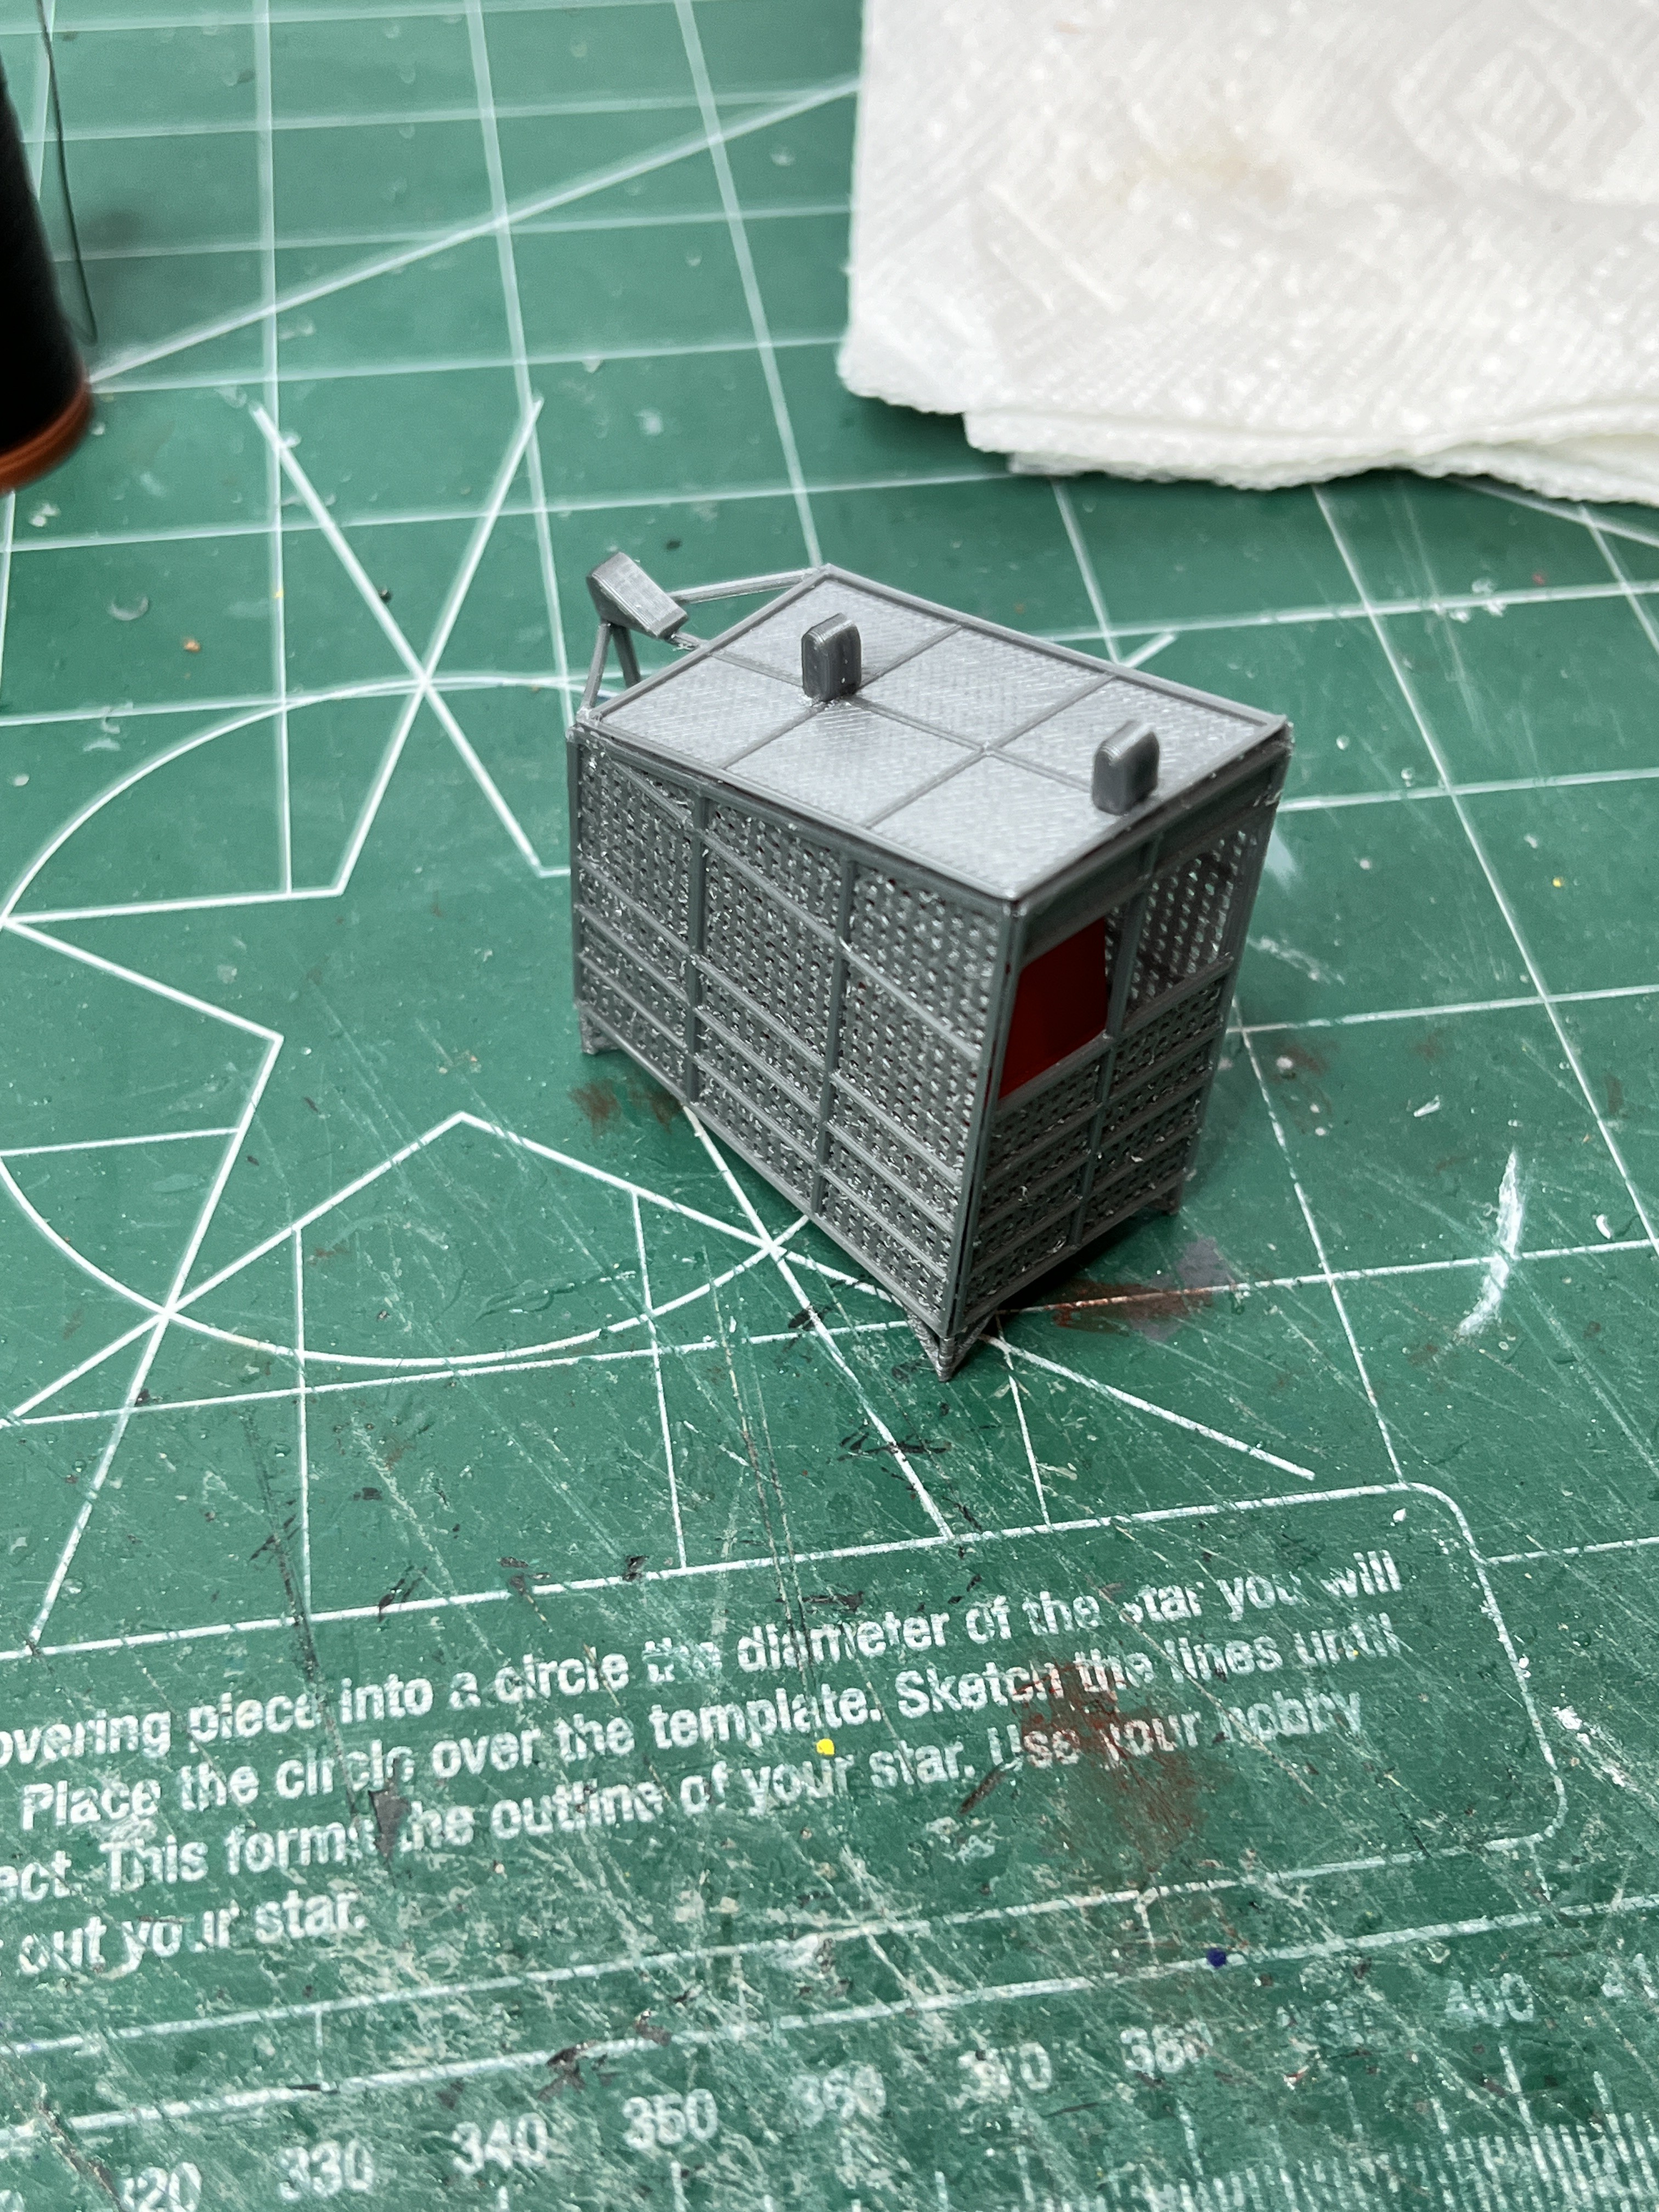
The last part of SA9 is what Micro-Artwork calls the rail car (the escape mechanism). Here is the inside with three rows of seats installed.

Before installing there are bumpers to install.
And here is the completed rail car ready to install.
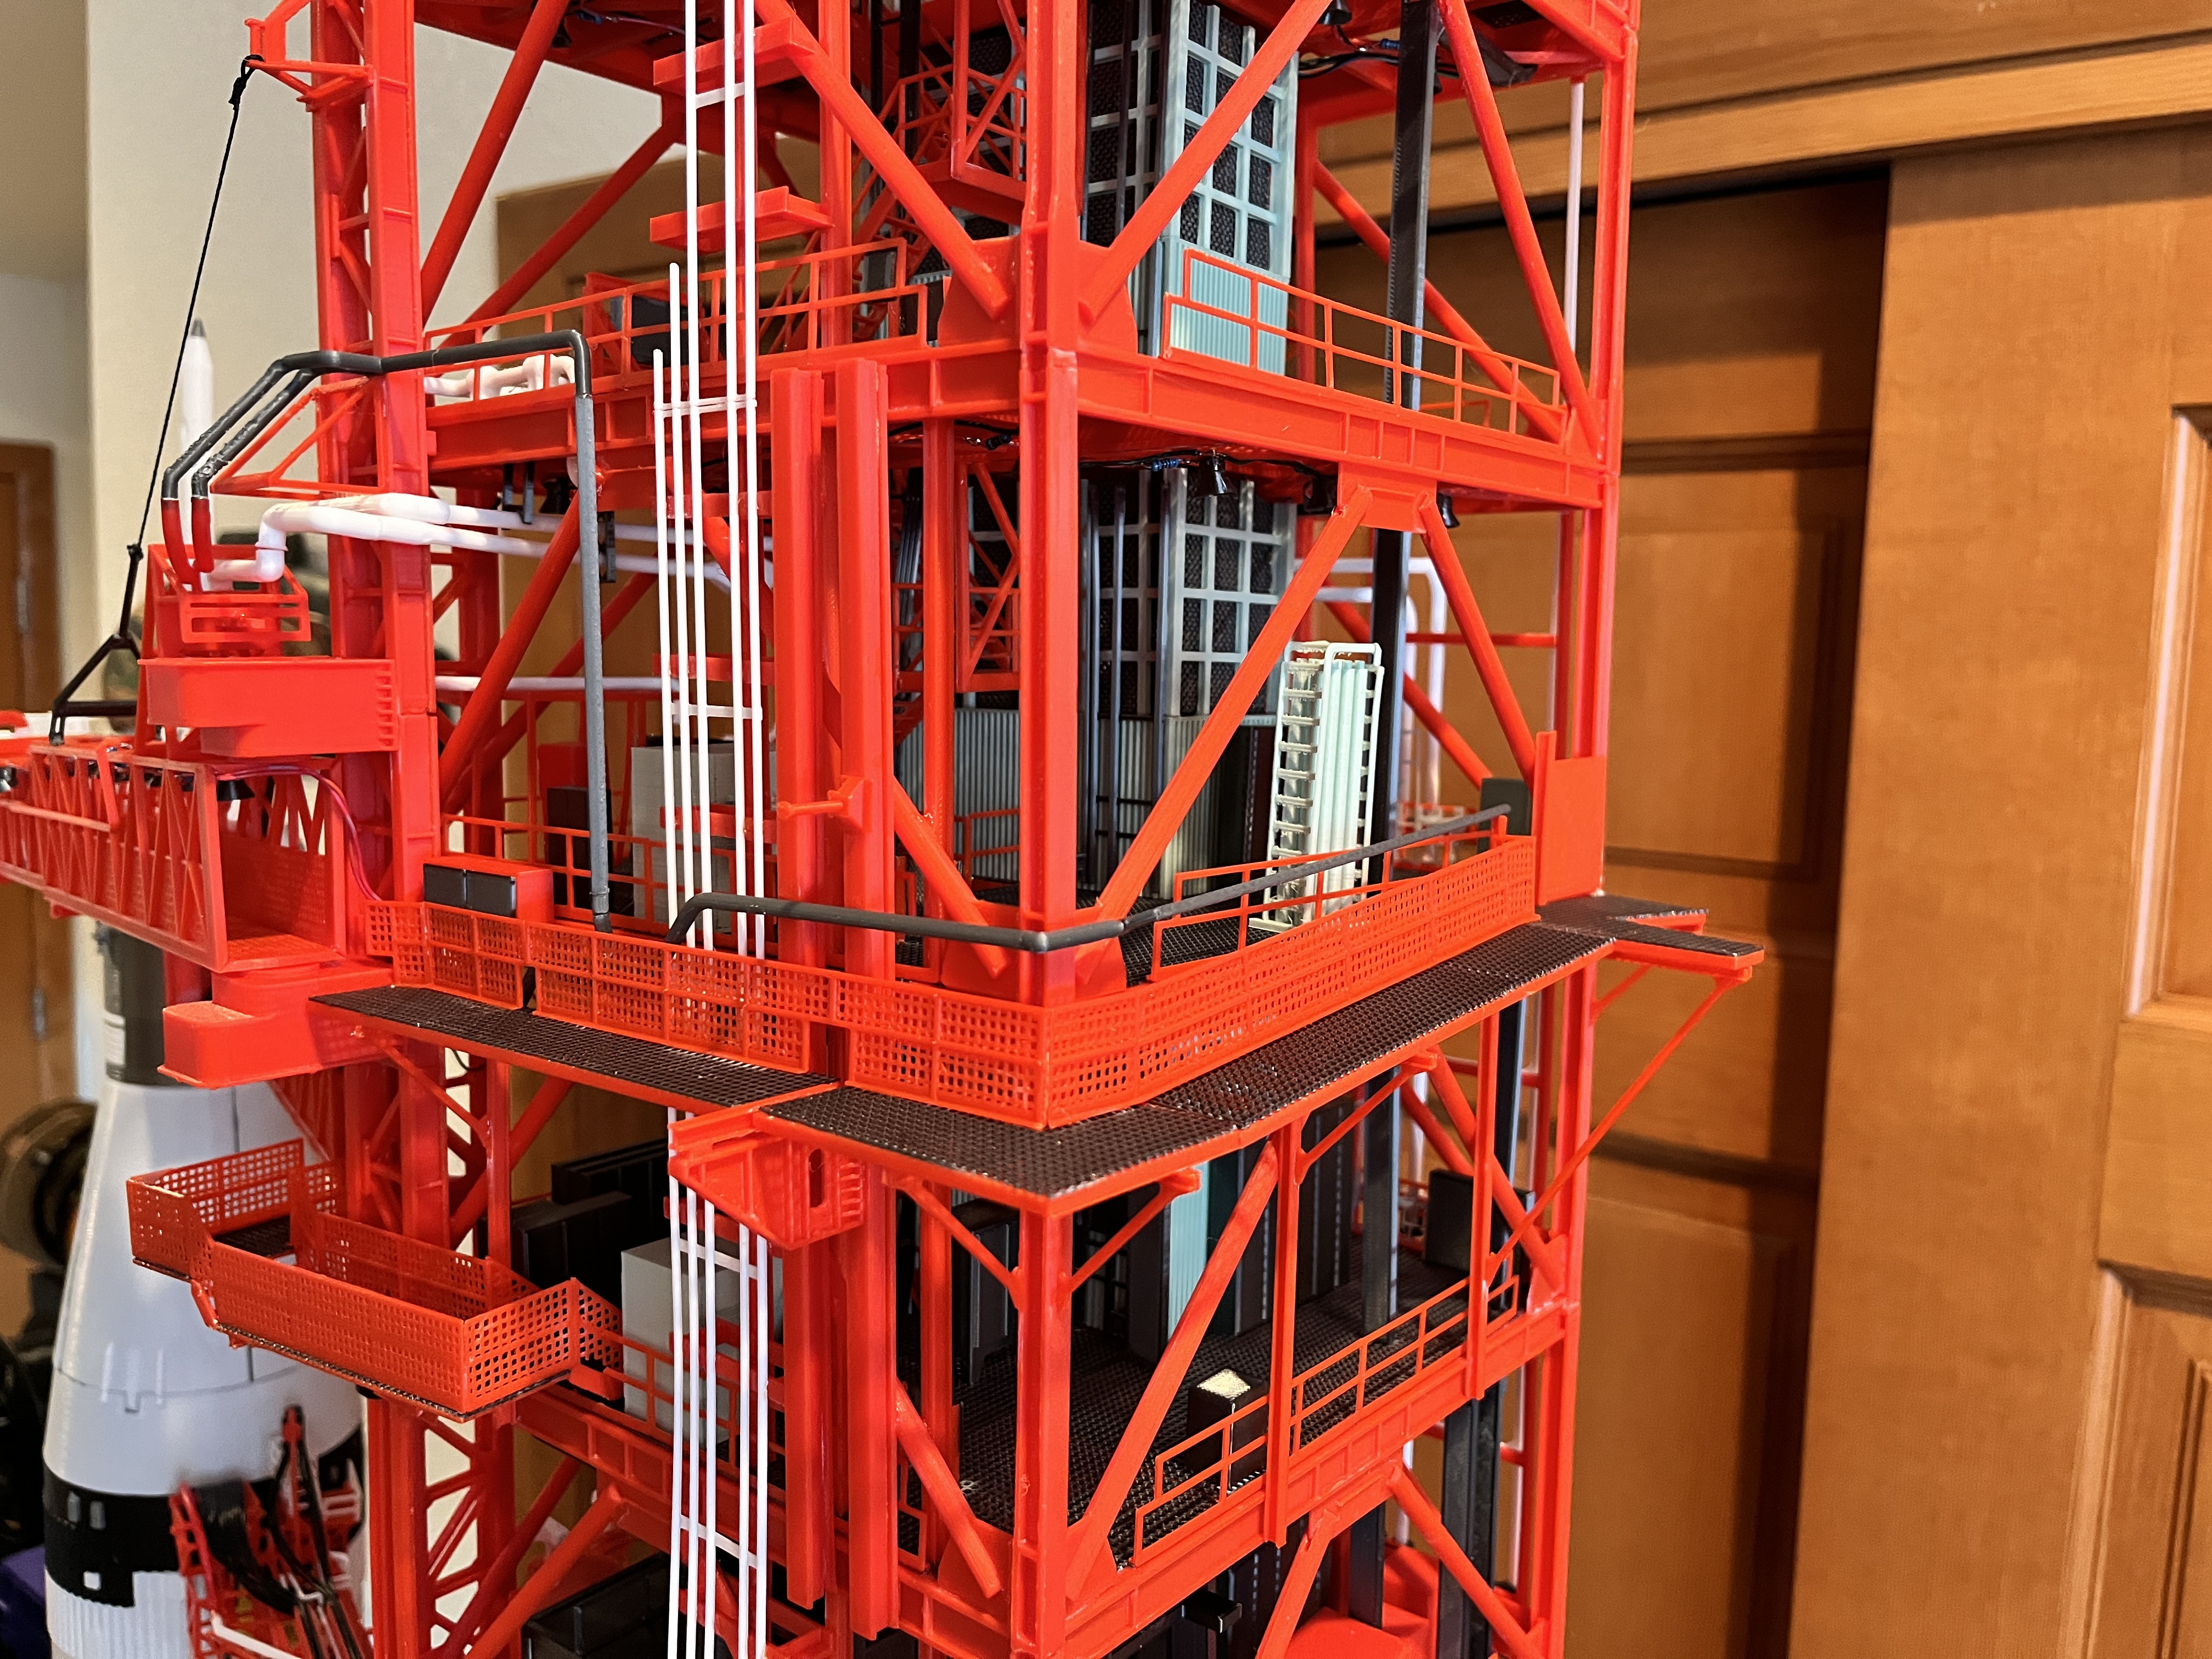
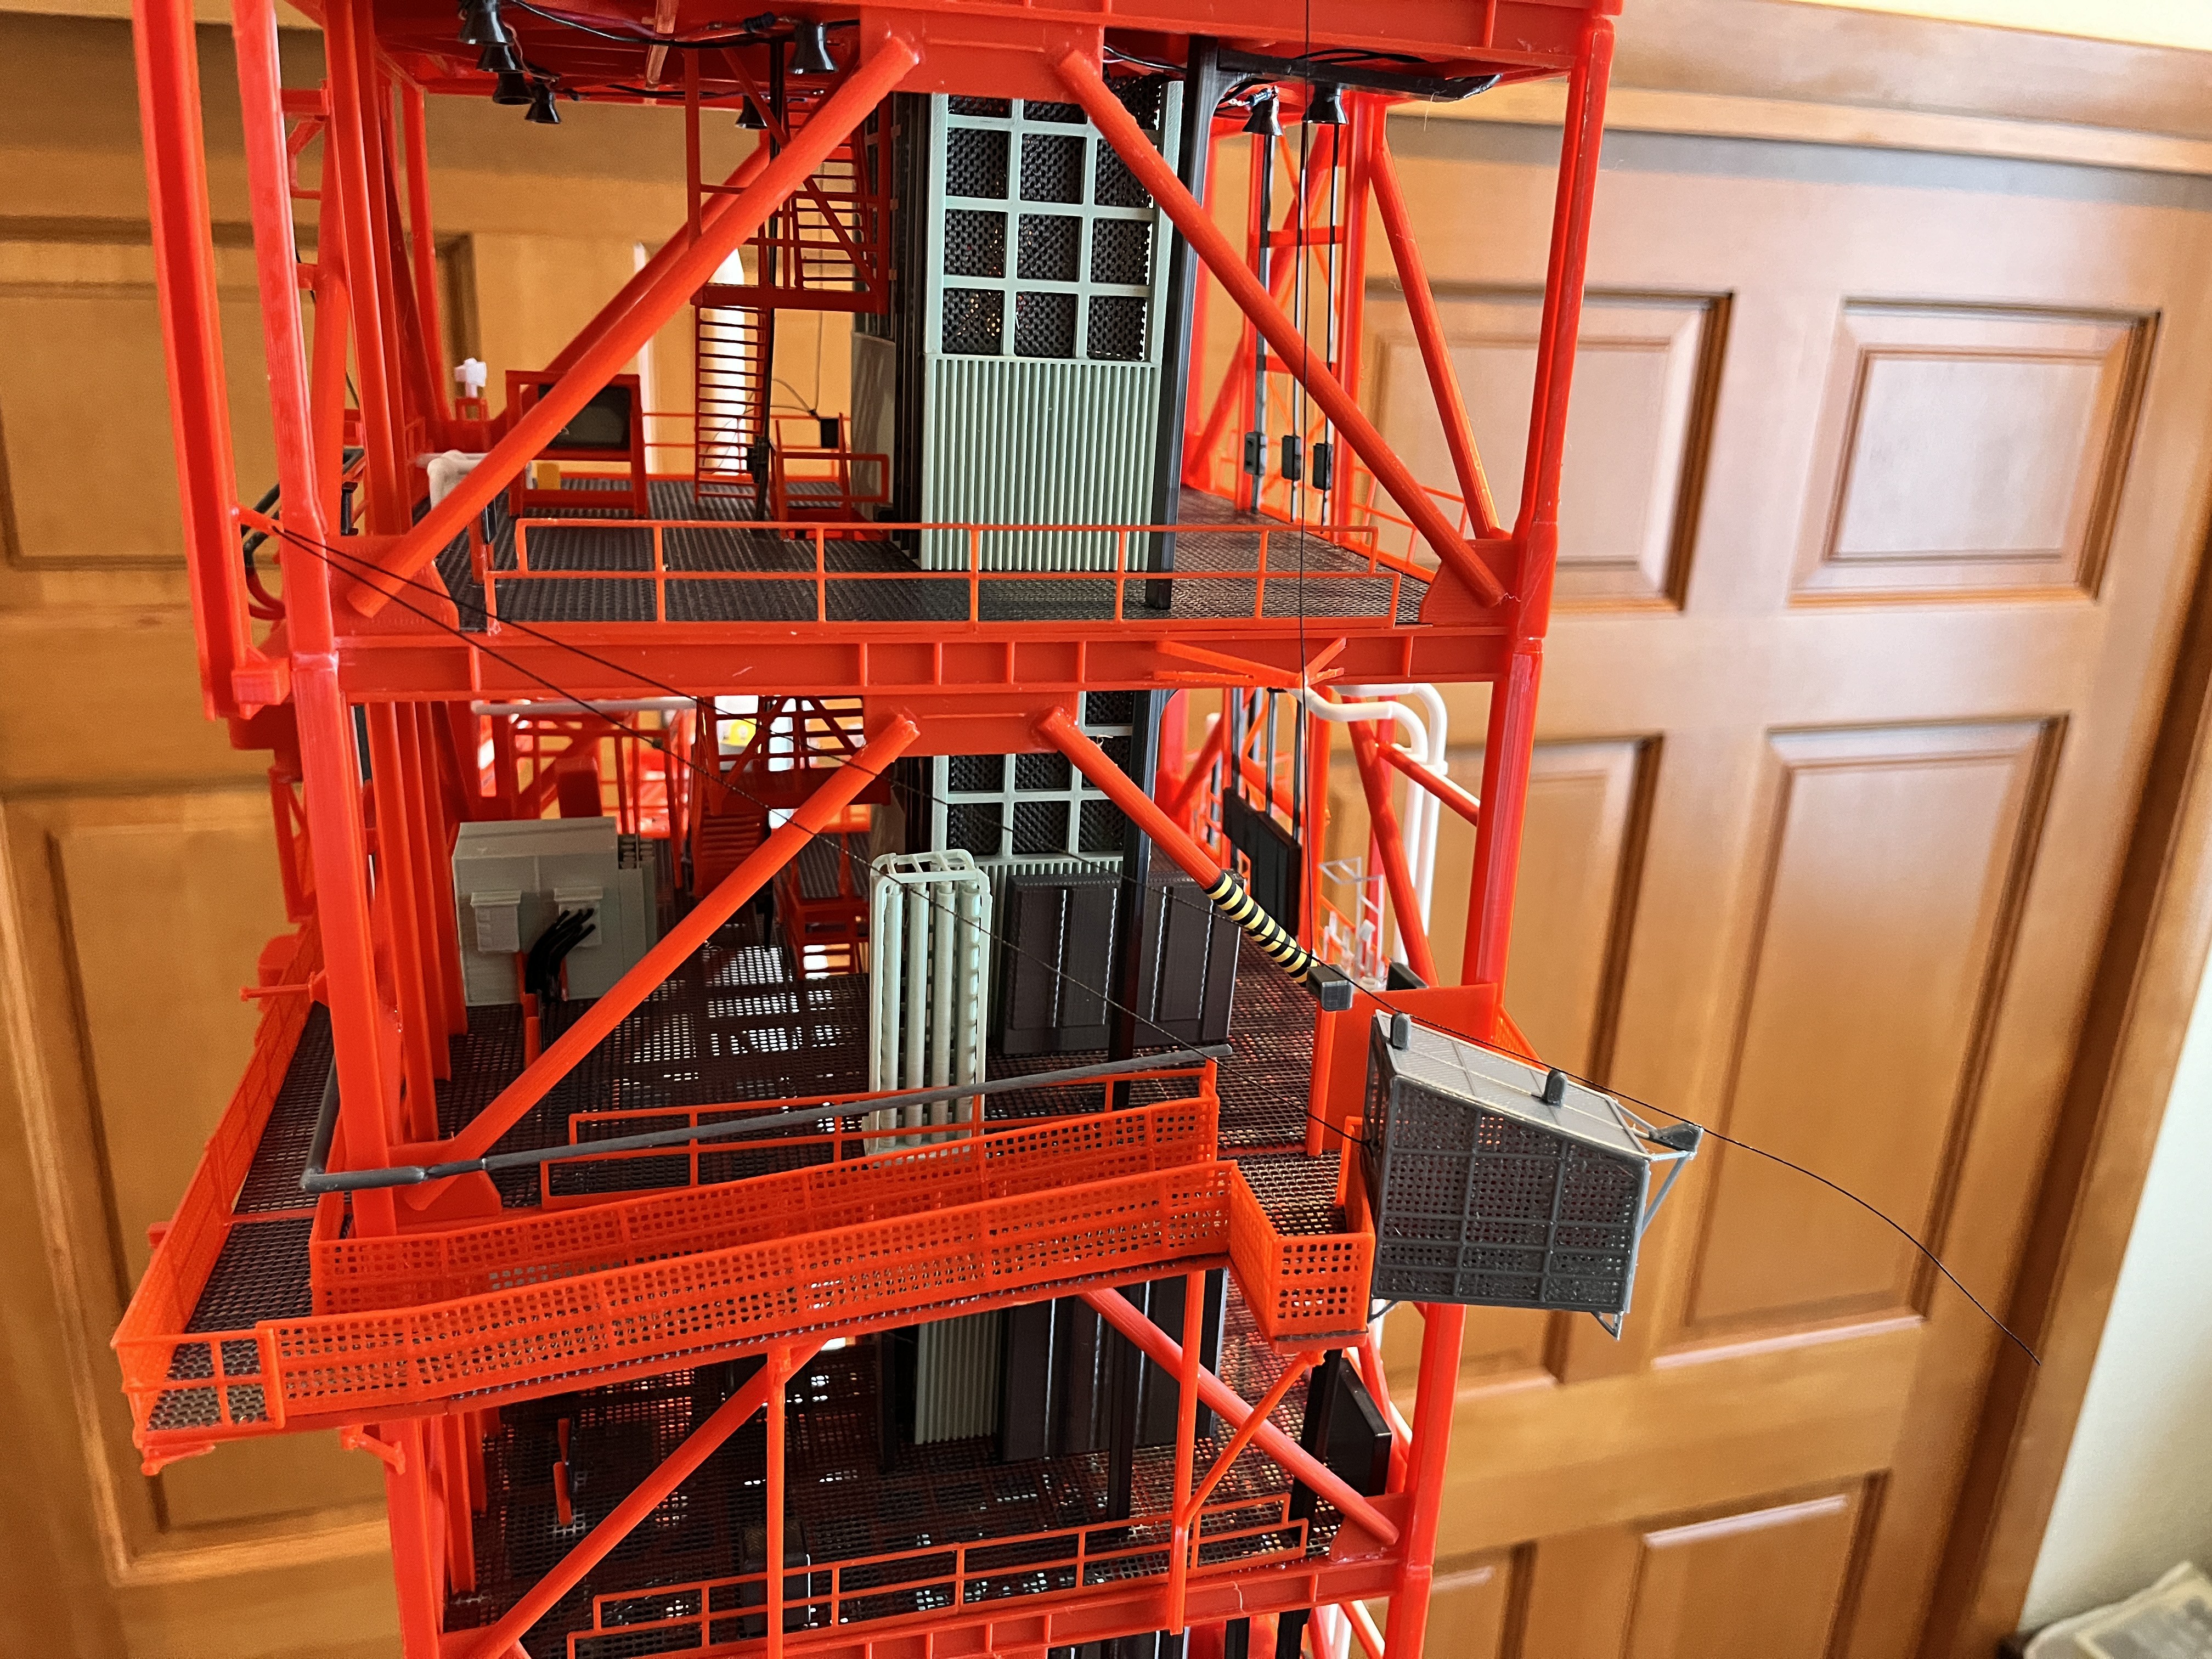
And here is the installed rail car with the cables and such.

Discussions
Become a Hackaday.io Member
Create an account to leave a comment. Already have an account? Log In.