 Bo Yao
In this blog post, we are going to build the wooden keycap!
Review possible approaches
You probably already familiar with a mechanical keycap. It is usually a thin, box shaped but with curves. On the backside, it has a cross shaped connector to fit the key switch slot. There are several possible ways to build it, with wood:
- Carve the front side and the back side of keycap manually
- Carve the back side with a 2D CNC cutter and the front side of keycap manually
- Carve both side with a 3D CNC machine
- Carve the front side with a 3D CNC cutter and 3D print the cross shaped connector part, then glue the connector to the backside of the keyboard.
Each method has certain advantages. I started from method 1, carving manually. Due to my poor sculpting skills, it took more than an hour and the resulting shape isn’t very satisfactory.
Carving the front side, with some practice, is not very difficult and one keycap shape can be make within 20 minute. But the back side hole and the cross-shaped connector is really hard for manual carving. Especially the cross-shaped connector, which needs to be very precise (0.05mm) to fit the mechanical switch. If you have a CNC machine, you can create the back side connector with 2D CNC in seconds. A 2D CNC machine is less expensive than a 3D one. This is the method 2. Therefore if you are good at carving the shape, it can be a good option as well.
If with a 3D CNC machine, you can also carve the shape of the keycap, but 3D carving is much slower than 2D carving and not much faster than manual. This is the method 3 and it took about 10 minutes.
Finally the method 4. If the 2D CNC or the material of the wood cannot fit mechanical switch precisely, or the good product rate too low, you can also only dig out a big rectangular hole on the backside the keycap. And 3D print a cross-shaped connector with ABS or PLA, and glue it to the back side of the keycap.
My build
I tried out method 3 and 4, and end up with method 3 because carving the back side connector also result in acceptable good product rate. Here is some shots of the CNC cutting:
The front side:
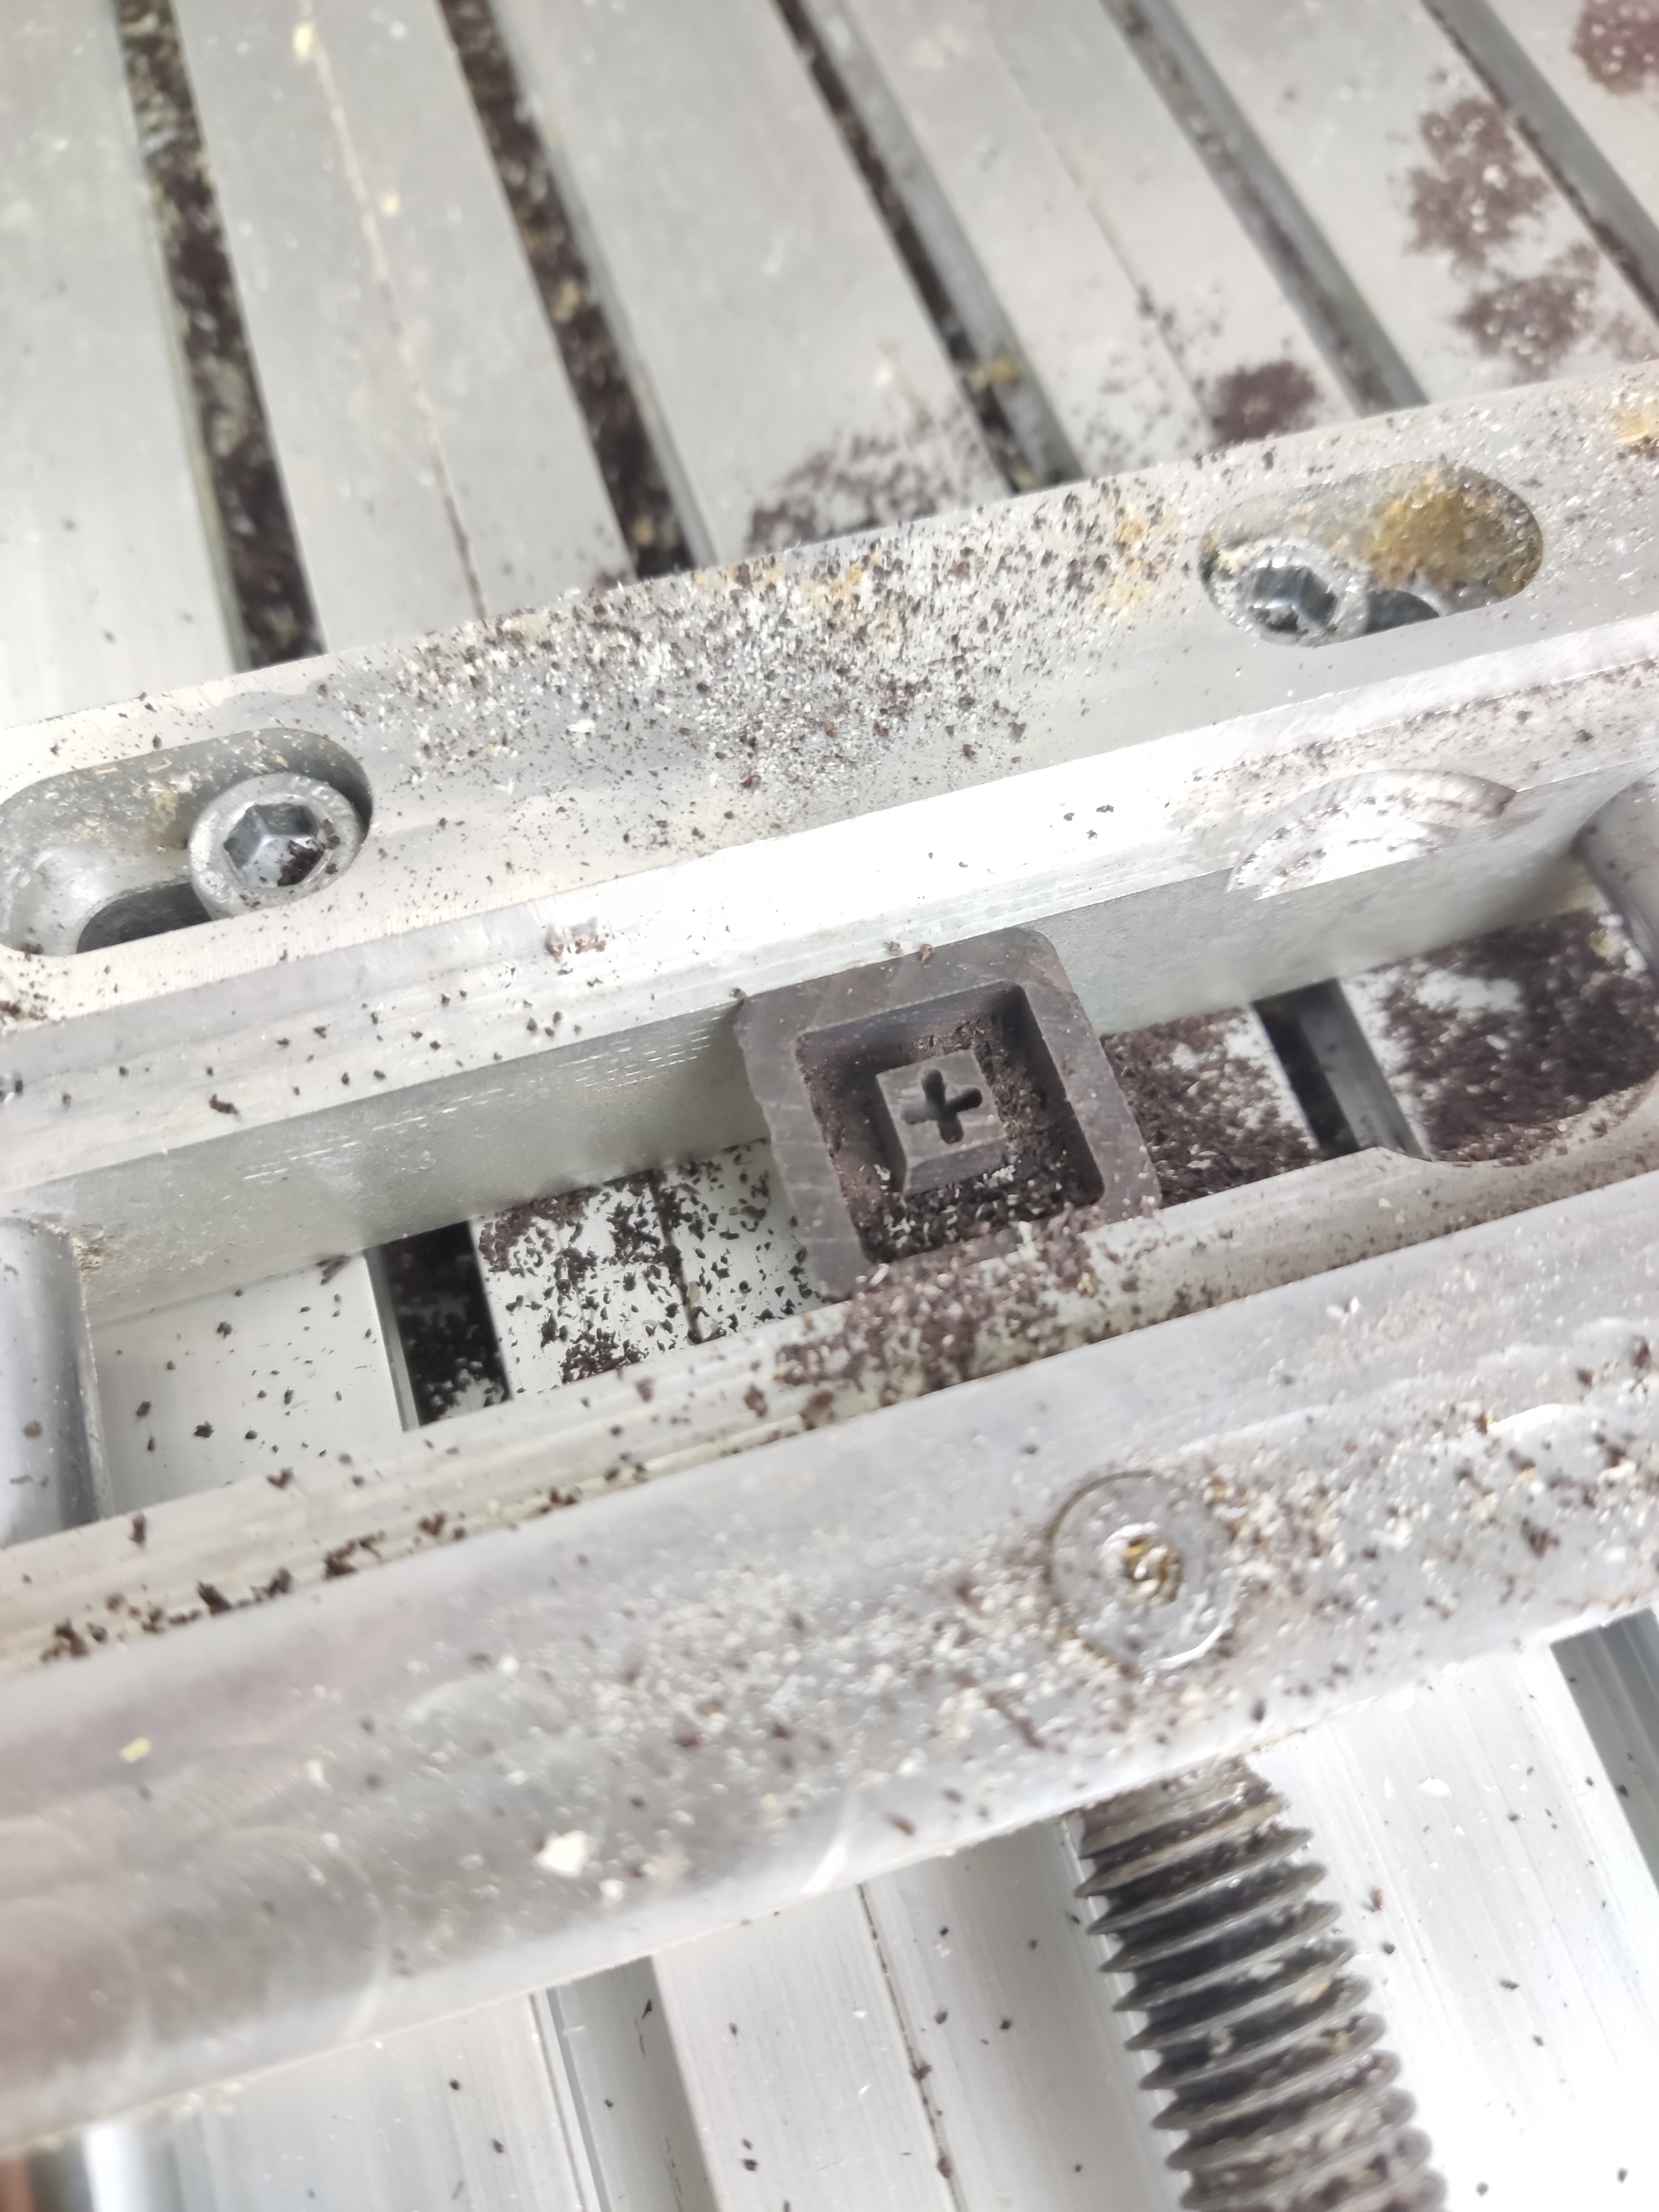
The back side:
Result shots

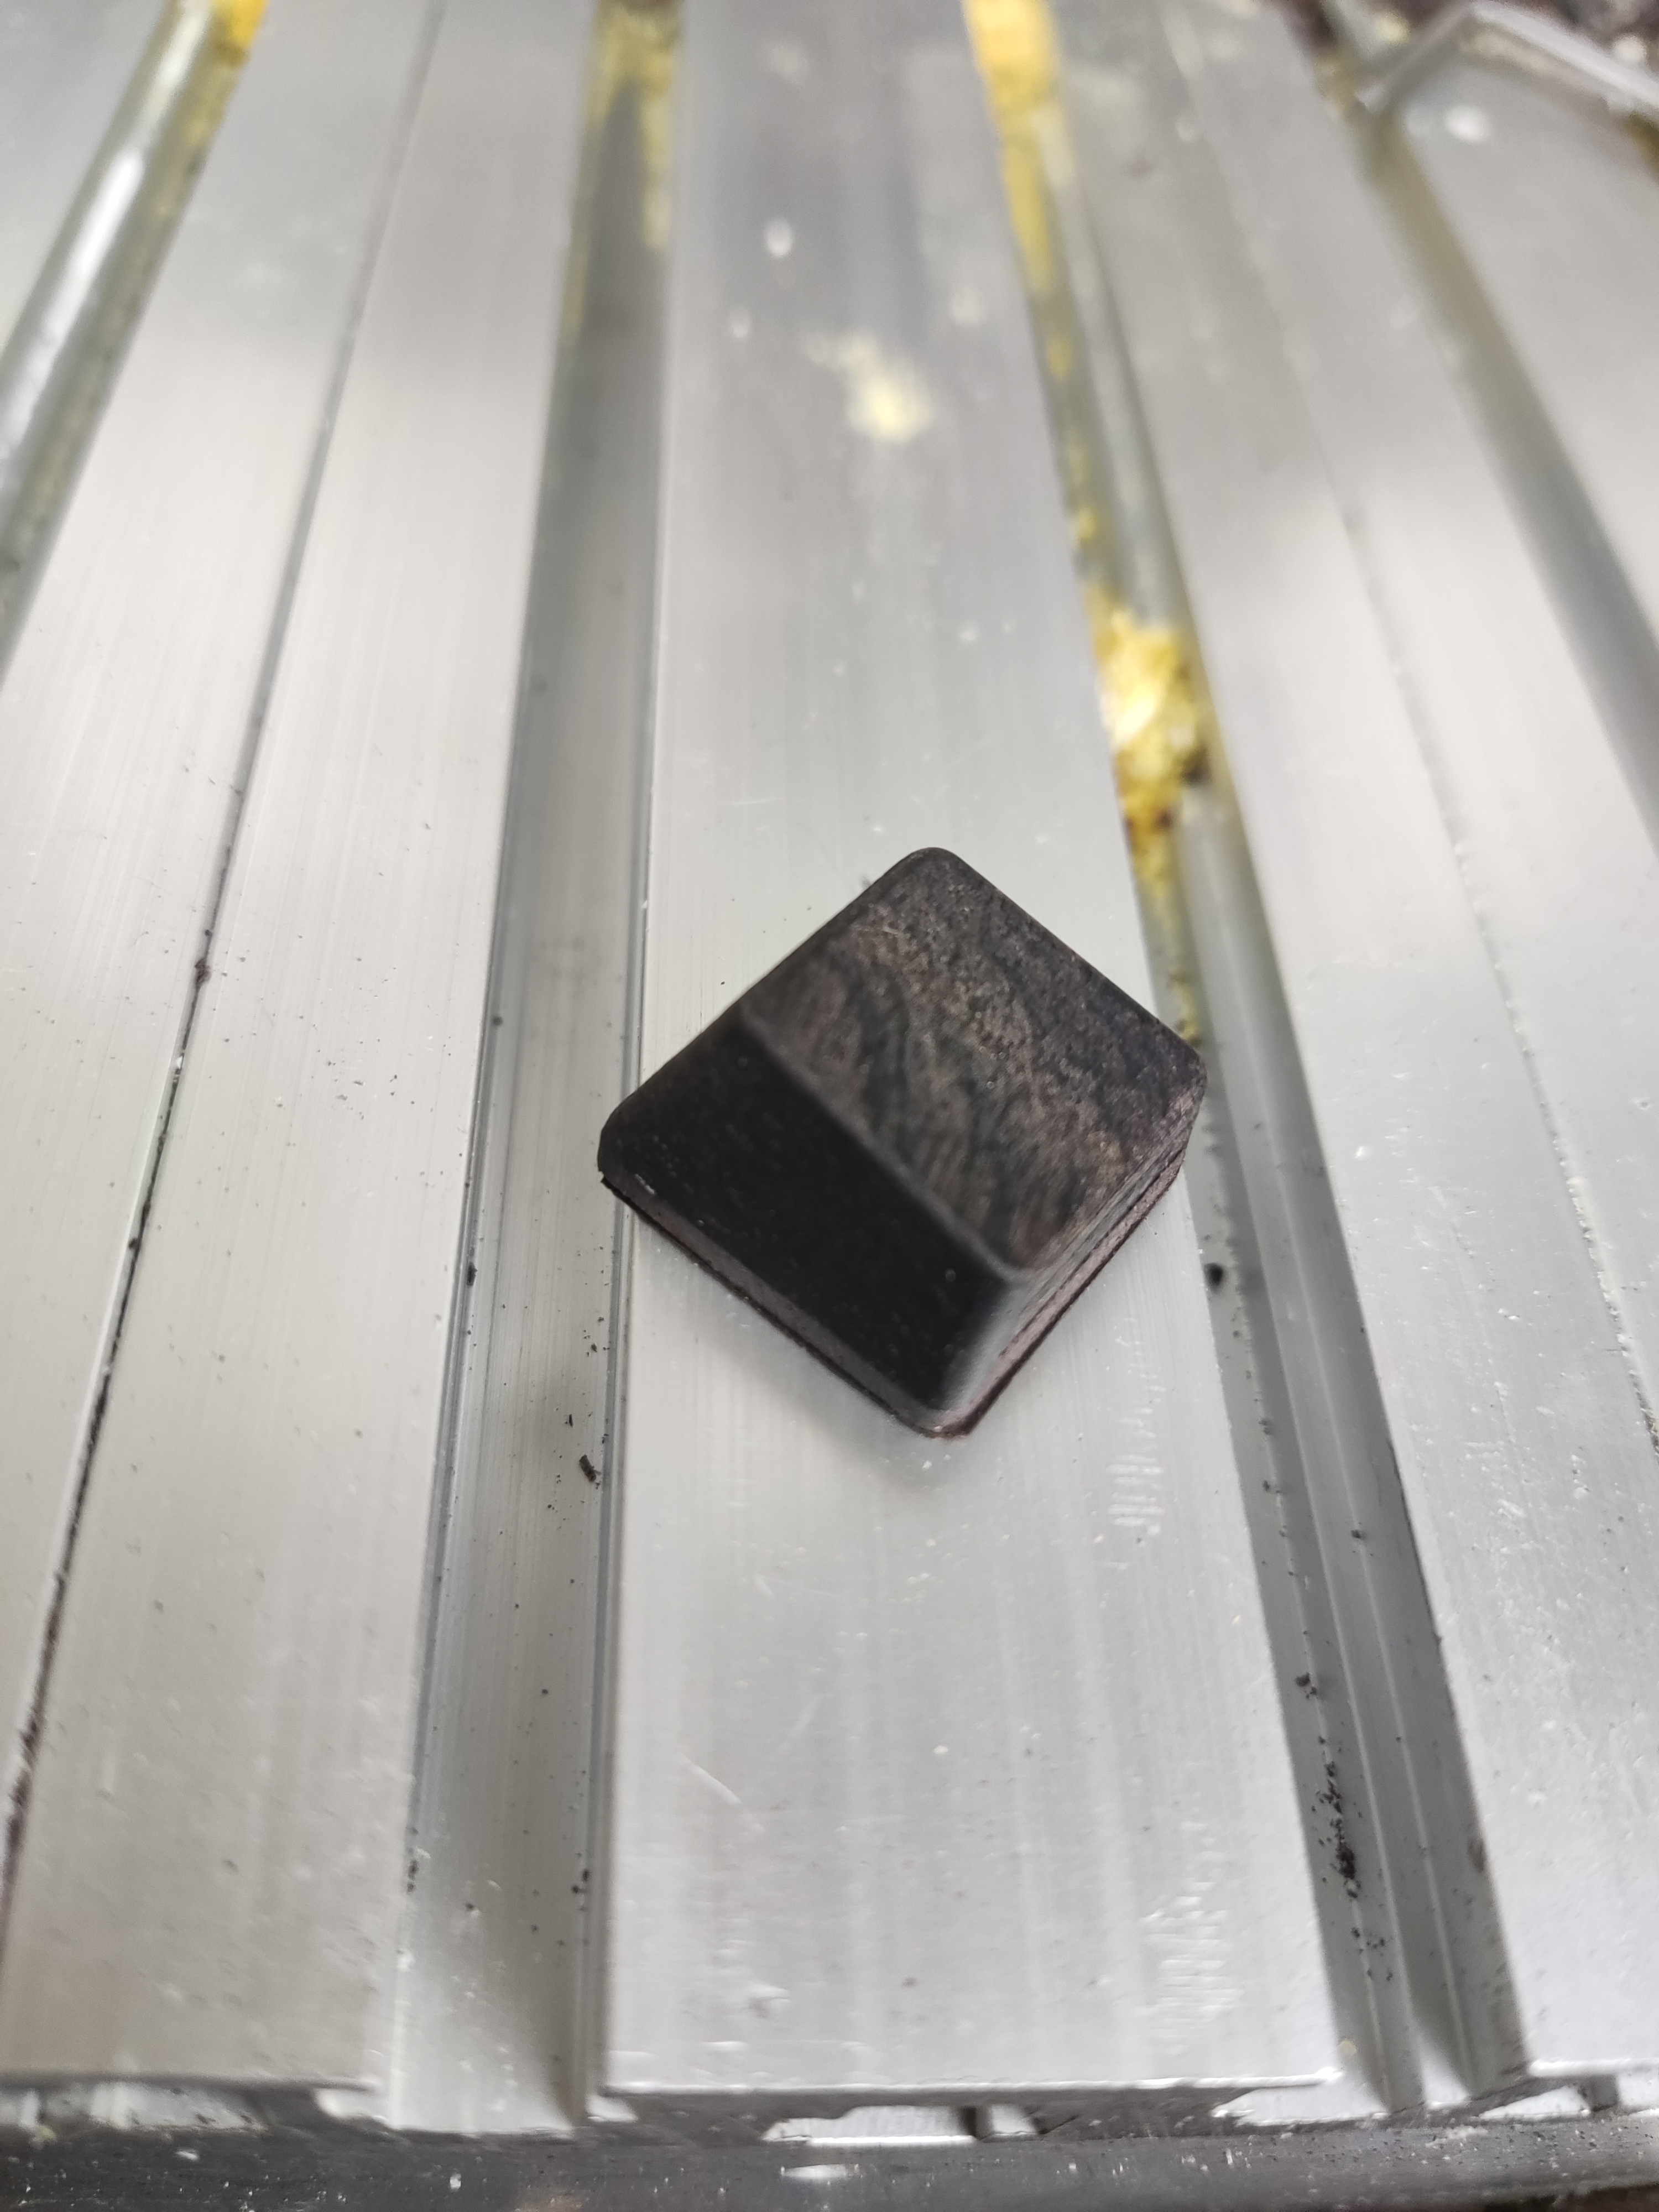

Discussions
Become a Hackaday.io Member
Create an account to leave a comment. Already have an account? Log In.