 lion mclionhead
20 years after the arrival of the Hunter 30055, it started squeaking on anything but lowest power. Lubrication temporarily repaired it, but there's no way to access the motor without replacing the filter. It's more problematic when humidity is higher. The bushings may just be perished. That was how the Hunter died.
A standalone squirrel cage blower would now be many times the cost of the Hunter. Having never found a squirrel cage blower anywhere near as cheap as the Hunter, copying the 30055's squirrel cage would be easiest. Opening up the blower to measure the existing squirrel cage would entail killing more critters. If a spider is already set up or the gnats have invaded, it would need a full insecticide & cleaning. It's been the year of the monster gnat invasion. They constantly swarm outside & might be from a new neighbor's doge or the chopping down of a tree.

This rough concept got down to 108g of filament & 10 hours. It uses a .4 nozzle & .32mm layers. For more cost savings, it would have a detachable hub which attached to the motor. The squirrel cage could be redesigned independently of the hub. The concept is just the largest thing which can fit in the printer. The height is determined by the F-35 air vent. The F-35 would be integrated in the enclosure.
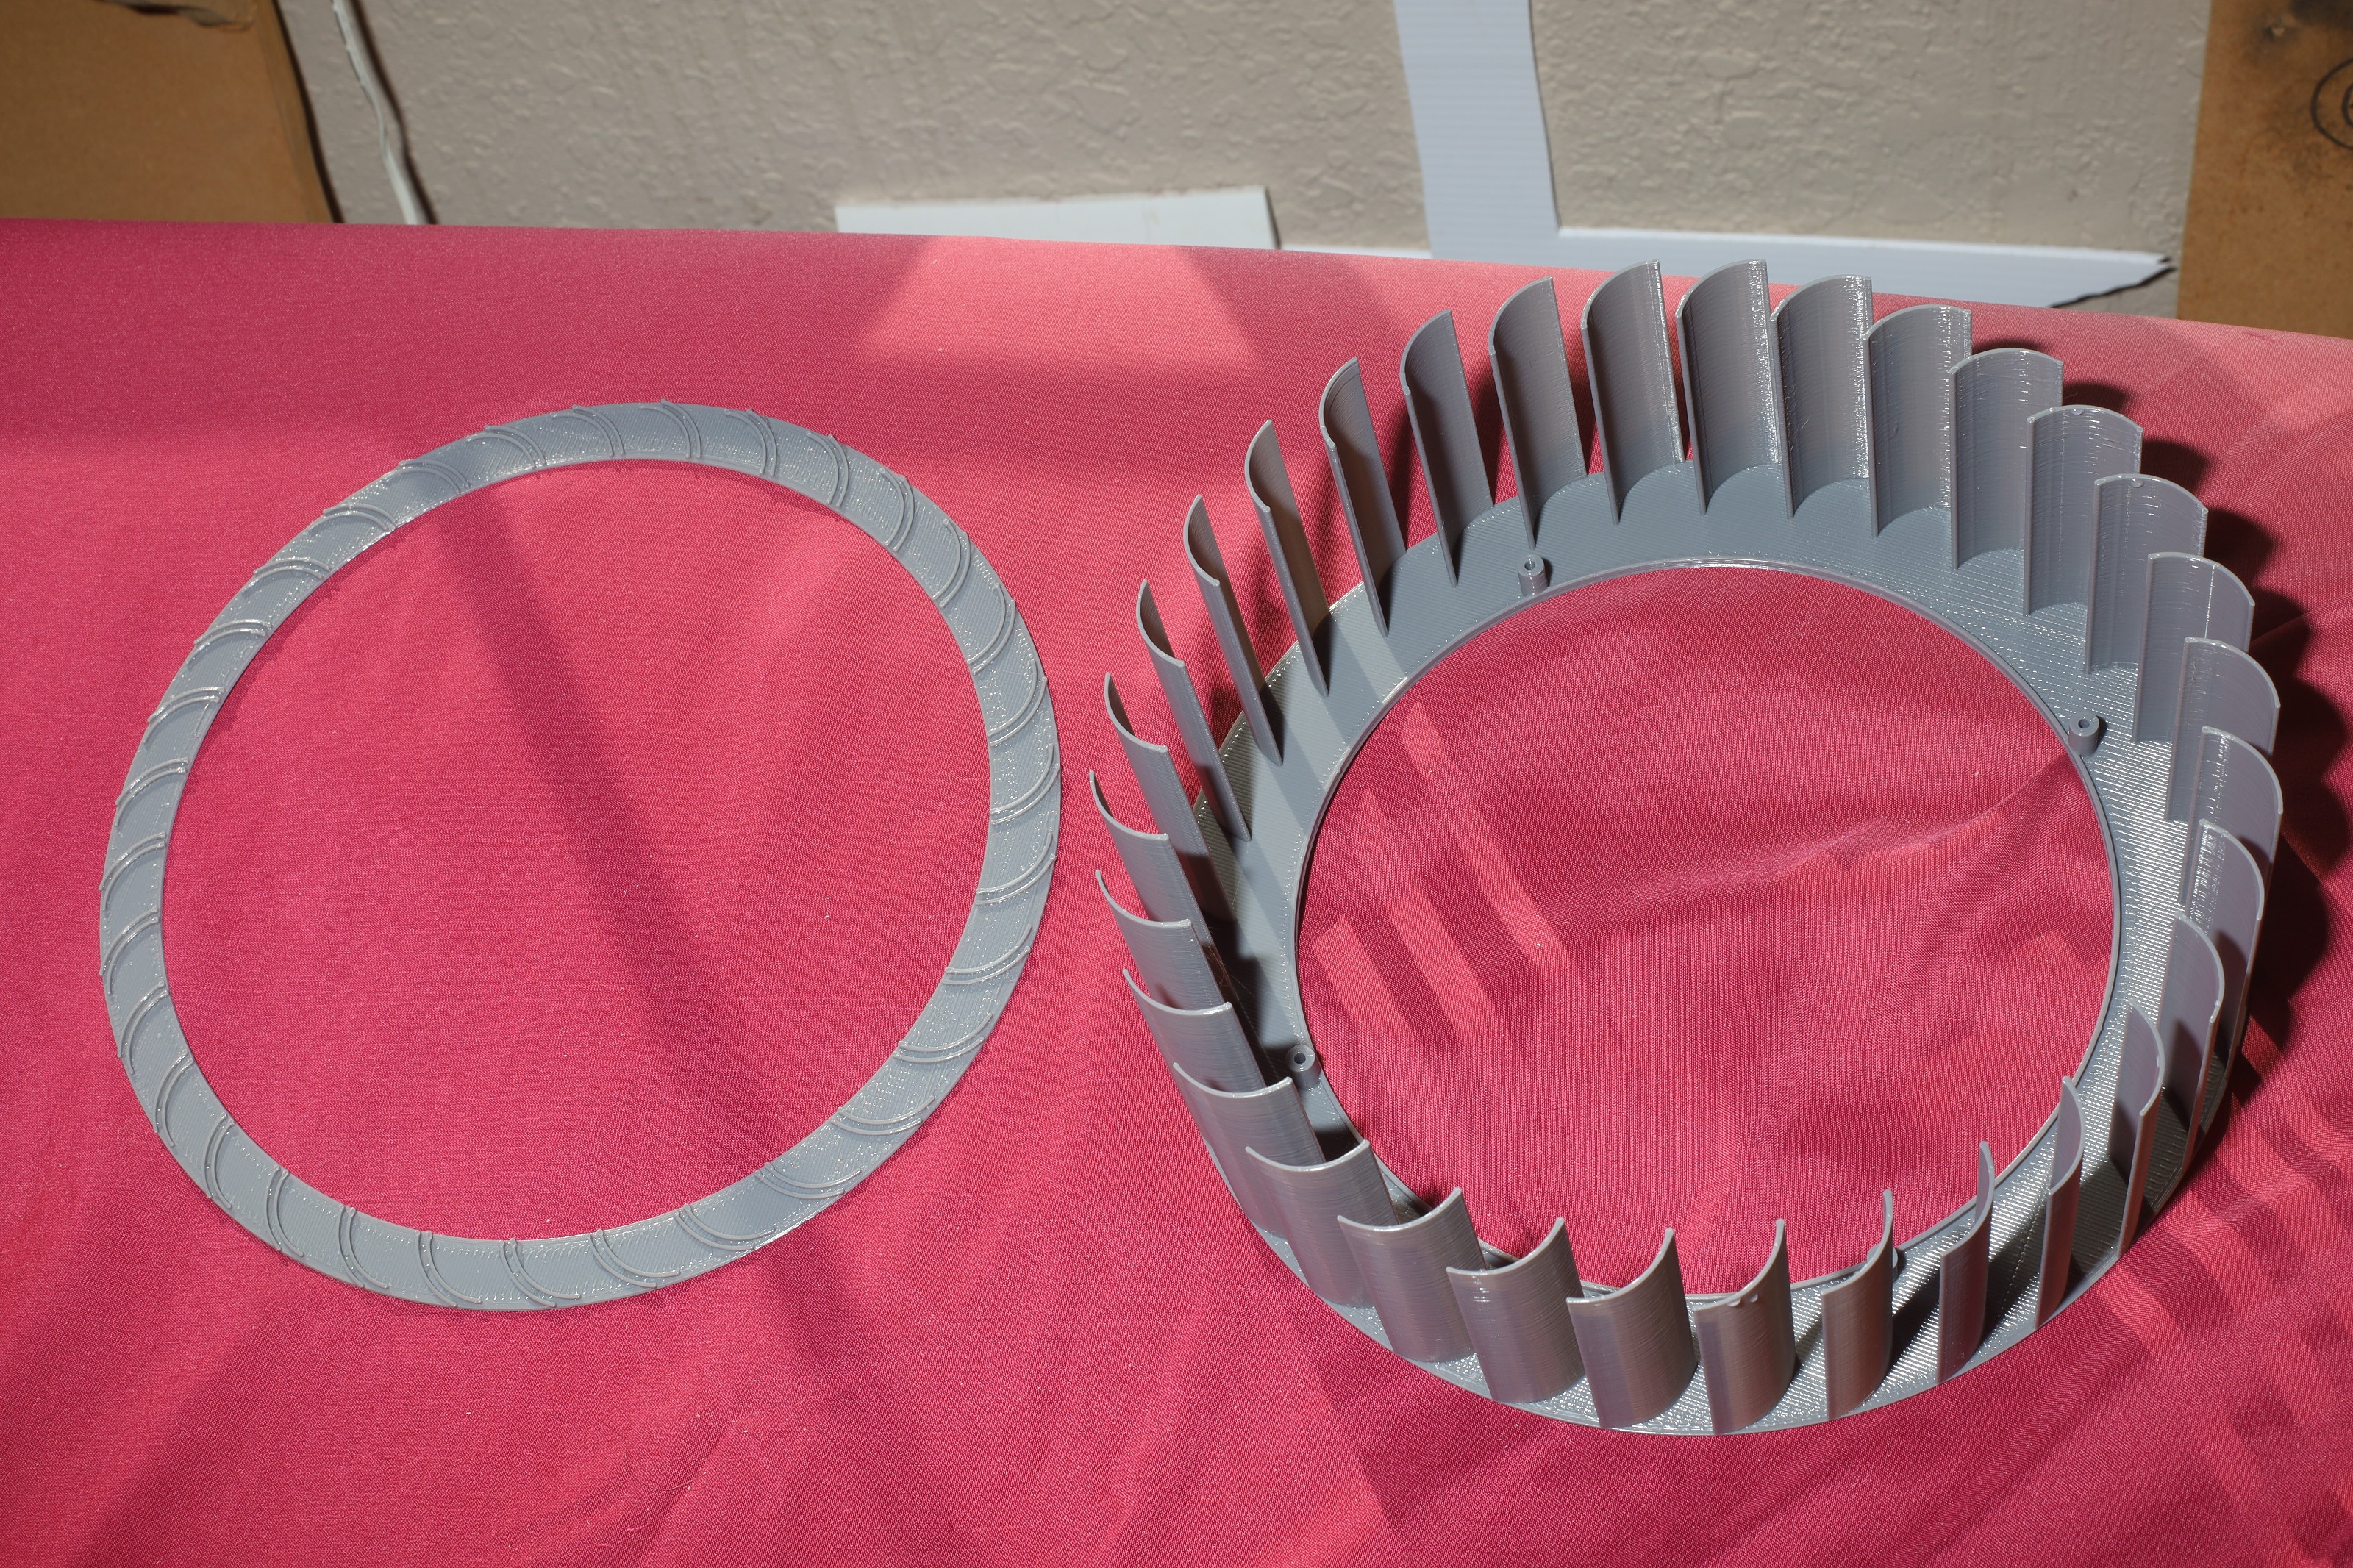
The mane unknown is the size & number of airfoils. Copying that would require cracking open the 30055 & facing spiders.
A rough estimate from the photos says there were 32 airfoils. The size is just the largest which doesn't overlap.
Another trick is the blower has to turn in the direction that tightens the motor farstener.

That led to this thing. The motor segment burns 51g with a .8 nozzle. The blower segment burns 81g with a .4 nozzle. This one turns clockwise. The trick is creating the airfoil overhangs. The airfoils just required a lot of CA.

There might be enough room to make it 4mm bigger, with cura tweeking & no skirt. The clamps are a bit marginal.
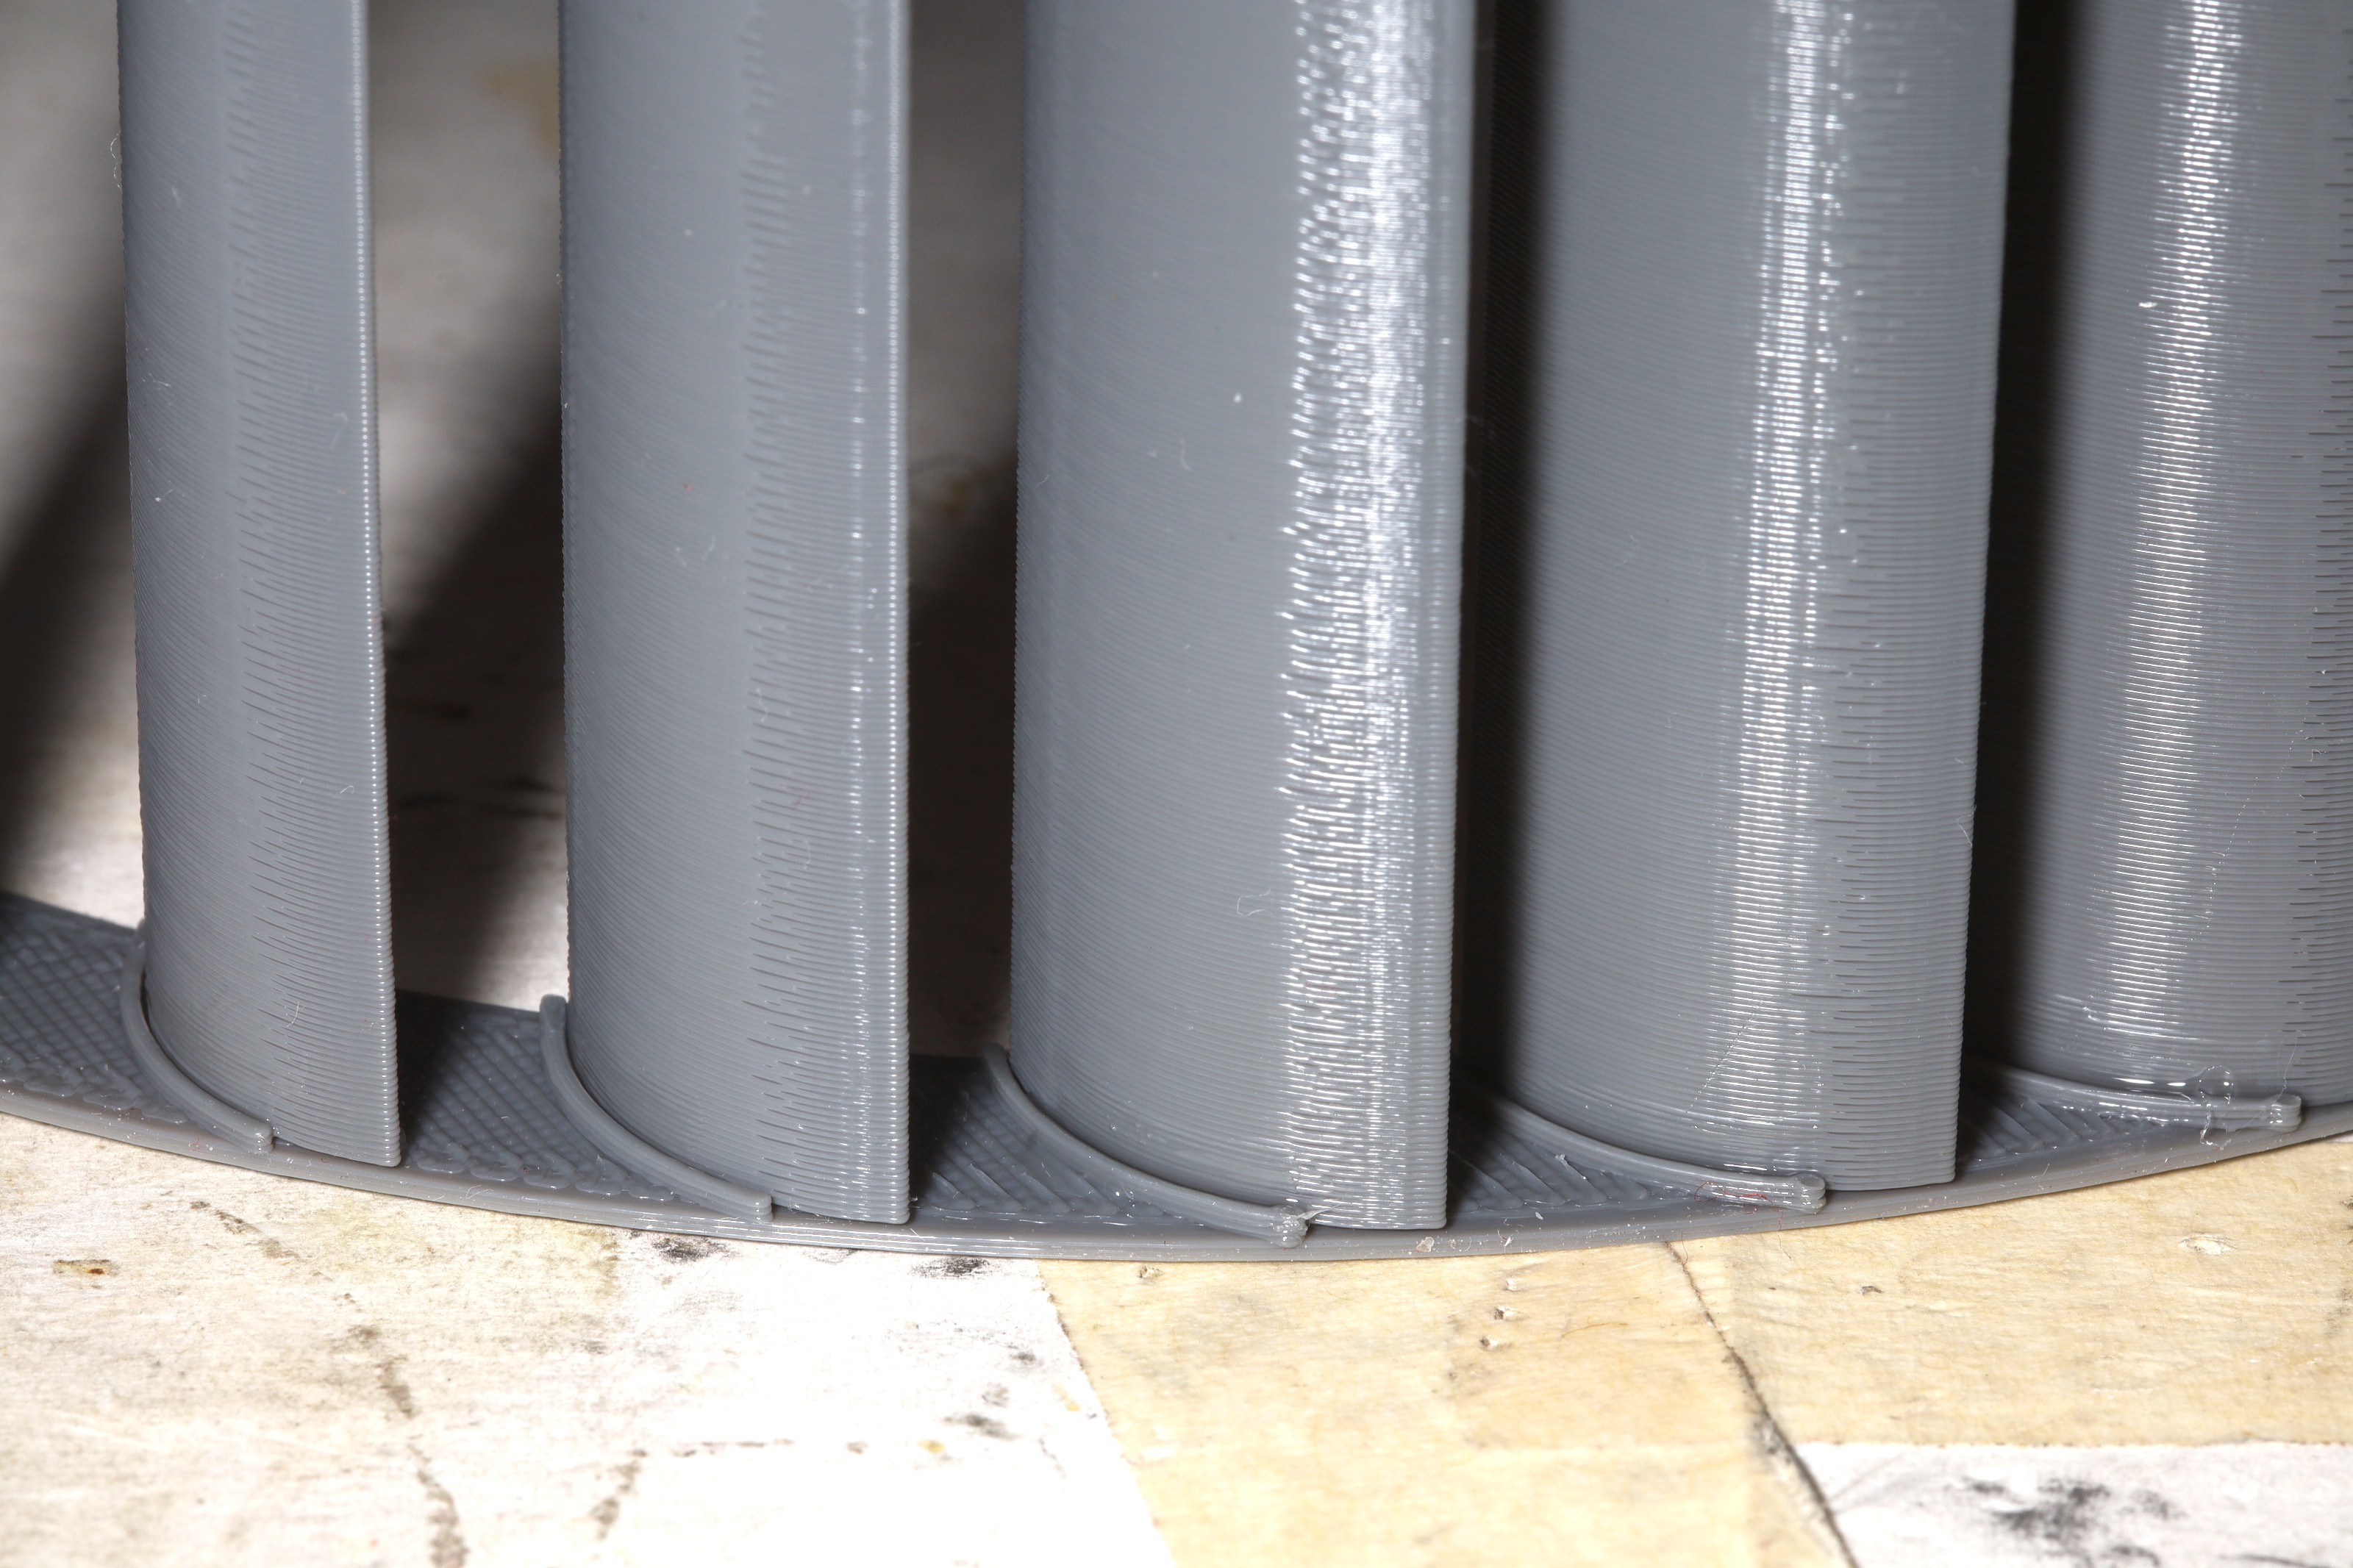
It's devilish hard to get the entire thing assembled with 1mm fiducials. The fiducials could be 2mm but it would be less efficient. The easiest assembly method was to press it all together & glue around the edges.
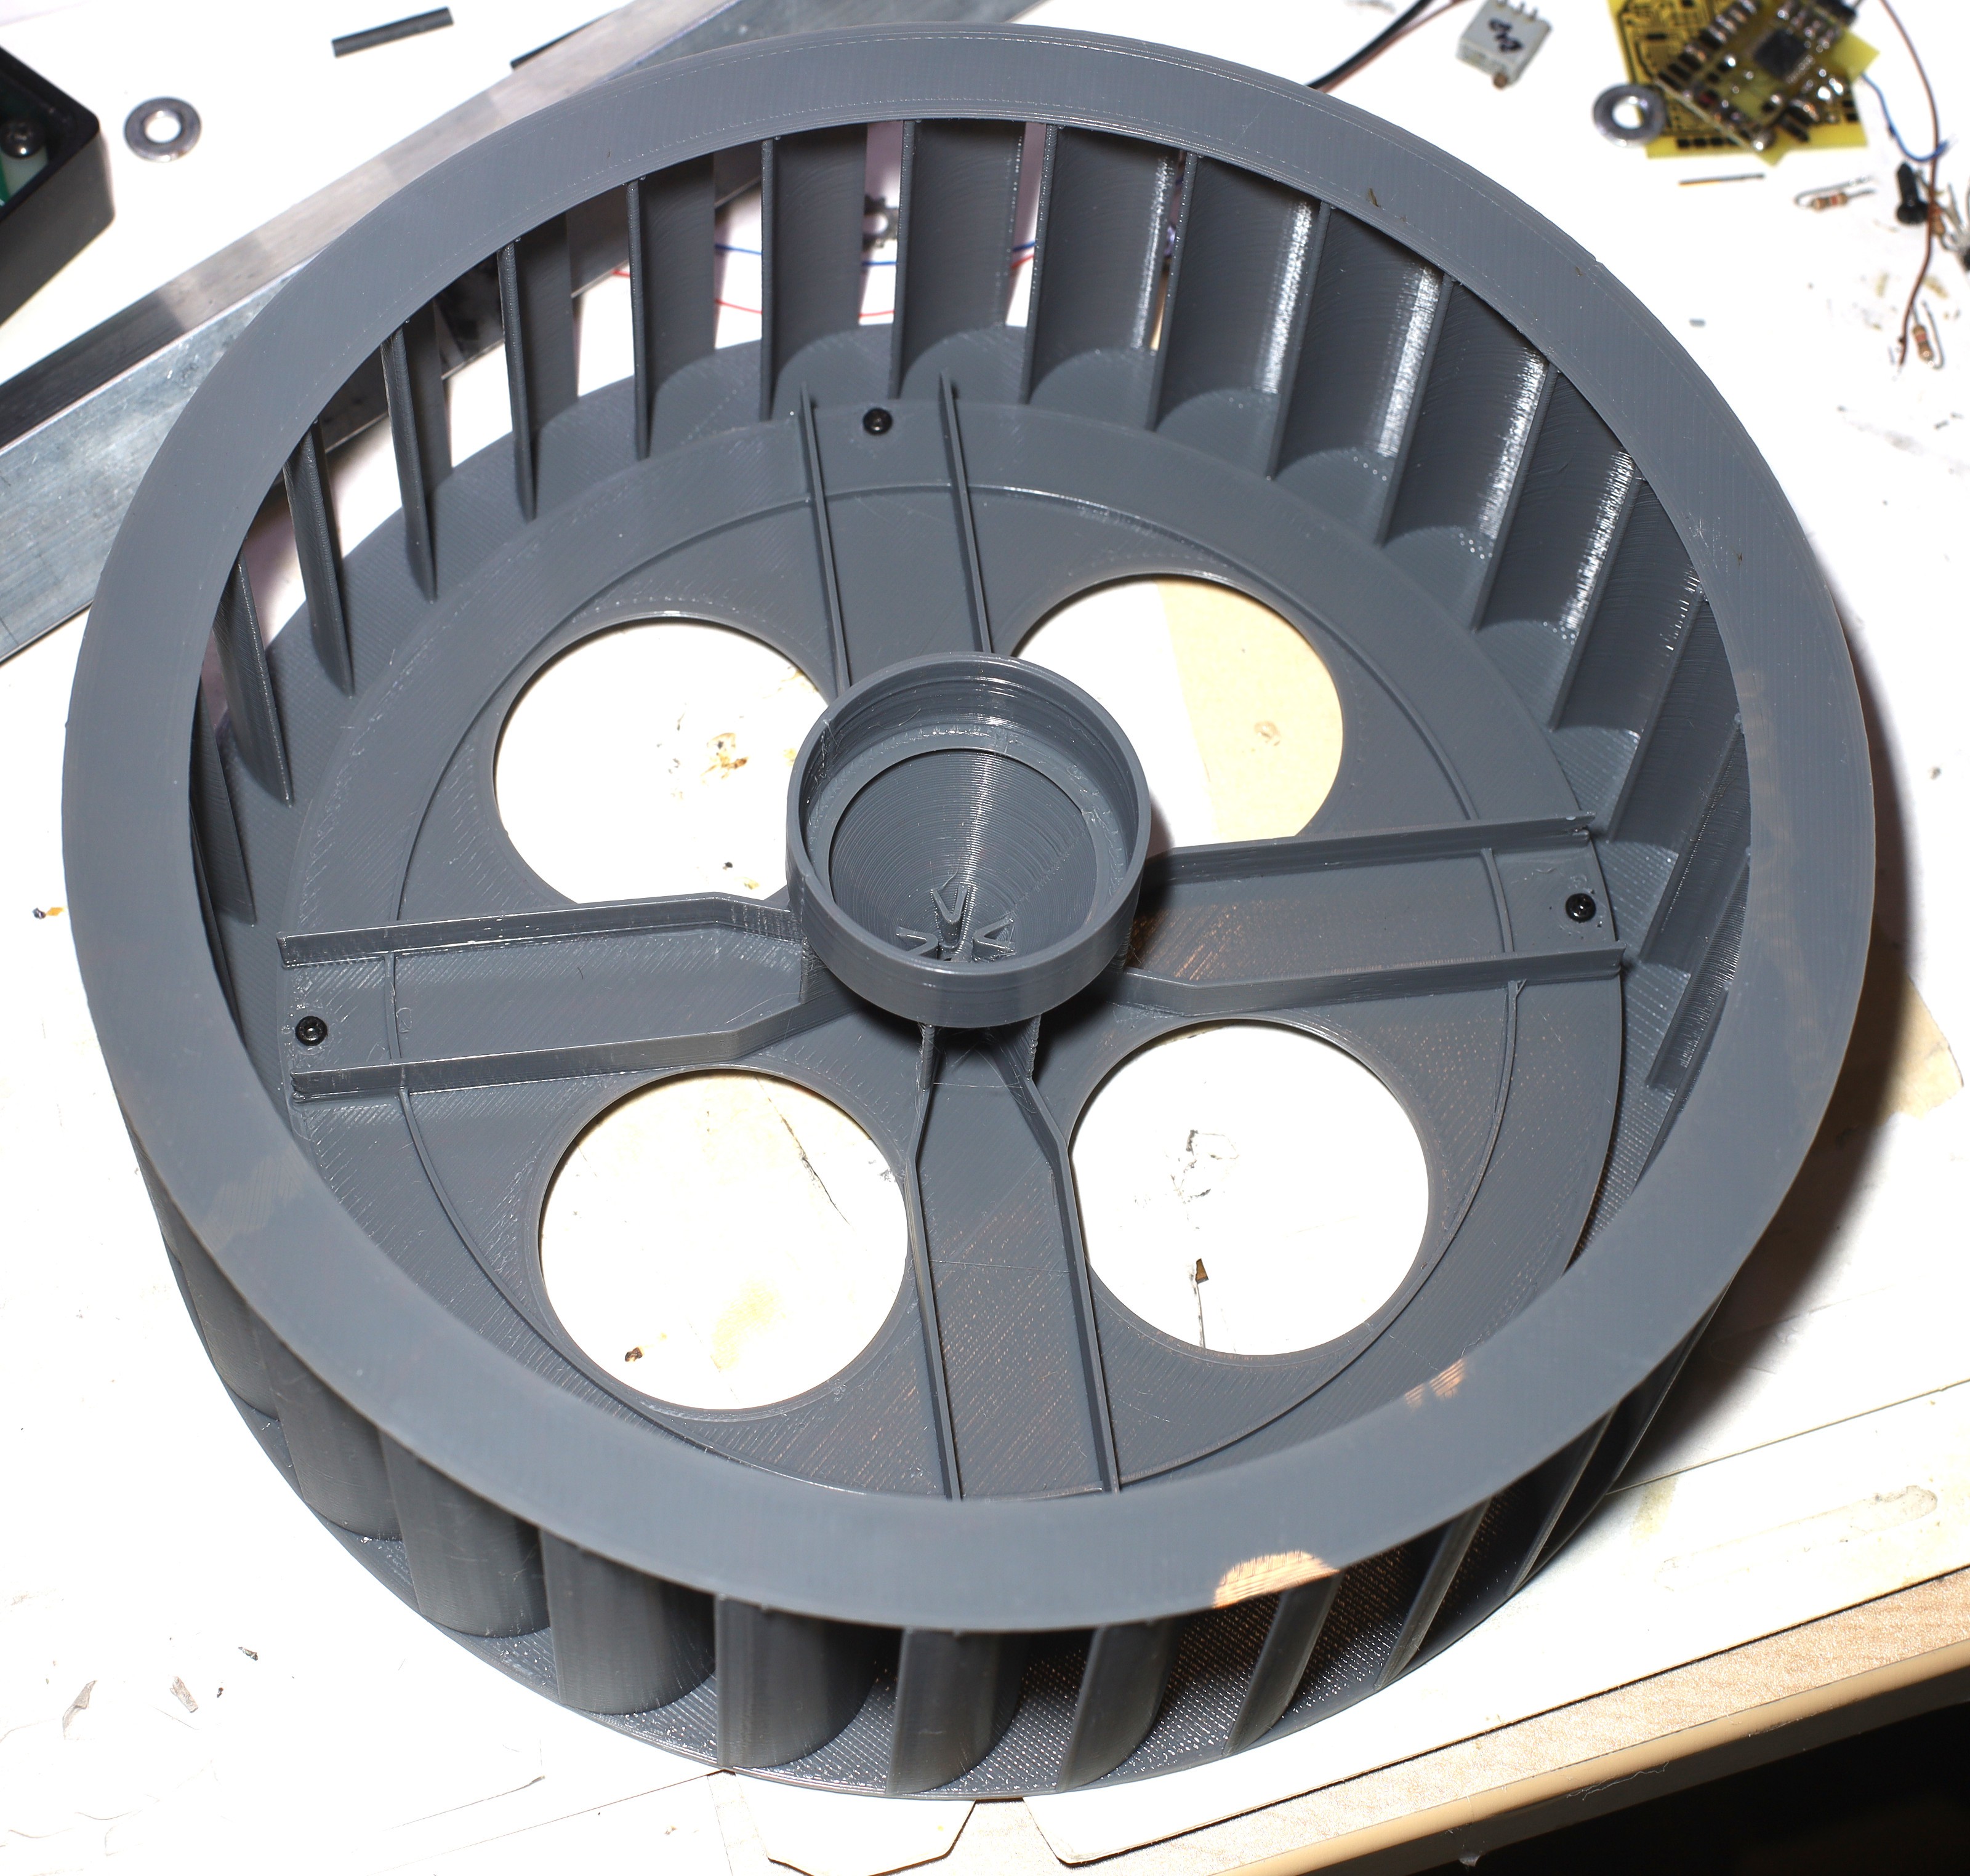


Mounted on a test jig, it definitely blows. It's noisy. It goes up to 50W, then the ESC gets hot. It's definitely unbalanced. An enclosure would need big gaps. The motor needs a slower winding. It needs 1 more mm of height above the motor mount point. Reprinting just the motor attachment could do this.
The enclosure would be a multi print job.
Discussions
Become a Hackaday.io Member
Create an account to leave a comment. Already have an account? Log In.