Supplyframe DesignLab
This project is the files repository and basic instructions for the Introduction to Electronics workshop at DesignLab in December 2023.
In this workshop we explore basic hardware, firmware, and mechanical design with a hands-on approach.
The Hardware
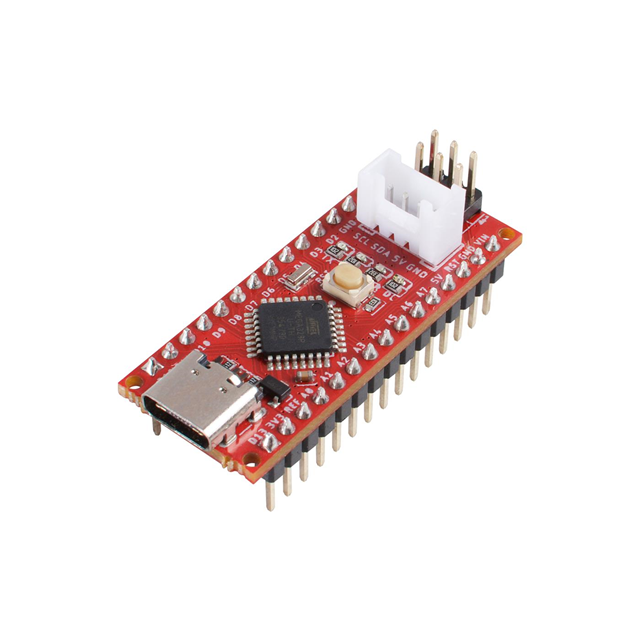
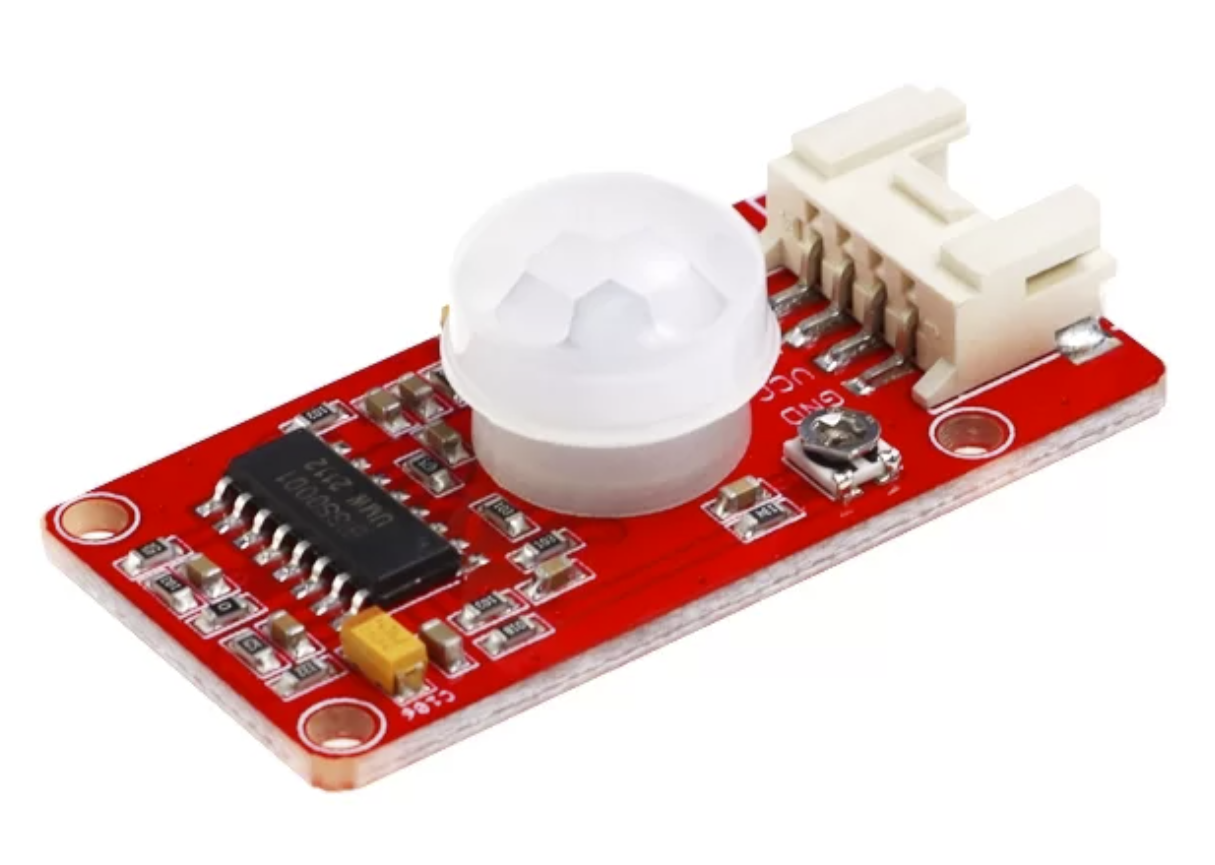
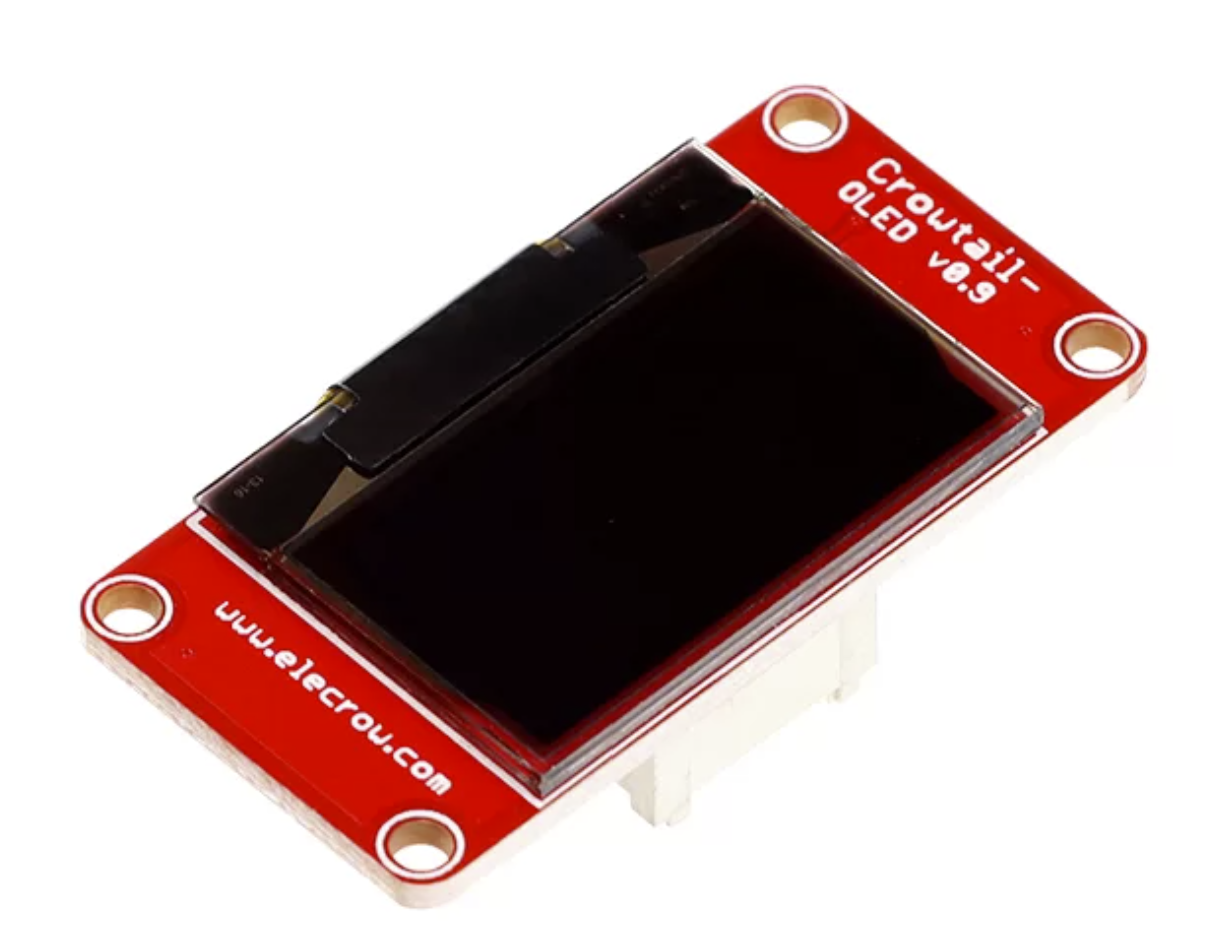
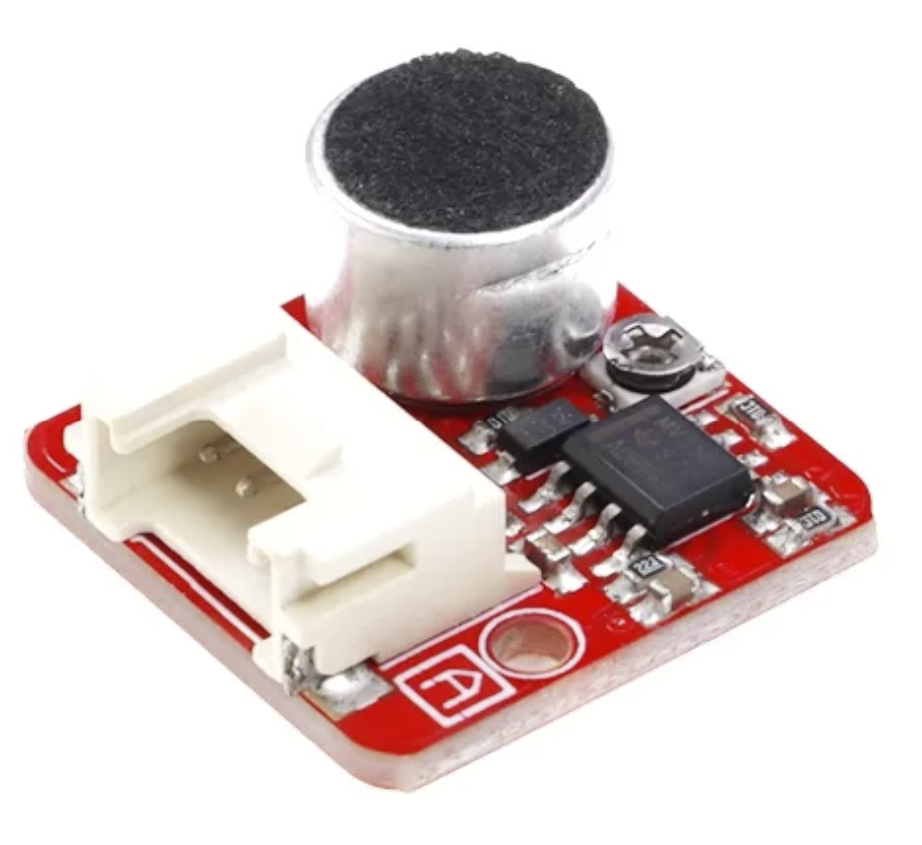
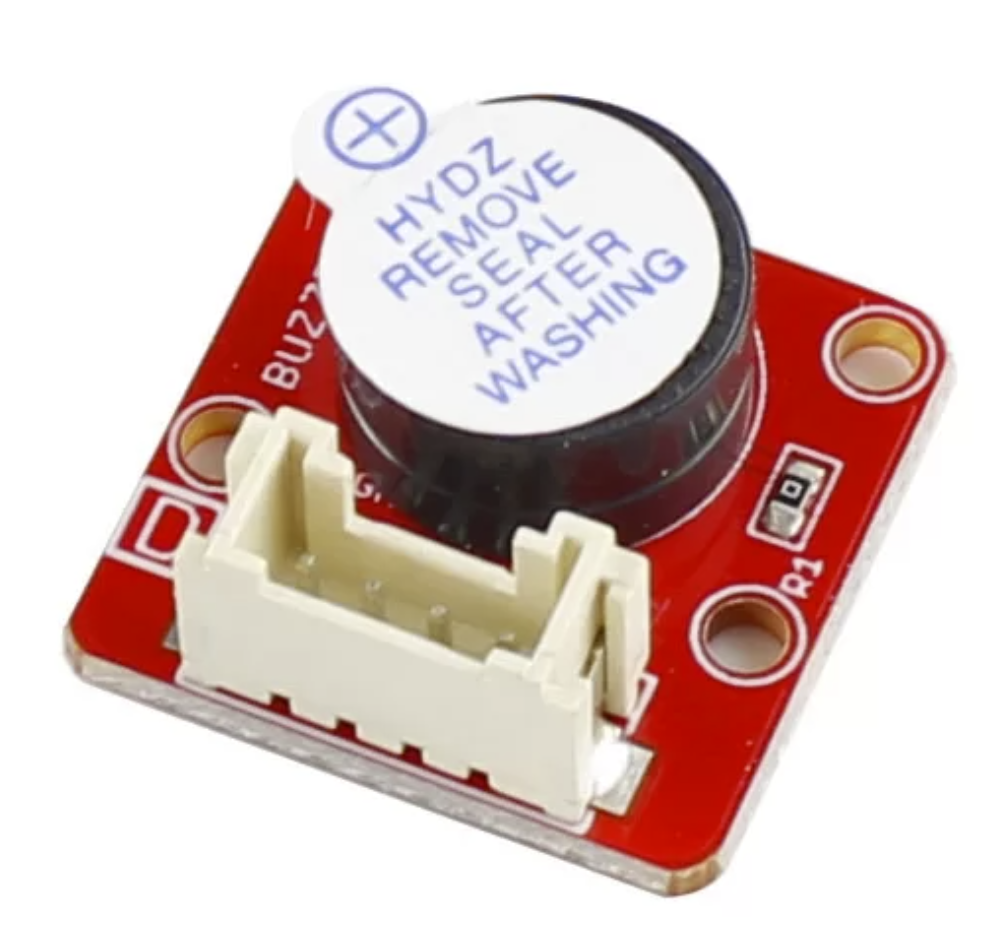
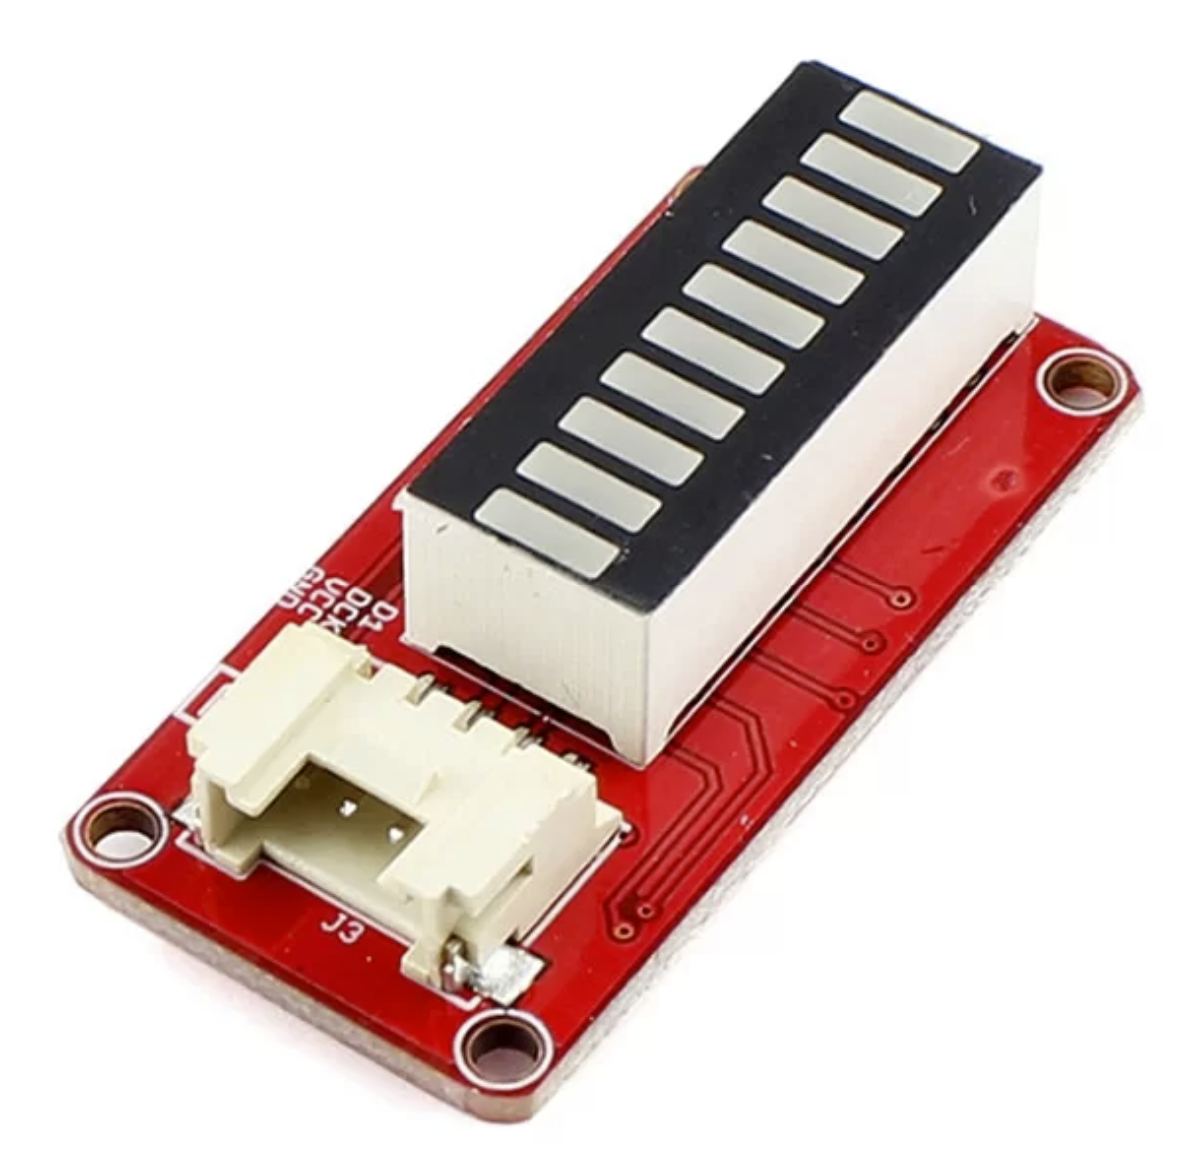
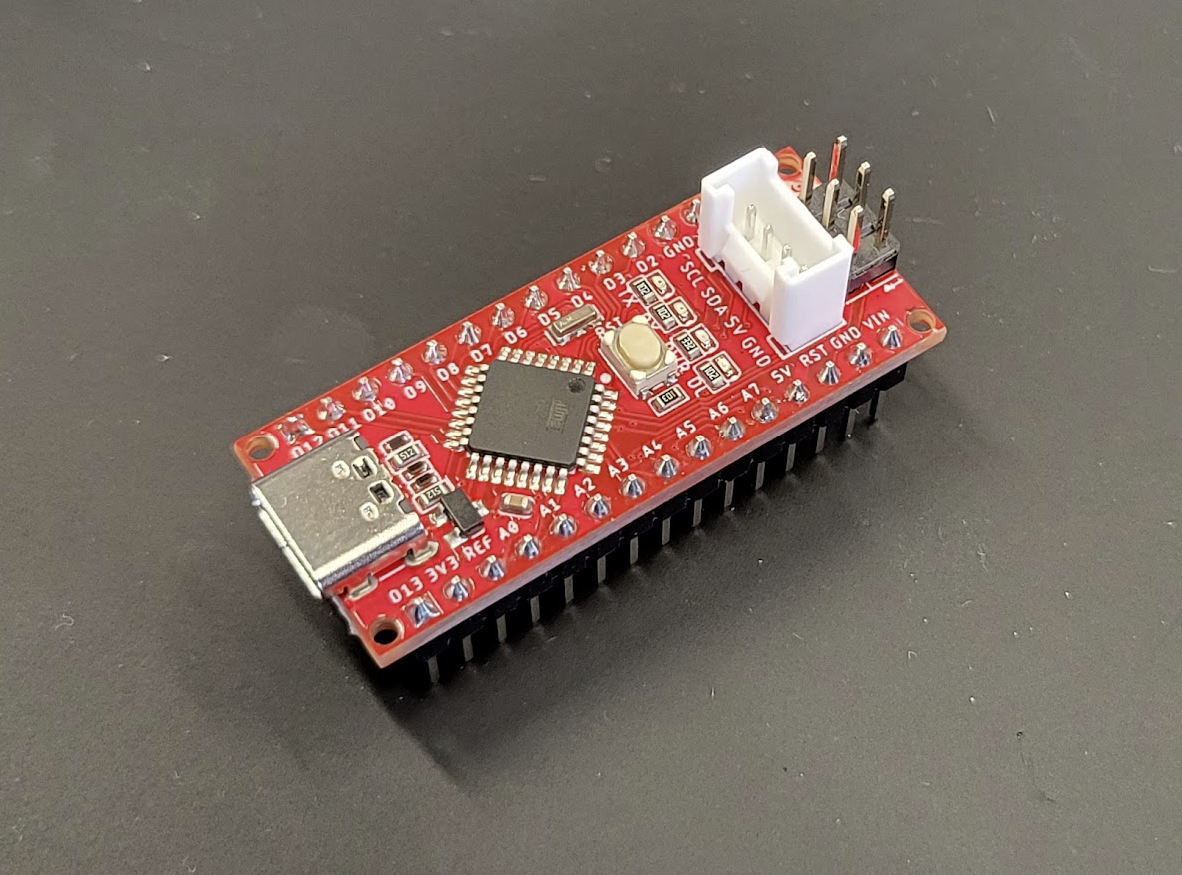
We will be using the Seeeduino Nano, the Grove Shield for Arduino Nano, and a bunch of Crowtail inputs and outputs.

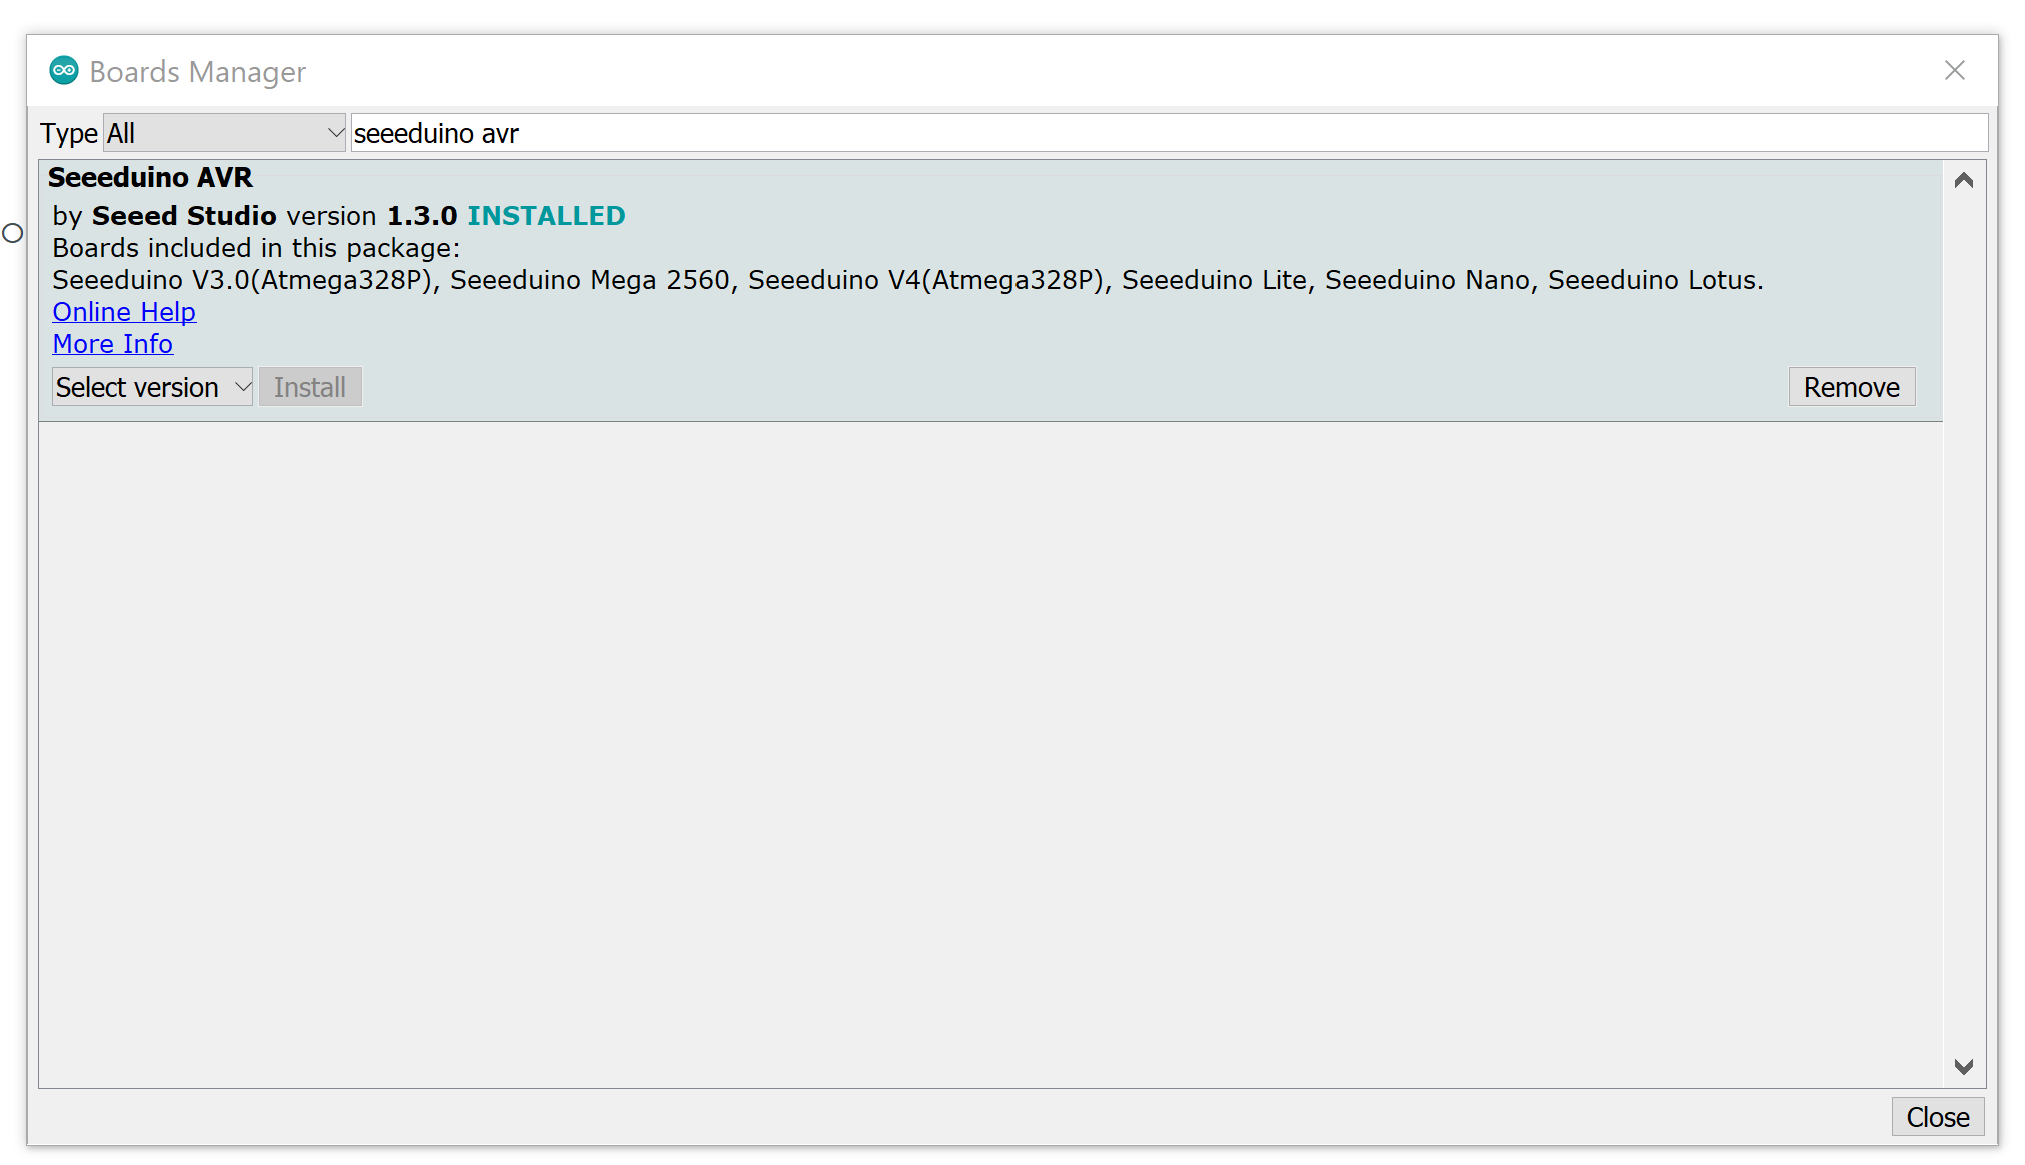
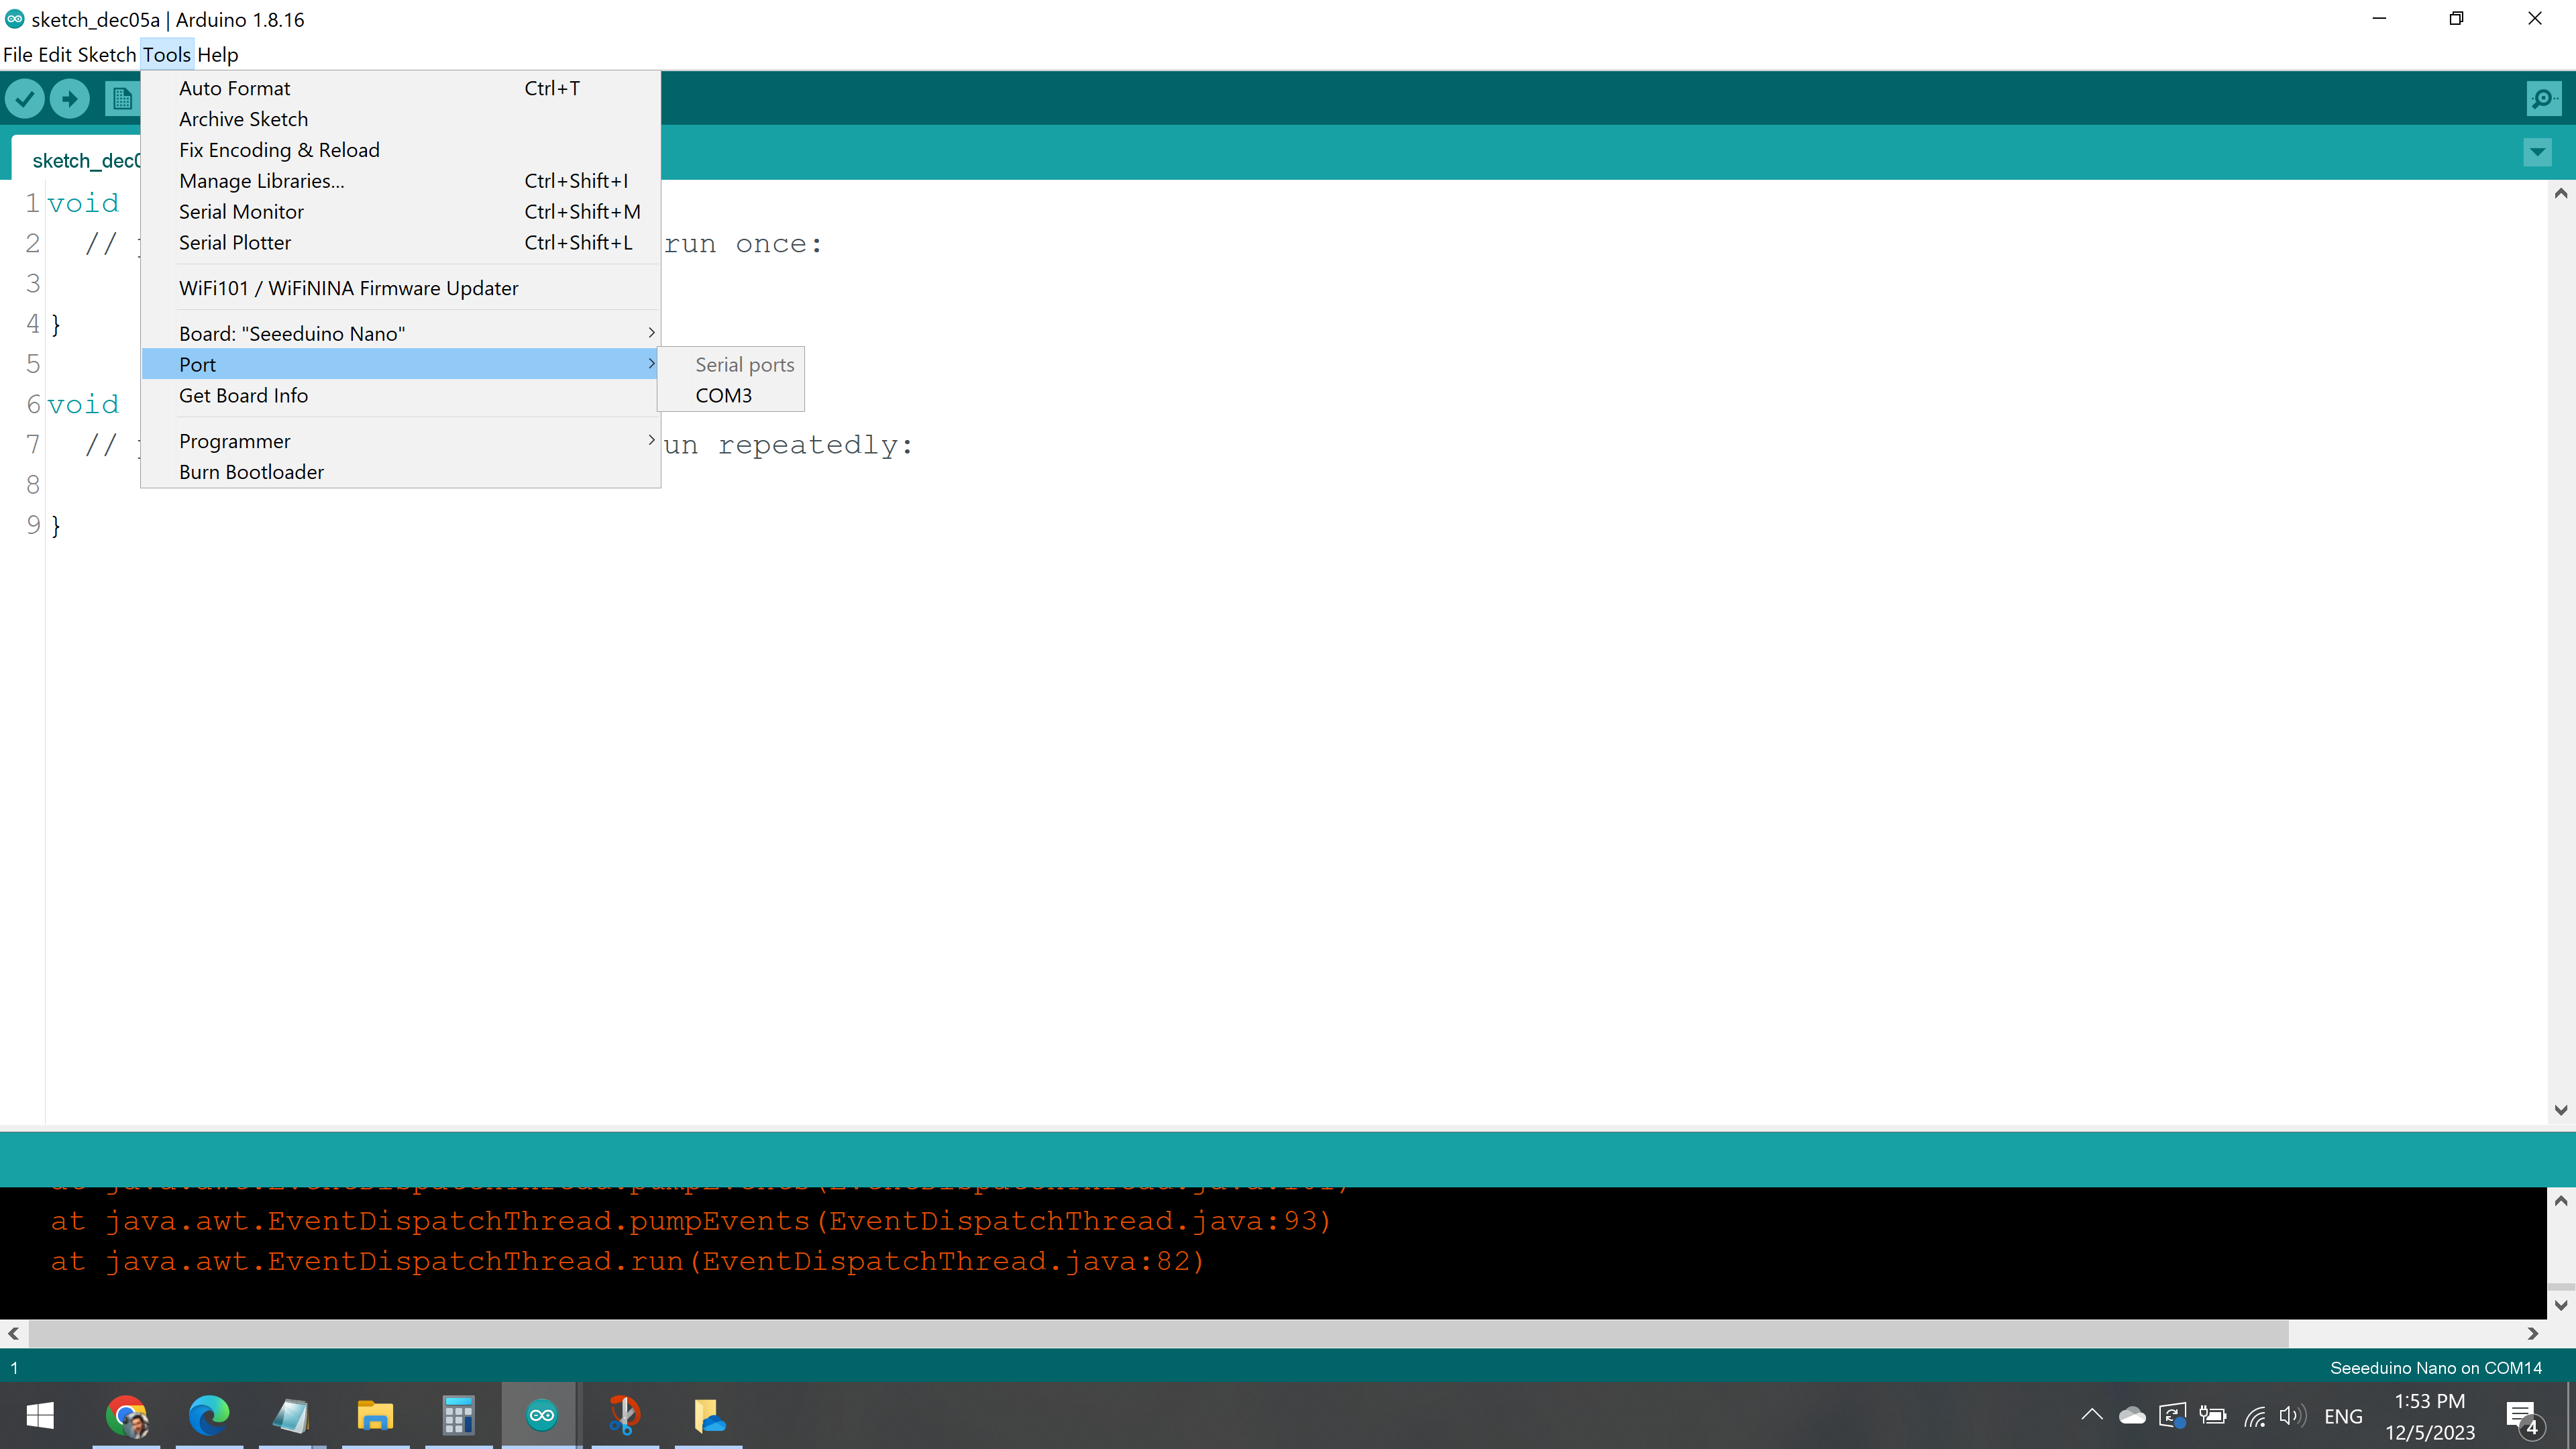
The Firmware
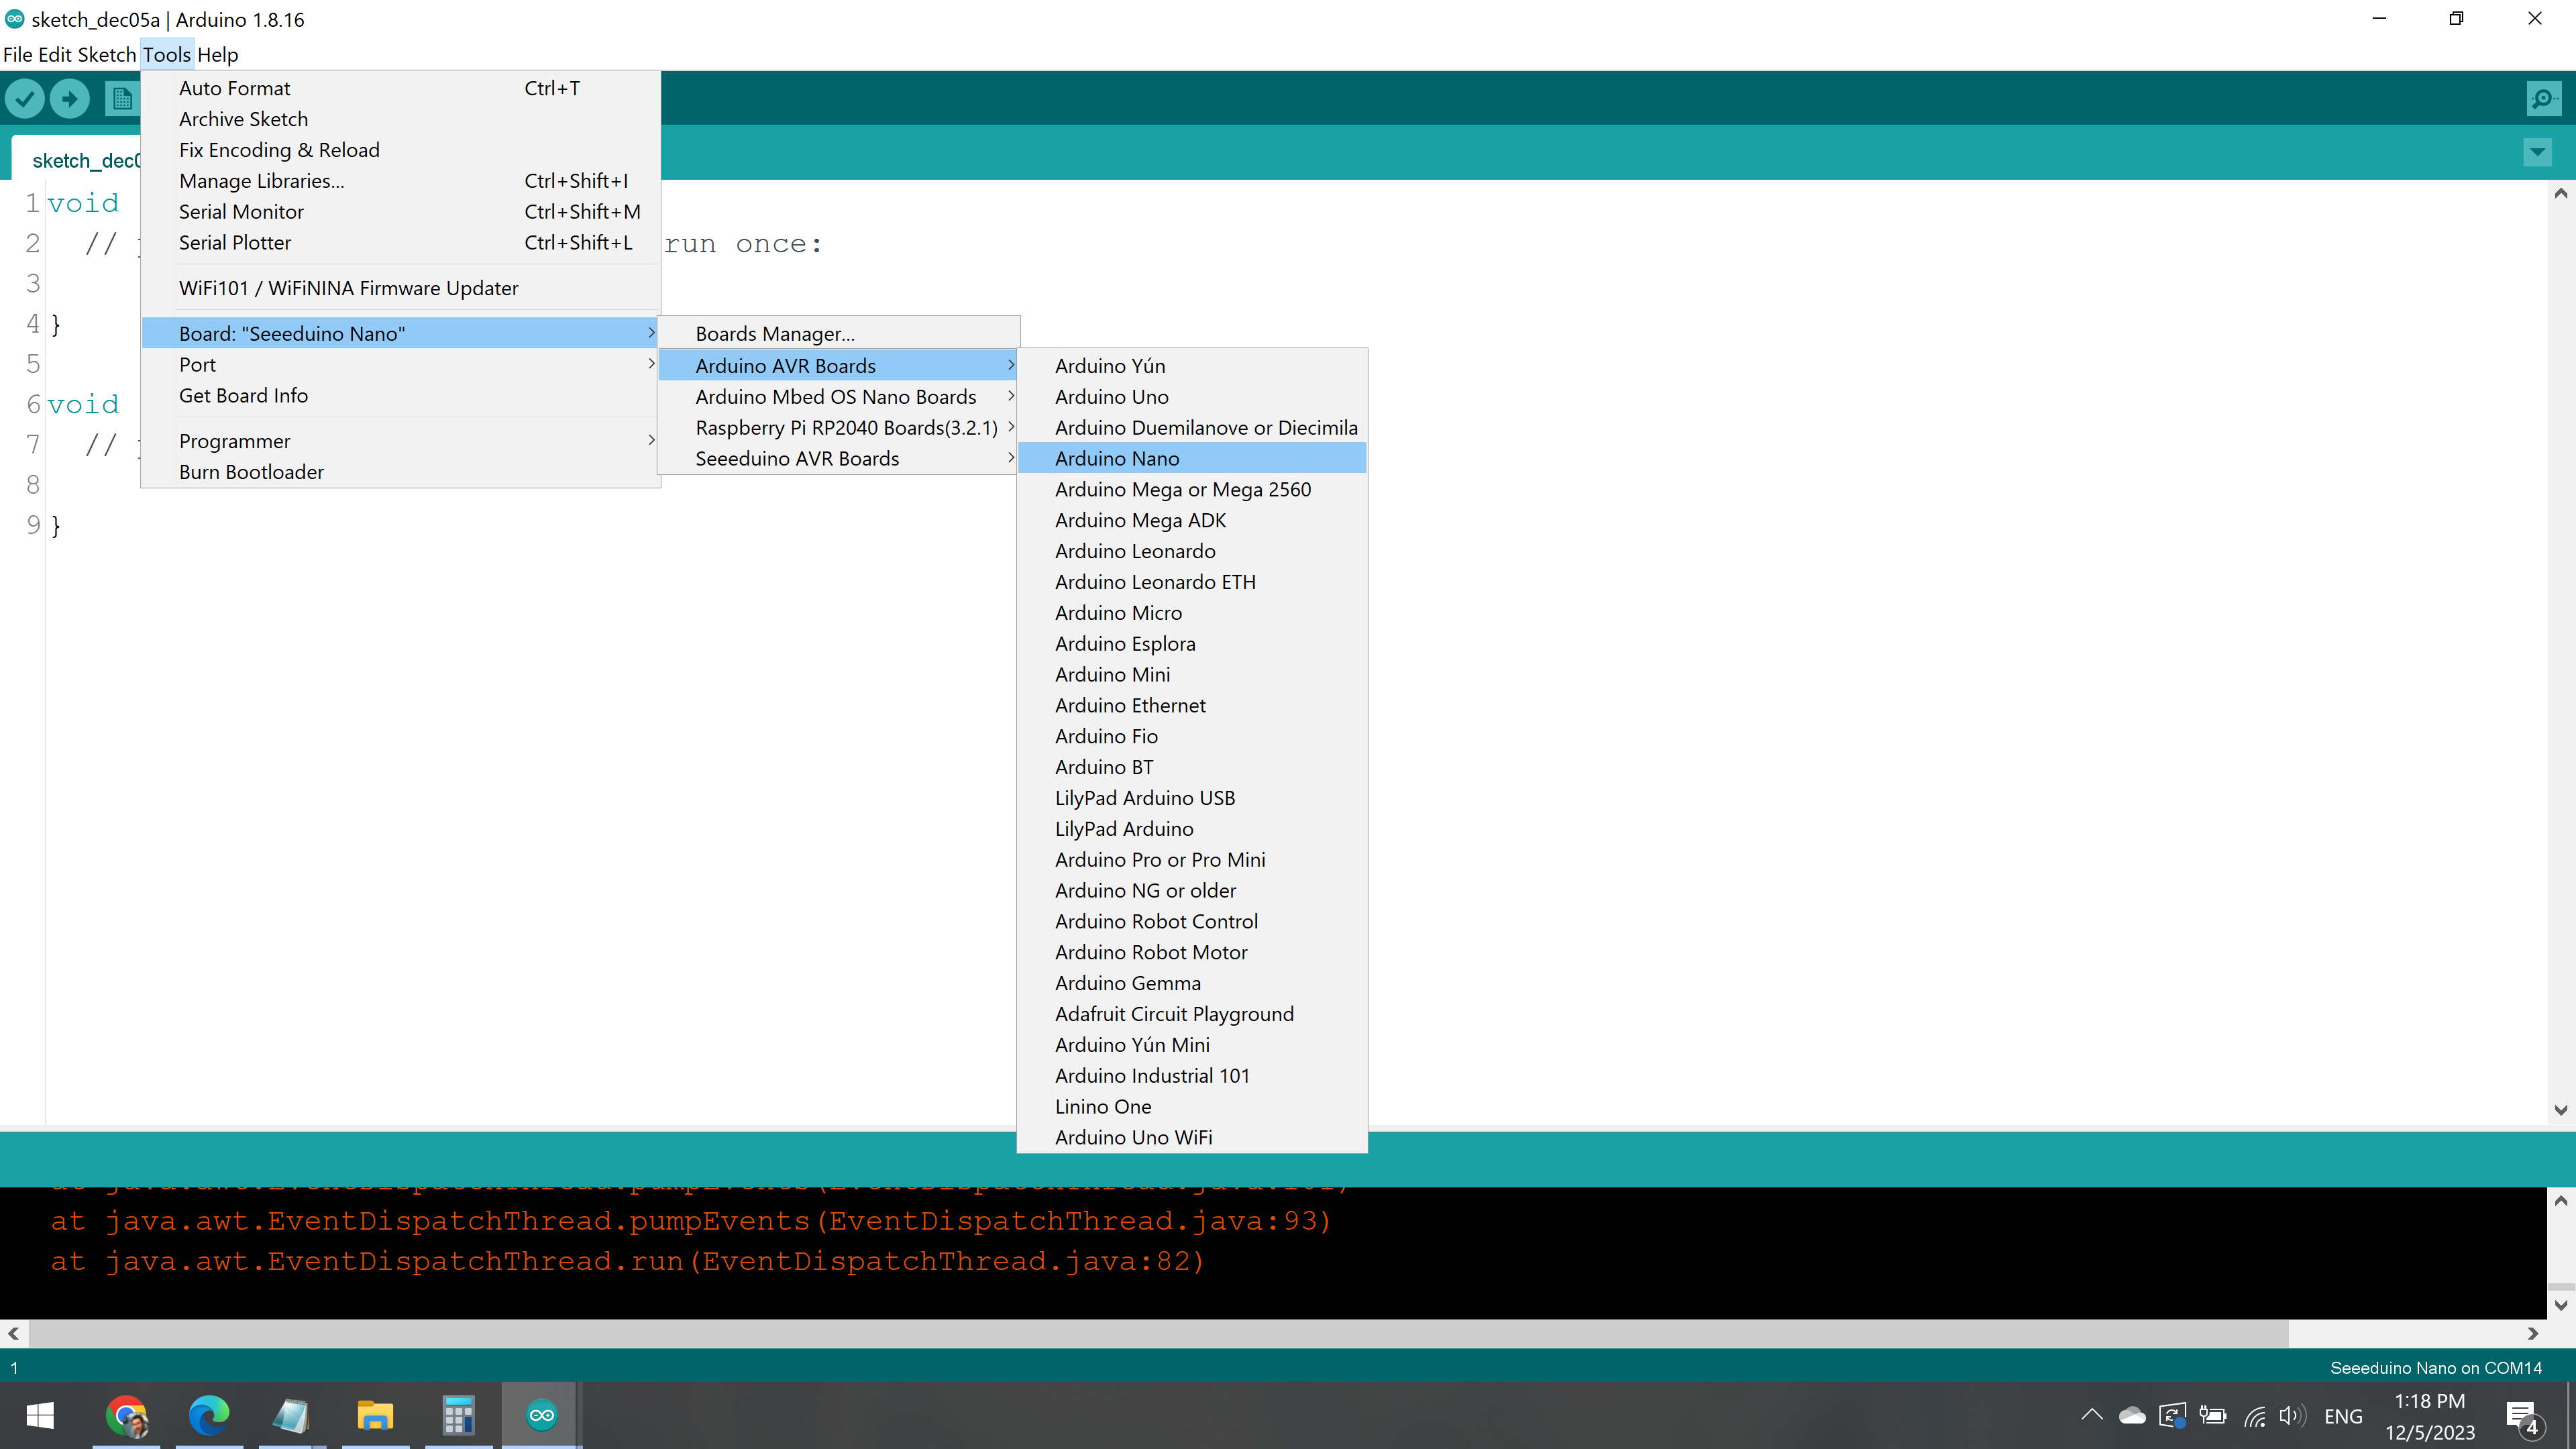
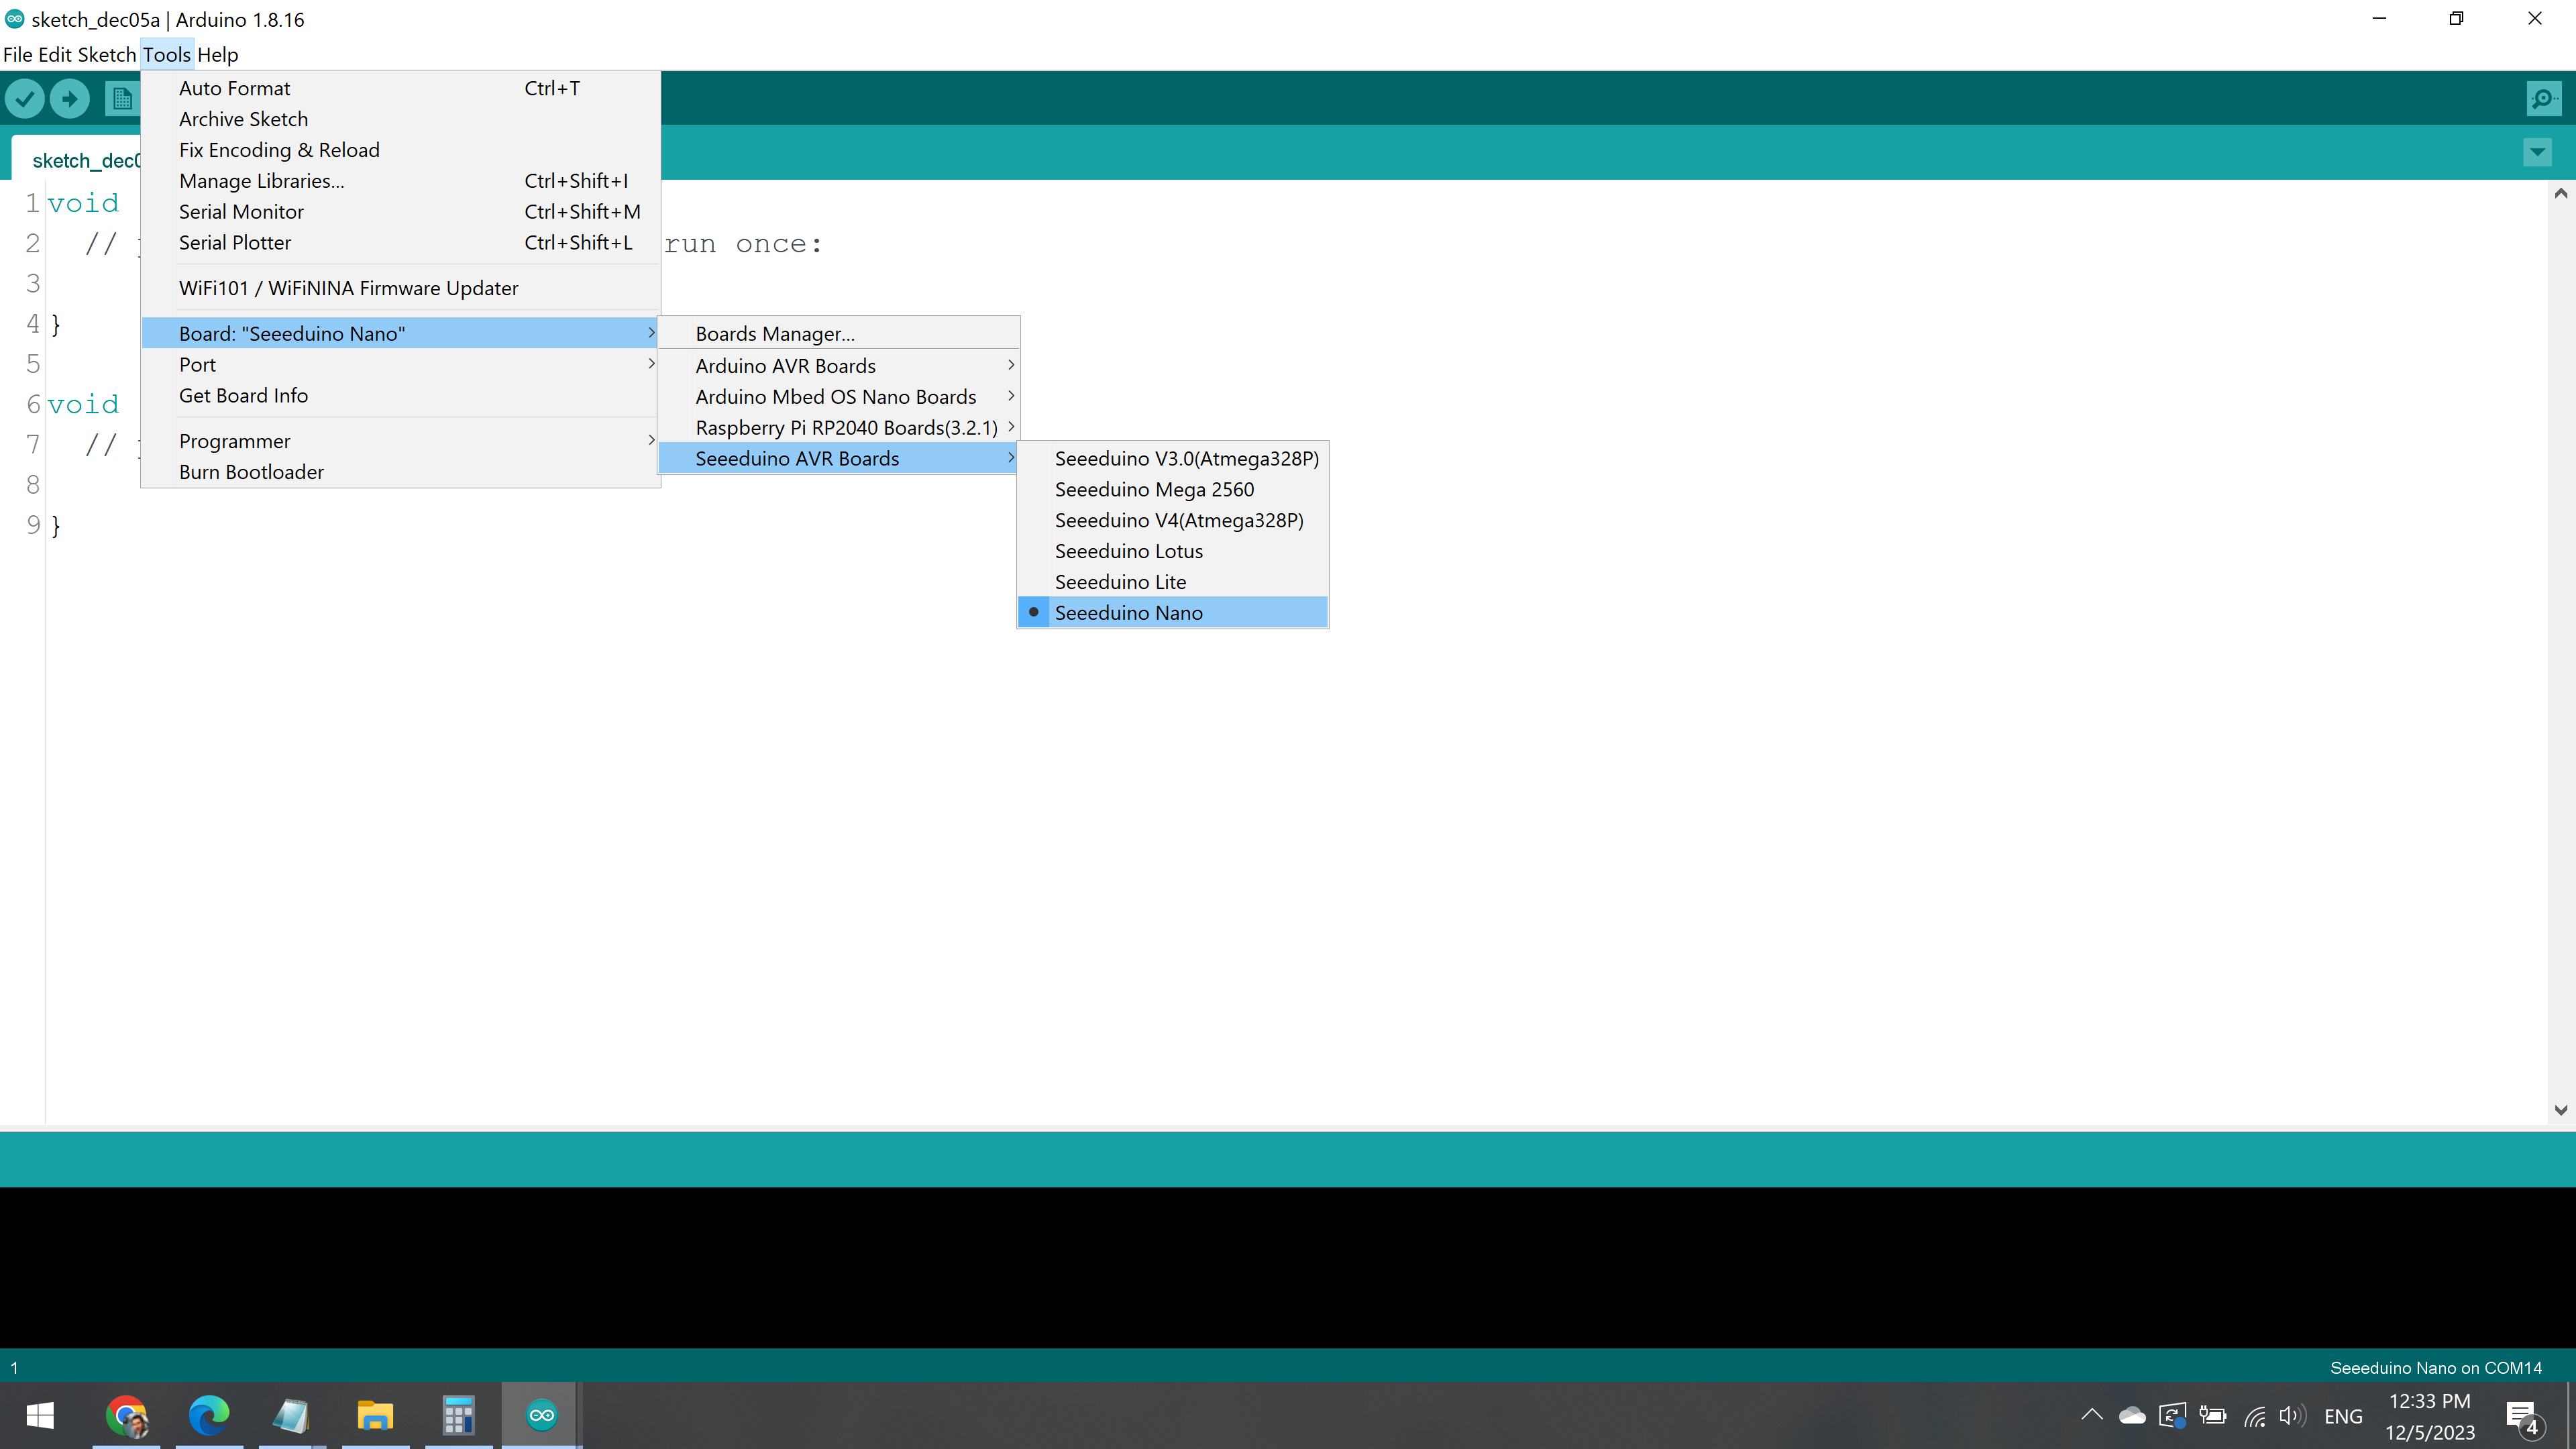
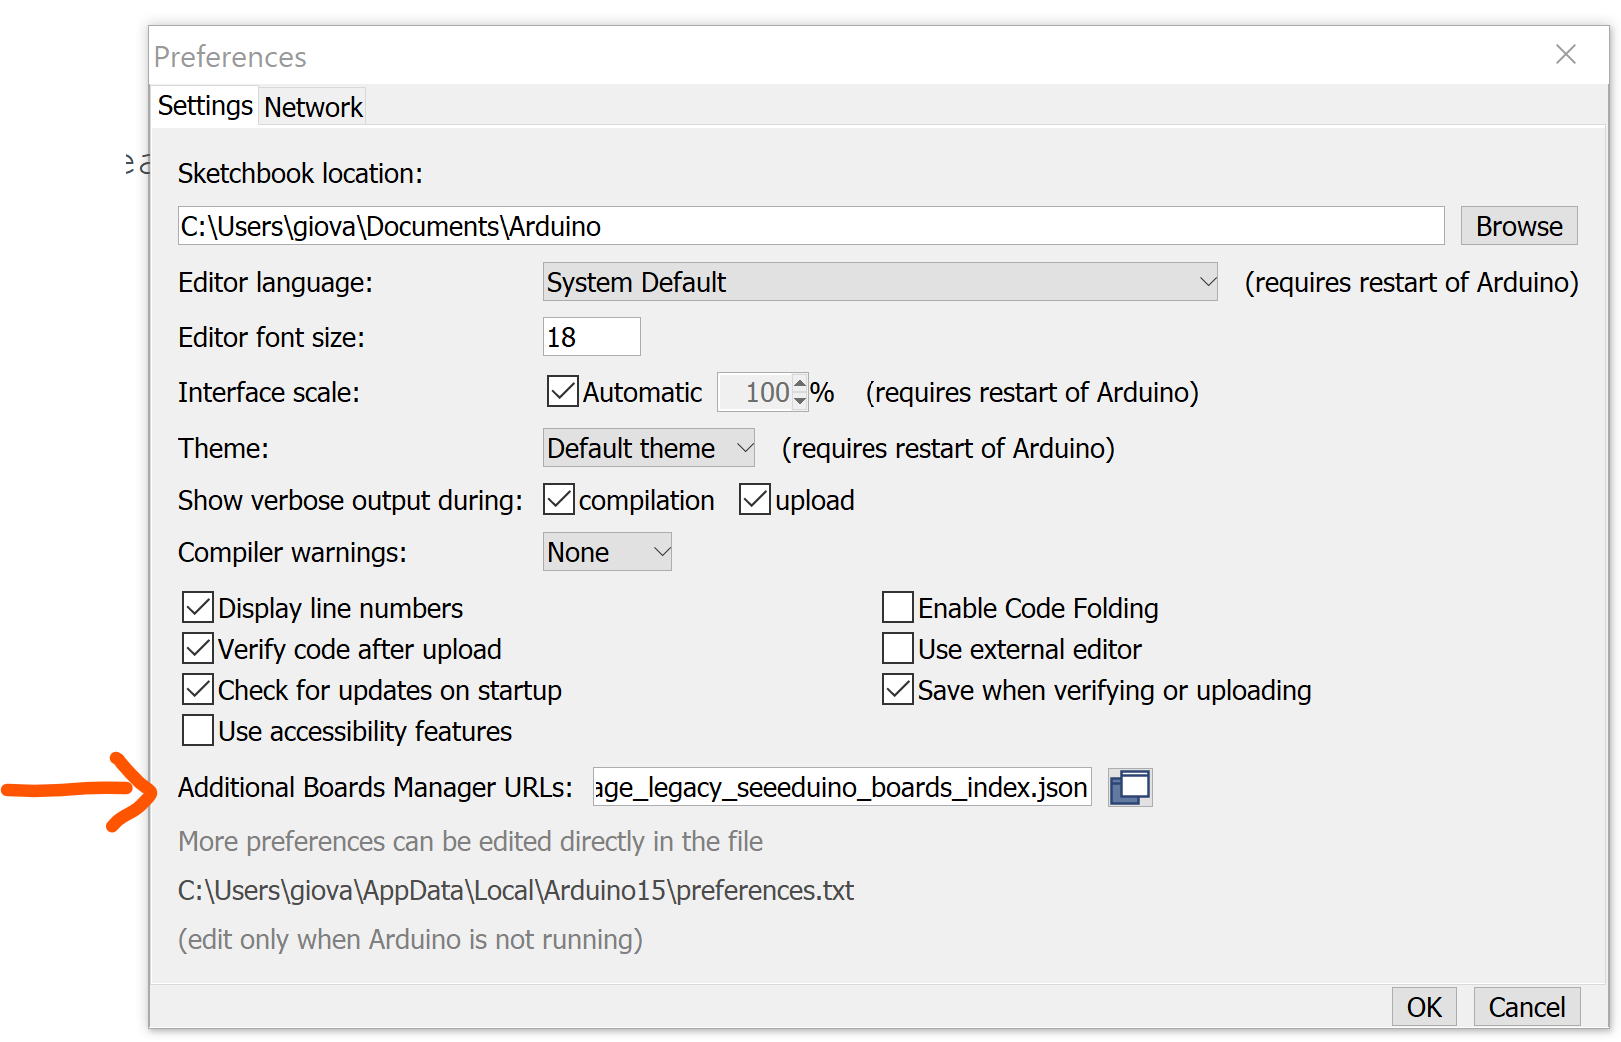
The Seeduino runs on Arduino IDE, which you can download for free here.


 Richard Moore
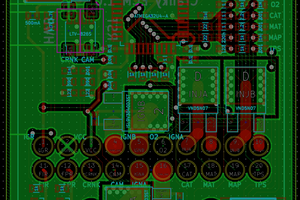
 Warren Janssens