 jefmer
Processor
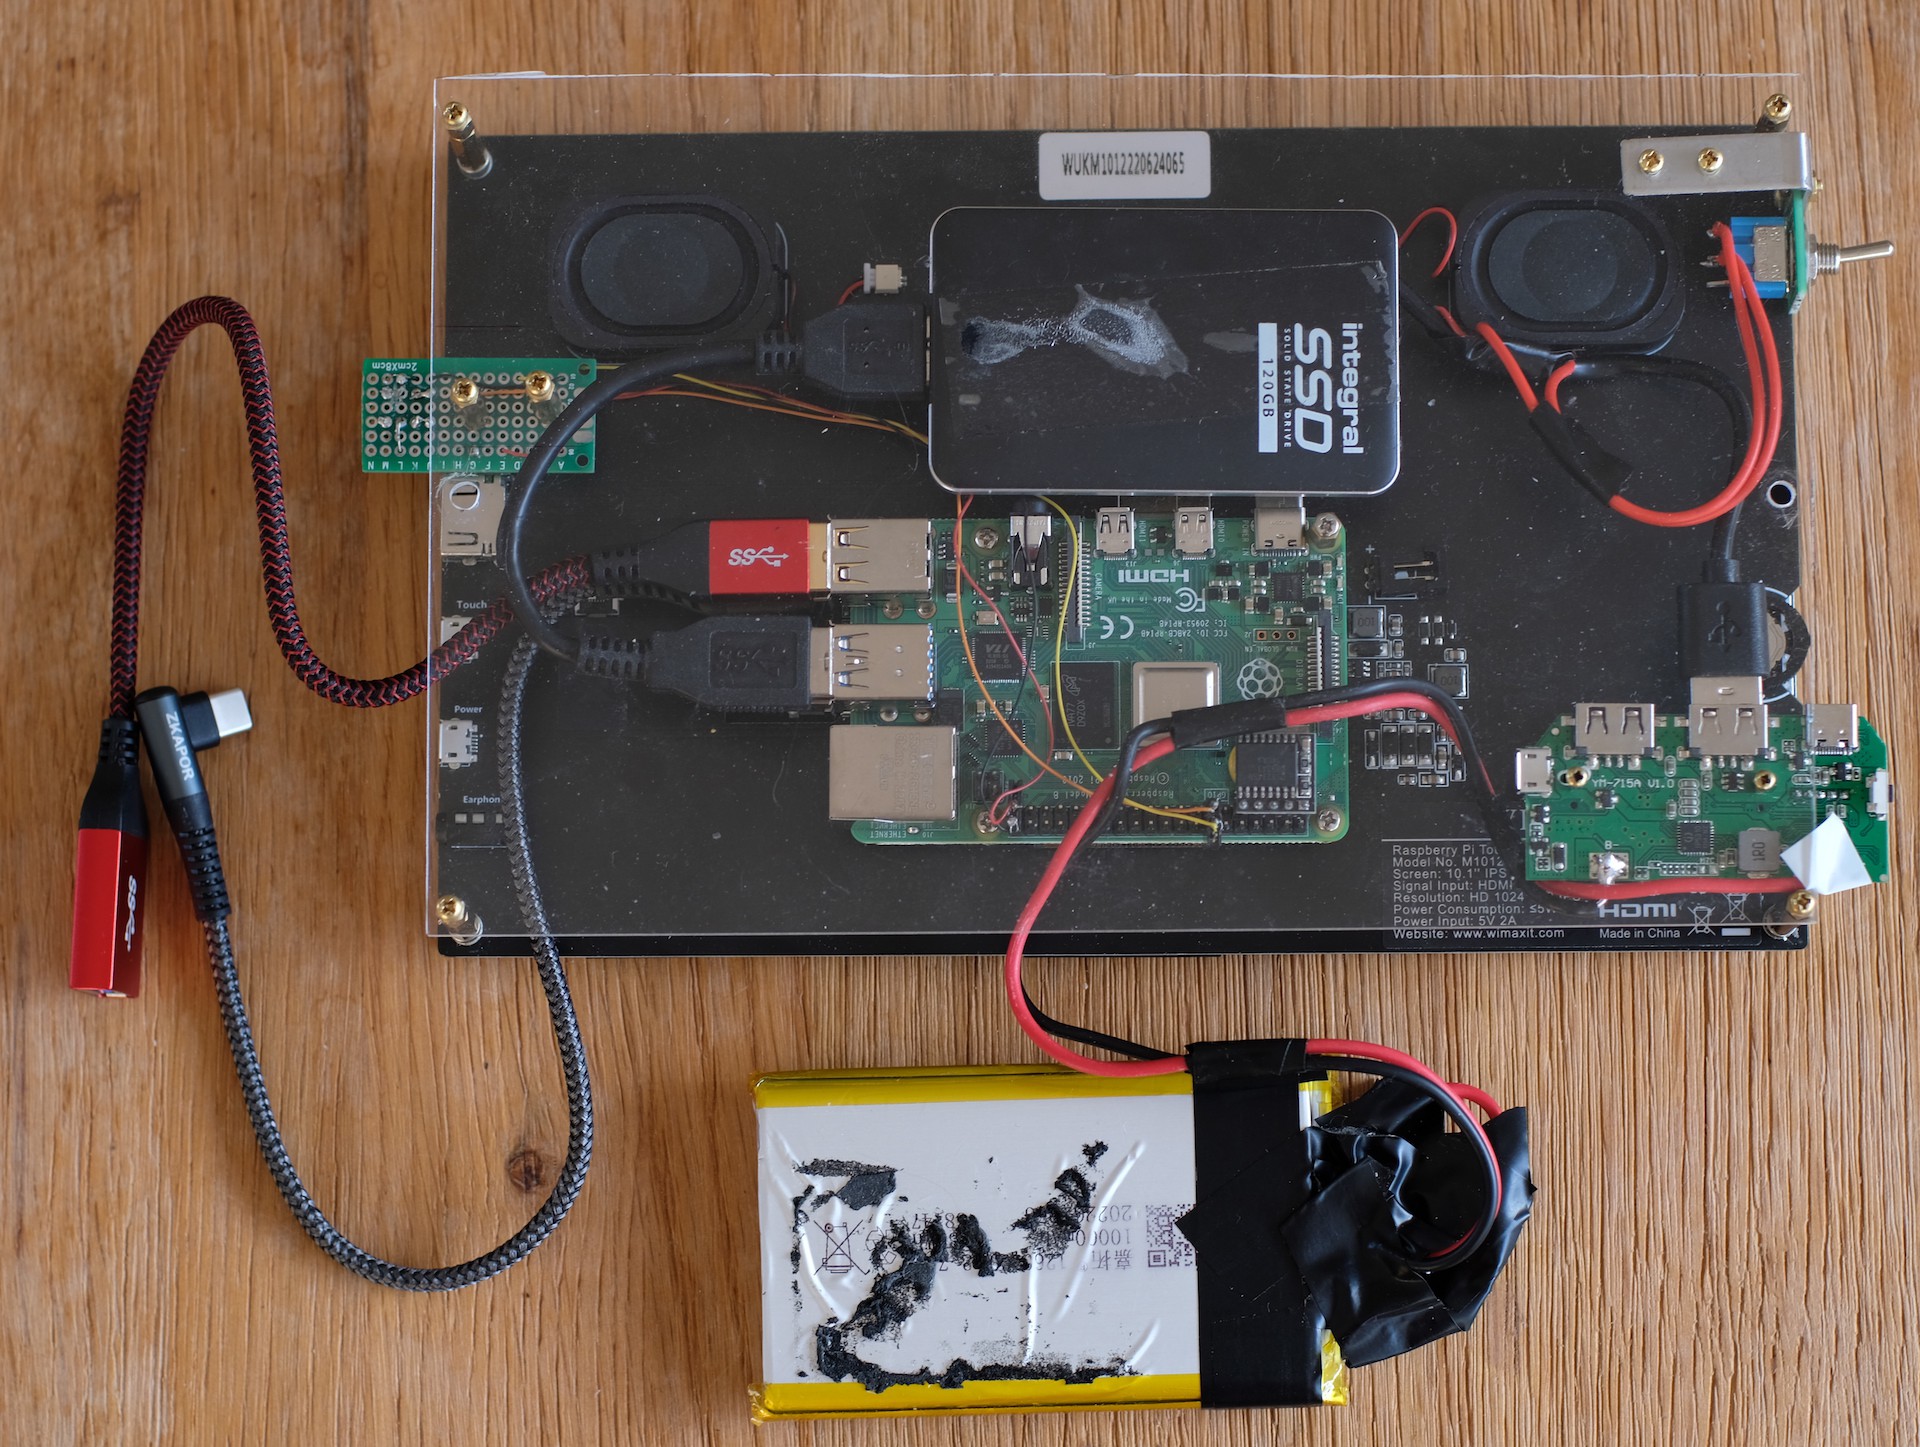
This is a 4GB Raspberry Pi 4 Model B. Initially, I used an SD card for storage but have now upgraded to an Integral 120GB USB connected SSD. This really improves the startup time for applications but has an impact on battery life as outlined in the section on power supply. I have considered upgrading to an RPi5 but I think the power supply would not meet the demands of the RPi5 added to the display and keyboard.
Display
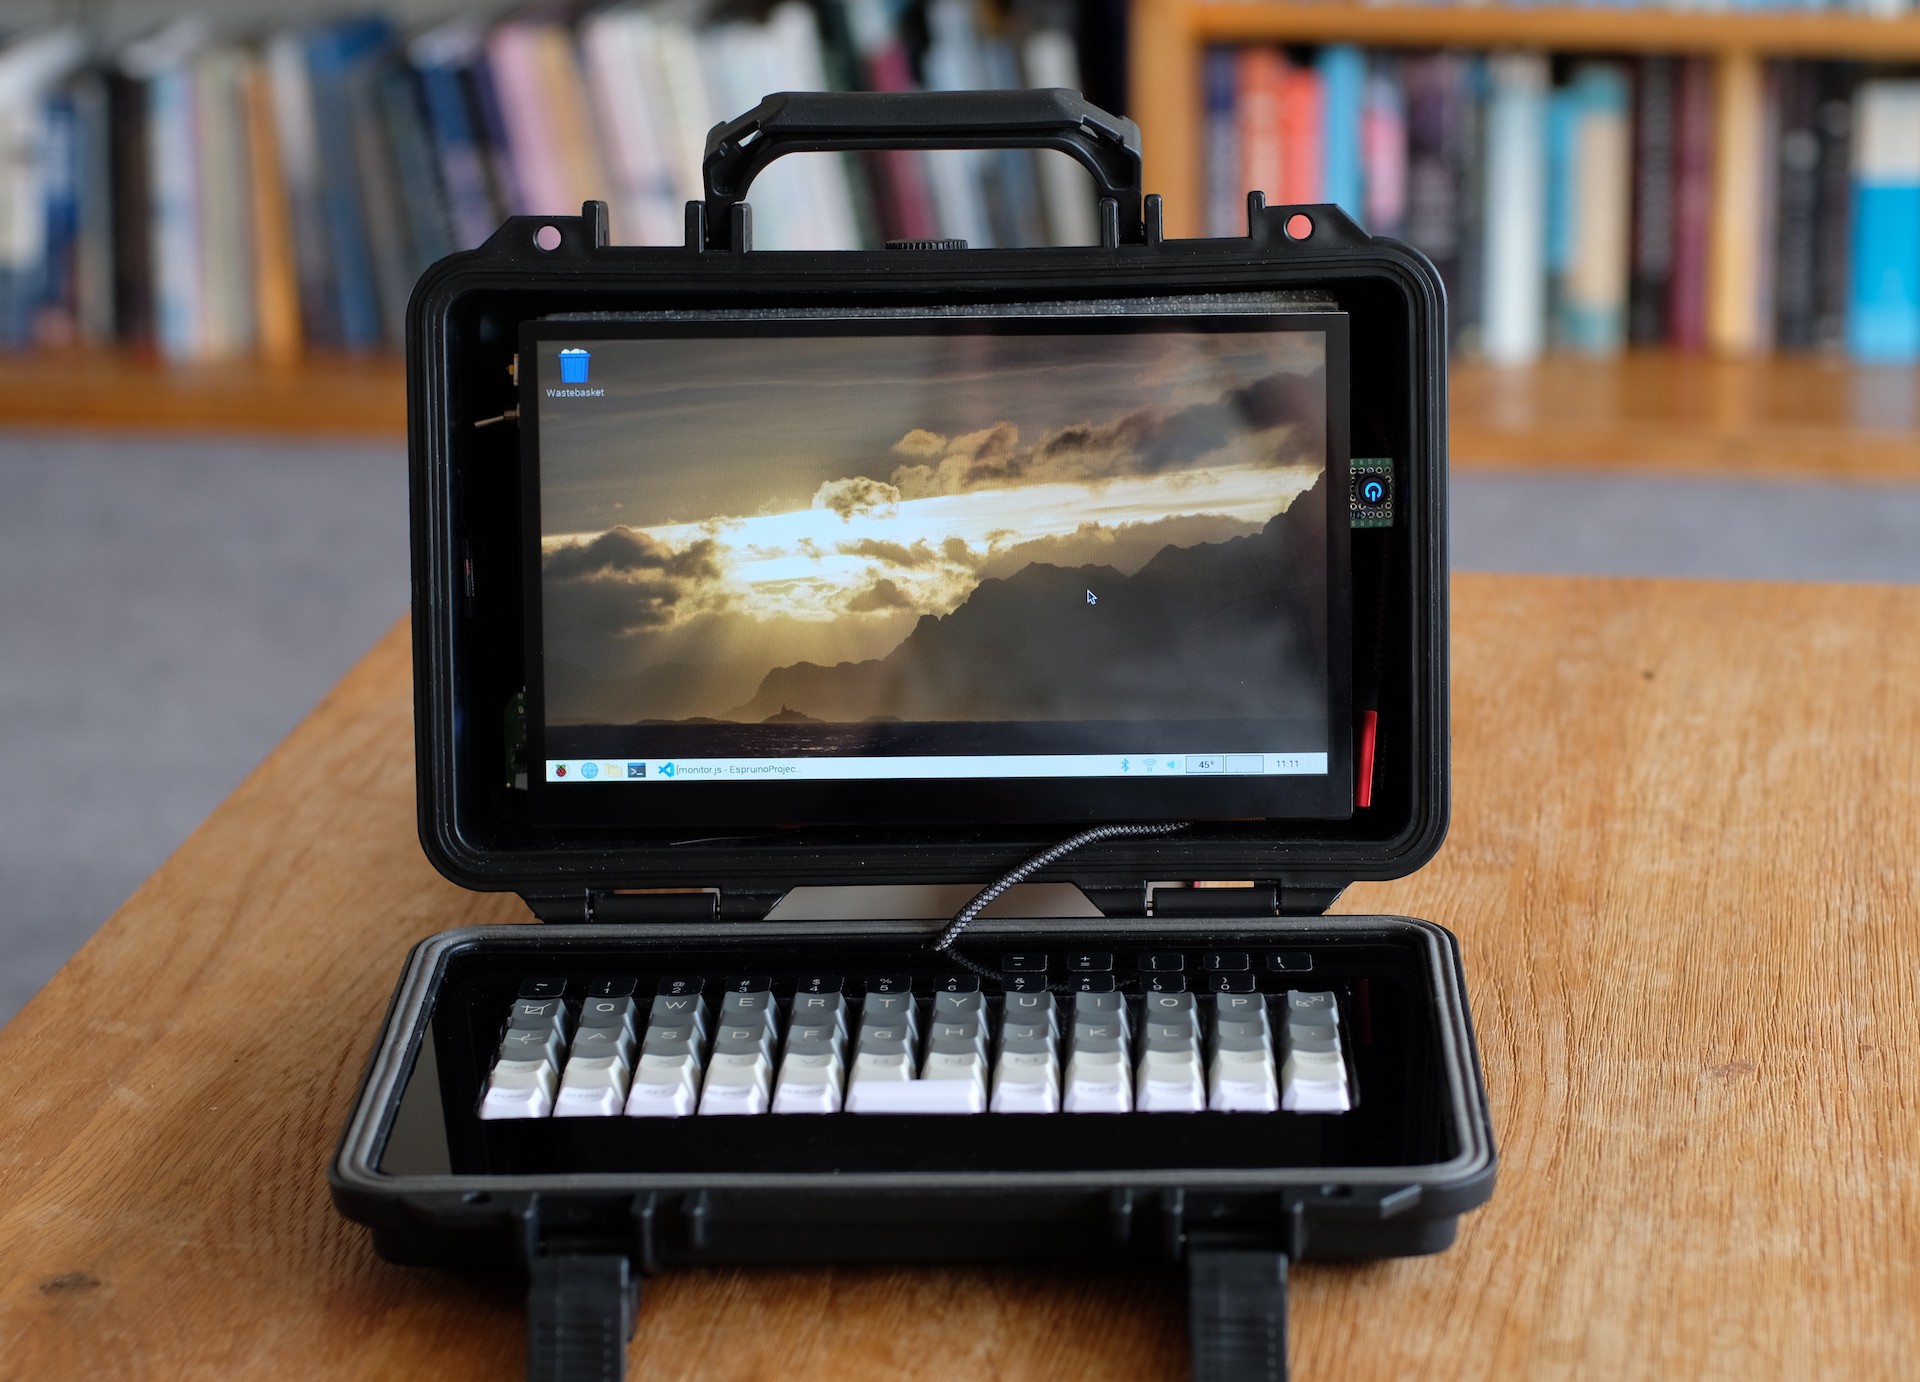
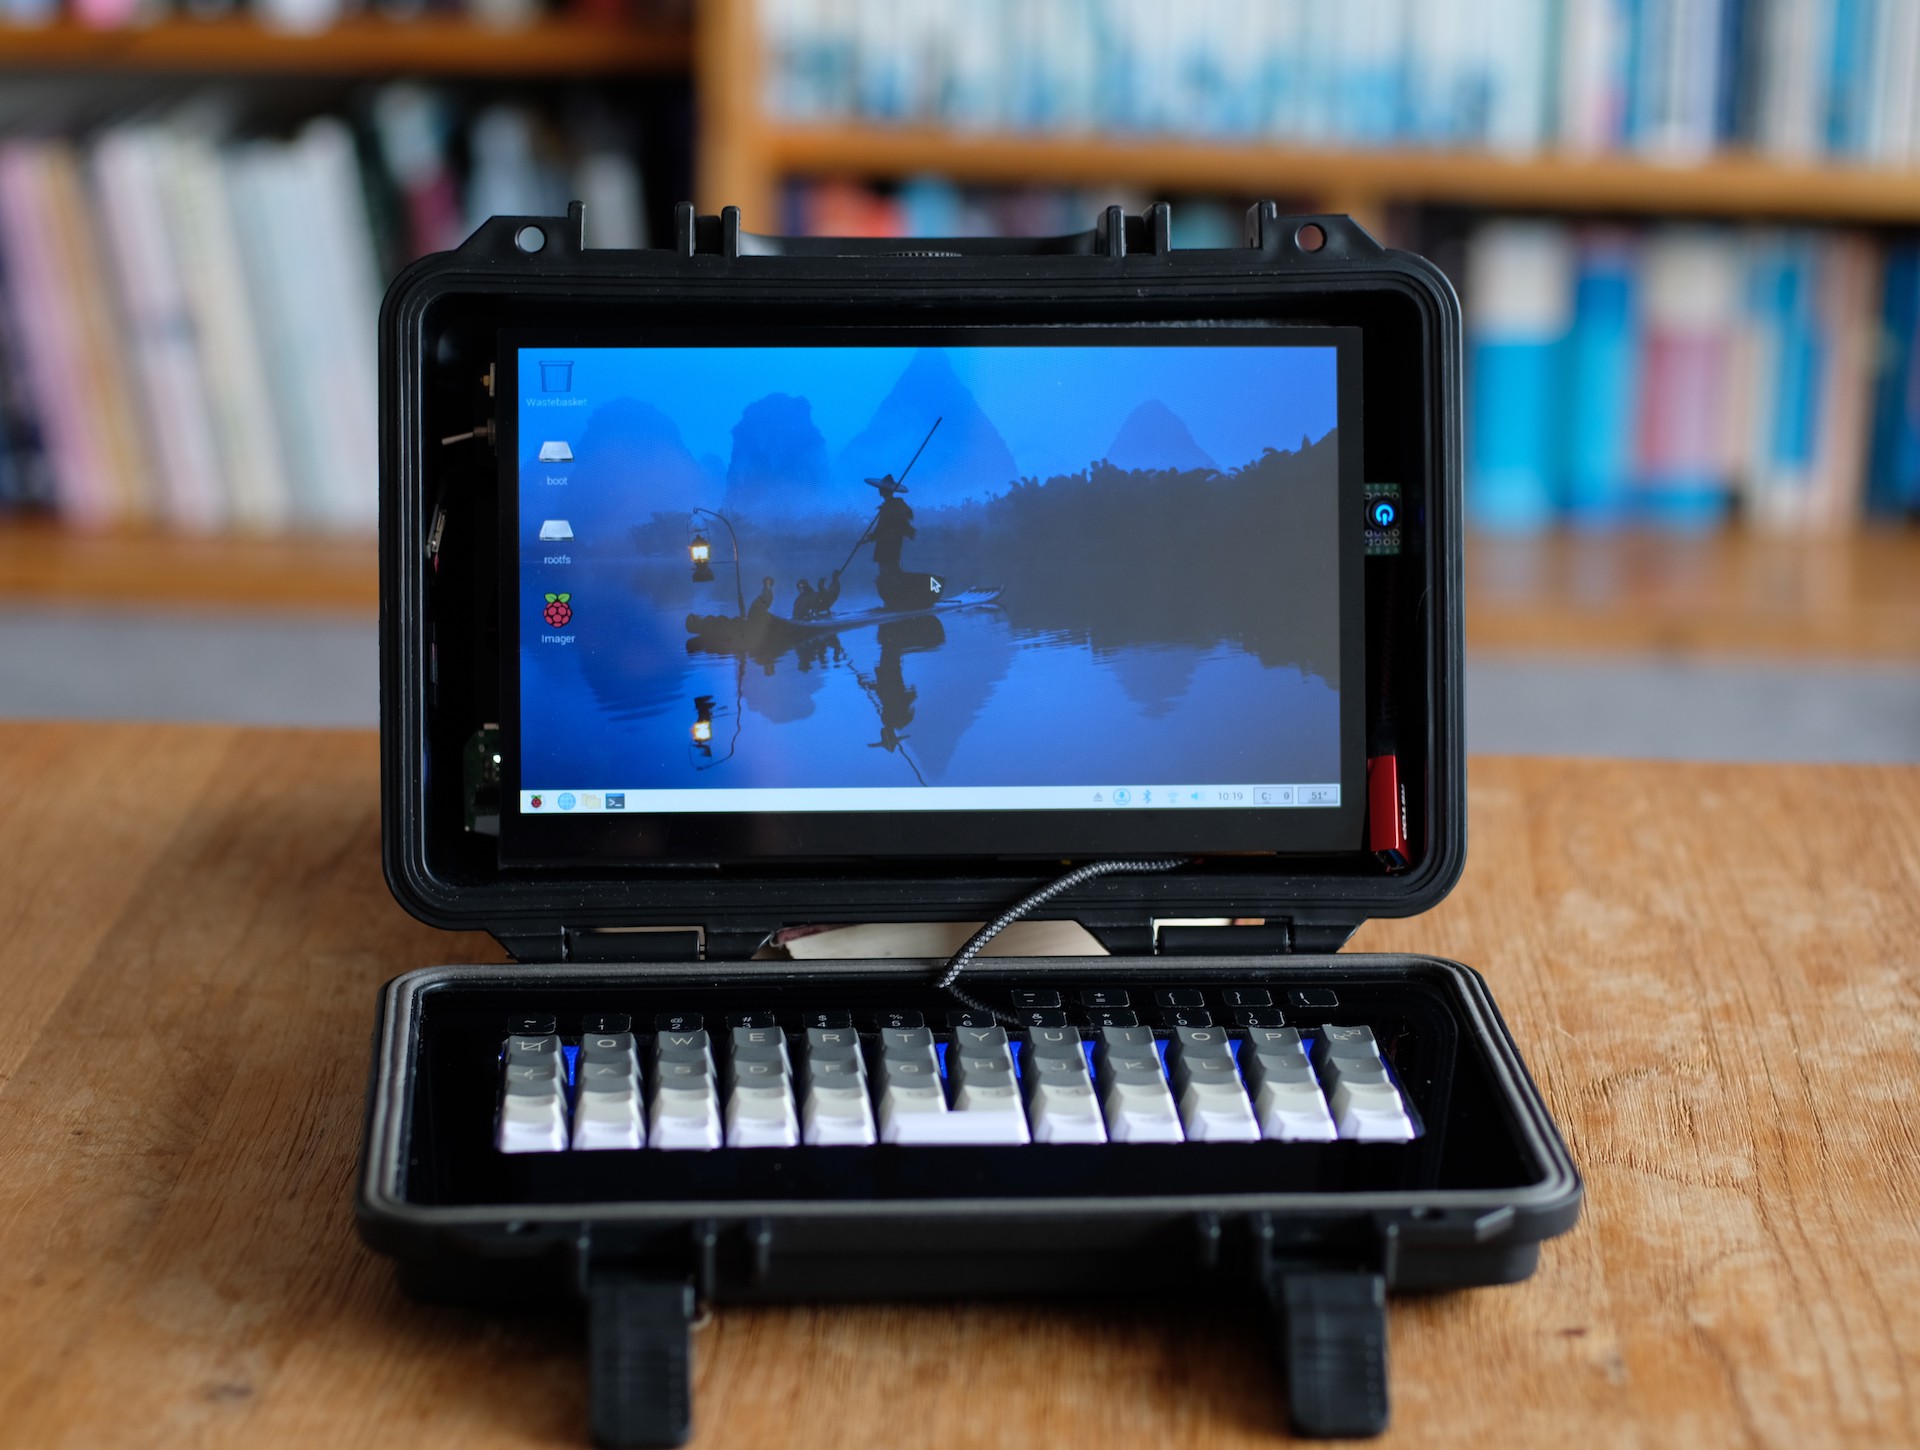
This is a 10.1 ins 1024 x 600 pixel WIMAXIT touchscreen which has the advantage of having a neat way of mounting the RPi4 on its back and in addition has two attached speakers. The display comes with instructions to add to `config.txt` to ensure compatibility with the Raspberry Pi. Unfortunately, while these work perfectly for Bullseye the new OS version - Bookworm - has switched from X11 to Wayland which does not use the now obsolete `hdmi_timings` directive. I have worked out the required custom mode to put in `wayland.ini` but there are still some start up issues. In any case, I am happy to stick with the Bullseye release for the moment as some of my favourite applications do not always work as well on 64 bit Bookworm - for example GhostWriter which I am using to type this.
Keyboard
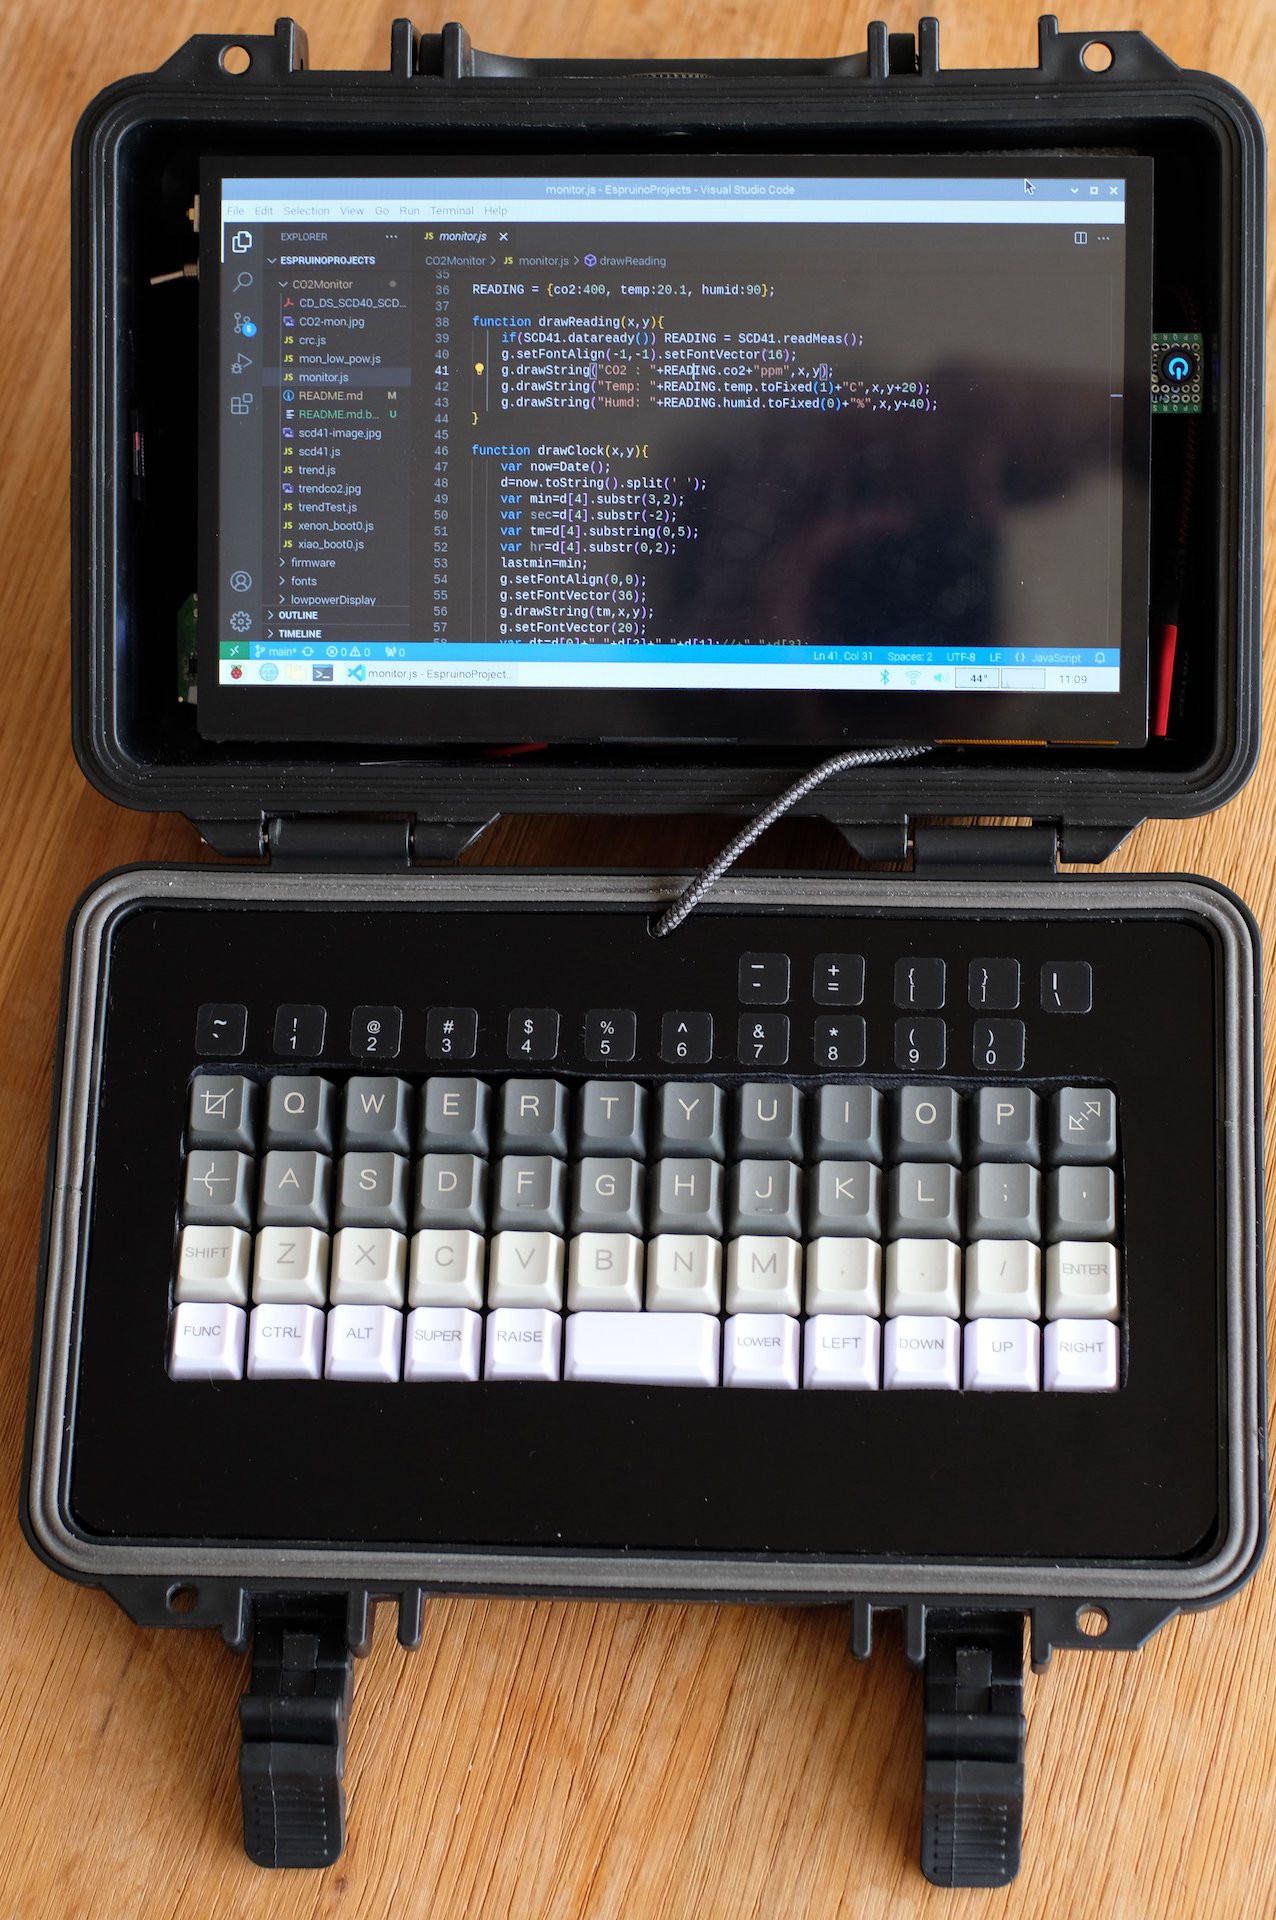
The keyboard is a BM40 40% ortholinear mechanical keyboard from KPrepublic (details below). I started off using a small bluetooth keyboard but this did not always connect reliably and was not a great typing experience. I really like mechanical keyboards and one of the advantages of building your own portable is getting to choose a nice keyboard. The CASOMAN case is not wide enough to fit a standard 60% keyboard, so I have fitted this 40% one. Numbers and symbols are accessible using the `RAISE` and `LOWER` layer selection keys. To help me get used to this, I have used some key cap stickers to remind me where the missing keys are. I am not a great typist but I really do like the 40% keyboard as you do not have to move your fingers around very much to access all the keys.
Power
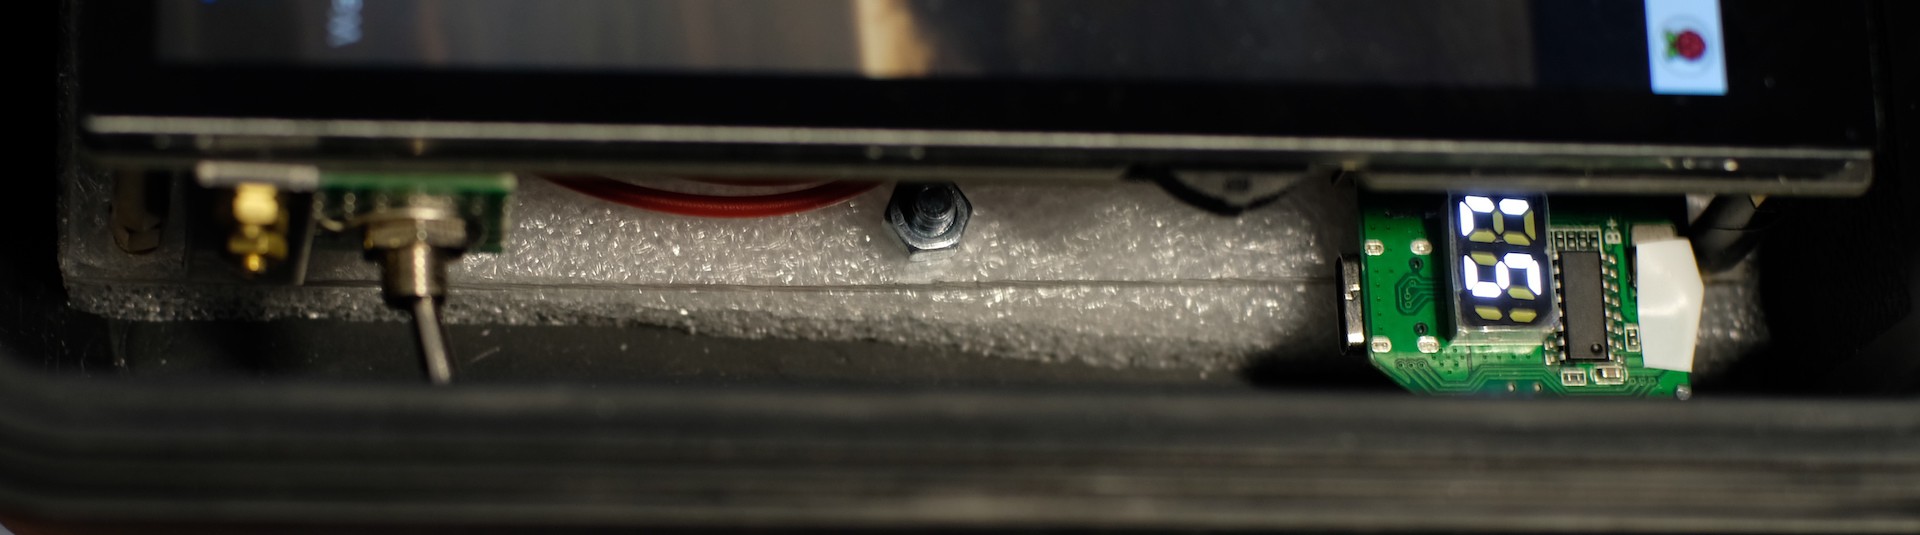
For power, I carefully dismantled a 10000 maH power bank from Amazon ( sadly no longer available). I chose it as it had a plastic case, making it easy to take apart, and a display of remaining capacity ( see photos). I fitted a switch as with out modification the Raspberry Pi 4 Model B draws sufficient current when shutdown to keep the power bank active and I found that it drained pretty quickly. Recently, I found an article on Tom's Hardware - https://www.tomshardware.com/raspberry-pi/how-to-reduce-raspberry-pi-5-4-standby-power-consumption - which explains how to reduce standby current by editing the configuration eeprom. With this edit, the power bank turns off and you could use the button on the power bank, instead of the switch I used, to turn it on and power up the Raspberry Pi.
The battery lasts around 5 hours with normal usage and using an SDcard for storage. This has reduced with the SSD but is still more than 4 hours.
Until recently, I could have the computer running or charge the battery as the 3 amps provided by the RPi 4 power supply was insufficient to do both. However, the new 5 amp RPi 5 power supply does let me charge the battery while the Pi and display are on.

Construction
The extra materials are two sheets of 3mm acrylic/perspex and some brass standoffs. As can be seen in the photographs, the clear perspex on the back of the display is used to mount the shutdown button, power pcb and switch, and the SSD. It is held into the case by two screws. I used some foam that came as packing for the display to provide some shock absorption. The foam around the keyboard helps to deaden the sound of the mechanical keyboard. Mounting the display and the keyboard involved drilling some hole in the case which obviously compromises water resistance. Currently, I cover the screw heads with tape to make it at least splash proof, however, it would not be difficult...
Read more »


 hurðaskellir
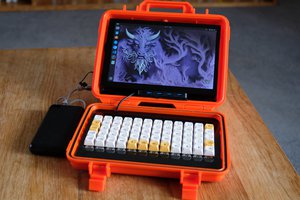
 Cees Meijer
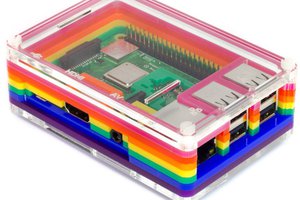
 Keith
Keith
can You fit PgUP PGdown keys, home , end and meybe a right alt? right alt is for french, czech, polish language and many other