 Quinn
QuinnWhile LED strips are super convenient, the nuisance of them is in making the connections, especially if you have a bunch of segments. The combination of wire sized for the current, the tightly spaced pads, and the flexible PCB makes it fiddly, and prone to break. My initial intentions was to make a kinda bus bar PCB at one end. When I got to implementing that I decided I didn't want to spend that much time cutting so many narrow traces.
Plan 2
My second plan stuck with the bus bar idea, but just used 4 separate ones, placed at 4 different solder points on the strip. There is no reason that the strips need to be powered from the end, or even all at the same point.
So I glued 4 strips of thin single sided copper clad board to the aluminum plate, 3 of which with solder resist that I would remove where I wanted to connect.
The other connection points I put a strip of tape so the pads on the bottom wouldn't short.
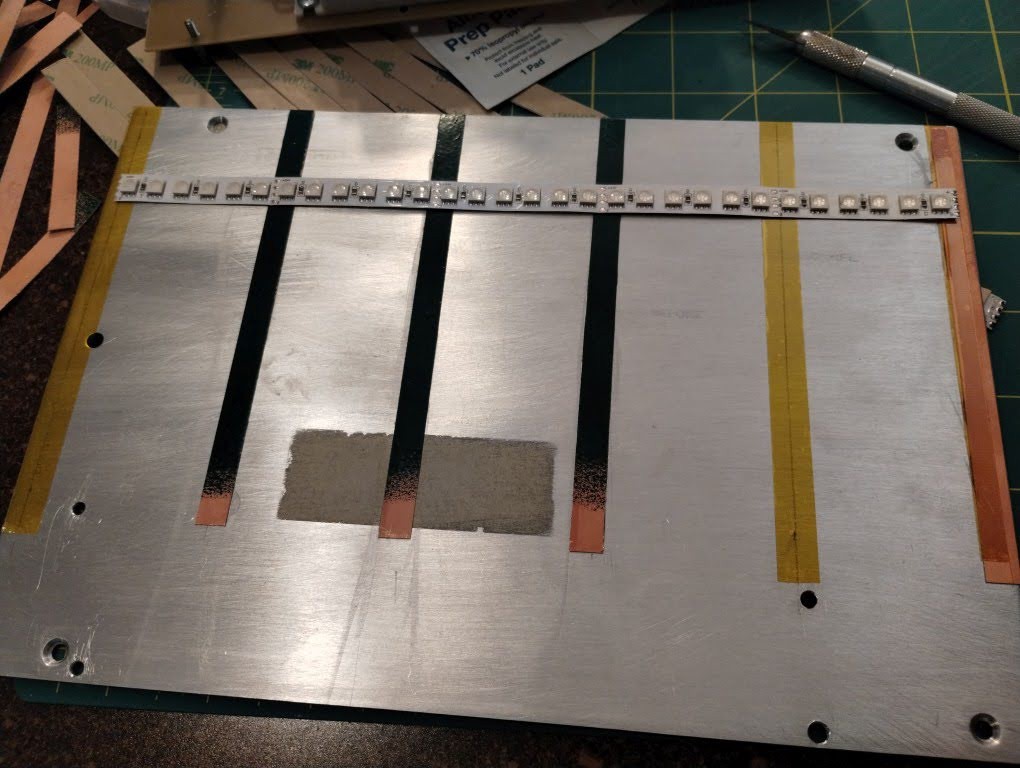
I was worried this would be too hard to solderr, through the flex, onto the plane of the copper, which was bonded to the aluminum plate. It was.
It certainly could have been done with a bunch of area heat, etc, but decided it wasn't worth it and went with plan 3.
Plan 3 (final)
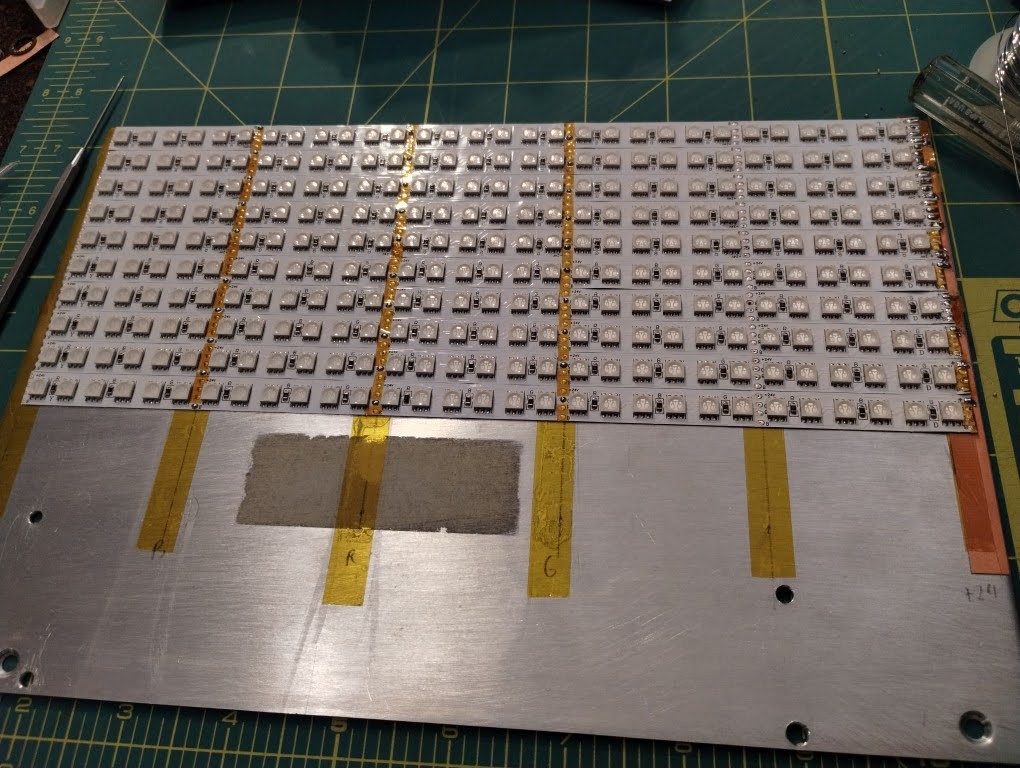
I realized it would be easier to simply use tape to cover the unneeded connections and solder a wire across the strips. This proved to be quite easy, and I'd recommend it for others making arrays out of LED strips.
Again, tape isolated the bottom contacts from the aluminum.
On the end, I opted to leave a copper strip for the common connection for current capacity.
Prepping the strips:
Bus wires
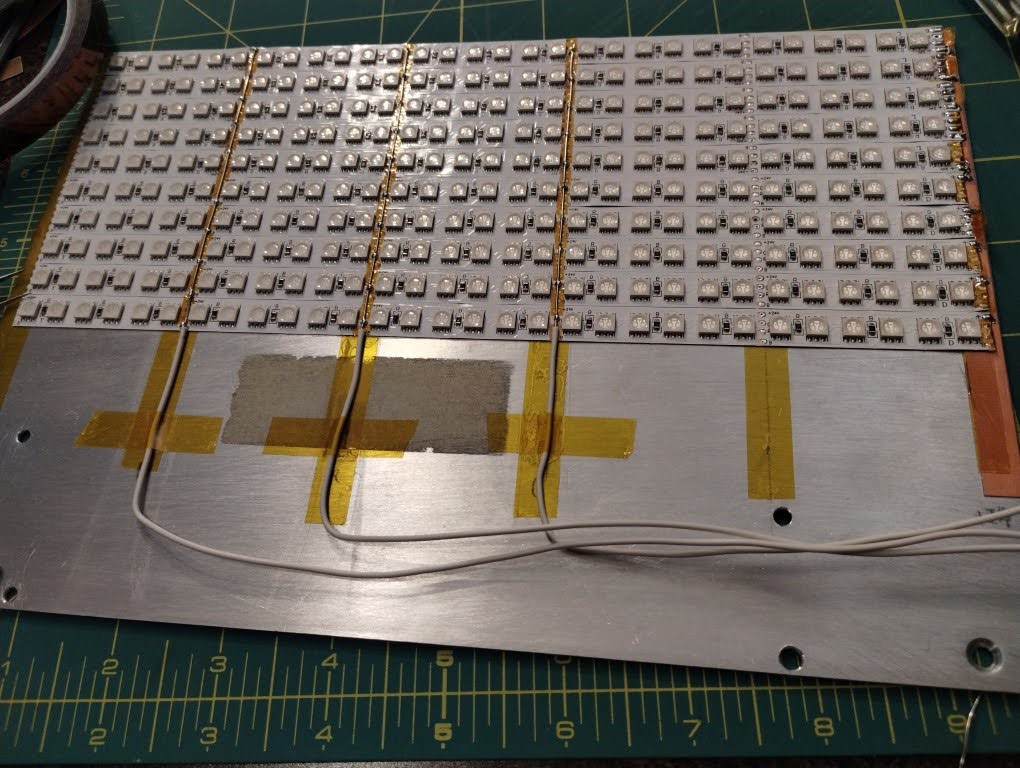
I'm happy with the end construction. It's clean, was pretty easy, and is quite robust.
Discussions
Become a Hackaday.io Member
Create an account to leave a comment. Already have an account? Log In.