 Bruno
BrunoDuring this week's session, we focused on redesigning the 3D-printed parts of the base on which the ESP32 device is mounted. Since we need to adapt it to the pcbs, motors and screws we actually have, we made necessary adjustments to the base: accommodate the screws we have available, which are of size M2. These screws are essential to ensure a secure user experience, as a method of fastening because it is necessary to prevent the device from disconnecting or moving during use.
Following this, we also created various renders of the three pieces that compose the base to aid our understanding and that of the project's reader.
Renders of the internal structure
 Renders of the internal structure
Furthermore, in today's session, we assembled the electrical circuit and tested that the motors we received function correctly alongside the user interaction through the web server.
Testing out the servomotors.
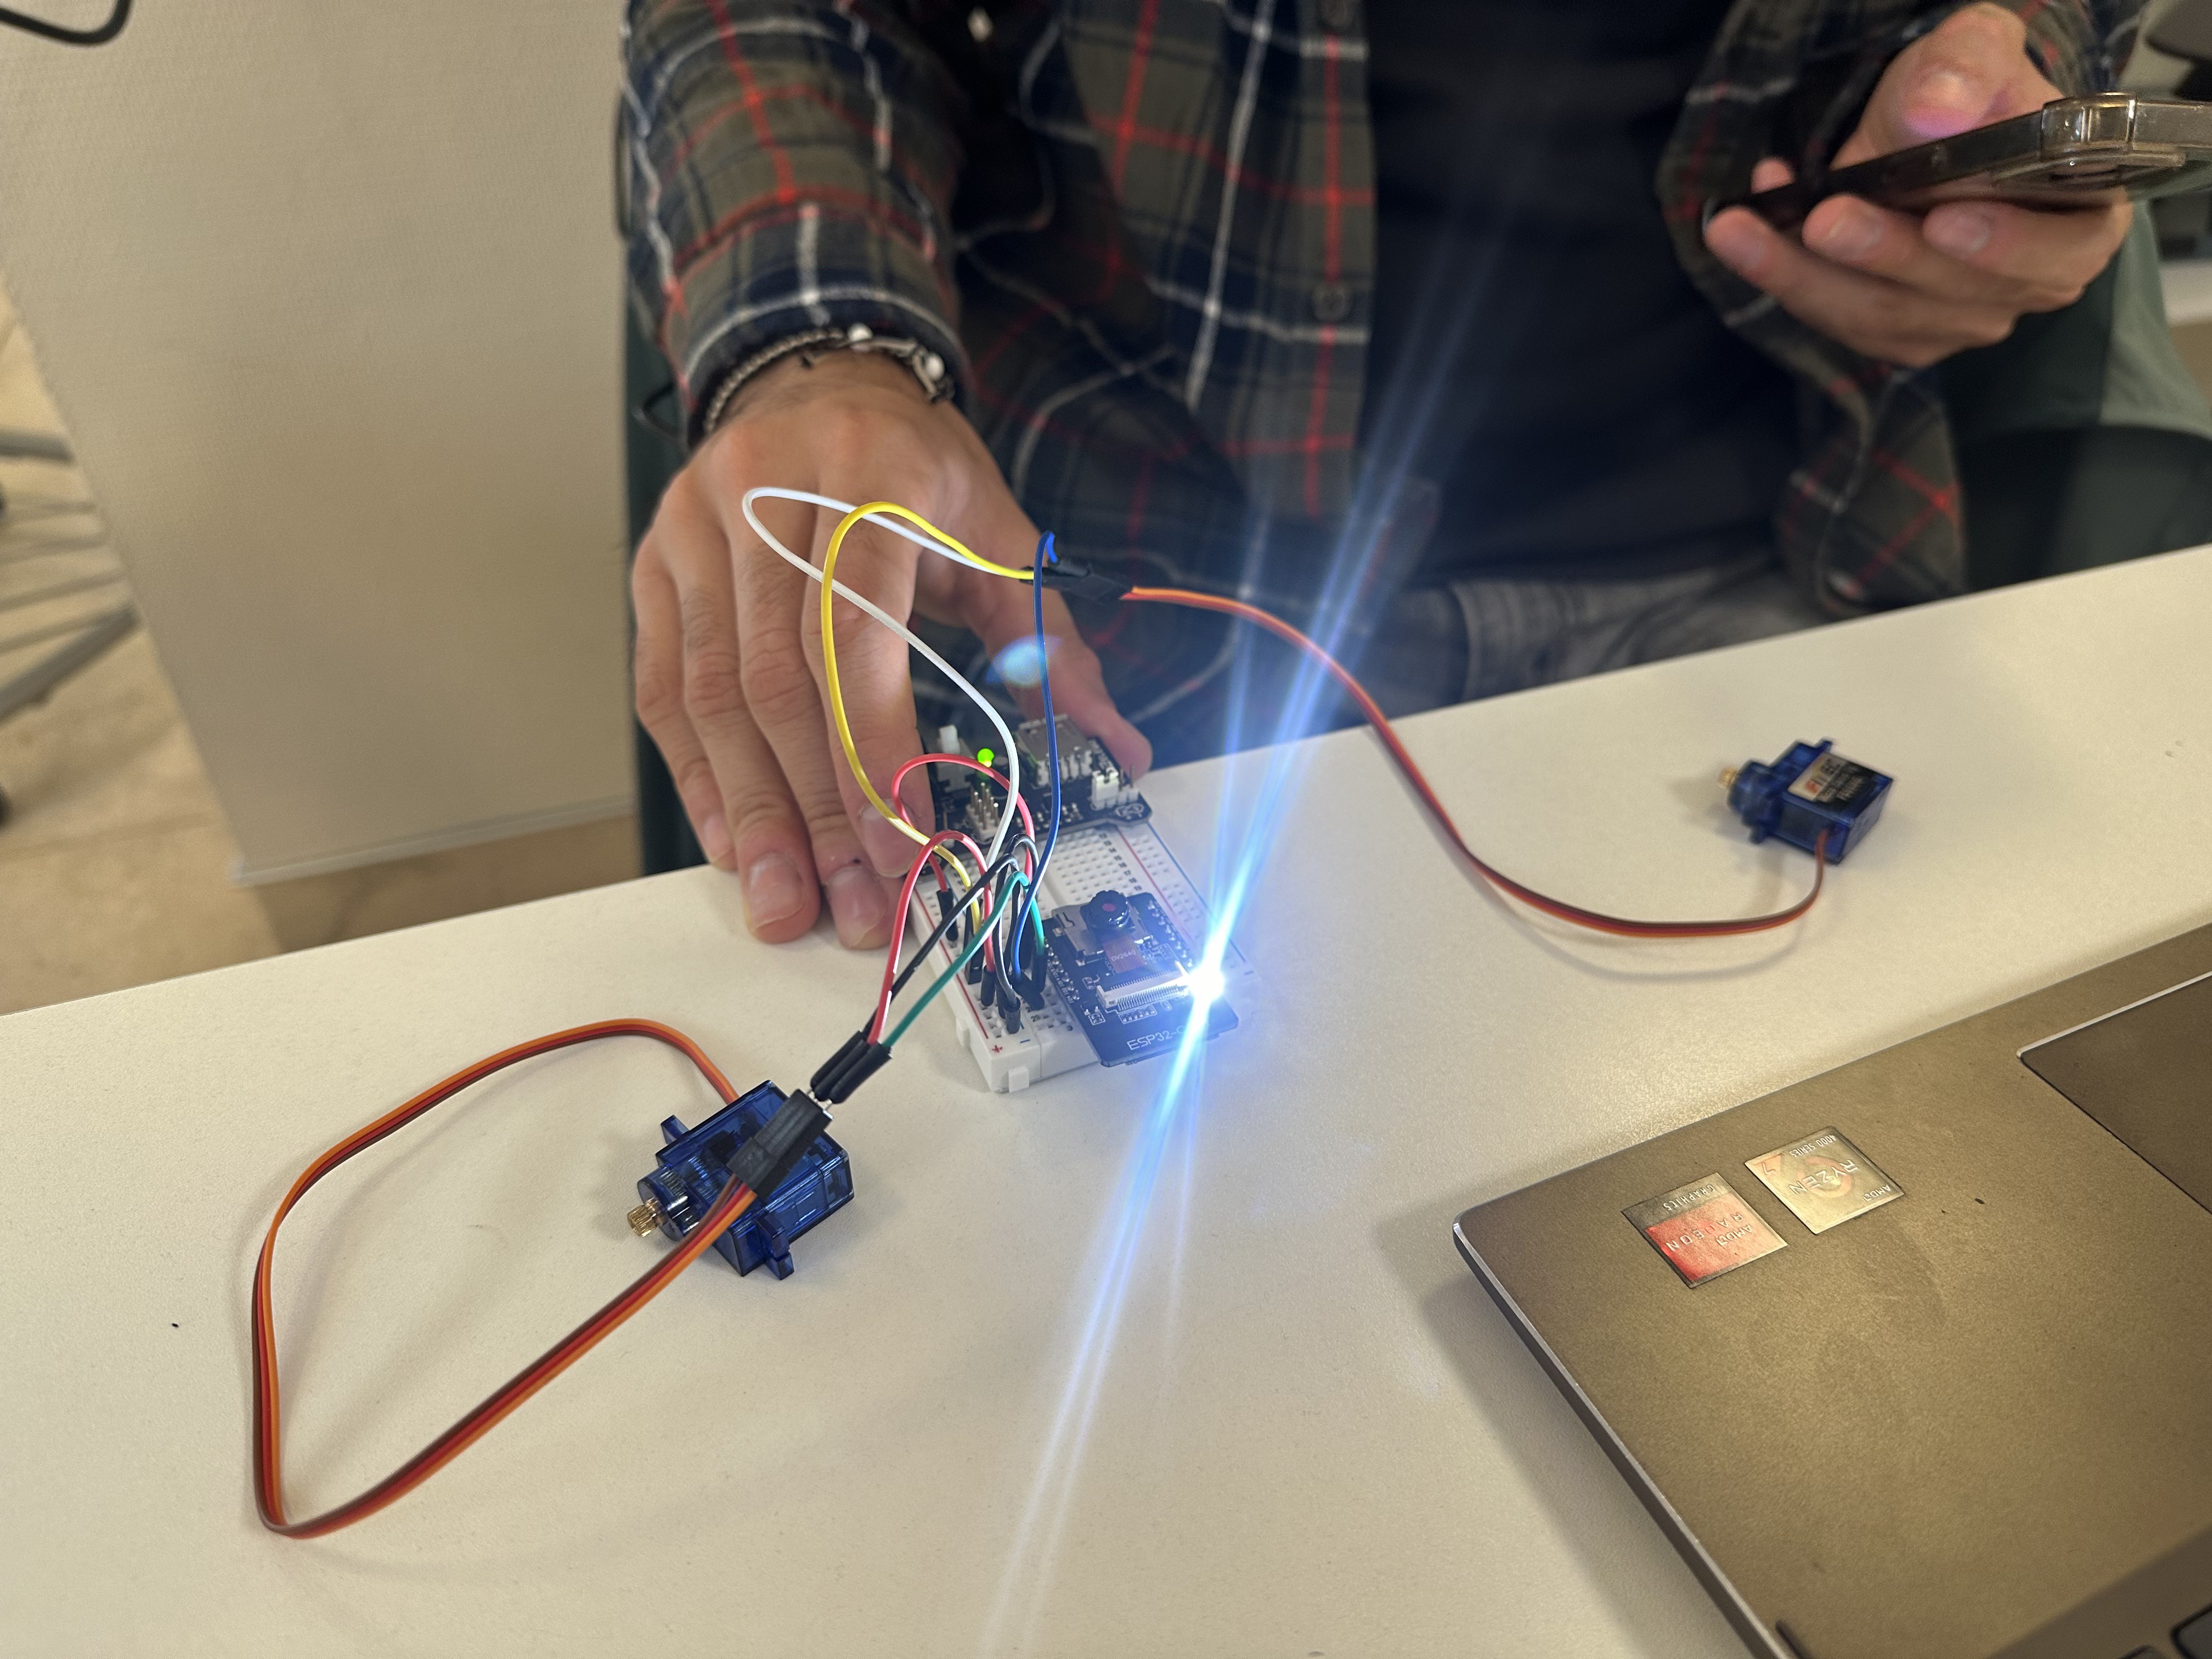 Testing out the servomotors.
Lastly, we began working on 3D modeling the casing that encloses the entire internal structure, following the moodboard we created in previous sessions. This casing is necessary to create a visually appealing product and to conceal all components and the rotating base. We will continue working on this in the next session to 3D print it and complete the final assembly.
Discussions
Become a Hackaday.io Member
Create an account to leave a comment. Already have an account? Log In.