 Quinn
QuinnThe Nord modular needed some physical clean up as well as contact cleaning on the buttons and pots.
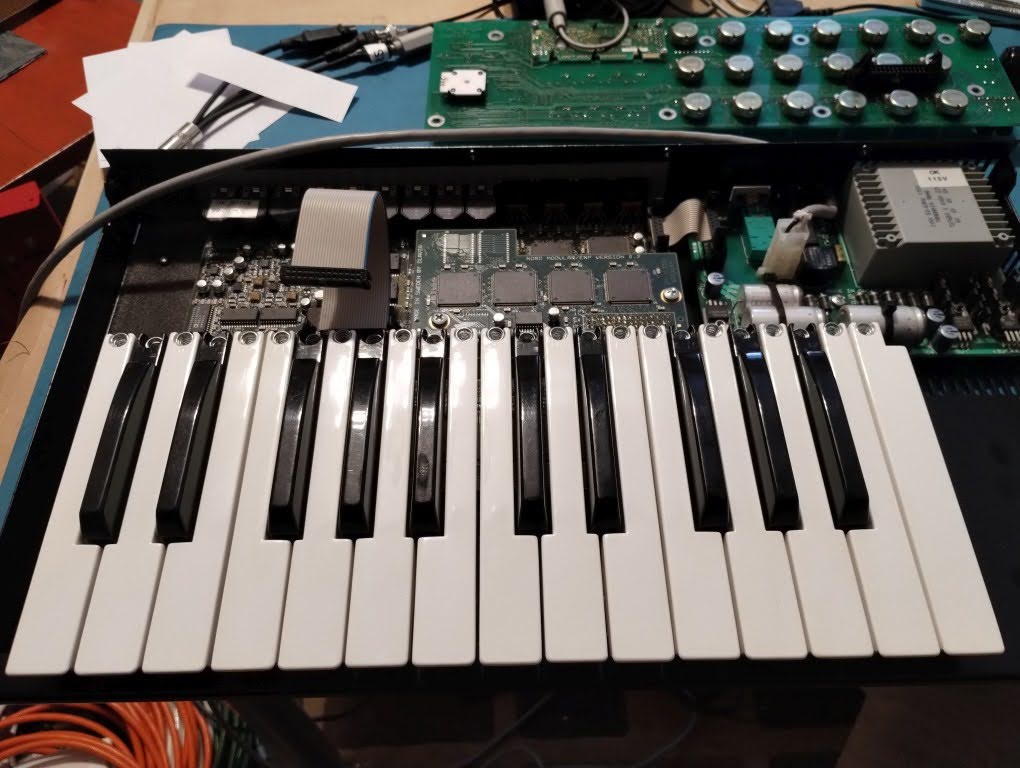
Disassembly
For more thorough cleaning I disassembled it. It is very serviceable and nicely built, so no problems here.
First knobs were pulled off. The small knobs are just friction fit and can be pulled. The large encoder however you need to pop off the top cover and loosen the collet bolt to slide it off.
Screws to remove the cover are mostly obvious, except for the one on the bottom. The two side back have a plastic washer such that you could loosen and use it as a hinge, which sounds useful, but it hits the power cord so you can't actually open it far. Just enough to disconnect the ribbon from the front panel before removing the side screws.
(This is actually an after cleaning picture)
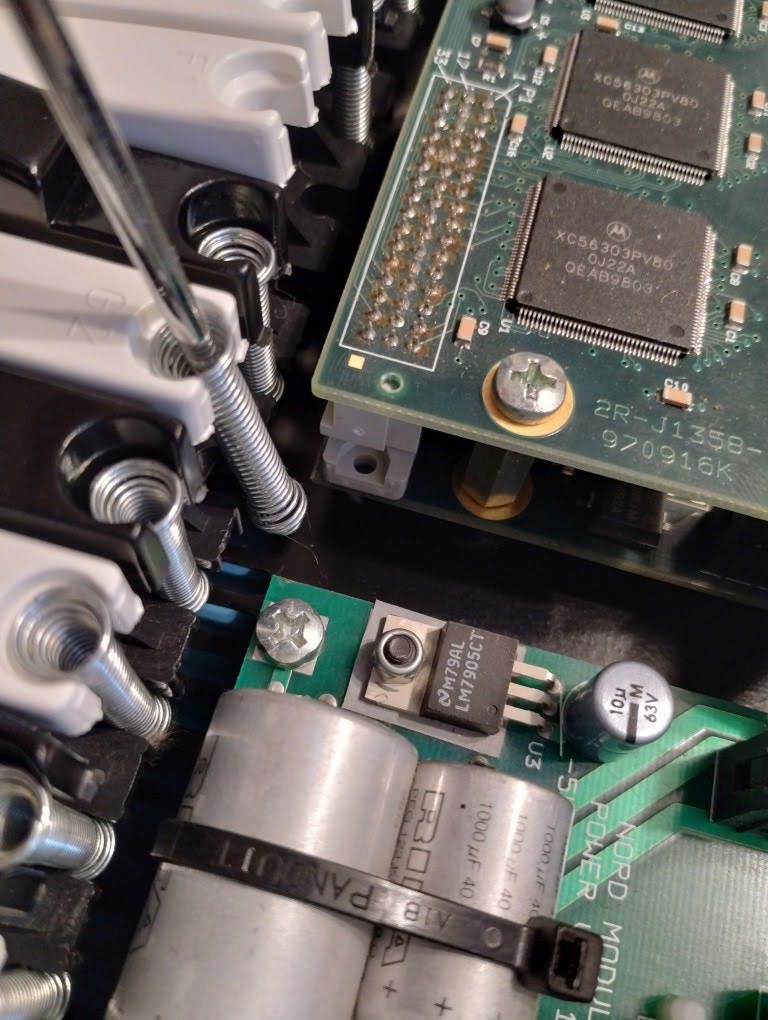
Power board is obvious, just unplug the cables and a few screws.
Main board is a little trickier, but no surprises. 1/4" jack nuts on the back along with obvious screws are removed to pull the main board. You need to remove the extension and it's stand offs first. Sadly the cable to the key bed doesn't have any connectors on either end, so have to be removed together.
Key bed screws are on the bottom, sadly self tapping screws into the plastic so take care to reuse original threads when installing.
Front panel board just has obvious screws. The way it is built you don't need to unscrew all the pot nuts which is very convenient (though not as robust to impact on knobs).
The AC cord is unfortunately affixed to the case. I decided I didn't need to remove it.
Key Removal
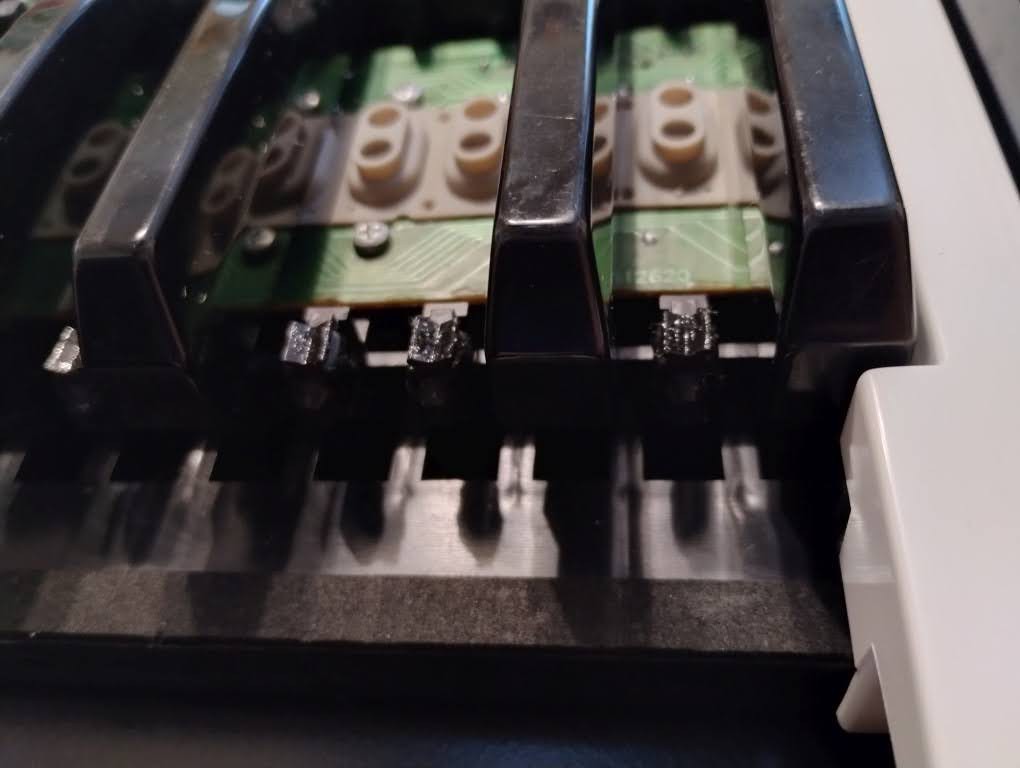
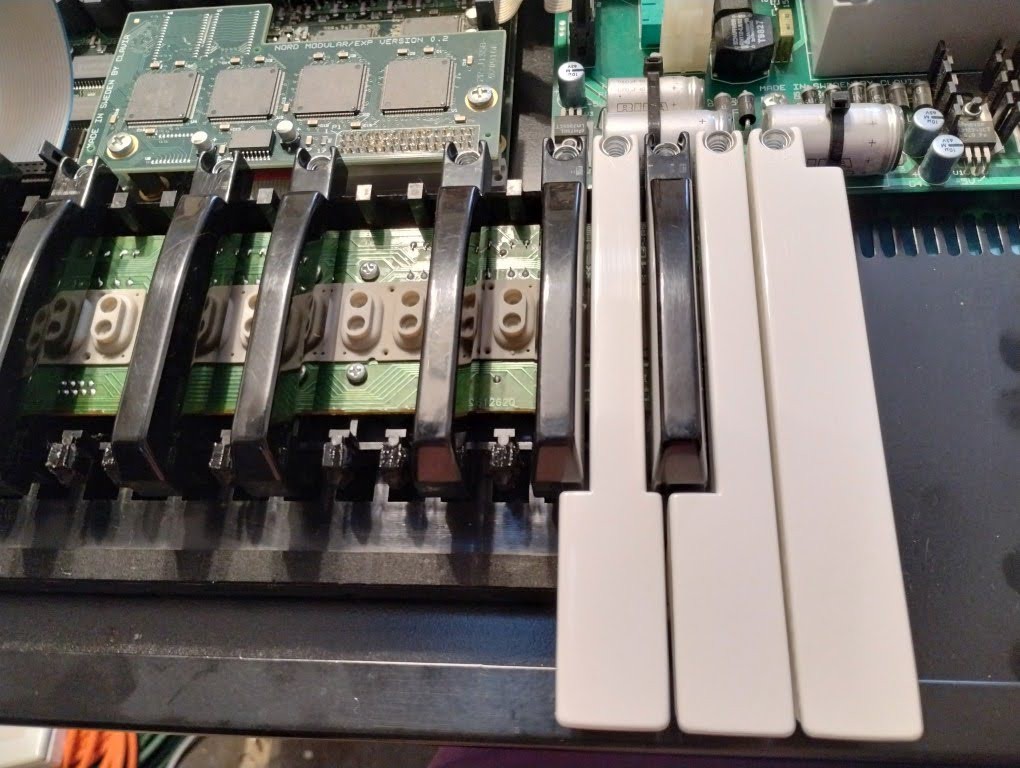
The keys have springs on the back to hold them in and give proper movement. The way these are designed you can just use an appropriate sized narrow screwdriver. It should fit into the spring from the top, but not go through the smaller opening on the bottom. You can simply push the screwdriver in, stretching the bottom down and out of the tab it is in. The the key can come forward and out. The springs are the same for all the keys. To get the different needed force out of white vs black keys, the white ones a stretched further due to how the plastic is molded.
The white keys are numbered in the plastic mold, which I noted in order to put back without having to figure out the order. The black keys are not labeled, but are identical, which I've listed as B. Note that there are some duplicates.
Left side, C5, B, D6, B, E7, F1, B, G2, B, A3, B, B4, C5, B, D6, B, E7, F1, B, G2, B, A3, B, B4, C8, Right side

Cleaning
For the PCBs, I used a grounded antistatic mat, and just used a soft paint brush to clean off dust. These didn't have any corrosion or other issues I needed to do.
The keys are just plastic so I washed and scrubbed with a nylon brush and soapy water to get them all clean. The dried up grease around the underside tab took a little extra effort but cleaned fine. The dirty grease did leave some plastic discoloration, which didn't seem to be an issue.

The case top and bottom also got soapy water cleaning, as did the power cable which was rather grimy These also came out great. There were a few scuffs in the powder coating, but not bad enough to bother with trying to repaint.
Key bed was definitely the most grimy part. While the rubber domes are available as a replacement, these seemed to be in fine shape so I didn't do much. Underneath was plenty clean, so I didn't remove them and risk ripping them. As it would have required a bunch of desolding to remove the PCB from the plastic frame, I opted to dry clean them together. Some with the soft paint brush, and wiping with tissue was good enough.
The keys have a dual direction rubber bumper so that when the key is struck or released the impact is absorbed with the bumper instead of making an unpleasant plastic striking plastic sound and feel. It is these bumpers which had grease on, perhaps for feel or motion. As the grease was grimy with dust impregnating it, I cleaned it all off. I replaced with a small amount of silicone grease (available in plumbing departments for use on faucet o-rings). Silicone grease is safe for rubber.
(Shown with some keys reinstalled)
Reassembly
As this was everything except the front panel board, I reassembled everything else.
To help with how to put the key springs back in, here is a short video.
Lastly is just dealing with the buttons and pots on the front panel.
Discussions
Become a Hackaday.io Member
Create an account to leave a comment. Already have an account? Log In.