 Troy Schrapel
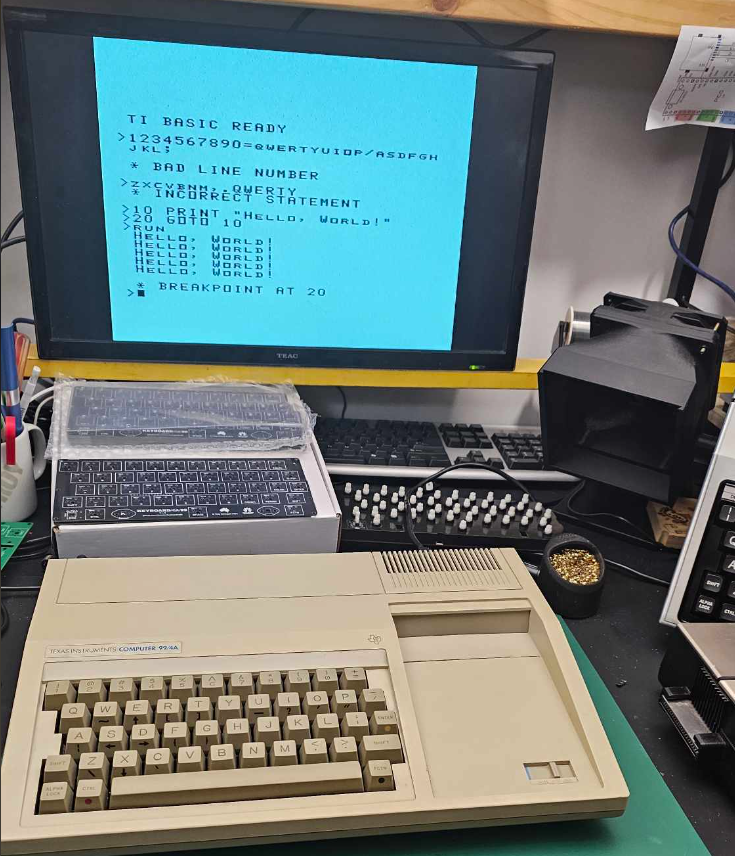
Finally! a Cherry MX compatible upgrade for the infamous Mitsumi mylar keyboards that plague many unfortunate Texas Instruments TI-99/4A computers.

The upgrade consists of a new PCB and a handful of 3D printed parts. The original look is maintained by re-using the original key caps (and some other original parts). Add the switches of your choice and you're set! A brand new keyboard for your TI-99/4A.

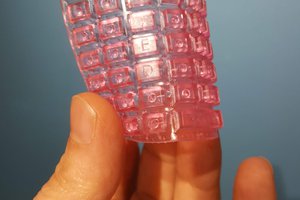
Only Mitsumi boards?
Currently, the upgrade is designed for the Mitsumi keyboards since their mylar innards gives the most grief to TI-99 users. It is possible other TI-99/4A keyboard brands could be adapted to use this upgrade in the future, hower that would rely on community input.
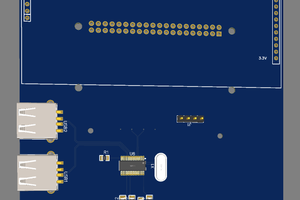
The hardware
The Gerber file for the KEYBOARD/4A-99 PCB is available in the /pcb directory. I recommend the PCB is ordered in black.
STLs for all 3D printed items are located under /stl.
Note: Not all STLs are required.
Check out the documentation for more details, including a bill of materials and full build process.


 Madaeon
 Alex
Alex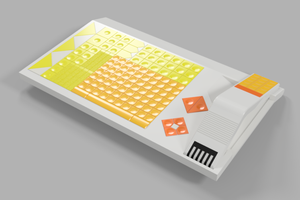
 Nick Poole
What a great pleasure to see this project. 😃👍
I have just bought a second TI-99/4A and an extra loose keyboard to assemble at least one working system, from old parts.
Hope to get one of your boards to replace the faulty keyboards.