Phase 1: Initial Prototype with Off-the-Shelf Plastic Box
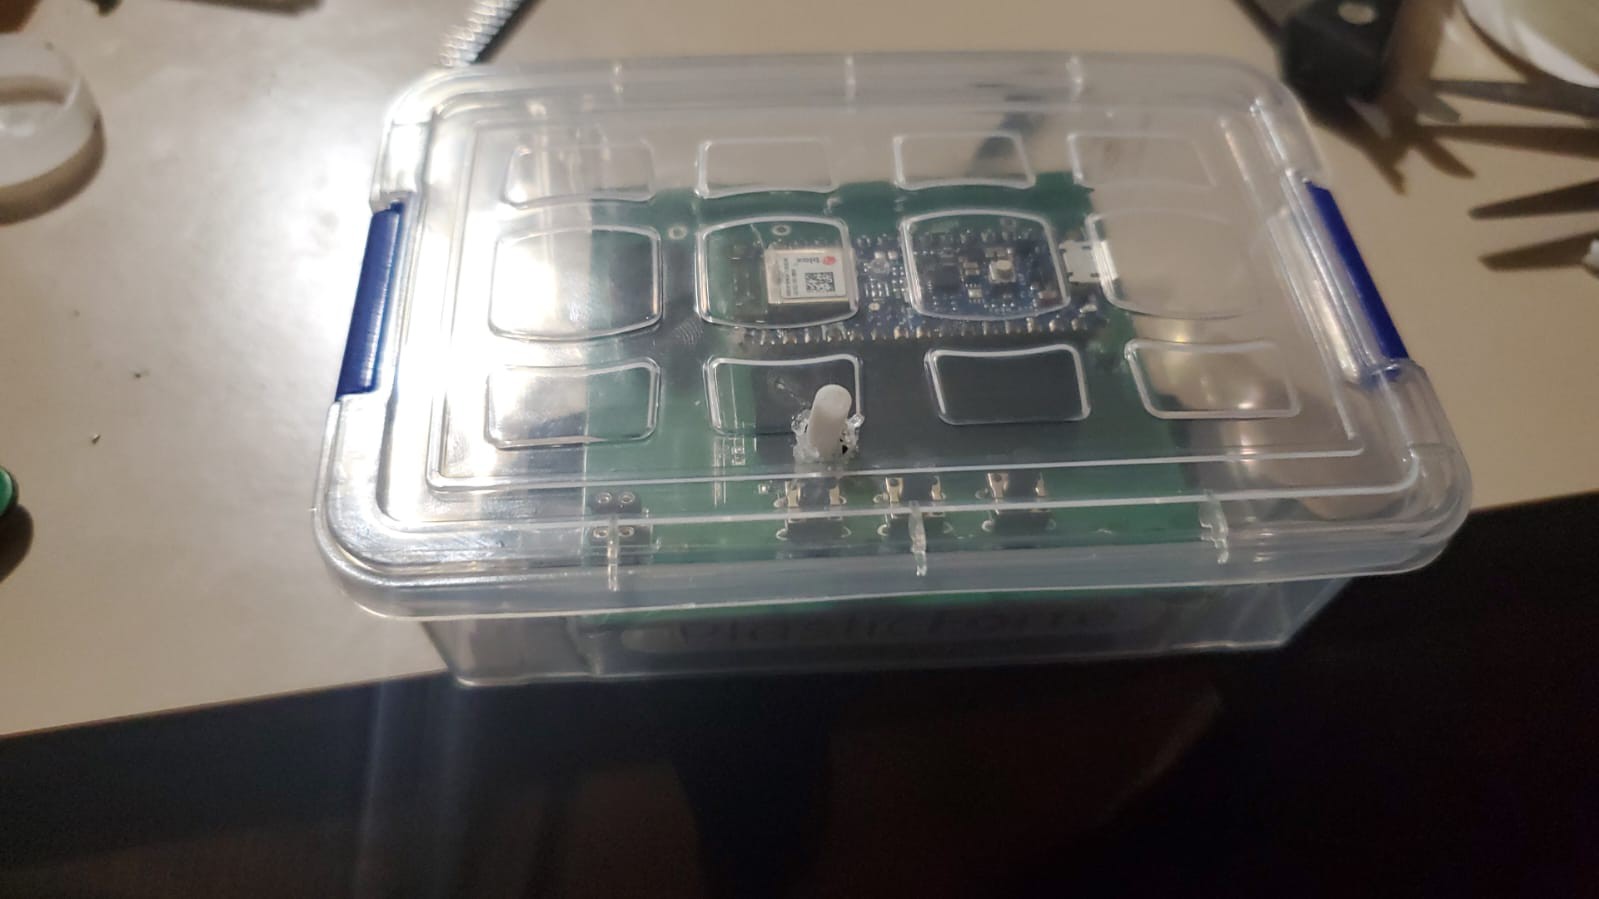
The initial mechanical prototype of the IMU balance node was housed in an off-the-shelf plastic box, readily available from various suppliers. This approach allowed us to quickly assemble the components and focus on the functionality of the electronics and firmware. The primary goal during this phase was to validate the core functionalities of the system without investing significant time and resources into custom enclosures. The plastic box provided basic protection and easy access to the internal components for debugging and adjustments.
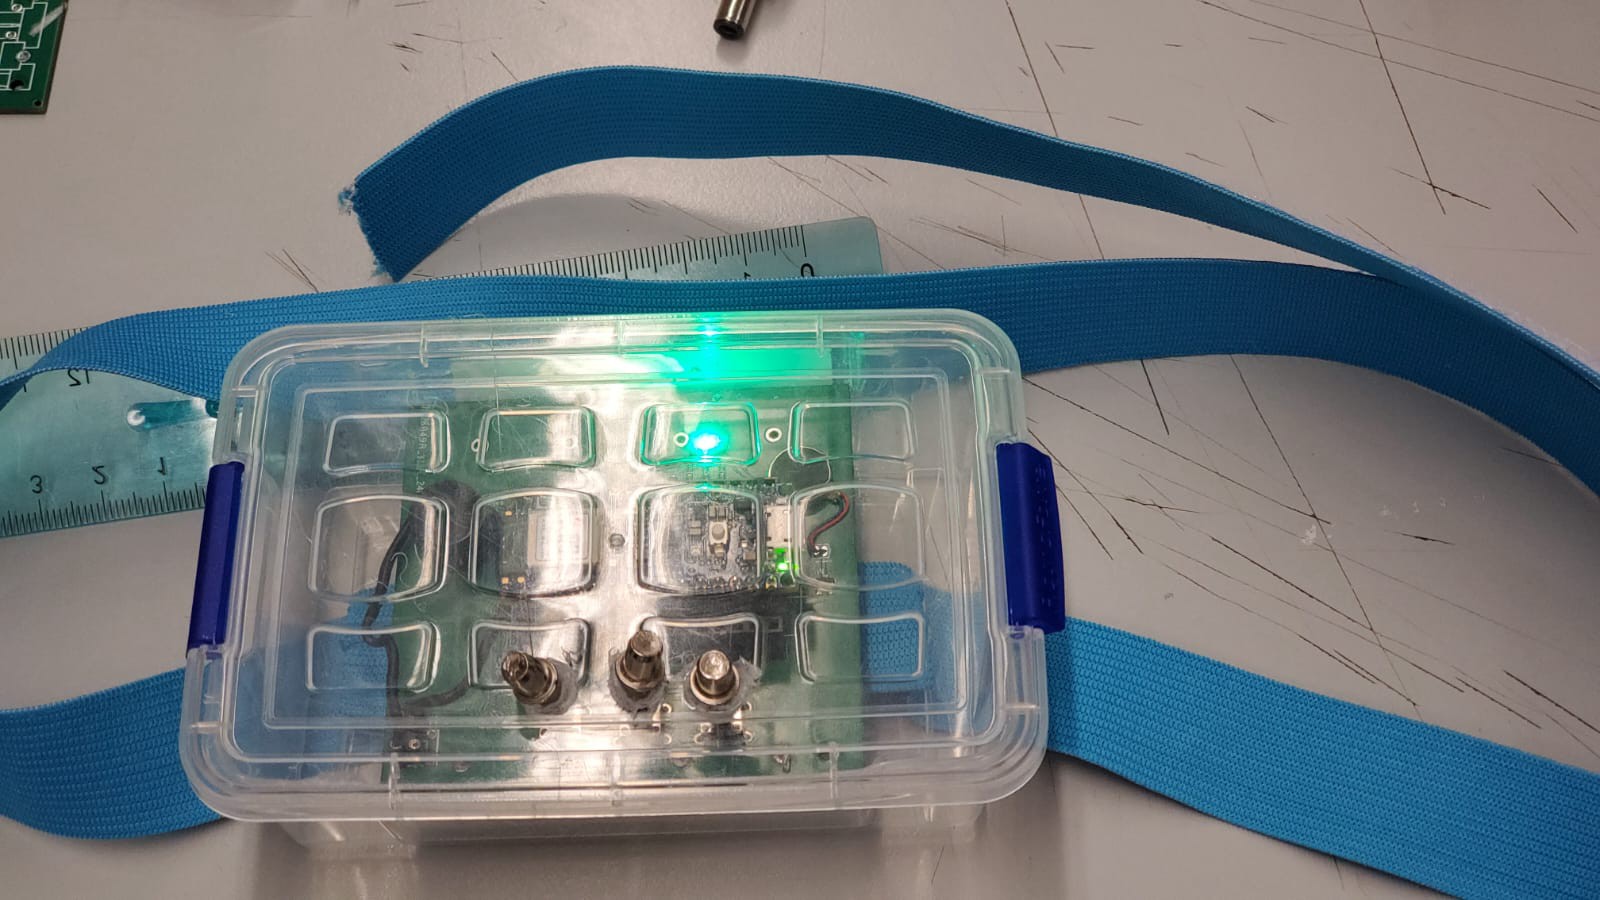
Phase 2: Custom Case Design for Enhanced Usability
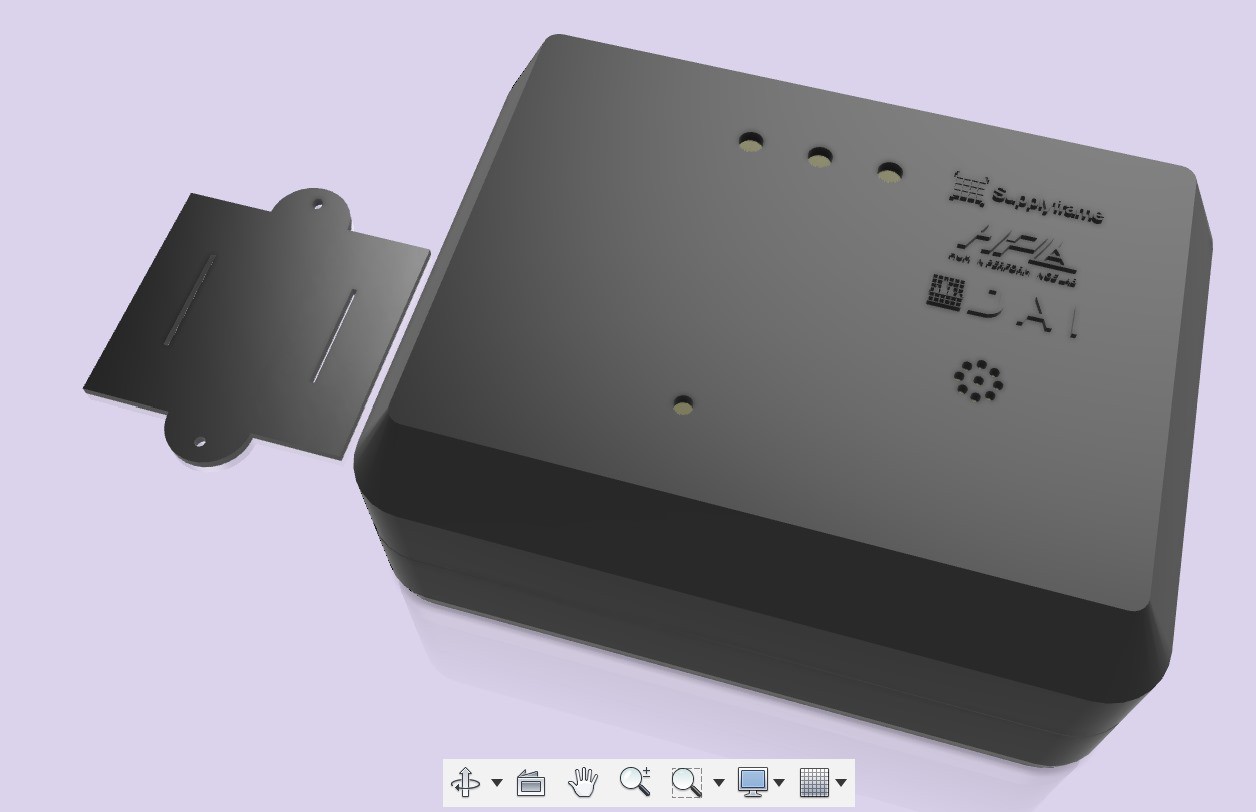
Having validated the system's core functionalities, we moved on to designing a custom case tailored to our specific needs. Using CAD software, we modeled a case that offered better protection, accessibility, and aesthetics. This custom design addressed several limitations of the off-the-shelf box:
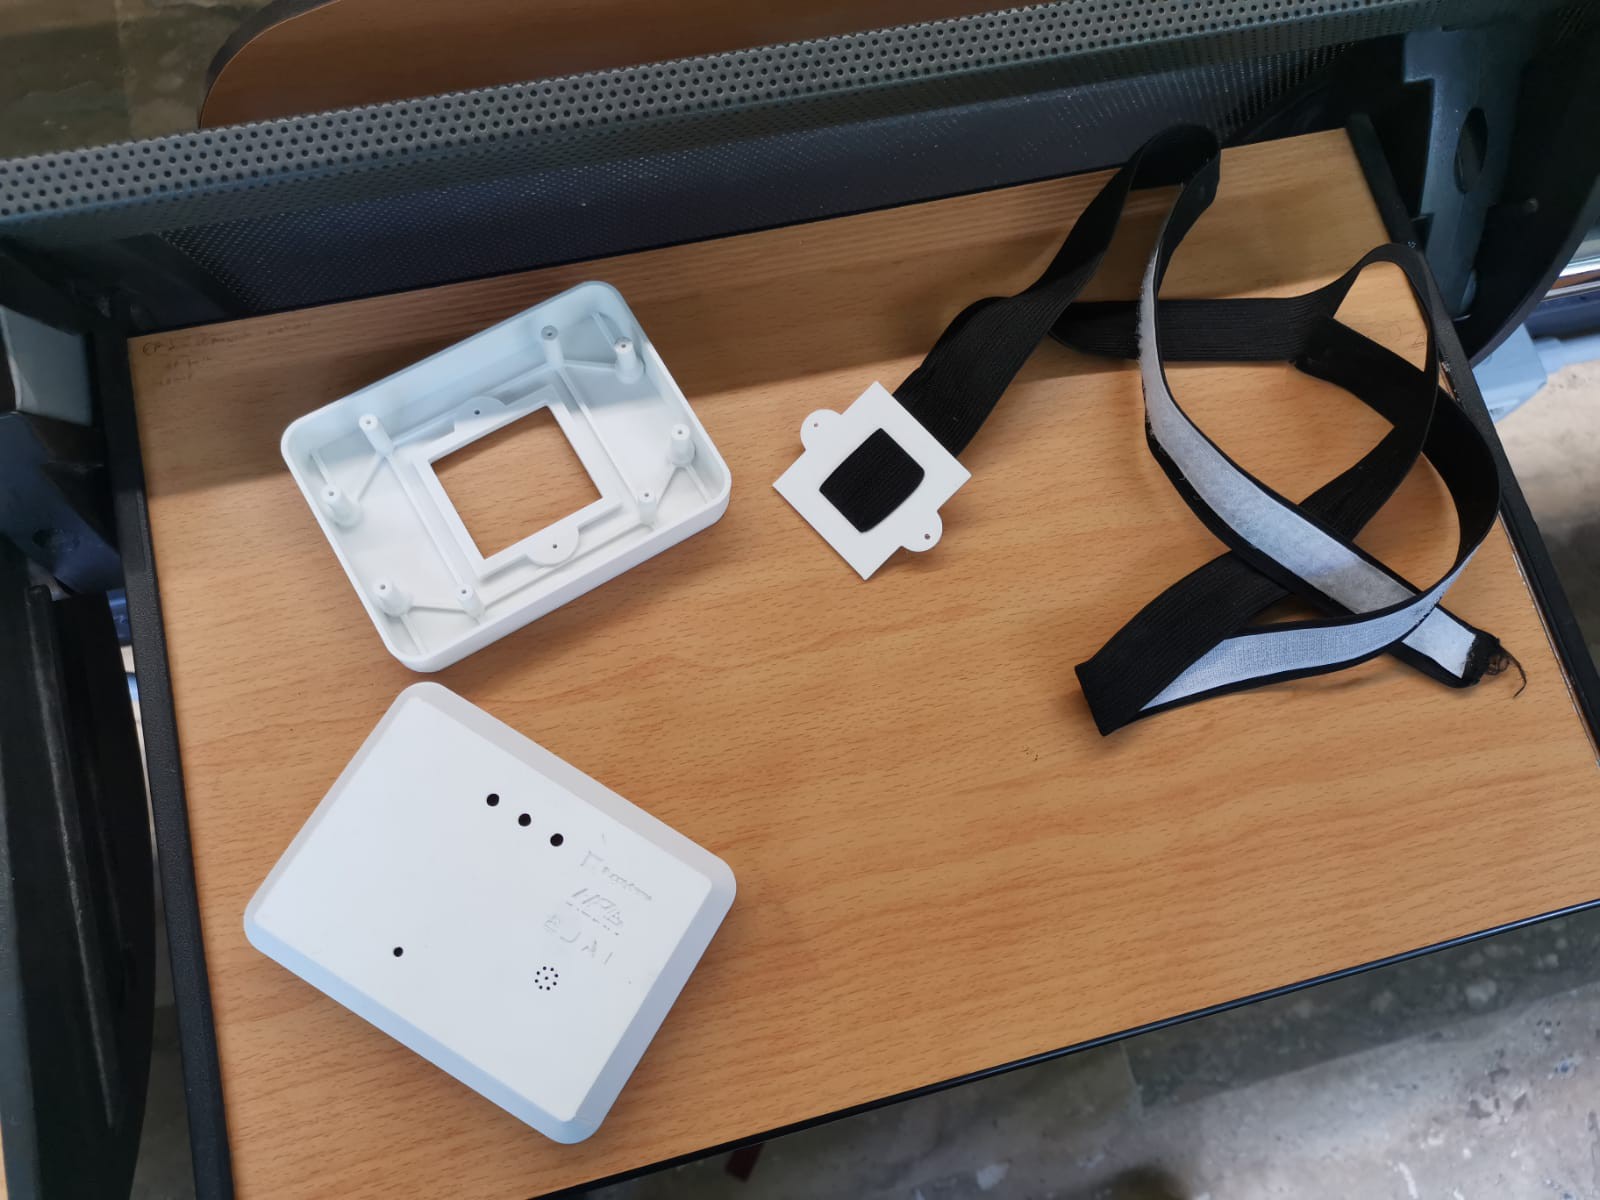
- Improved Fit: The new case was designed to snugly fit all internal components, minimizing movement and potential damage.
- Accessibility: Ports and buttons were strategically placed to ensure easy access for users].
This custom case was 3D printed using PLA, allowing us to rapidly iterate on the design and make necessary adjustments based on initial testing feedback.
Phase 3: Integration of Silicone LED Diffuser
To enhance the user interface, we integrated a silicone diffuser for the LEDs. The diffuser served multiple purposes:
- Improved Visibility: The silicone material diffused the LED light evenly, making it easier for users to see the indicators under various lighting conditions.
- Aesthetic Appeal: The diffuser gave the device a sleek, professional look, aligning with our goal of creating a user-friendly and visually appealing product.
- Protection: The silicone also added an extra layer of protection for the LEDs, shielding them from dust and impacts.
The design was optimized to ensure that the silicone diffuser could be easily installed and replaced if necessary, without compromising the overall integrity of the case.
Phase 4: Extension Design for Push Buttons
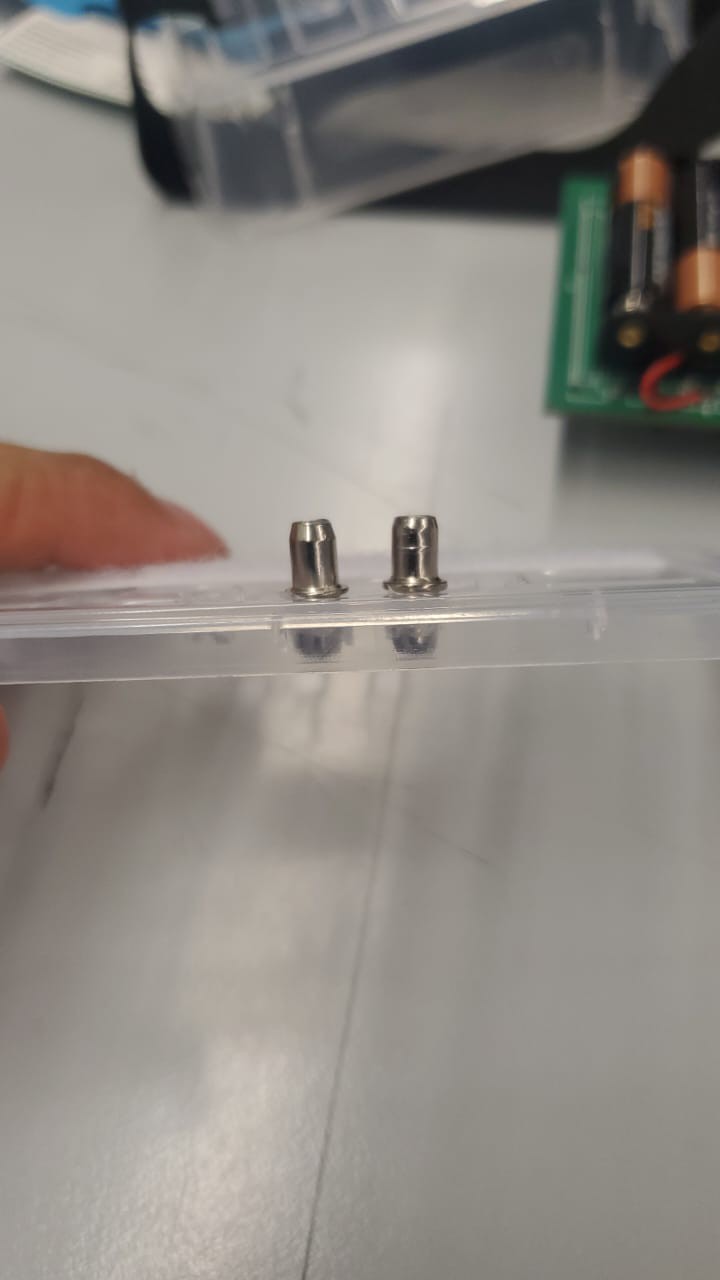
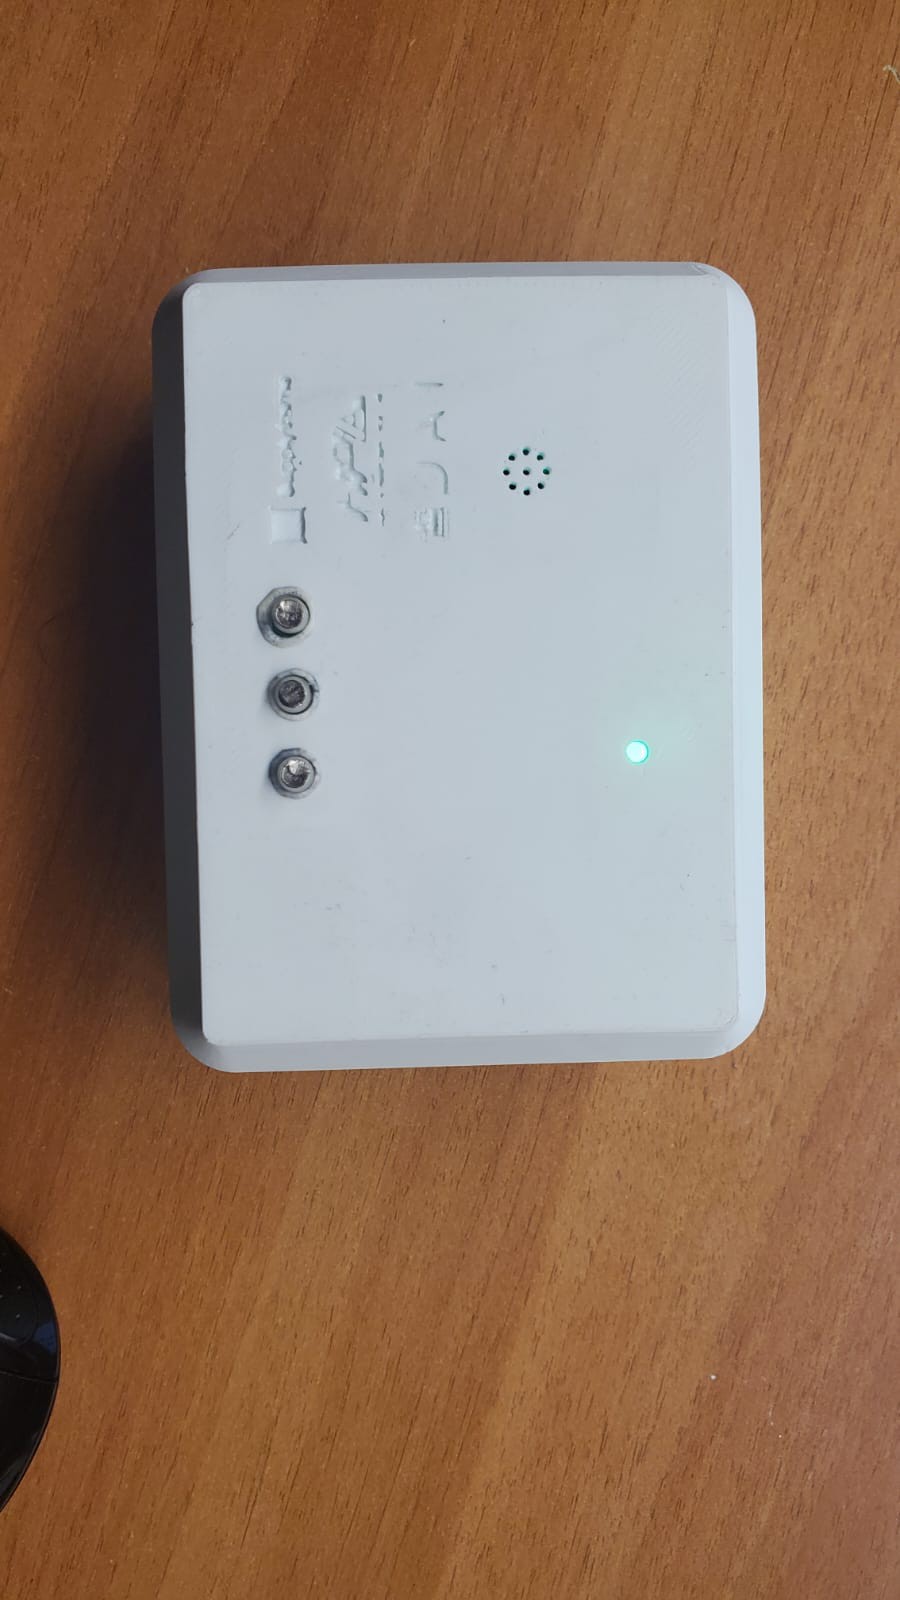
Another key improvement in our custom case design was the addition of extensions for the push buttons. These extensions allowed the buttons to be accessible from outside the case, enhancing the usability of the device. The extensions were designed with the following considerations:
- Tactile Feedback: Ensuring that the extensions provided clear and responsive feedback to the user, maintaining the functionality of the original buttons.
- Durability: The extensions were made from robust materials to withstand frequent use and potential rough handling.
- Ease of Assembly: The design allowed for straightforward installation, ensuring that the extensions aligned perfectly with the internal push buttons.
 Ivan Hernandez
Discussions
Become a Hackaday.io Member
Create an account to leave a comment. Already have an account? Log In.