For this, you will need first and foremost a clean, open space to work, with easy access to running water. Since i had neither clean, nor open space, i settled for the bathroom.
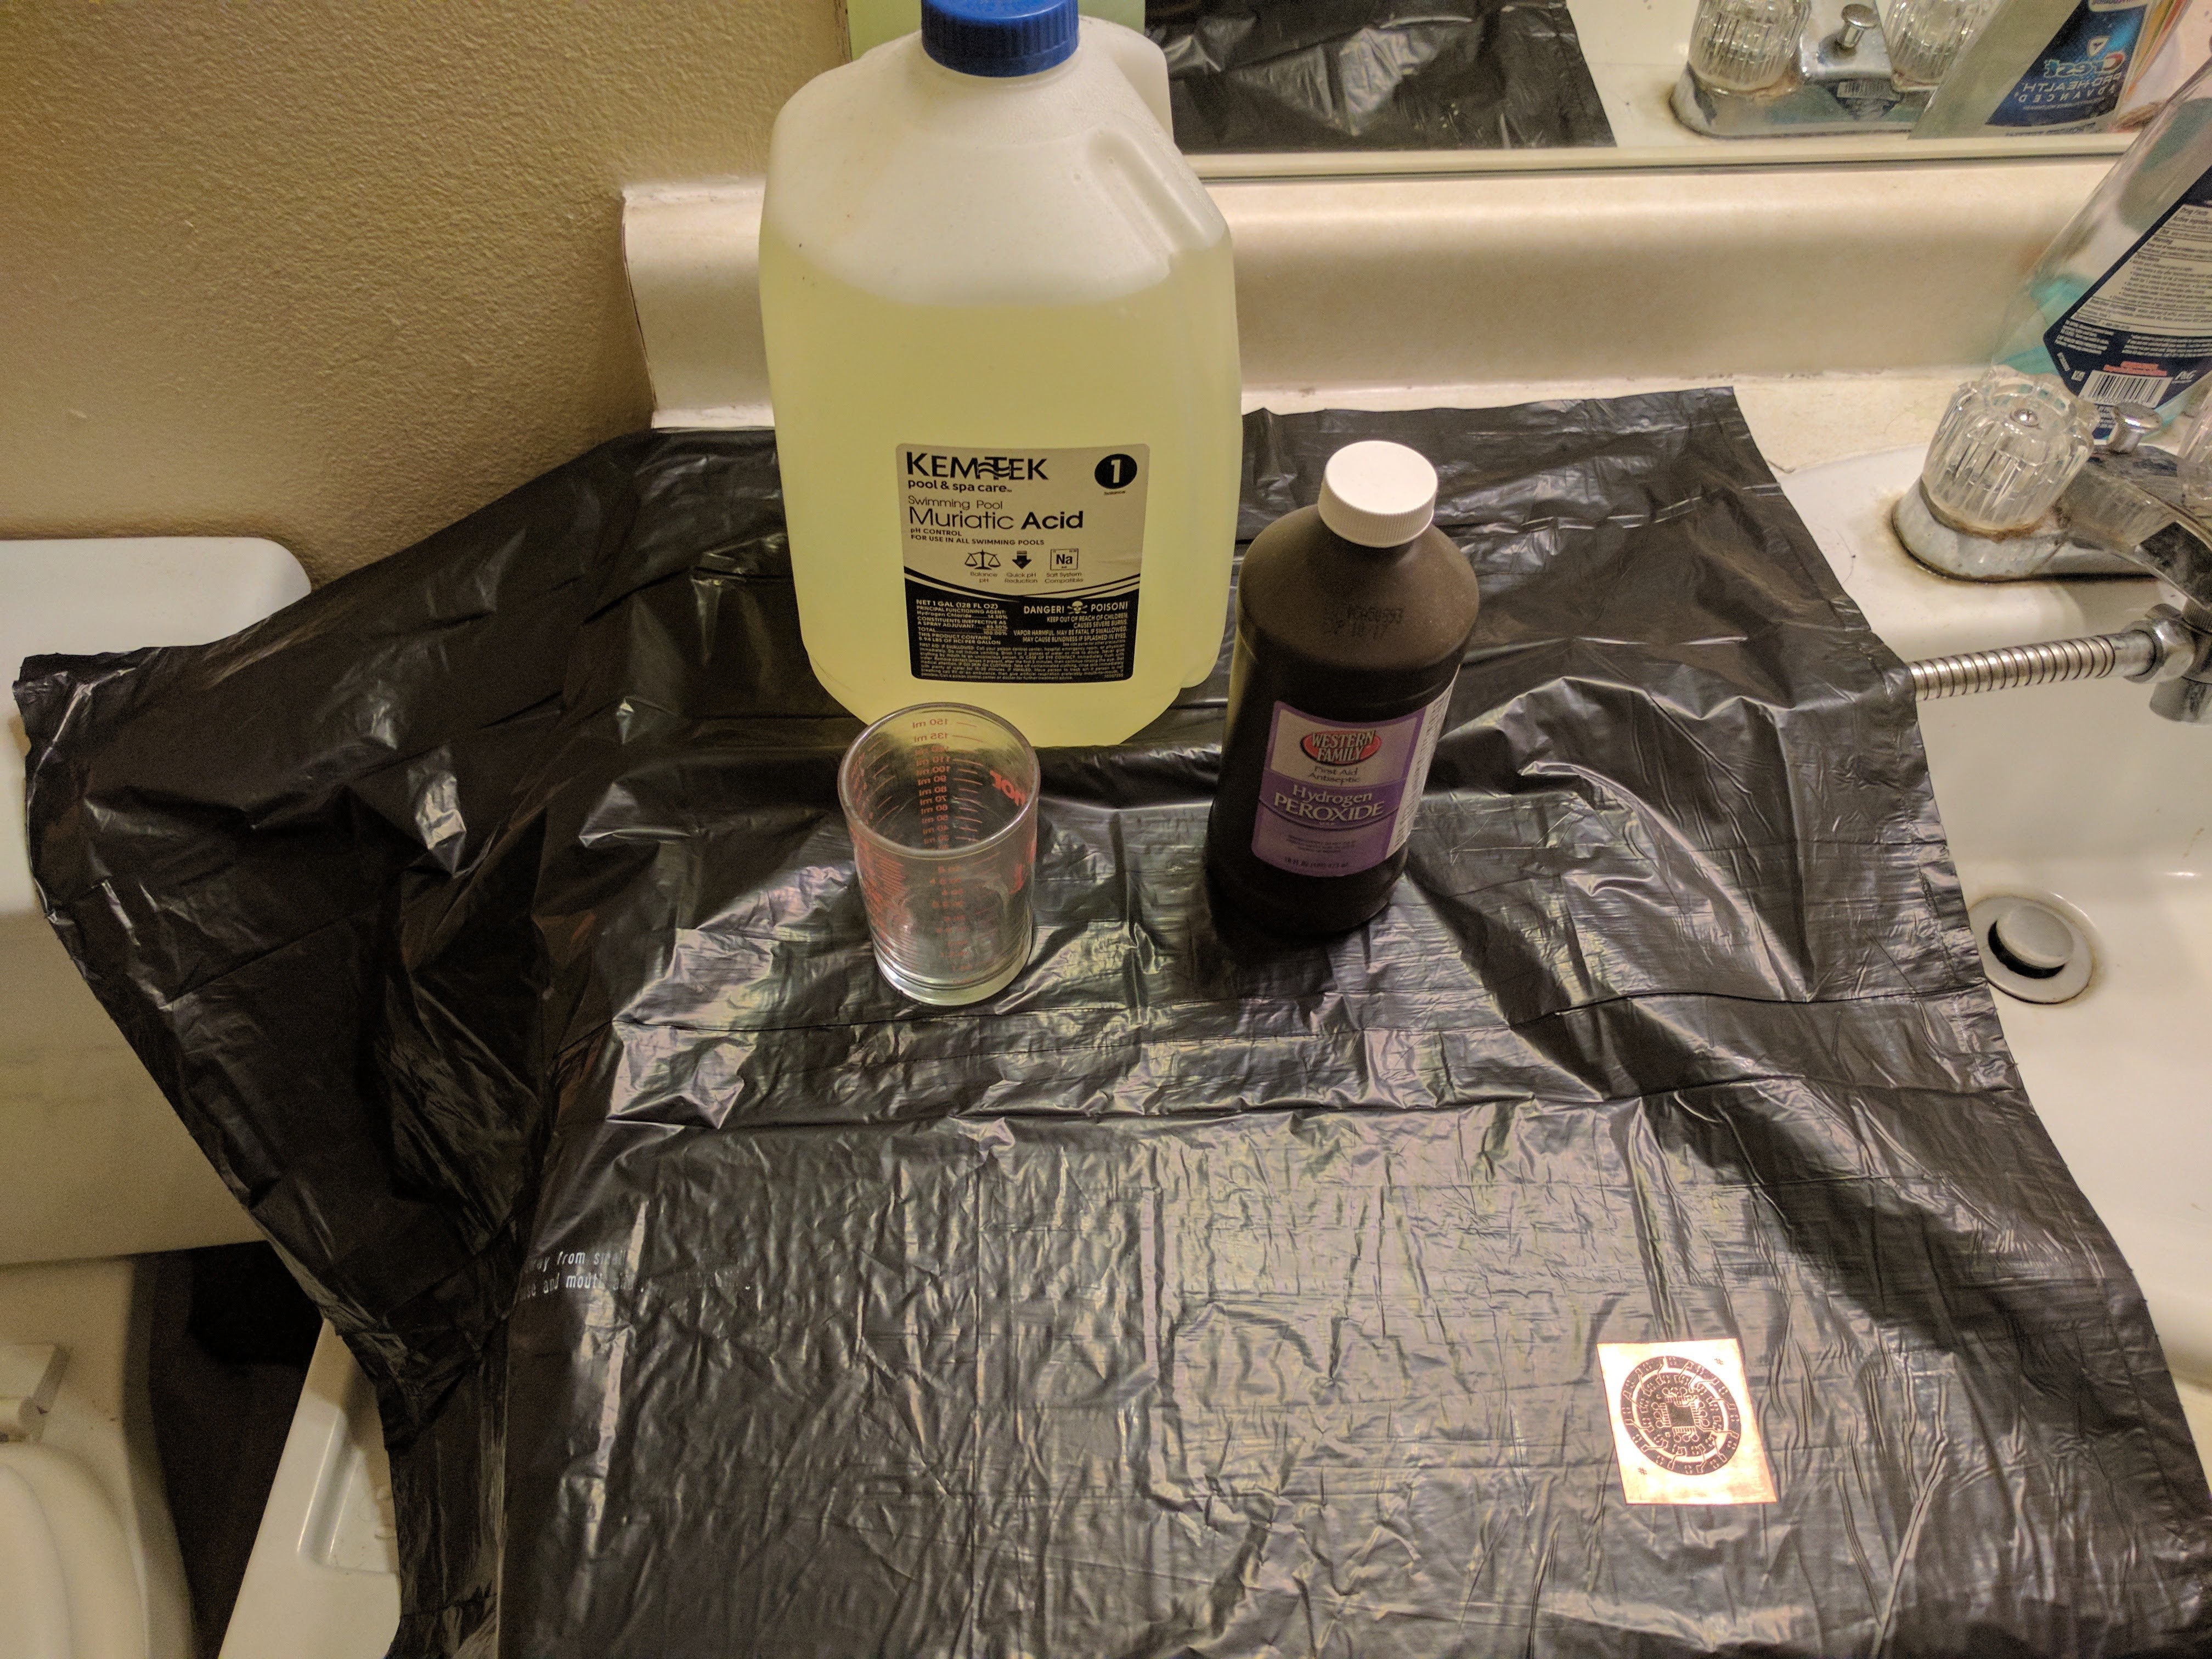
Shown is everything needed to etch a board successfully. I used the small beaker to use little acid. My muriatic acid is only 14%, so I used a 50/50 mix of hydrogen peroxide and acid. ALWAYS add the hydrogen peroxide FIRST, then add the acid! Do this in a well ventilated area as it may fizz a little and you do not want to inhale it.
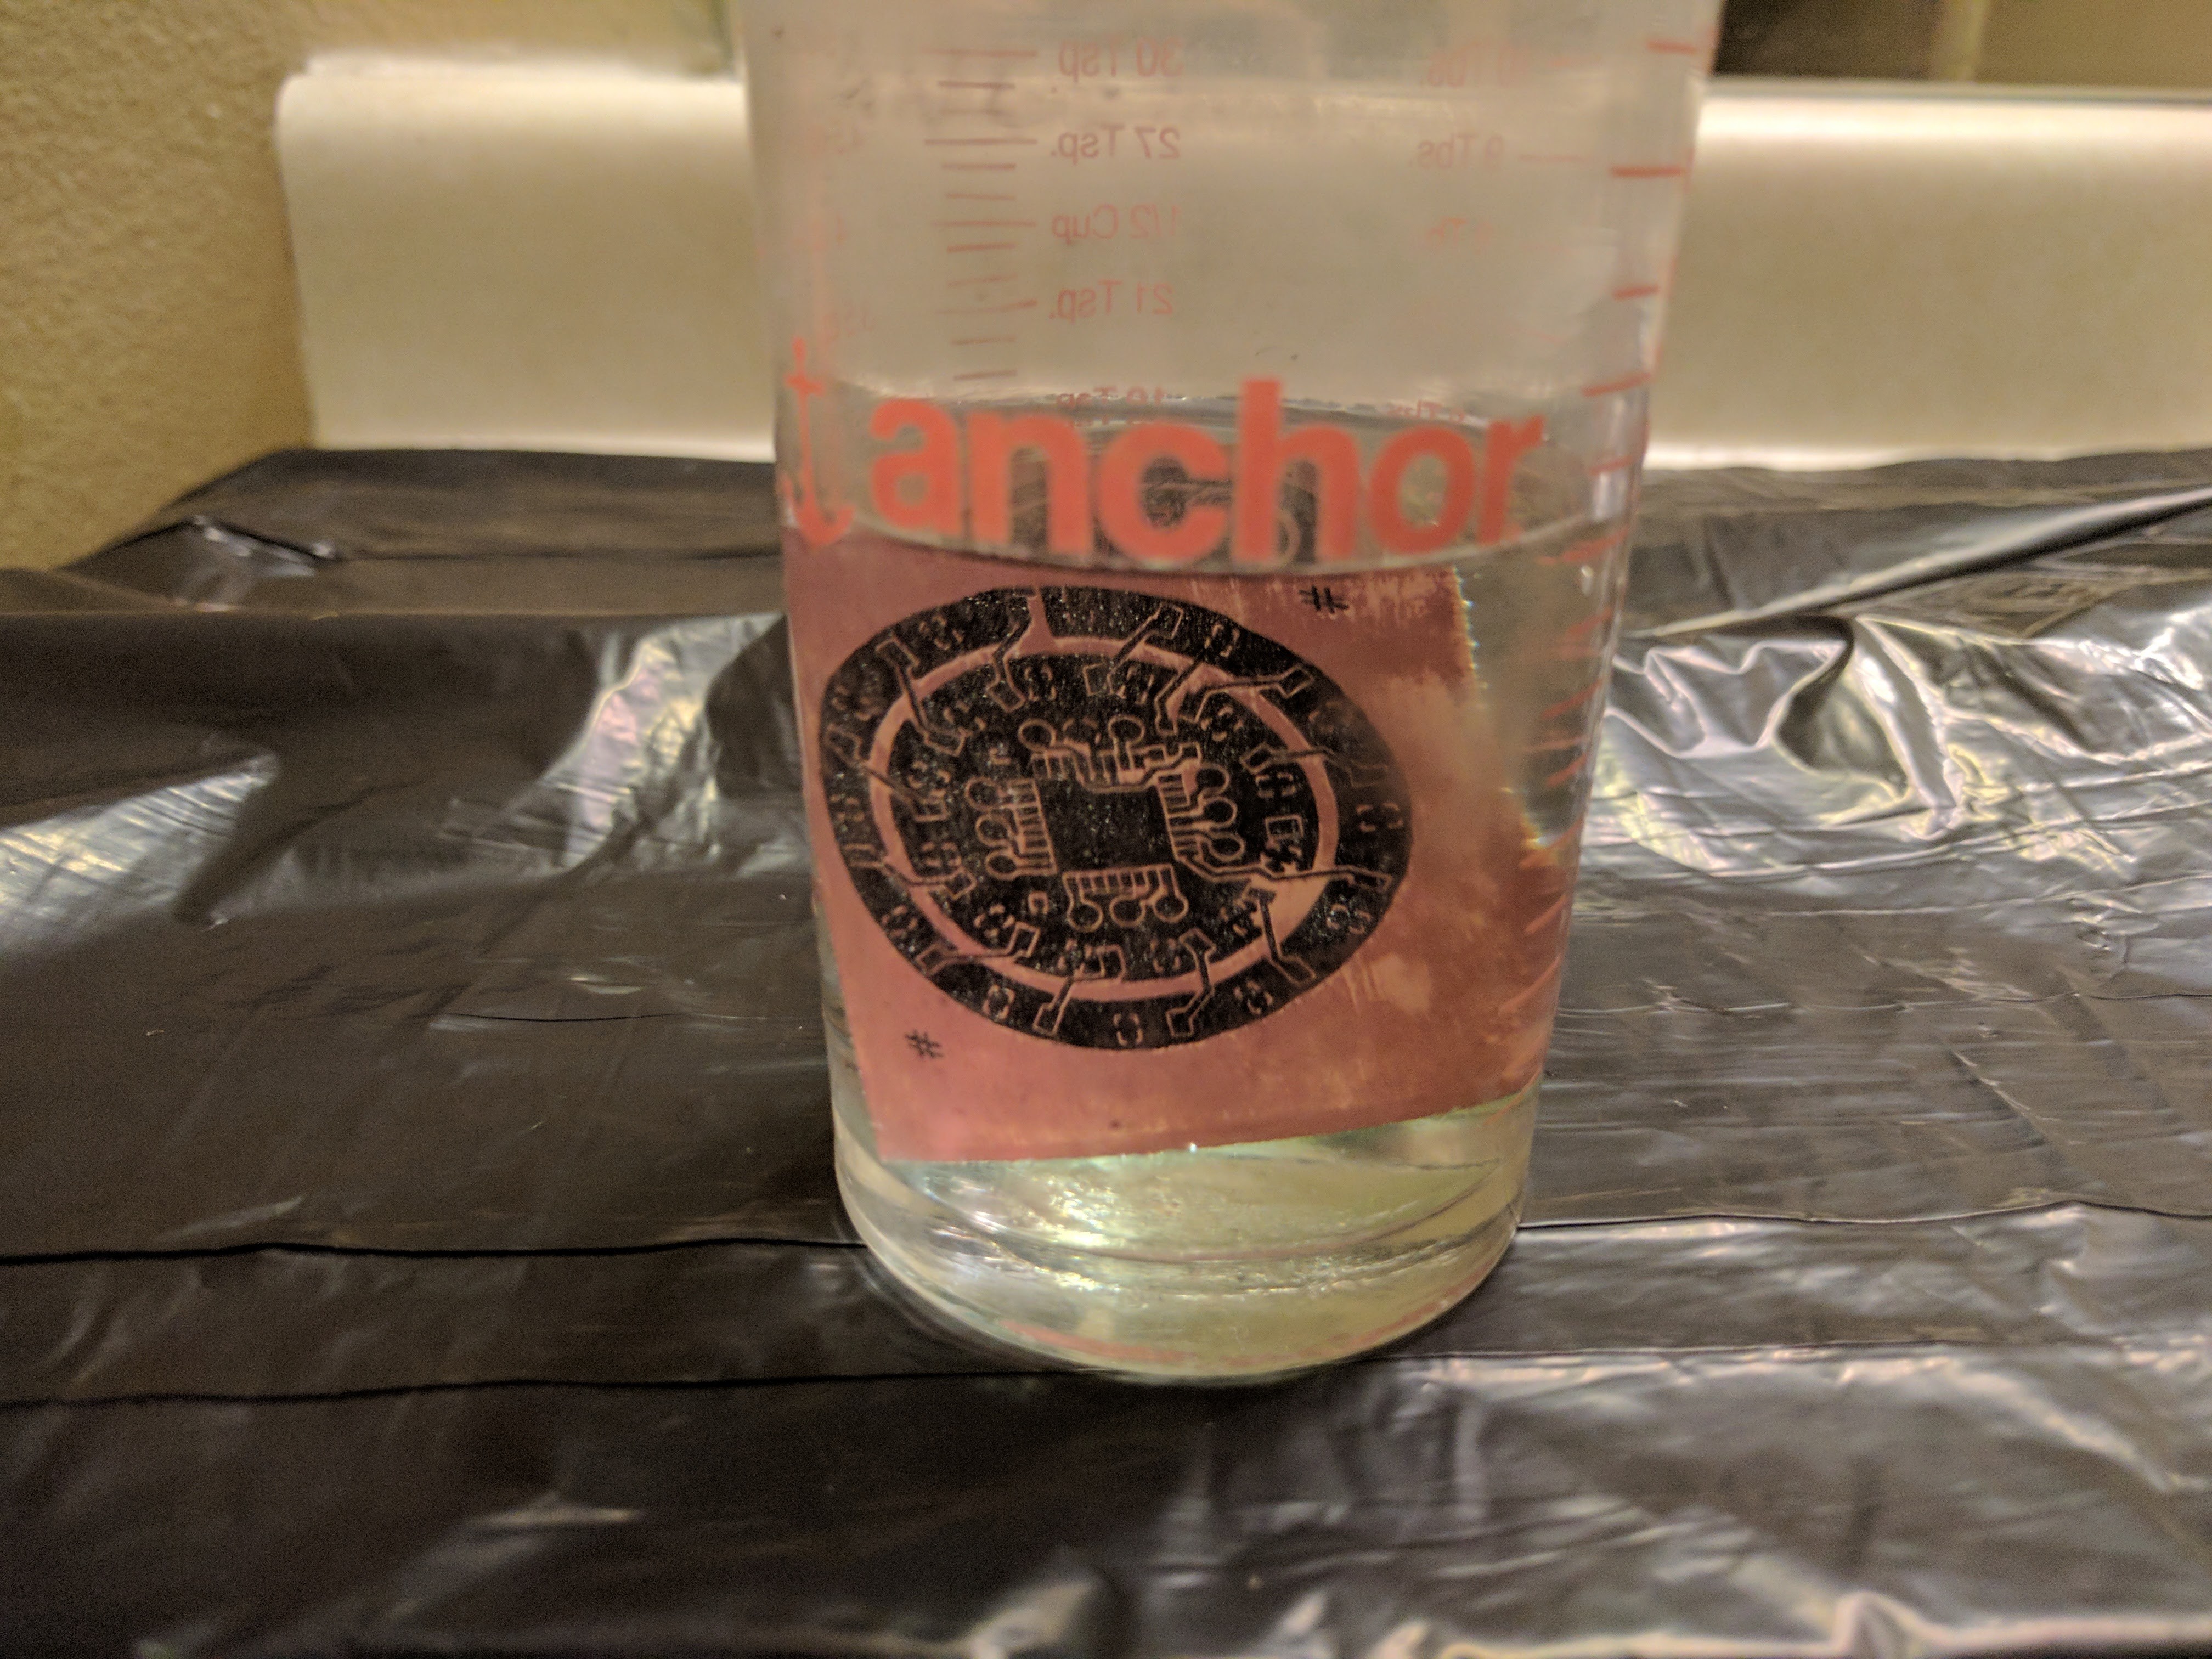
Use the smallest amount of chemical you can. The amount in the beaker is pretty much ideal. This photo was taken immediately after adding the board and you can already see a faint green hue at the bottom, that is the copper oxidizing and dissolving in the acid.
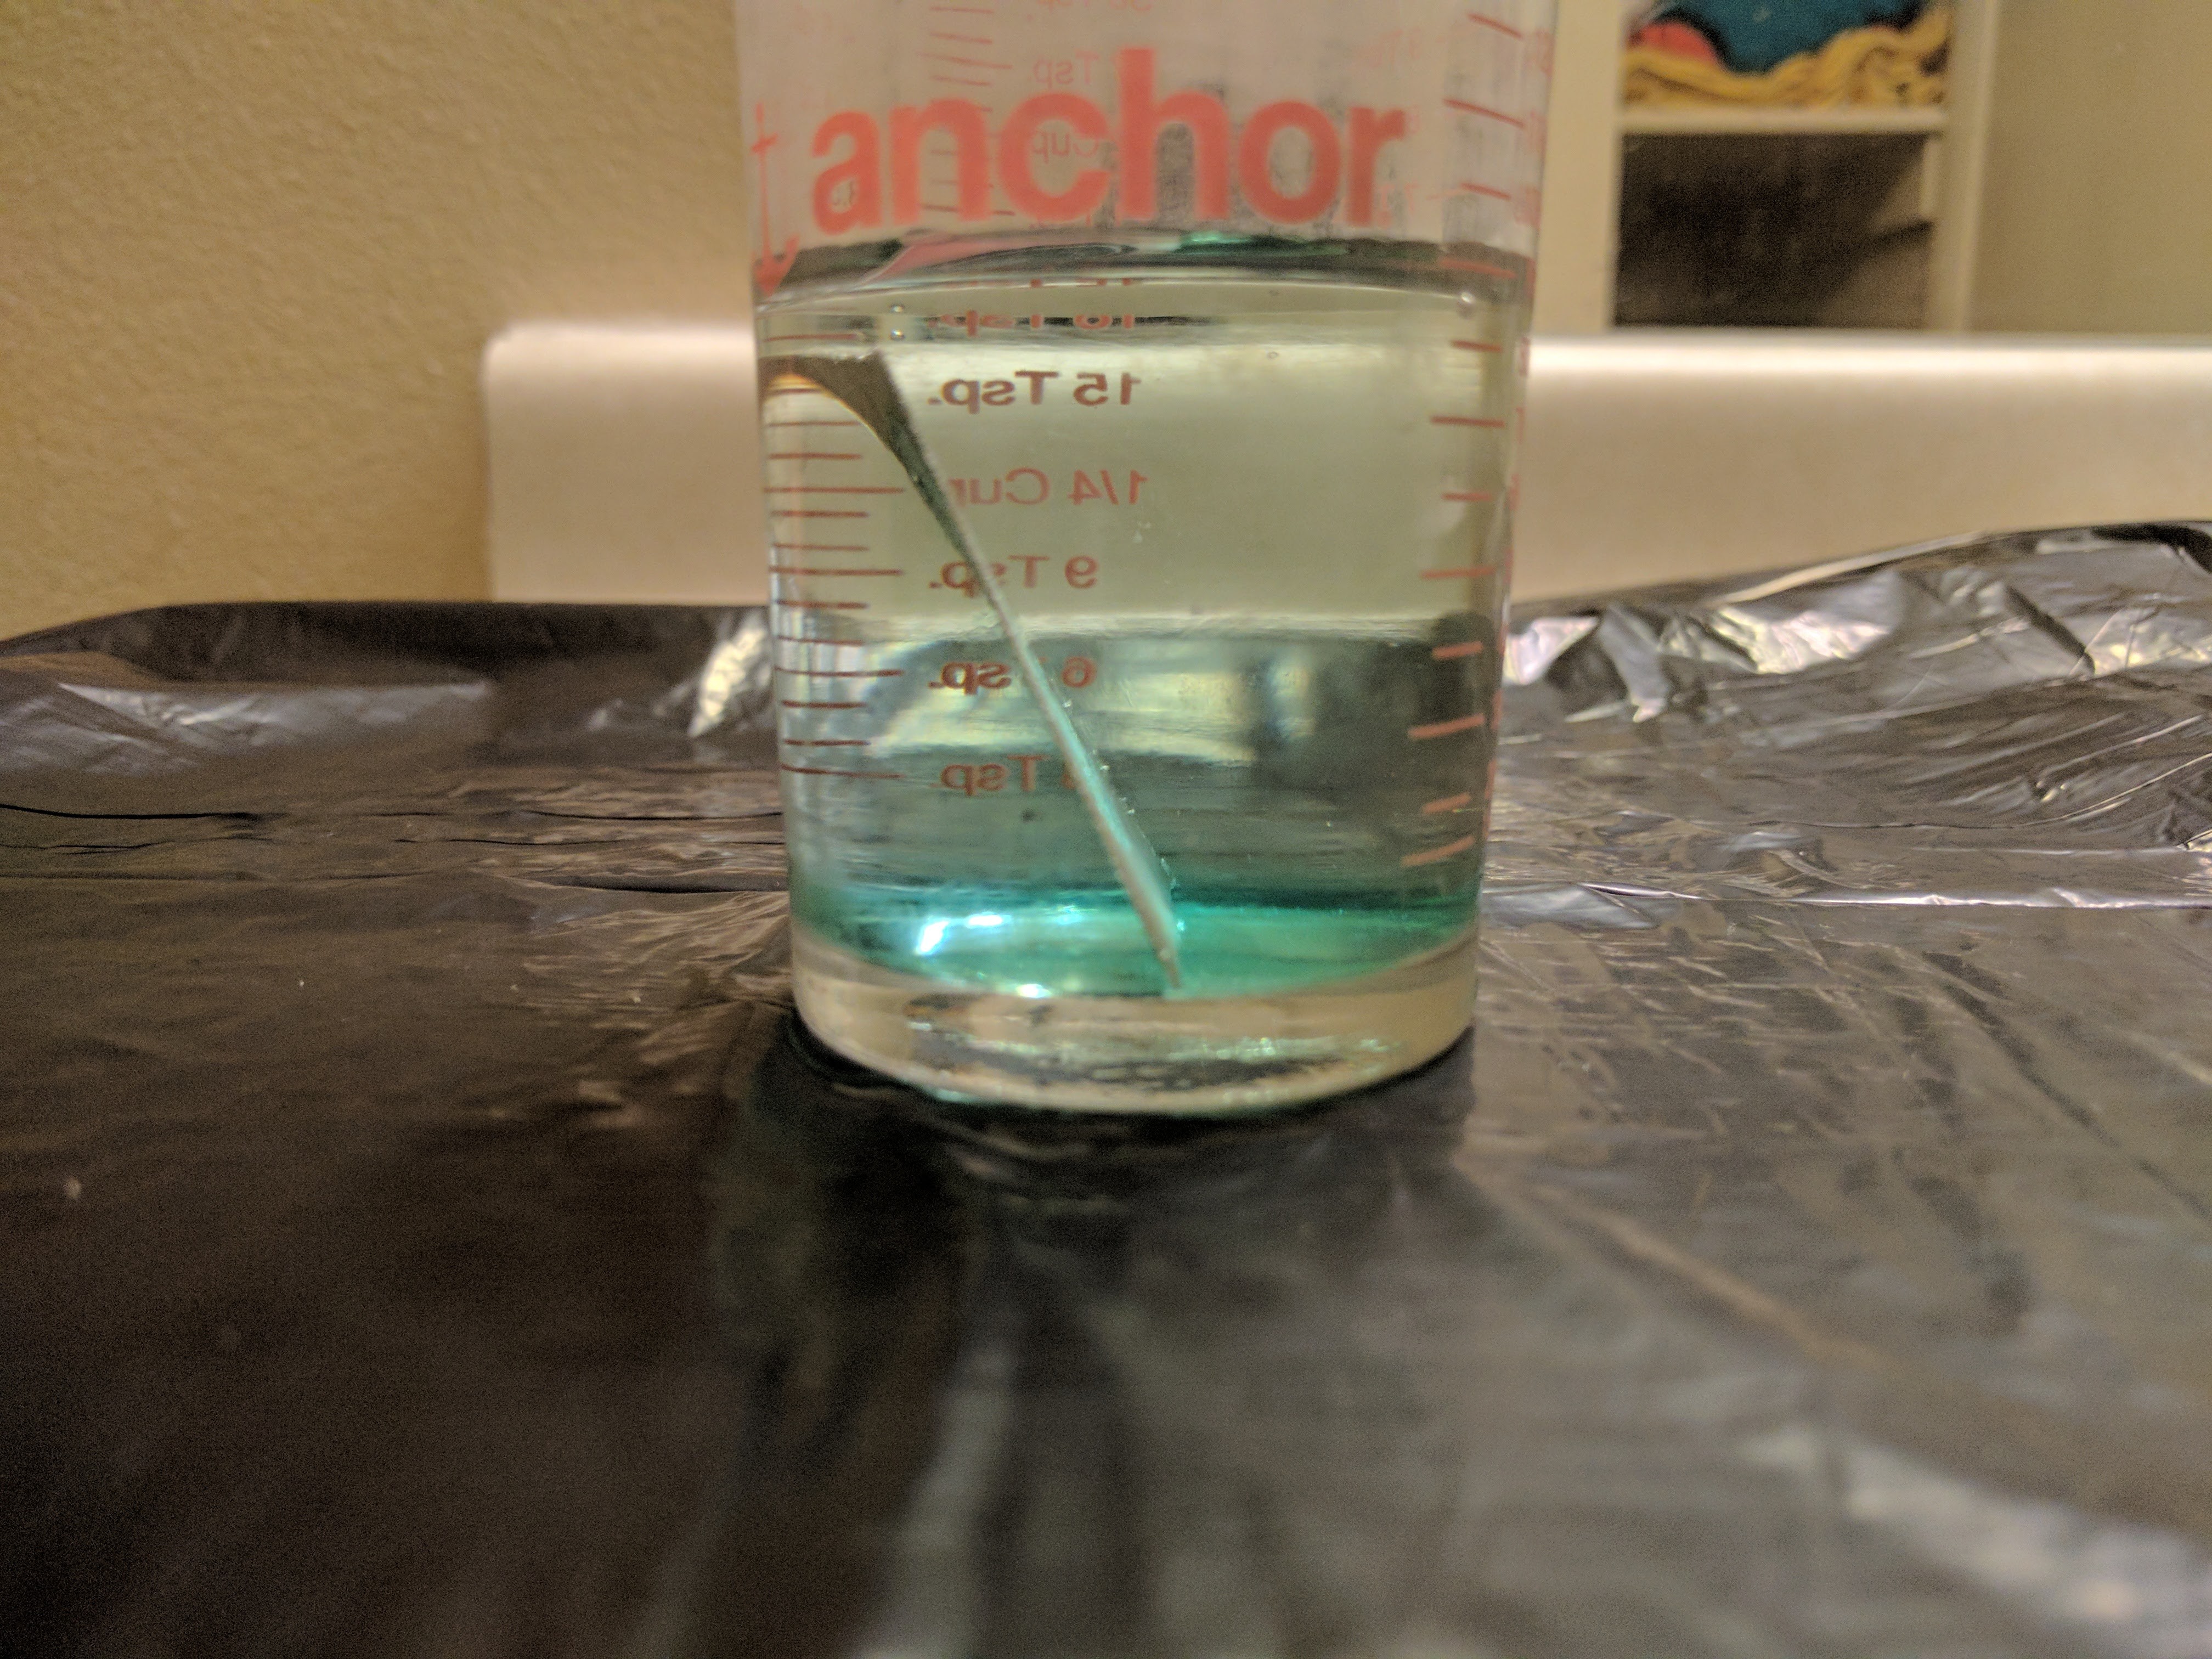
This was taken about 30 seconds in. If your mix is good, it will work fast.
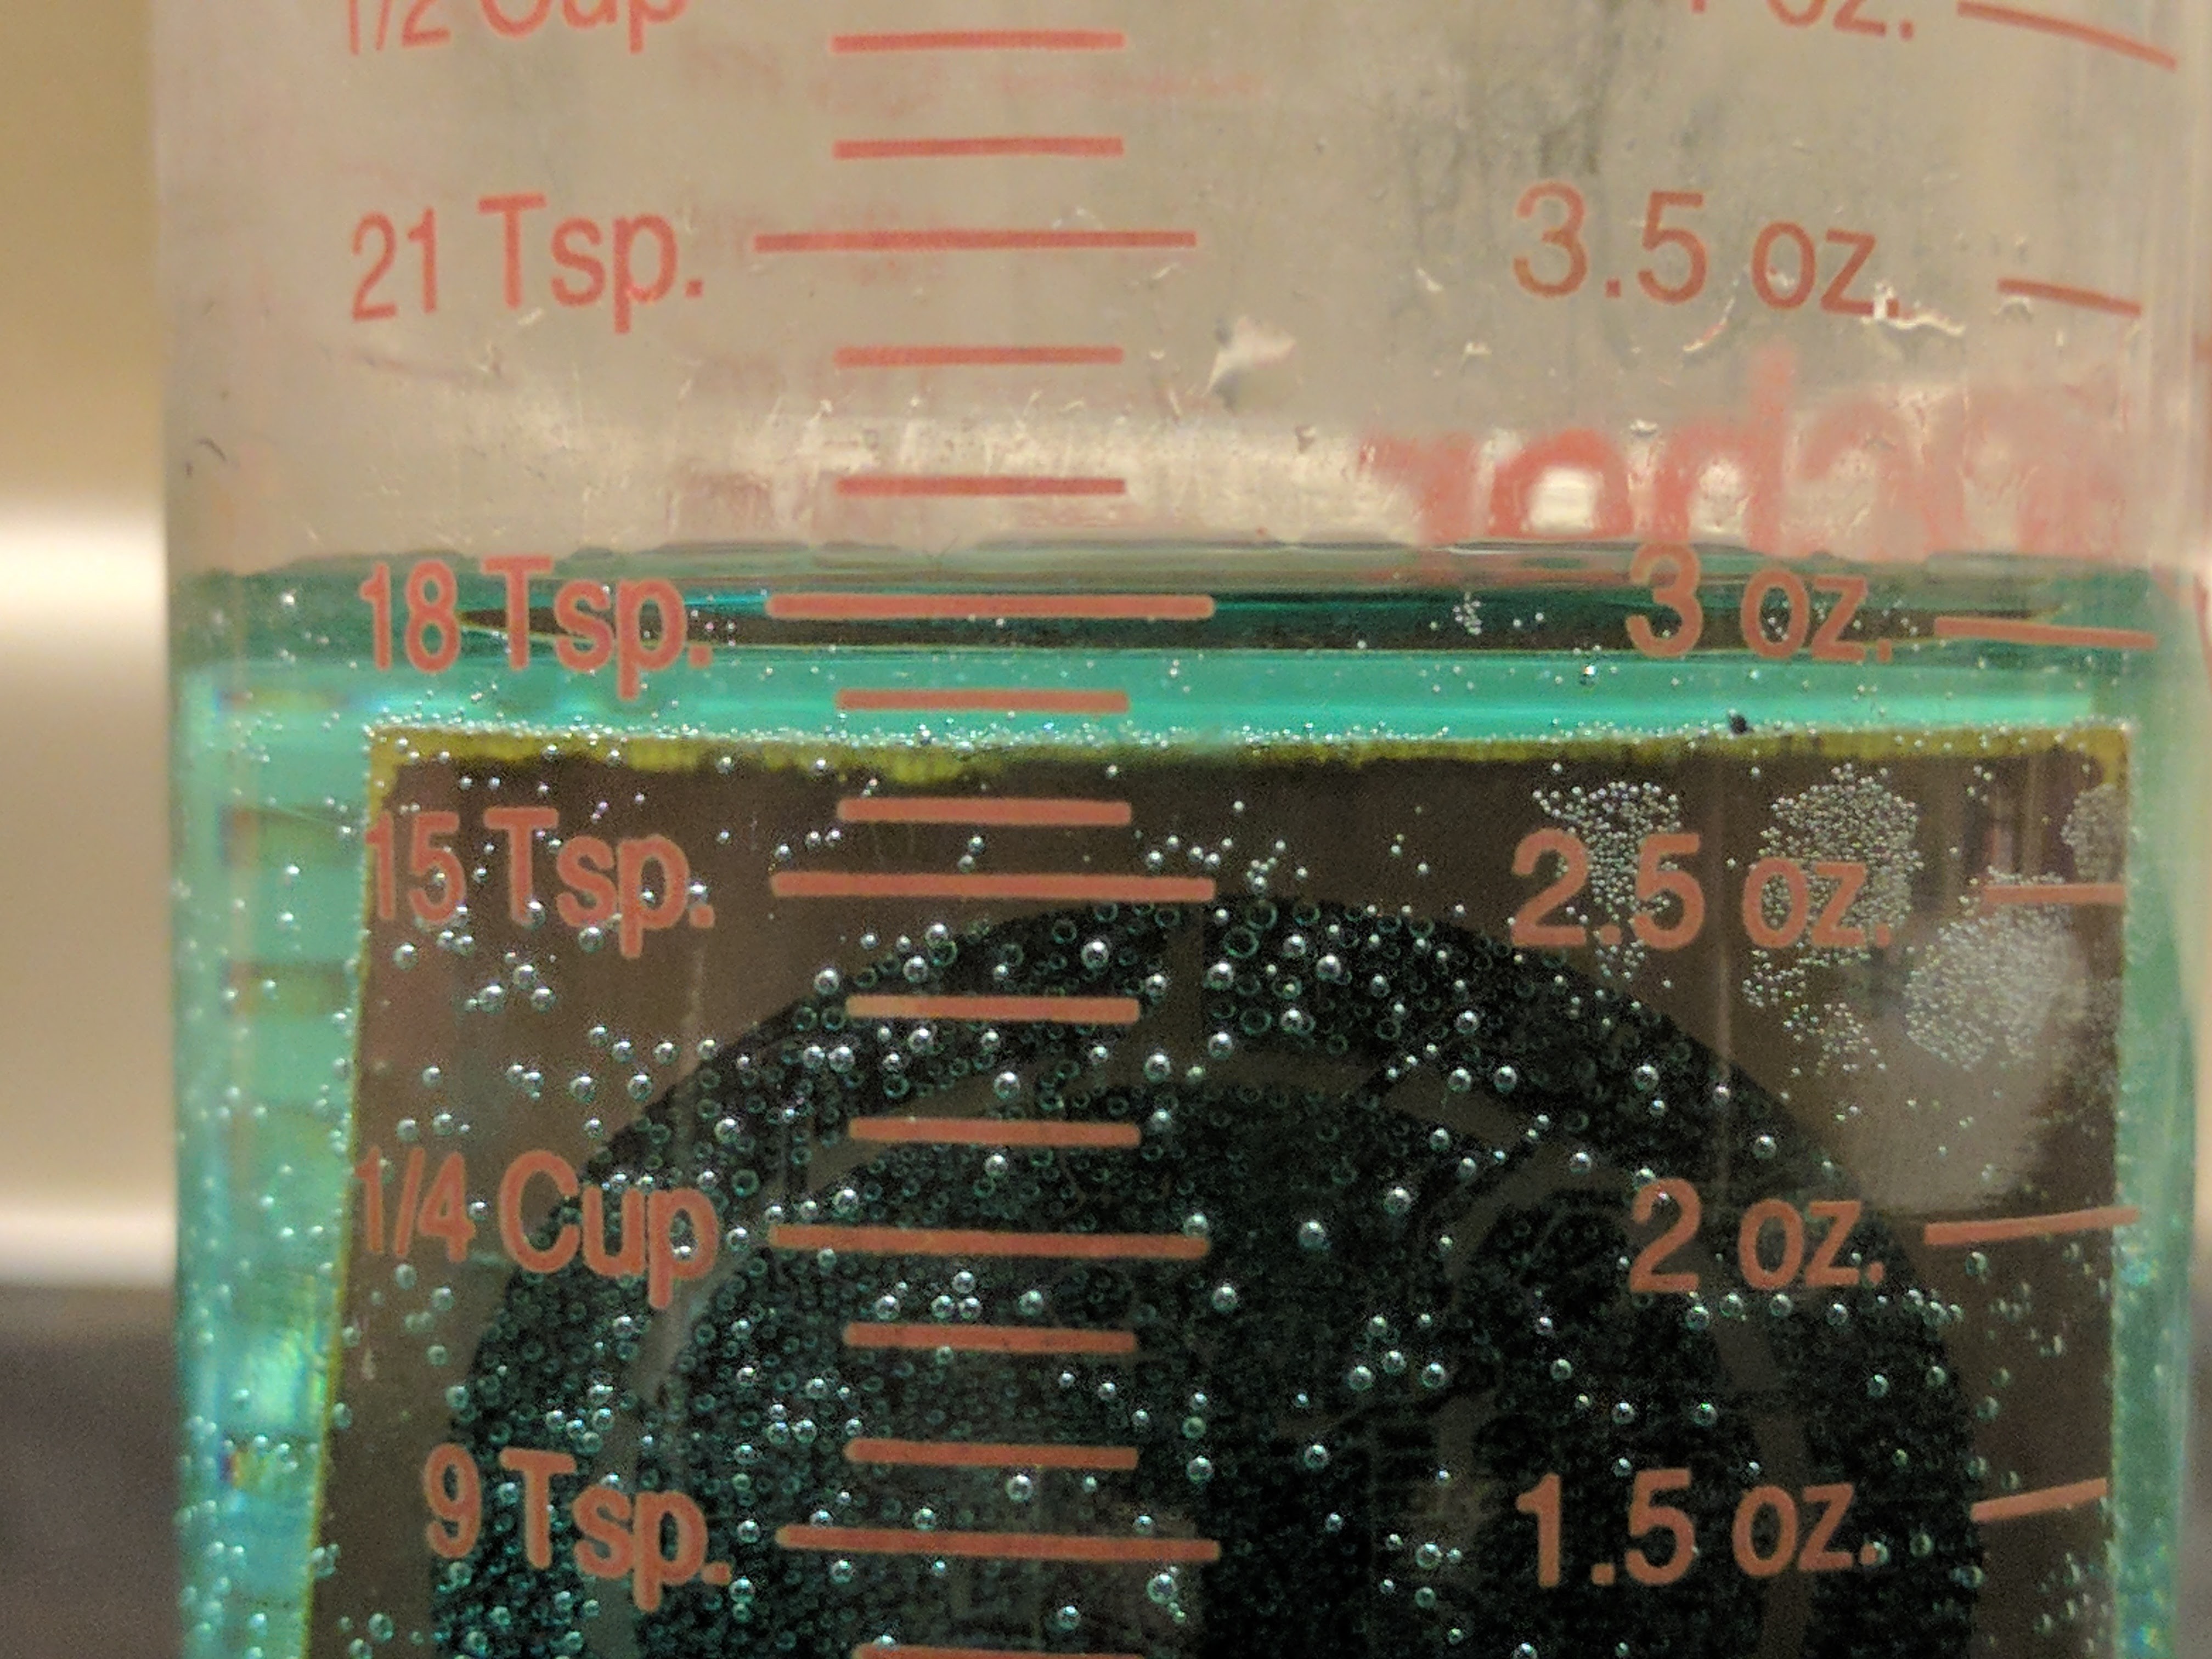
At about two minutes you may see the edges eaten through first. My board has a really thin layer of copper, so your milage may vary.

After your board is completely etched, remove it from the acid and rinse with water for a few minutes. While it's rinsing, examine it carefully to make sure there are no obvious shorts. Sometimes, it may be easier to use an engraving tool to fix shorts and to try and add jumper wires where too much was copper was removed. After visual inspection, use a multimeter to find shorts. The multimeter will find any shorts your eyes miss, and this board had a few.
I was a little excited to build this so i didn't take pictures during soldering, but sparkfun has a terrific tutorial on soldering small packages.
Discussions
Become a Hackaday.io Member
Create an account to leave a comment. Already have an account? Log In.