 deʃhipu
I'm slowly porting all my robot code to CircuitPython for the little crab robot, and I got as far as body kinematics before I ran out of memory on the Feather M0, so next step is some optimizations.
I also decided to put a distance sensor on this little guy, so that it can react to the environment -- since it doesn't have wireless connectivity, I can't make it just a remote controlled drone (and I don't want to).
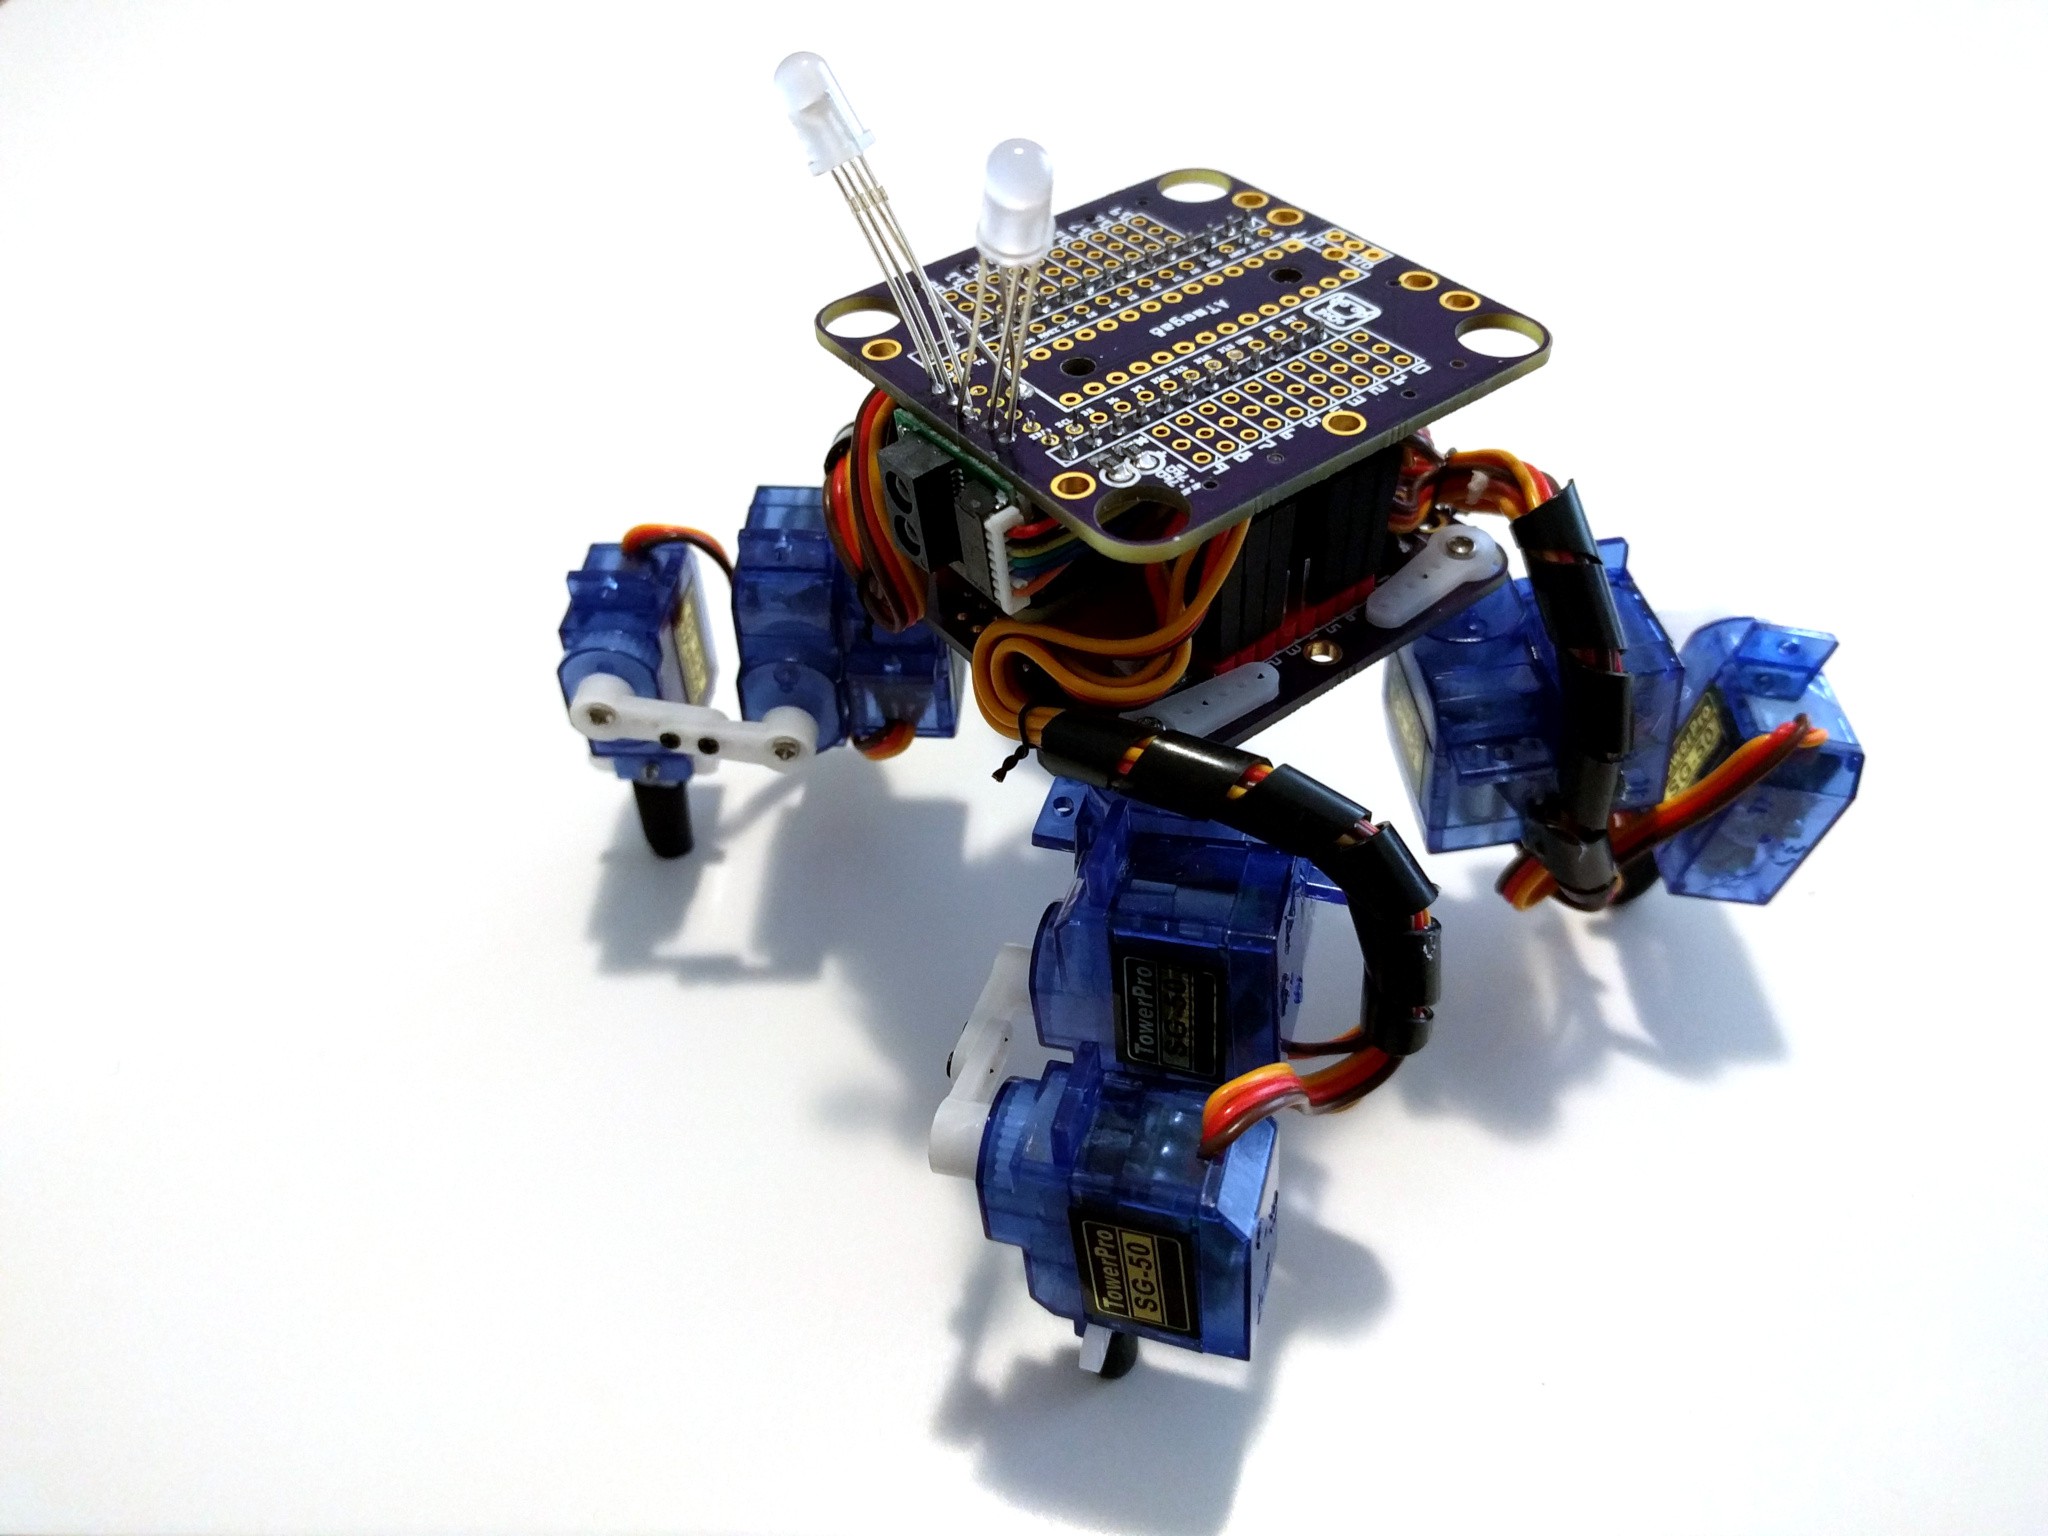
So I finally sat down and ported that Arduino driver for the VL53L0X sensor to MicroPython. Well, mostly ported -- there are still some parts that I need to implement, but it already does some readings. The code is at https://bitbucket.org/thesheep/micropython-vl53l0x but it's definitely too big to fit on the M0. So I decided to look for another sensor, preferably with I²C interface, and I found the SHARP GP2Y0E03 in my drawers -- the same sensor that #µBob biped robot uses right now. I quickly wrote a simple driver for CircuitPython for it -- the code is at https://bitbucket.org/thesheep/circuitpython-gp2y0e03 -- and I attached the sensor to the robot:
Even though I had a ready library for the sensor, getting it to work took some time. You see, the PCA9685 chip that I'm using here for controlling the servos uses two I²C addresses: 0x40 and 0x70 (one for the individual chip, and one for a roll-call for all chips on the bus). But the GP2Y0E03 sensor also uses address 0x40 by default. I could mess with the PCB, solder some wires to the address pins od the PCA9685 and make it use a different address (I think I will in the next version of the PCB), but a quicker route was to change the sensor's address -- you do that by burning e-fuses on it to specify the new address. The procedure is a bit complex, but there is a ready Arduino sketch that does it for you, so I gave it a try. Without much thinking I changed the address to the 0xE0, which was the default in that sketch.
Wait, aren't I²C addresses only 7-bit? Where did 0xE0 come from? Well, that's the 8-bit notation, including the read/write bit. To get the 7-bit address you need to shift it right by one.
I tested the sensor with the changed address, and it works beautifully. Now, time to put on the robot and make it do some things. But wait, it stops working on the robot, just returns 0 all the time. Wait a moment, what is 0xE0 shifter right by one bit? Isn't it 0x70, the other address my servo driver uses? Argh!
Fortunately, I had a second GP2Y0E03 sensor in my stock, so I changed the address in another one (this time paying more attention) and everything works perfectly now.
Now I only need to rewrite all this code into as few functions as possible, to make it all fit in there.
Discussions
Become a Hackaday.io Member
Create an account to leave a comment. Already have an account? Log In.