 alexw
alexwtl;dr : Parameterised and printed a few peristaltic pumps and then designed my own peristaltic pump but they require too much torque to
function with the stepper motors. Staying with a syringe design
design for version 3 of the glider and will re-explore peristaltic
pumps at a later date.
Over the last few weeks I have been working on a peristaltic pump to act as a buoyancy engine. The advantages of a buoyancy engine is that it allows for a greater variable ballast within a more compact frame than the three syringe buoyancy engine that I am currently using.
I had a look for existing printed peristaltic pump designs and I came across a parametric planetary gearbox peristaltic pump. This design was a derivative of a parametric planetary gearbox, which I was considering for the planetary gearbox for the roll mechanism as it allows people to print a gearbox with tolerances that have been adjusted for their printer. Editing the openSCAD file allowed for the addition of a motor mount and a custom exterior, allowing it to be integrated into the glider design (mounting/wiring holes). The openSCAD file is available in the developmental dropbox folder (Glider_version_3/SCAD_files) if you want to take a look/try printing it yourself.

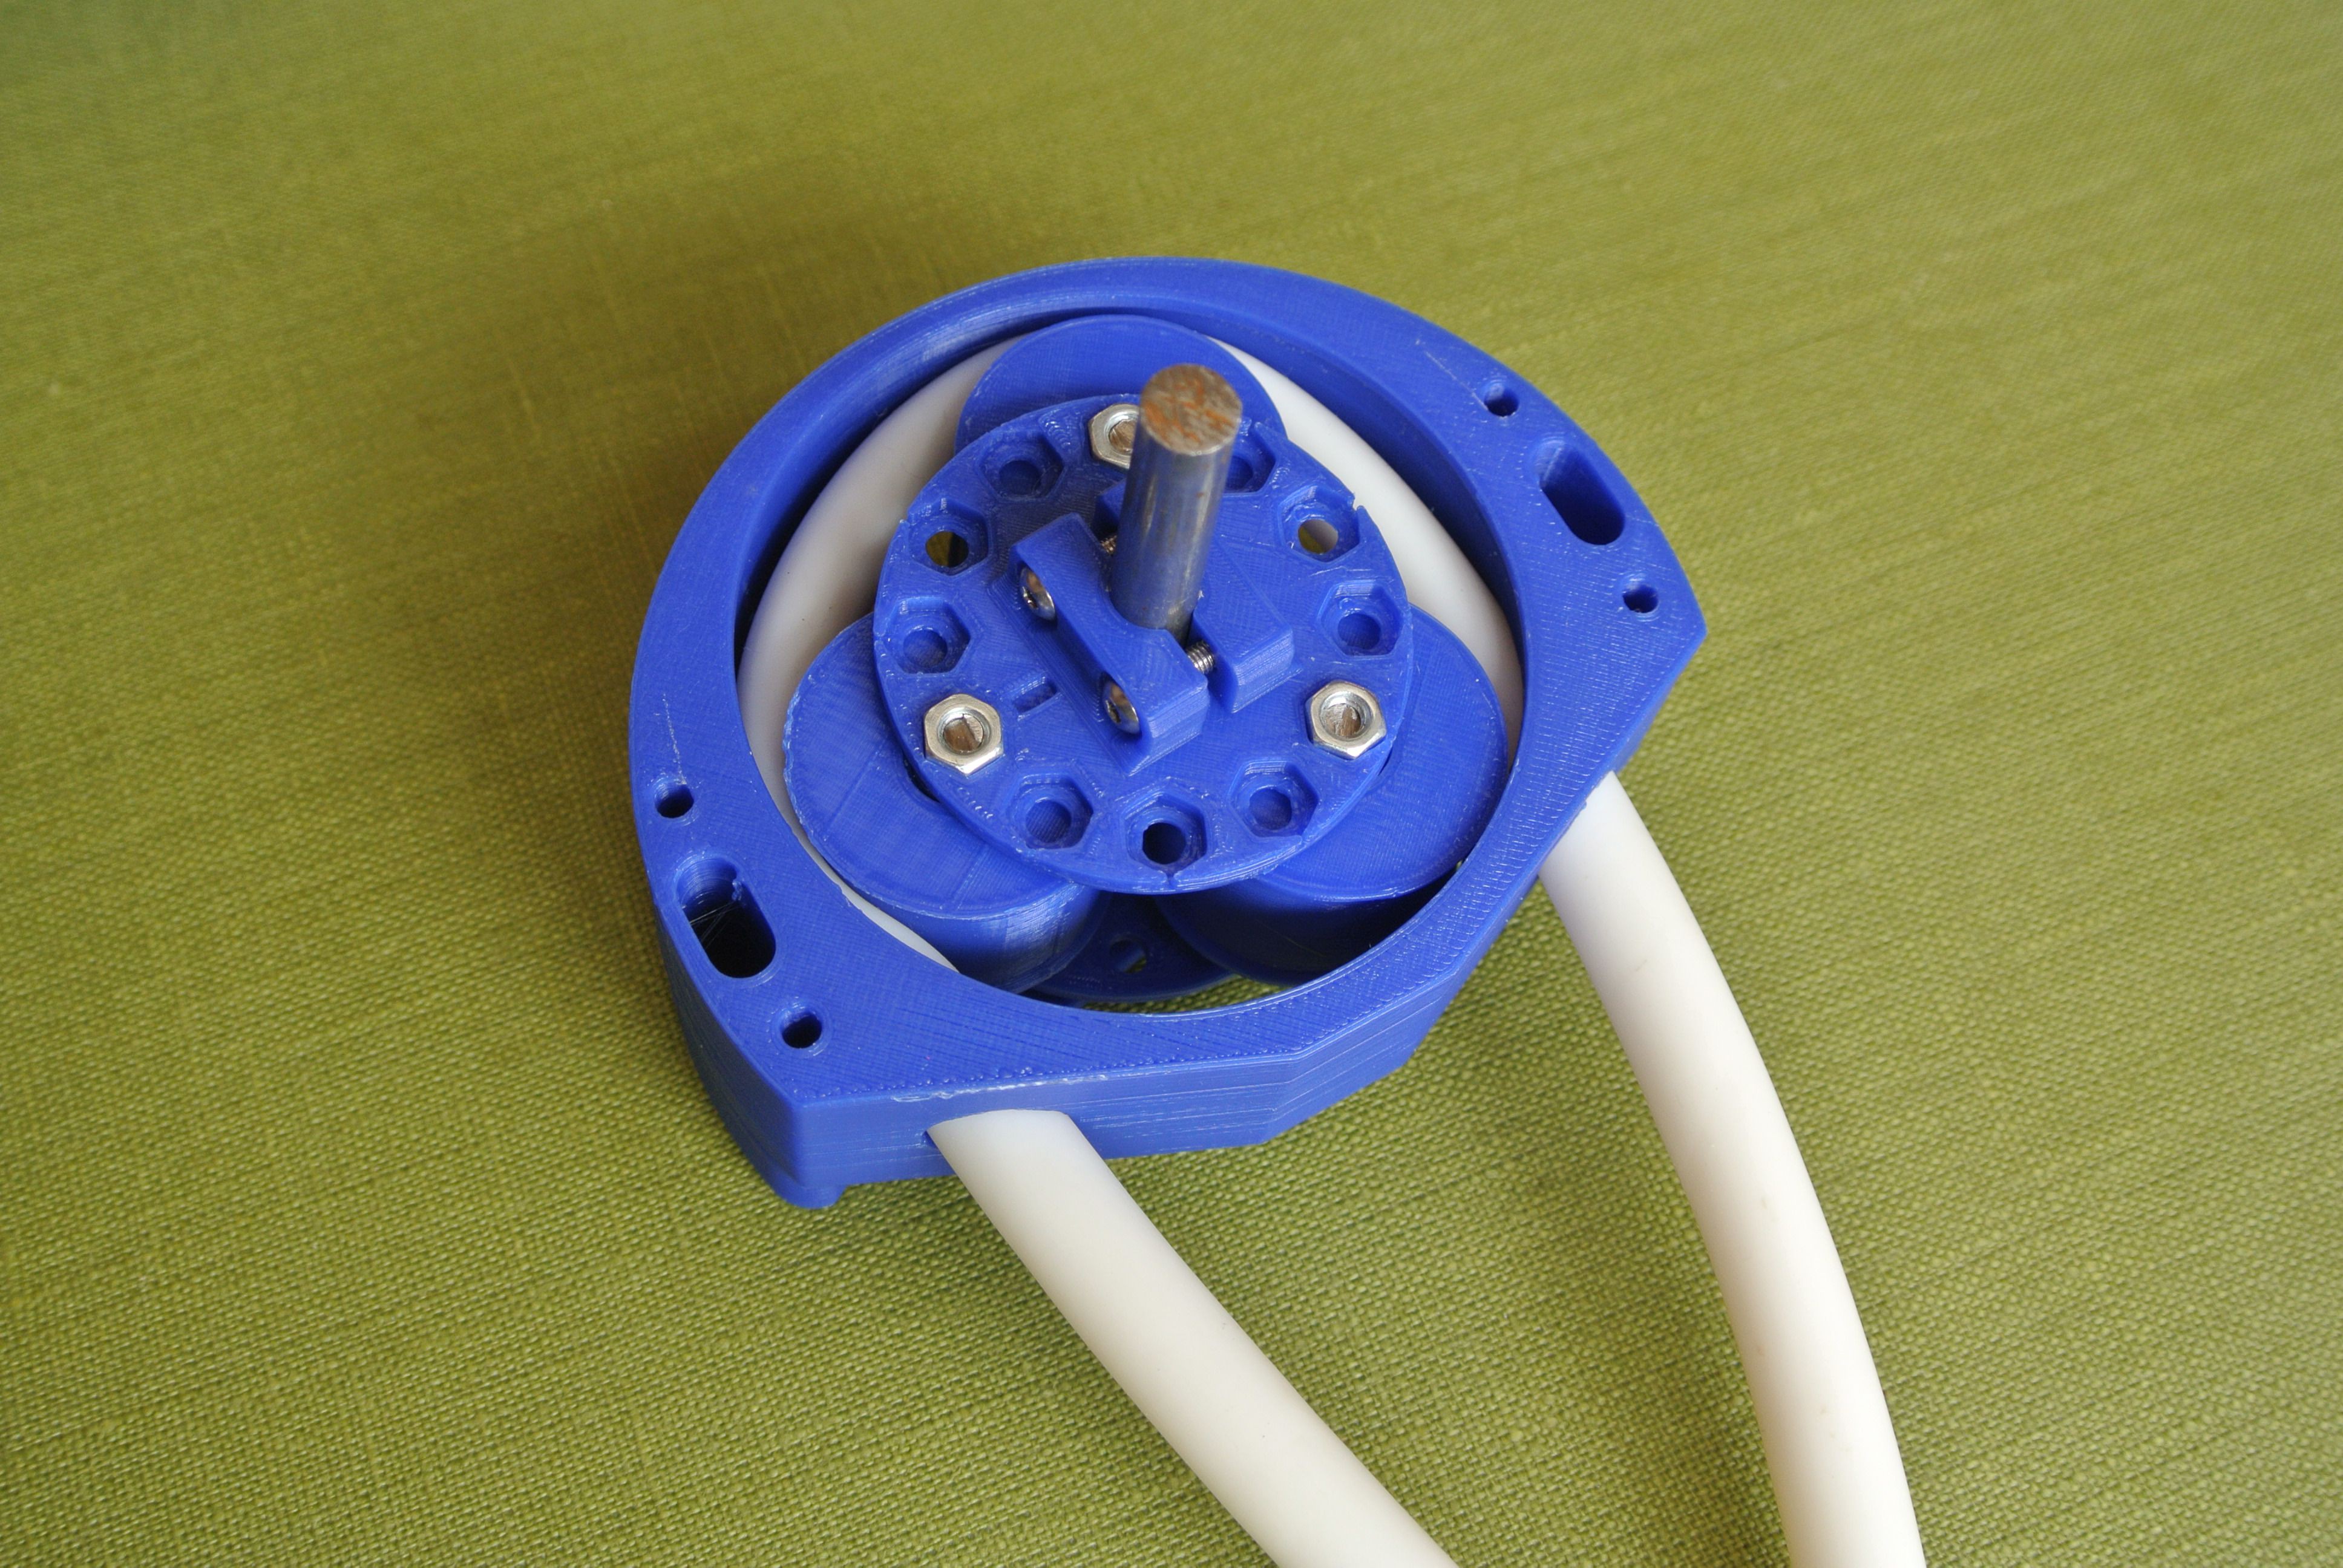
The first version of the planetary gearbox peristaltic pump did not work there was not enough of a gap for the peristaltic tubing to get into position and for the gears to turn. I printed a few more peristaltic pumps, changing the settings each time, but they all had issues with tolerances; if the gears are too close together, they will come out of the printer bonded together; if the gears are too far apart, there is play in the system. If there is too much play in the gearbox the amount of “squish” that the peristaltic tubing undergoes varies as the gears rotate, therefore the pump may be sealed at a certain rotation, and will hold pressure, but at another position, the tubing will be less compressed and a pressure differential cannot be maintained. Having said this, the mechanism is very pleasing and a great demonstration of the capabilities of 3D printing:
As the planetary gearbox has herringbone gears, it is not possible for you to disassemble/assemble the gearbox, consequently it has to be printed as a whole piece, which takes ~8 hours. The slow print times meant that this was hard to iterate more than once a day, slowing development. Therefore if the peristaltic pump was redesigned to be composed of multiple parts and then assembled, you could alter individual parts and reprint single pieces (as opposed to the whole pump), reducing the time between iterations, making the development of the pump quicker. Even if I had been able to produce a version of the planetary gear pump that worked reliably, it took a long time to dial the settings in, it would not have been a viable choice for the glider as it is not easily reproducible.
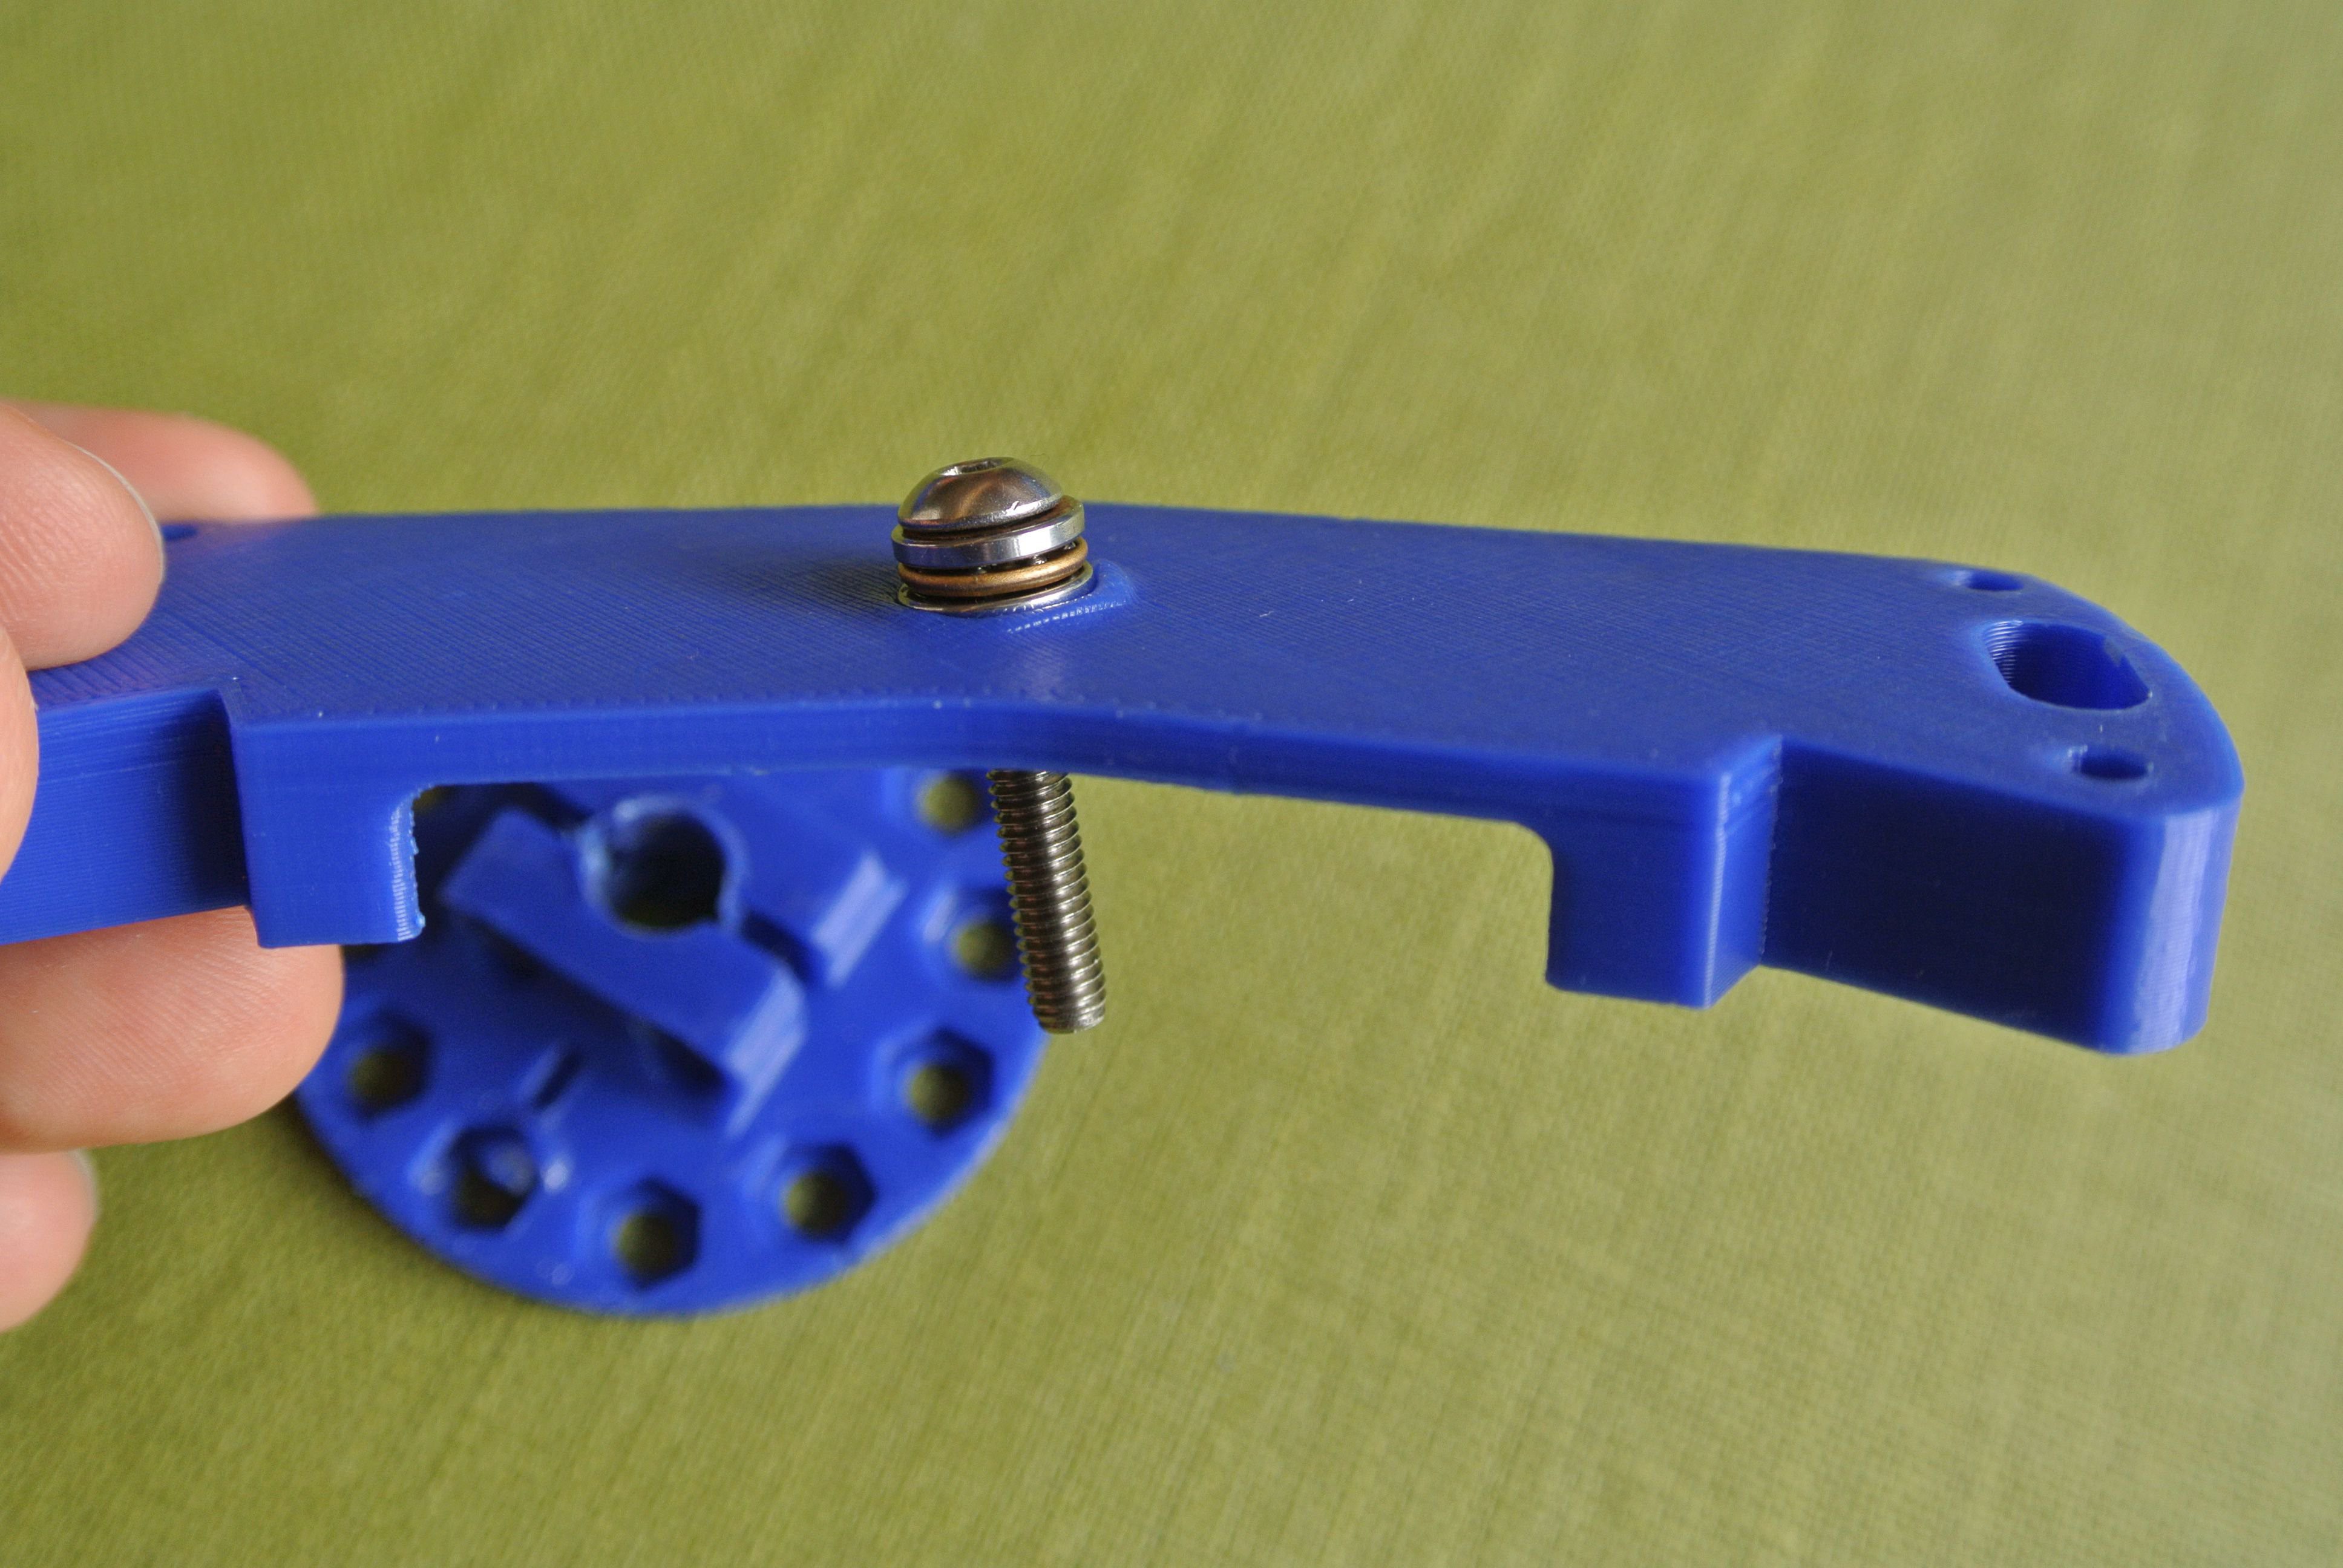
I produced a set of peristaltic pump parts within the Onshape glider document and assembled them within an Onshape assembly to check dimensions without printing. I also made the parts capable of putting the rollers at different positions, reducing revision time (disassemble/reassemble with rollers in different position vs redesign/reprint/disassemble/fit new parts).
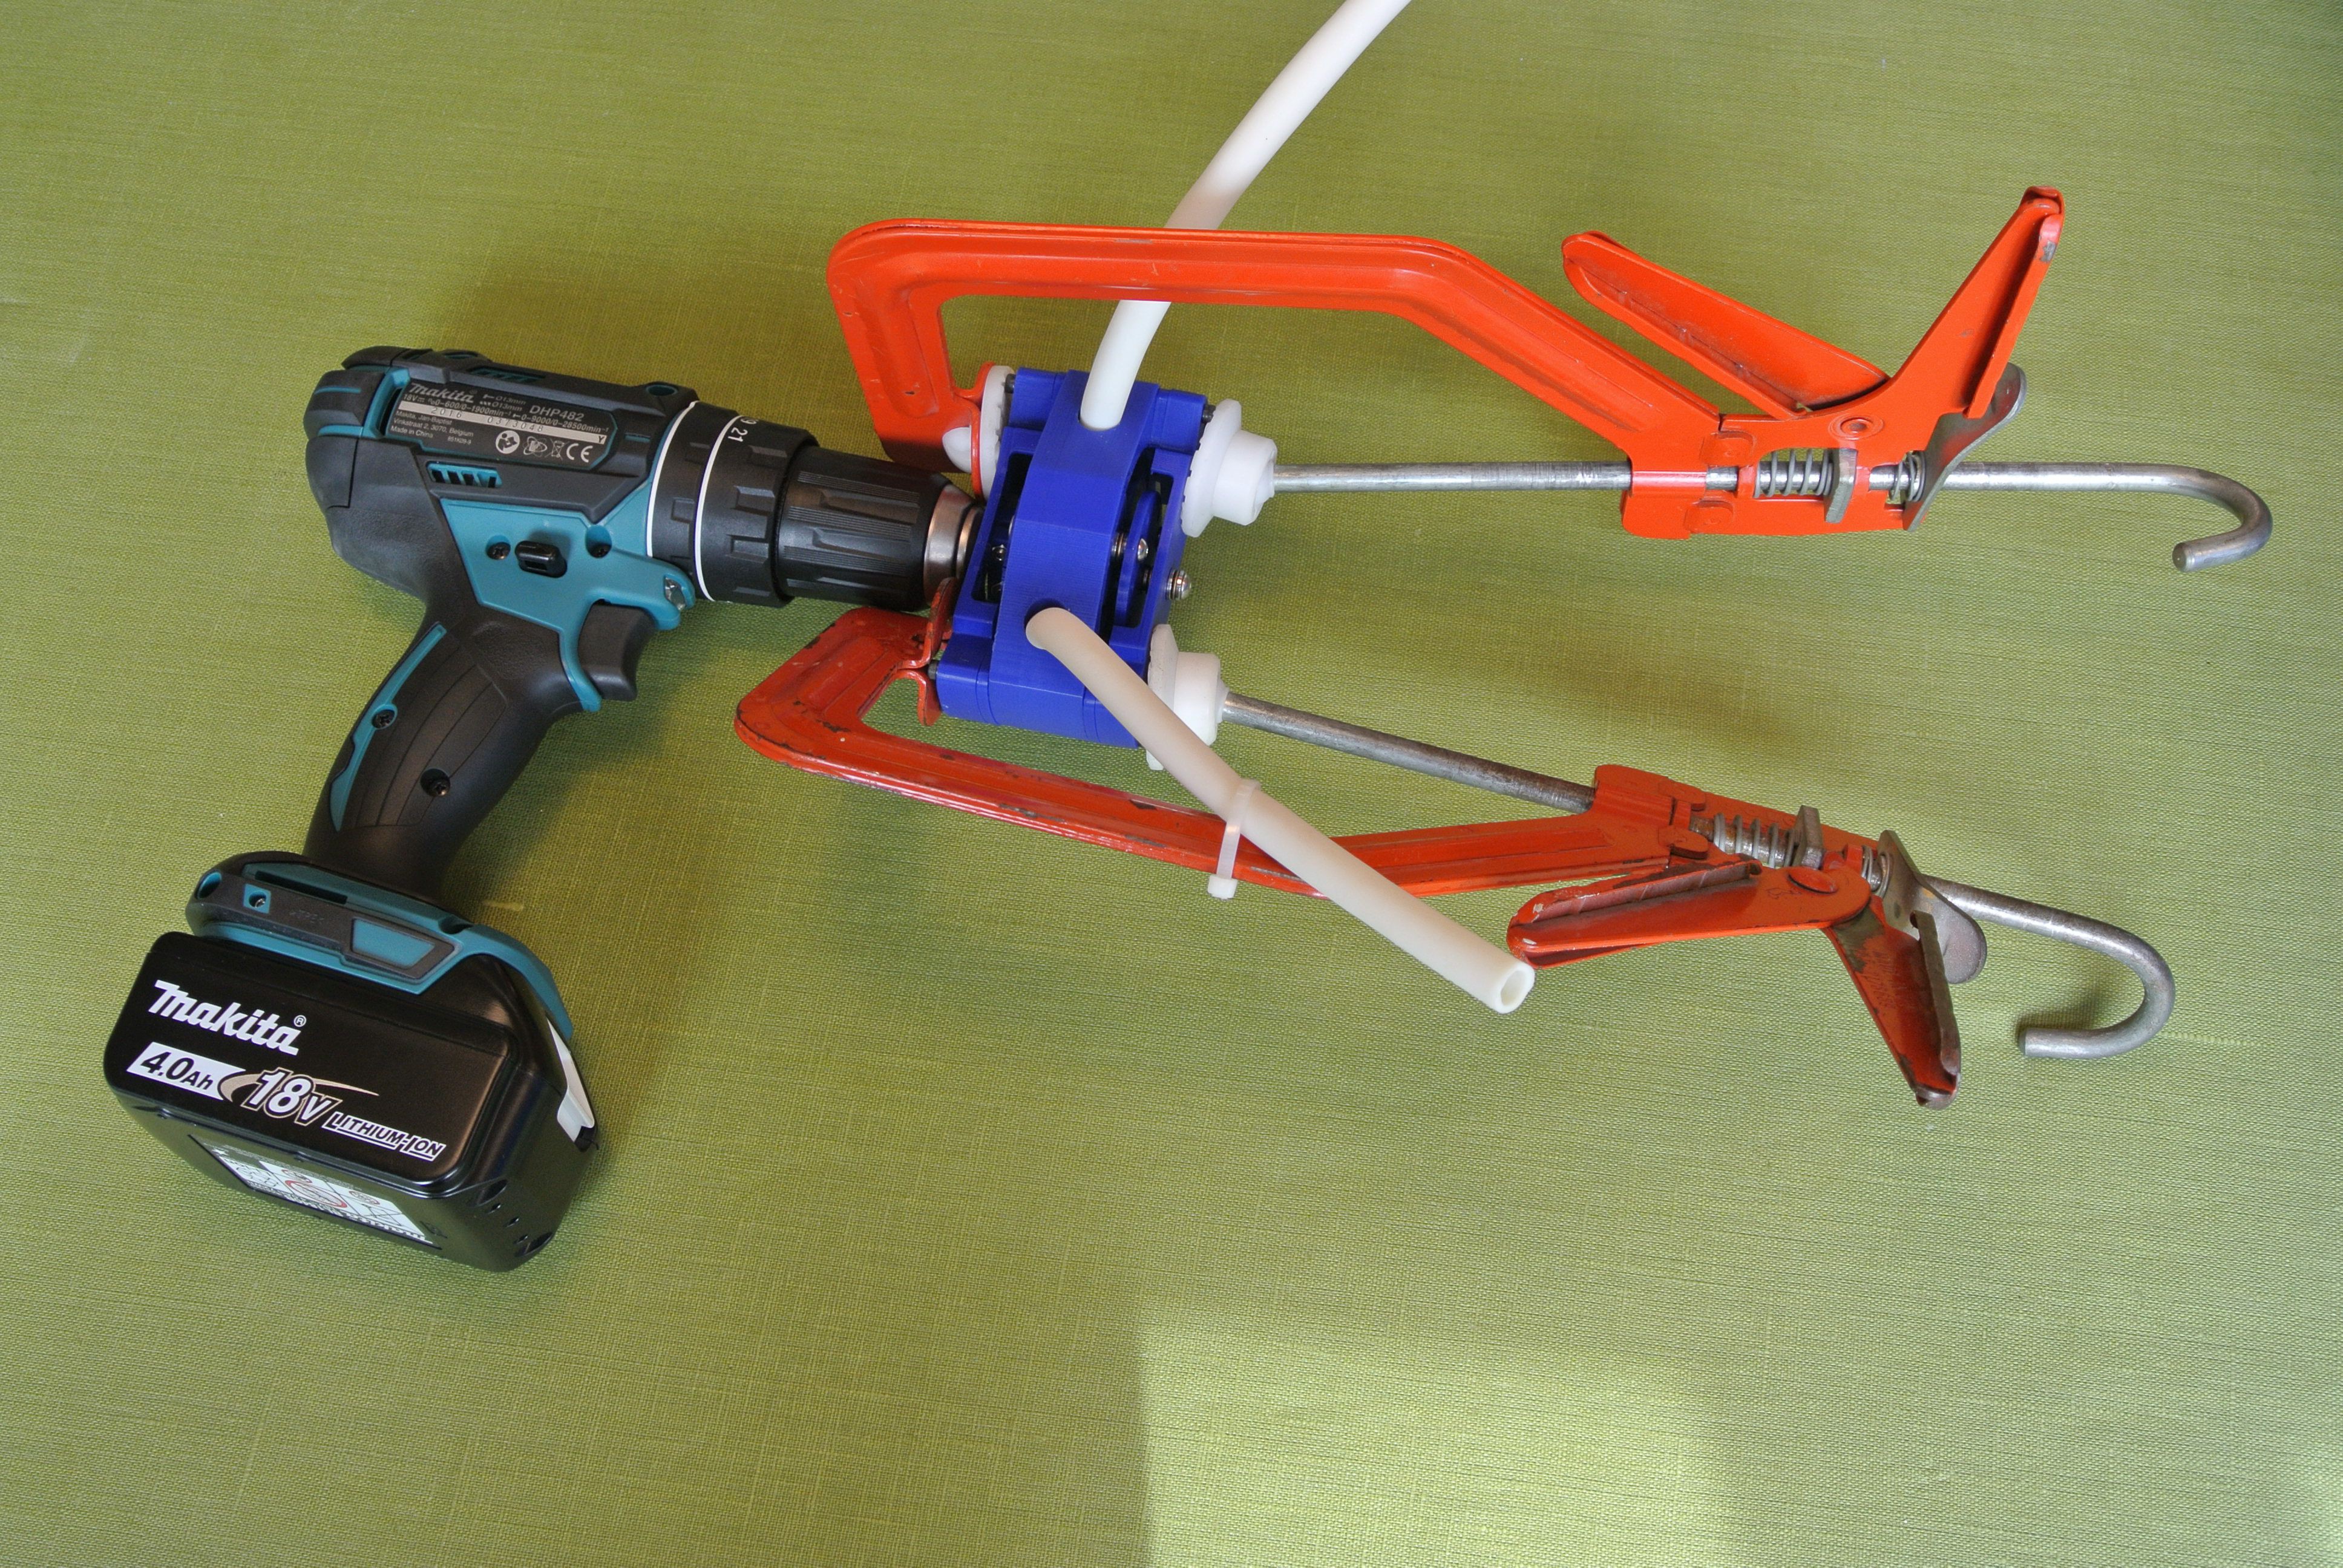
This
new design was able to close the tubing but required more torque than
the stepper motors were able to supply. I was able to run the
peristaltic pump with a drill, as this had sufficient torque. (The
clamps seen in the image below are because I do not have M3 bolts
long enough to hand)
I did
some initial experimentation, but ran the pump a little too hard
(seeing how far it could squirt water – the limit was about 1.5m)
and this caused friction to cause the printed parts to heat and
deform under the stresses, rendering the pump useless.
Unfortunately, I didn’t take any footage of this initial testing so I decided to reprint the pump to take footage and do more testing (all at a much lower speed) The pump was able to work quite effectively (skip to ~0:30 to see it working quickly).
A buoyancy engine for the glider using a peristaltic pump would transfer oil/water between two bladders. I used a drinks pouch as the bladder in this case for testing (You can purchase mylar drinks pouches rated to a pressure of 4 bar).
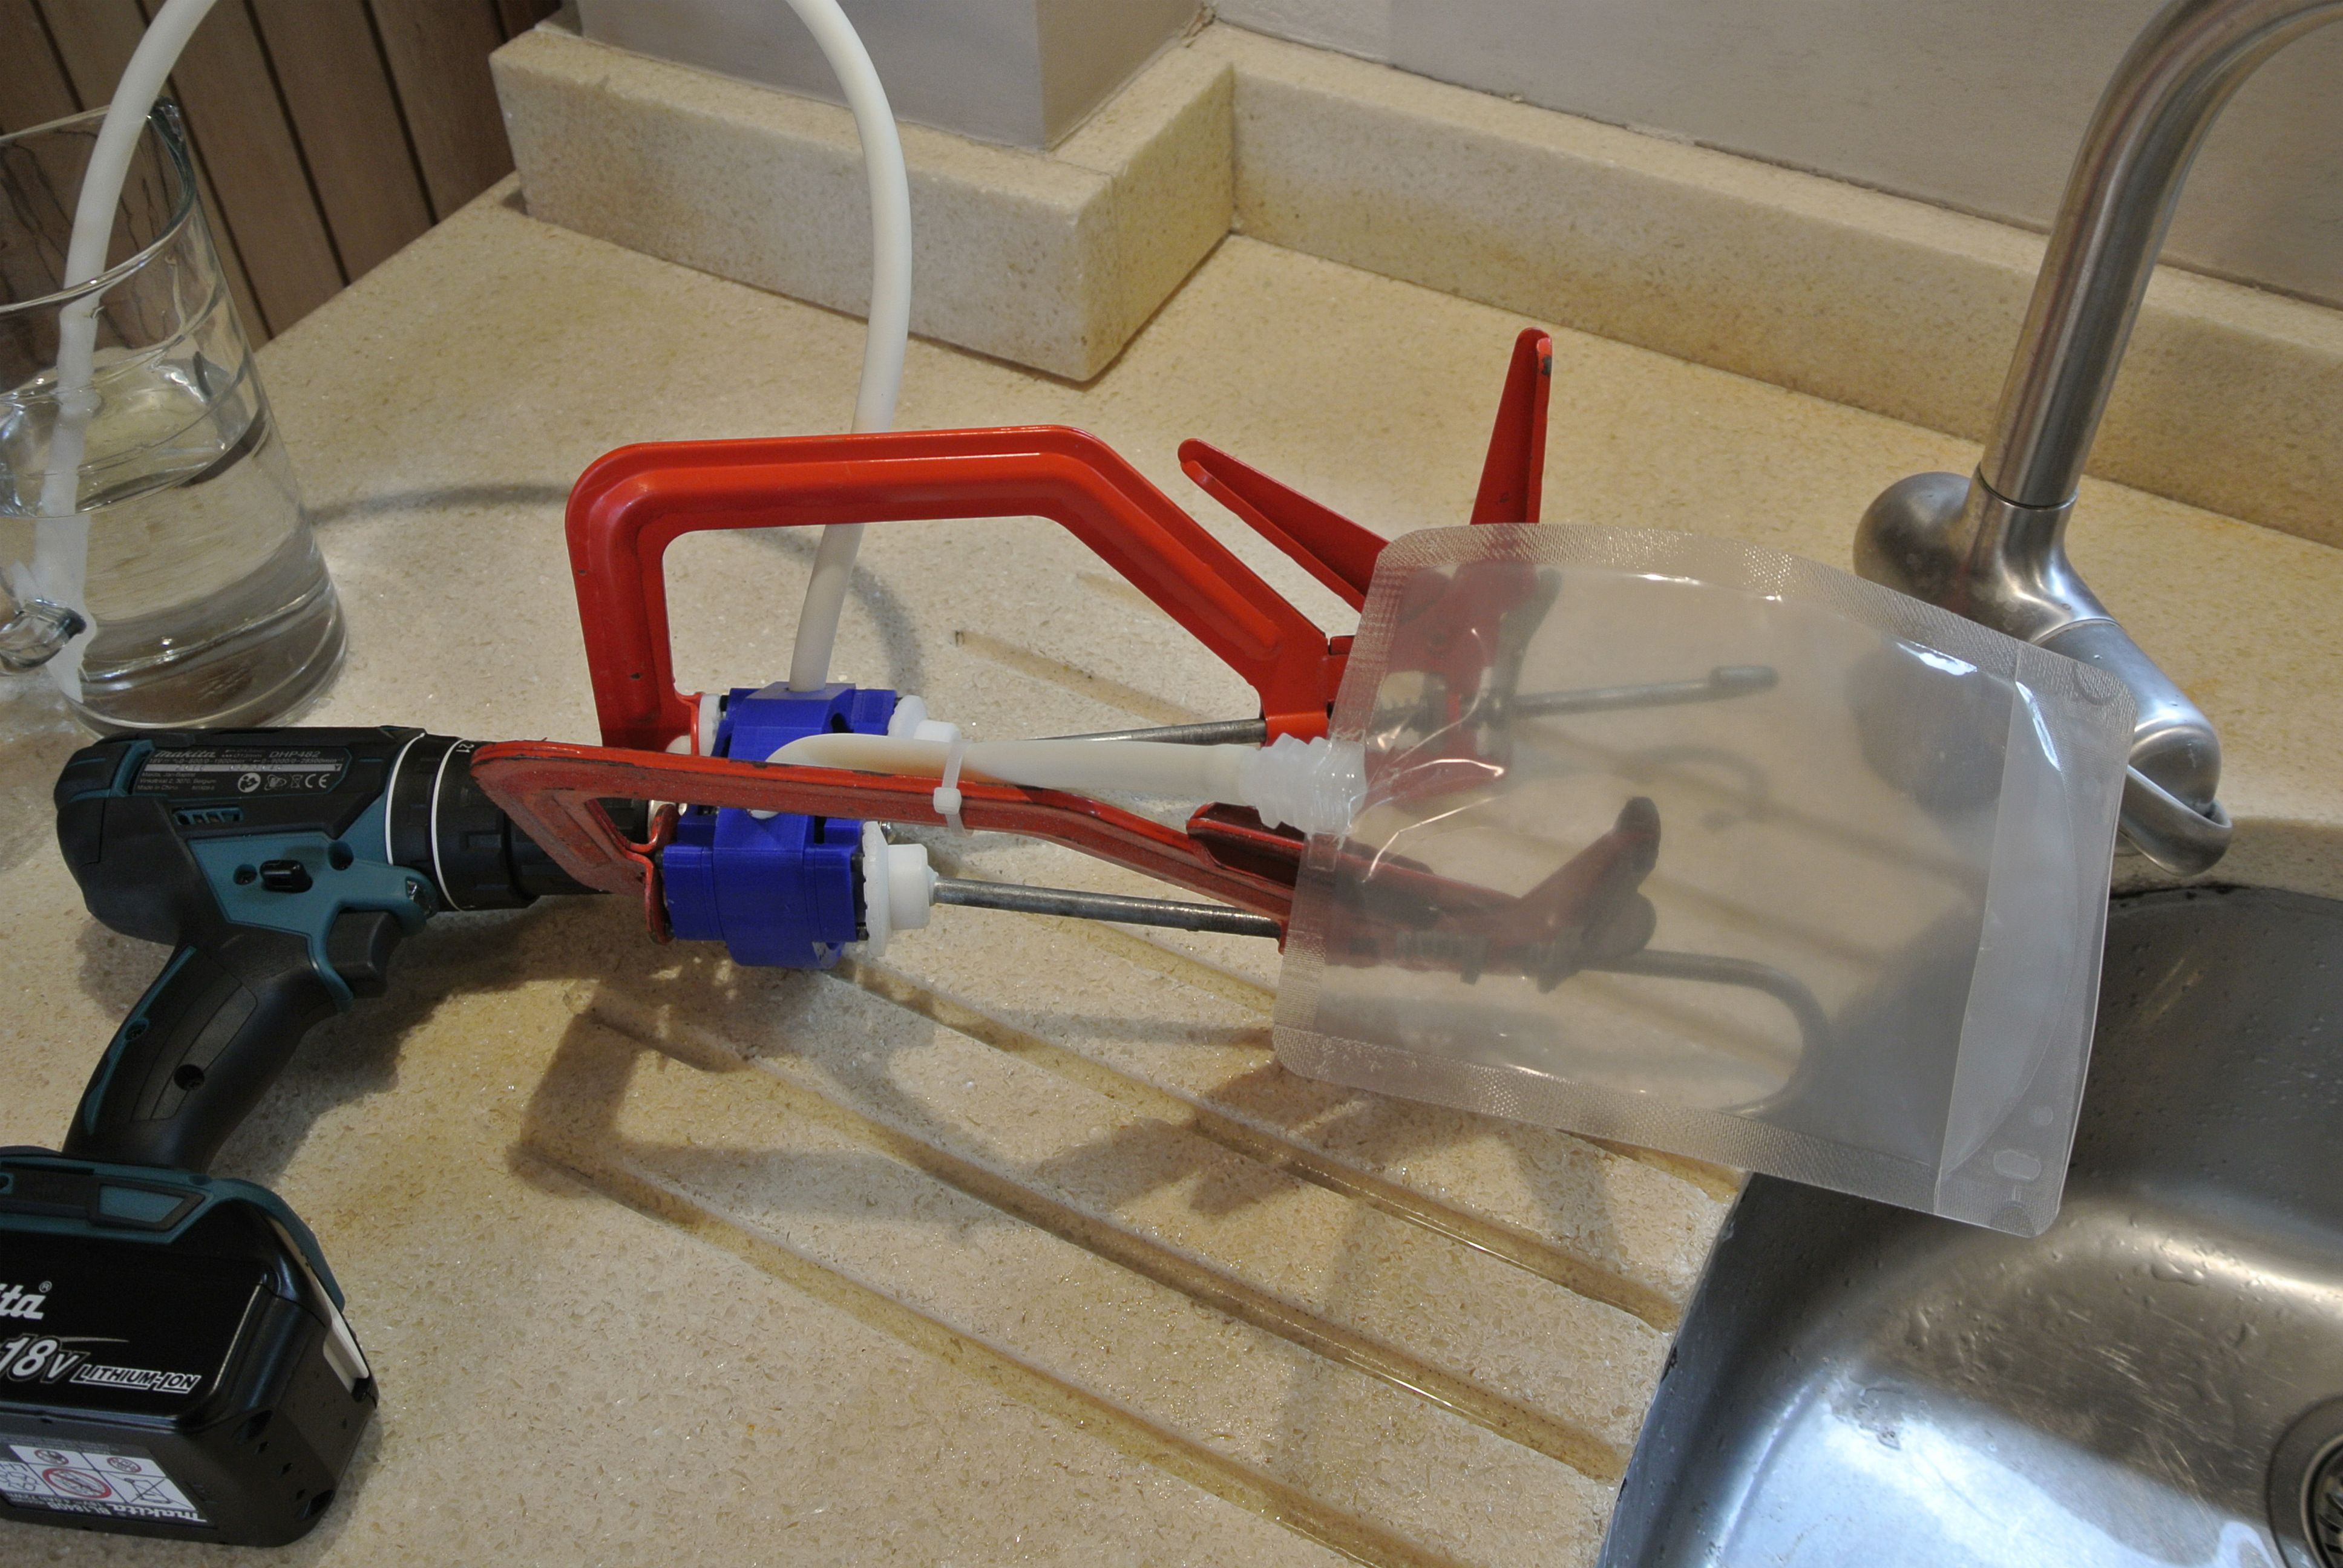
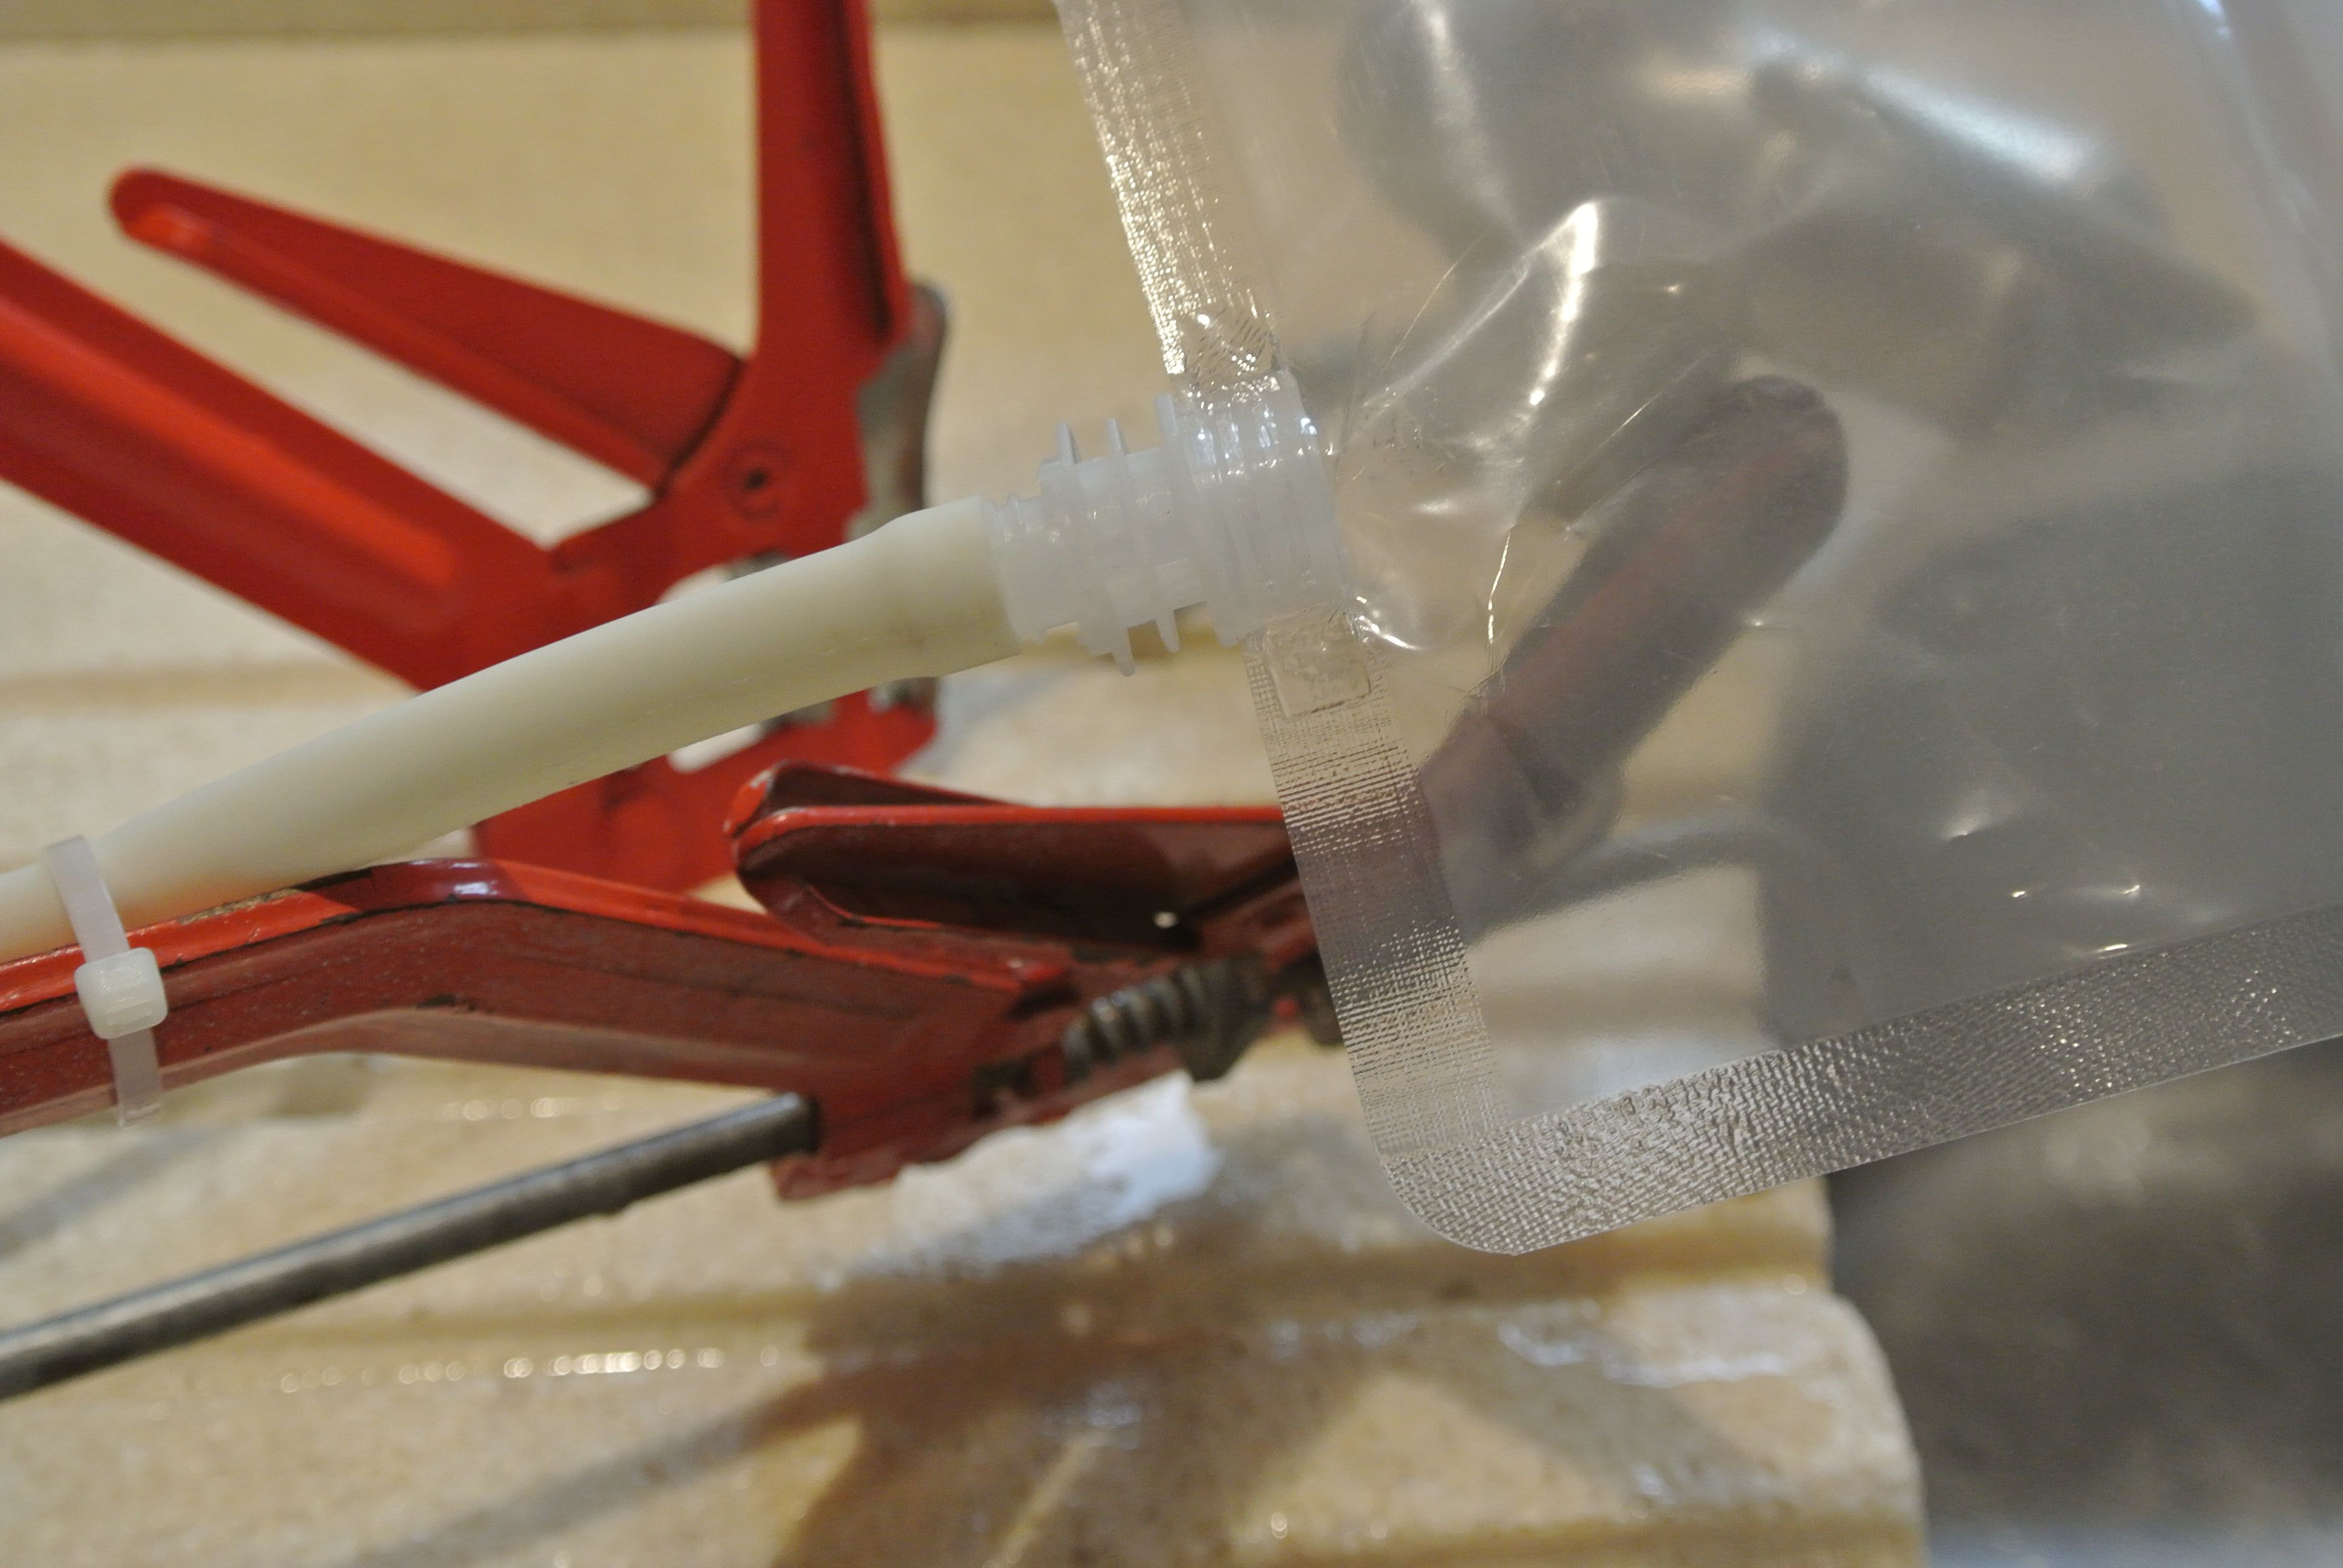
The
first test with the bladder was to fill it with water and to deplete
it. Demonstrating that the pump is able to extract all the liquid
from the bladder.
I also performed a test with the bladder where I pressurised the bladder with air and squeezed it, seeing if the bladder/pump is capable of maintaining a pressure differential. I did not notice a decrease in pressure.
Although I have spent a long time on the pump and have been able to produce a functional pump, I will not be using it for the third version of the glider. The primary reason for this is the torque requirement, but there are other minor reasons for not using the pump; it would be non-trivial to produce a reliable endstop for a bladder; the bladder is not as widely available as syringes etc.. I have been able to use Onshape’s version control to branch the design so I can come back to the peristaltic pump at a later date.

Discussions
Become a Hackaday.io Member
Create an account to leave a comment. Already have an account? Log In.
I love your KISS design! Do you intend on adding sensors? If so, these must be considered in your buoyancy calculations. In ocean research sensor payloads are essential.
Are you sure? yes | no
Have you considered buying a peristaltic pump? Aliexpress has a few inexpensive options:
https://www.aliexpress.com/item/2016-New-Wholesale-DC-12V-Dosing-pump-Peristaltic-pump-dosing-Head-For-Aquarium-Lab-Analytical-water/32796657431.html
https://www.aliexpress.com/item/Peristaltic-pump-DC-inkjet-printer-Mabuchi-24V-365-dc-Motor-with-speed-metering-Hot-sales/32788123449.html
Are you sure? yes | no
The thing that put me off of purchasing a peristaltic pump was that the smaller pumps have a very low tthroughput (~1/2ml/s, current syringe system is ~3ml/s and is on the slow side). Peristaltic pumps that have a higher throughput are available, however are more expensive (small industrial vs hobbyist) and are not in a form factor optimised for fitting inside a tube. Designing a custom pump allowed me to create a shape which is ideal for the tubing, and with a greater throughput.
Are you sure? yes | no
Nice! That should work.
Are you sure? yes | no
At least you tried both methods. Are you thinking about using larger diameter syringes for V3? I know they make quite a few variants.
Are you sure? yes | no
As I'm using medical syringes the only larger size would be 100ml, which is a little wider, but adds a lot to the length. However, given the increased diameter of the Blue Robotics tubing I believe I can fit six syringes in, increasing the capacity to 360ml, which should be plenty.
Are you sure? yes | no