 Quinn
QuinnThe power strips that came with the benches are built like tanks, with wiring that integrated neatly into the side uprights, which is all wonderful. Here is the pair as originally configured. Power came in from the left(of this picture), passed through the bottom strip, out the right, and into the right of the second. This wiring went inside the uprights when installed. The metal brackets seen on the wiring were plates that slid into the uprights.
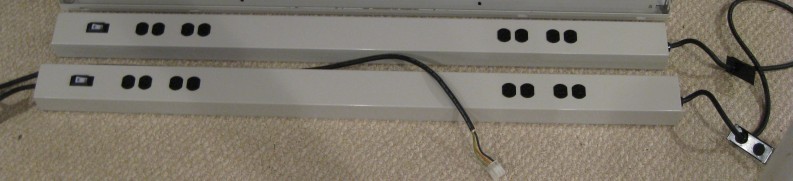
However they were designed to sit on top of, and at the back edge of the desktop and first shelf. I didn't like this because it meant I couldn't have equipment hanging slightly over the back, and made the shelves effectively smaller. I wanted to adjust so that they hung under the shelves at the back, and to avoid interfering with the equipment, I wanted to only install one, under the lower shelf. Doing this wasn't too much trouble, but did mean I needed to change it's wiring. Further, as each strip only had 8 sockets, a single strip was not enough, and I wanted to add some extra sockets. While I was add it, I figured I'd wire them as GFCI protected.
The original insides:
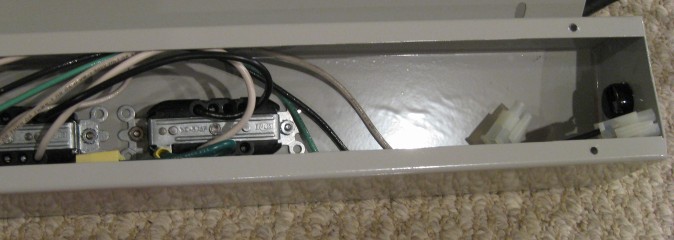
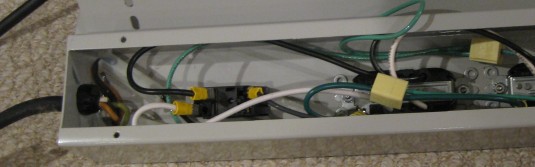
The system was very modular, with connectors on each end, and wired as pass through. The connectors are white in the above pictures. This meant that to change the input from one side to the other(which I had to do because I flipped it upside down), I simply had to disconnect it on one end, move the cable clamp and wire to the other, and plug it back in. In the process I wanted to add sockets, and adjust wiring to have them all protected by a GFCI socket. To start, I removed all the wiring, and modified the metal for the extra sockets.
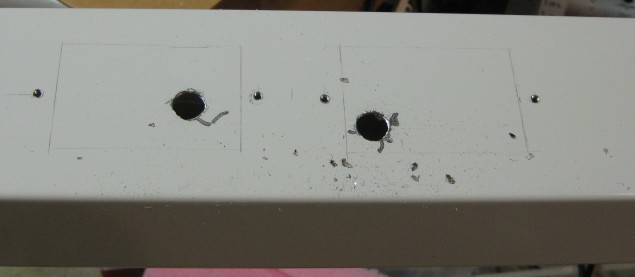
The screw holes for the sockets were drilled and tapped to accept standard wall outlets.
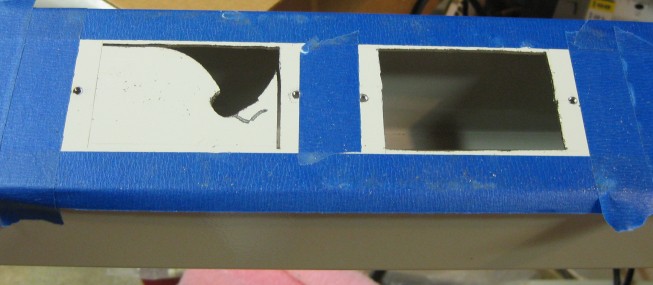
The cut outs were drawn on the metal, and pilot holes drilled to cut them with a jigsaw with a metal cutting bit. This is thick metal so took some work. Before working with the jig saw, I taped around the holes so I wouldn't scratch the paint. Cuts in progress:
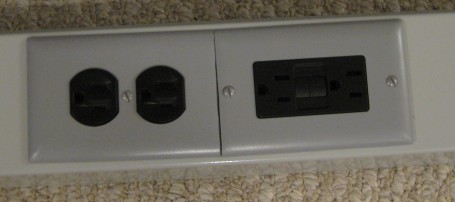
Mounting the sockets and using standard cover plates finished the job nicely:
The finished power strips simply screwed onto the back of the shelves, and the wiring entered the right side upright as it was designed for. Together, these were rather unwieldy, given the combined weight, but I was later able to get them into place.
Discussions
Become a Hackaday.io Member
Create an account to leave a comment. Already have an account? Log In.