 JohSchneider
Step 0
starting point is a collection of 3-d models for some basic components and real-world parts:
- a cherry-mx switch
- the switch body itself
- sculpted keycaps (each row on a standard keyboard has a slightly different shape)
- a basic frame to hold the switch (adapted from the dactyl keyboard mesh)
- some lego technic parts:
- pins and meshes for cutouts with boolean operations
- partial meshes to generate beams and long bricks with array modifiers
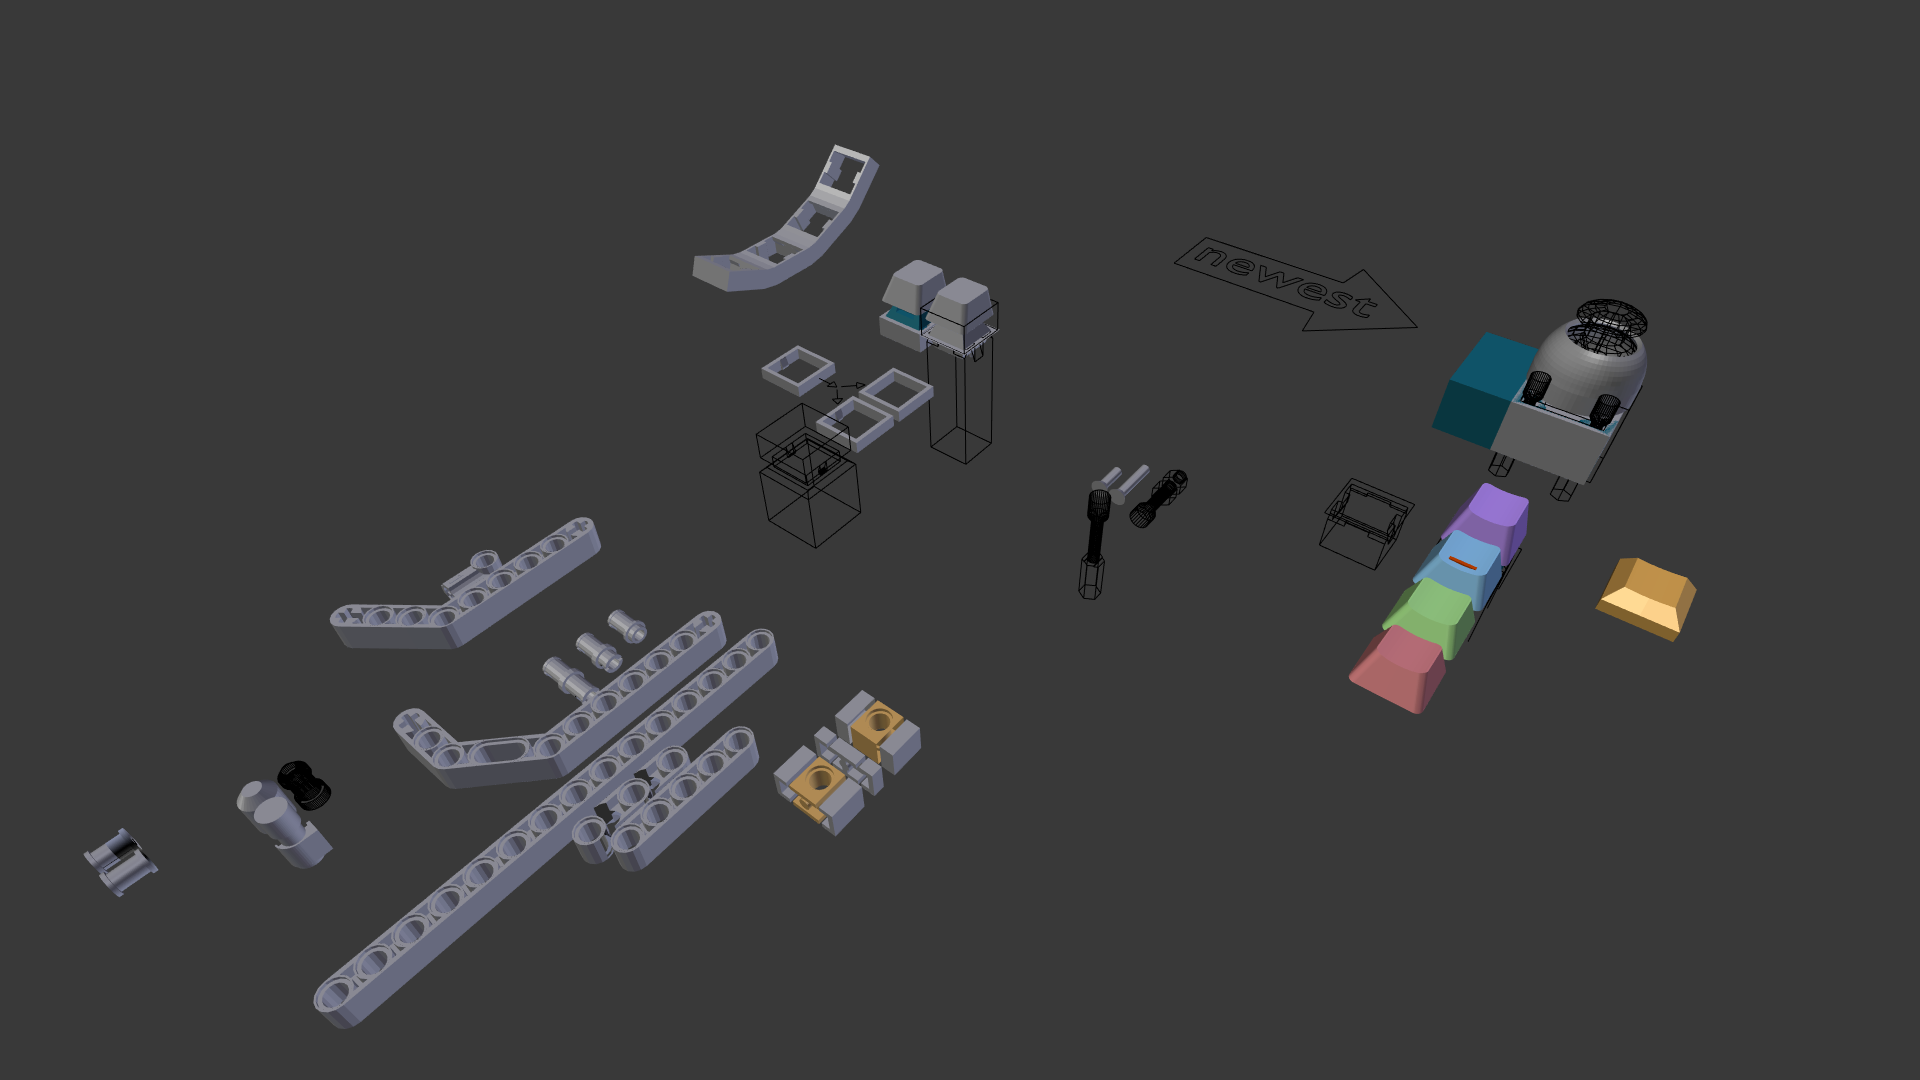
and as reference the minimal meshes of the ergodox and dactyl-keyboard matrices
(the flat ergodox part was an SVG import, and for the dactyl keyboard mesh all but the vertices/faces that form the mounting plate where removed)

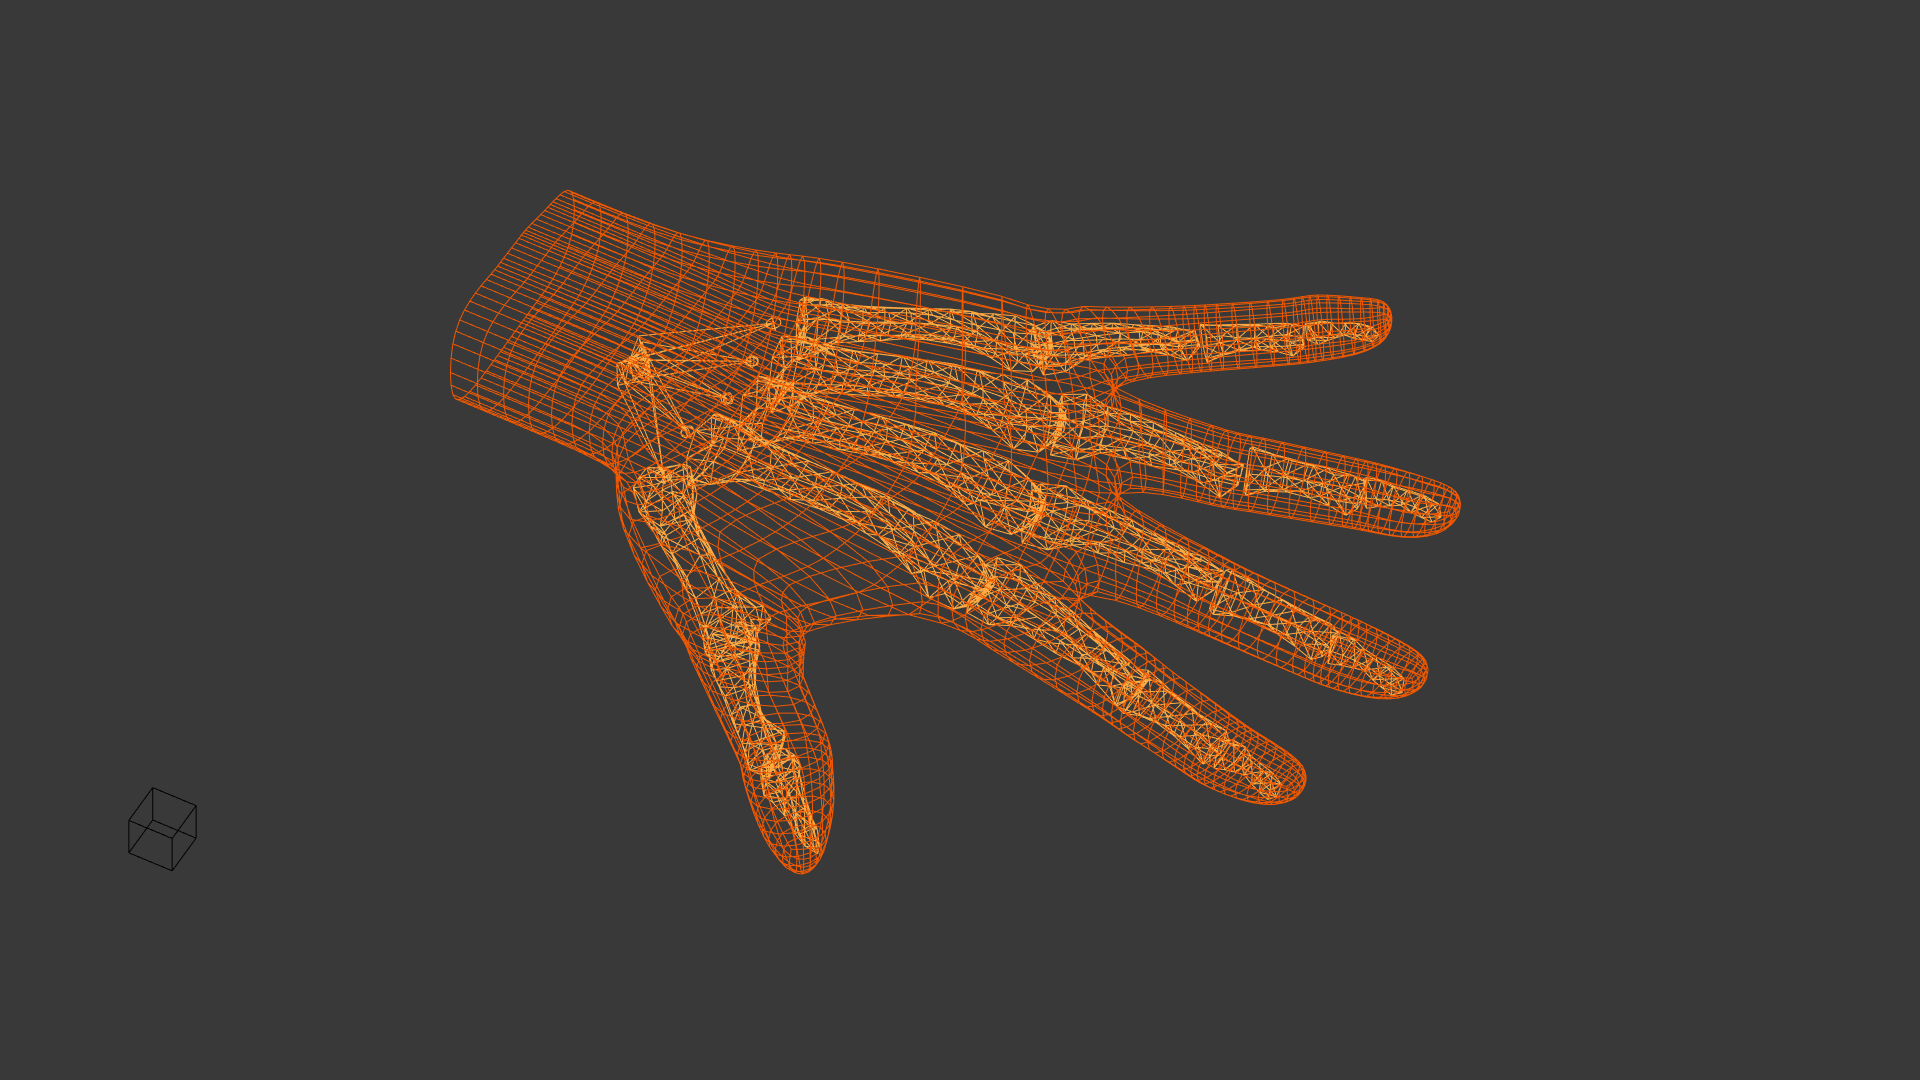
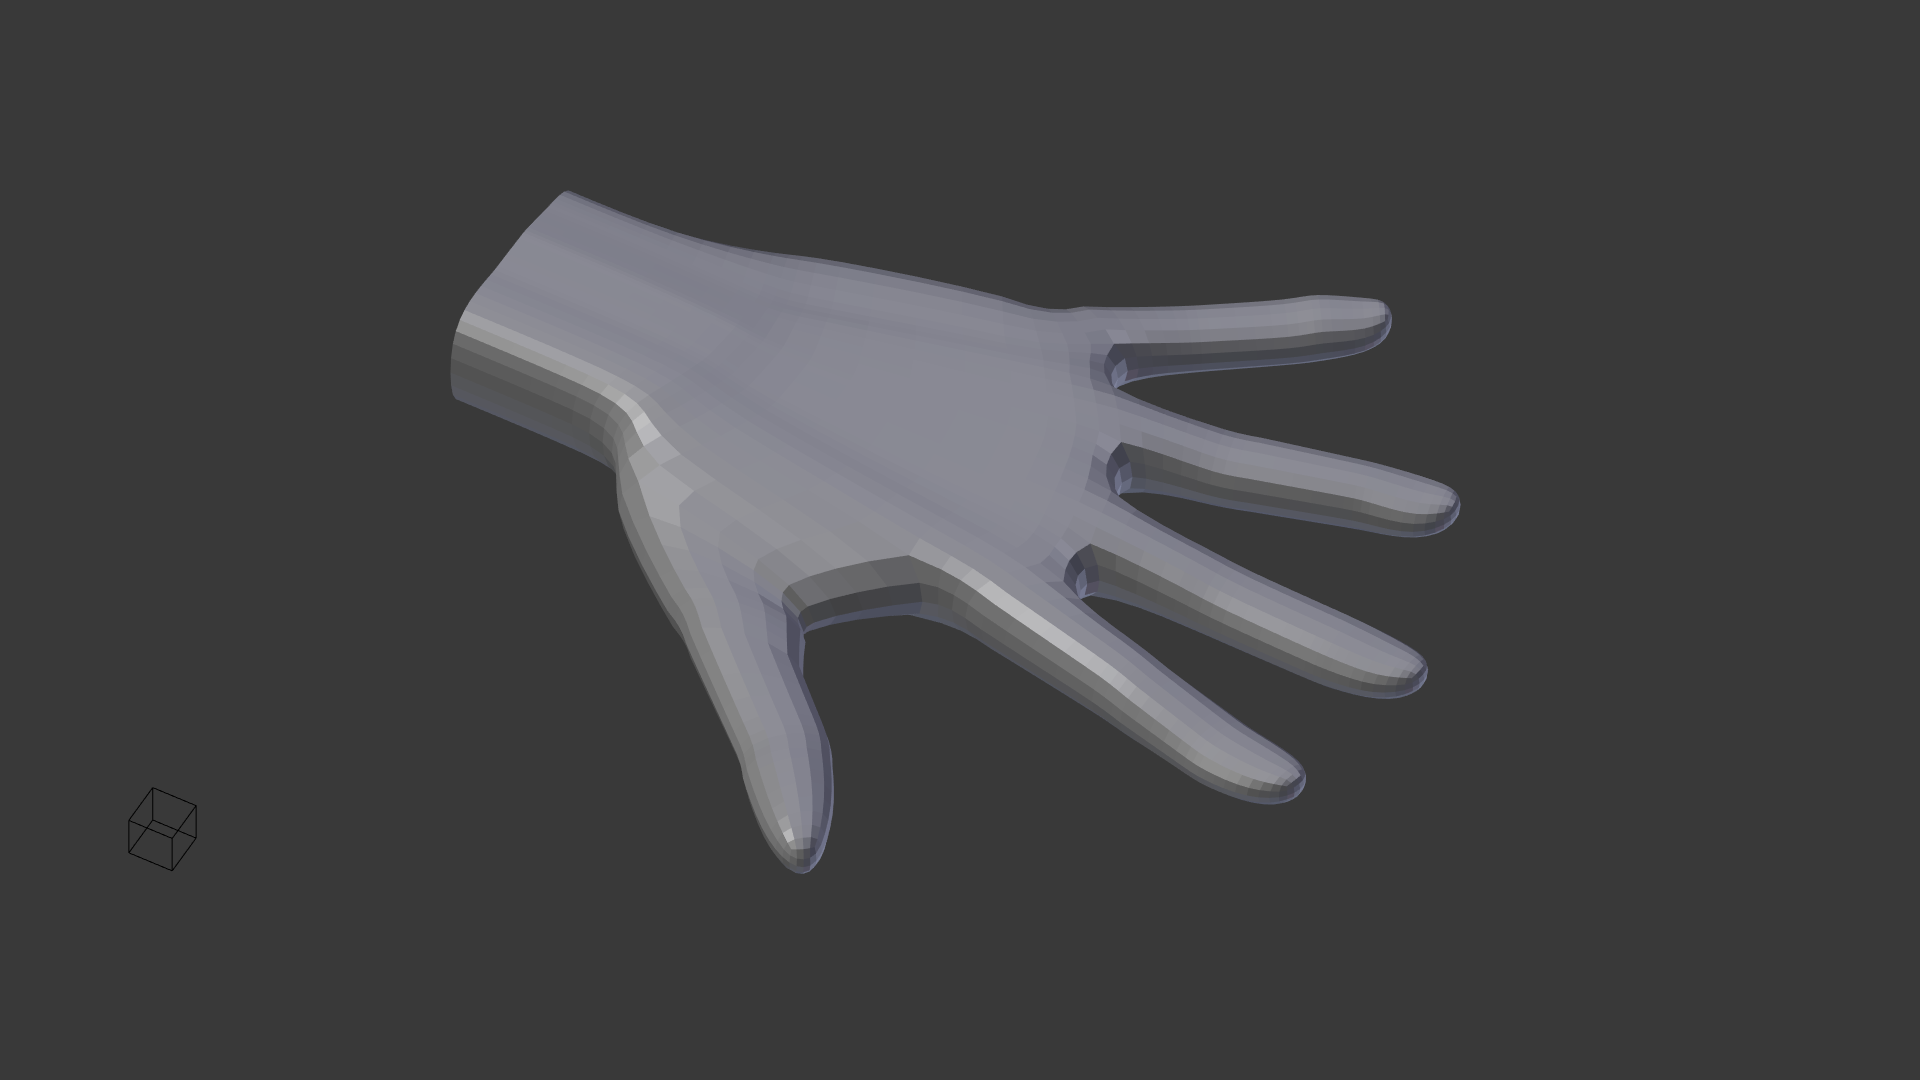
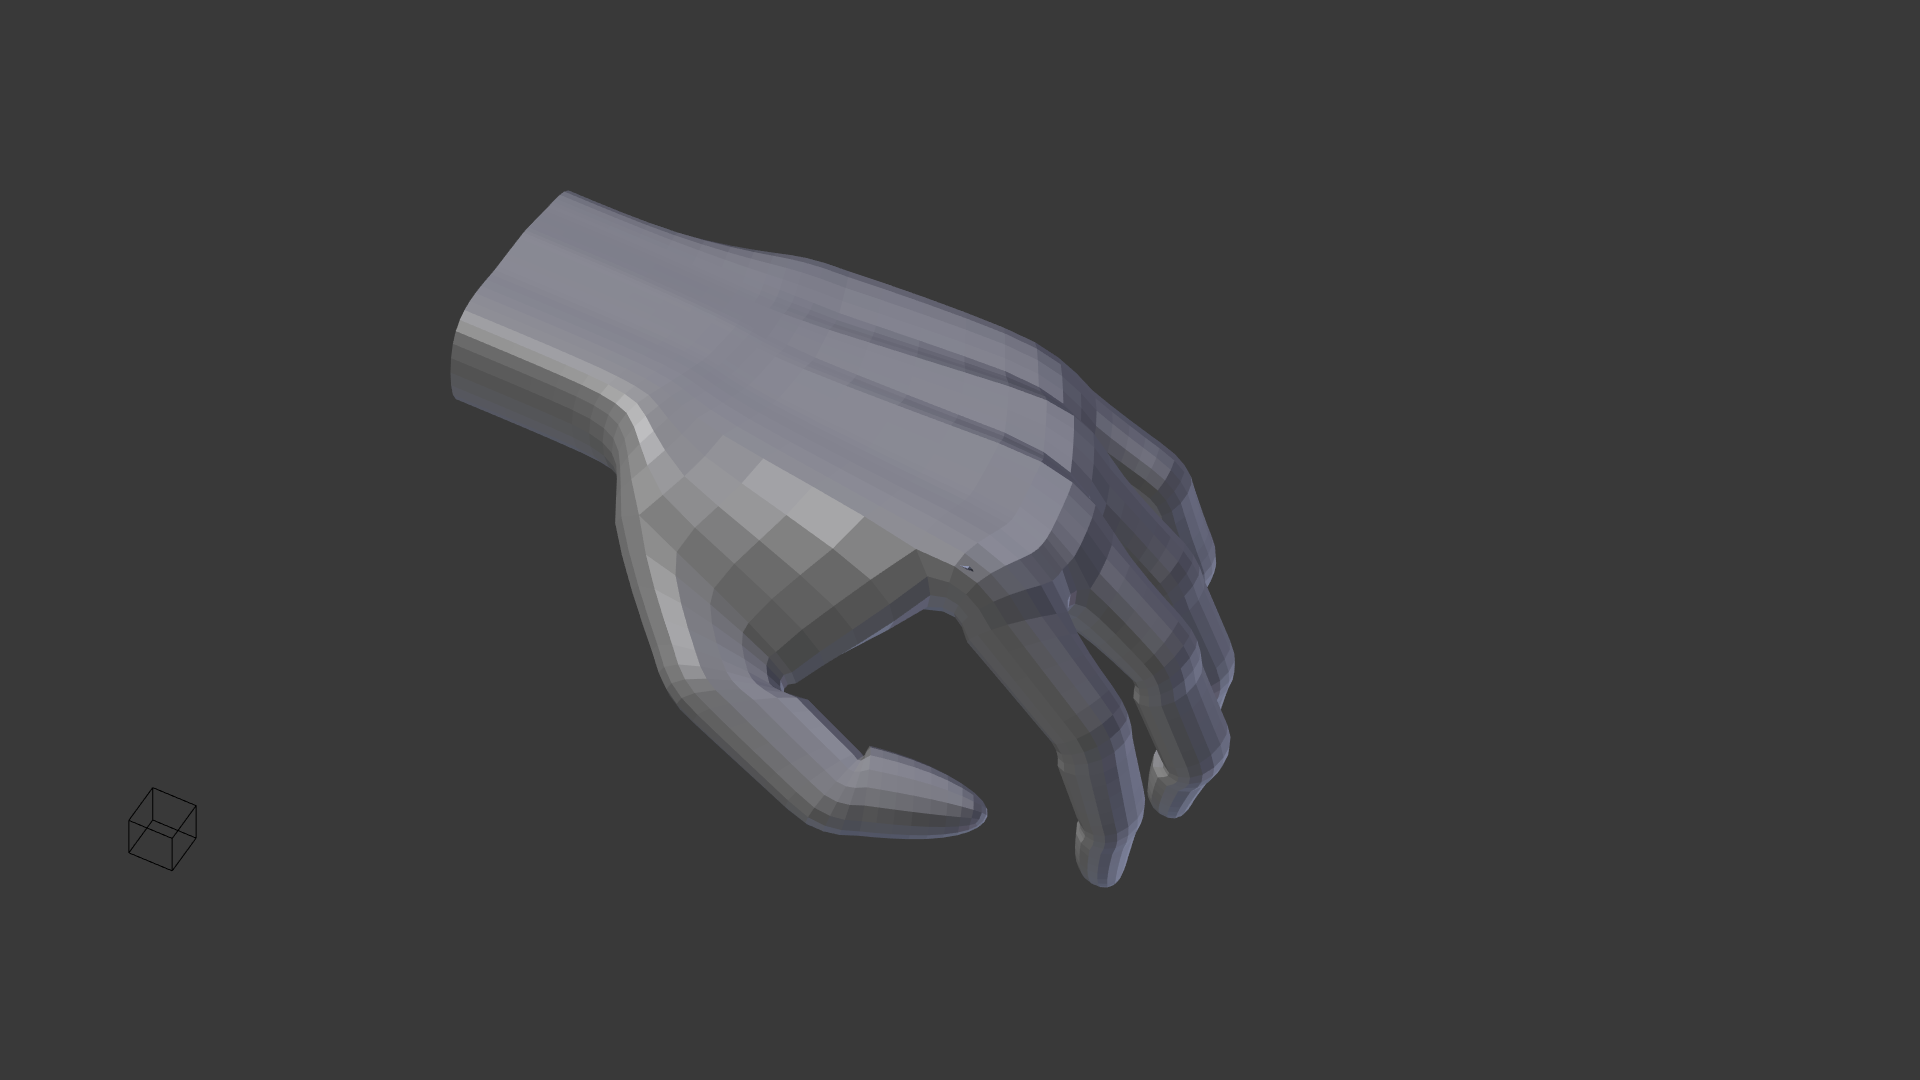
Step 1: the hand model
to get a digital hand model like this
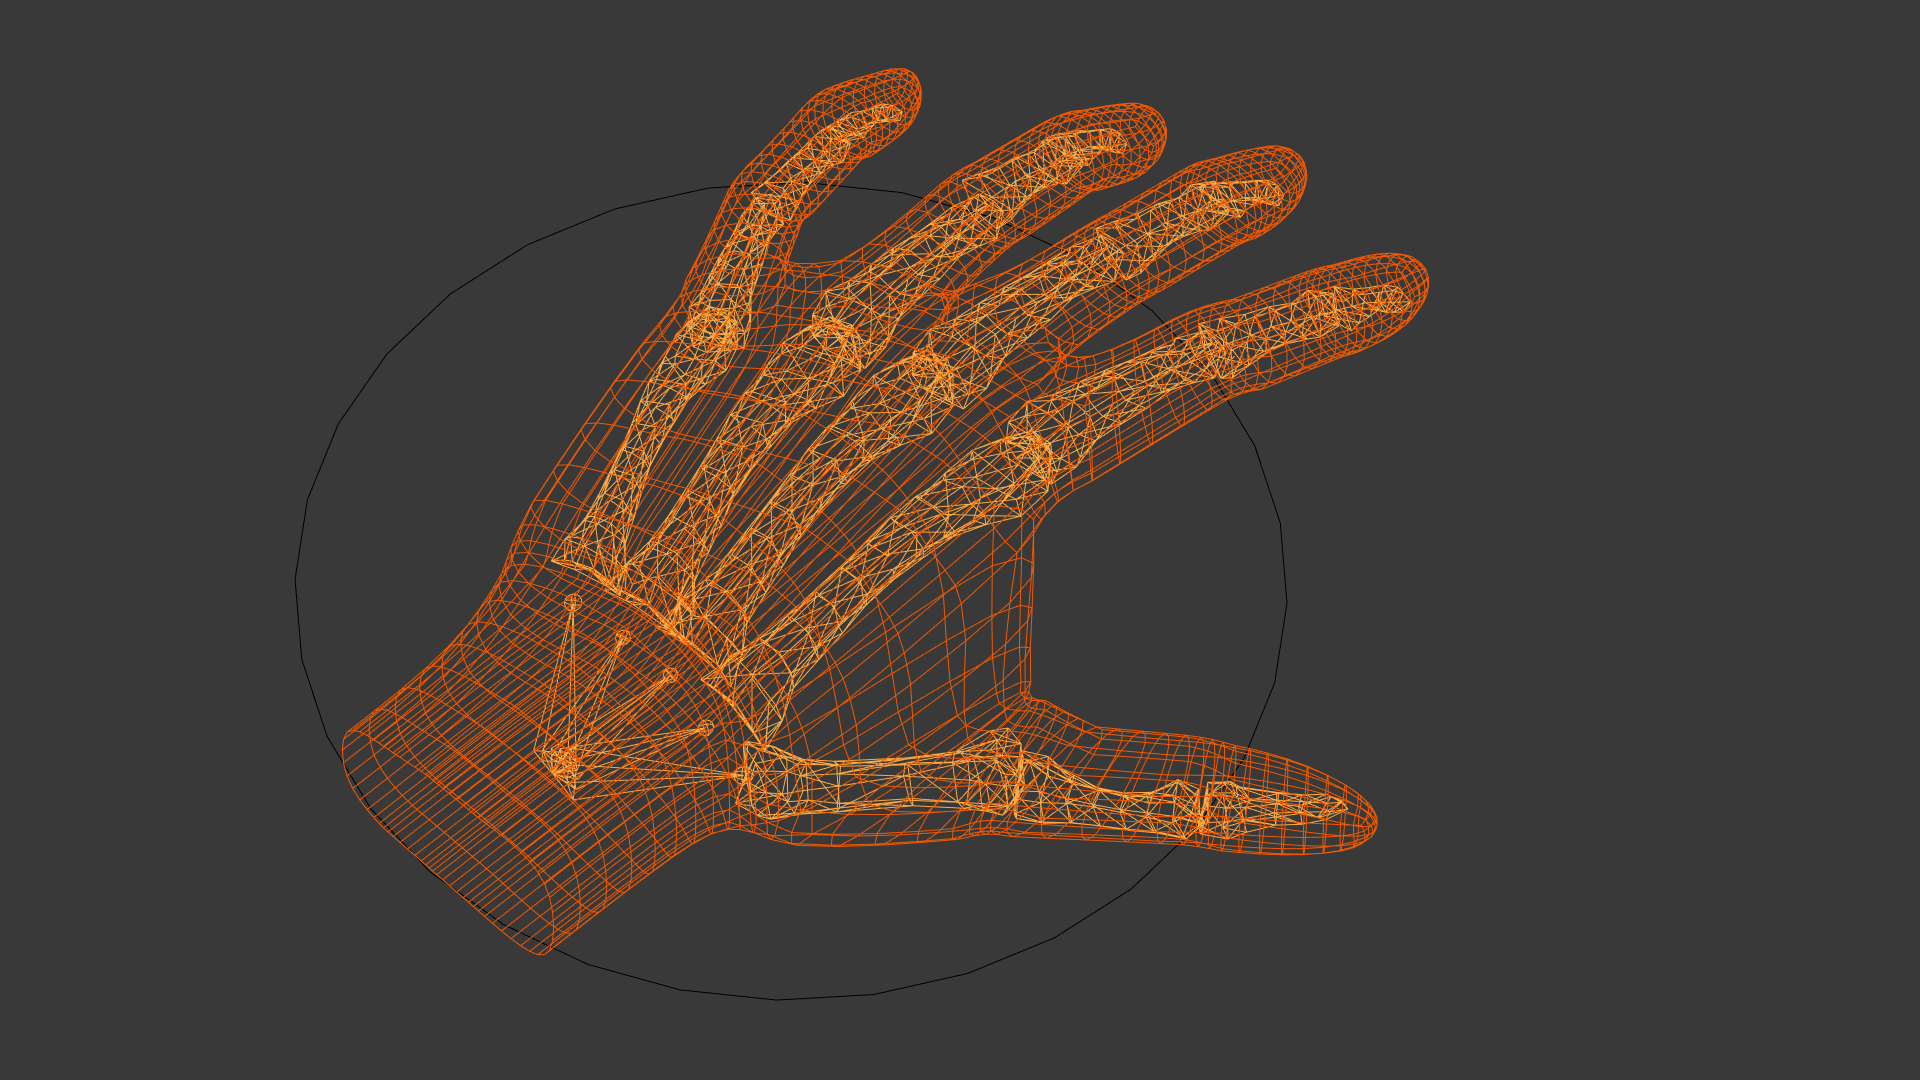
some research is in order:
turns out that even though there is no one-size-fits-all 3d model - creating a model based on ones own hand isn't too difficult:
- getting to know the different parts from The Anatomy and Mechanics of the Human Hand helps in further web-searches
- next step is to get a digital model of the human skeleton from the inter-webs - which can be taken as a base model, but has to be adapted to reflect the proportions of ones own appendages...
- at this point Proportions of Hand Segments was very helpful - seems that there is an average amount of tissue surrounding our digits and the bones of each digit follow a somewhat predictable ratio pattern
- there are also some interesting papers on the ranges of motion of the human hand, and how to properly animate one; like Handrix: Animating the Human Hand
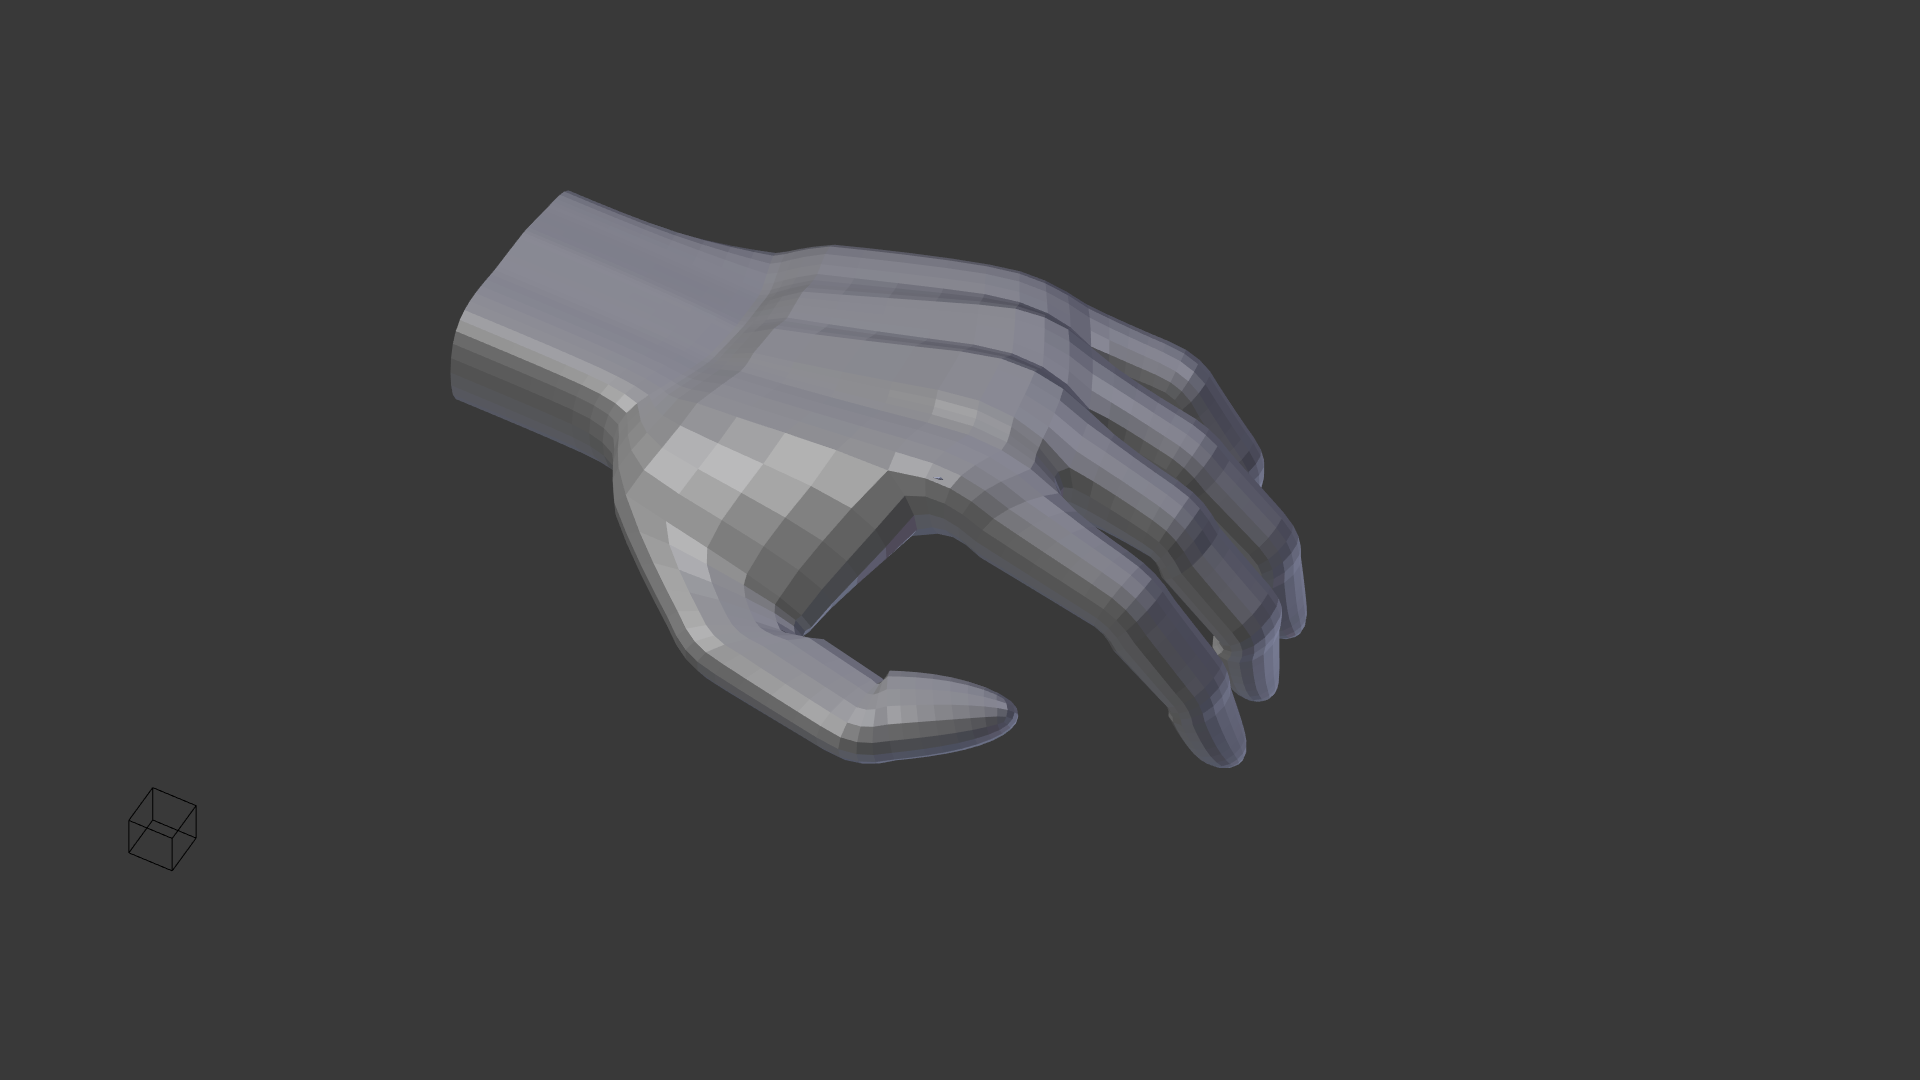
with all that, and some measuring tool a hand model can be modeled and rigged, to be posed in a relaxed position or touching various keys of the digital model later on
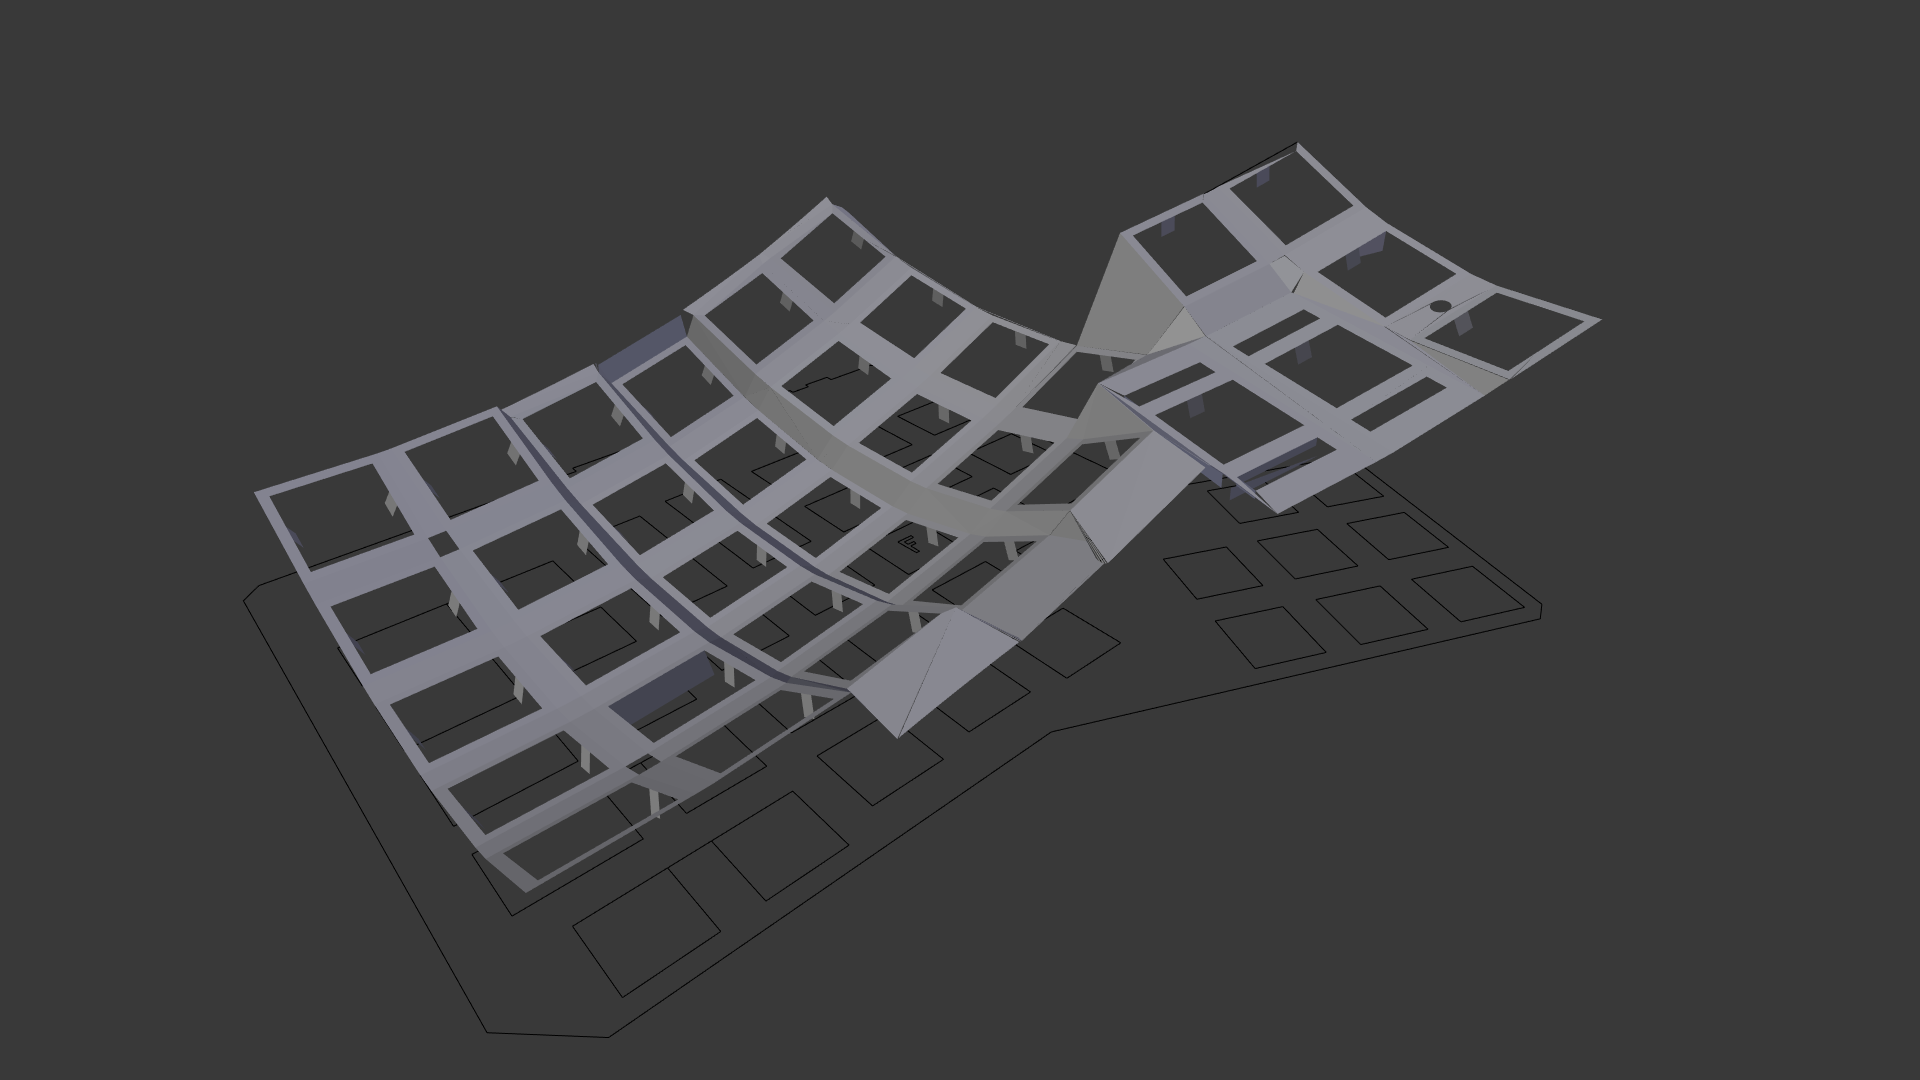
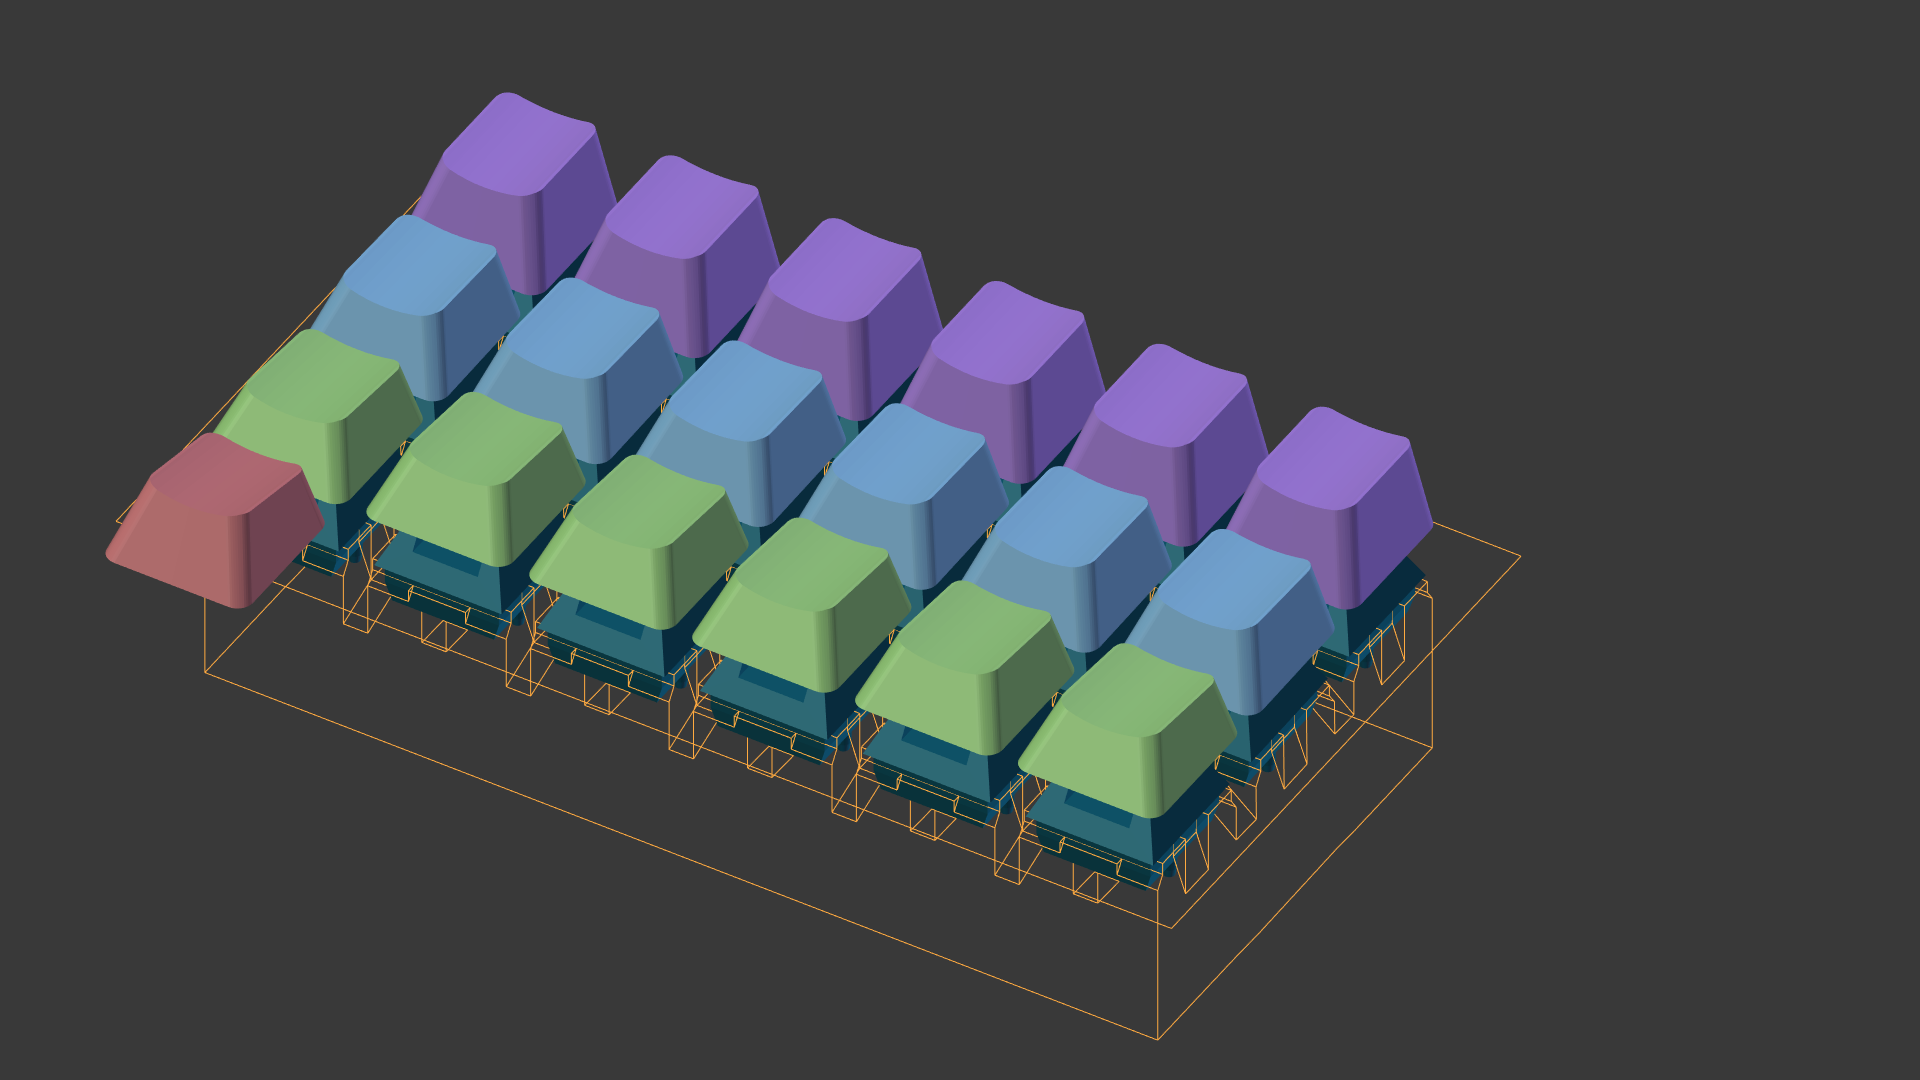
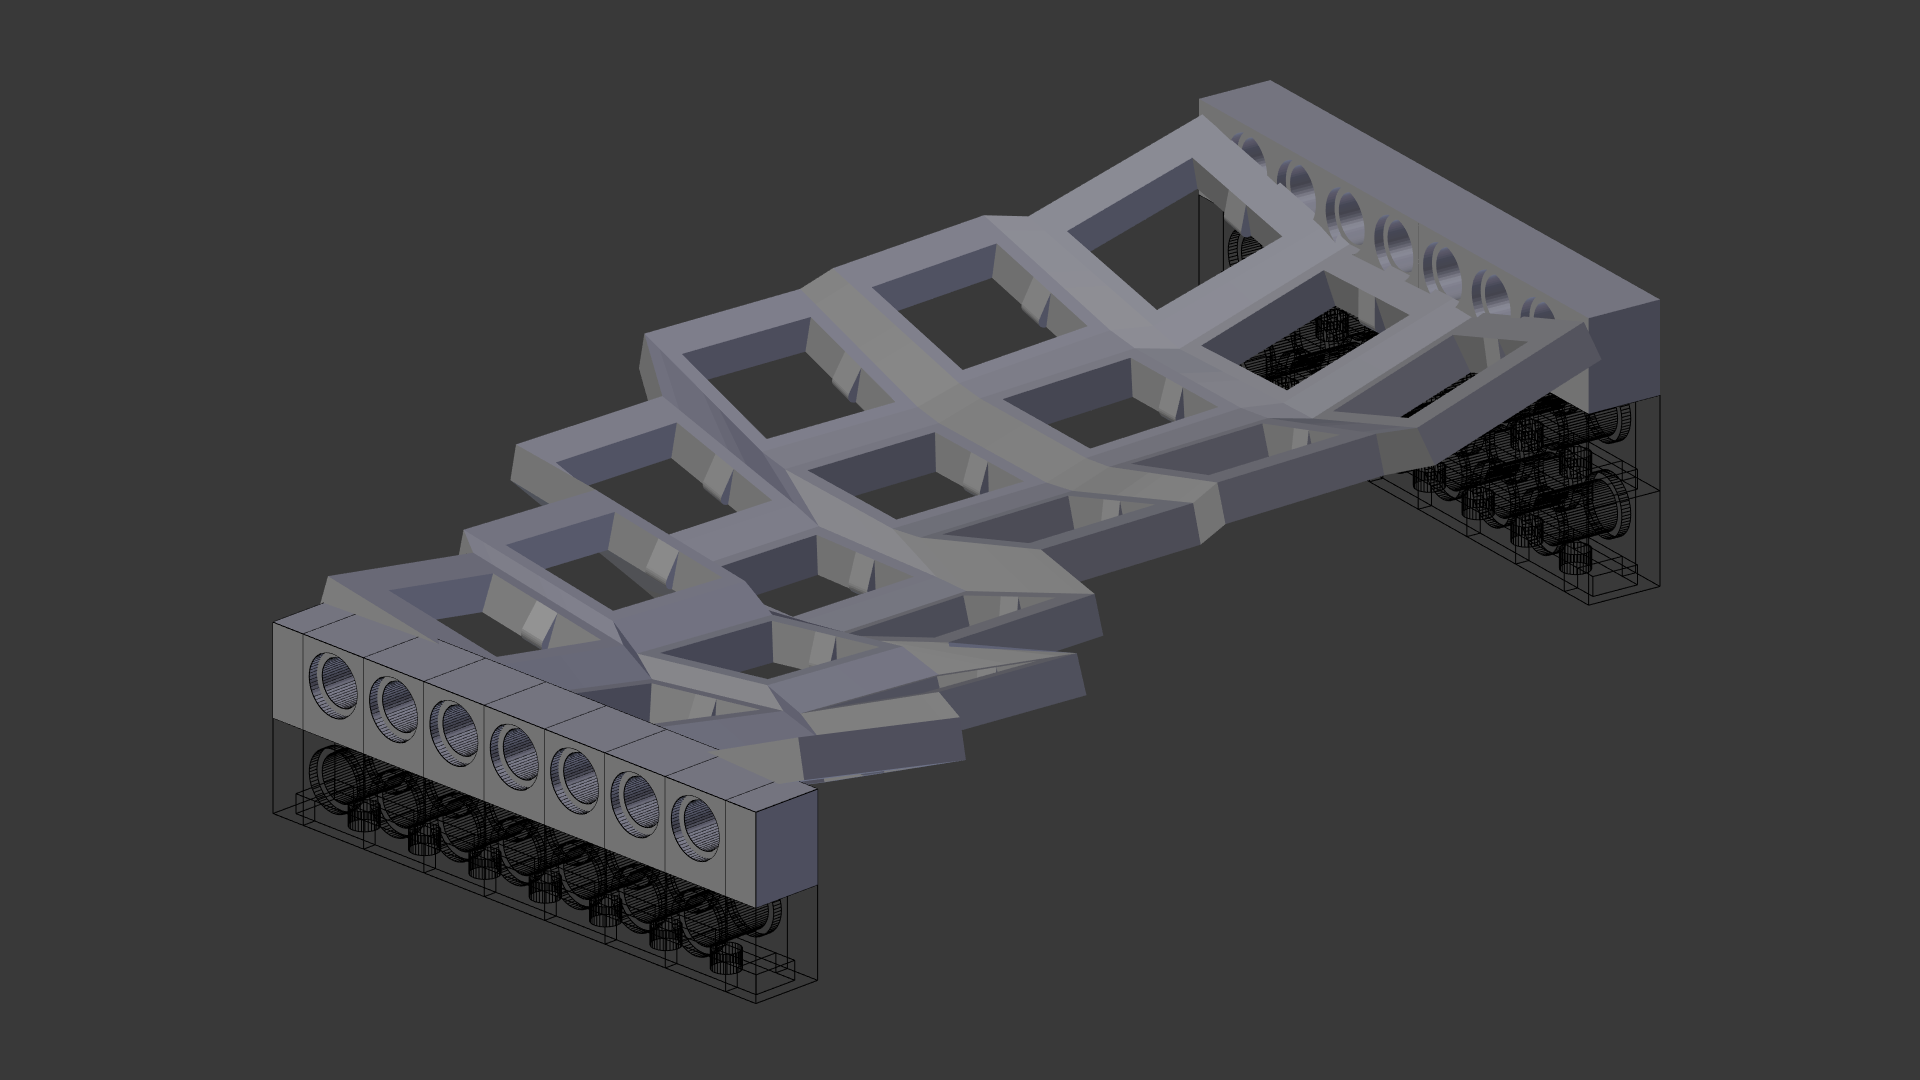
Step 2: rigging the mounting plate
the next step is to build a mounting plate for the keyboard matrix, that is rigged in a way to ease rapid prototyping:
the mesh itself is an armature, with the cherry-mx bodies as bones which in turn follow the keycaps world-positions, stretching the mesh for the mounting-plate in turn
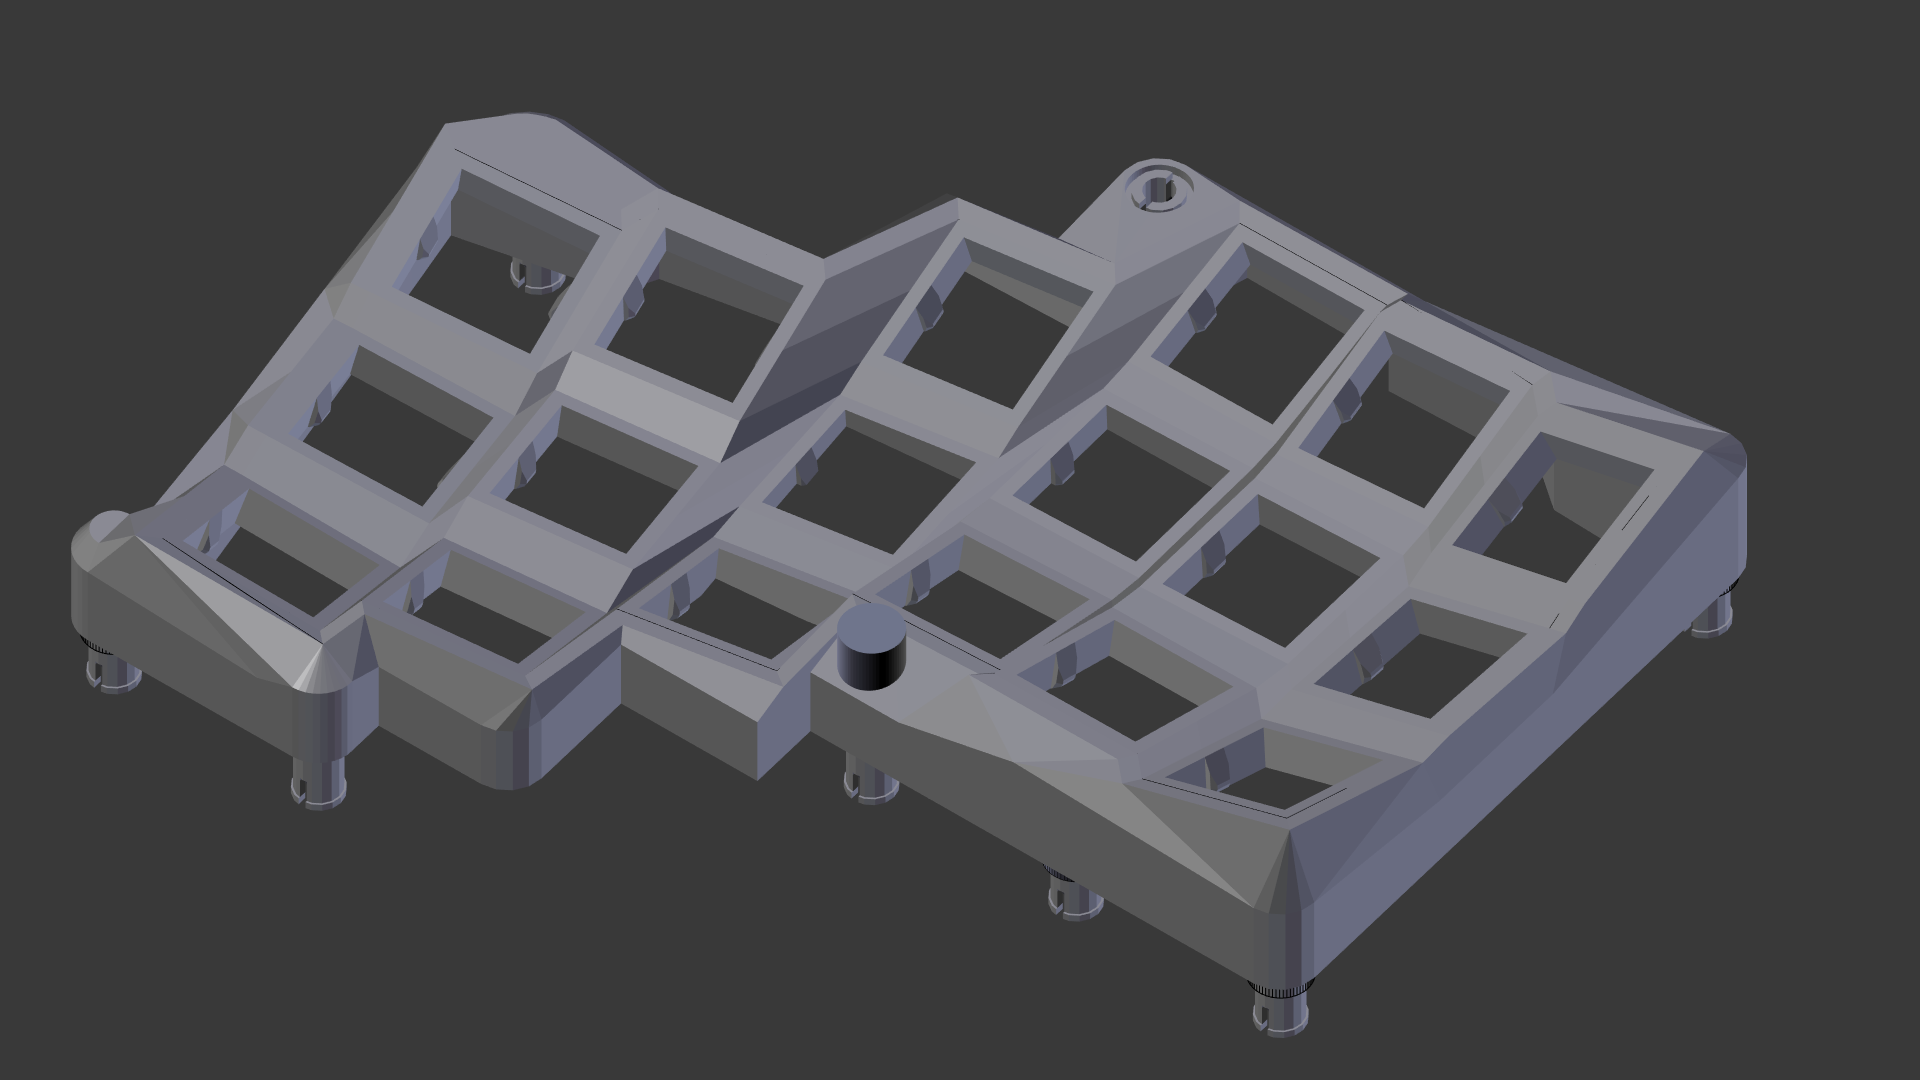
![]() Step 4: rapid prototyping
Step 4: rapid prototyping
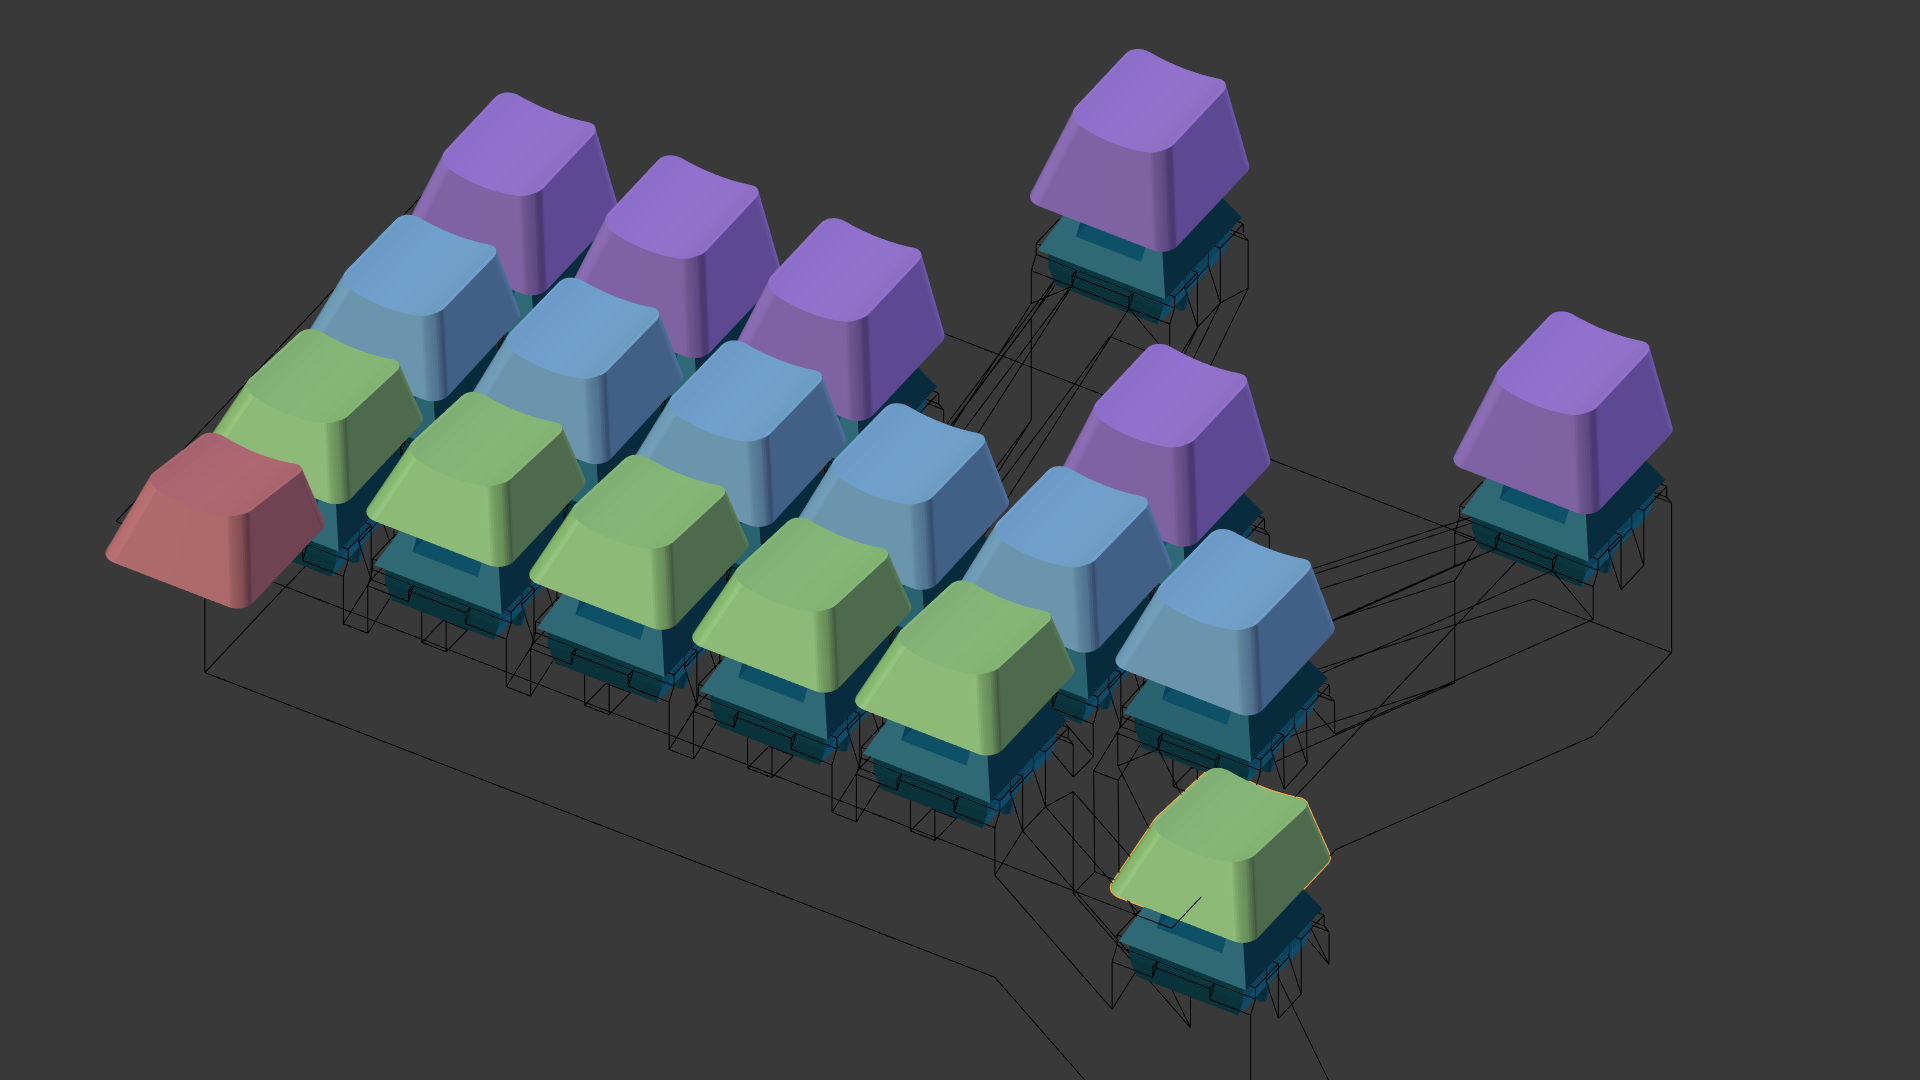 Step 4: rapid prototyping
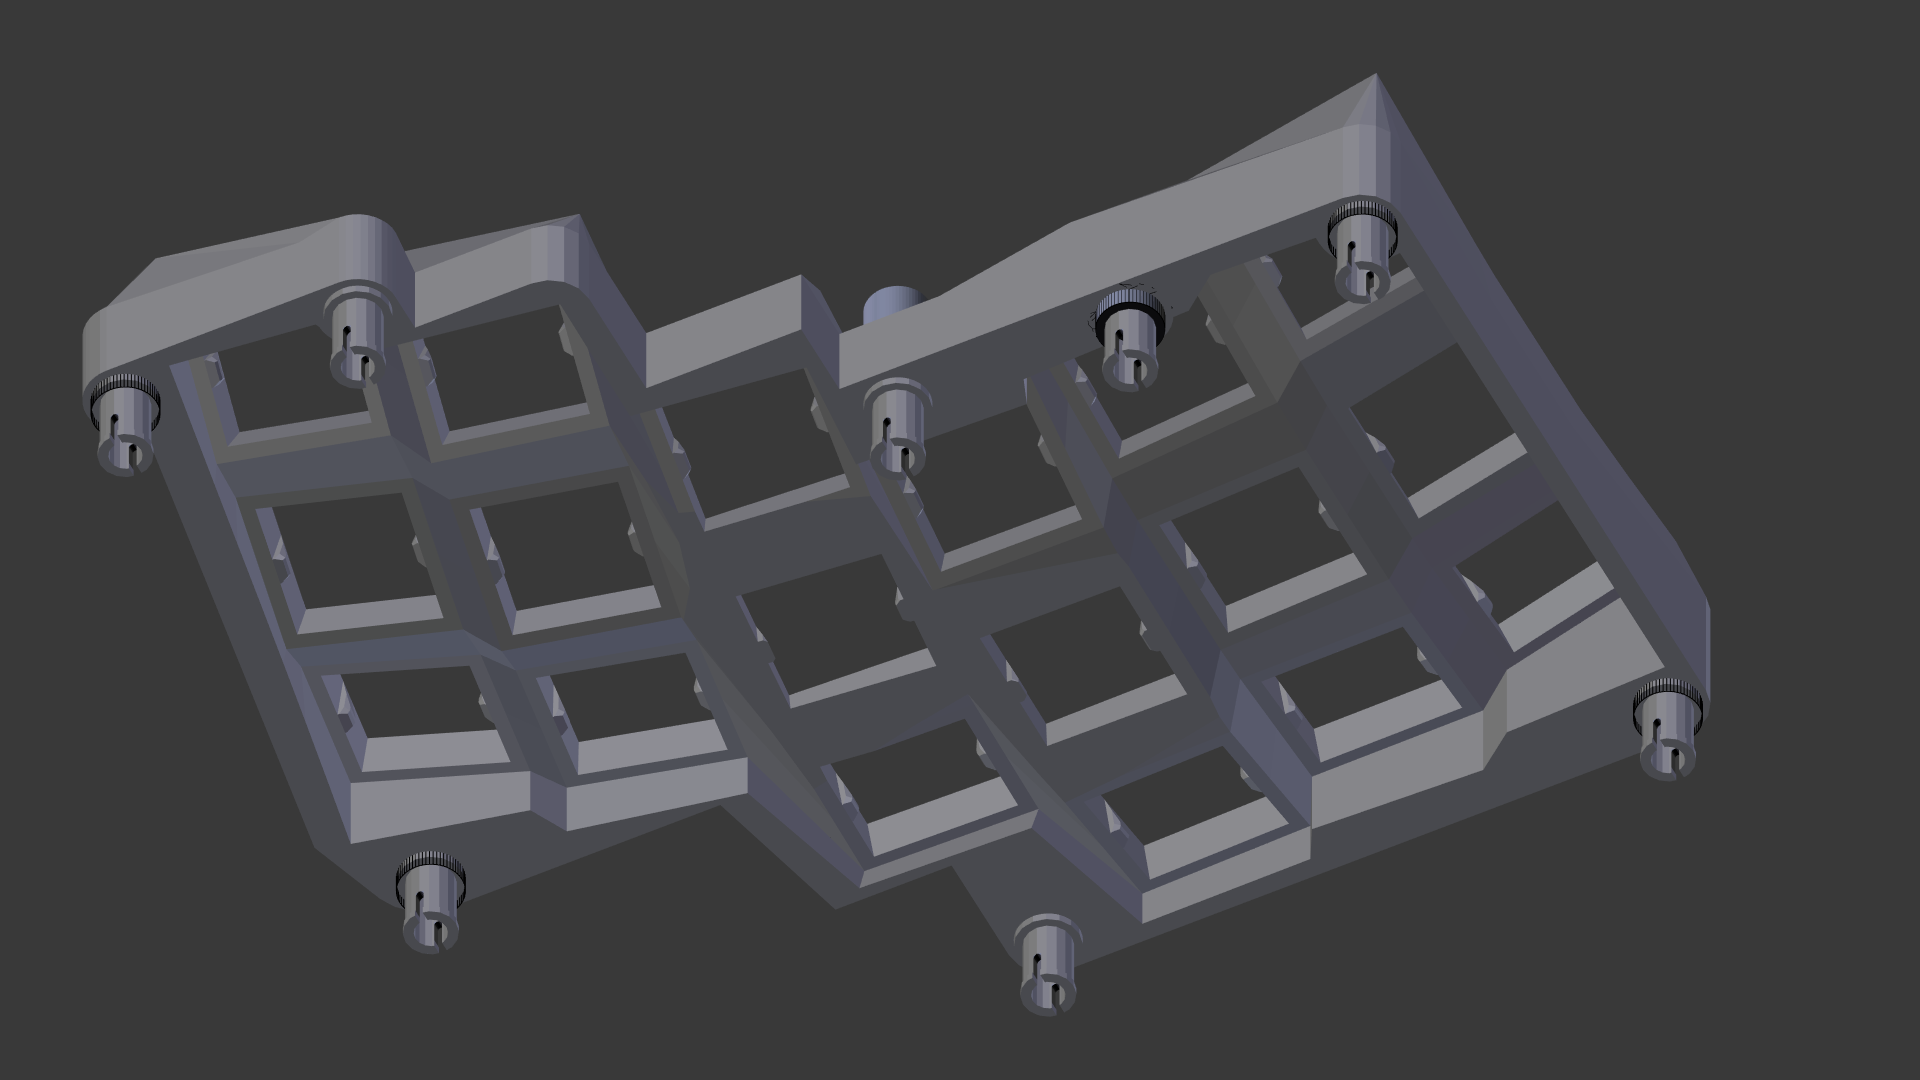
with the hand and mounting-plate models one can start pushing around the key-caps, starting of at a position somewhere between the ergodox and dactyl references.
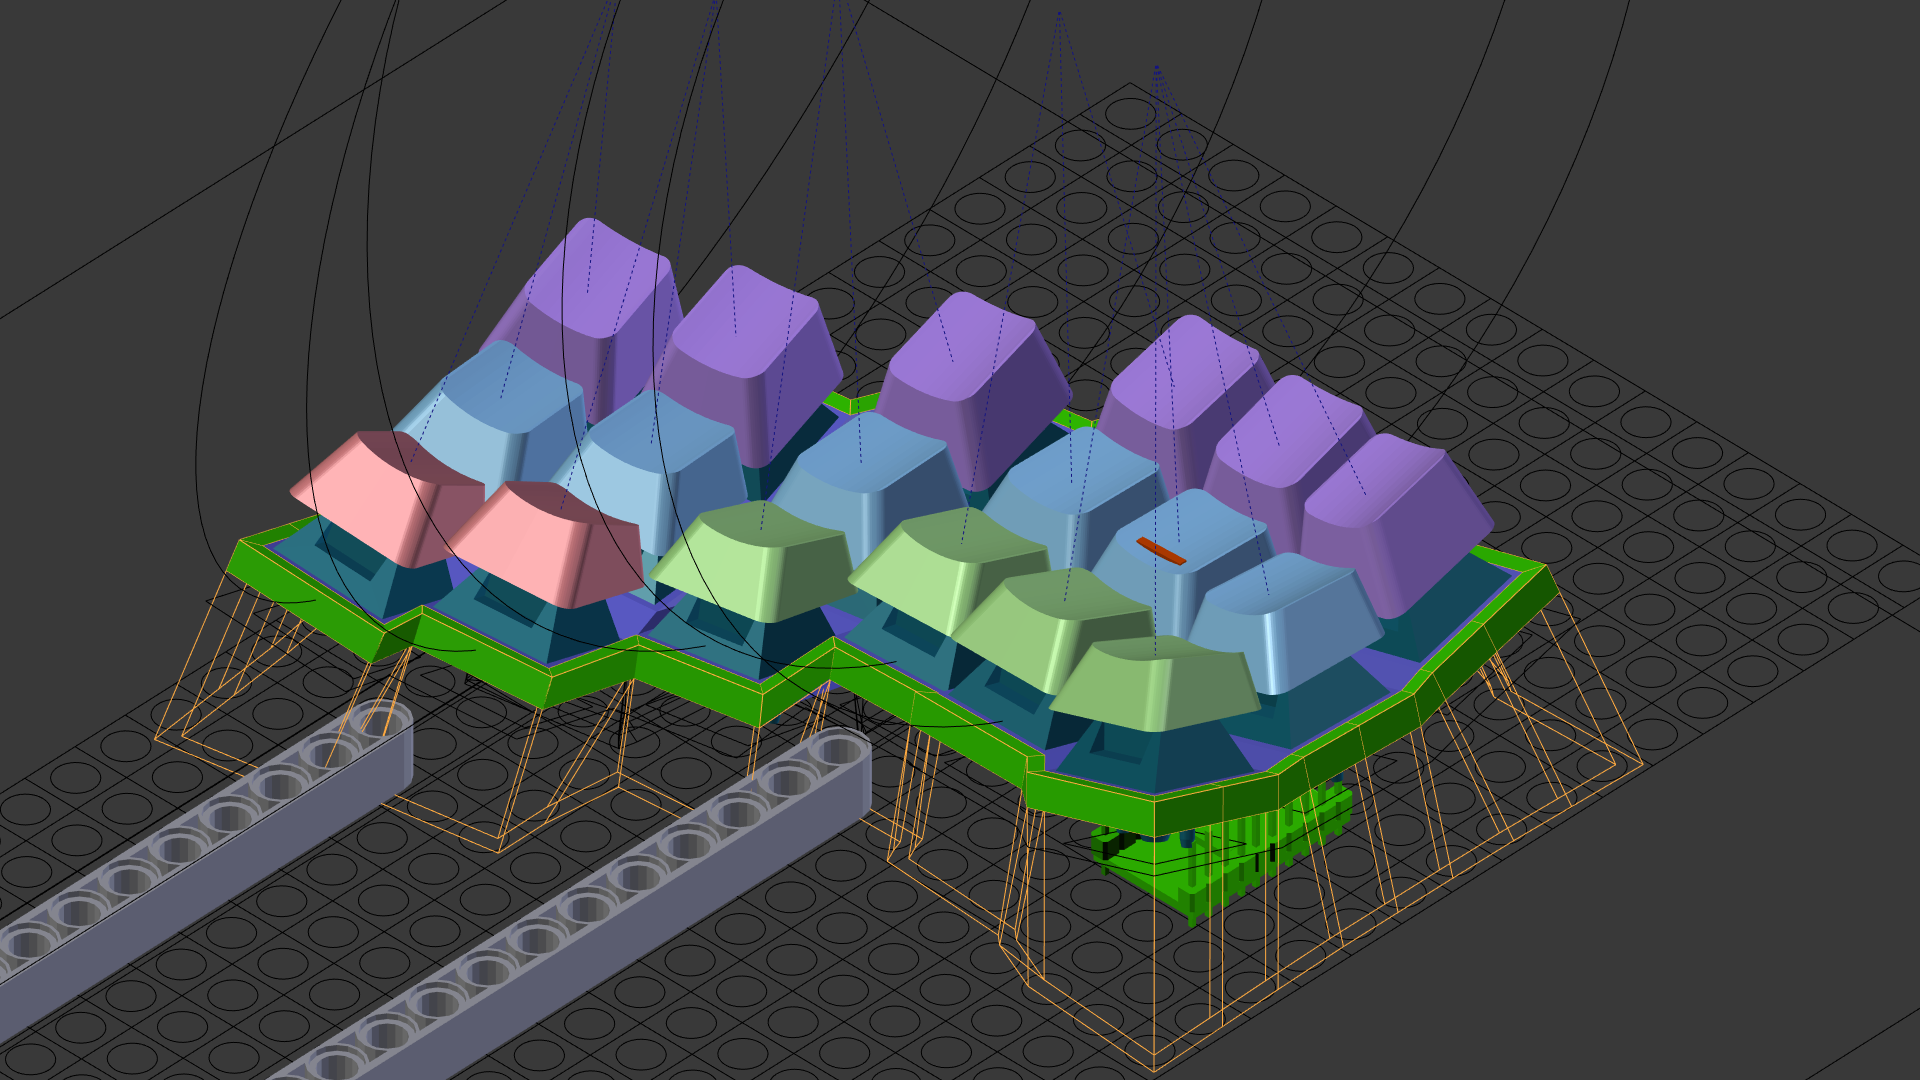
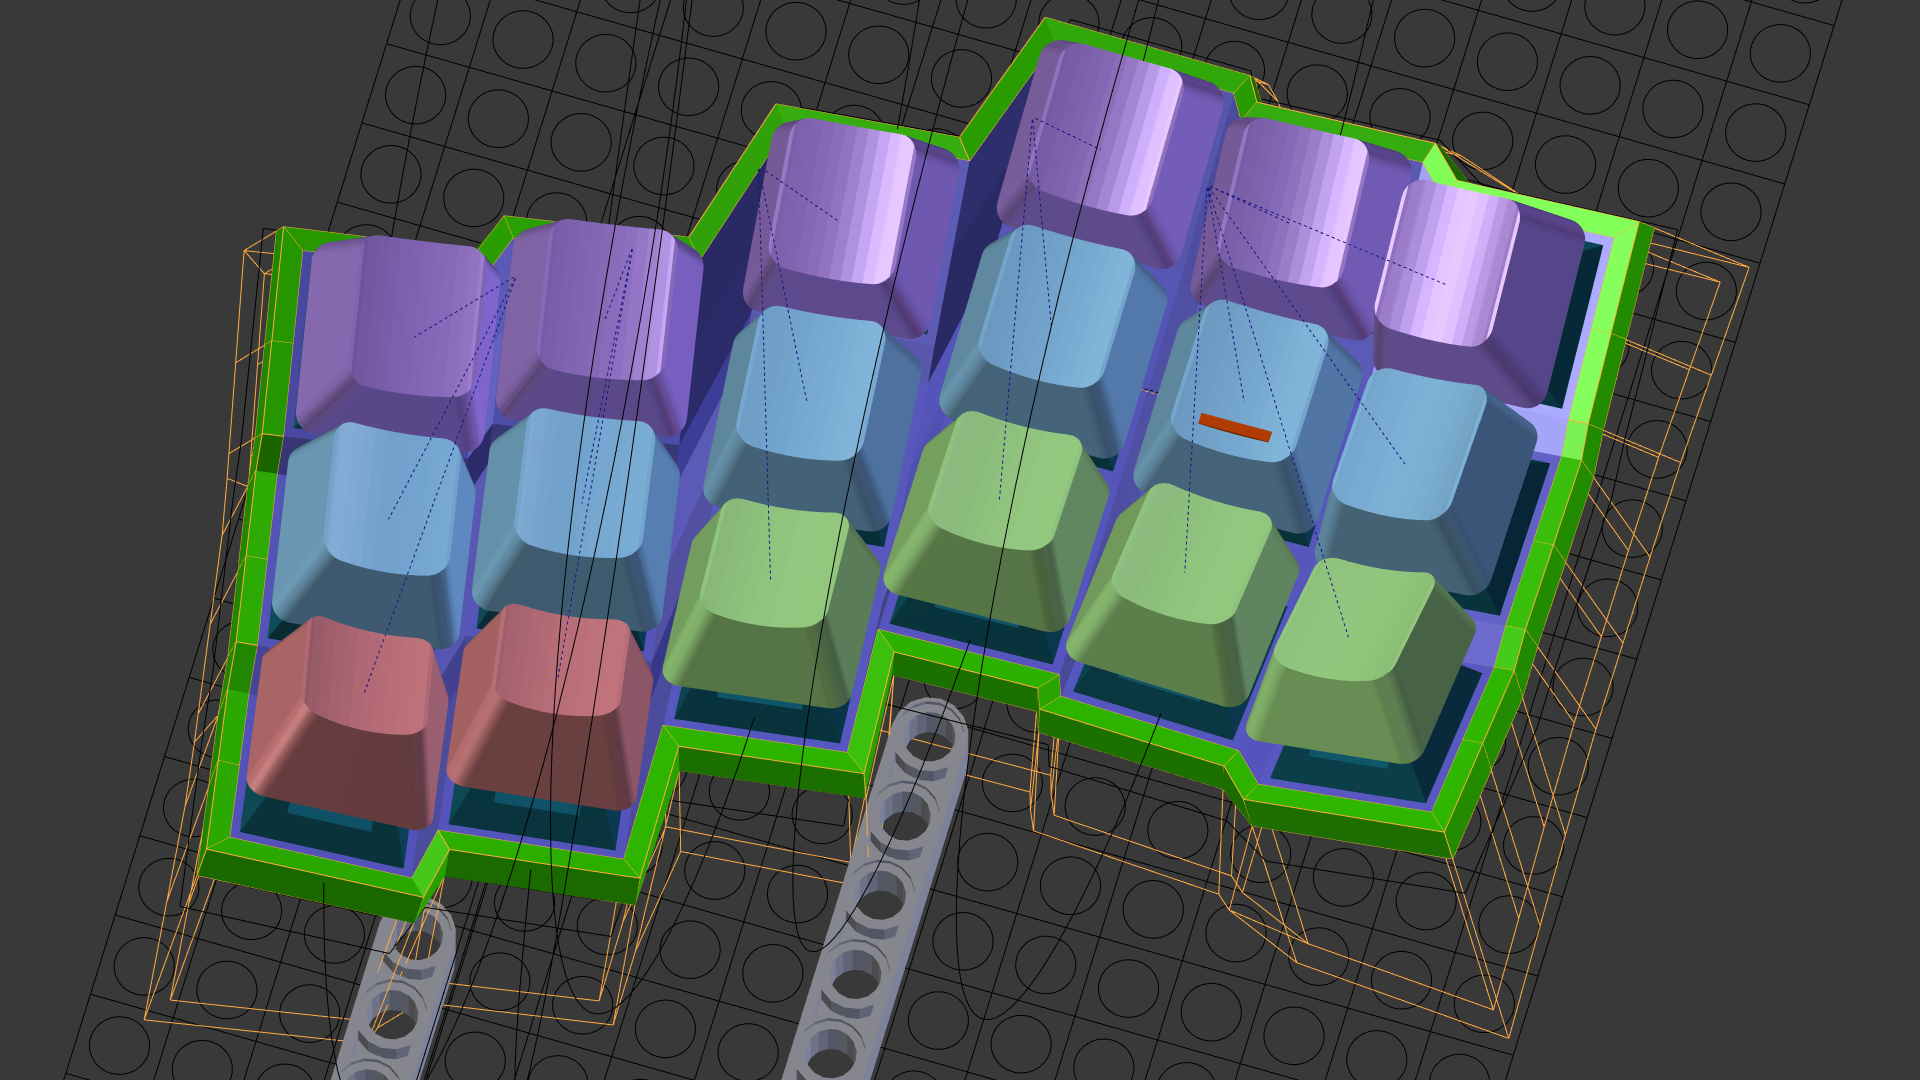
these two pictures also shows some of the circles which where used as guides for the curvature, as well as the lego-grid for the hard-points added later on
adding lego compatible blocks at the edges of the mounting-plate the size of the 3d printed part can be kept at a minimum while still allowing height and tilt adjustments
from here its a few iterations of "adjust&reprint", to get a custom (and hopefully comfortable!) key arrangement
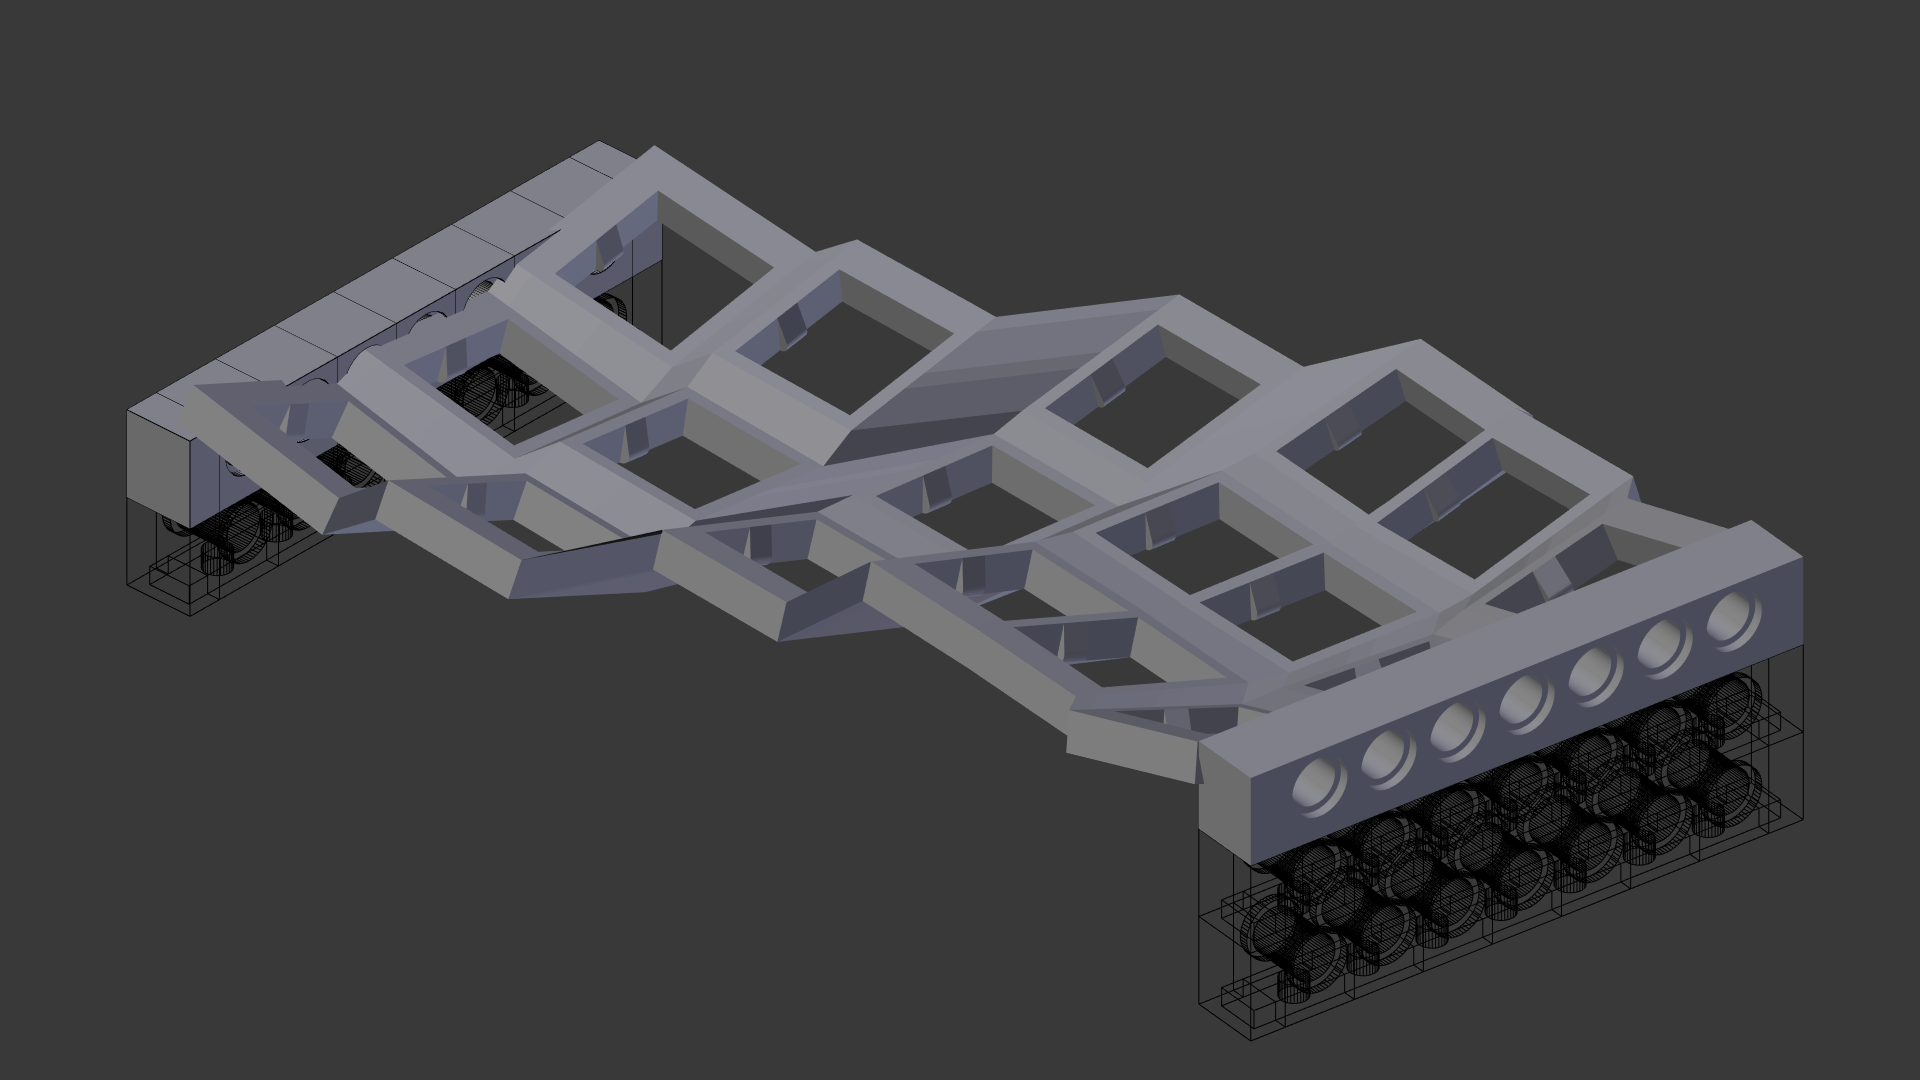
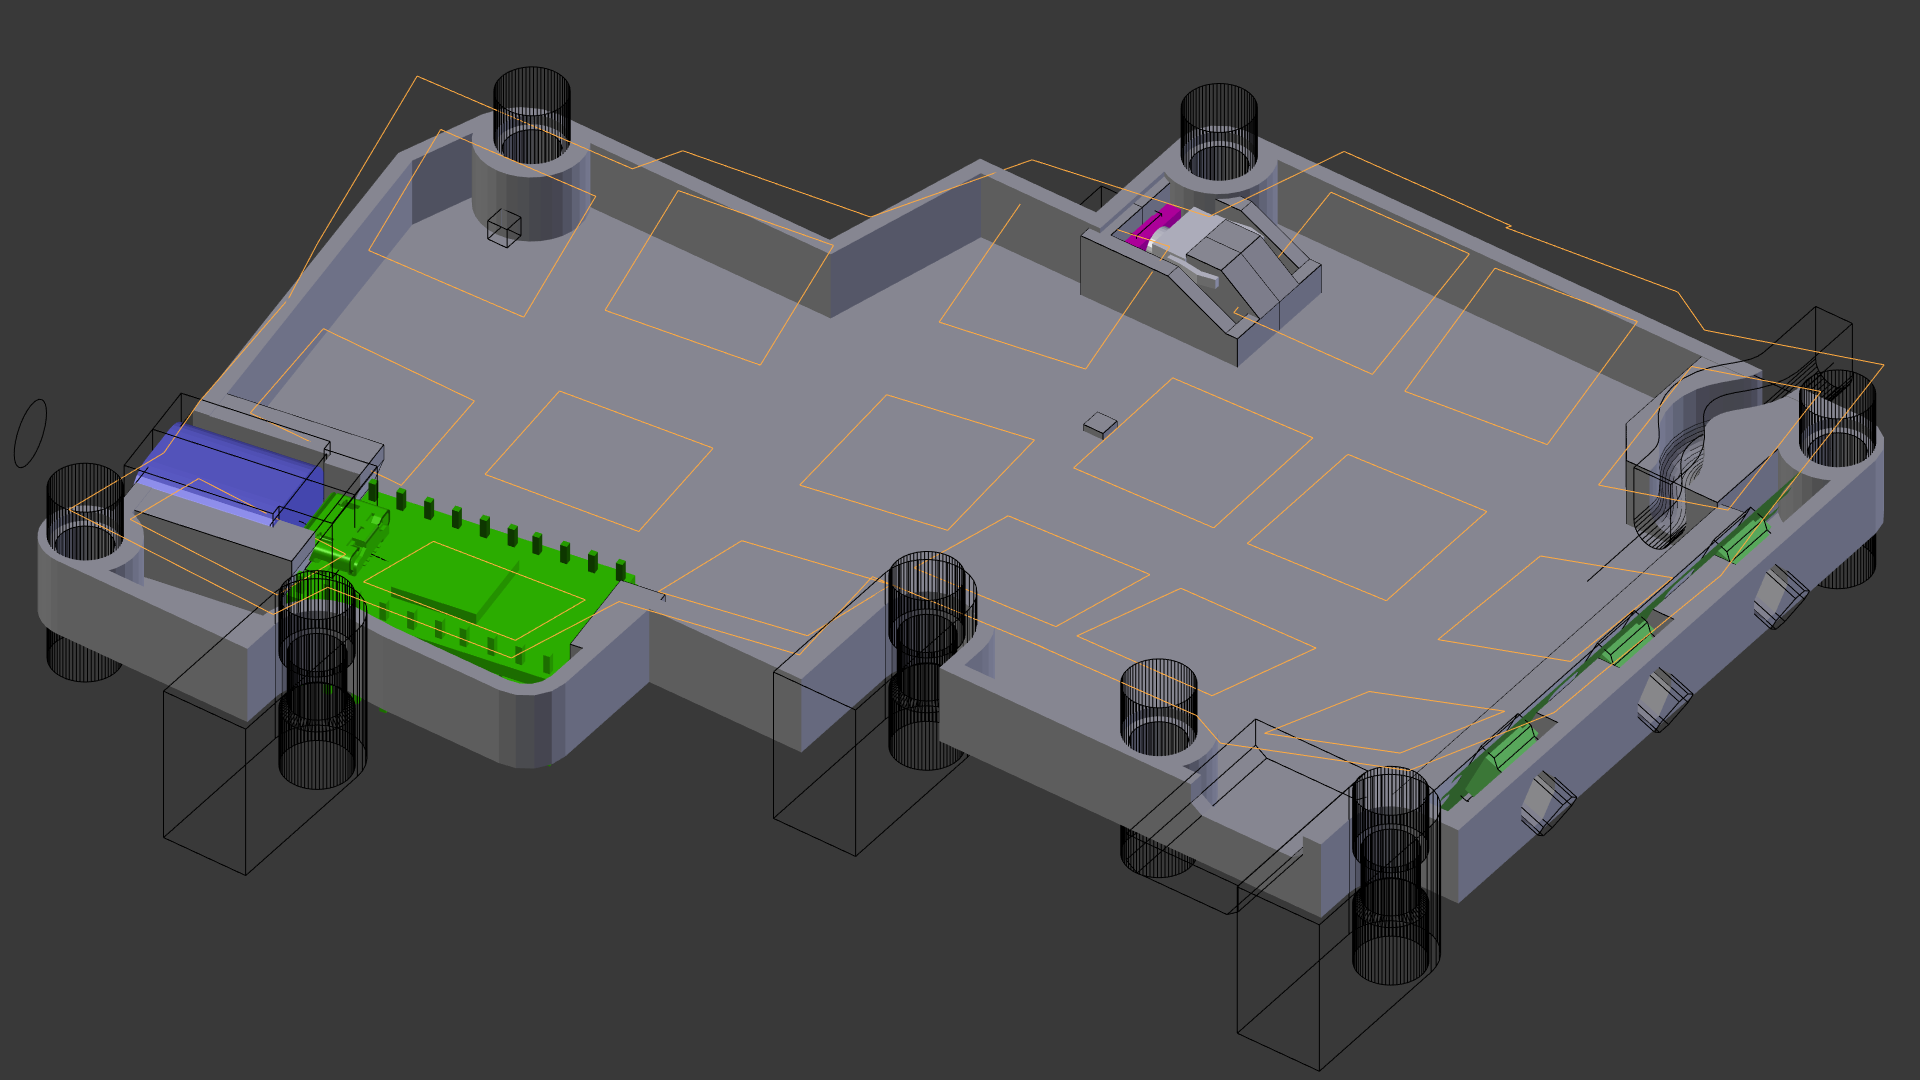
Step 5: cleanup for production
to get a 3d model that is closer to the finished some more cleanup is necessary:
- resolving intersecting edges and thin parts, due to armature deform
- straightening the outline, based on a lego grid (8x8mm)
- adding "hardpoints" (e.g. lego-technic pin holes) to later mount the backplate and other attachements
Discussions
Become a Hackaday.io Member
Create an account to leave a comment. Already have an account? Log In.