 Matt Moses
Dirt is really complicated stuff. Check out the Wikipedia article on soil to get an idea. There are six processing steps to go from the large pile of rocks and dirt dug out of the ground to a semi-usable natural clay that can be formed into crude pottery. The steps I used are shown in the drawing below. There are many variants of this process (people have been doing this for thousands of years after all) and youtube has a lot of interesting tutorials like this one and this one.
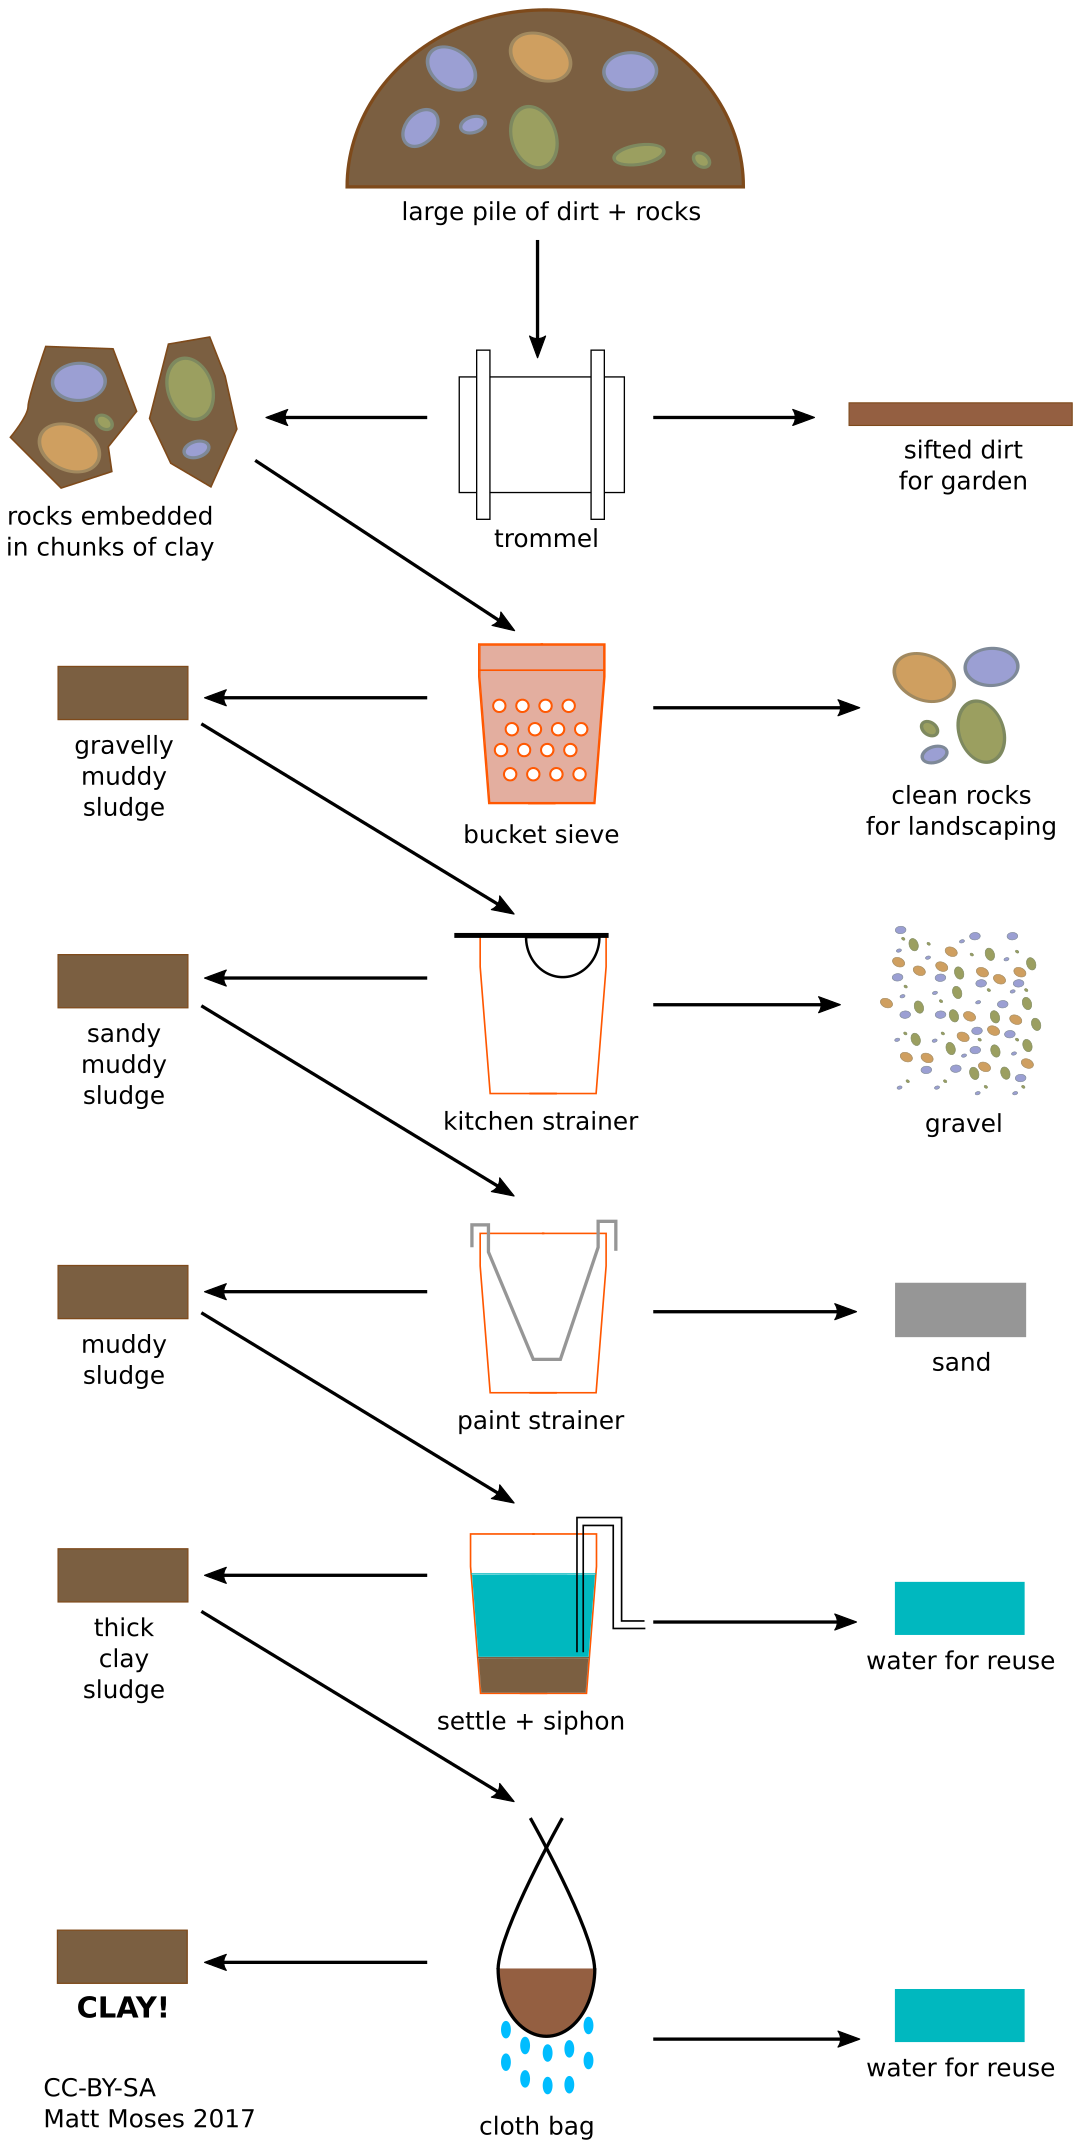
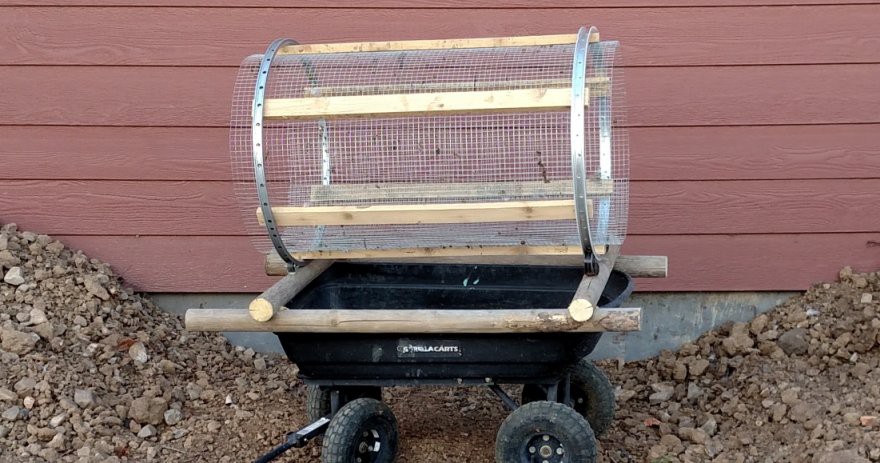
Step 1. Trommel Screen. This is a cylindrical screen made of chicken wire, mounted on old bicycle rims. The cylinder spins on caster wheels. The raw dirt goes in the cylinder, rocks embedded in chunks of clay go out the end after spinning. I got the idea for this from this youtube video. When I searched youtube for trommels I was amazed at how many people have made DIY trommels.
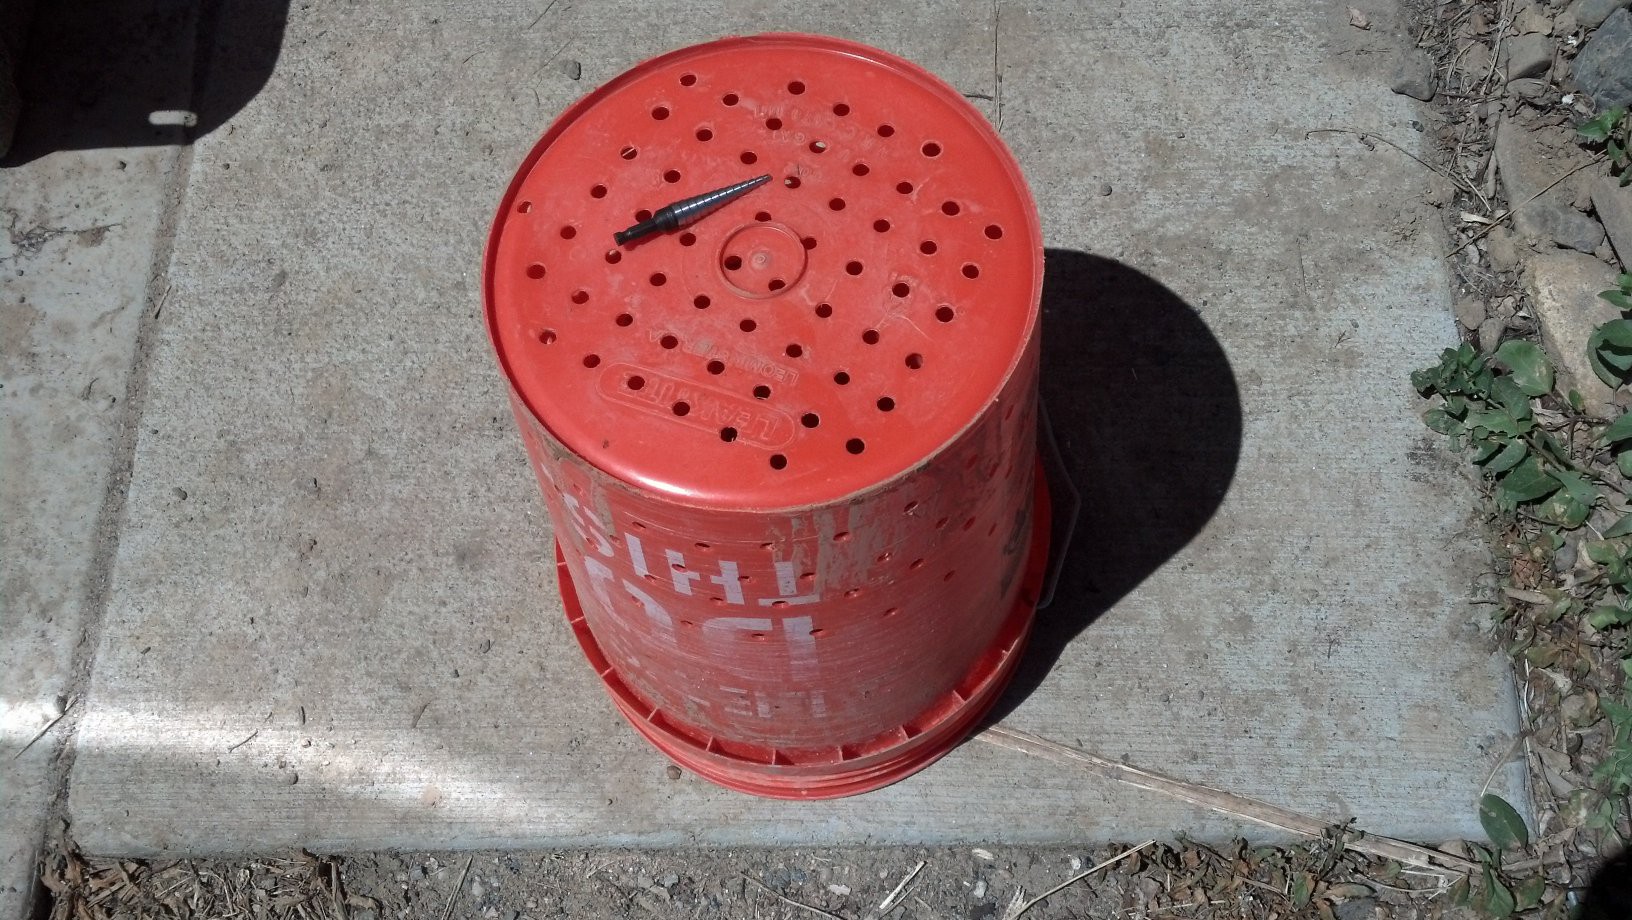
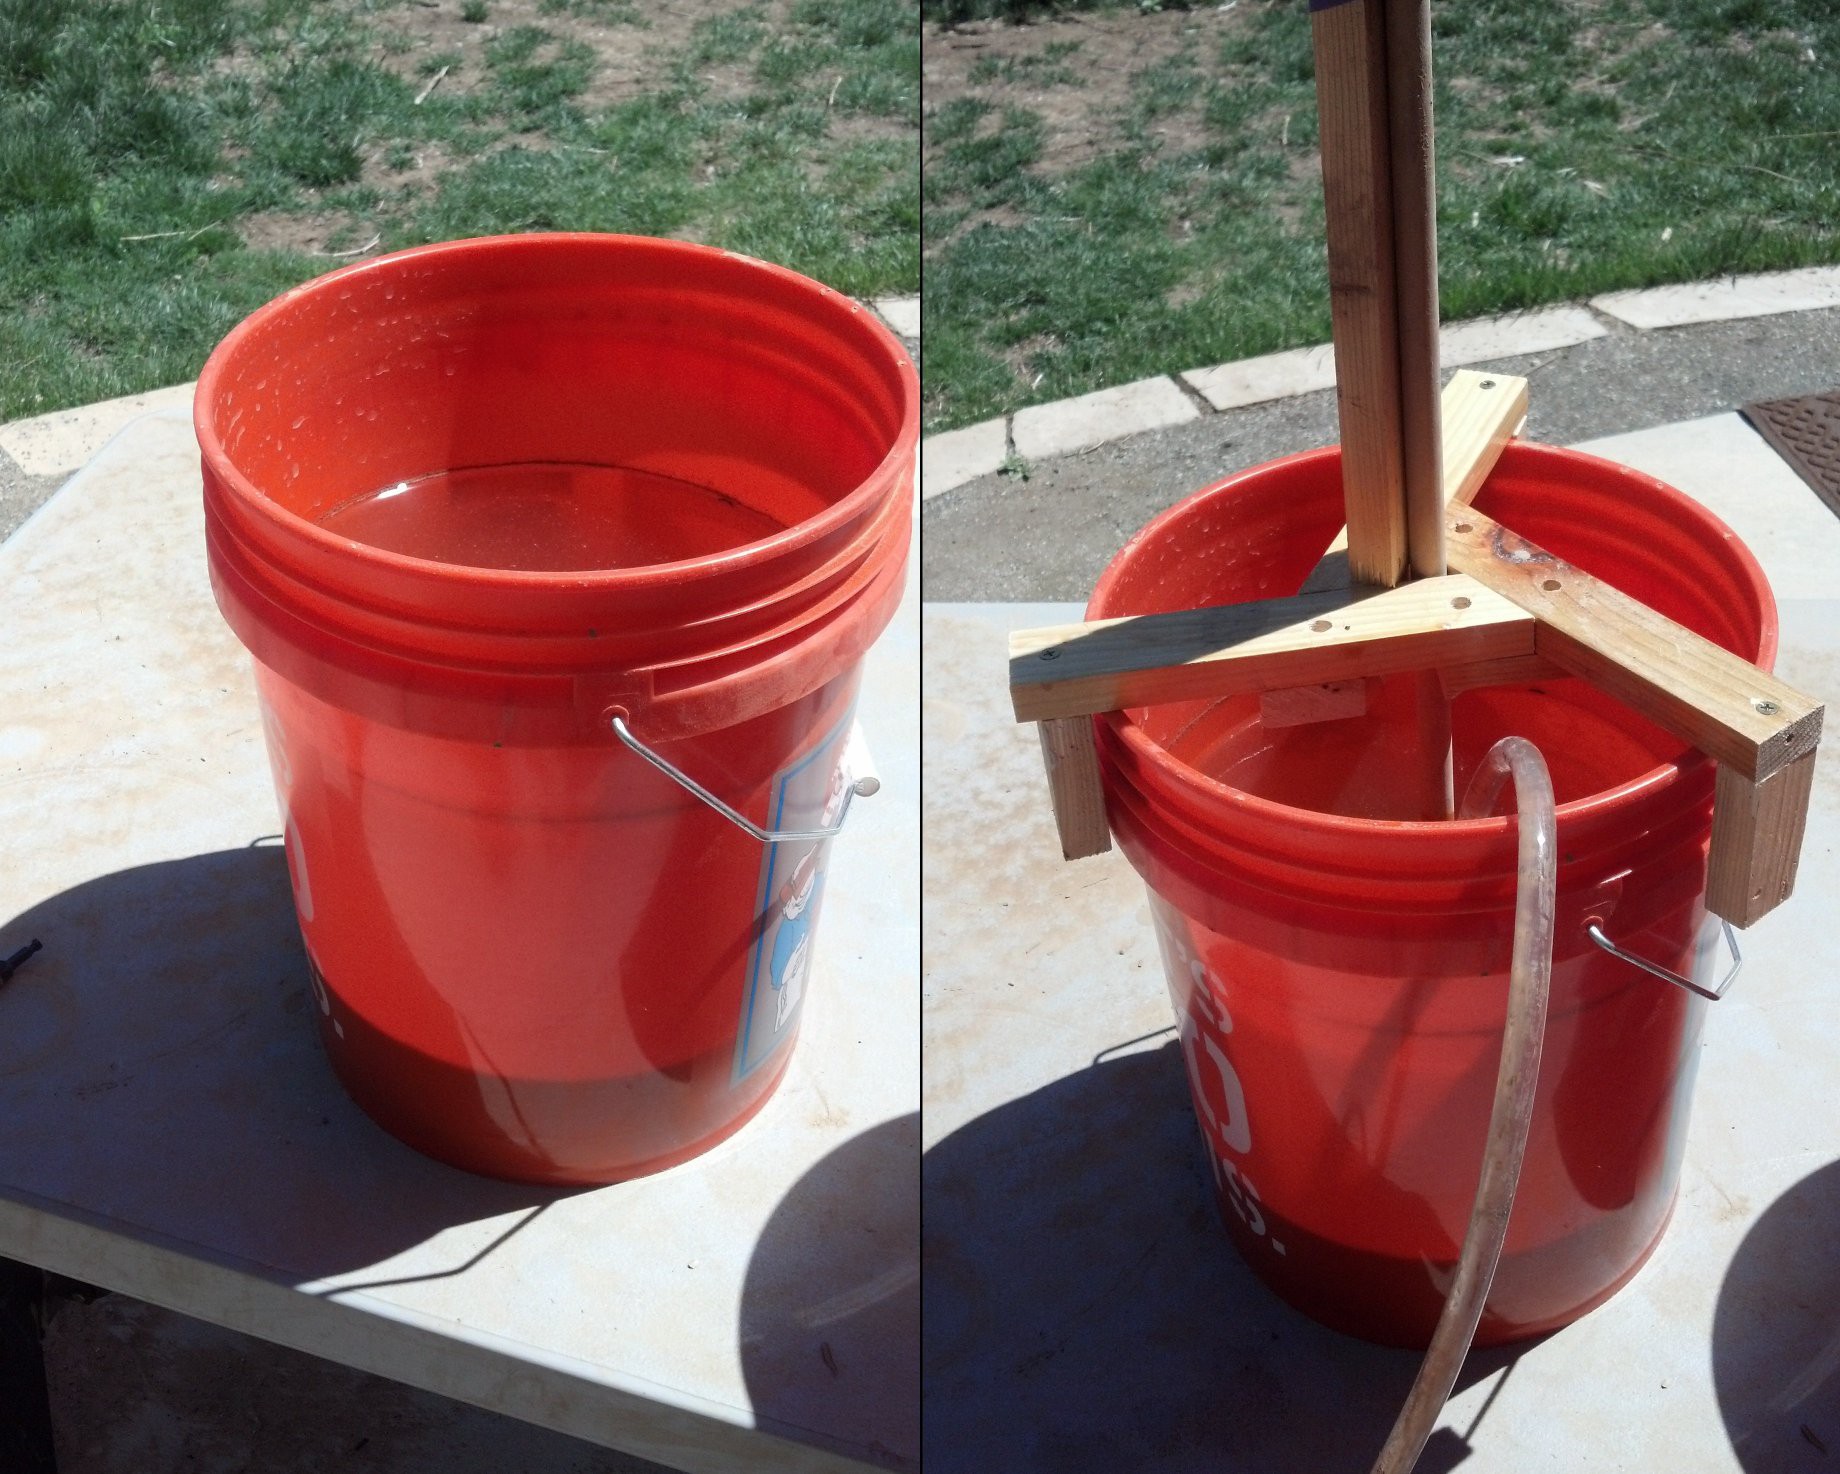
Step 2. Bucket Sieve. The "bucket sieve" is a bucket with holes drilled in it. I used a piece of pegboard as a template and a step drill (shown in the image).
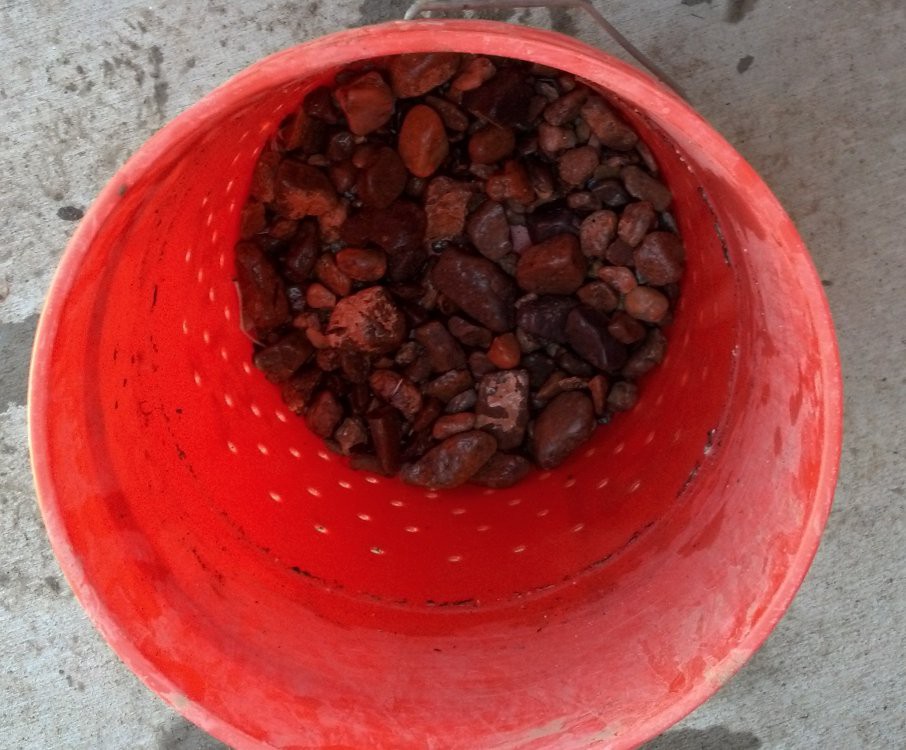
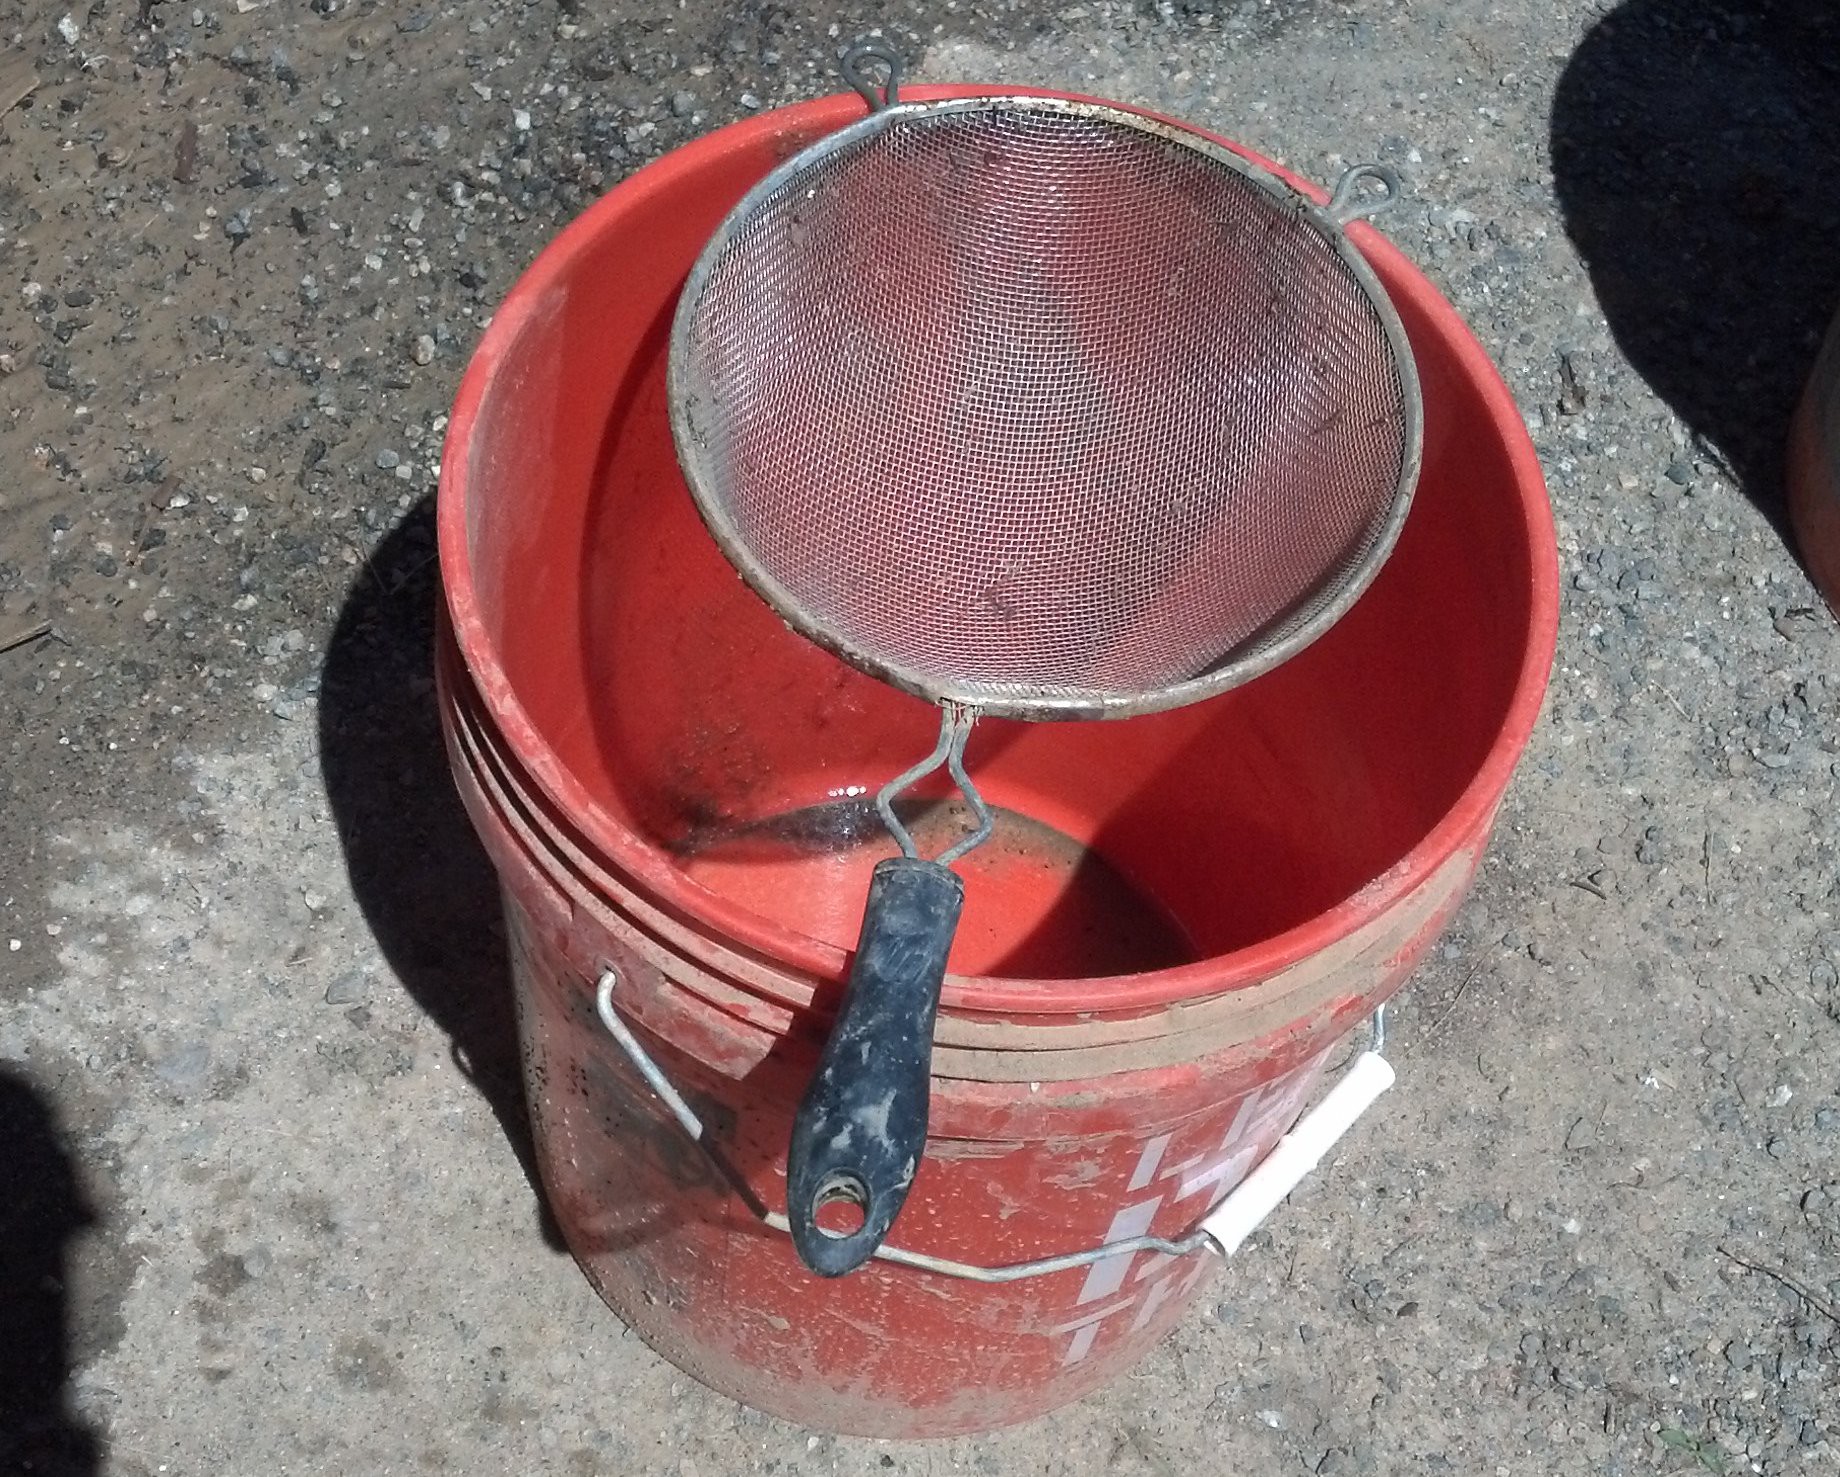
The bucket with holes in it nests inside a normal bucket. Three scoops of rocks embedded in chunks of clay go into the top bucket, and then a bucket of water is poured in on top. When the water goes in, it makes an immensely satisfying bubbling and frothing noise as the air underneath escapes upward. Here is what a loaded bucket sieve nested into a normal bucket looks like:
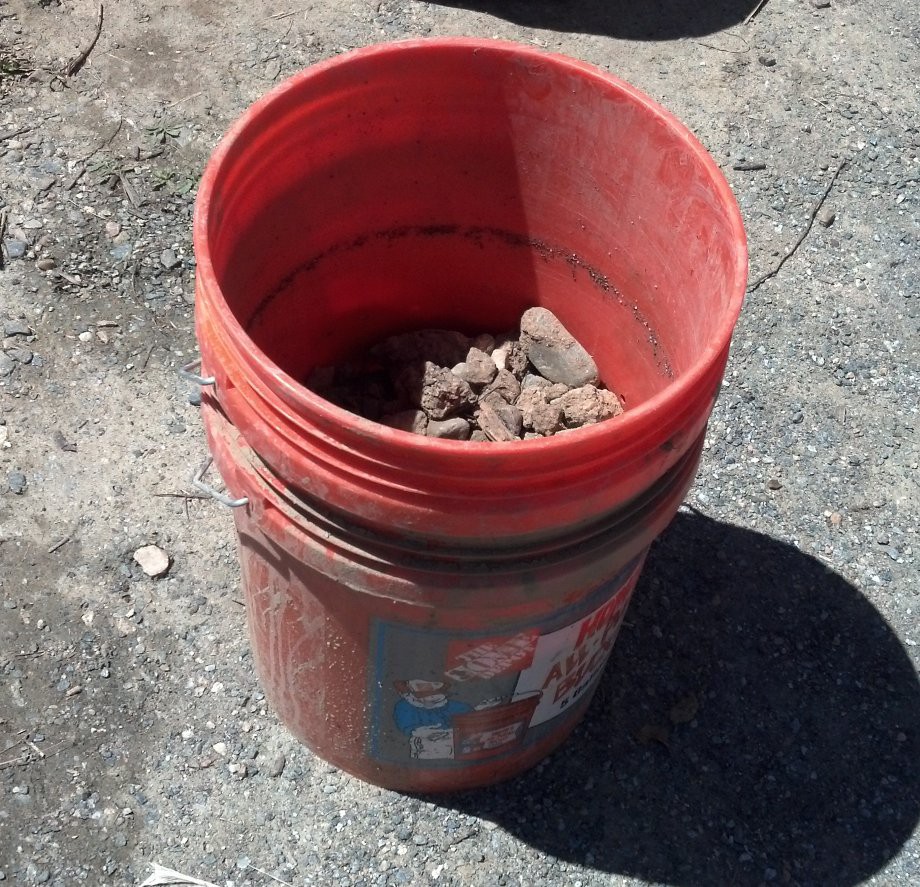
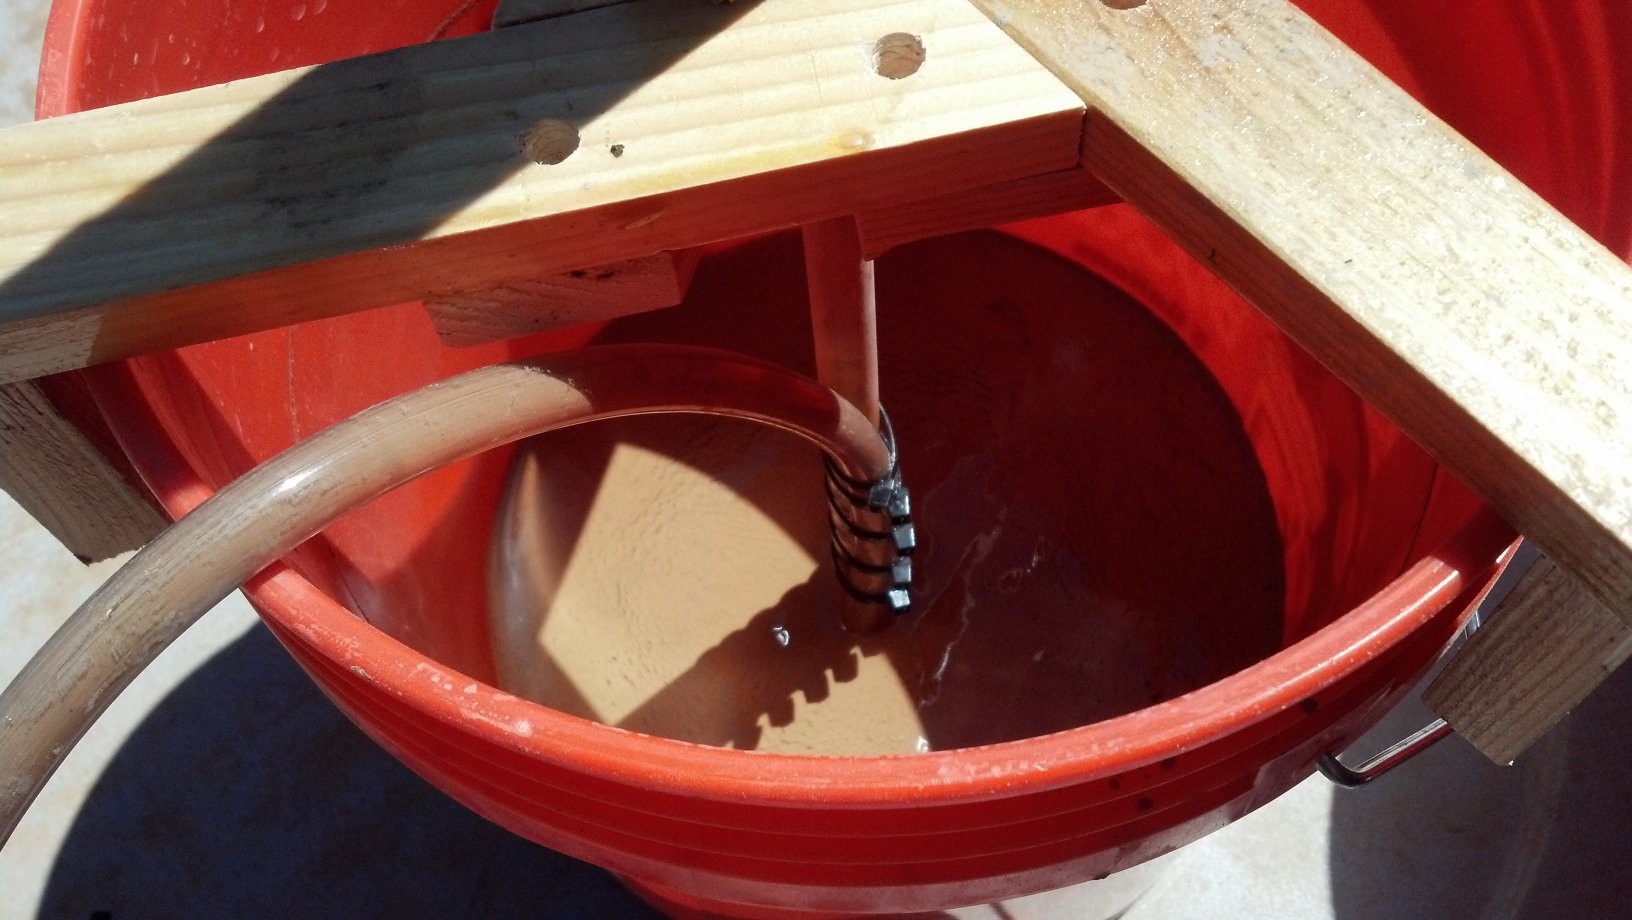
After lifting the bucket sieve up and down for a while, the clay, gravel, and sand sink into the bottom bucket. Clean (well mostly clean) rocks are left in the top bucket. The clean rocks are reserved for later use in landscaping projects. The next steps continue to process the clay+gravel+sand+water mixture in the bottom bucket.
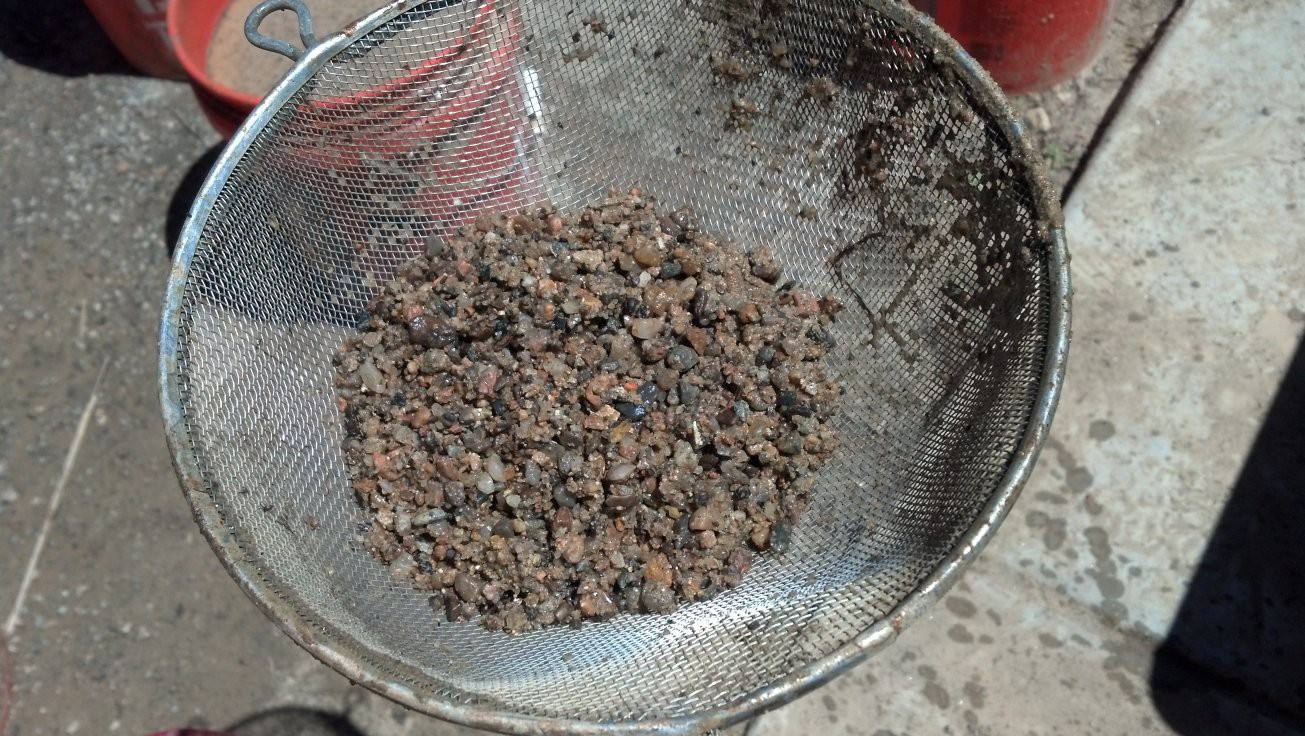
Step 3. Kitchen Strainer. Just a normal kitchen strainer from Target or Walmart. Stir up the stuff in the bucket, poor it through, and then we have separated out the gravel. It's that simple!
Step 4. Paint Strainer. You can find these strainers at Home Depot near the paint spraying equipment. These ones came in packs of three. They are meant to strain out tiny clumps in house paint so the spraying devices don't get clogged up. They worked really well for this application.
A muddy sand blob is left in the filter after the clay mixture is poured through. After further cleaning, this sand might be useful as foundry sand for making castings.
Step 5. Gravity settling and siphoning. After filtering through the paint strainer, the water+clay mixture is left to settle for several hours (12 to 24). A layer of thick clay sludge settles out on the bottom, and the water on top is siphoned off for reuse.
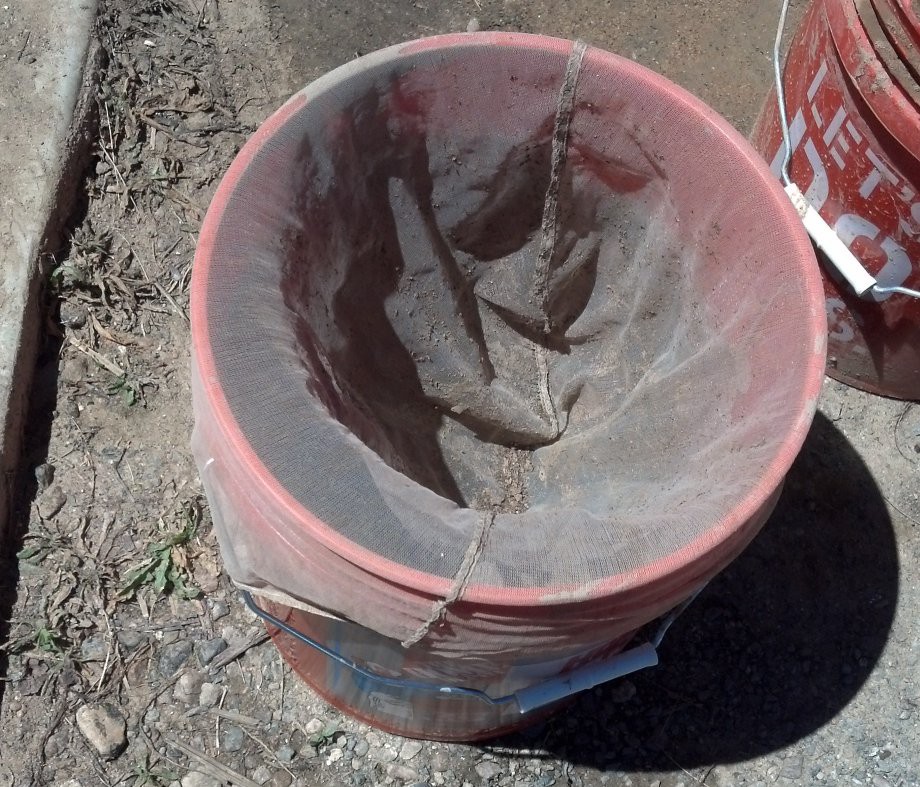
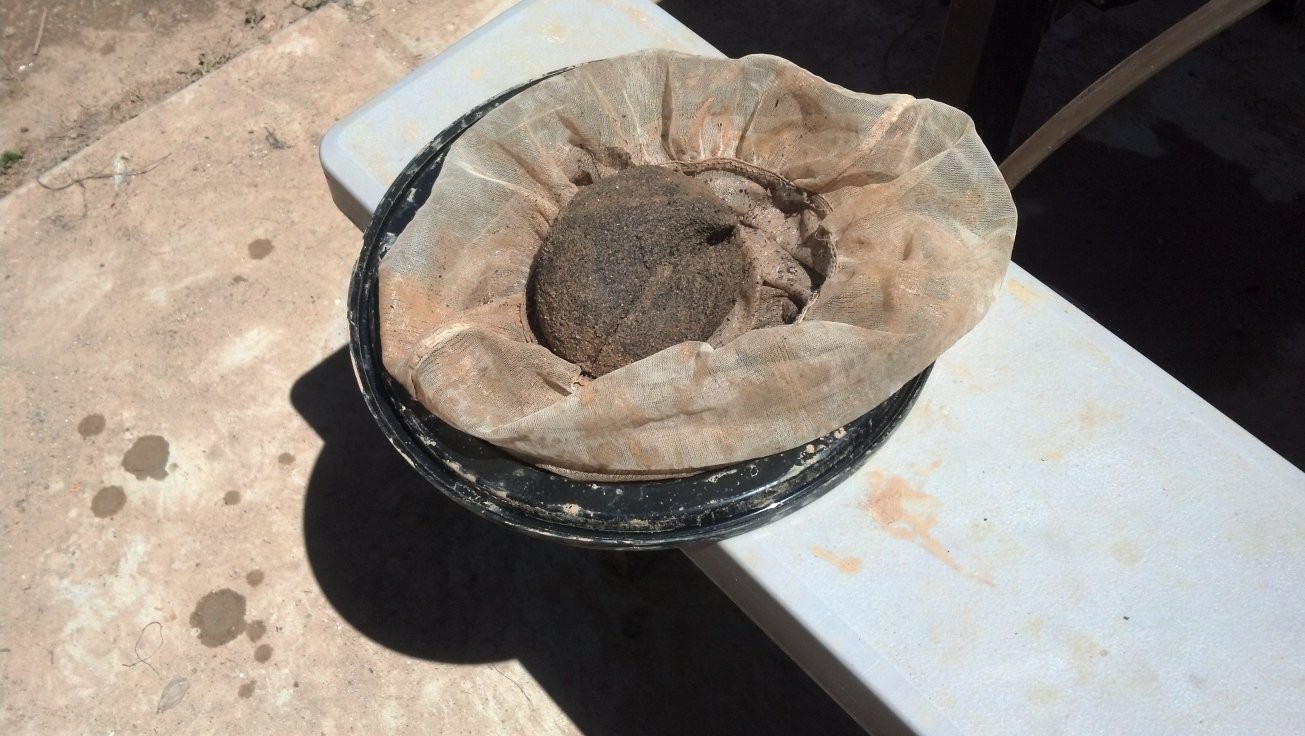
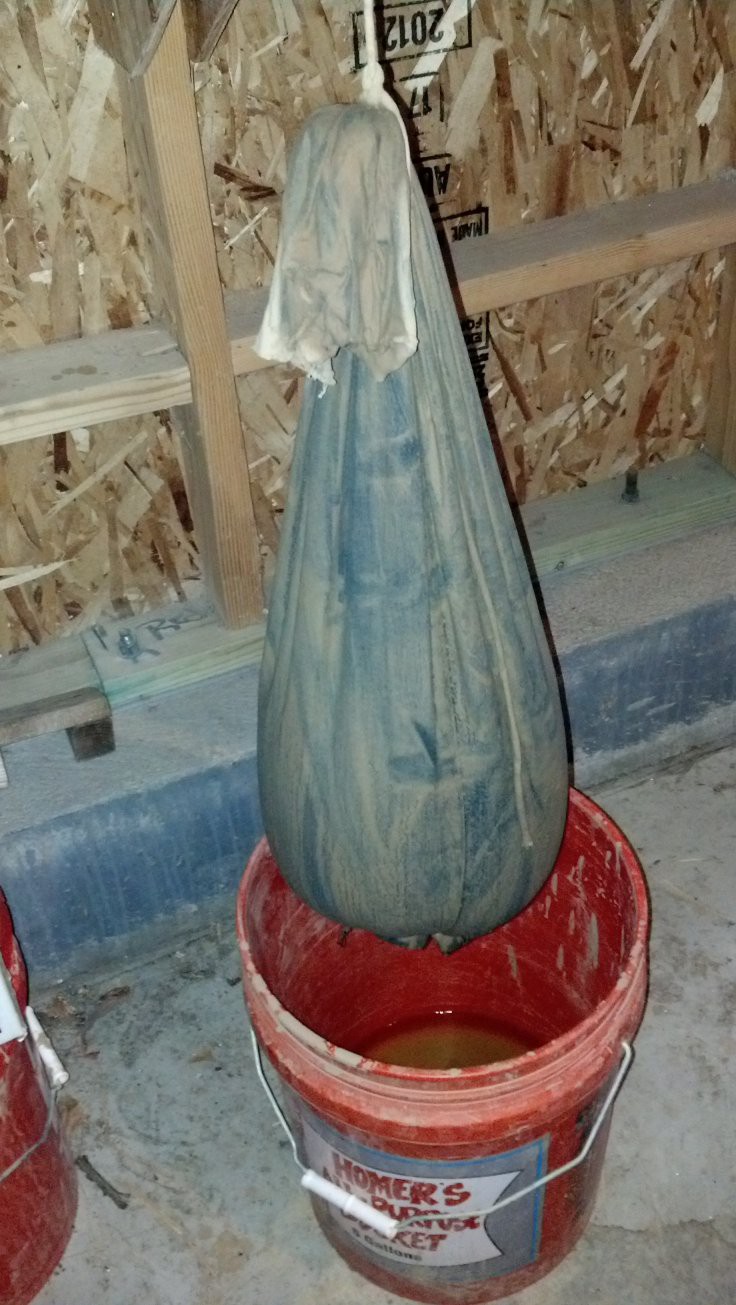
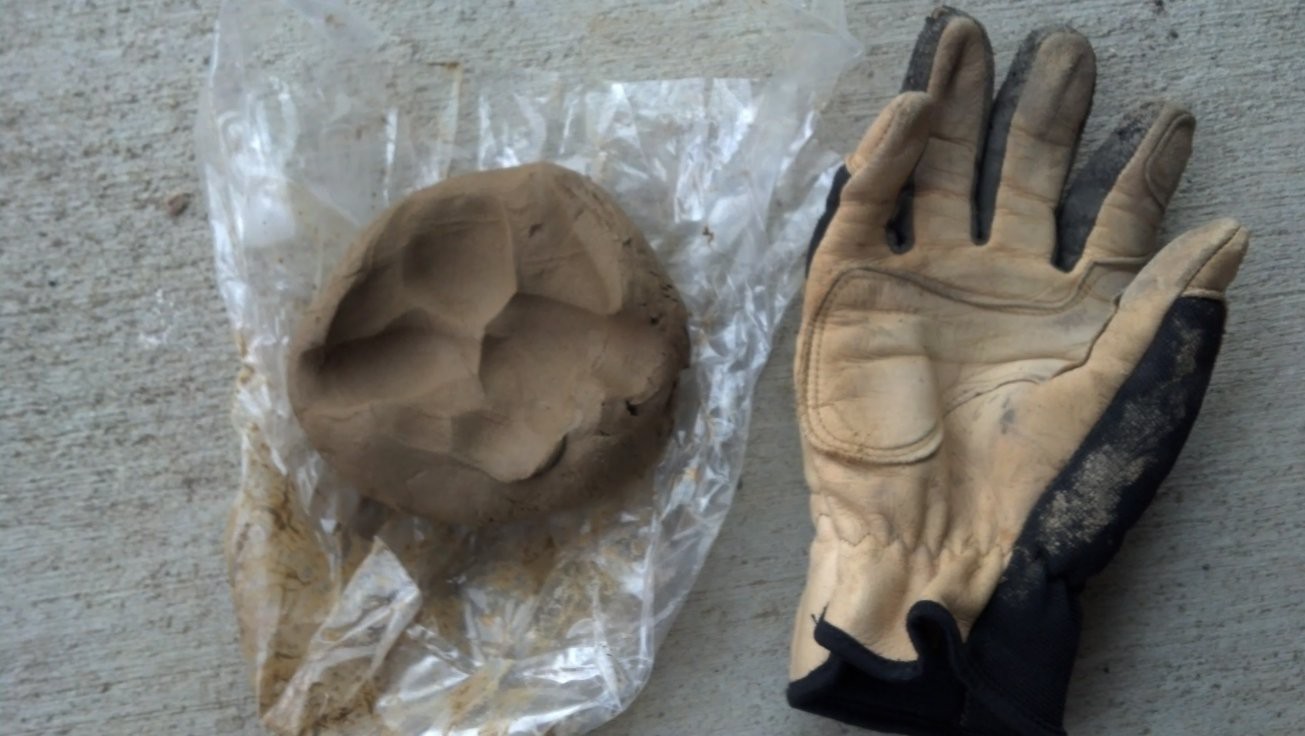
Step 6. Cloth bag. The thick clay sludge from Step 5 is scooped out with a plastic cup, and either placed in a bucket for long term storage, or dumped into a cloth bag. Yes, the cloth bag seen in the picture is the leg of an old pair of blue jeans that is tied off at each end. The clay stays in the cloth bag for a day or two or three as it dries out. When it is an acceptable consistency, the bag is opened, balls of clay are rolled into form and stored in sealed plastic bags for later use.
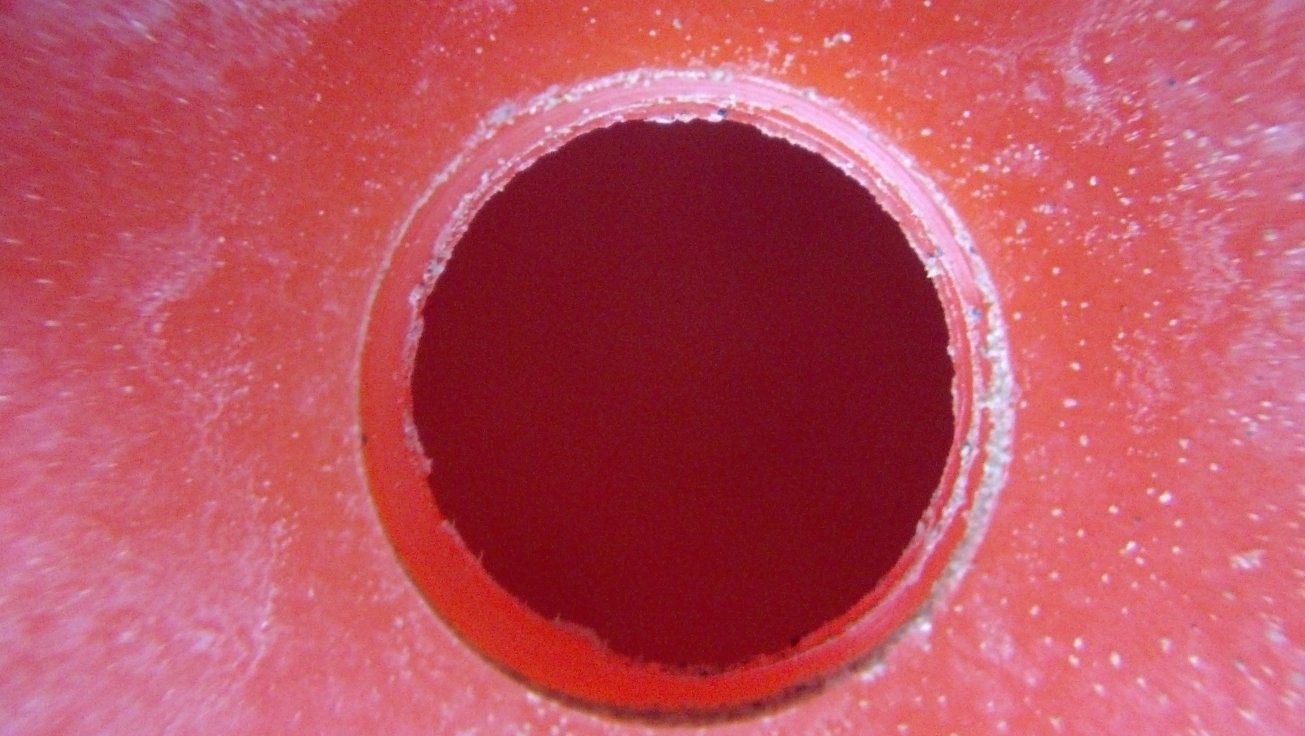
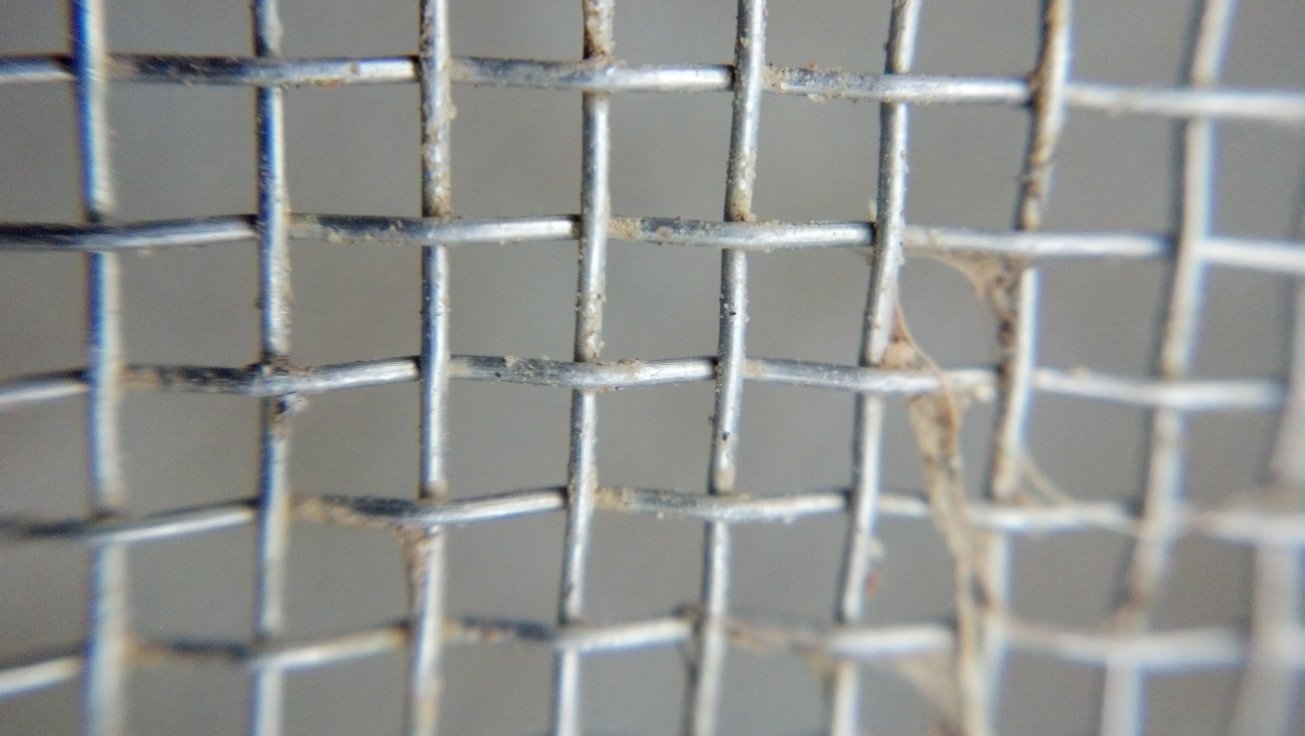
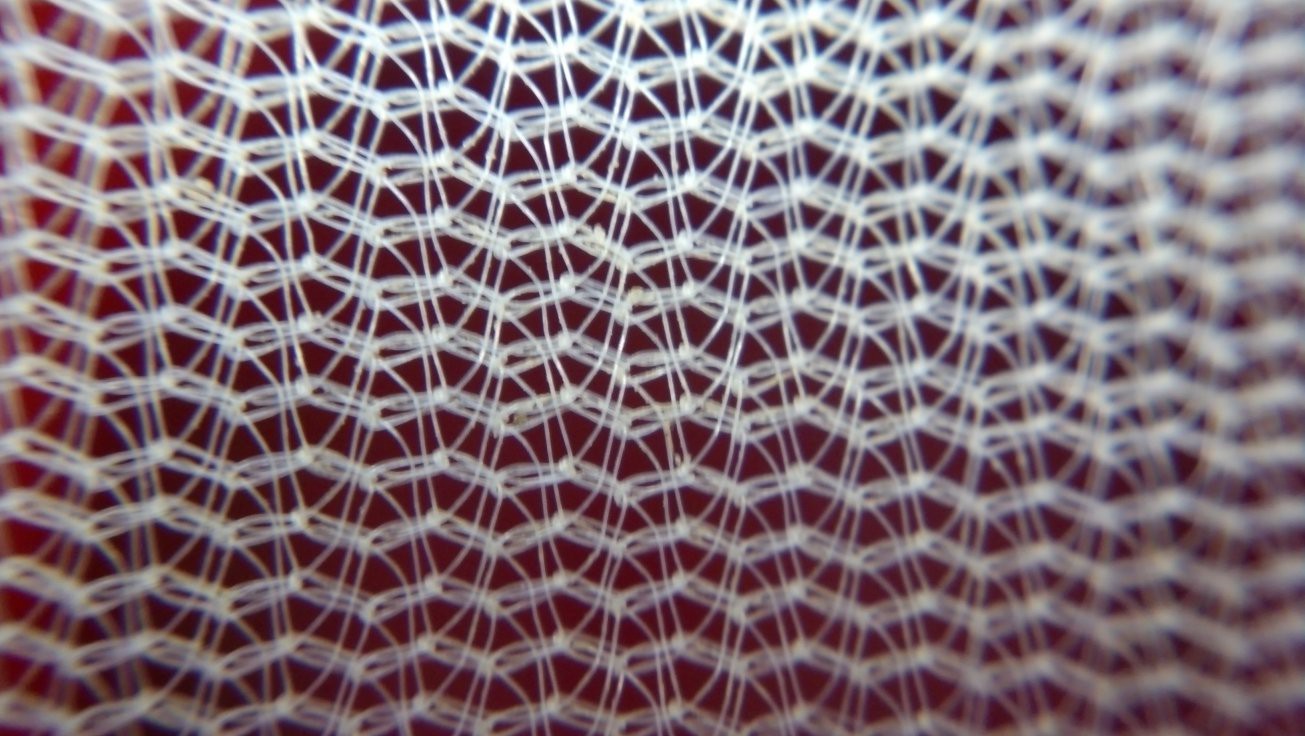
Filter Sizes. Just for fun, the last three pictures compare the size of holes in the three filter materials. The three pictures are at the same scale. Bucket sieve holes = 0.31 inch (7.8 mm) diameter; kitchen strainer holes = 0.08 inch (2.0 mm); paint strainer holes = 0.02 inch (0.5 mm).
Discussions
Become a Hackaday.io Member
Create an account to leave a comment. Already have an account? Log In.