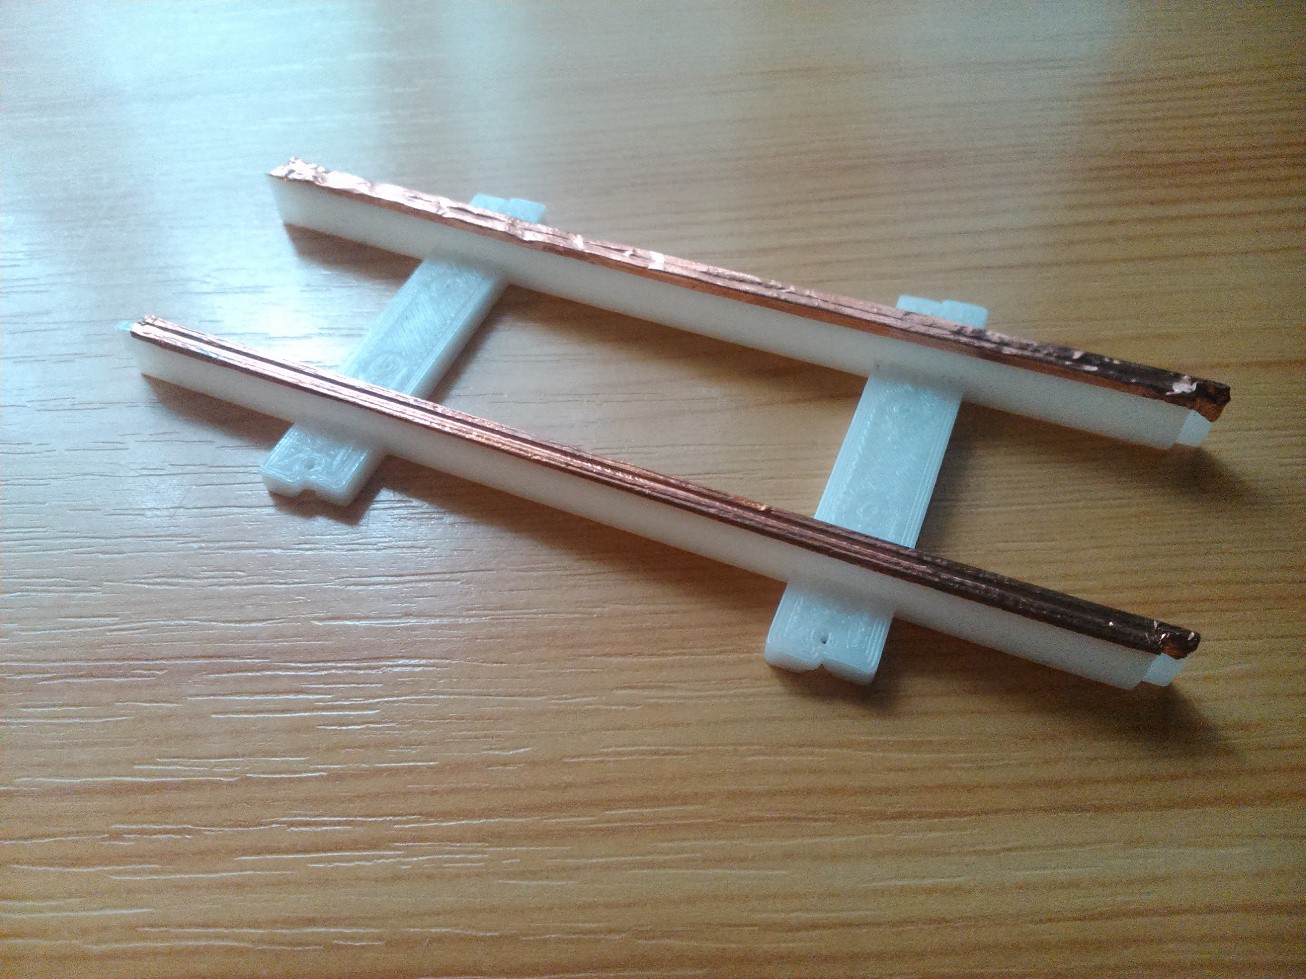
After a successful test run, it was time to take my build to the next level. Instead of using copper wire and soldering, I came up with a much better solution: tape the track surfaces with conductive foil. After a short searching, I found this on ebay. It works perfectly, low resistance, easy to work with, solderable. Also, the tracks look somewhat better now.

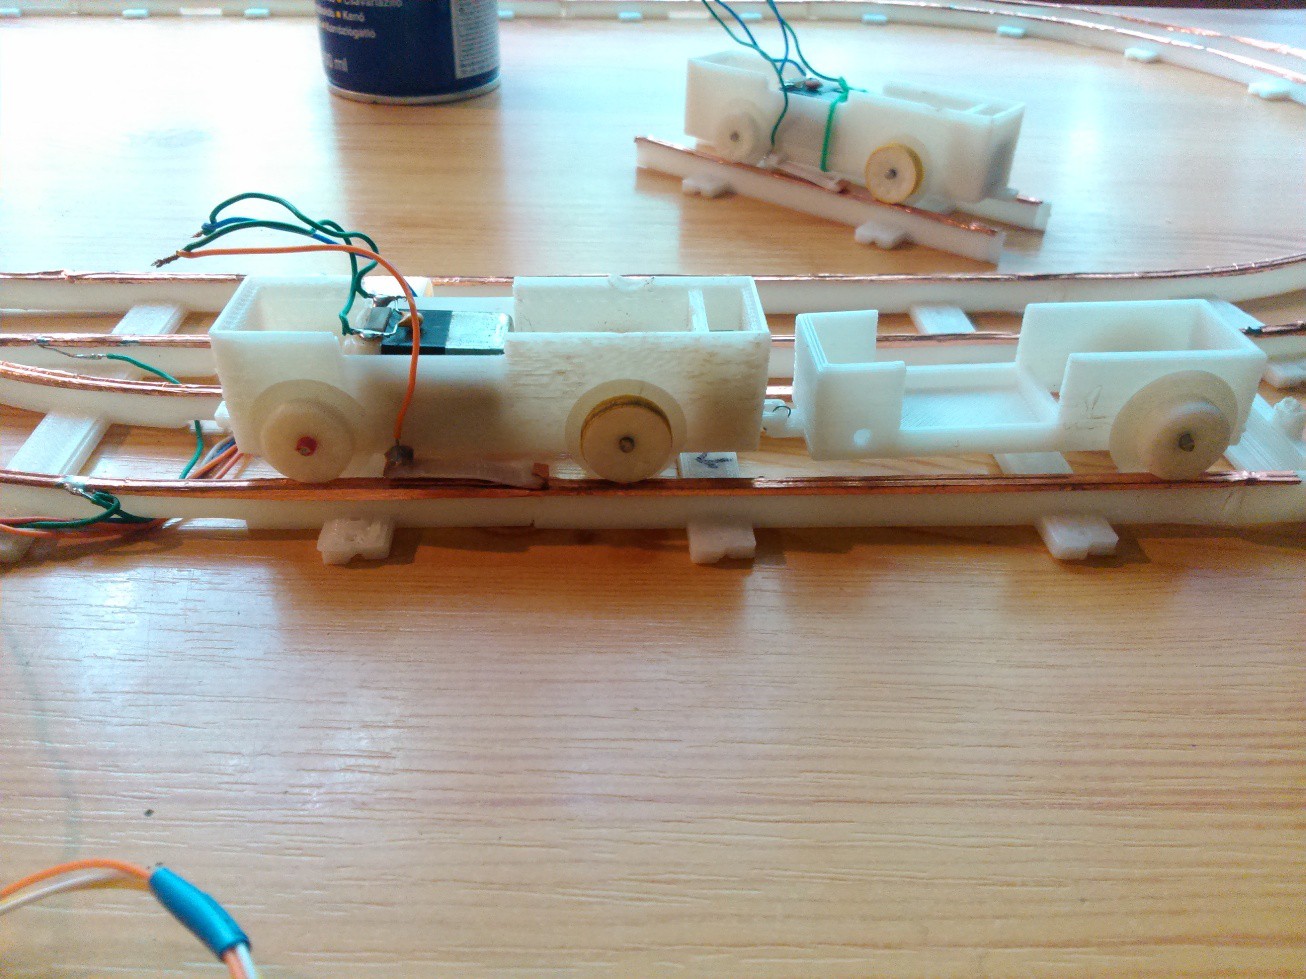
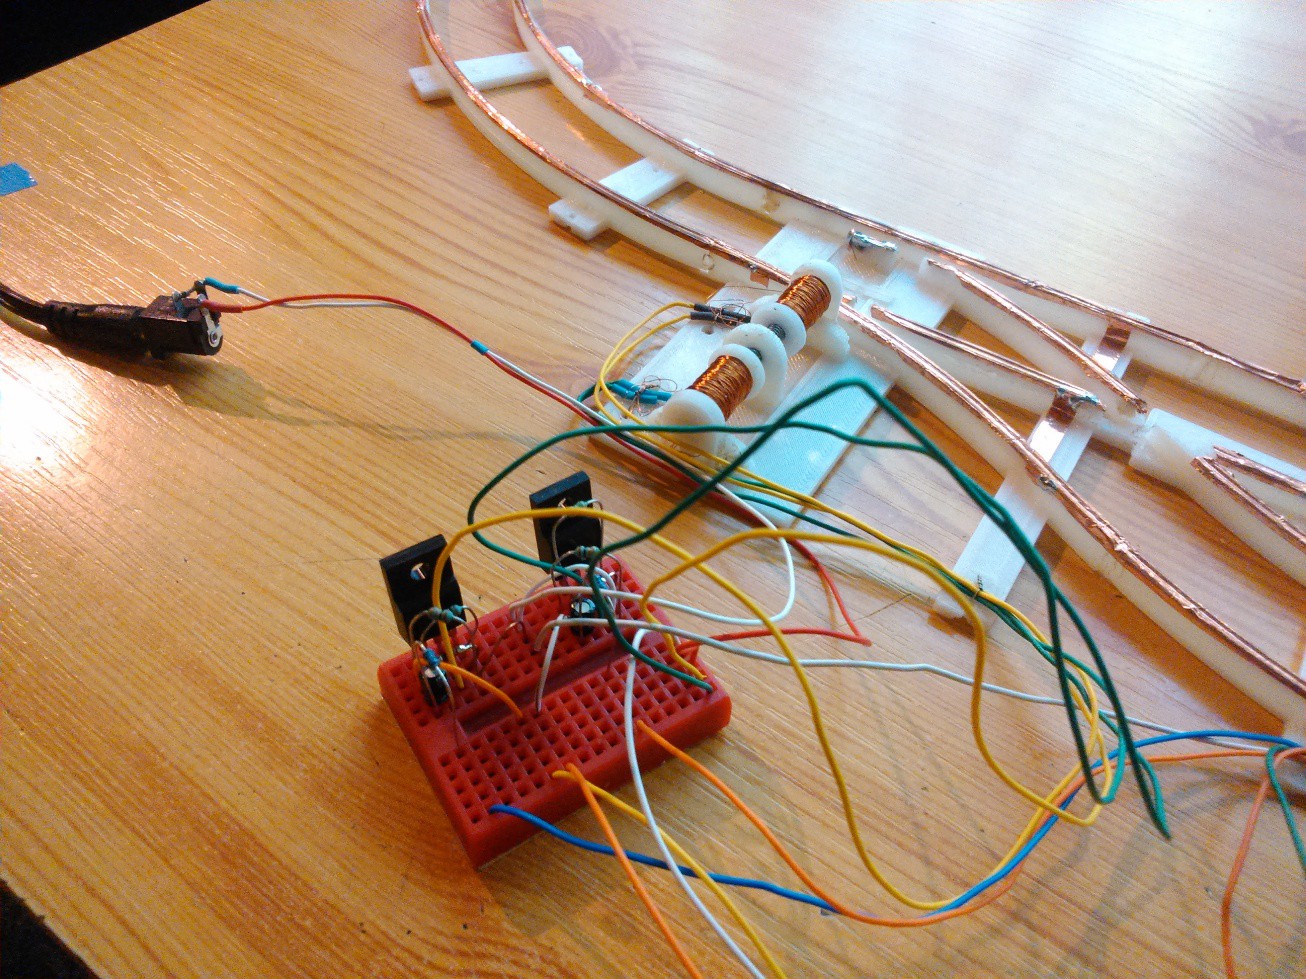
I also modified the models a bit. I added pantographs on the bottom of the train, and recycled the old one as a cargo wagon. They don't need any source of electricity built in anymore, as the power comes from the rails. Furthermore, I put a very simple and primitive remote control for it. The train is powered by 2pcs of AA cells wired in series, thus providing around 3 volts. The train is controlled by two SPDT buttons, for both directions. They are making a full H-bridge, basically. Finally, I made a switch, which is indeed important if you want more trains. It is operated by two solenoids which I printed myself, and coiled with a drill. I designed a driver circuit for it which also drives the LEDs showing the position of the switch. The driver circuit limits the on-time of the solenoid to about 1-2 secs, so that they consume less power and don't overheat. This will also make the programming easier, as you only need to set a pin high to switch without having to add any delay or something. But for now, it is also controlled manually by an SPDT switch.
 |  |
So far so good. Furtanately, everything is working out well. The next big step will be to make the prototypes into PCBs, and finally put the two big parts together, and integrate the electronics into the hardware. If you want to see it in action, watch this video:
 Szabolcs Lőrincz
Discussions
Become a Hackaday.io Member
Create an account to leave a comment. Already have an account? Log In.