 polyfractal
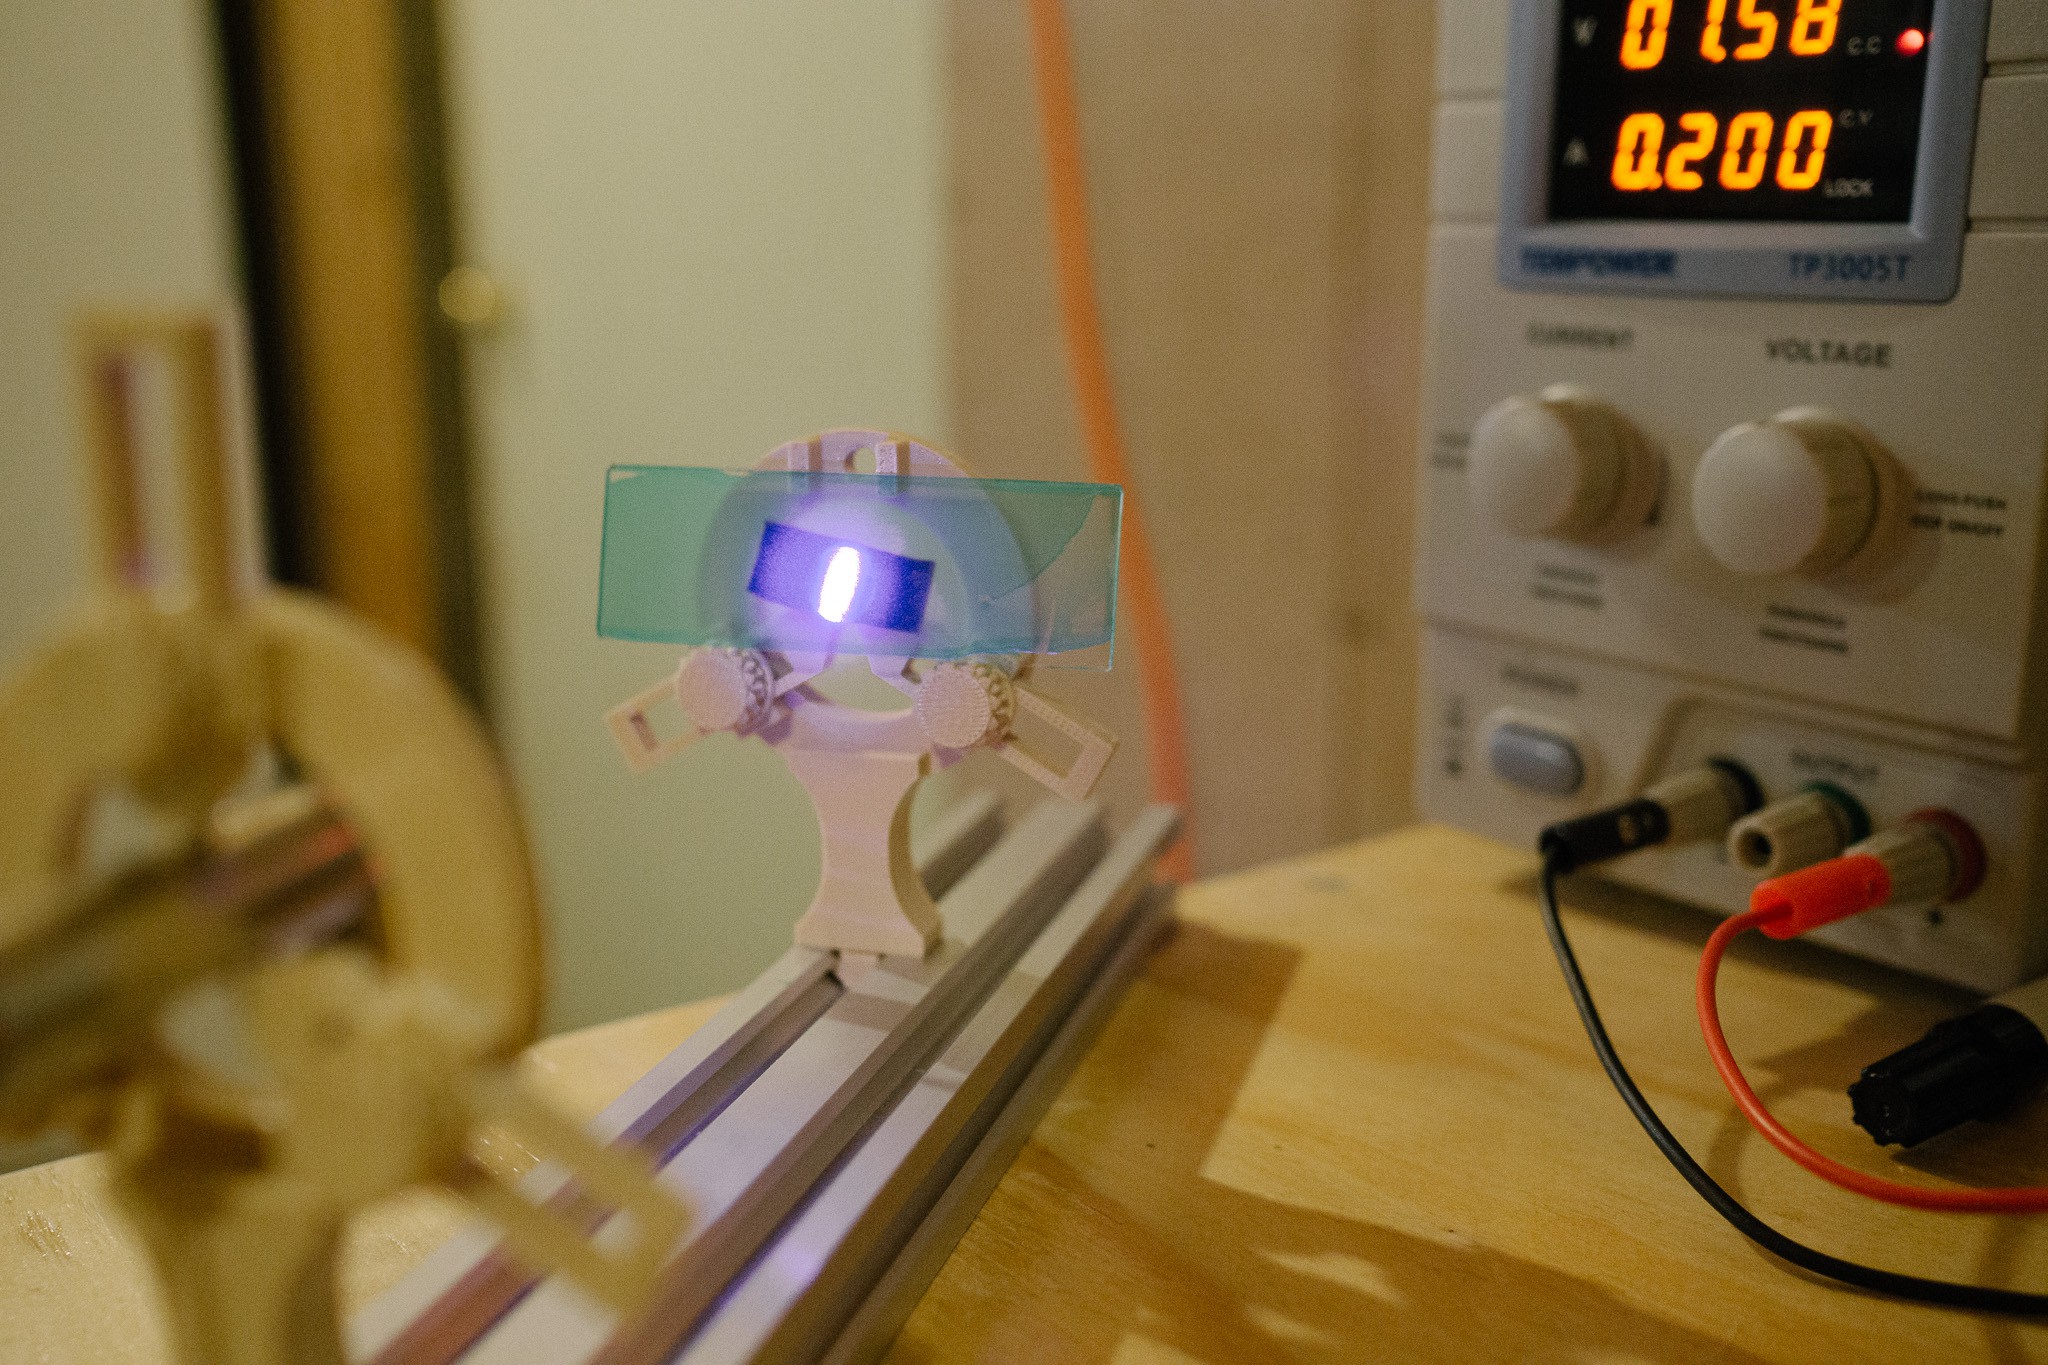
I'm currently waiting on a shipment of chemicals to arrive so I can develop my photoresist-coated slides. But I just couldn't resist (har har har) doing a quick test to see if the projector and/or laser put out enough power to actually develop the resist.
Tl;dr: they do :)
The laser I have is a cheap 25mw 405nm laser with a "focusable" point. I bought it for $15 on amazon. The package says "4-5V, <65mW", and I've read online that laser diodes prefer constant current. I think it's because constant voltage can lead to runaway thermal problems (e.g. the diode heats up which causes resistance to drop, which then draws more current, heats up more, draws more current, etc). But I only quickly skimmed the material so that may be wrong.
In any case, the diode is probably way out of spec. At <65mW the diode doesn't even light up. It seems to like 150-300mW and under CC it usually pulls ~1.5V. I have no idea why/what's going on. I also have no way of testing the actual laser power output, and nothing to compare against, so who knows. :)
Obligatory disclaimer: If you work with lasers, wear properly rated laser goggles! Short wavelengths are particularly troublesome, since our eyes aren't very sensitive to short wavelengths. E.g. a 25mw green laser will look much brighter than a 25mw violet laser.
This can be dangerous because your body's natural defense mechanism is to blink when dangerously bright light hits it. But since your eye is less sensitive to short wavelengths, the blink response is delayed or entirely absent... despite the fact that the same amount of radiation is hitting your retina.
So be safe, wear safety goggles!
For a crude test, I took one of the spin-coated slides and set it in the path of the laser and let it expose for ~5min at low power. Then I cranked the laser up a bit, moved the slide and repeated twice more.
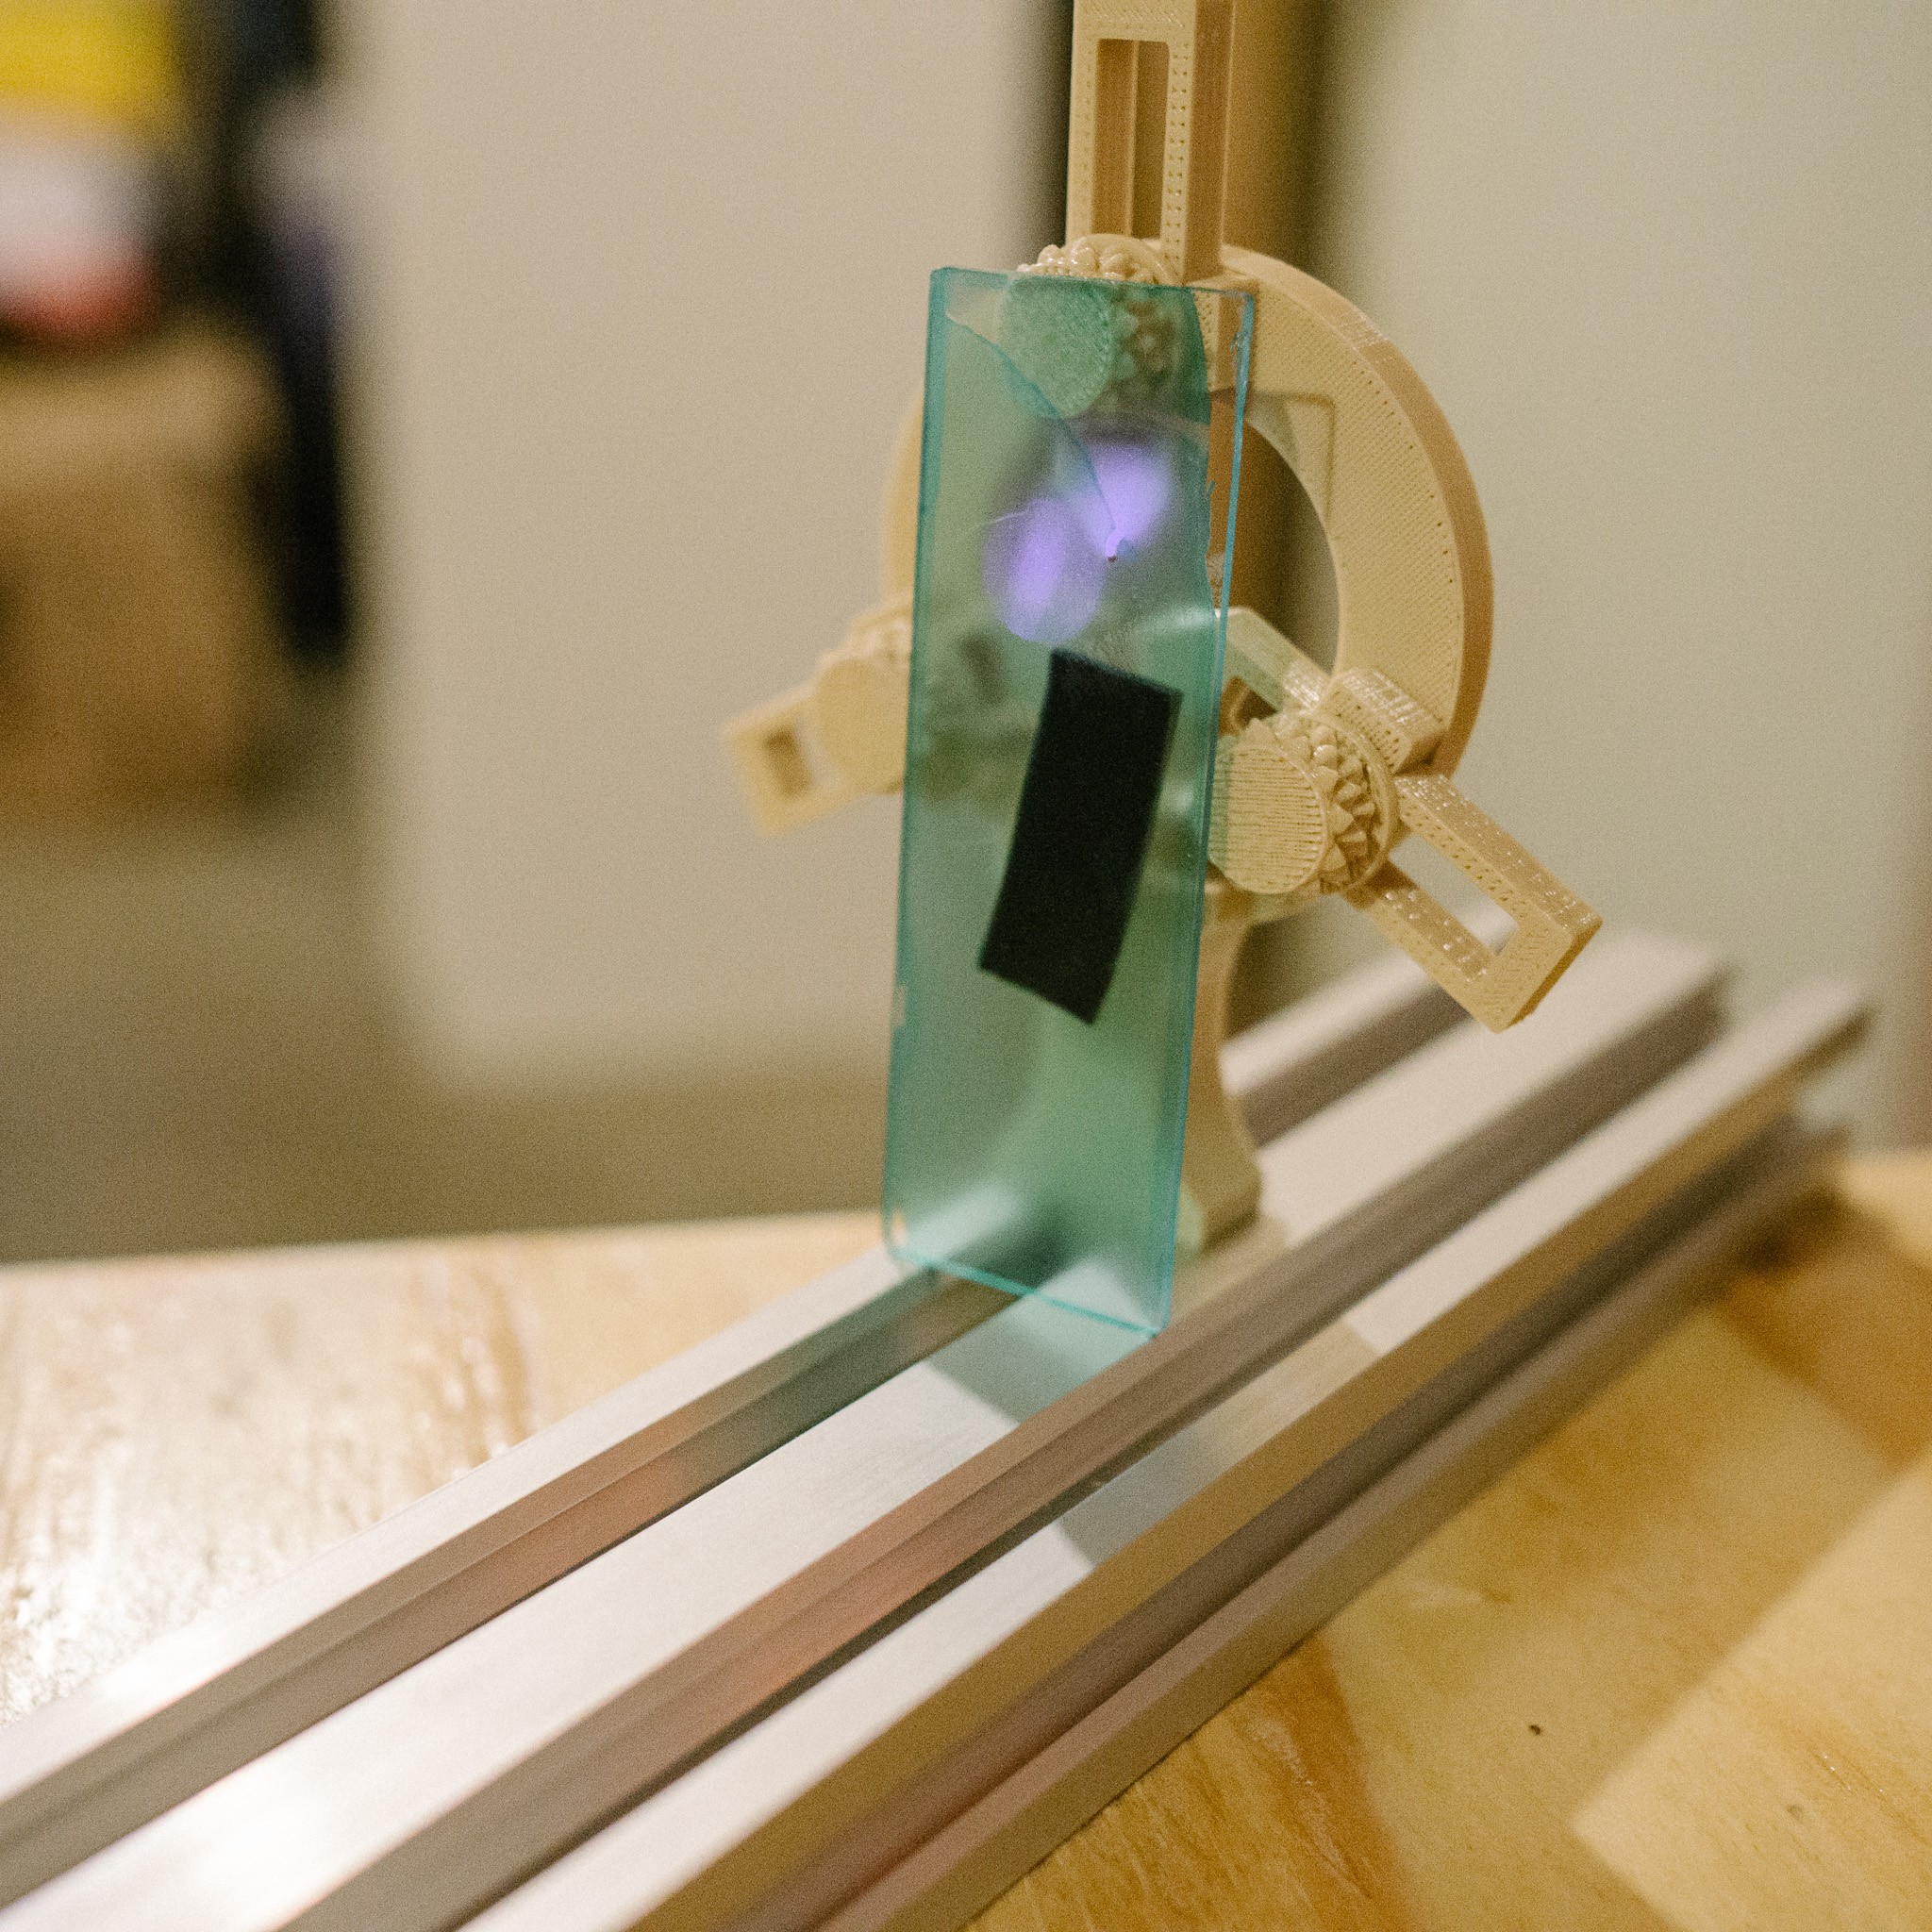

As I mentioned at the top, I don't have the proper chemicals for developing the resist (yet), but I did a quick test with acetone just to see. Acetone will remove the undeveloped photoresist, although I think it also takes off some of the developed stuff too unless you are really gentle.
Still, the results were encouraging!

I hoped/expected the laser would work, but I was much less sure about the projector light since the 405nm component is likely quite a bit weaker. But easy enough to test out!
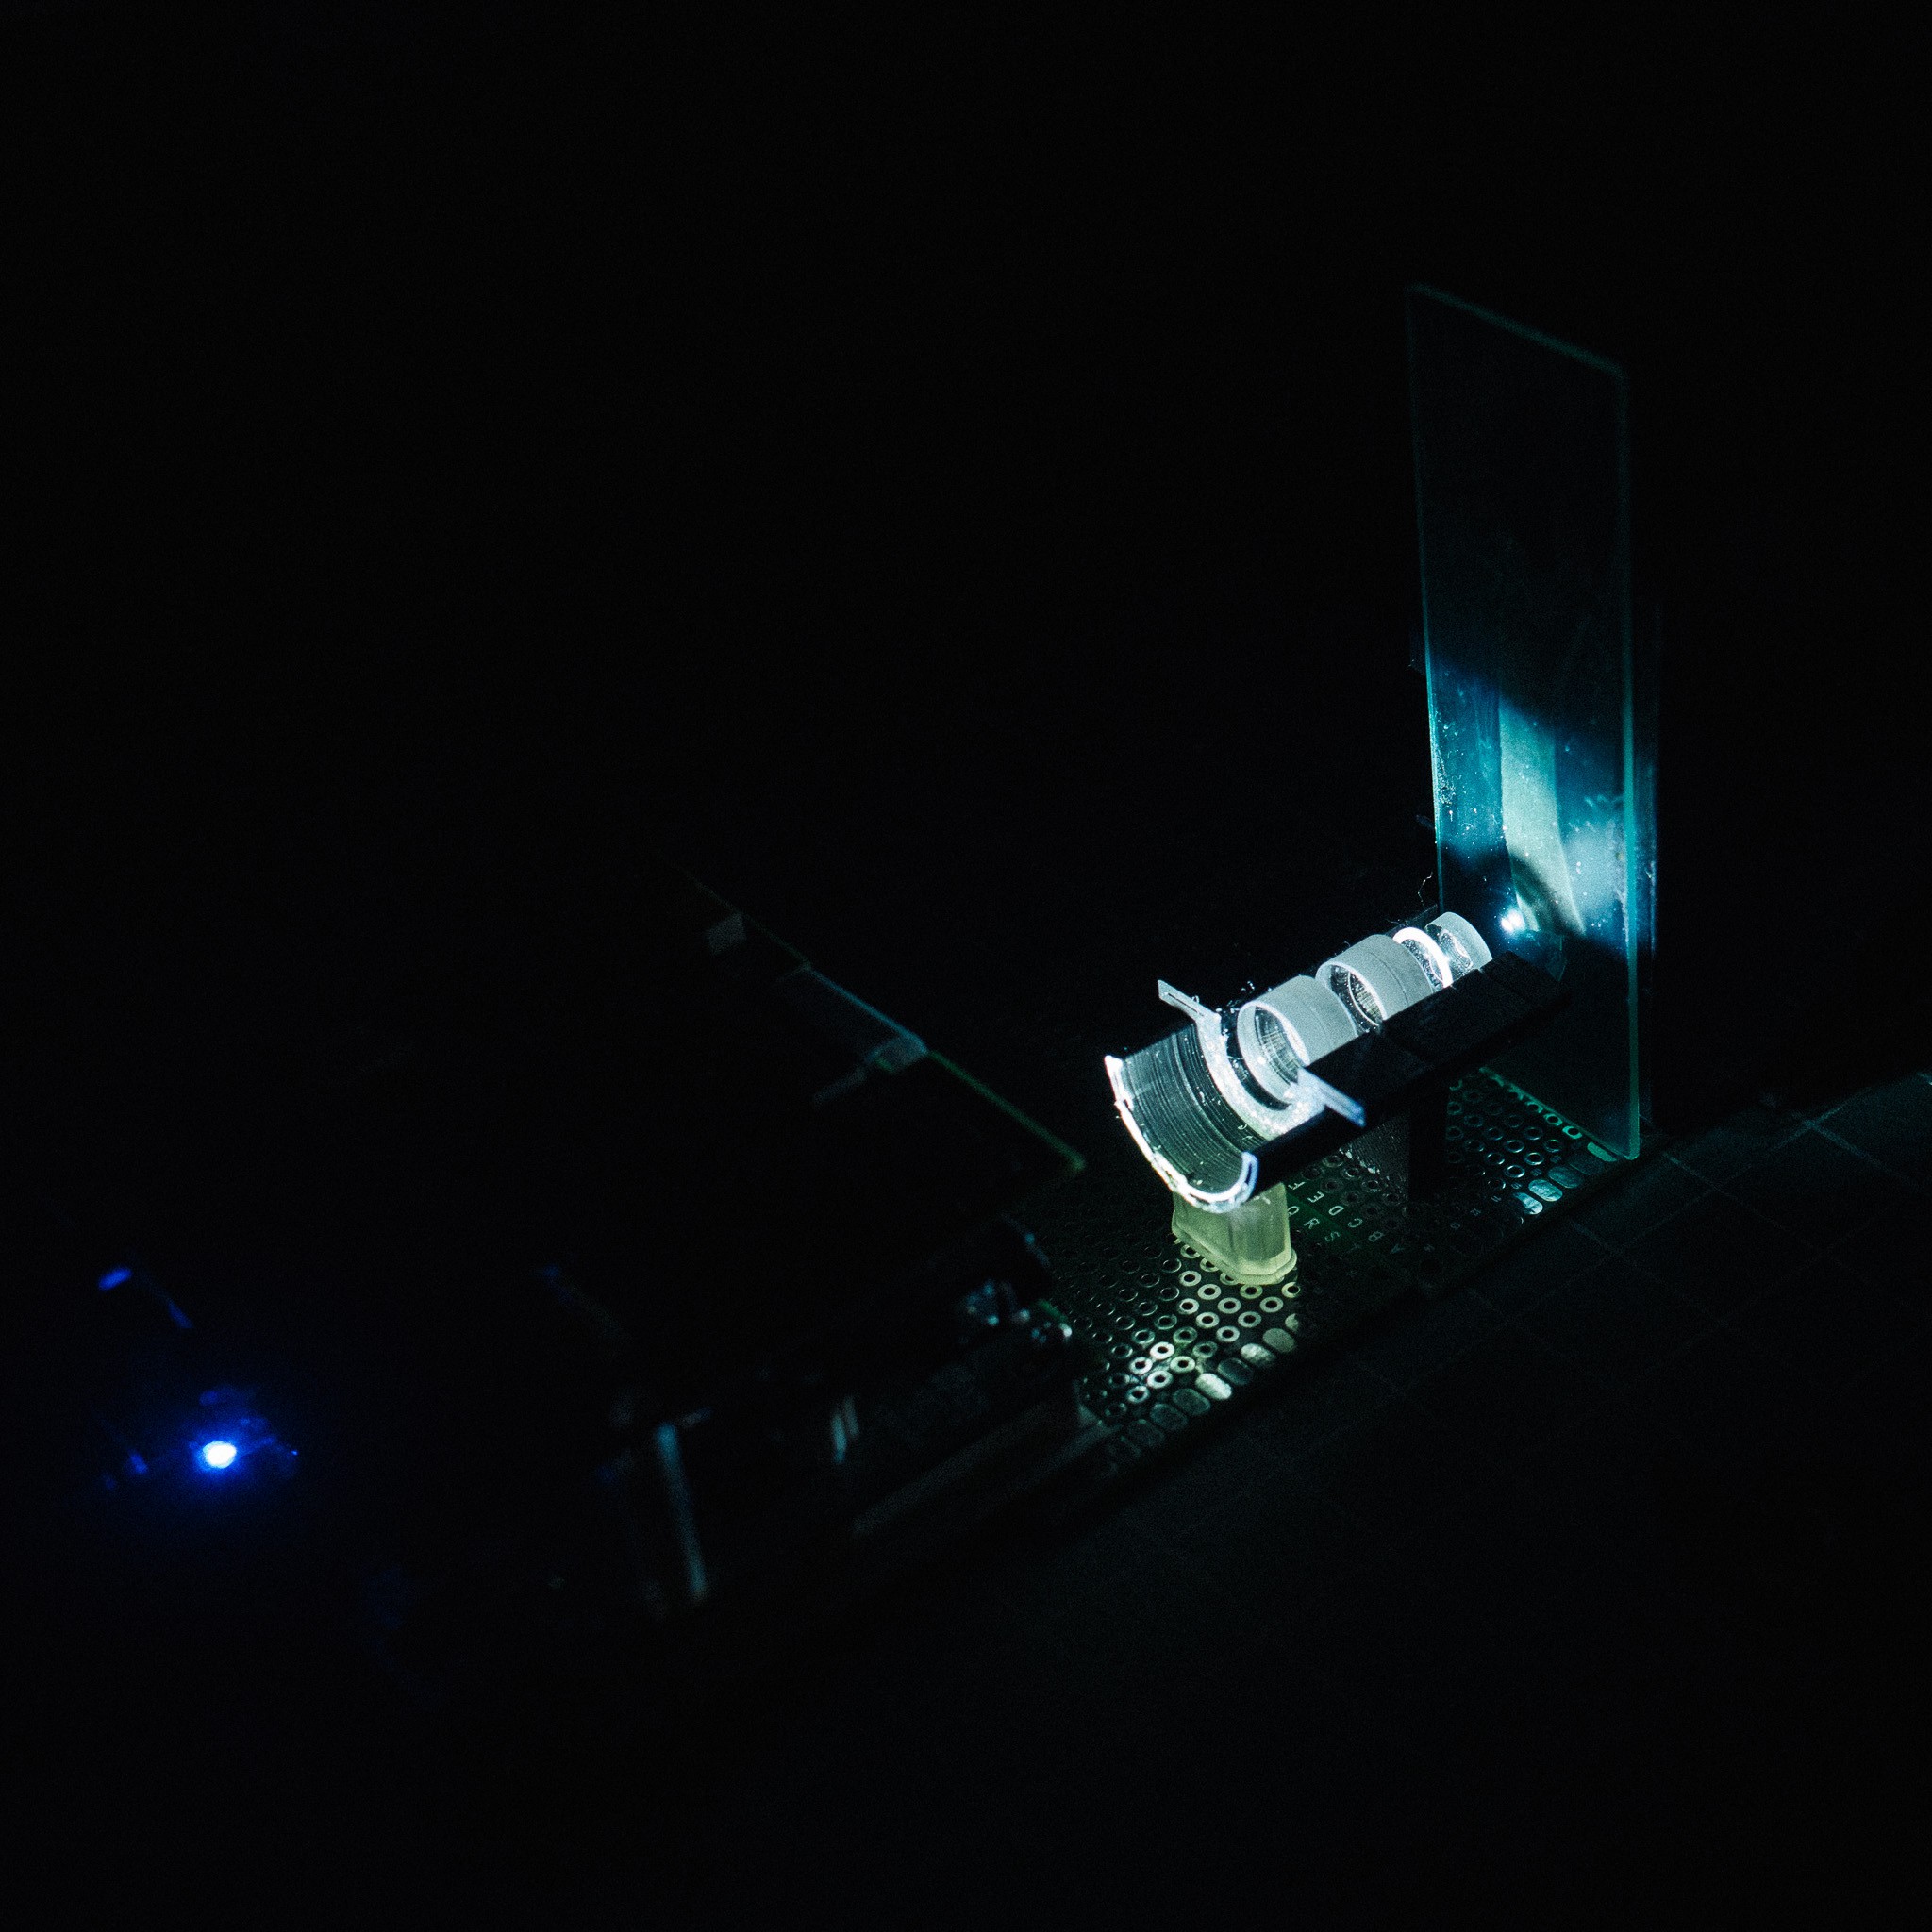
Remarkably, the projector worked too! After a gentle acetone rinse, there were two tiny little rectangles left on the slide. How good of resolution did I get on the test pattern? Well, here's one of the exposures under a microscope: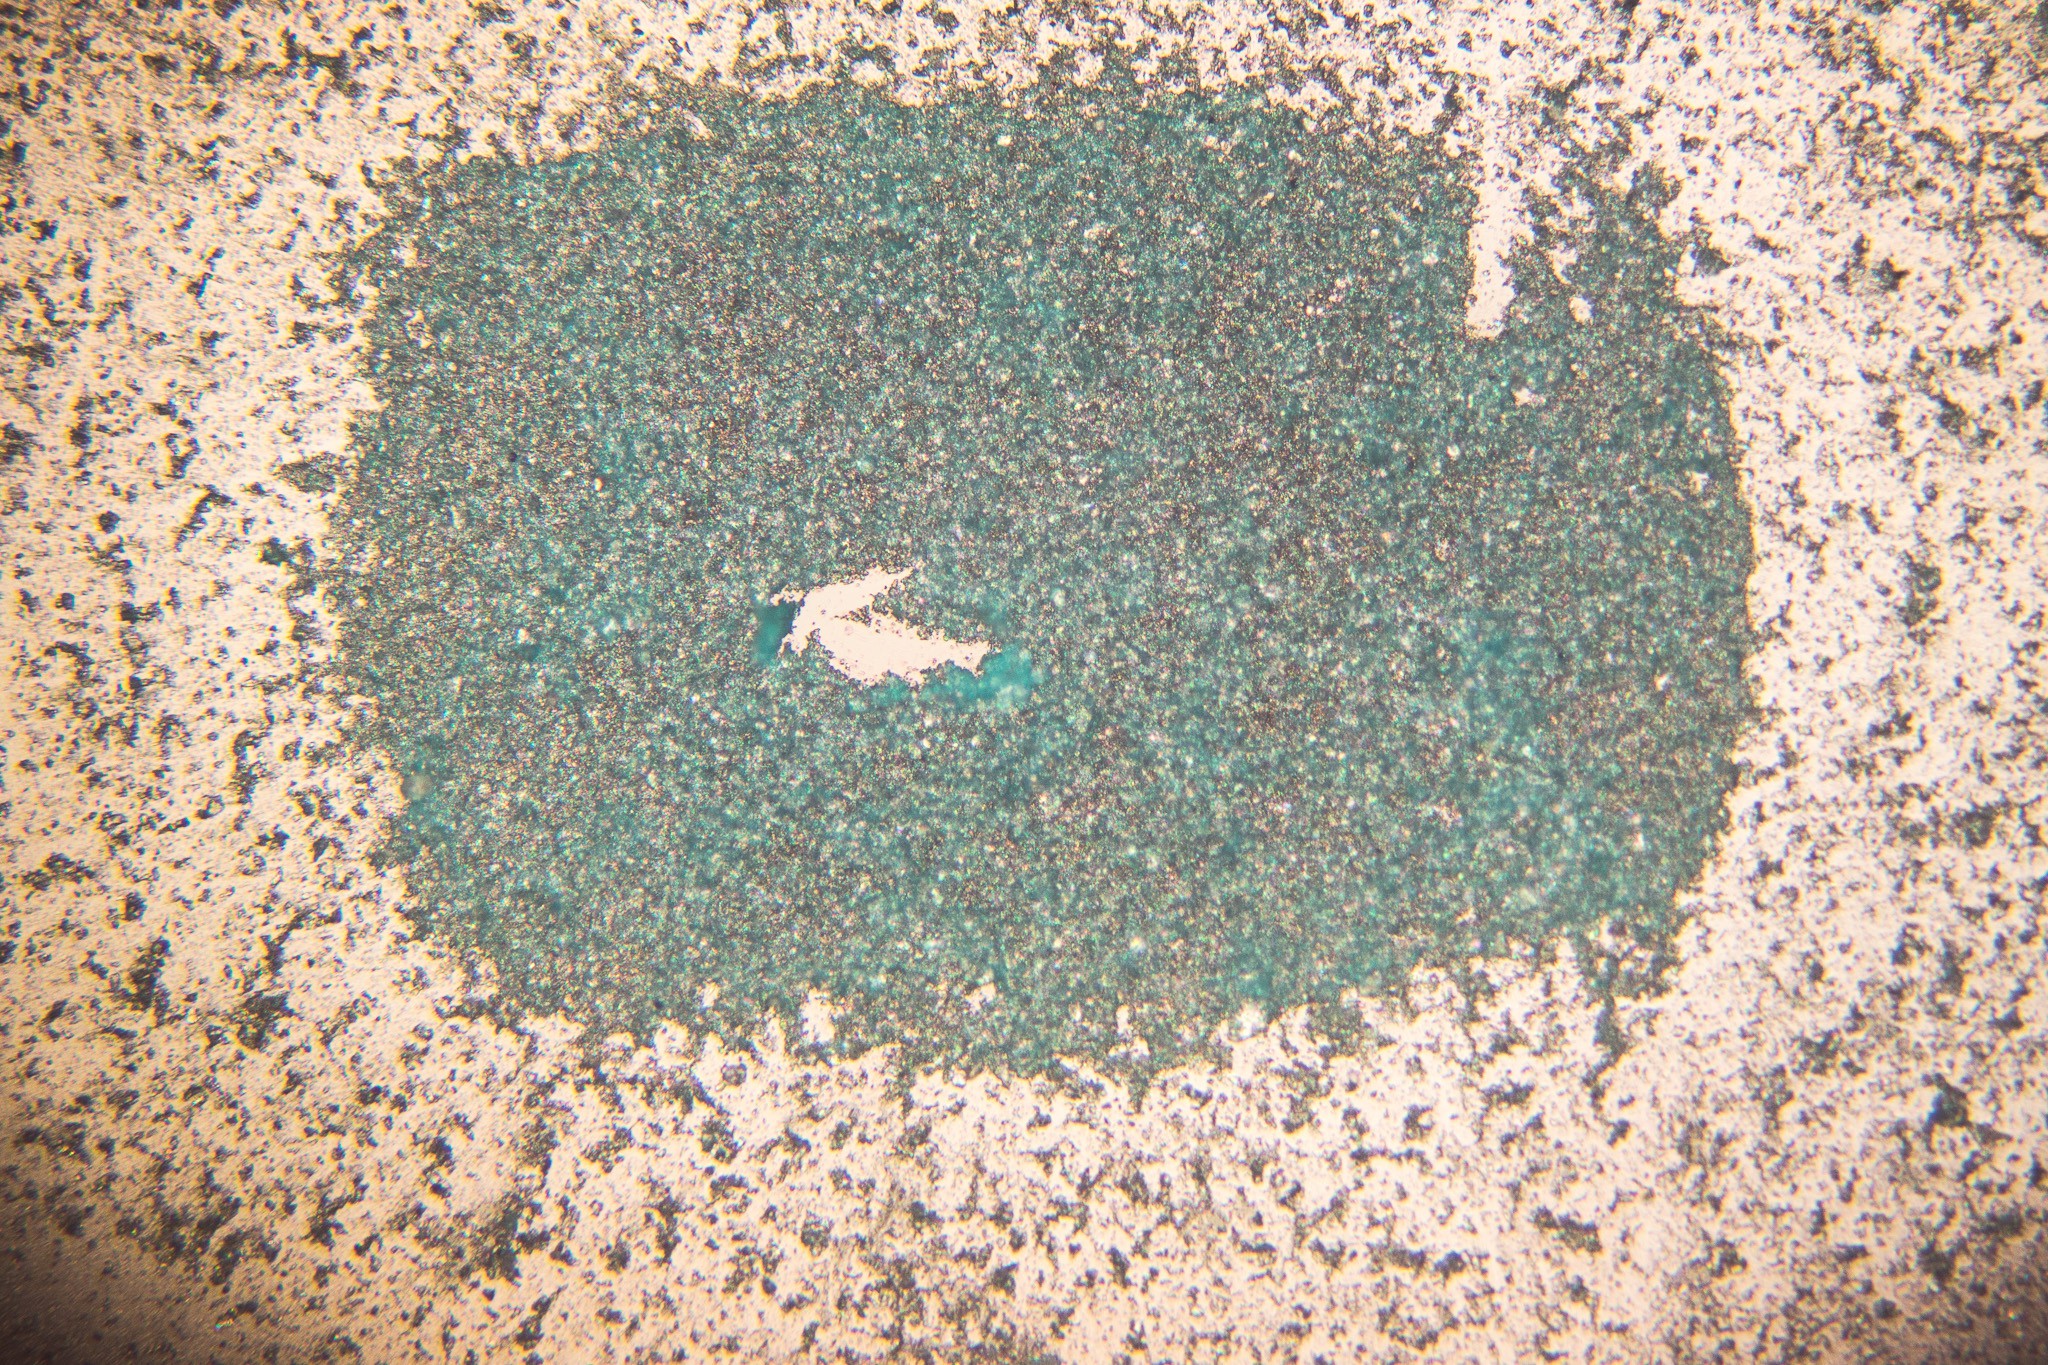 So uh, yeah. Not so hot :)
There are a number of things likely going on here. Firstly, the projector was probably not focused well. And the optic "bench" had tons of diffuse light spill from the projector, which would we trapped in the final build. So that probably helped expose sections that shouldn't have been exposed.
Then there's the acetone wash, which clearly does a bad job at developing. It doesn't cleanly remove everything, and seems to make the resist clump up. So that may have ruined any potential details.
Lastly, there's the resist itself. It's very possible the coating thickness was wrong. And I suspect I need to filter the resist after diluting with acetone. I did some reading and found mention that resists can suffer "solvent shock" if diluted with too much solvent, leading to large clumps that precipitate out.
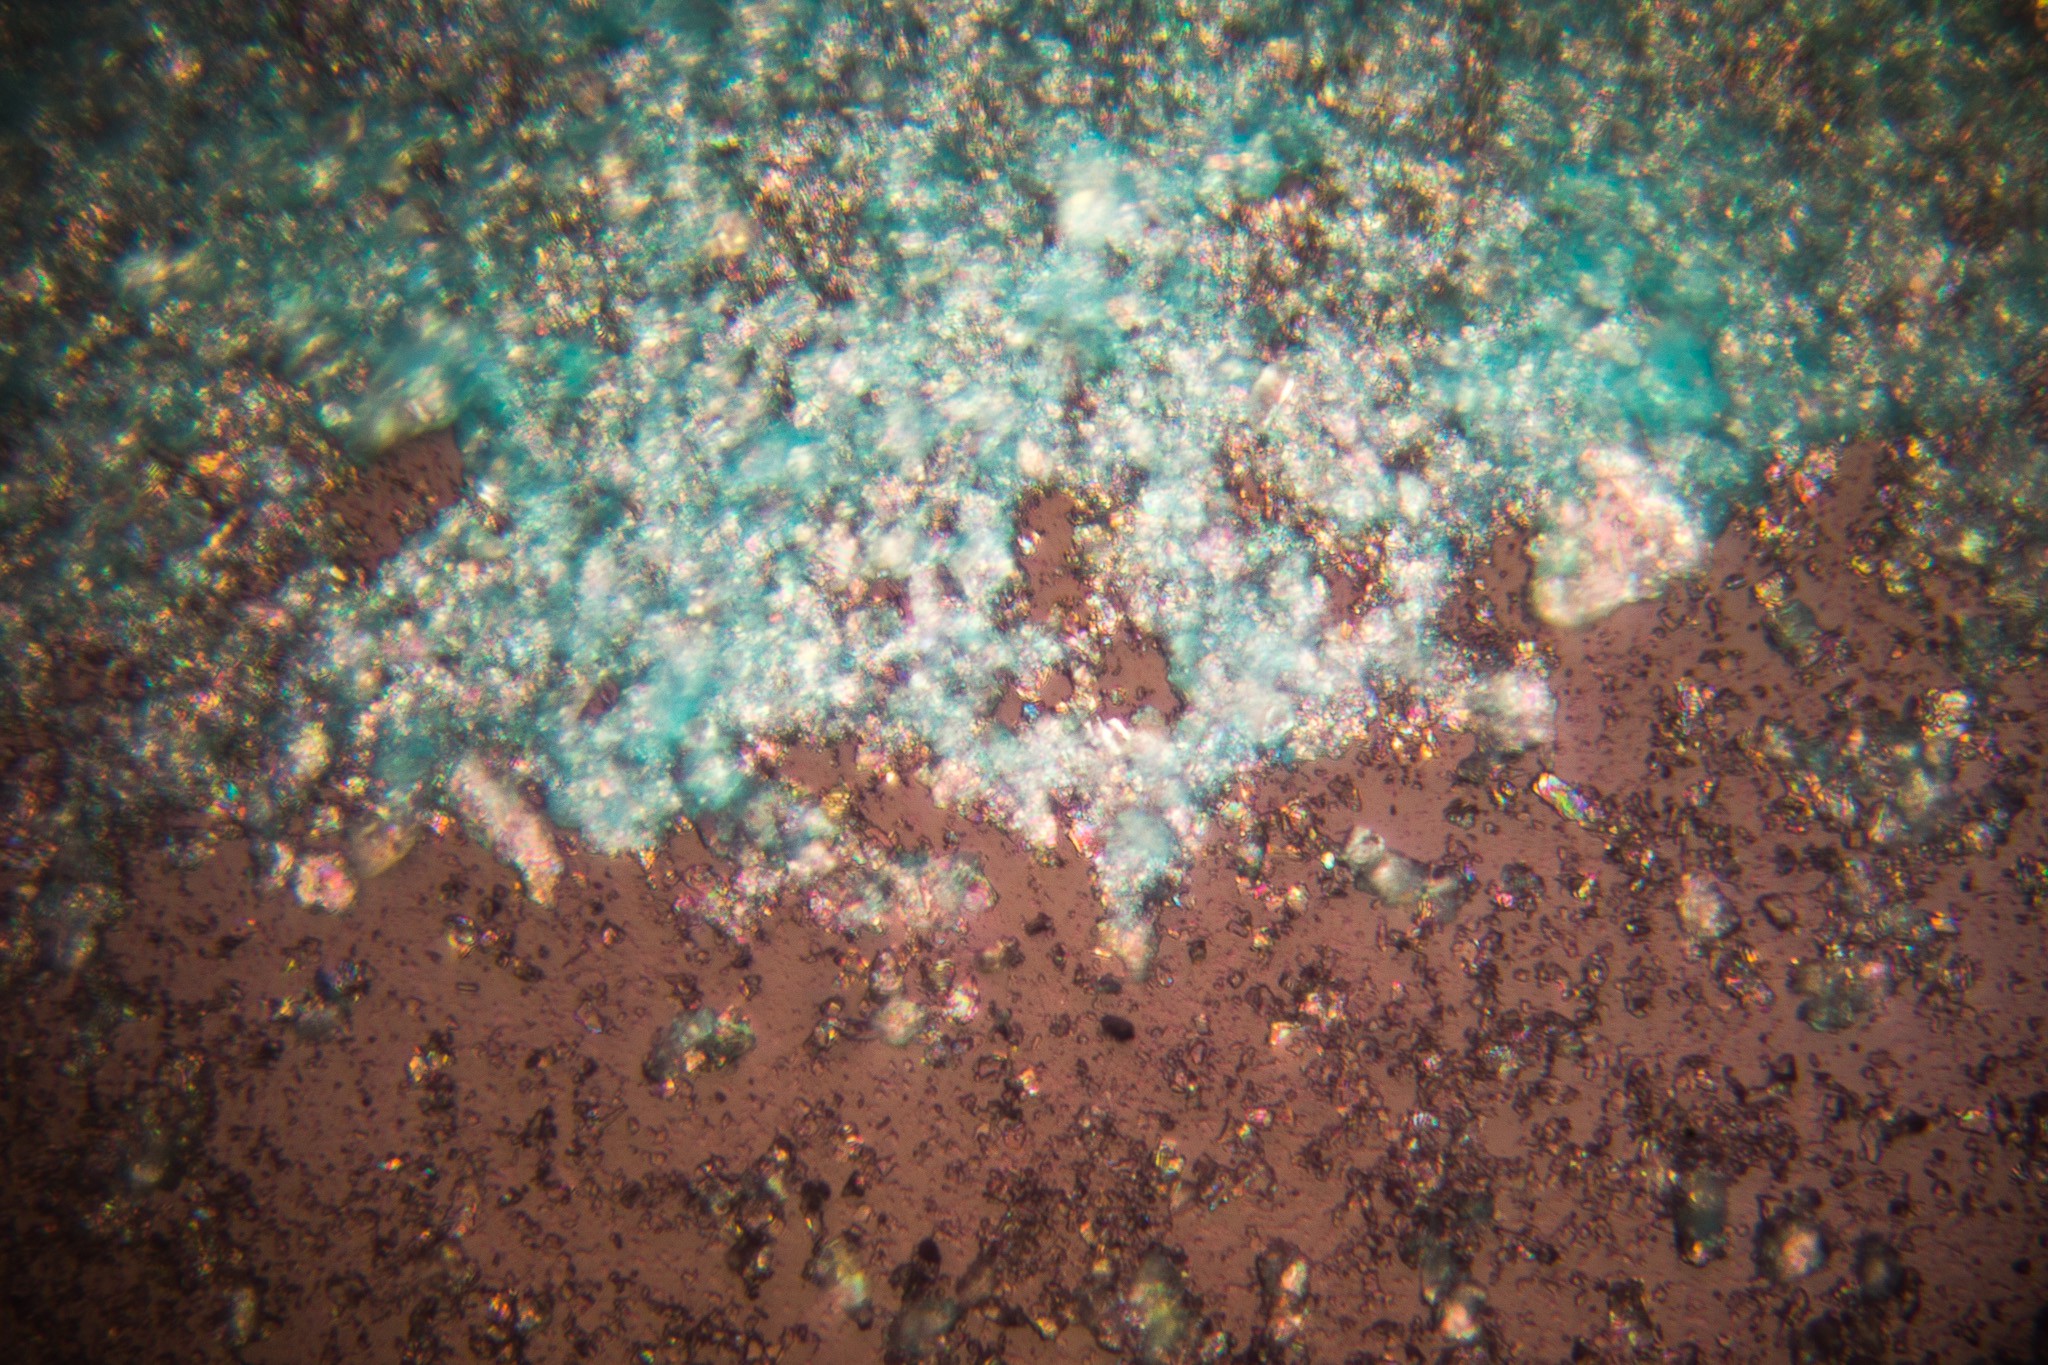
On higher magnification, you can see how "grainy" the texture is. 20x magnification:
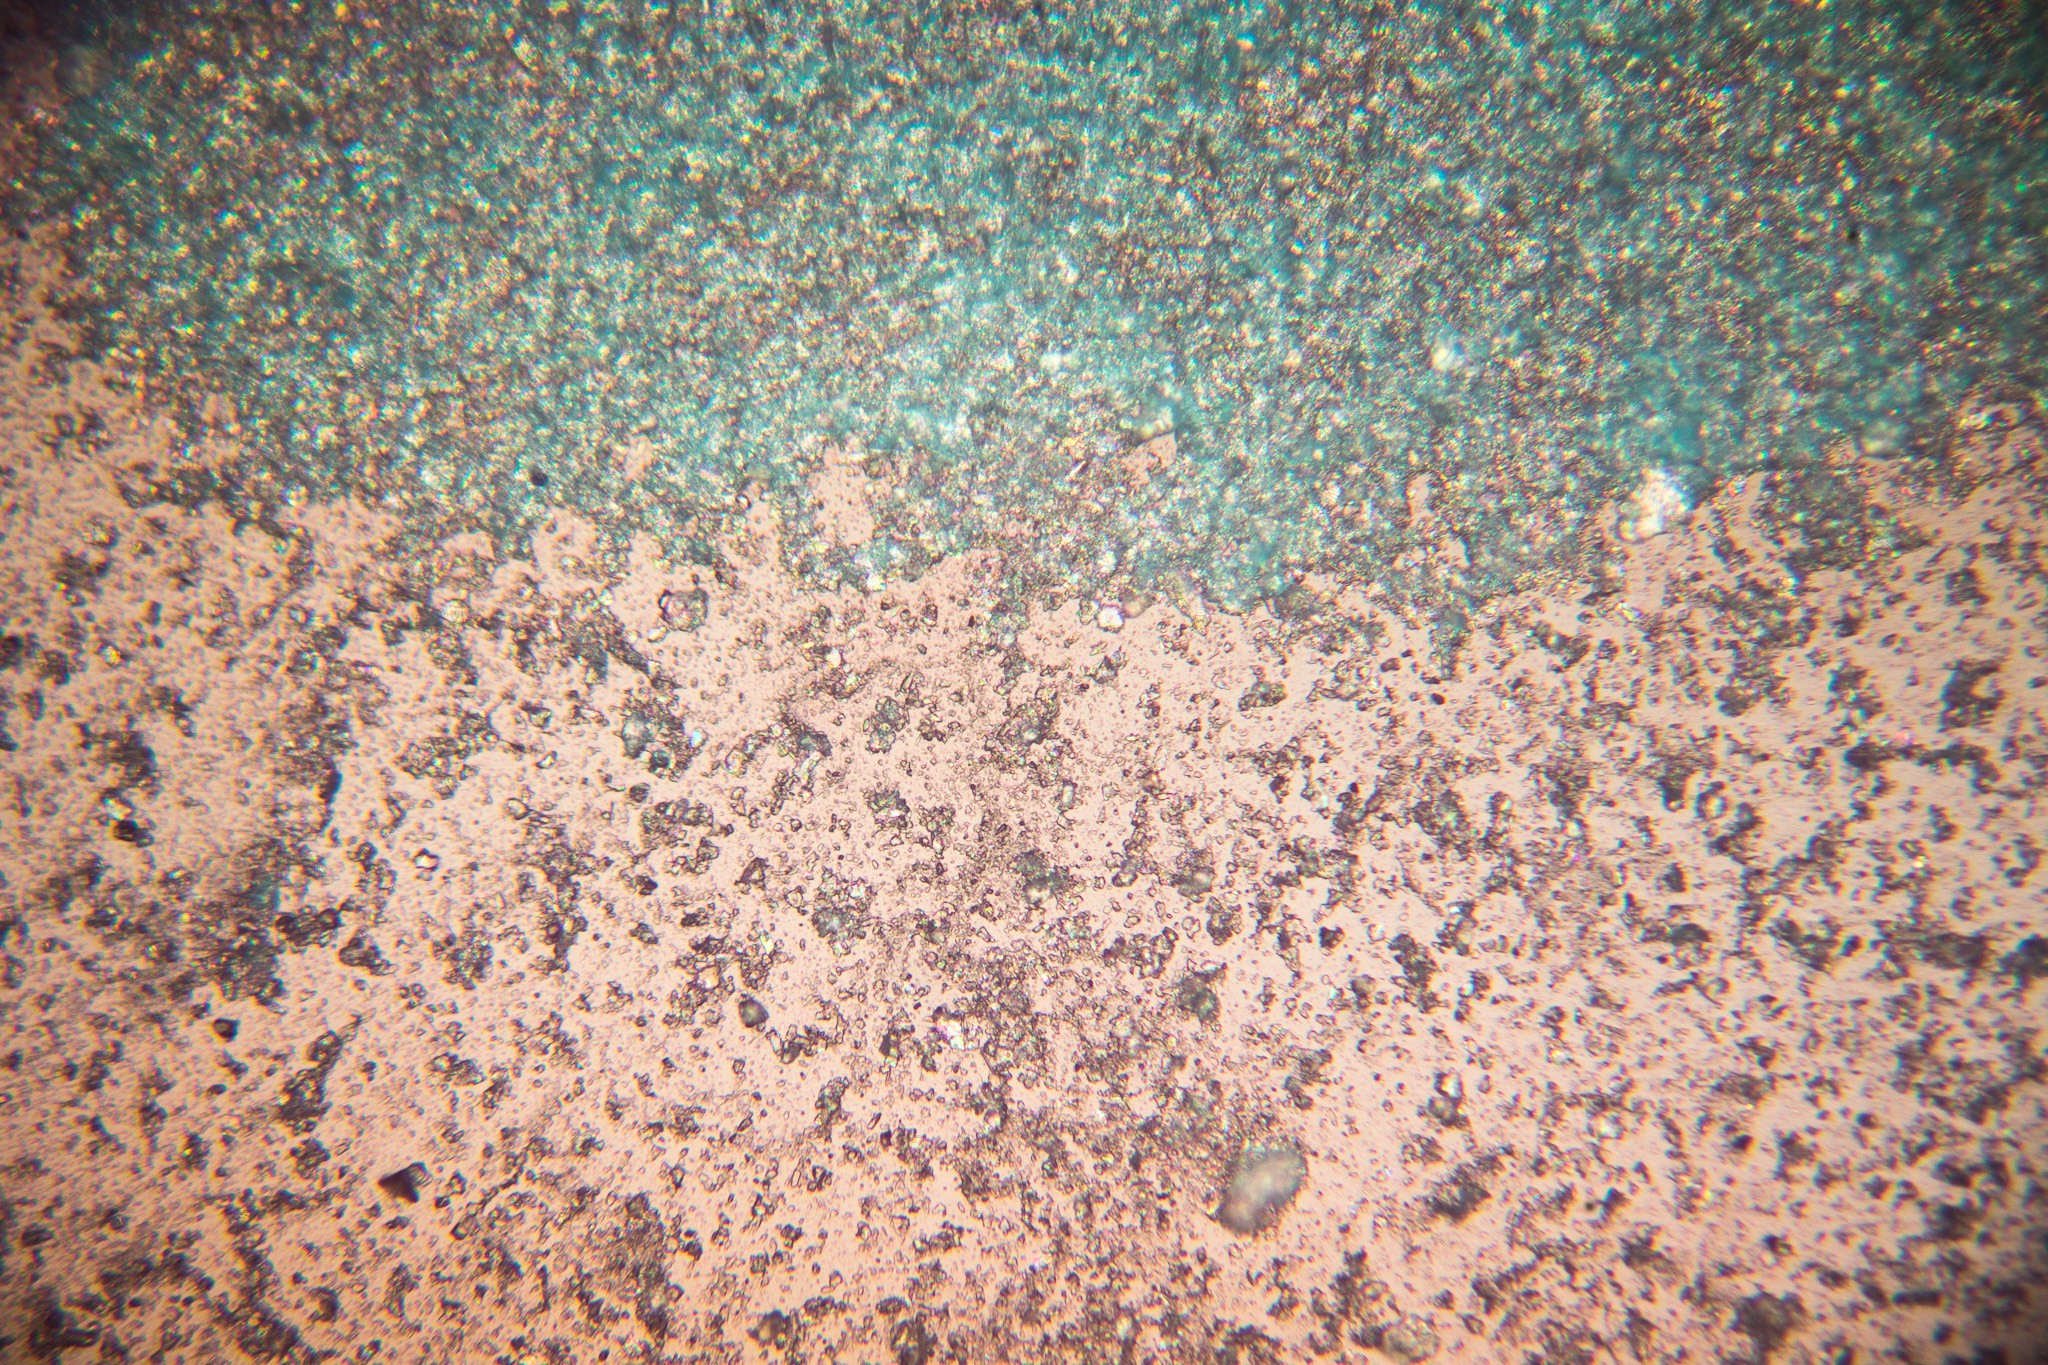
And 60x:
So that area definitely needs some work. I have some syringe filters on the way which should help. I also did some more research on semiconductor photoresist, and it seems like it is used at a fairly thick consistency. So perhaps I was diluting way too much, and the resist needs to be thicker. More things to fiddle with :)Anyhow, despite the abject failure of the test pattern , I'm over the moon that both the laser and the projector can expose the resist. Next steps is to set up a matrix of test parameters, determine a way to objectively rank the results and start testing the permutations. I'd also like to start working on replacing the LEDs with the laser.
Discussions
Become a Hackaday.io Member
Create an account to leave a comment. Already have an account? Log In.