Matthew Gorr
Introduction
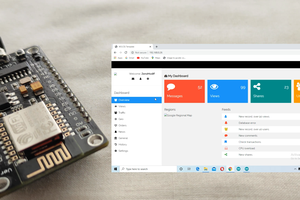
These sketches were written during the development of my ESP32 Robot. As part of the troubleshooting process, I developed pairs of generic Server/Client sketches for HTTP communication between the ESP32 and the ESP8266, which I then used as templates for the final robot and remote. Below I have included two pairs of sketches. In the first pair, the ESP8266 acts as a Wireless Access Point and HTTP Server, and the ESP32 acts as a Wireless Station that connects and makes a GET request. In the second pair, the roles are reversed.
Each pair of sketches should work out of the box to connect to each other. They could be used as-is to test a newly purchased/produced ESP8266 or ESP32 hardware piece. Depending on the hardware you have on hand, it should be possible to mix the pairs, as long as you change the ssid and password variables to match each other. They can also be used as templates to start a home automation network. An ESP8266 in AP mode can handle five connected stations simultaneously, even if it can only handle one HTTP connection at a time. I hope the ESP32's hardware supports more stations and more simultaneous connections!
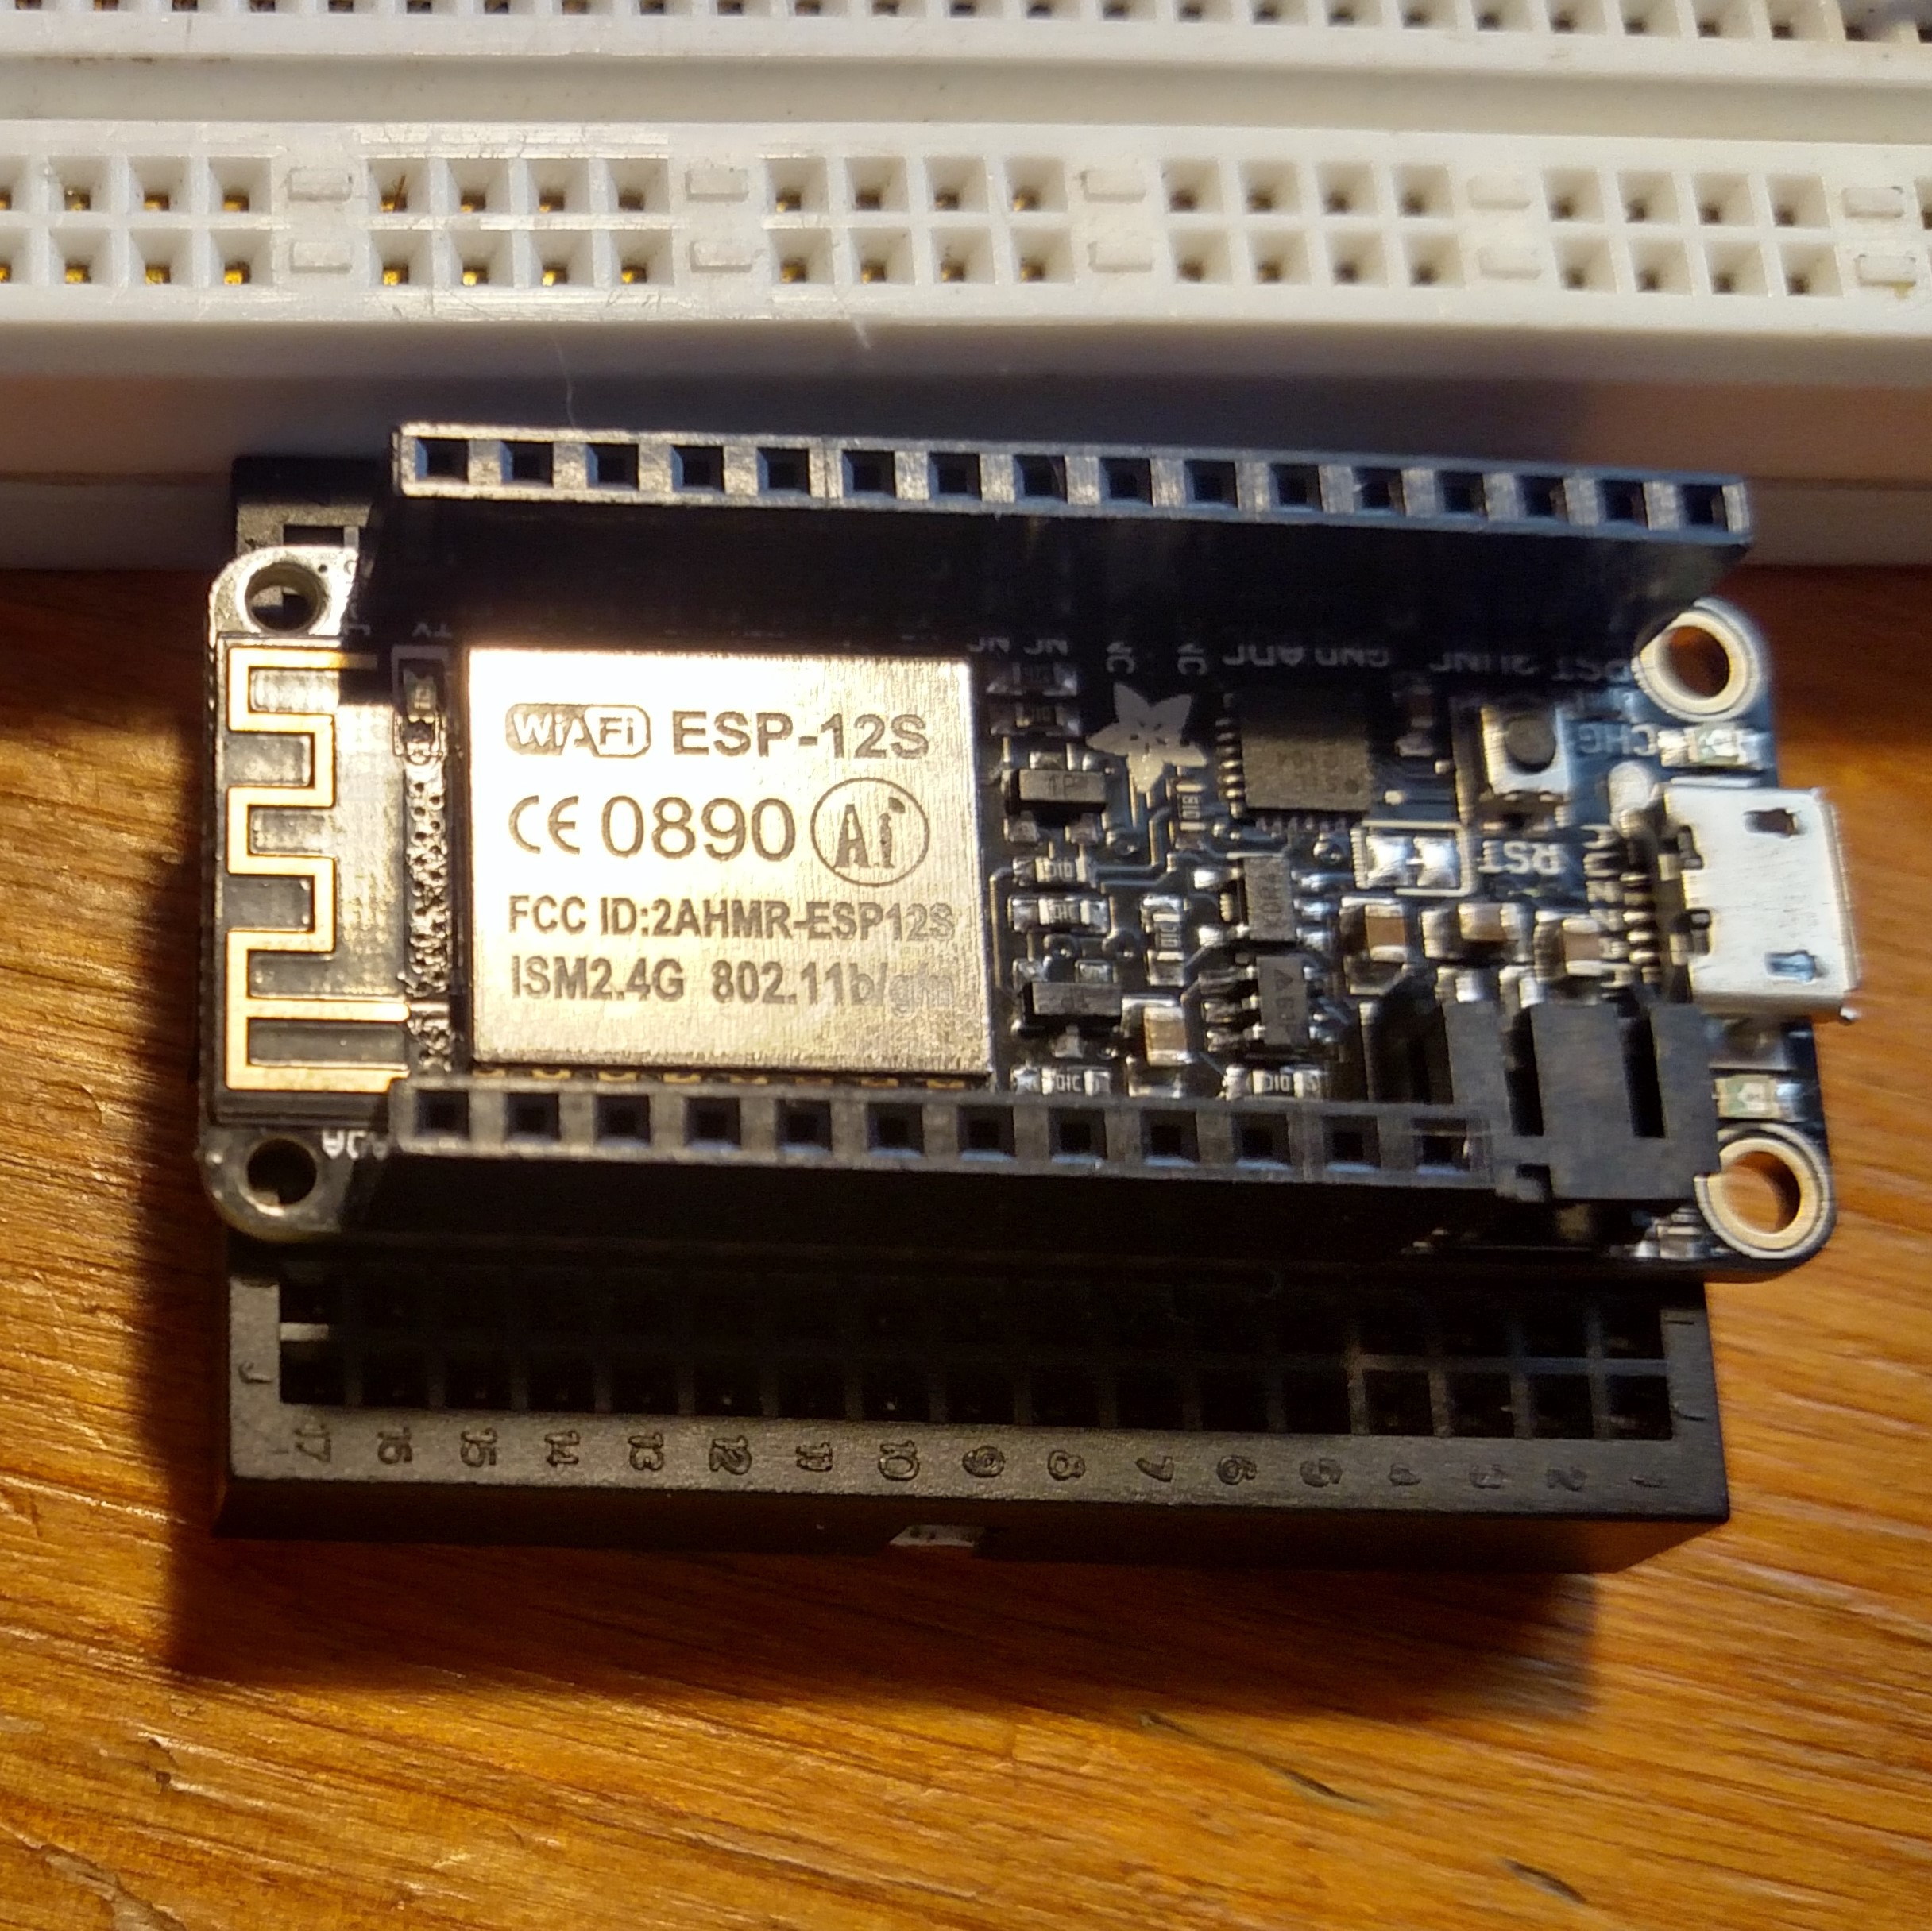
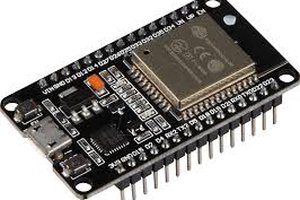
The ESP32 sketches are tested on a HiLetgo ESP32,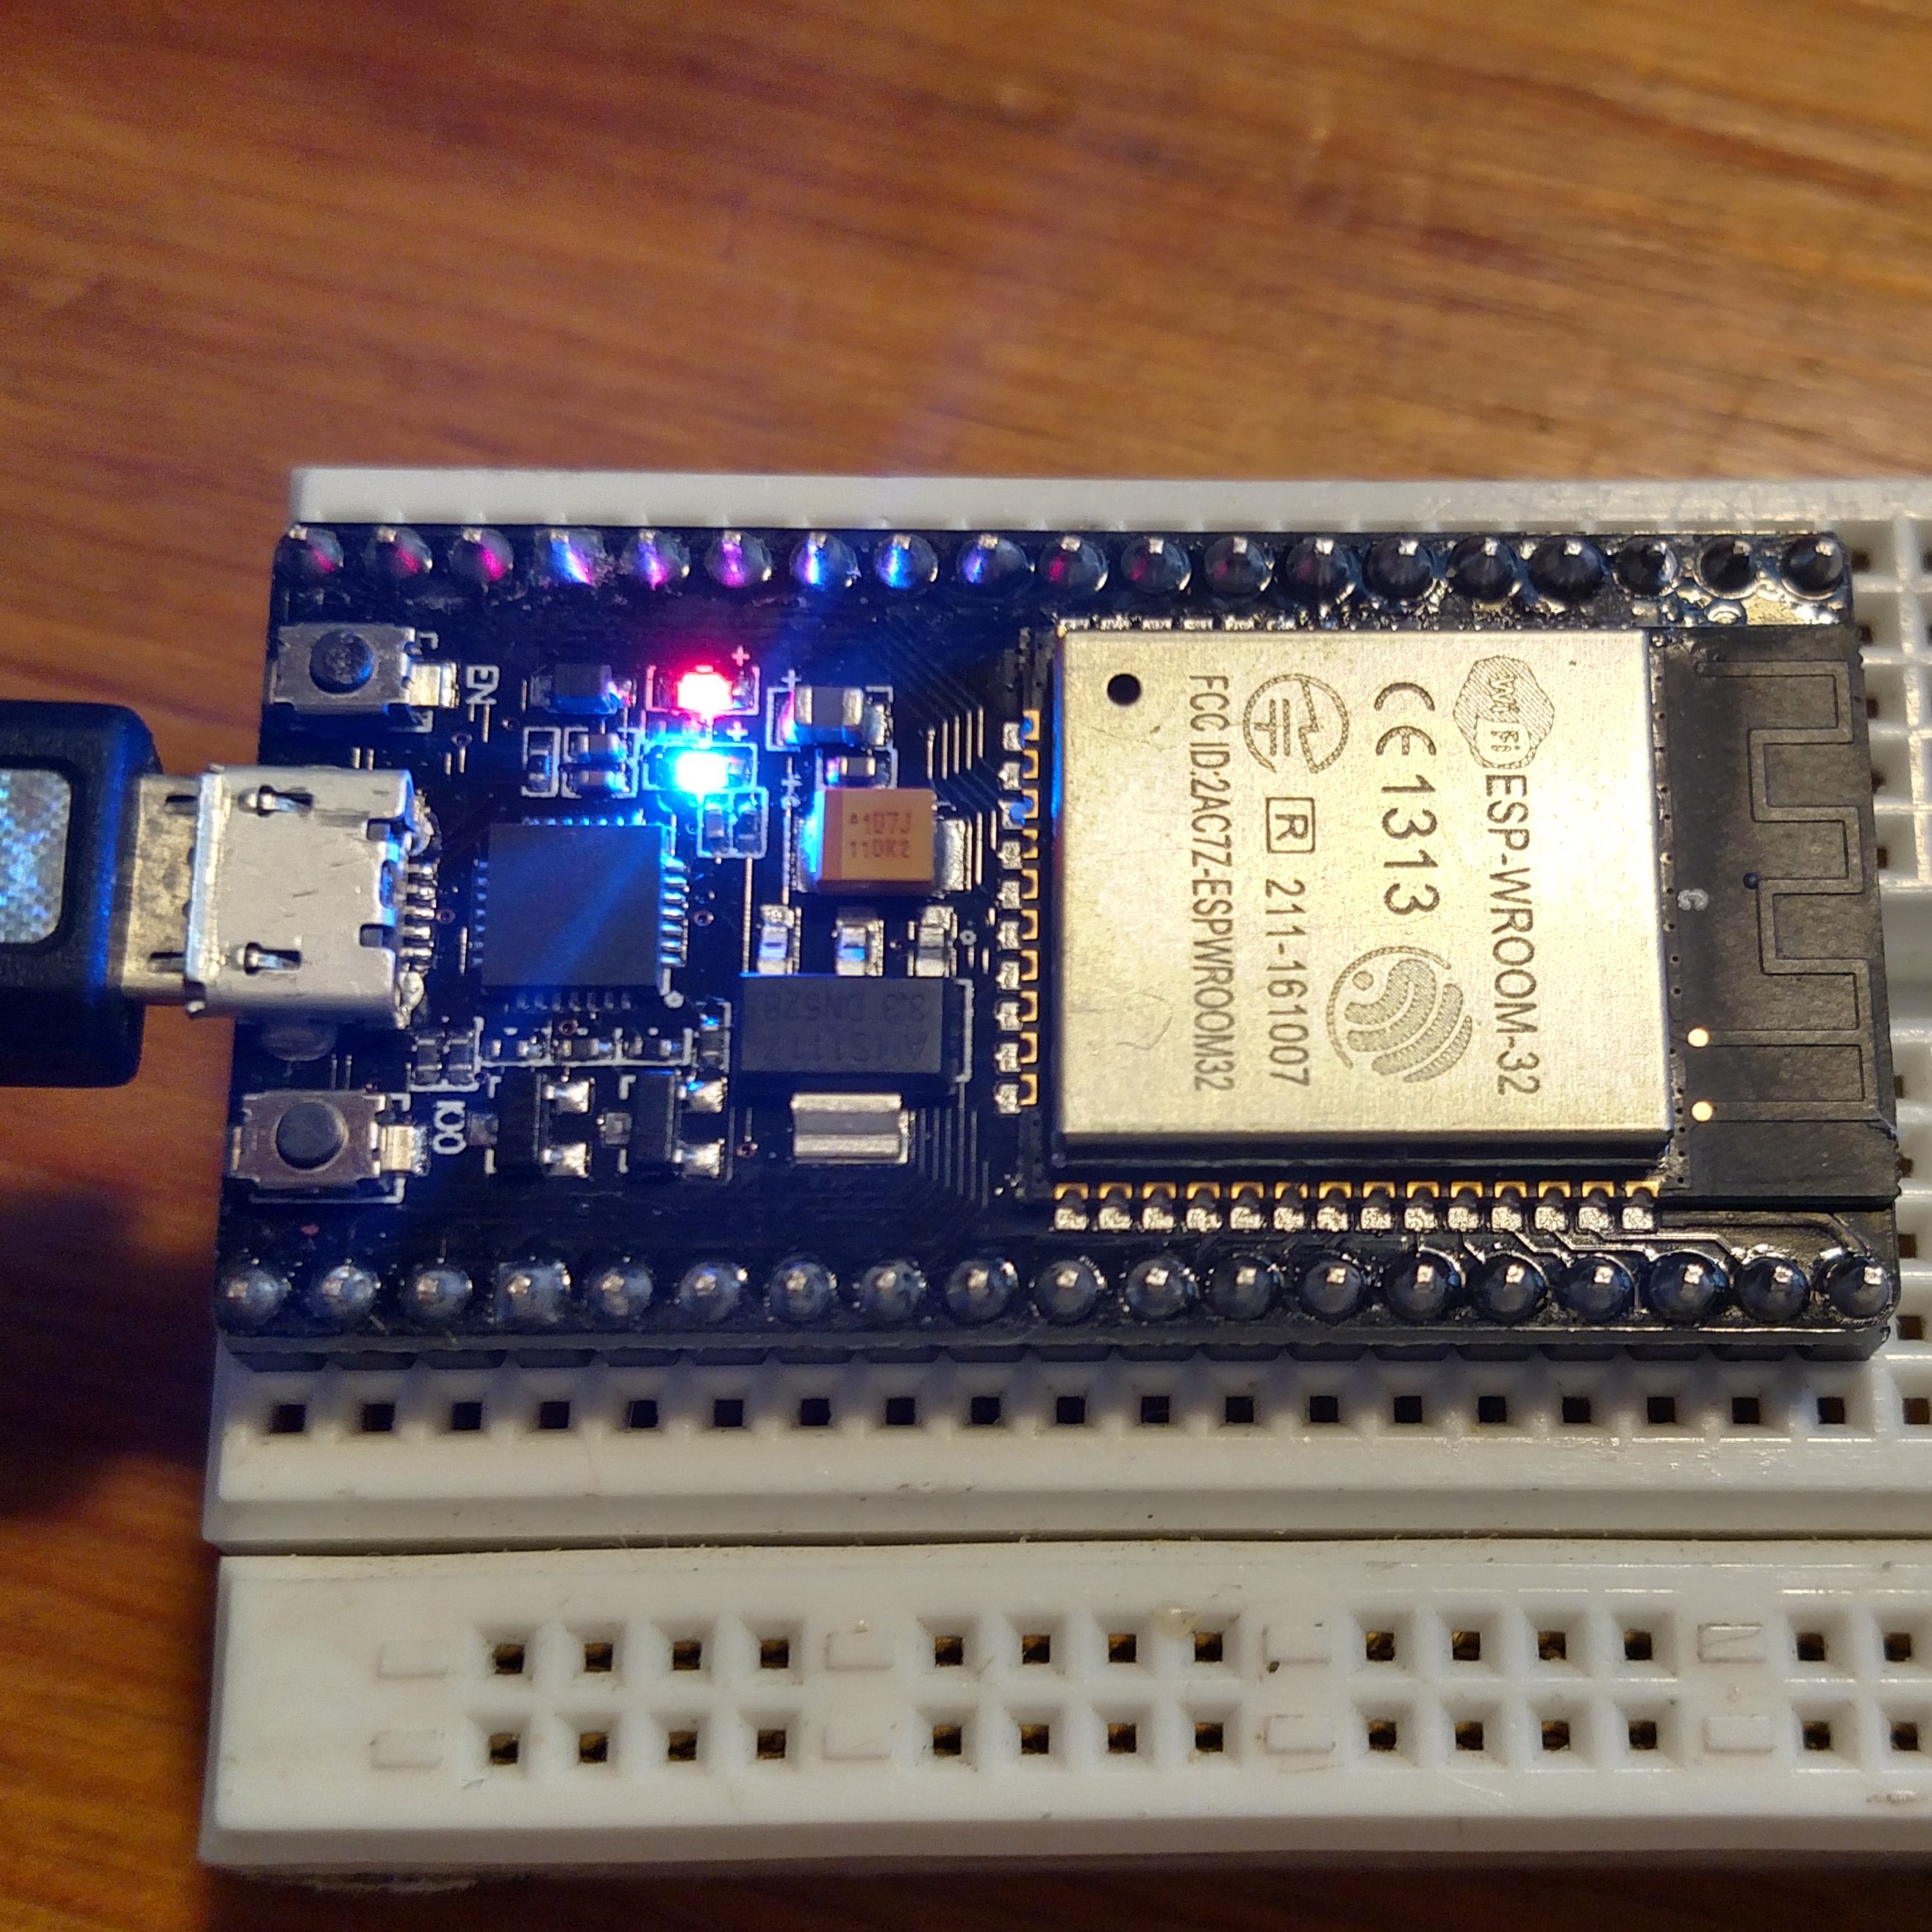 and the ESP8266 files are tested on a HiLetgo NodeMCU and an Adafruit Feather HUZZAH.
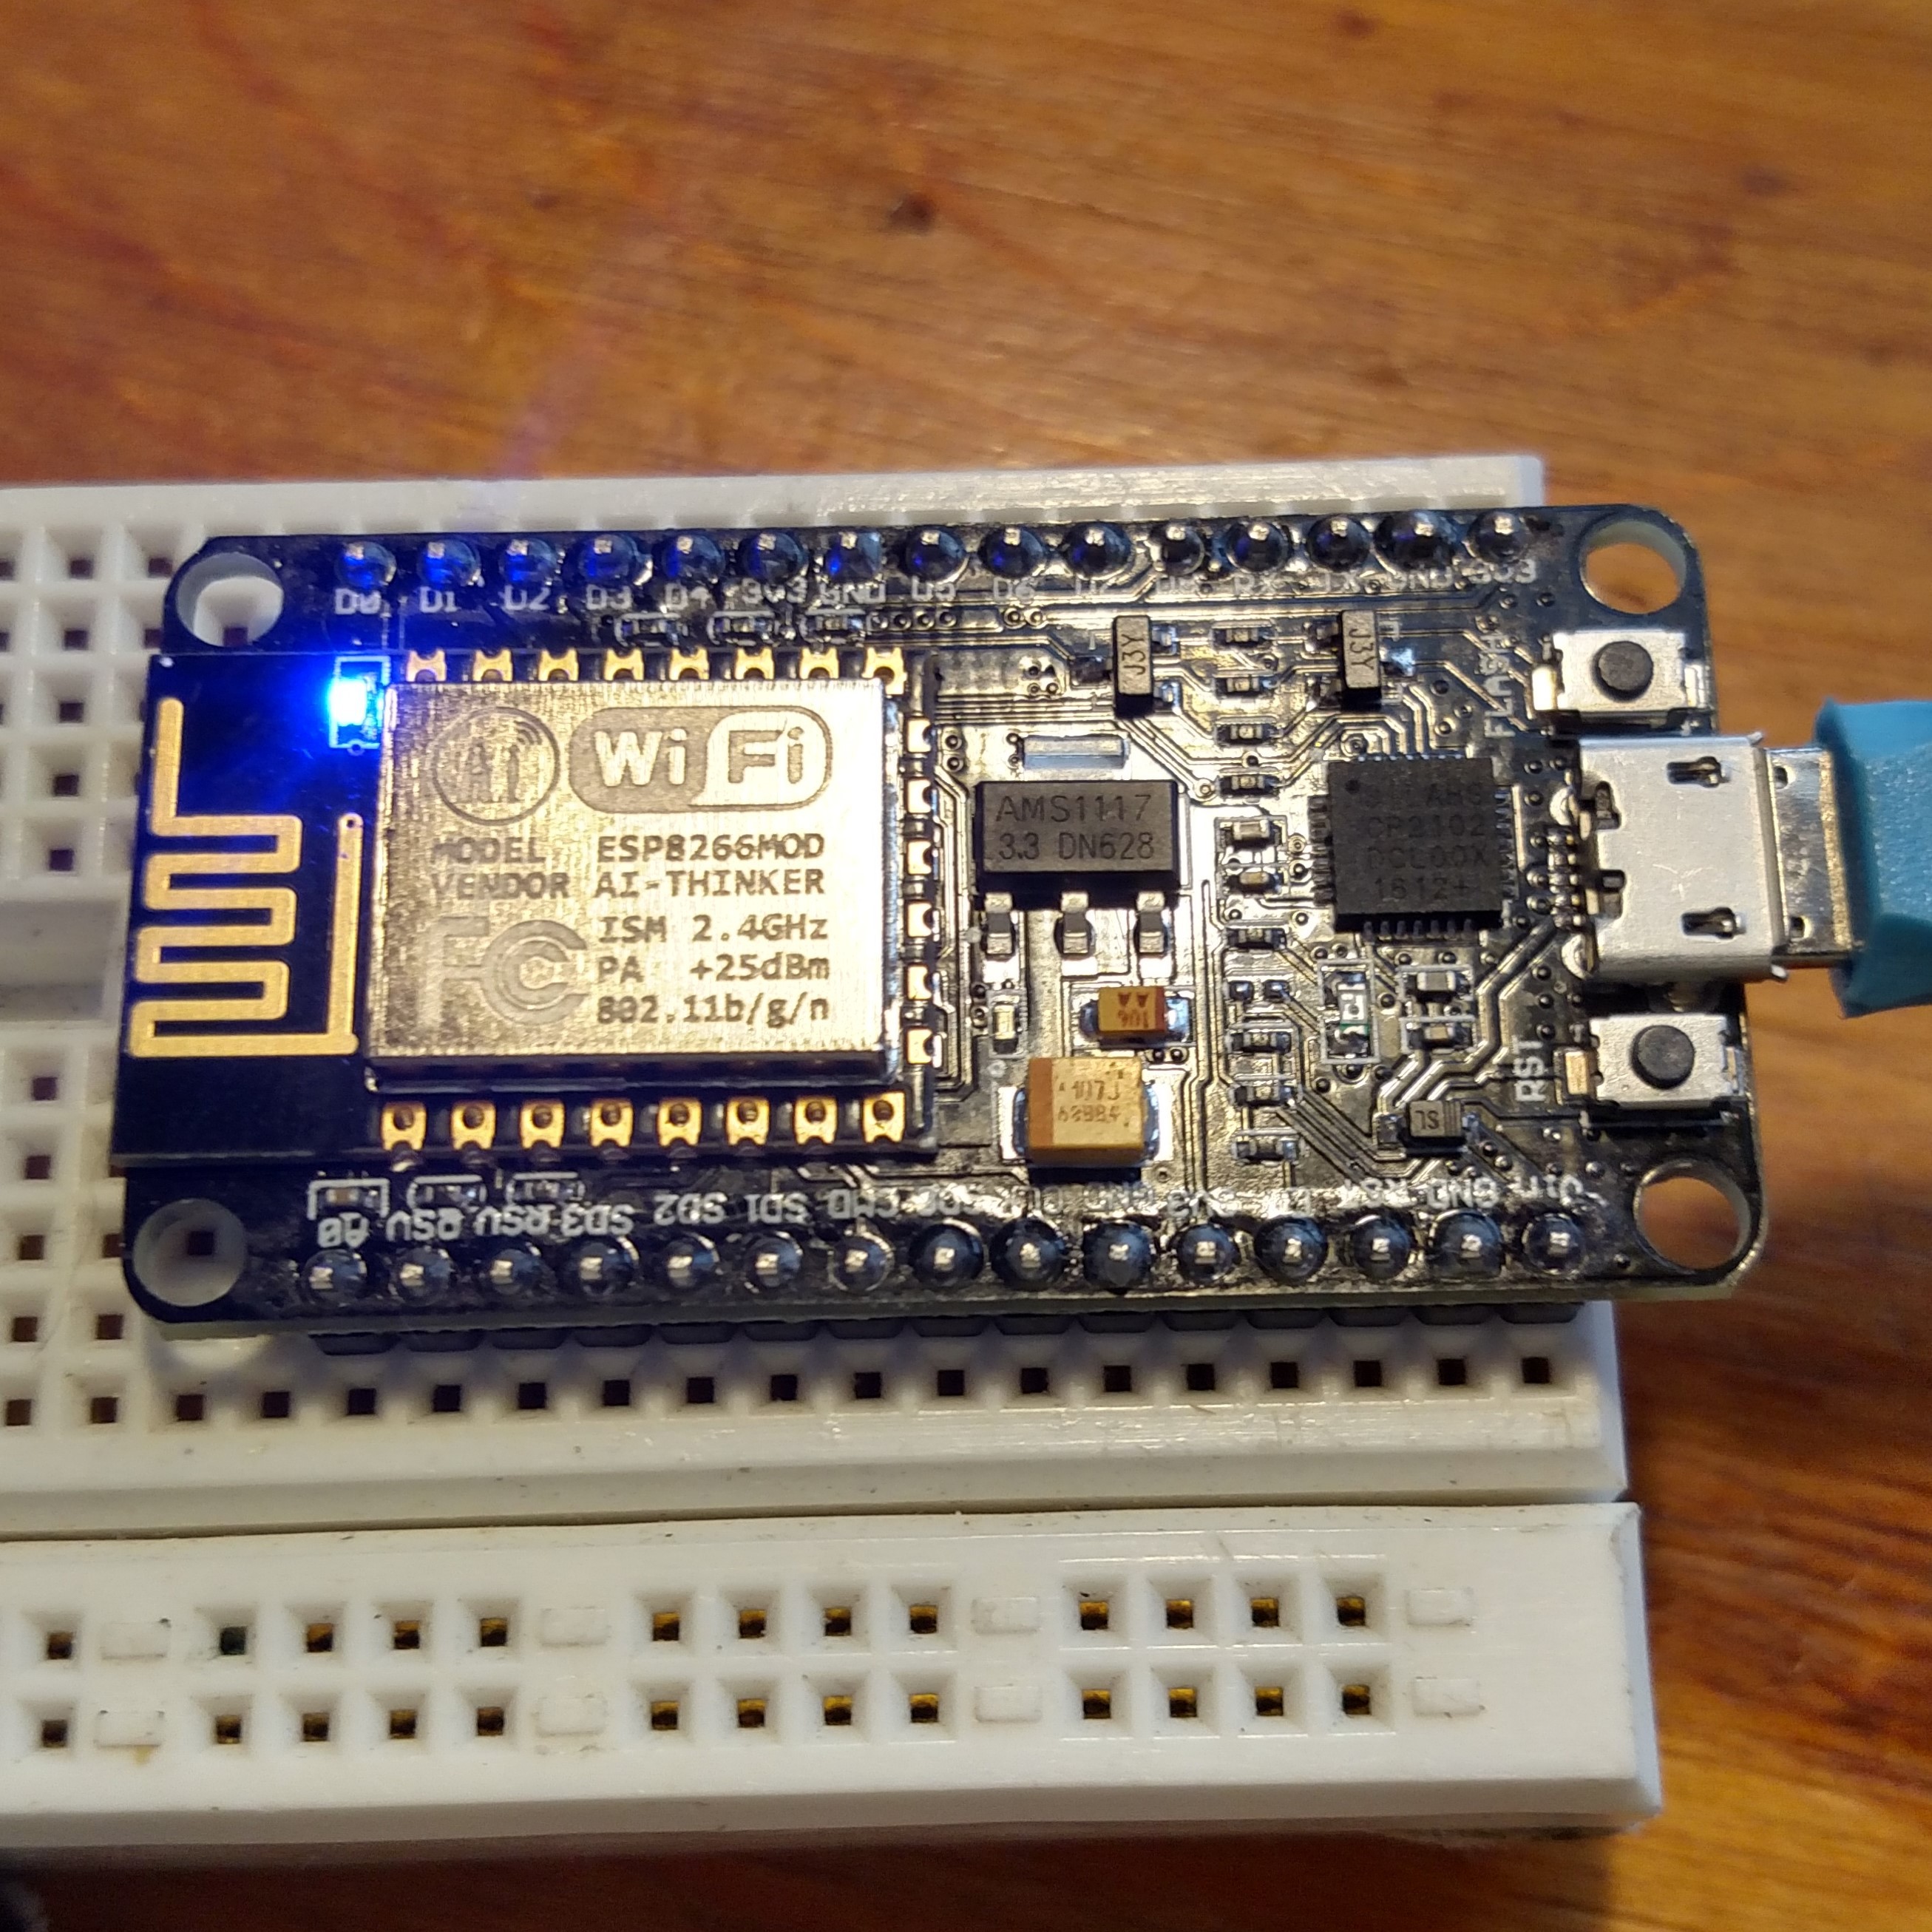
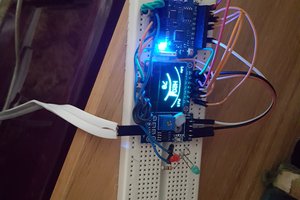
 The AP files use the on-board blue LED to indicate that a station has connected to the access point, and the STA files use the LED to indicate that they have received a positive response from the server.
Customization
Client Customization
By default, the client connects to the AP, requests the root of the server, and prints the received response to the Serial port in the setup function, then has an empty loop function. You can make it more manageable by moving the request code into its own function as shown below. The first argument cannot be a constant, so you will also need to change the definition of the host variable at the top of the sketch. The second argument should be the path to the resource on the server, like "/led/on" or "/servo/45". It's basically the command to be sent to the other microcontroller. You can set your server to search for these strings in the processRequest() function described in the server customization section.
boolean makeRequest(char* host, String path) {
  //  Client
  if (WiFi.status() == WL_CONNECTED) {
    //WiFi.printDiag(Serial);
    WiFiClient client;
    Serial.printf("\n[Connecting to %s ... ", host);
    if (client.connect(host, 80)) {
      Serial.println("connected]");
      Serial.println("[Sending a request for " + path + "]");
      client.print(String("GET ") + path + " HTTP/1.1\r\n" +
                   "Host: " + host + "\r\n" +
                   "Connection: close\r\n" +
                   "\r\n"
                  );
      Serial.println("[Response:]");
      while (client.connected()) {
        if (client.available()) {
          String line = client.readStringUntil('\n');
          Serial.println(line);
        }
      }
      client.stop();
      Serial.println("\n[Disconnected]");
      return true;
    } else {
      Serial.println("connection failed!]");
      client.stop();
      delay(5000);
    }
    return false;
  }
}
Server Customization
By default, the server prints all received data to the Serial port and responds with a "Hello World" message. You can customize how the server reacts to the first line of the GET request by adding these lines
    String req = client.readStringUntil('\r');
    Serial.println(req);
    String response = processRequest(req);
to the server's loop function, just before this line
while (client.connected()) {
Then implement this function
String processRequest(String req);
that returns a String to be sent to the client as the response. You could return the HTML for an entire webpage. You can use req.indexOf() to search for the path arguments that you specified in the Client Customization section, and react to them accordingly if they're found (if the index is greater than -1). Look for an example in my ESP32 Robot code. Mine controlled servos.
First Pair: ESP8266 as AP, ESP32 as STA
ap_server_8266.ino
/*
 * ap_server_8266.ino
 * Matt Gorr
 * 7/9/2017
 *
...
Read more »
 Sheetal Dalal