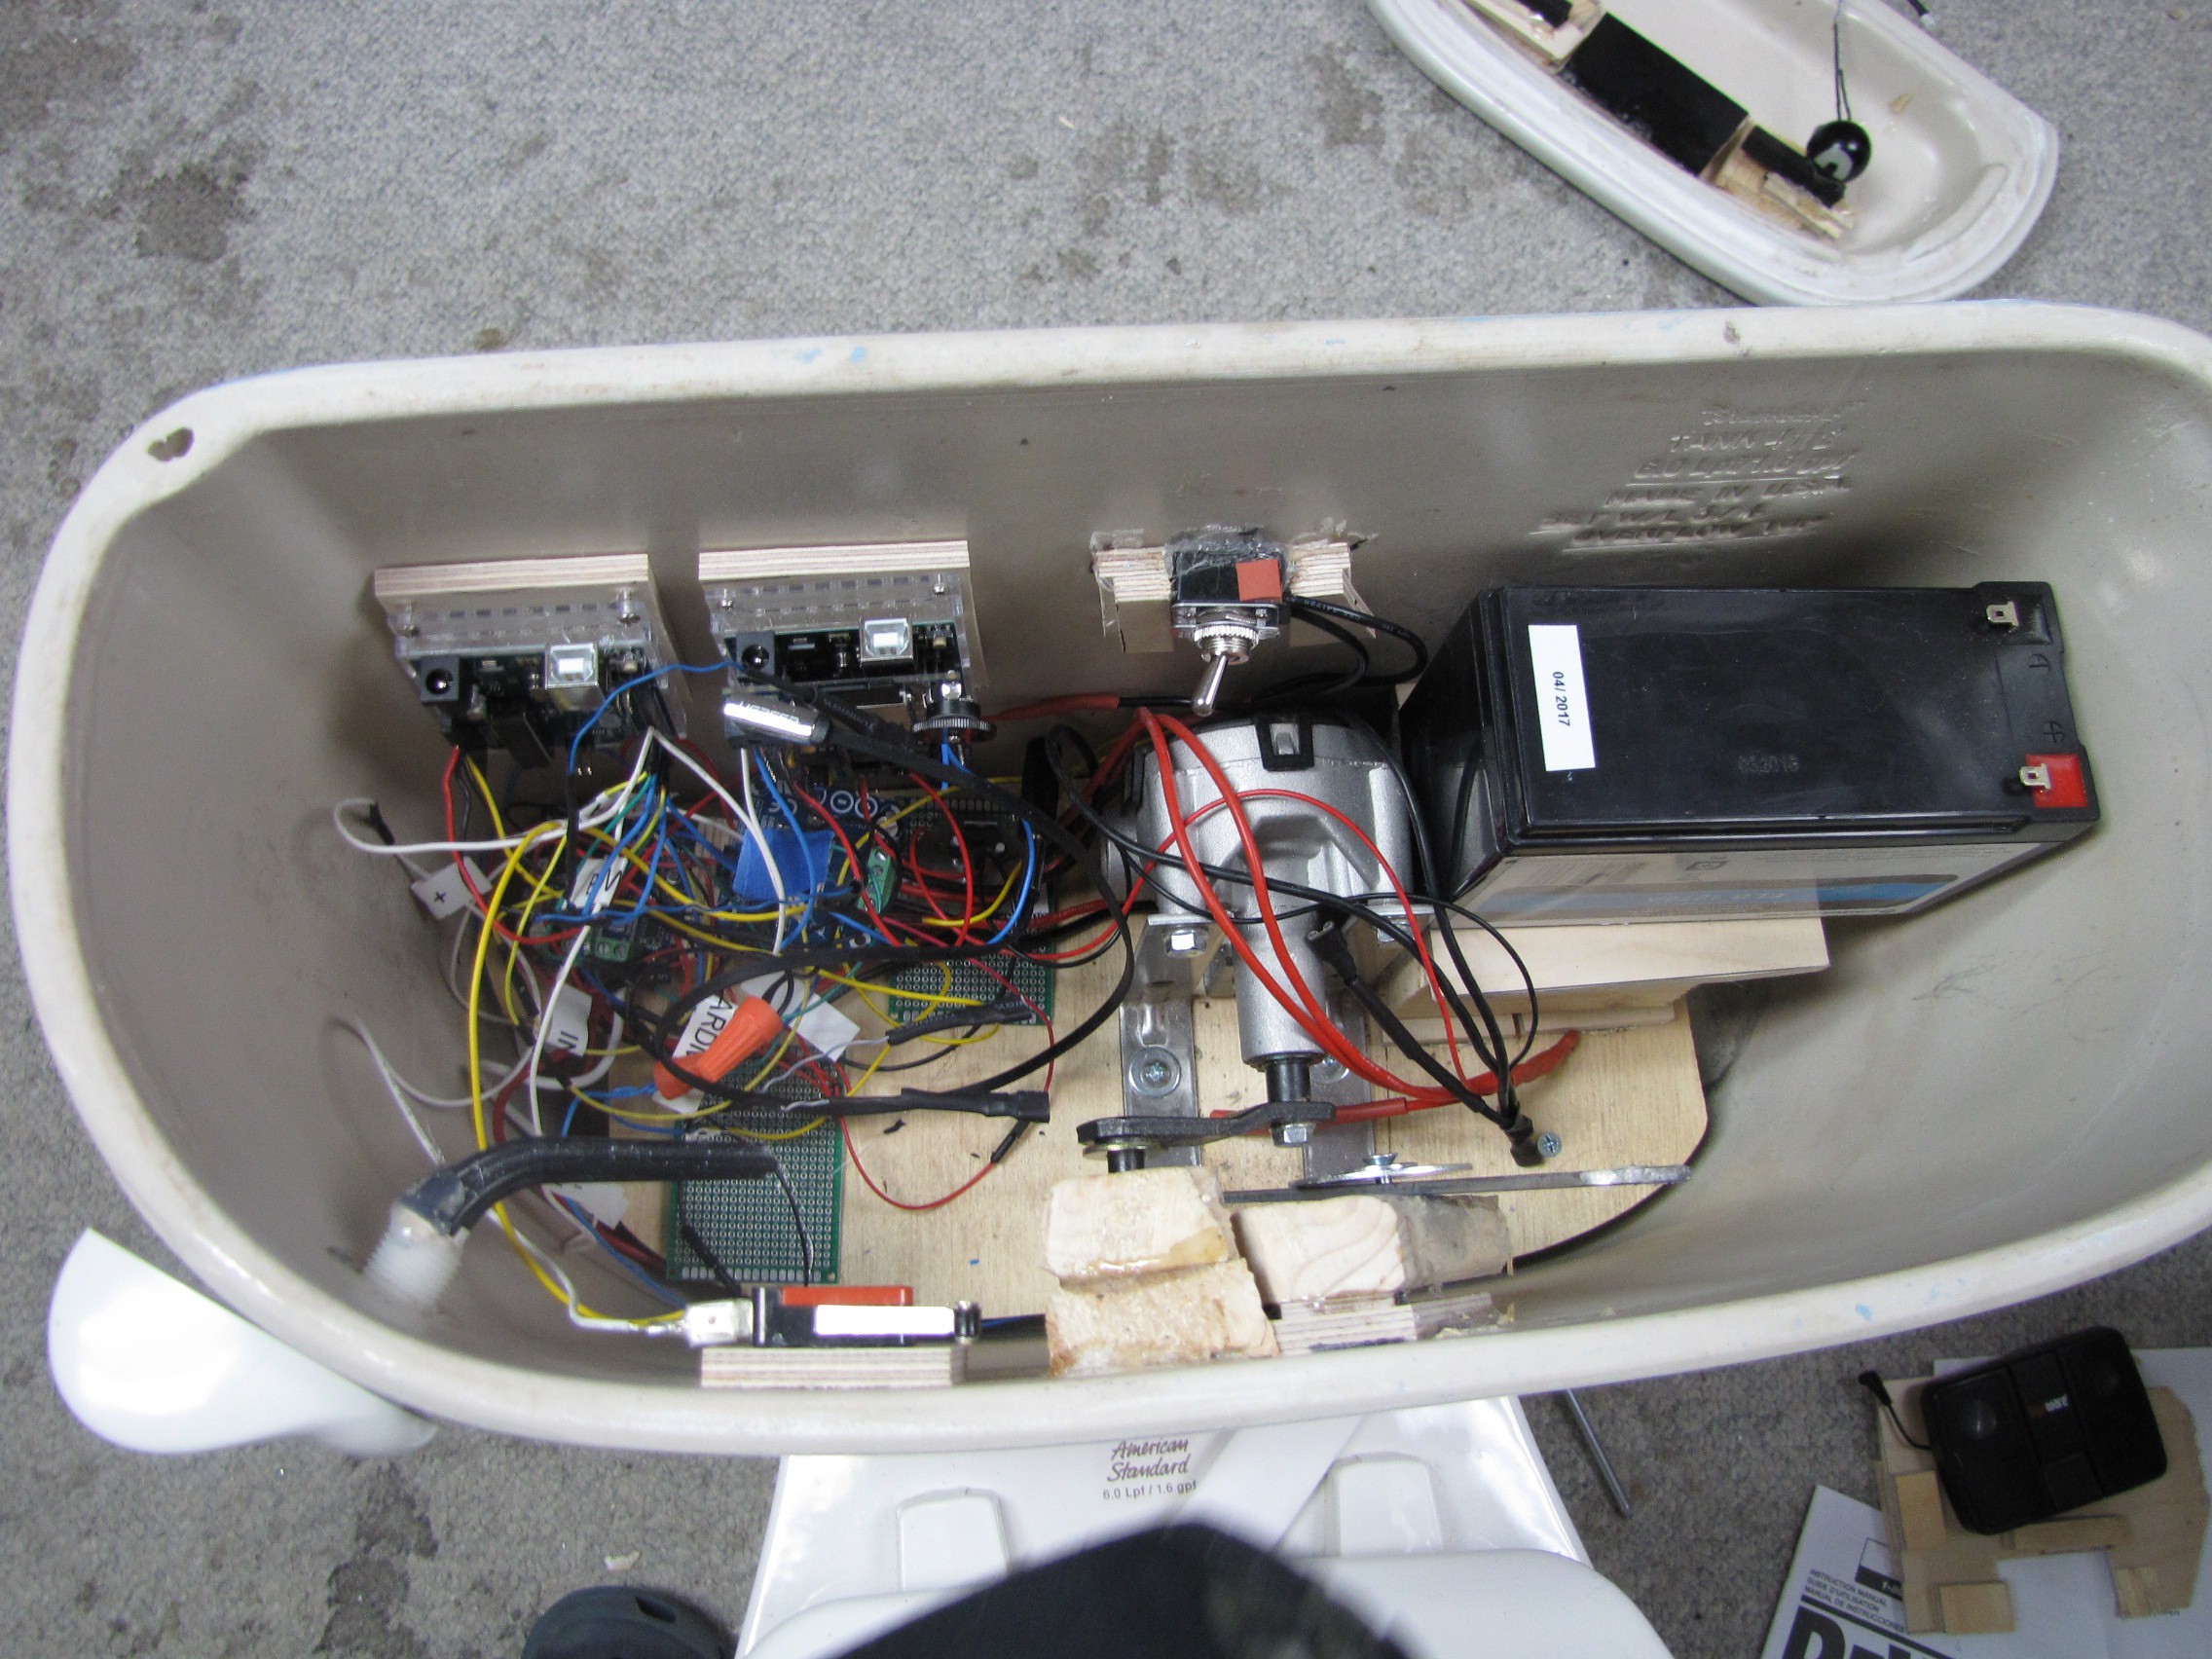
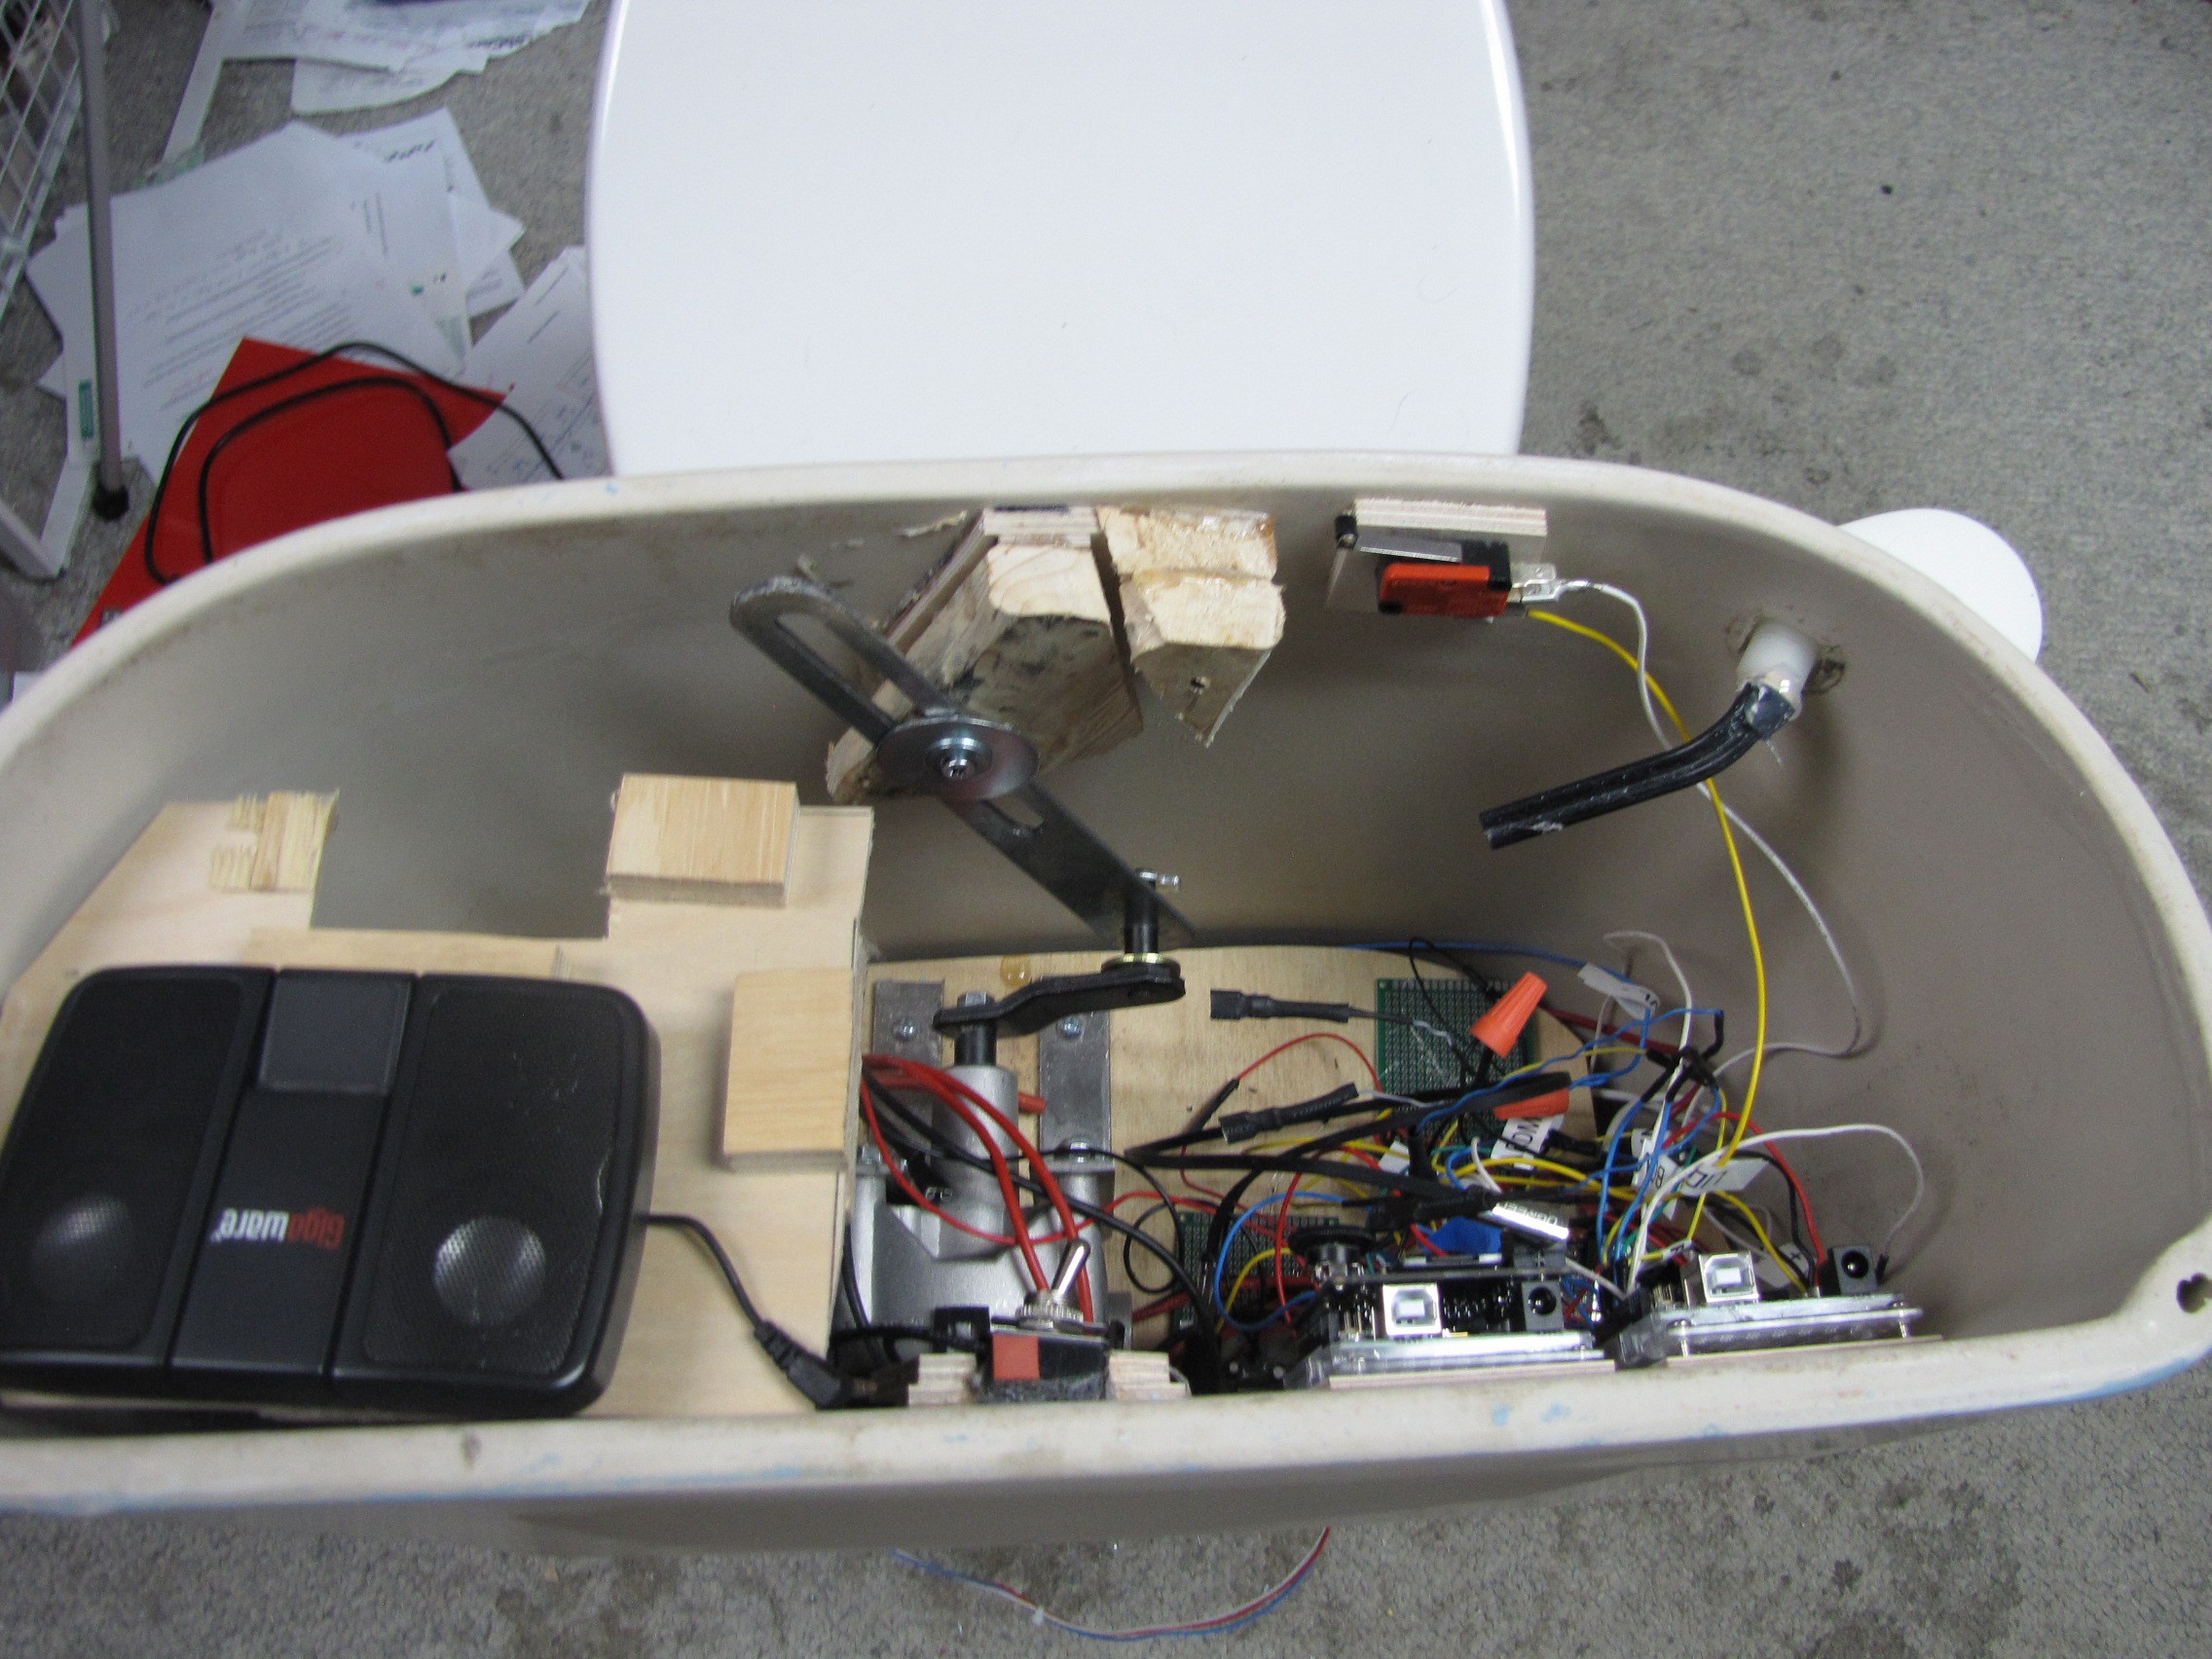
I hot glued the 12v to 5v and my Ground and 5v rail board to the bottom motor mount board. I screwed in the motor controllers to some spare wood I glued to the bottom. There are only 6 wires that need to be dealt with if I need to remove the motor mount board. Two wires go to the motor, these just unscrew from the motor controller, the other 4 wires are from the microswitches. I used #18 gauge wire connectors, these are easy to put on and take off. The biggest problem with removing the motors is I have the on/off switch hot glued to the toilet. It comes of with careful use of a flathead screw driver. I used stranded wire for the 12v wiring harness, this is flexible and easy to deal with.
I have major problems with not being able to trigger the Arduino Wave Shield from the master Arduino. In the end the problem was noise coming from the motors, the solution was to have a dedicated ground between the two arduino's and 5v.
Here are two video's of the Toilet in actions. The first is the full routine (multiple openings of the Lid), the second video the Lid only opens once and stays open for the entire routine then closes. This is going to sit under a tent during the Fair and that runs for 8 days. I will be close by most of the time. I've run it through two 3 hour test cycles, running every 4 min. There where not any problems but there where a couple of close calls, the lid arm bracket can catch on the Lid, this has the possibility of moving it so that it does not close and then could knock it off.
Full Routine
Limited Routine
Discussions
Become a Hackaday.io Member
Create an account to leave a comment. Already have an account? Log In.