 Christoph Tack
Location of the wedge
The internals of the Robosapien leave little room to add PCB's inside the housing. There's some room in the back around the speaker, but it's hard to connect the micro-USB connection from there.
The upper leg parts leave enough room for the PCB and make it quite easy to allow connection for micro-USB and audio.
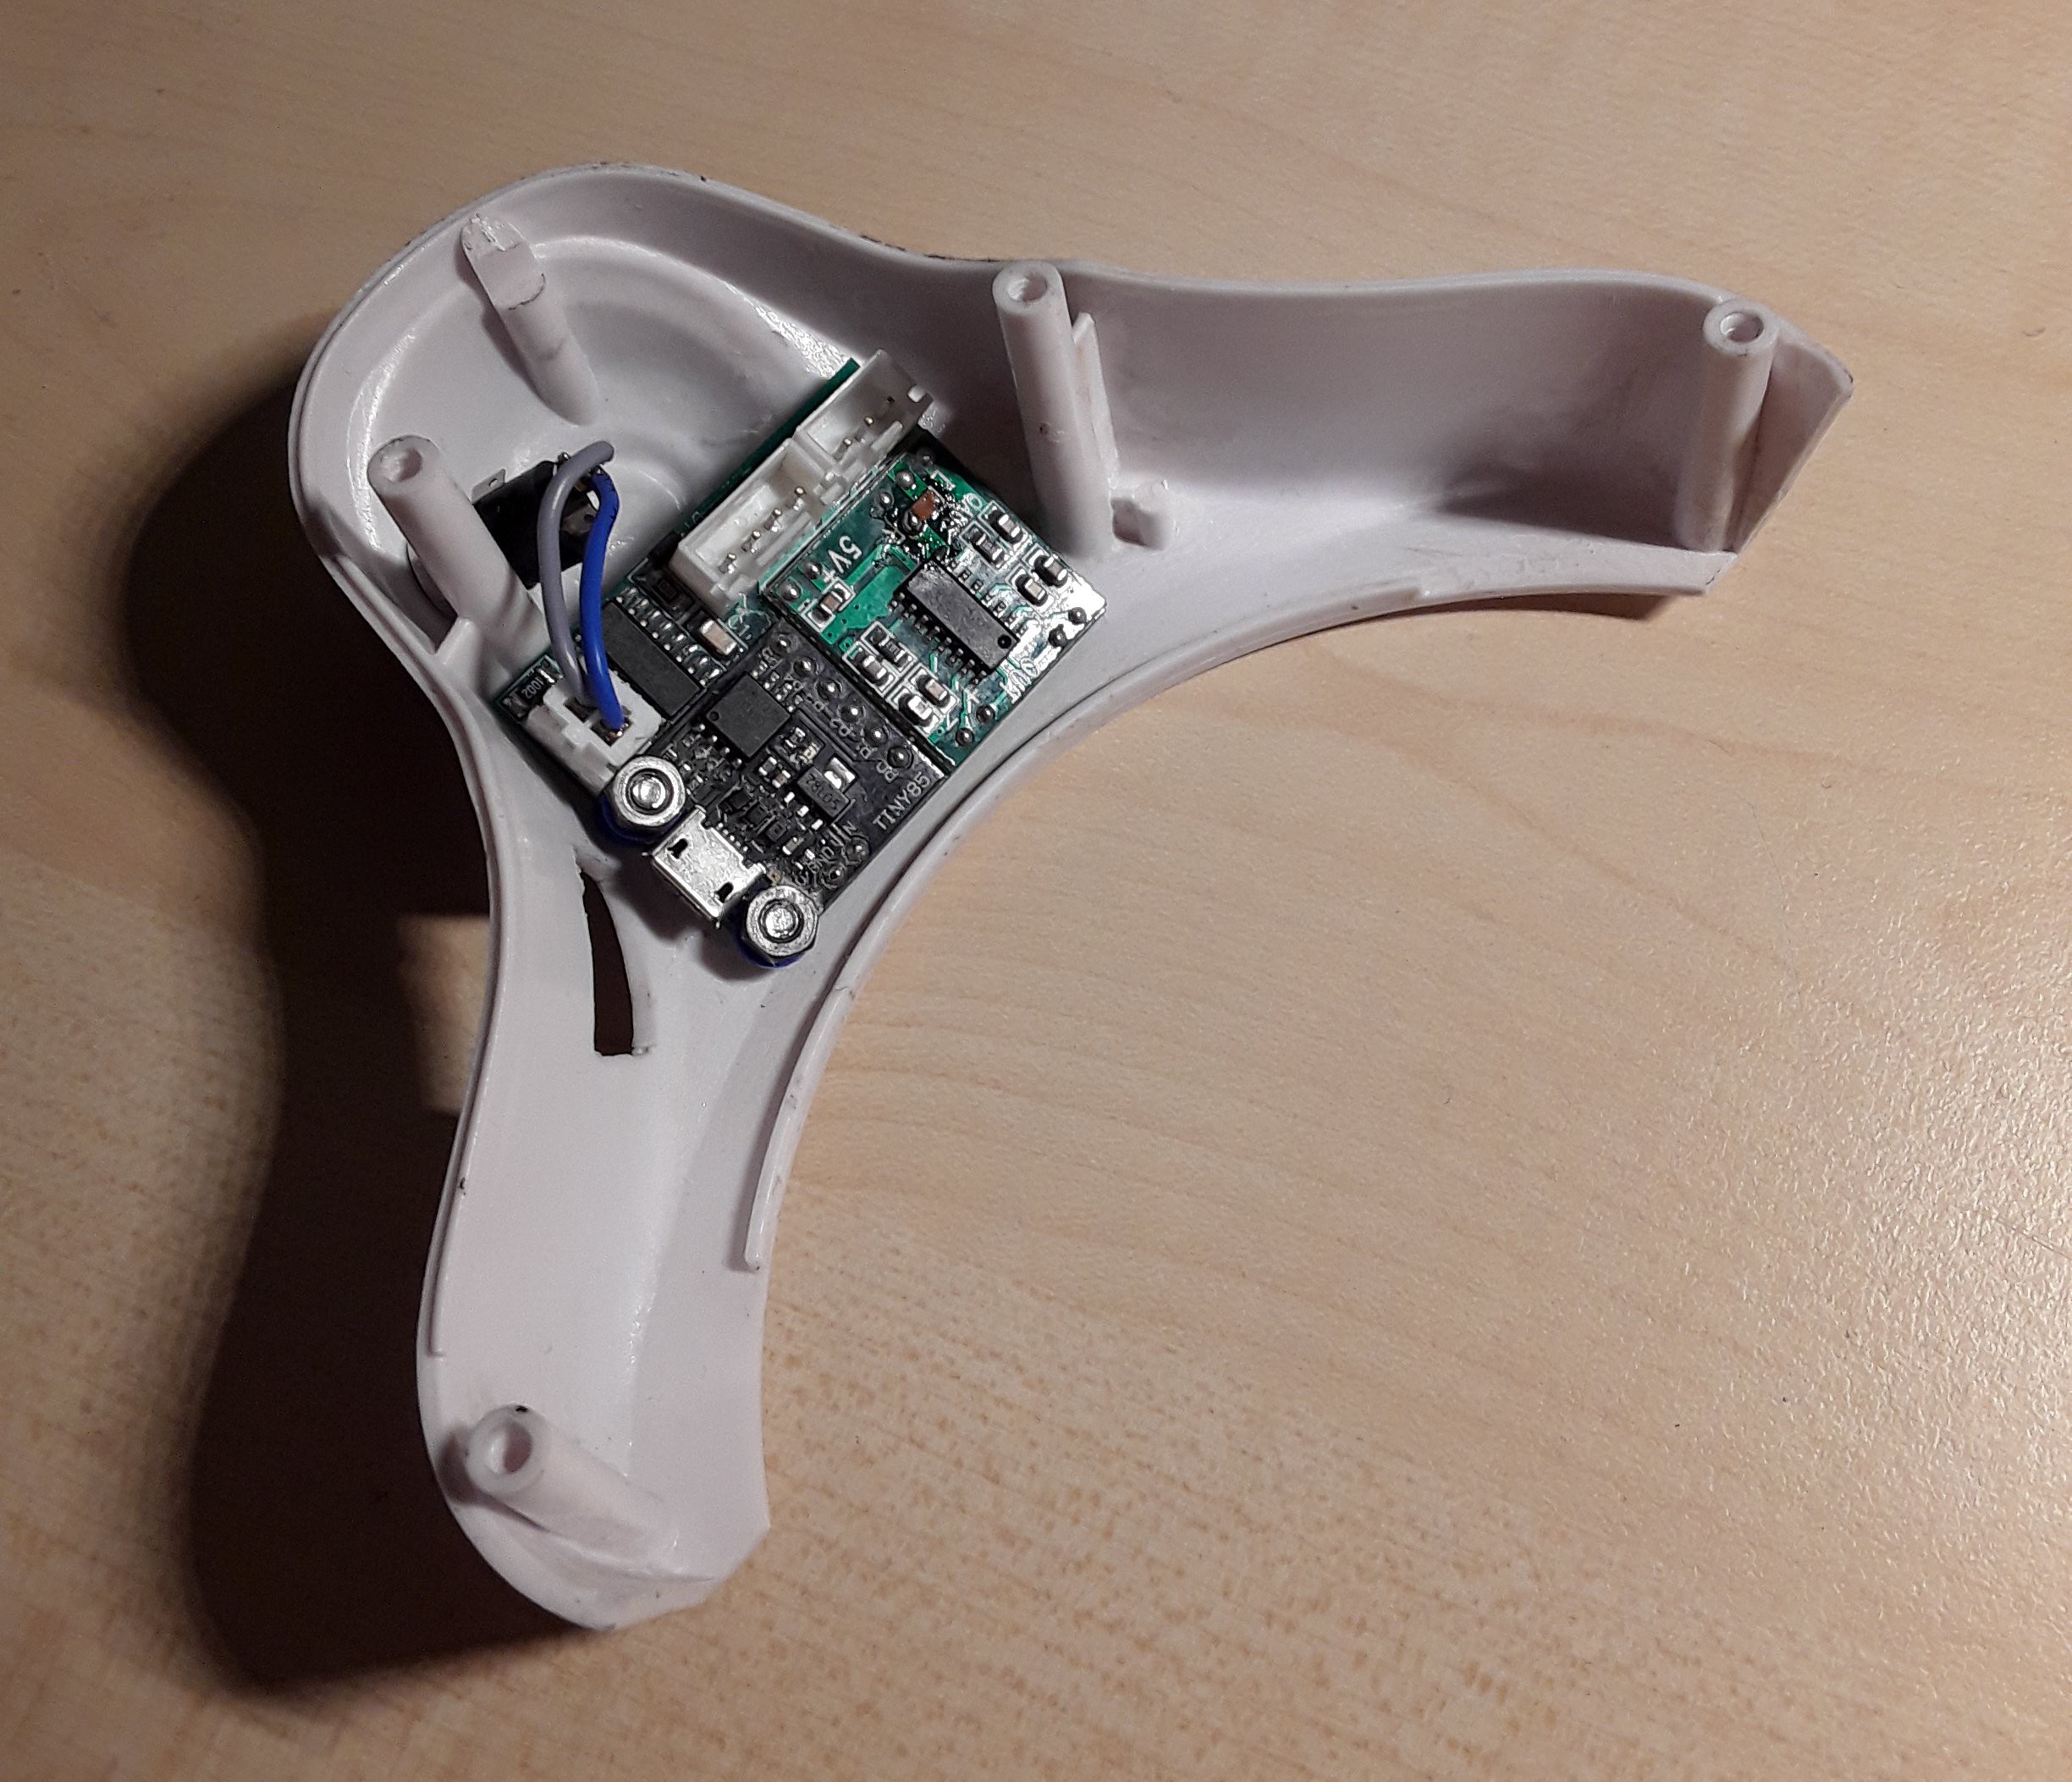
My original idea was to put the PCB (design in EasyEDA). In the upper right leg. Unfortunately the JST-XH connector are too high. It's a pity that I'd made a cutout in the upper right leg before realizing that.
Either I could redesign the PCB, moving the connectors to the top edge, or I could mount the PCB 180° rotated in the upper left leg. I went for the second option. The fit is less ideal. Because the USB-connector is mounted lower, a bigger cutout in the leg is needed. The USB-connector also rubs internally against the lower left leg, sometimes causing unreliable connection. Maybe I'll fix that in the next PCB revision.
RS Wedge mounted in upper leg
As can be seen in the picture below, it would have been more practical to have the USB-connector where the 2-pins JST XH-connector is located now. Component higher than 2mm must be avoided along the lower half of the PCB.
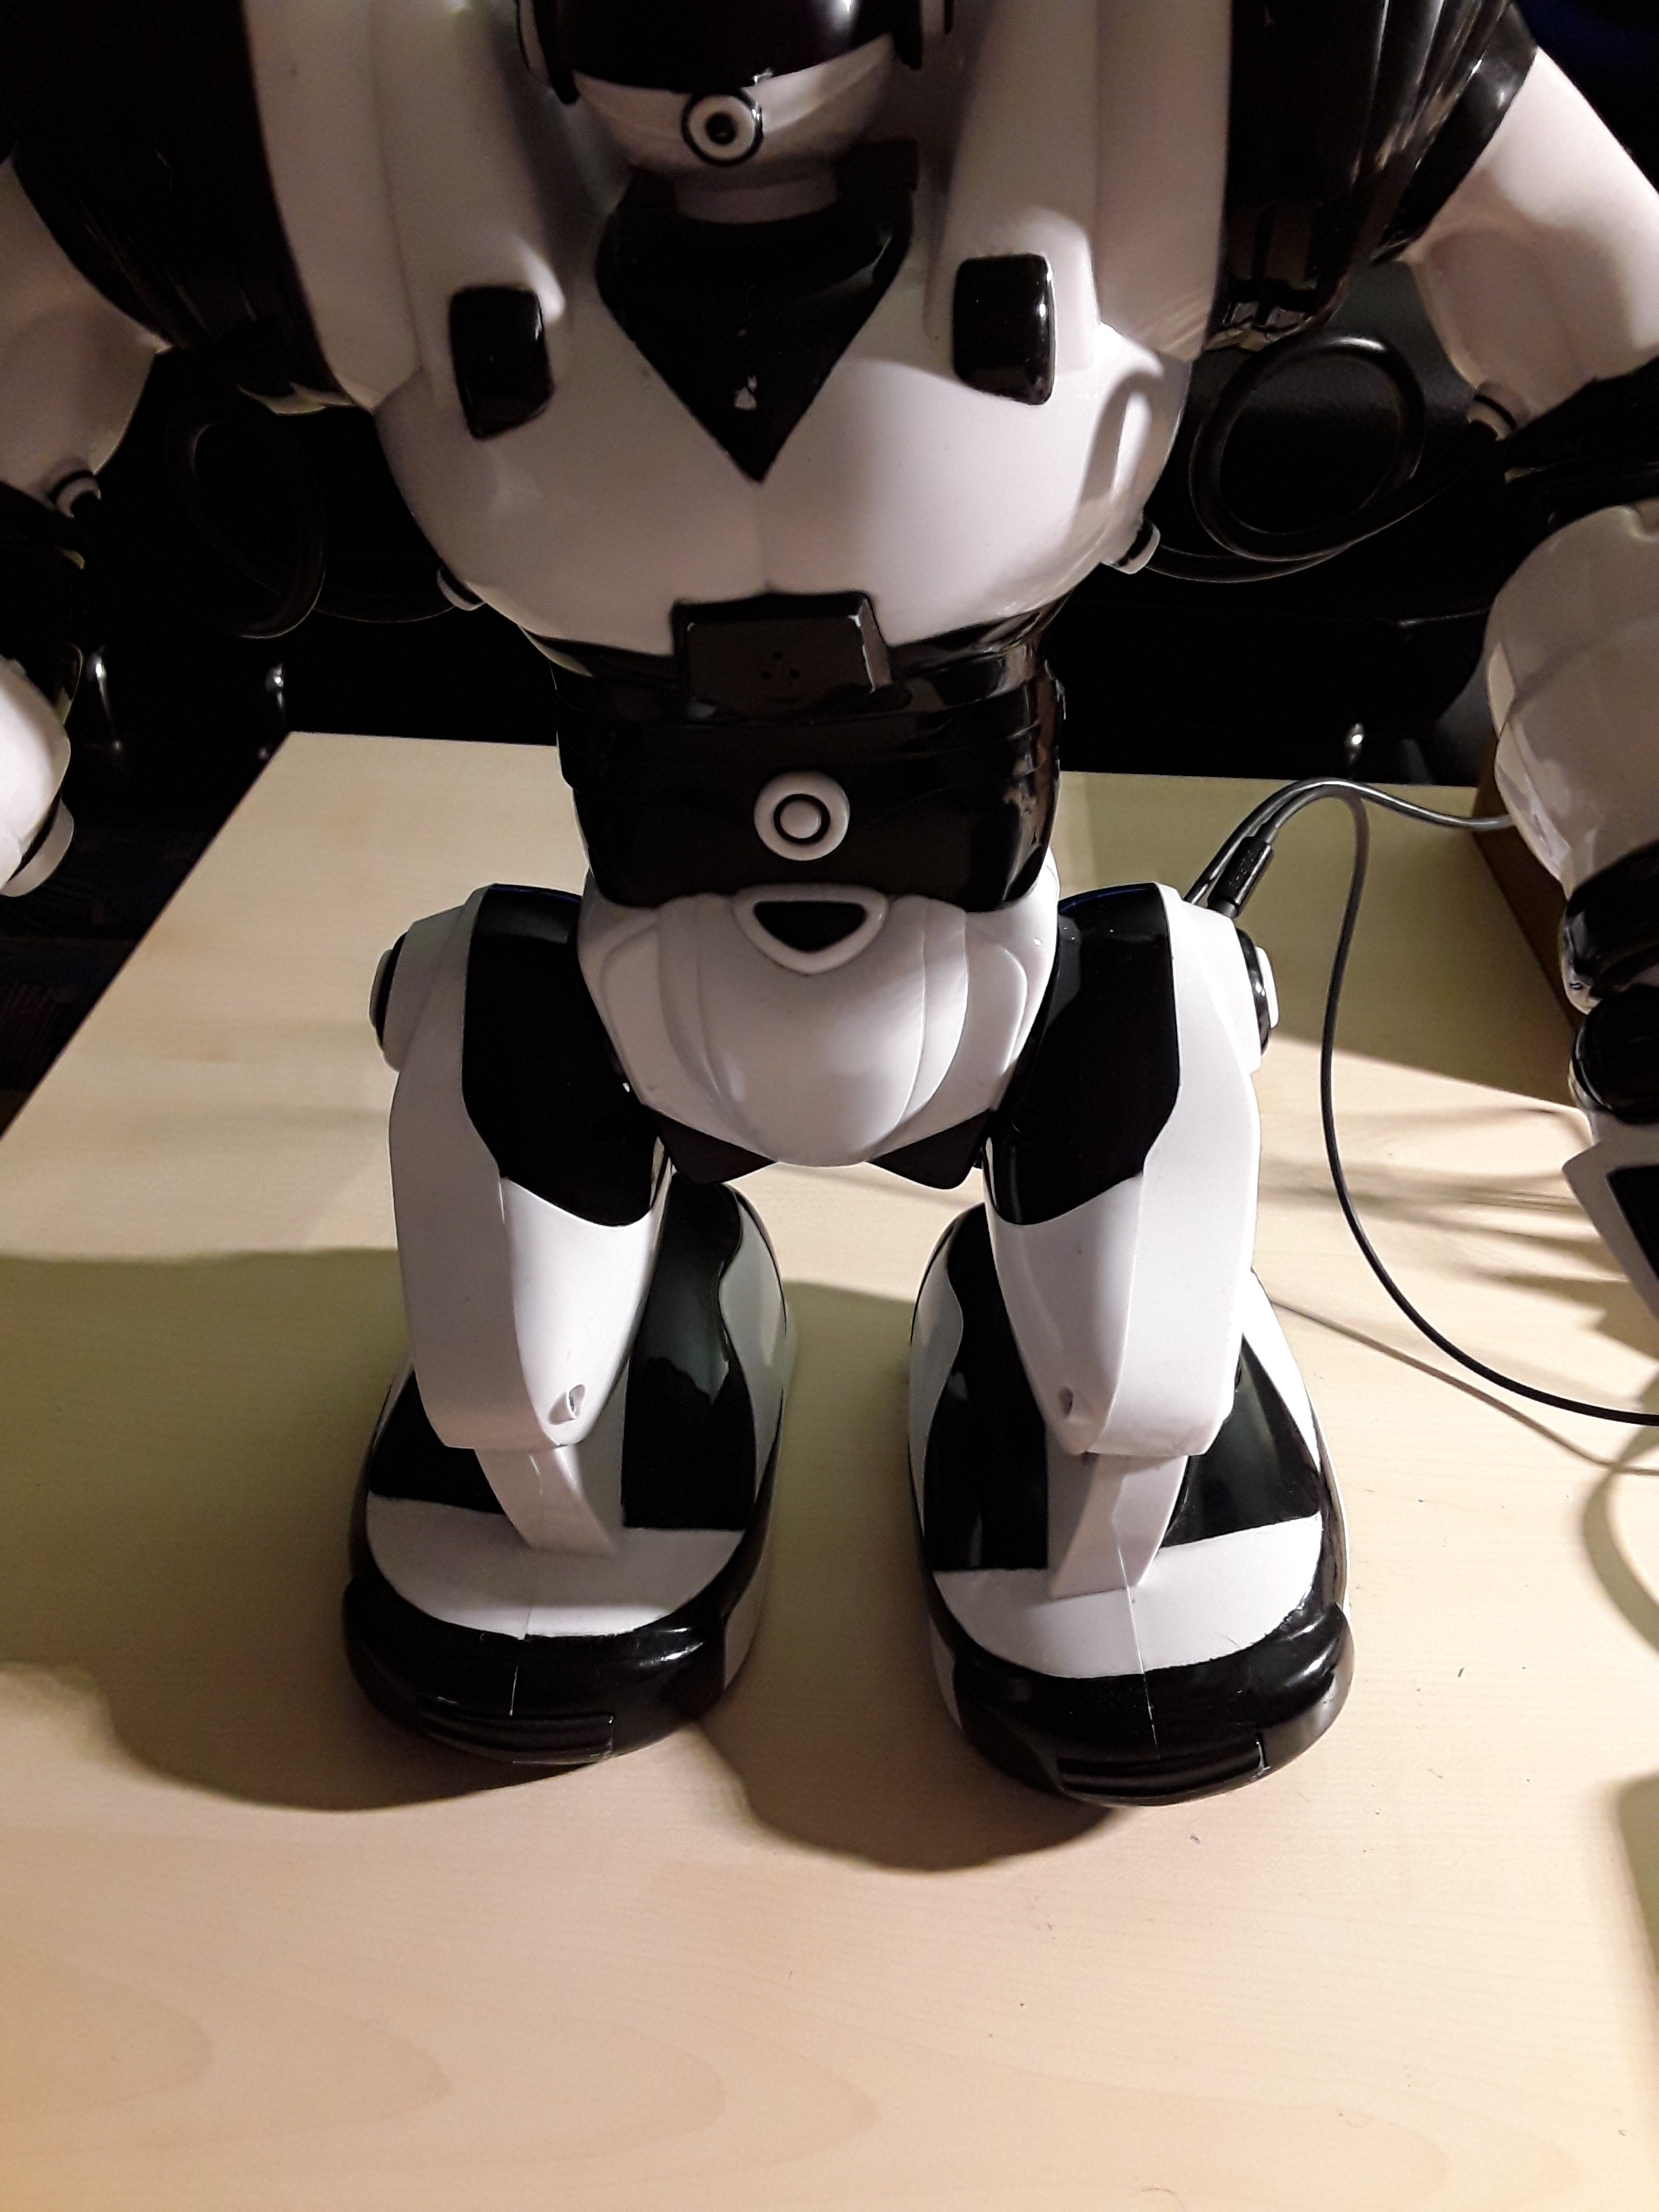
Mounting done

Discussions
Become a Hackaday.io Member
Create an account to leave a comment. Already have an account? Log In.