 Sebastian Lenartowicz
So now the X-axis has another rail. Well, that's great, but there's nothing to move along it yet, which makes it useless.
To build the sliding element for the rail, I started with this large bit of plastic, which came from a plotter that someone had already dismantled and looted (no new steppers or long rails for me). I used a jigsaw to cut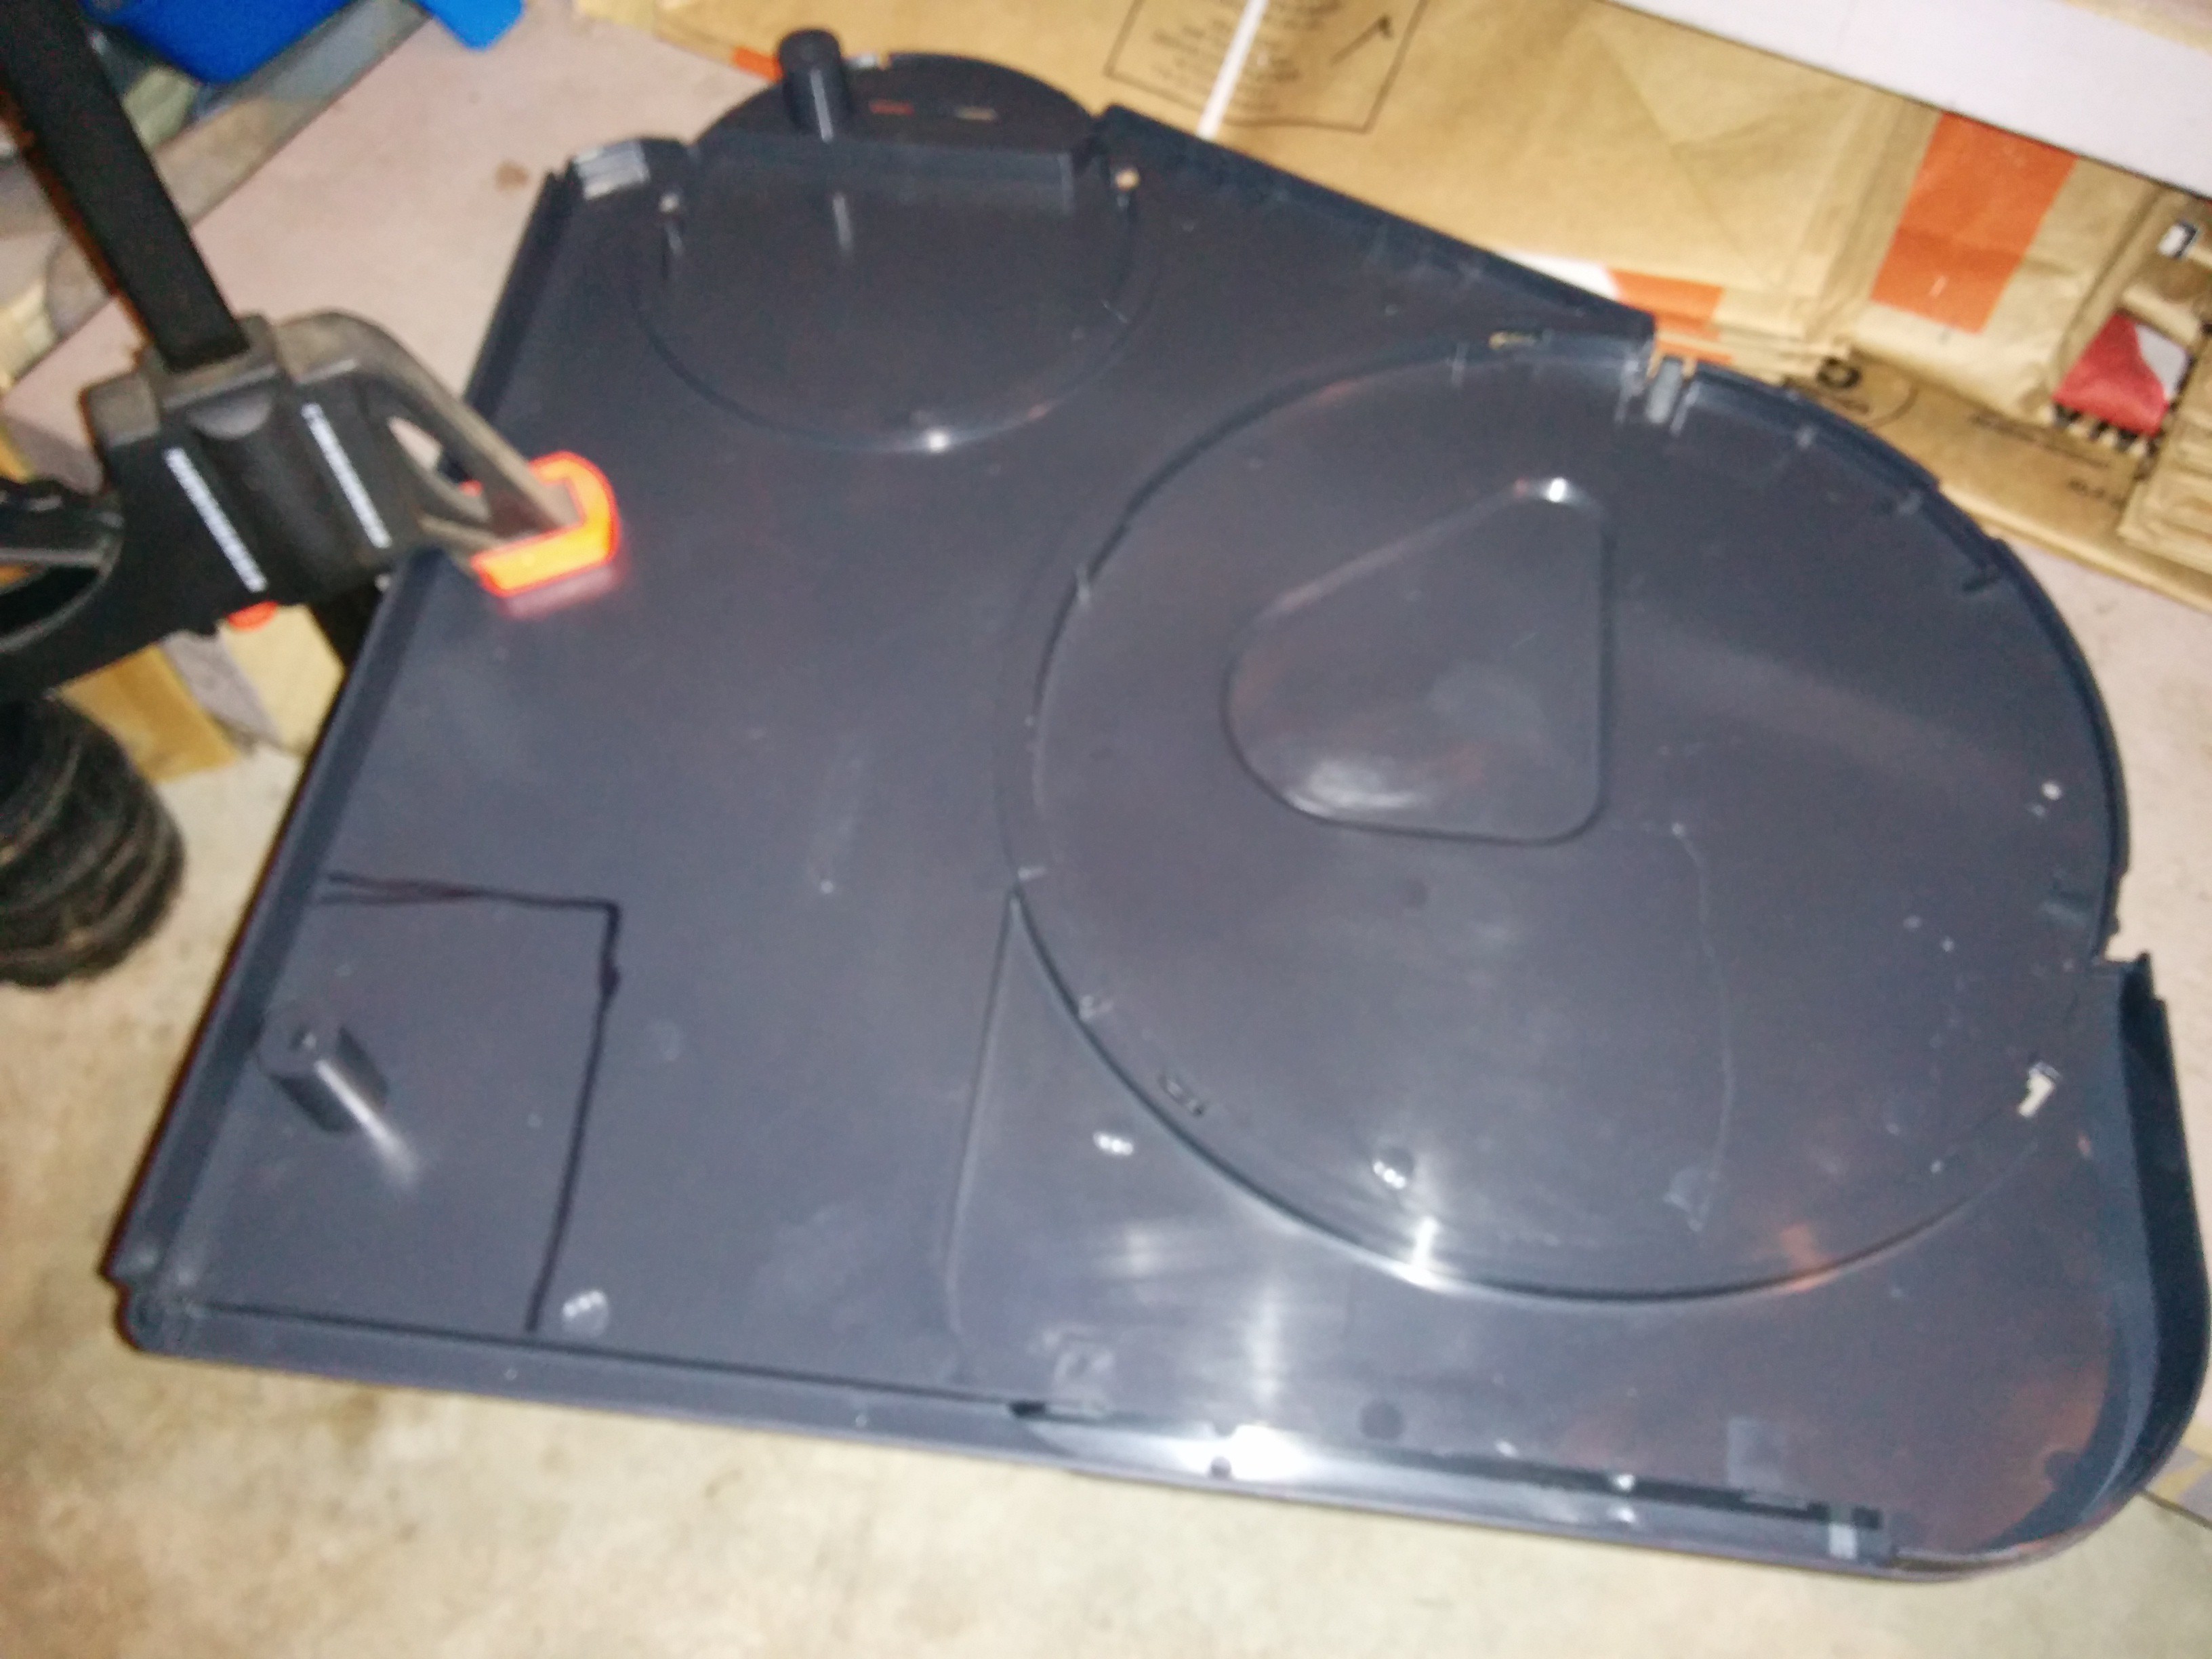 out the bit marked with Sharpie in the bottom left, with the idea that I would use the protruding cylindrical bit as a second slider on the new rail.
Before I started doing anything with that part, though, I have to modify the existing carriage to accomodate it (something it was ill-equipped to do). I started by cutting some protruding bits of plastic off the bottom of it, to make attaching the second slider easier. I then continued by drilling some bolt-holes through the part of the carriage that stands up at 90 degrees to the travel angle (the intent was to mount the bit I cut from the plotter to this).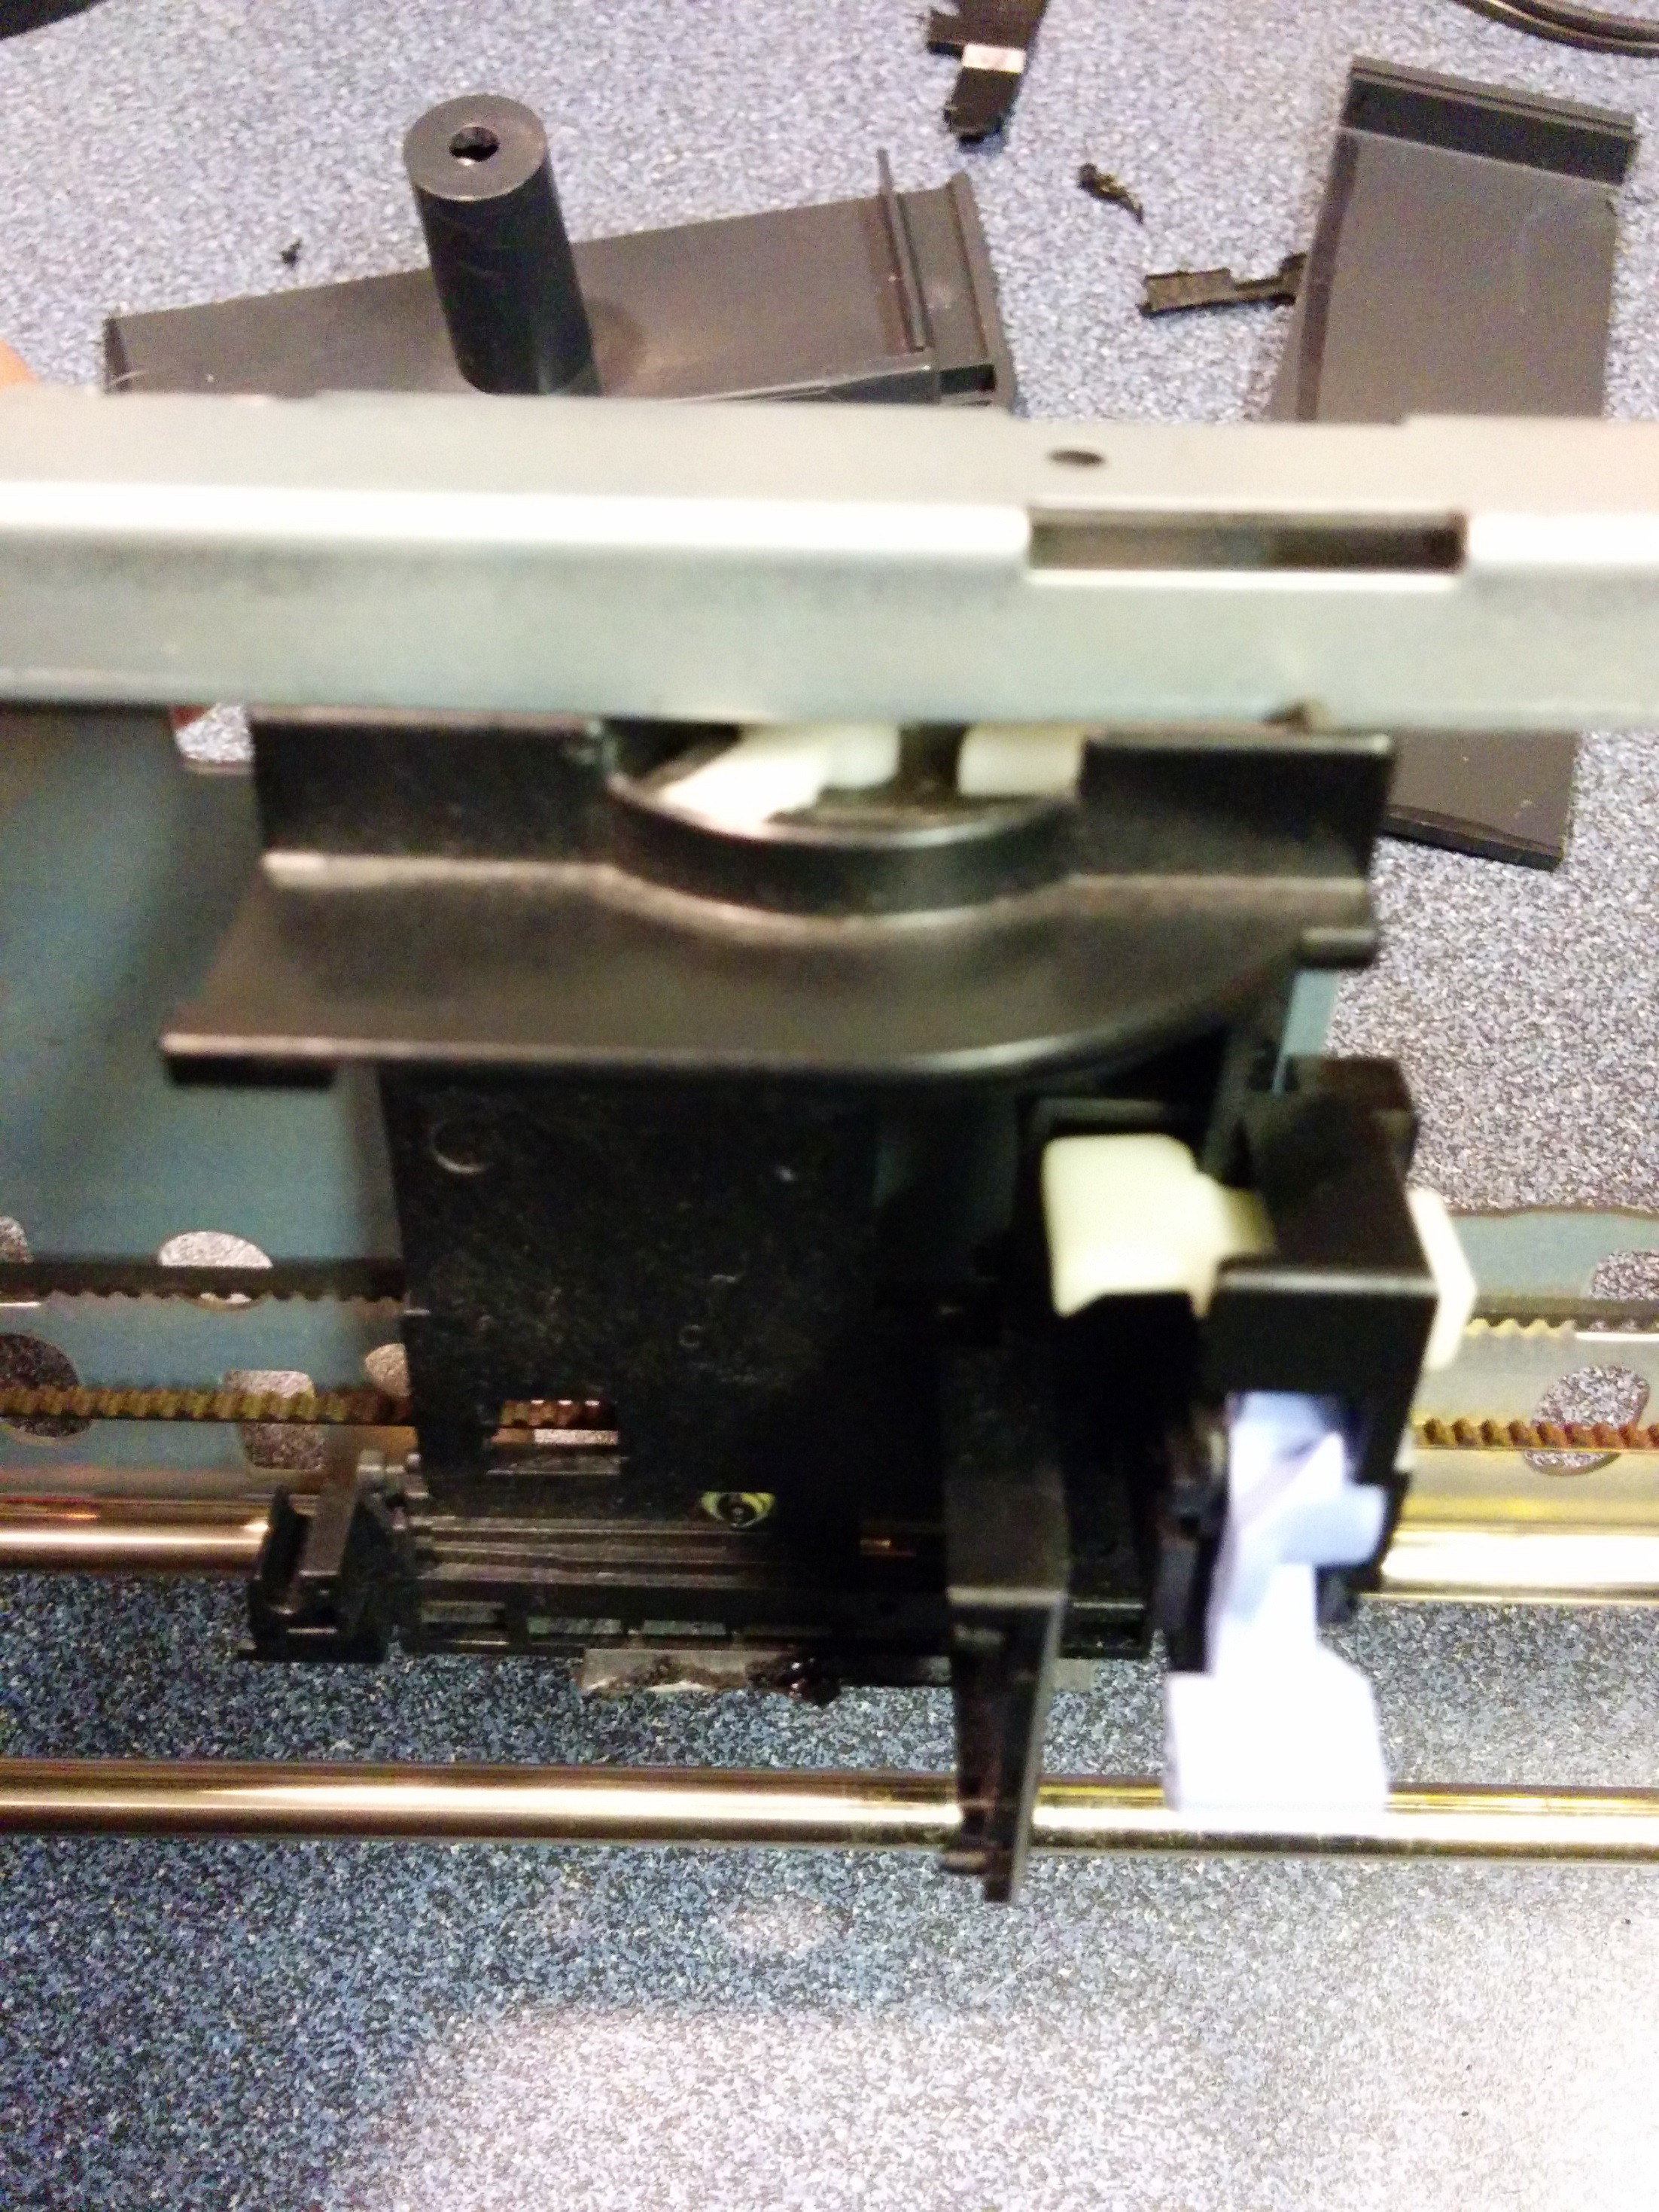
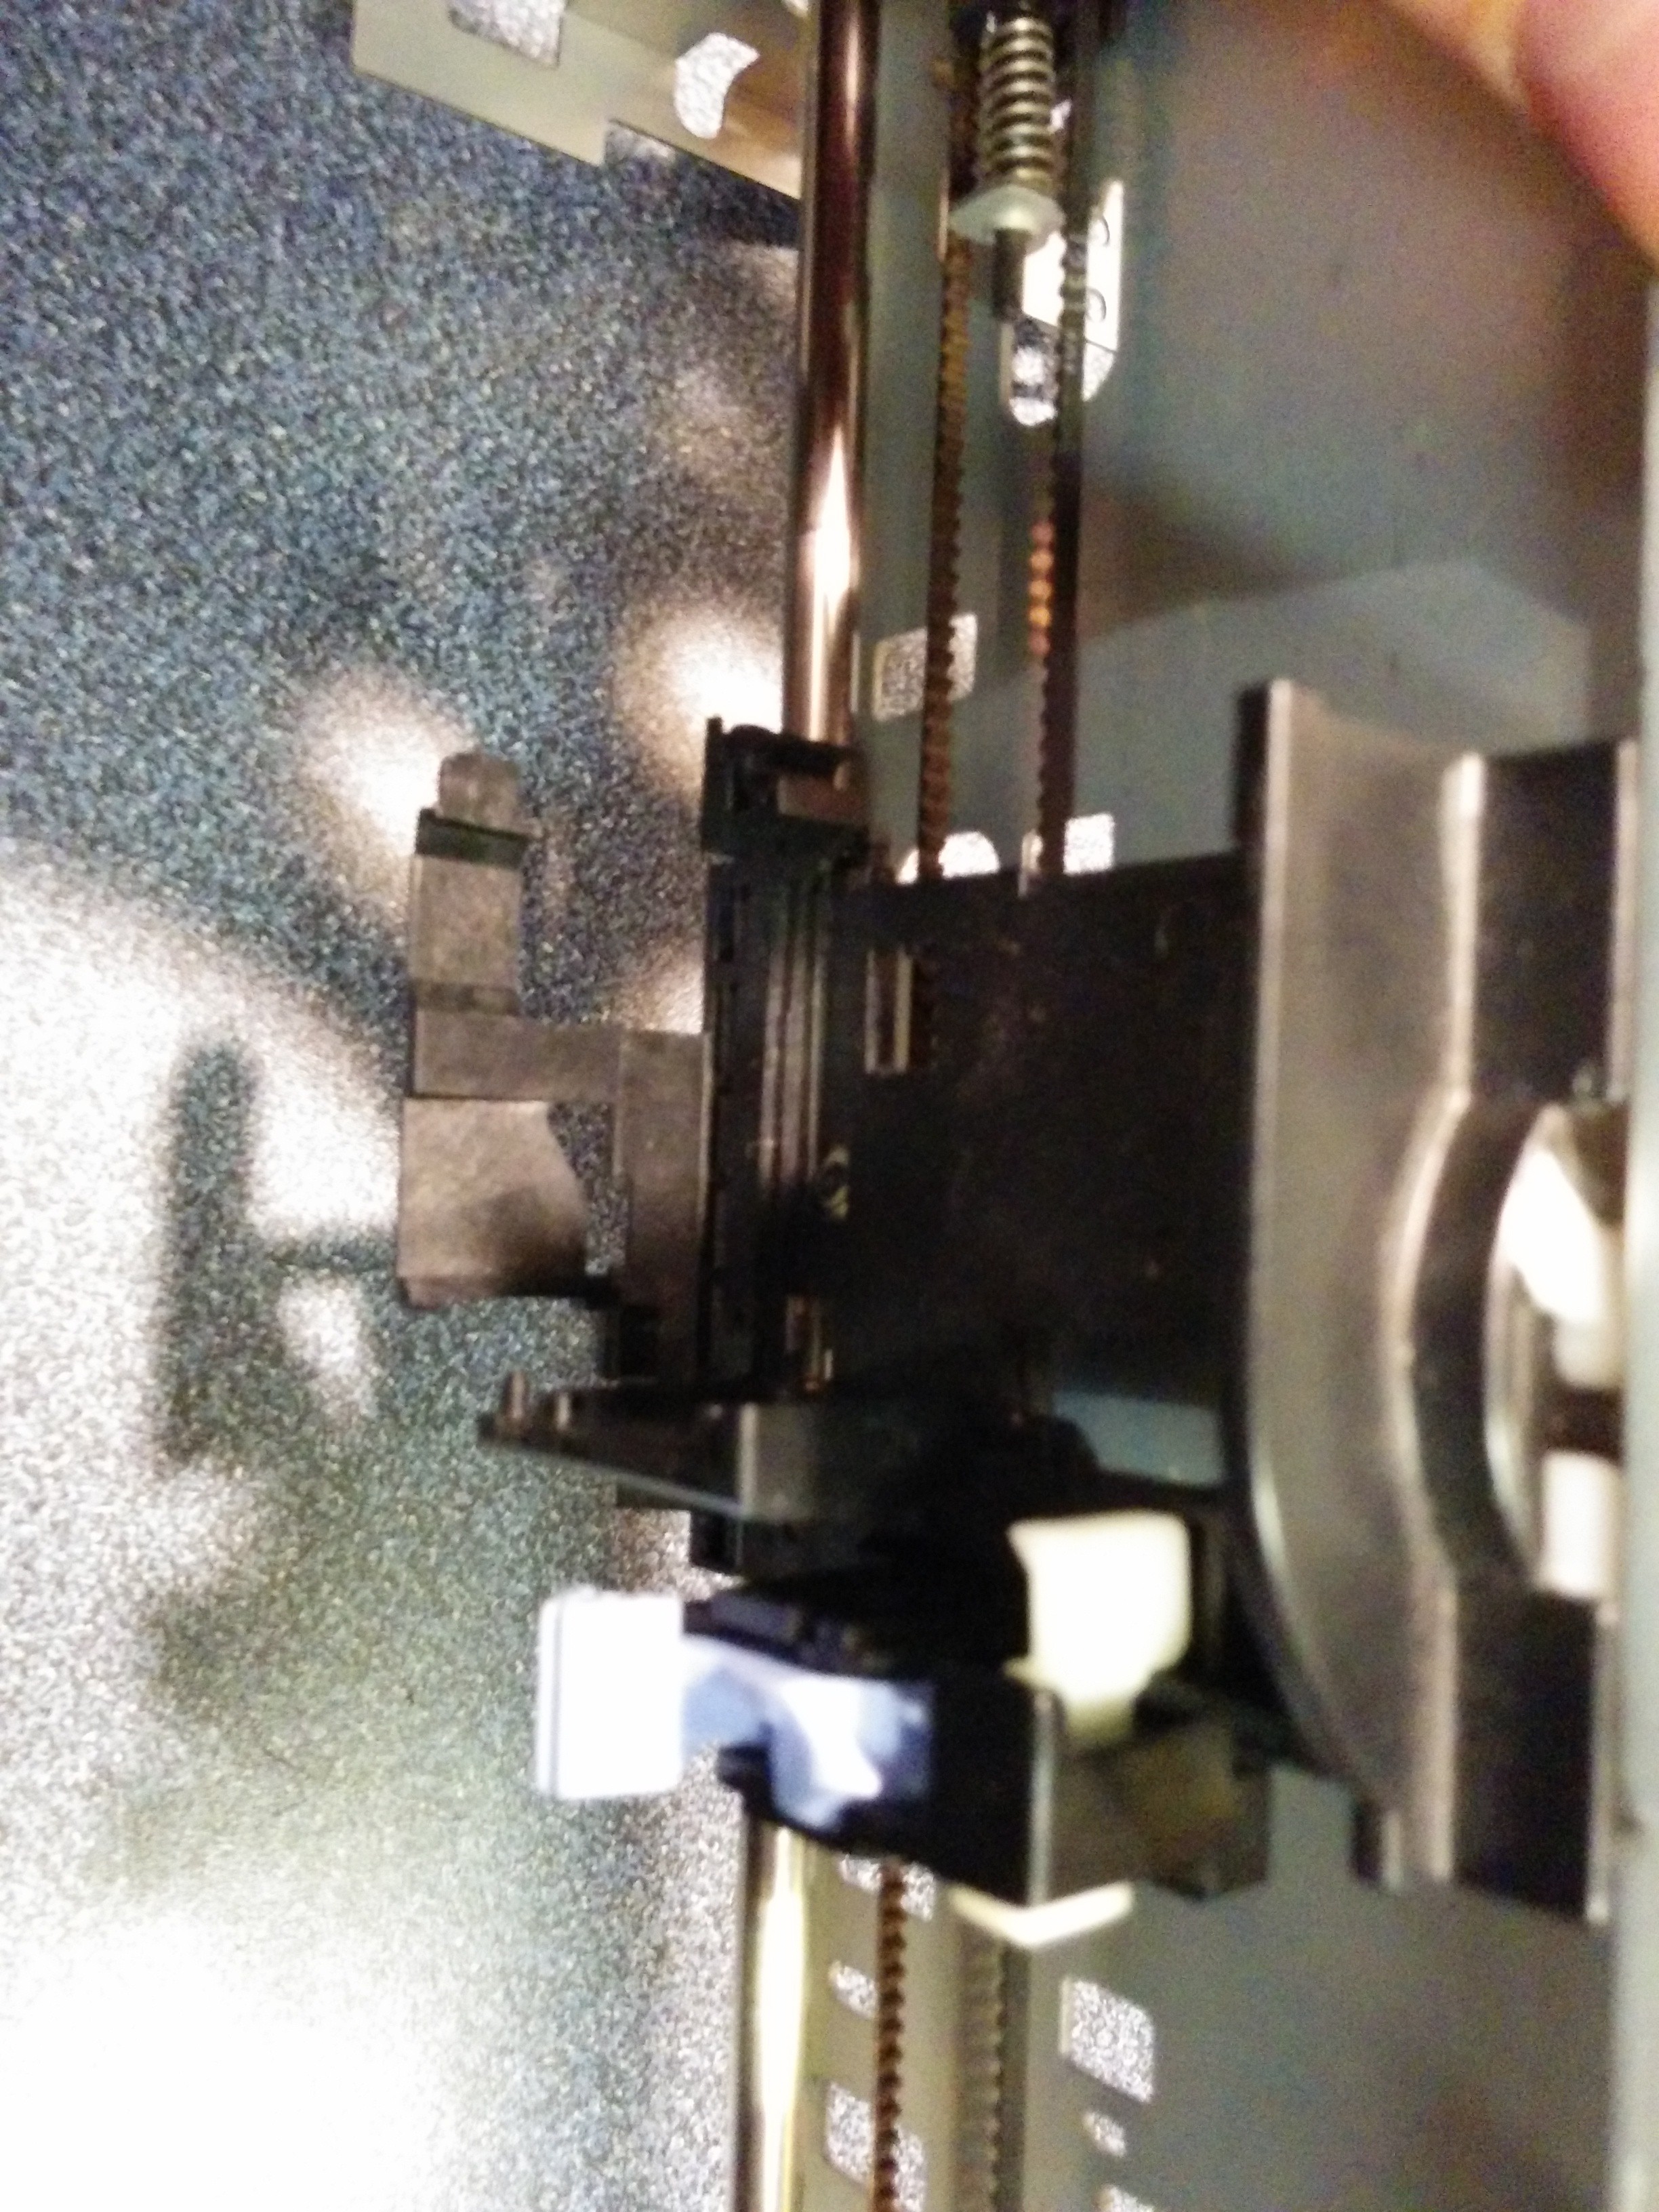 After cutting it to the right size (I just rough-cut it from the plotter end-cap), I realized that the best way to mount the new piece was to use some long M4 bolts, with a couple of nuts between the protruding element and the slider acting as standoffs (because the protruding element has an uneven surface, mounting it directly wouldn't work very well, and I wouldn't be able to do a good enough sanding job to make it work because it's made of ABS and would melt rather than grinding).
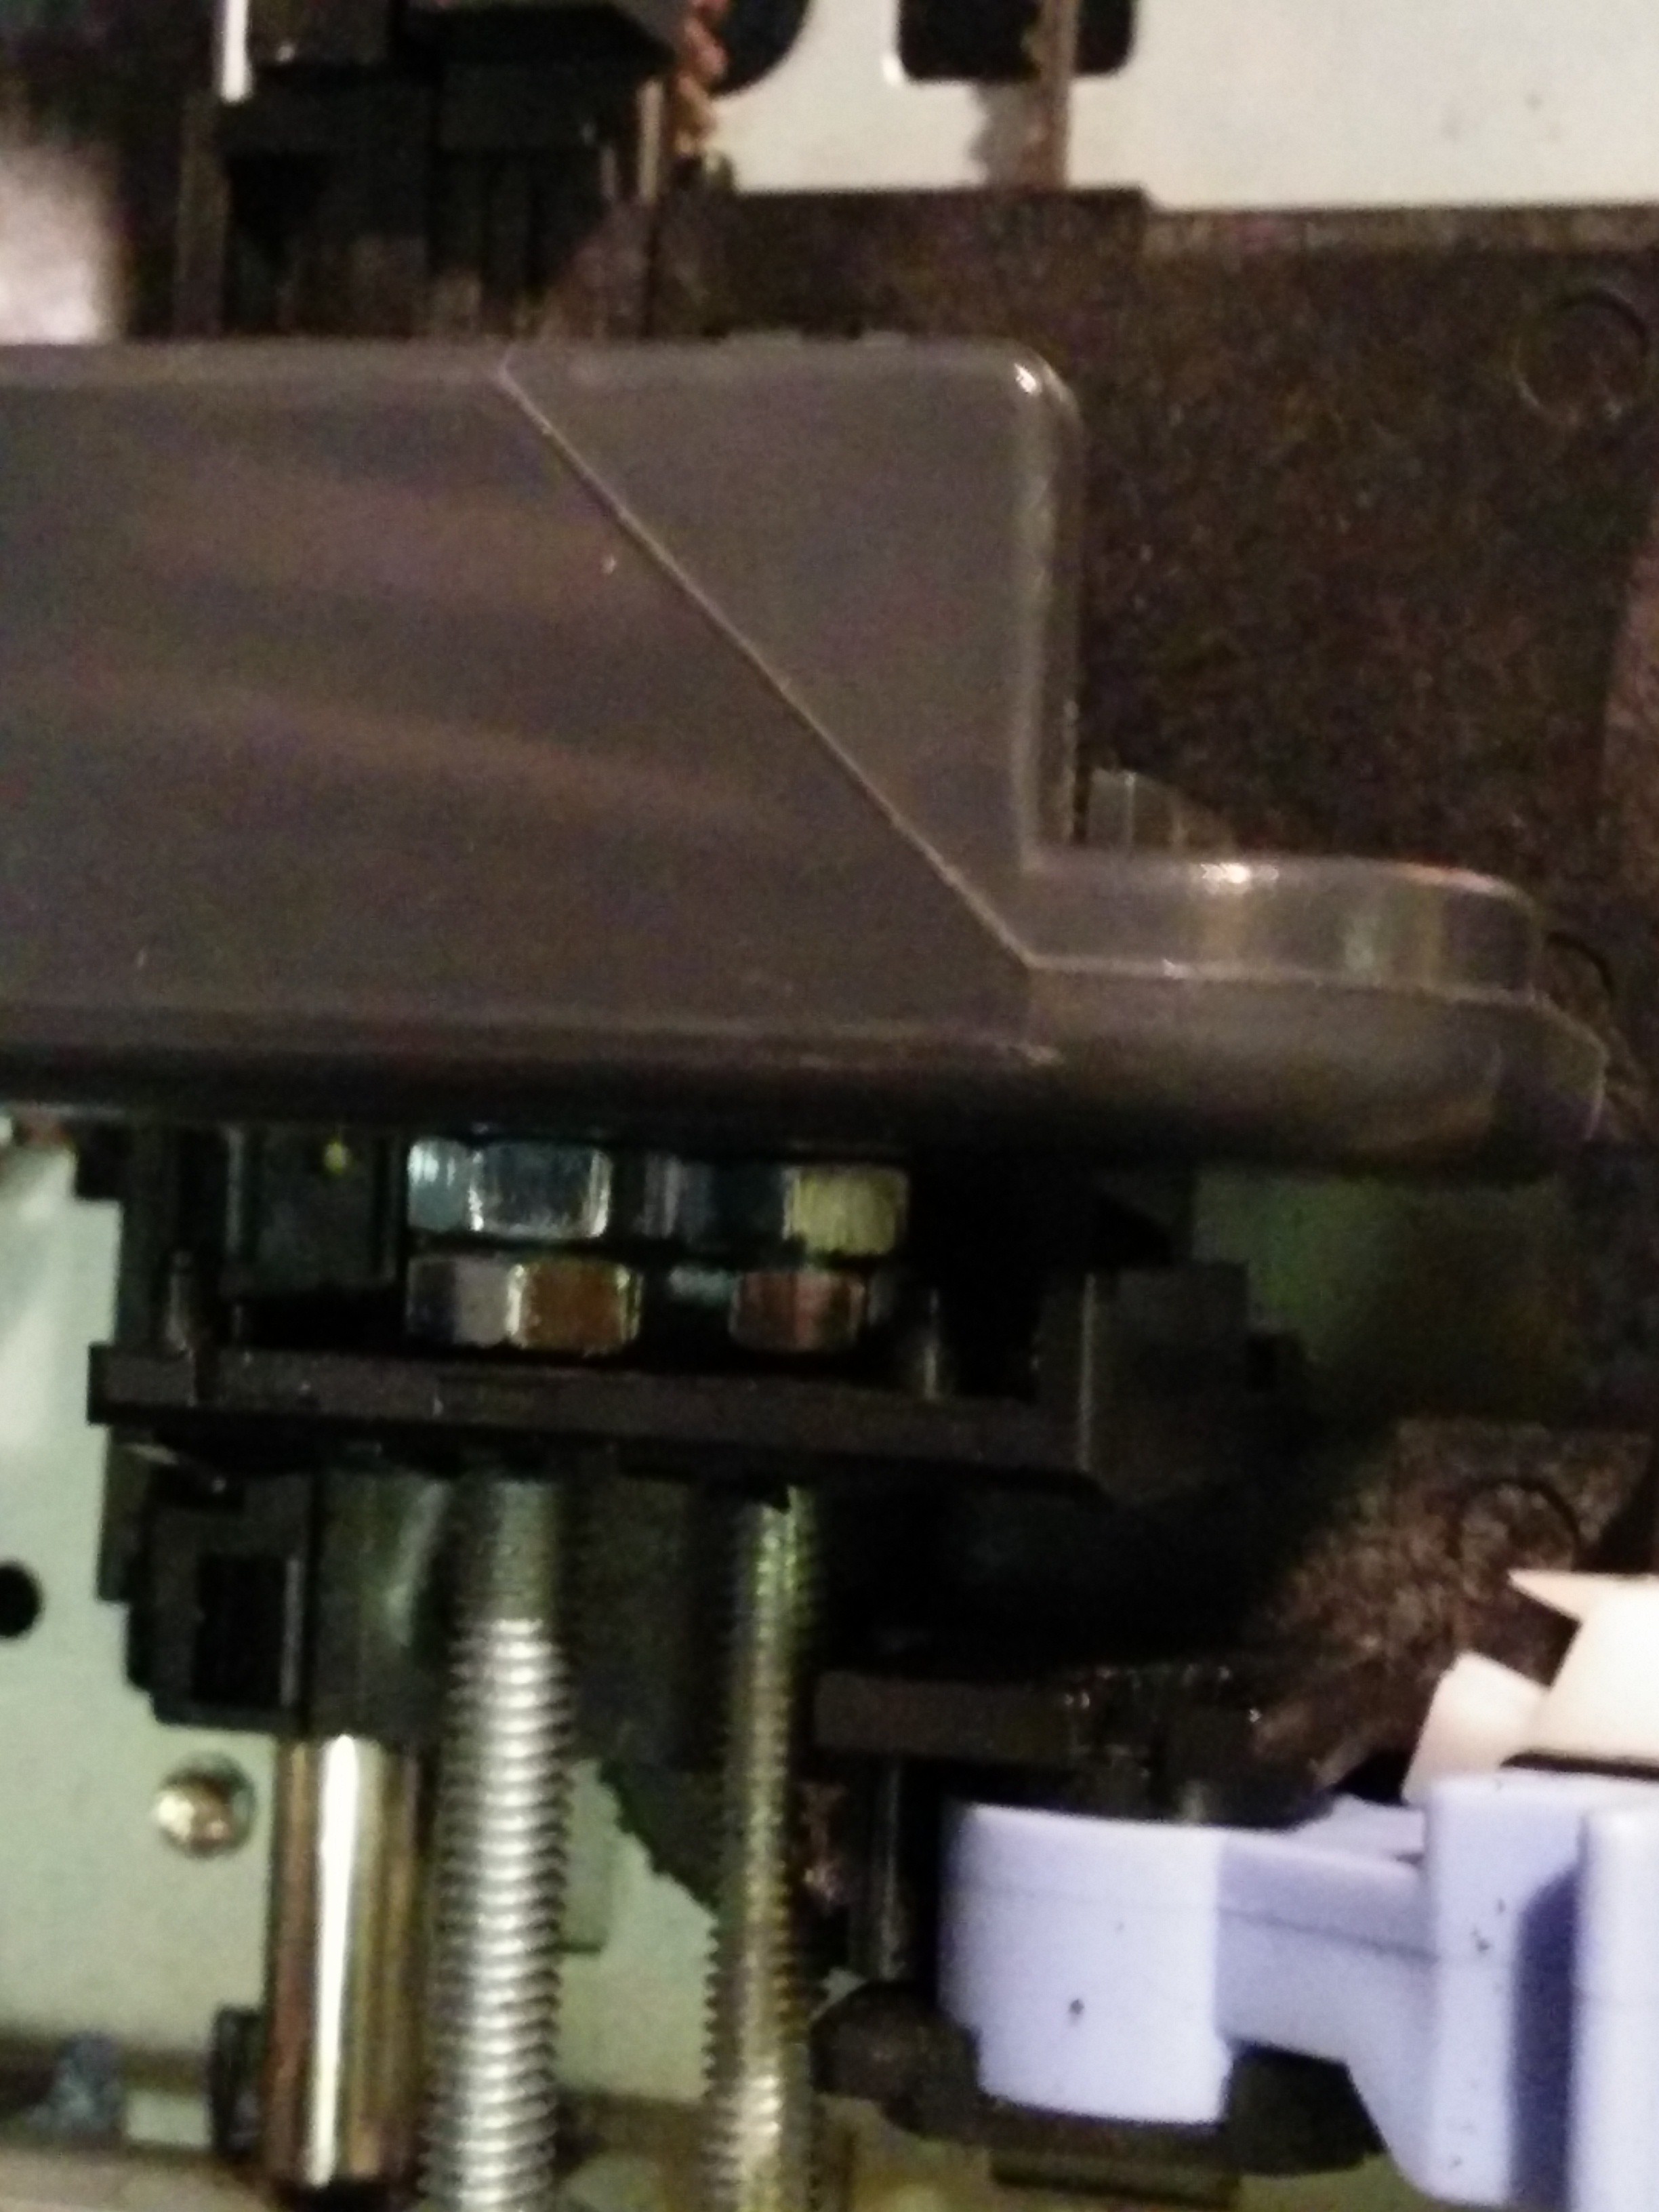
When that was done and started moving, I realized that the carriage wasn't capable of moving along the entire rail length because of the protruding bit that held the secondary rail on, and this was costing me about 1 1/2" of my travel distance. To remedy this, I ground down the part that held the second rail to make it much smaller, and cut a matching wedge out of the cylinder (which is hollow), so that the carriage could travel the entire rail.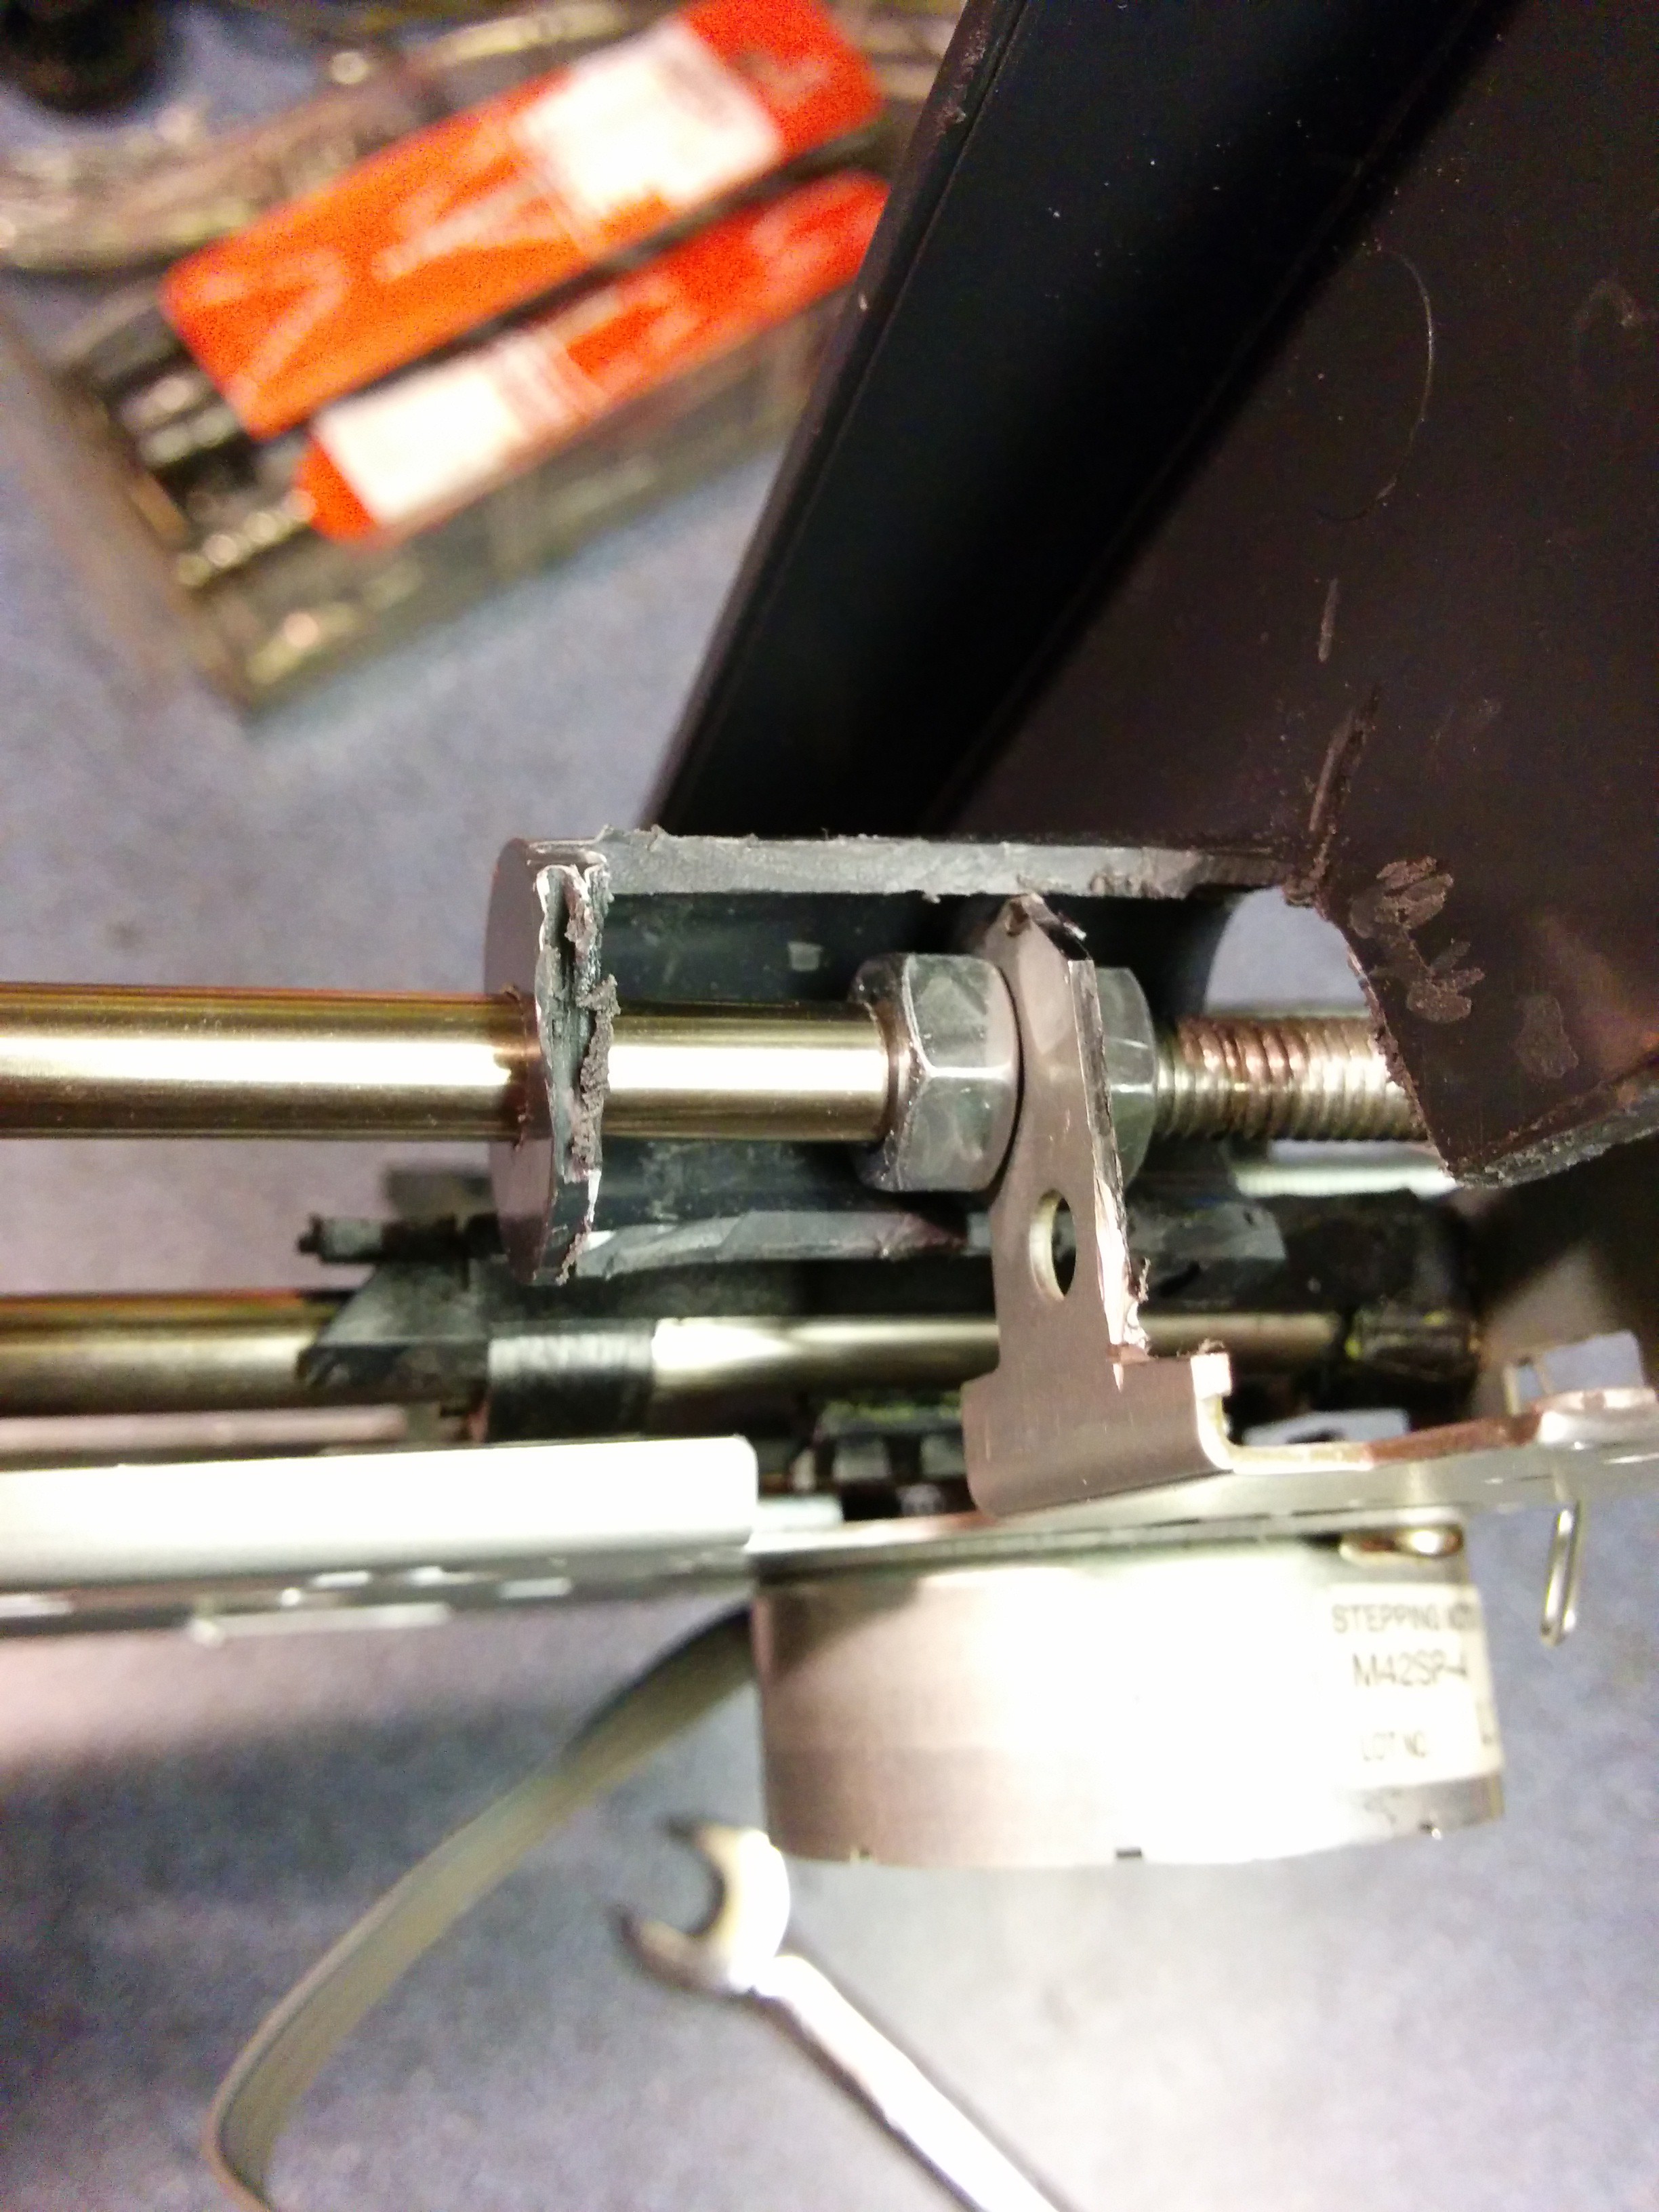
The end result of all of this isn't pretty, and still wobbles around a bit if I put some force on it, but slides straight and smooth (especially with some lubrication) and will likely do until I'm able to print a replacement for it when I get this printer up and running. Finishing this means that the X-axis carriage is basically done, and can be set aside until it comes time to mount it to the Z-axis.
Oh, and the final product looks like this: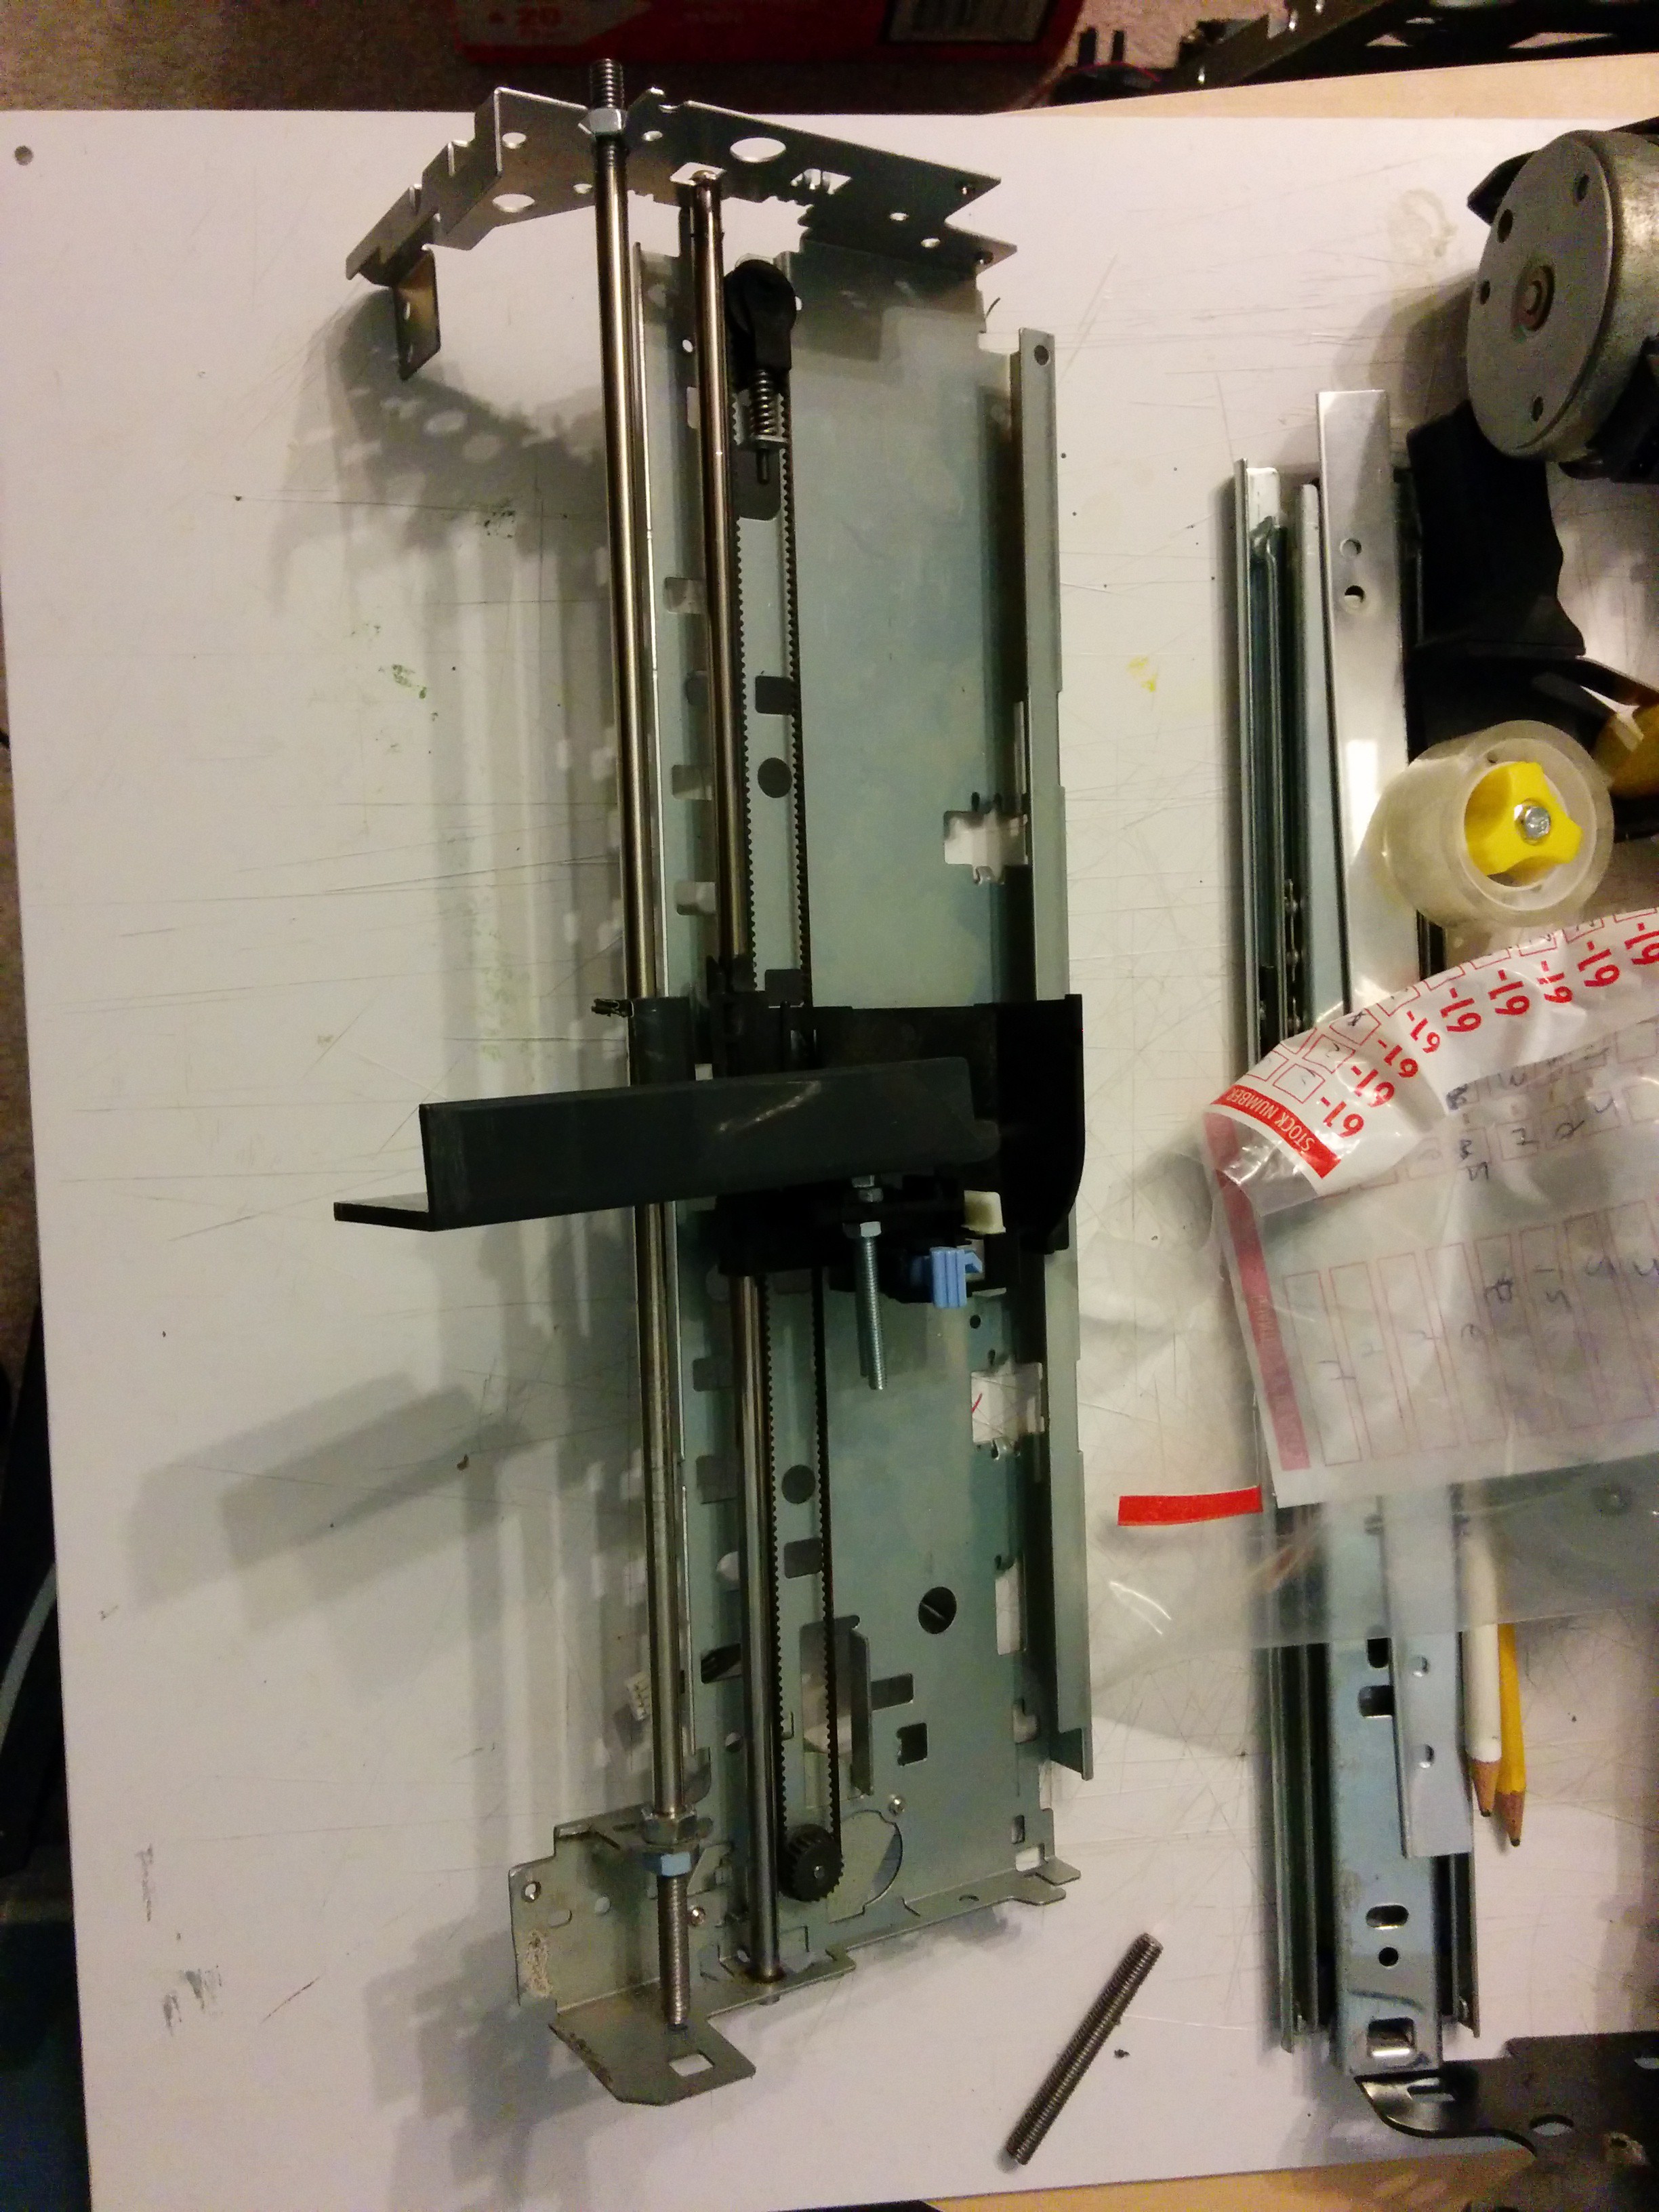
The plan in the end is to mount the extruder to the bit that sticks out, and cut off any excess on an as-needs basis (though I'm hoping to avoid having it stick out too far, so it won't cut into the Z-axis travel distance).
Discussions
Become a Hackaday.io Member
Create an account to leave a comment. Already have an account? Log In.