 Evan Li
Since this new board is going to be controlling a machine spitting out shards of metal, it seems prudent to provide an enclosure for it. Modeled up an enclosure in solidworks and after a few hours on the ol' 3D printer, it was done.
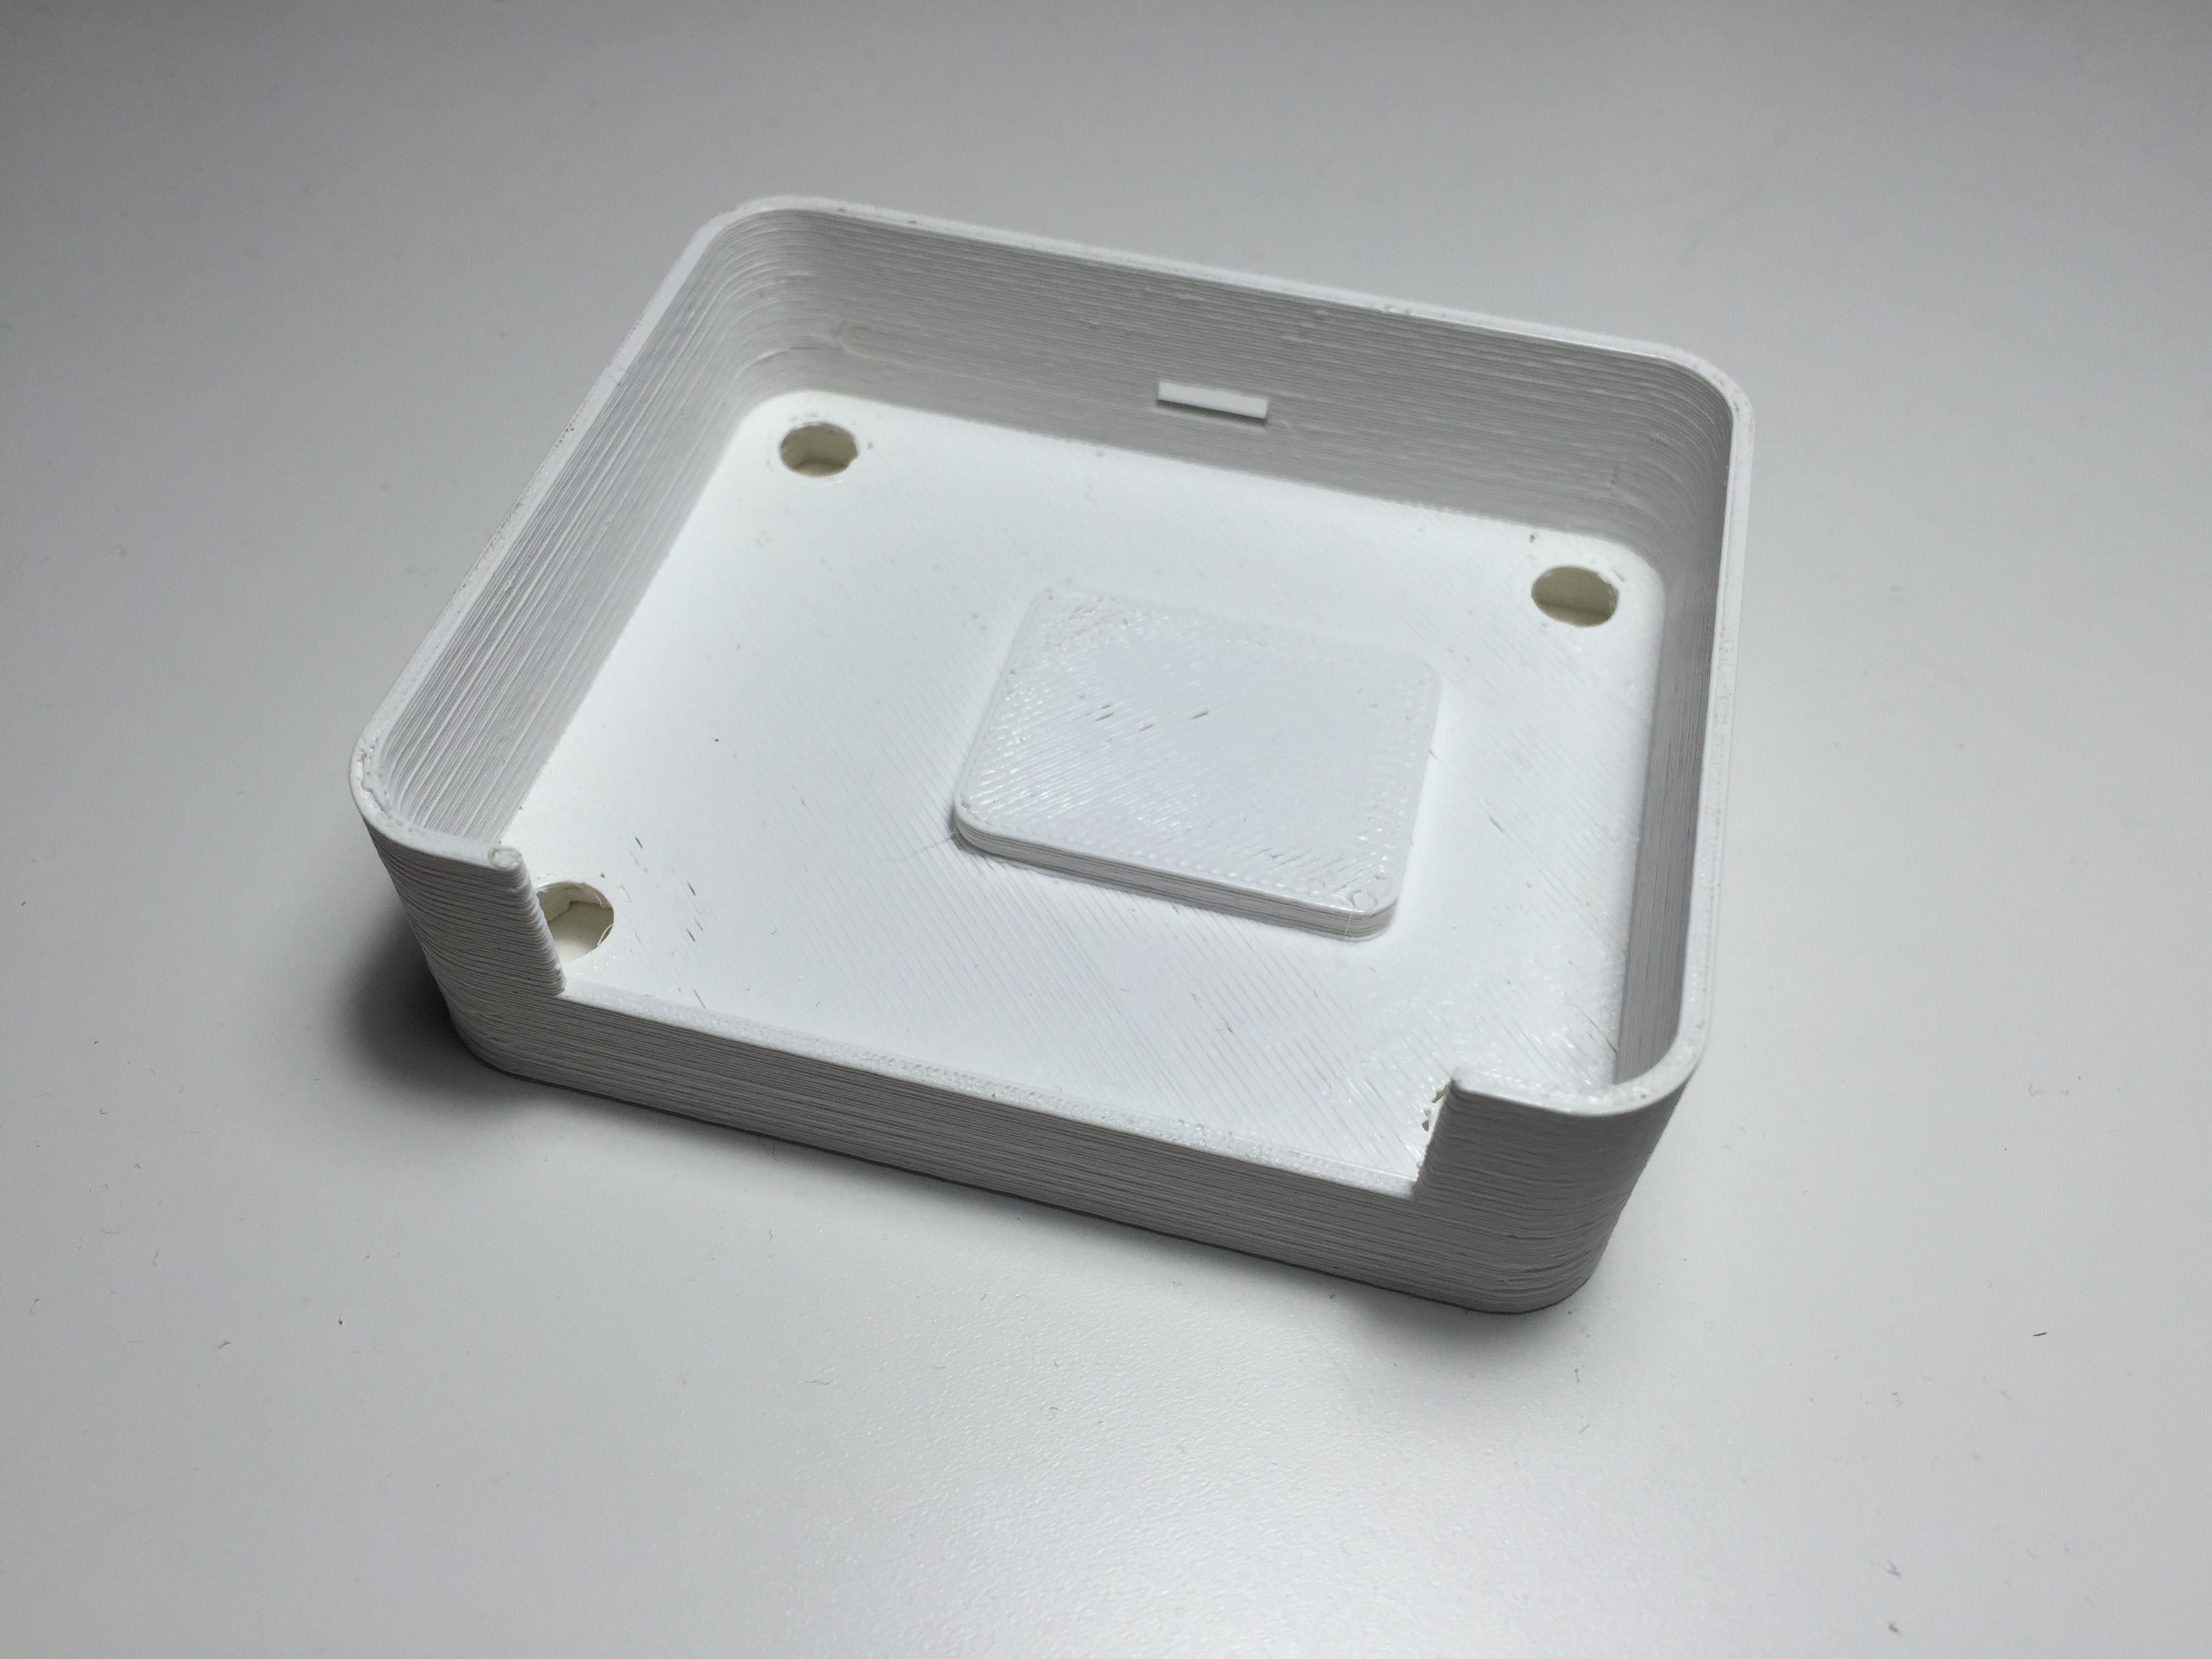
Since the board has through-hole components, I added a small pad for the PCB to rest on. There is a cutout for the the parallel port and the USB port.

On the bottom of the enclosure, there are recesses that fit and capture 1/4-20 nuts.
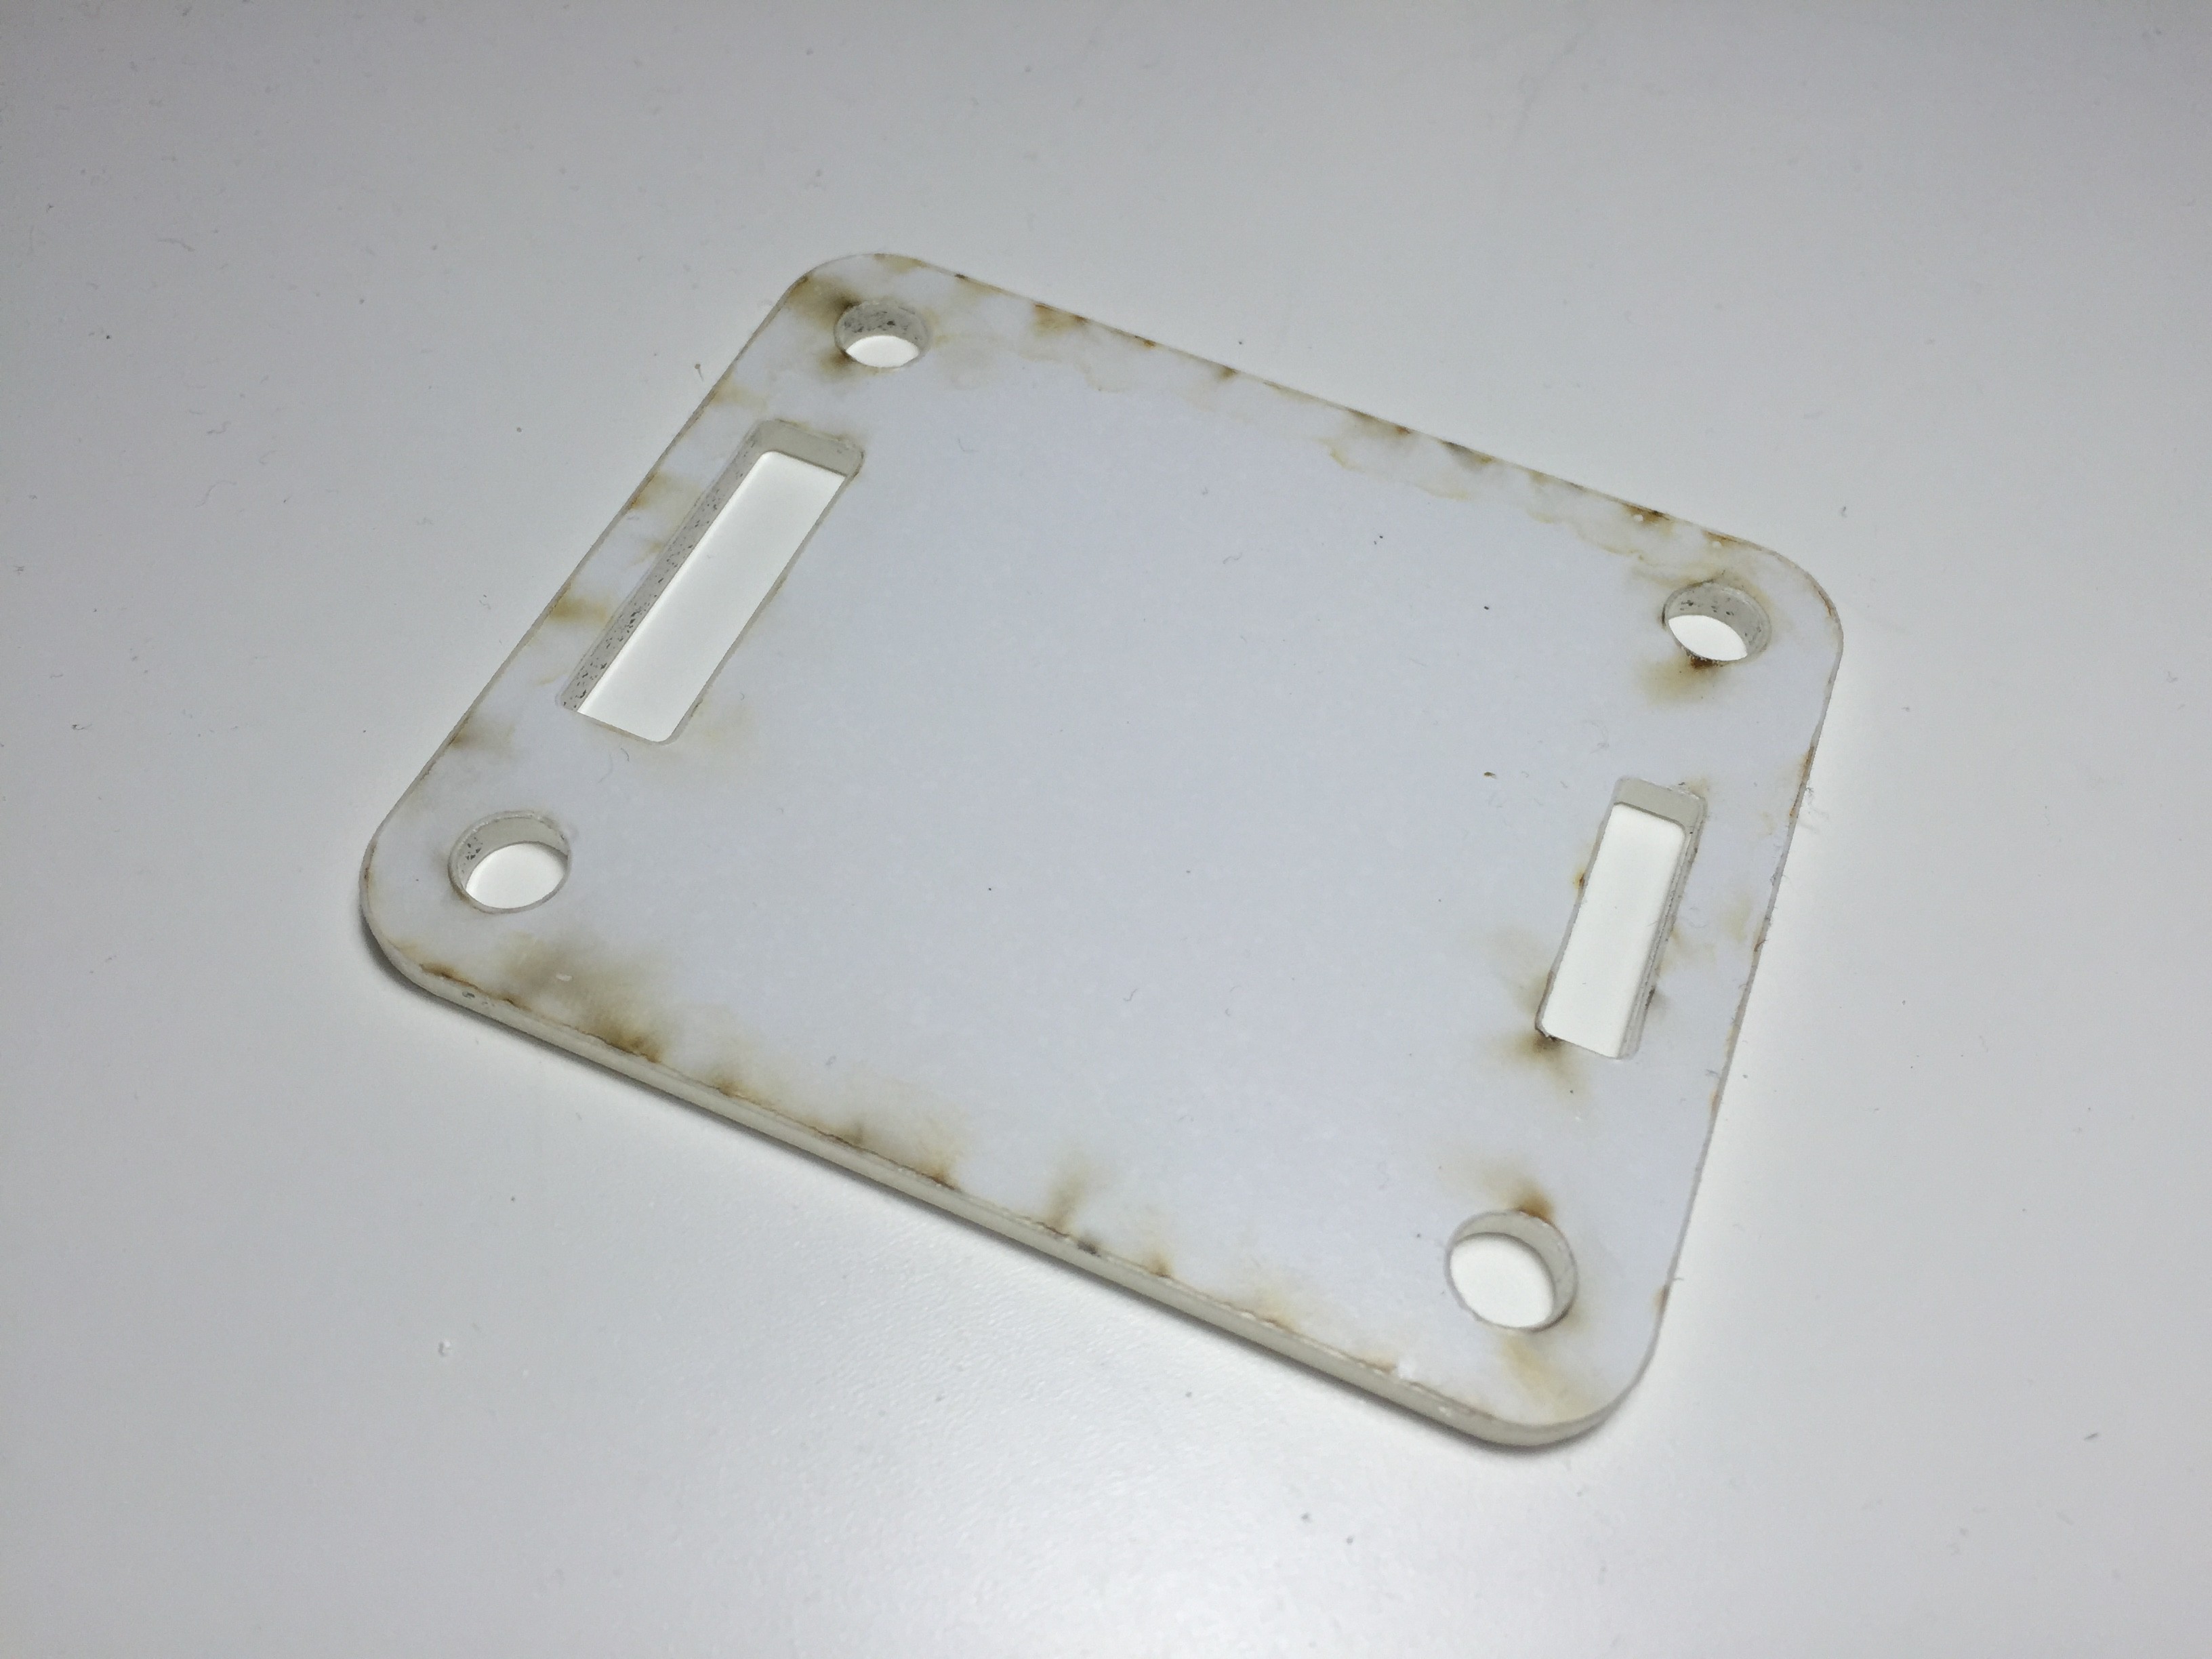
The top of the enclosure is a laser cut piece of acrylic with cutouts for the bolts and some openings to access the headers.
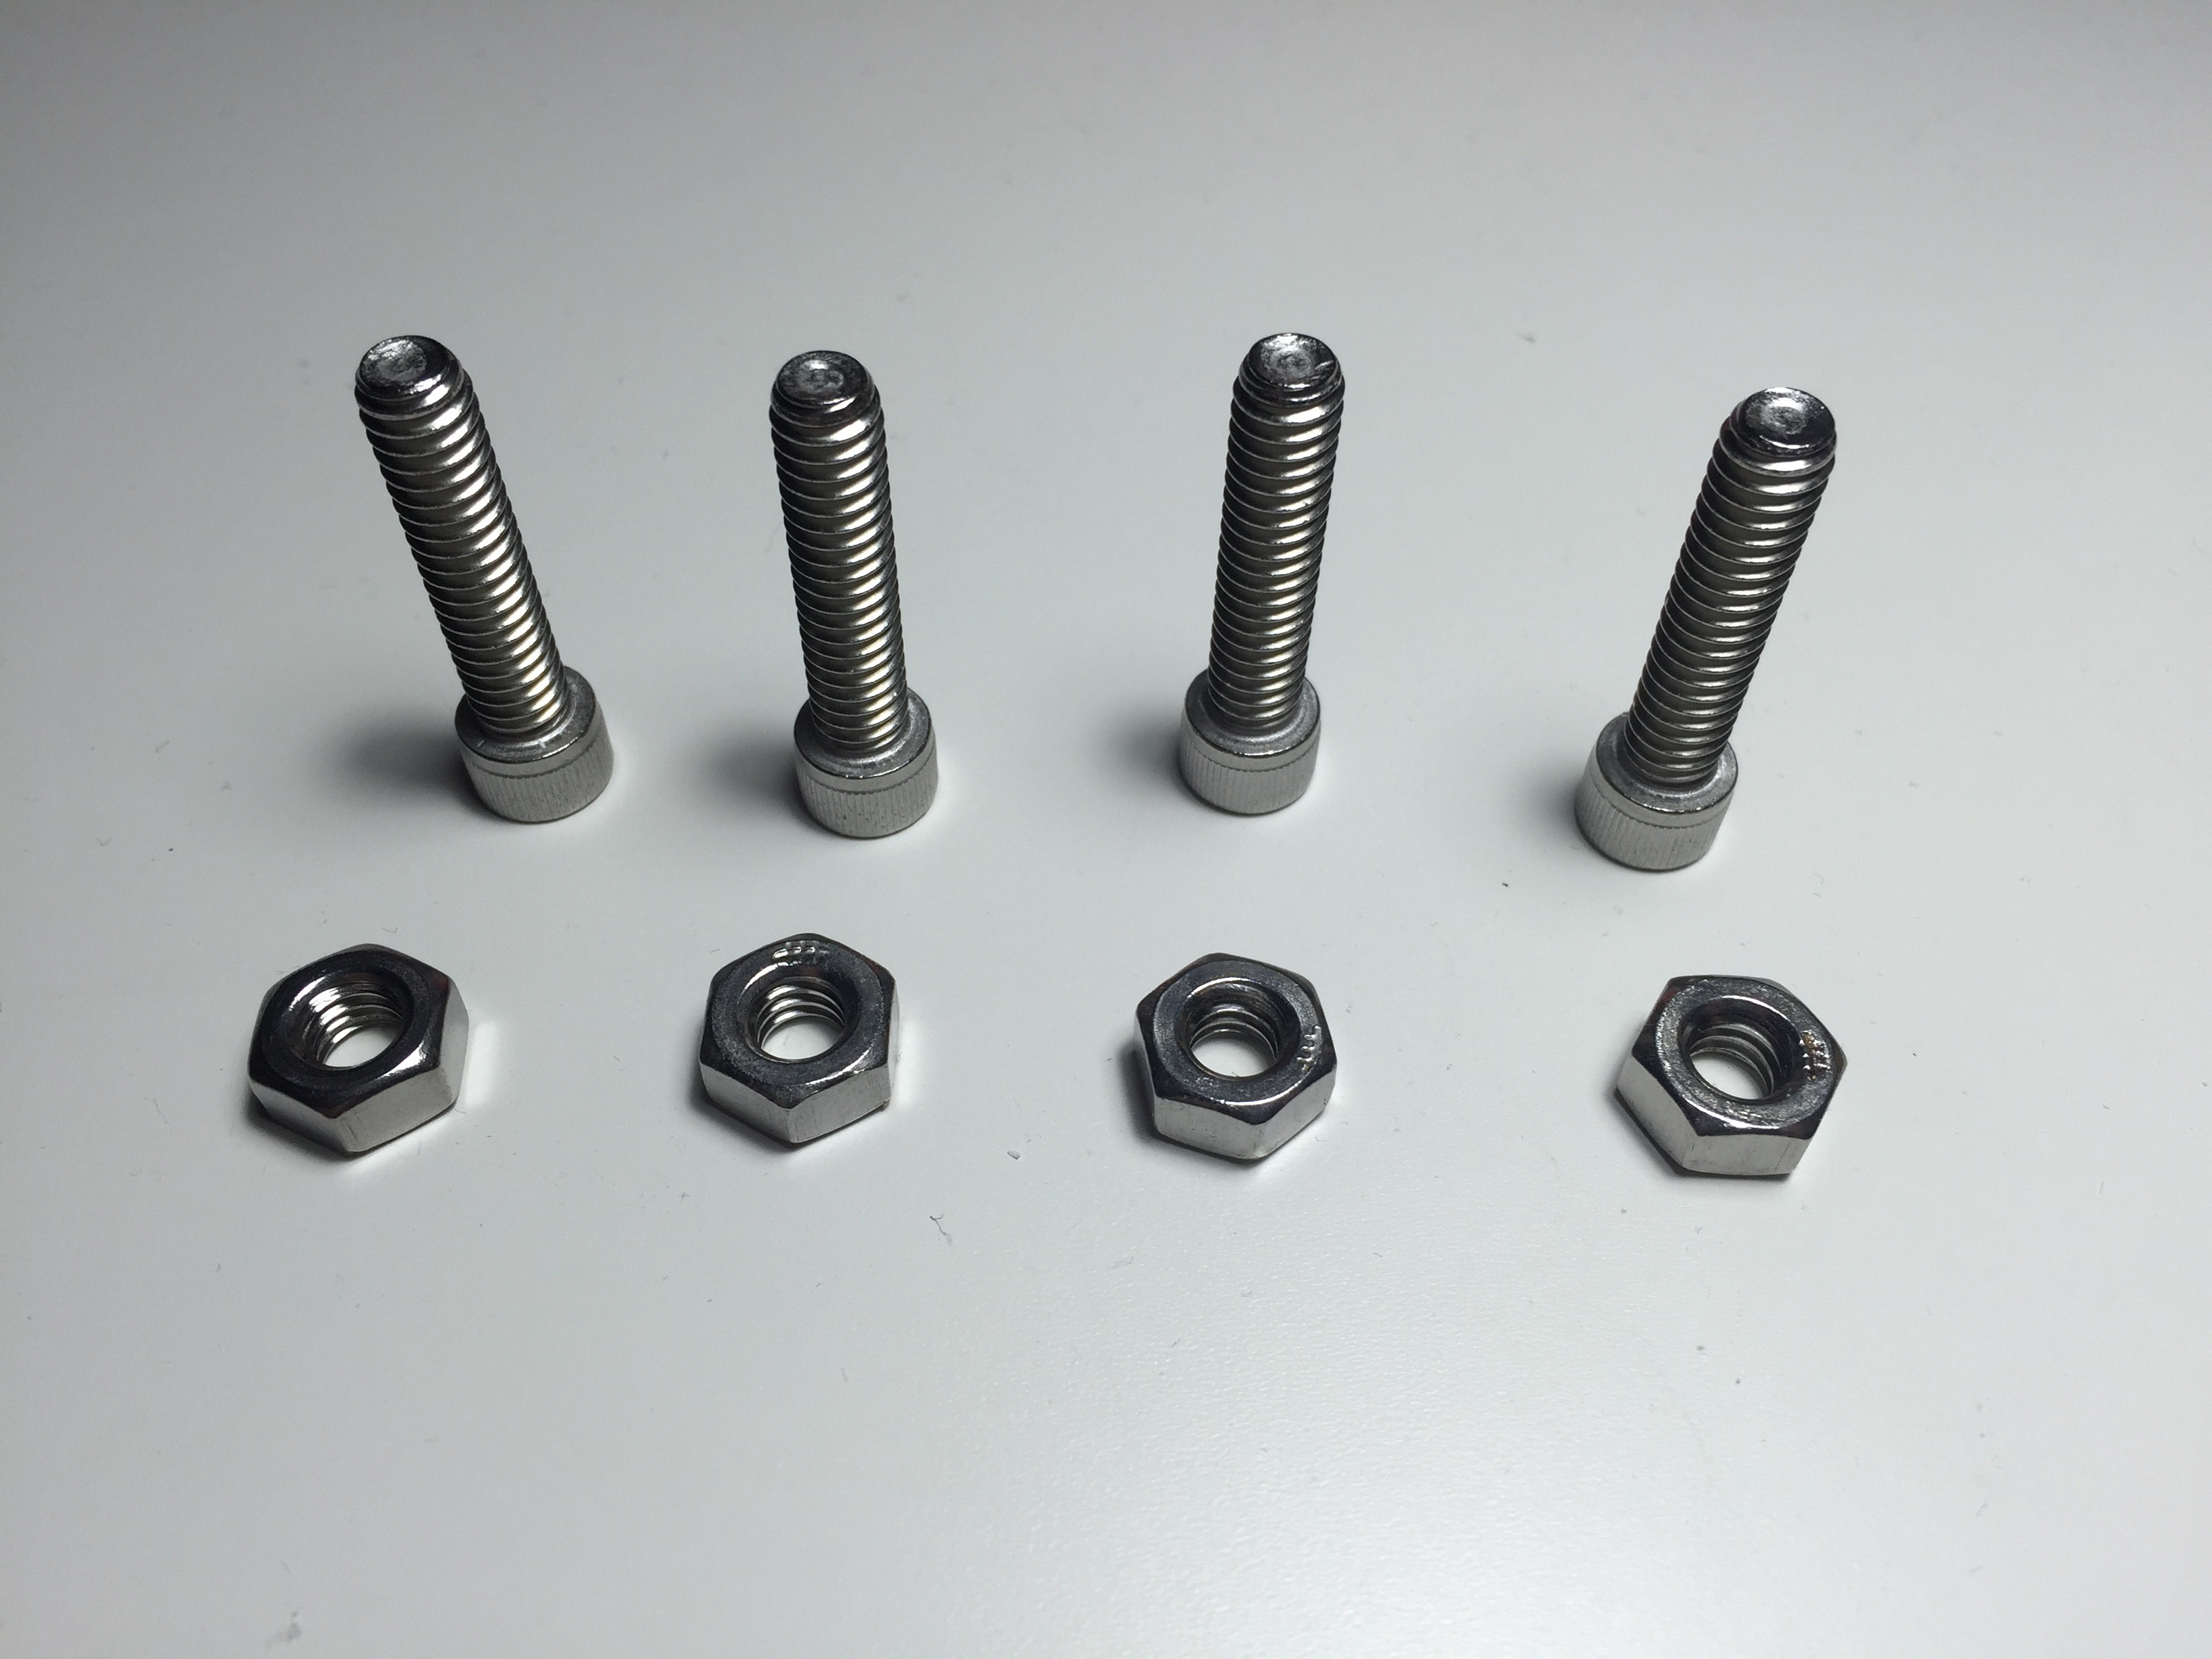
These are four 18-8 stainless 1/4-20 bolts that defined the final height of the enclosure.
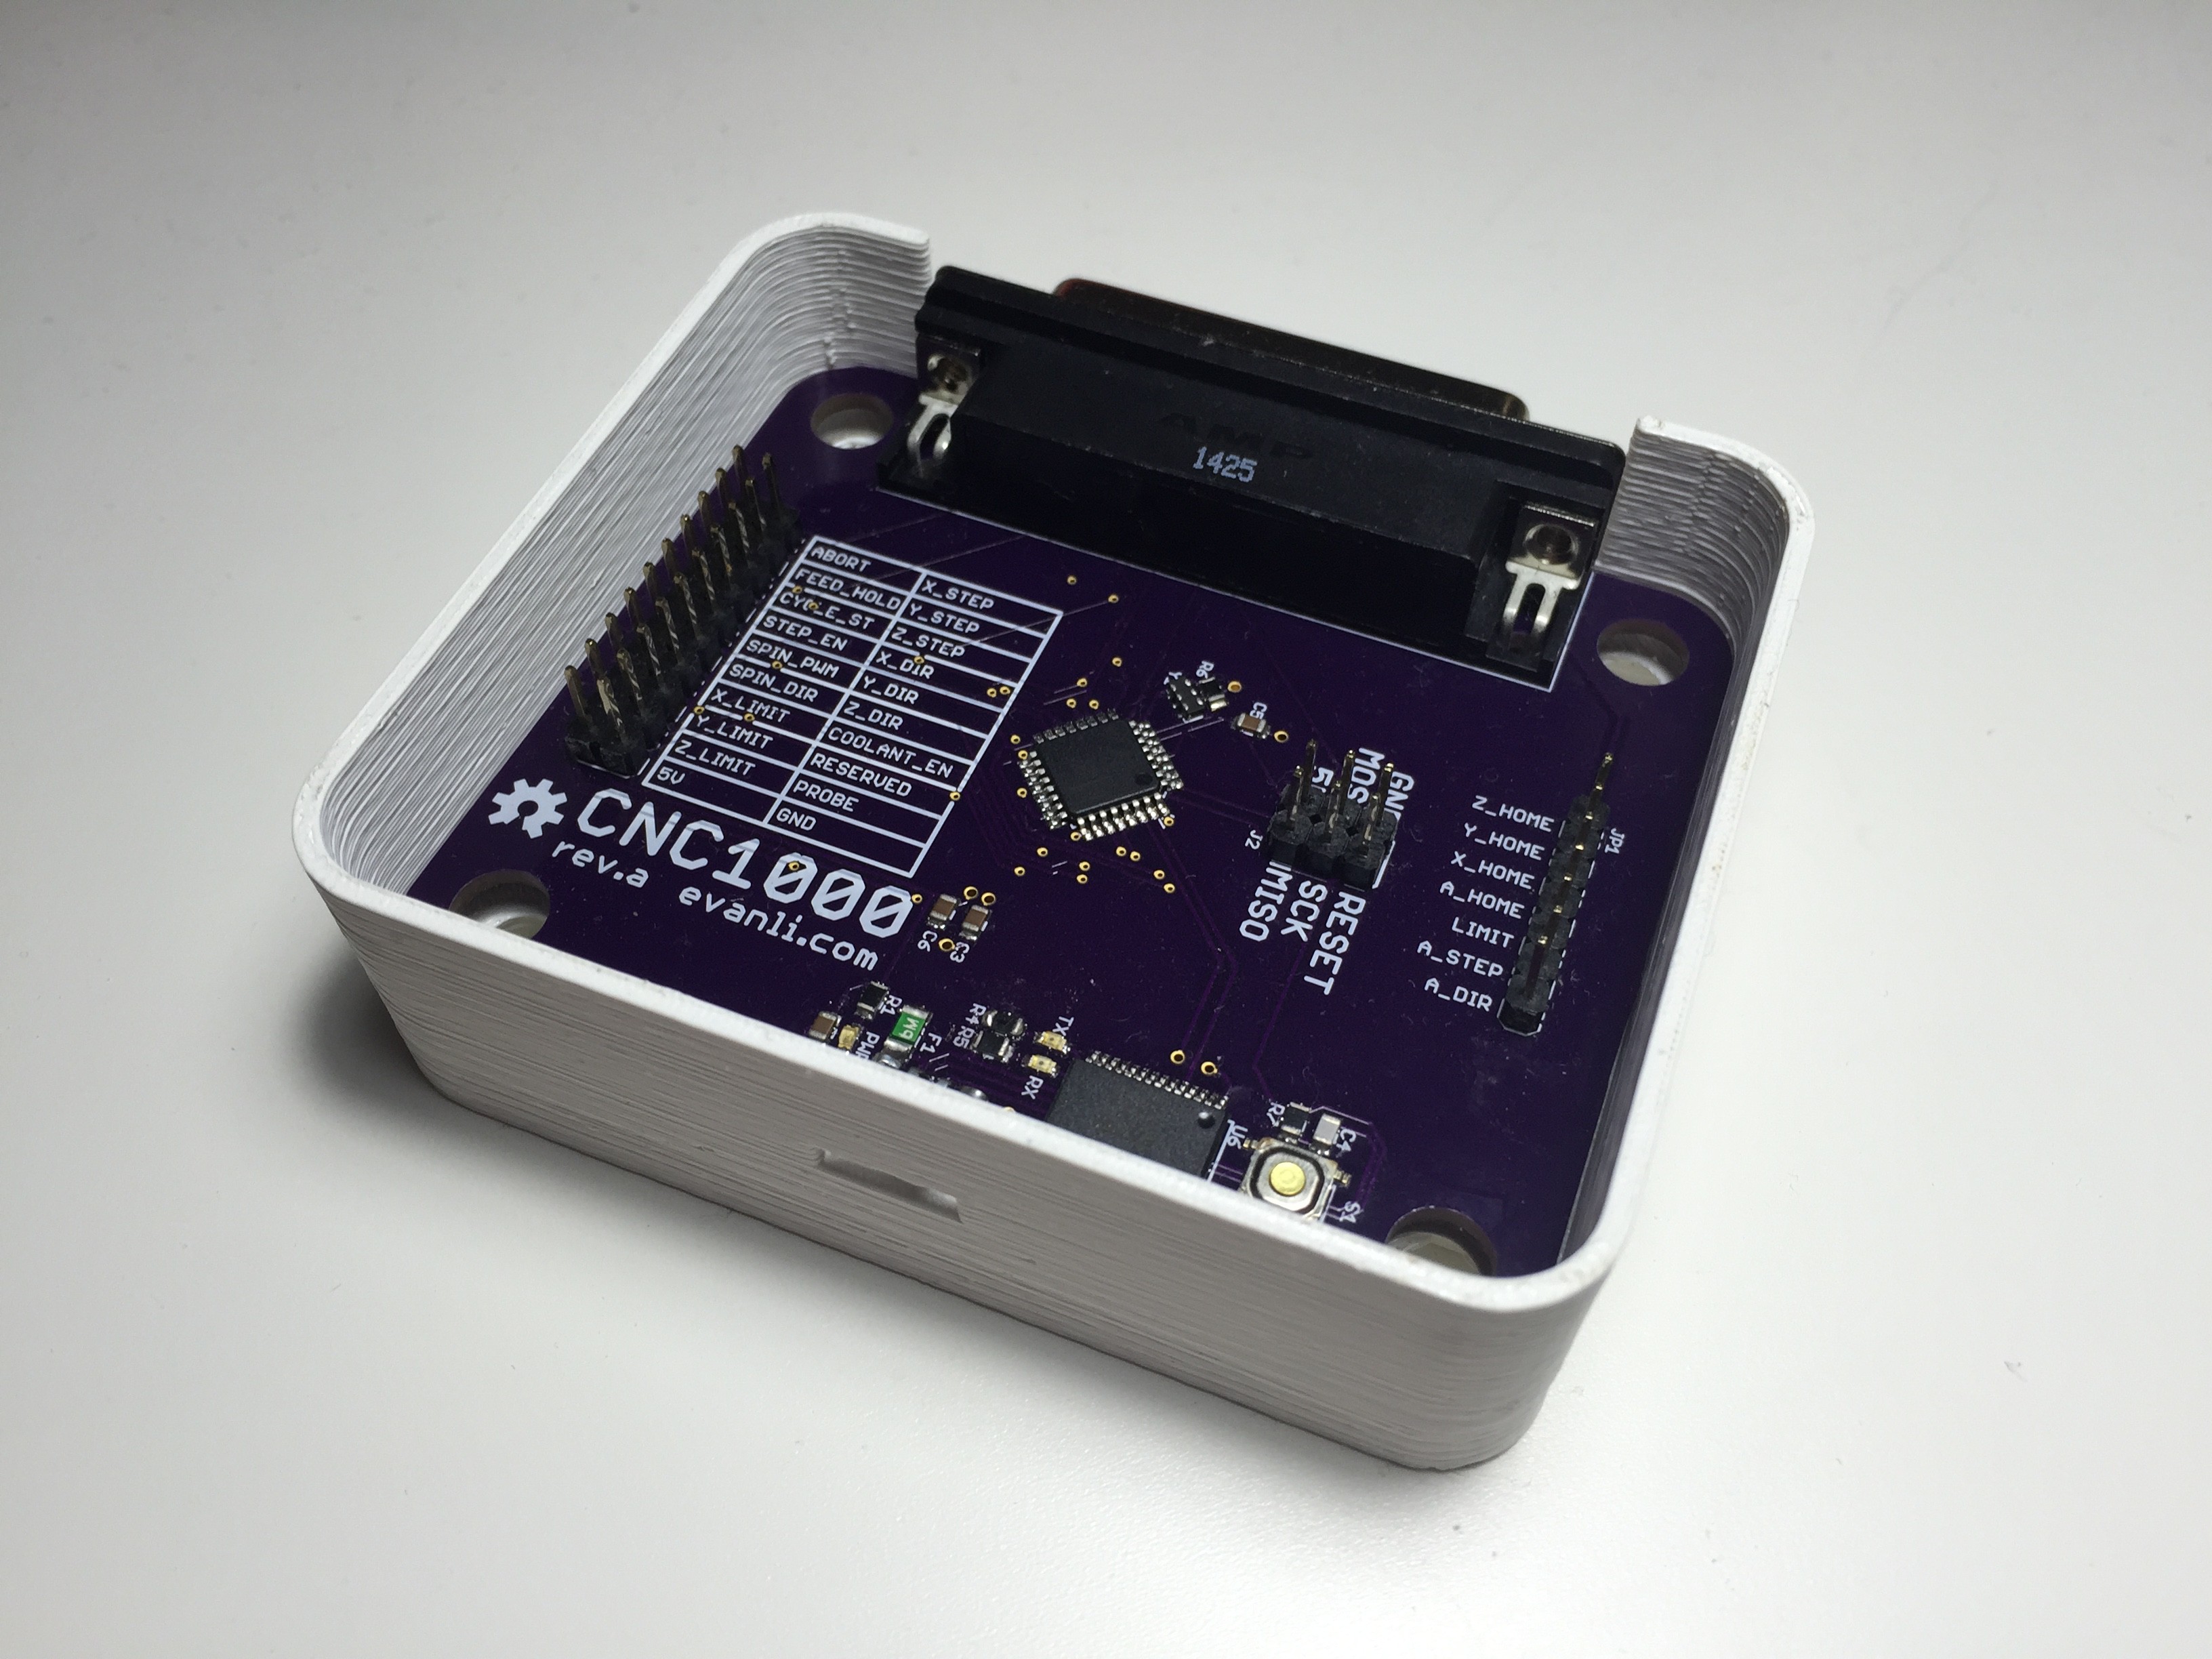 The model has tolerances for my 3D printer incorporated into it, so it fits like a glove.
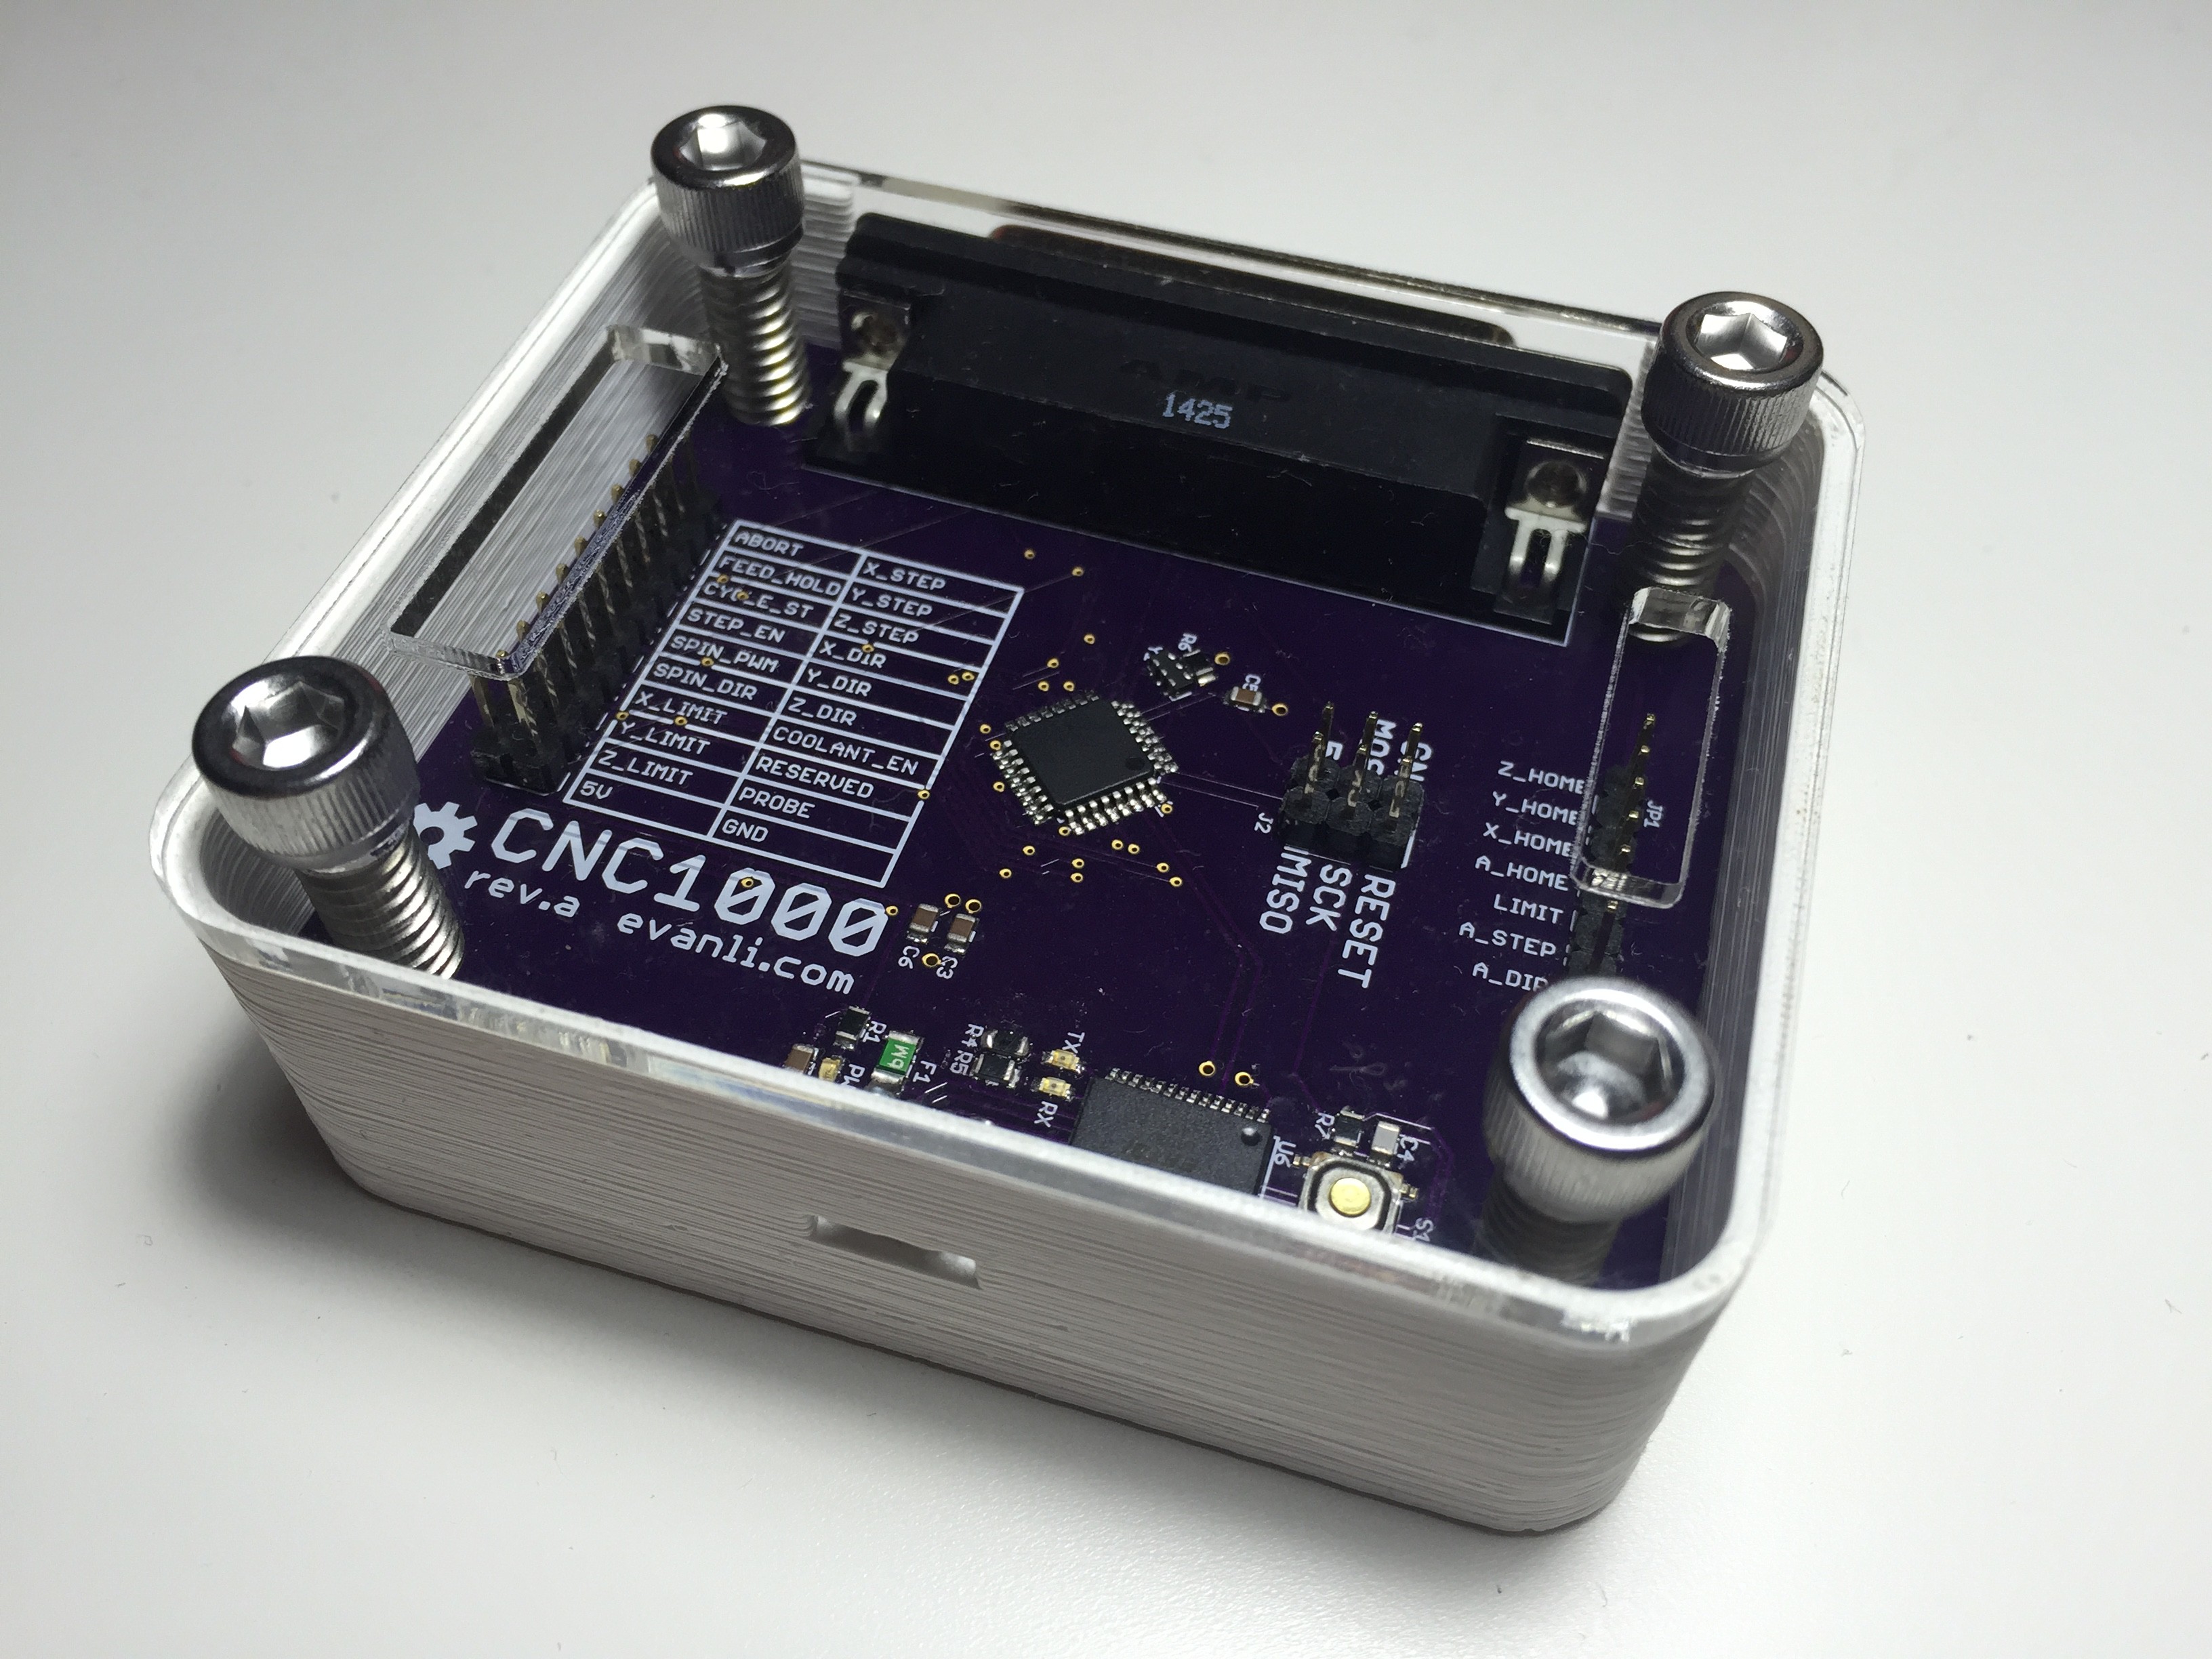
With solid planning and good CAD work, things can fit together perfectly the first time.
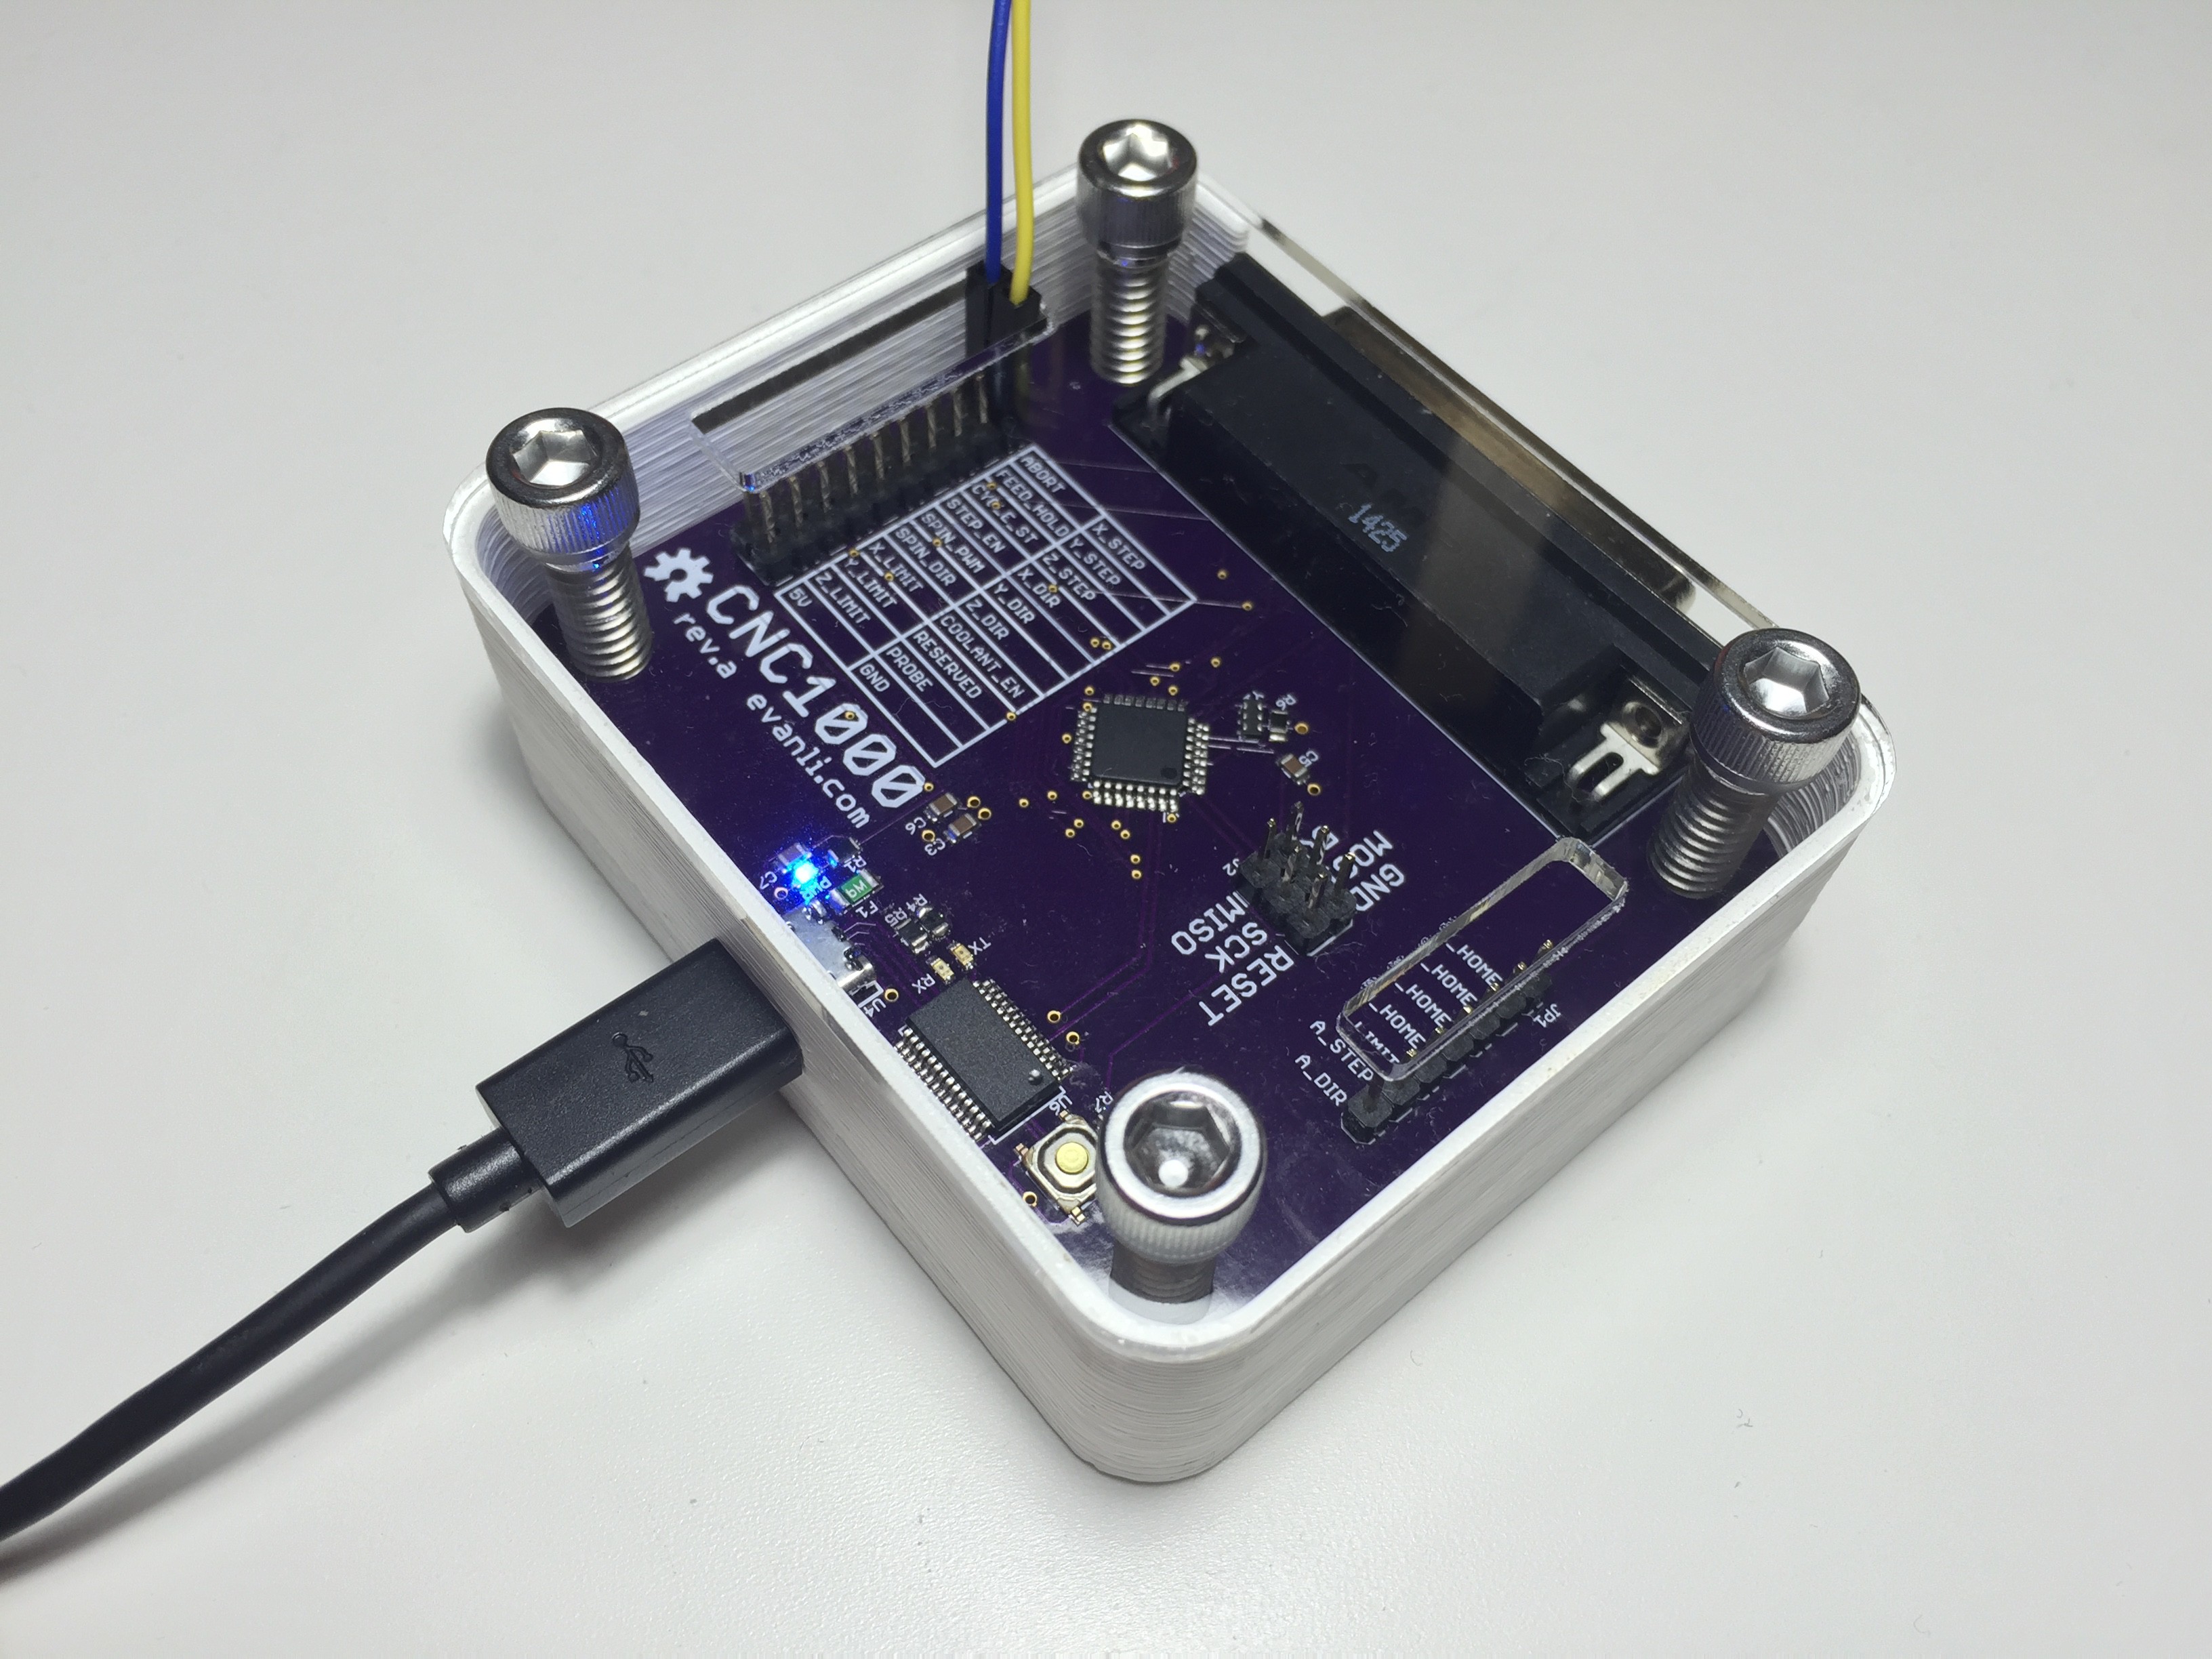
Fully assembled and ready for final testing. I noticed a minor oversight during testing. The reset button isn't easy to get to.
Discussions
Become a Hackaday.io Member
Create an account to leave a comment. Already have an account? Log In.