 Lumor
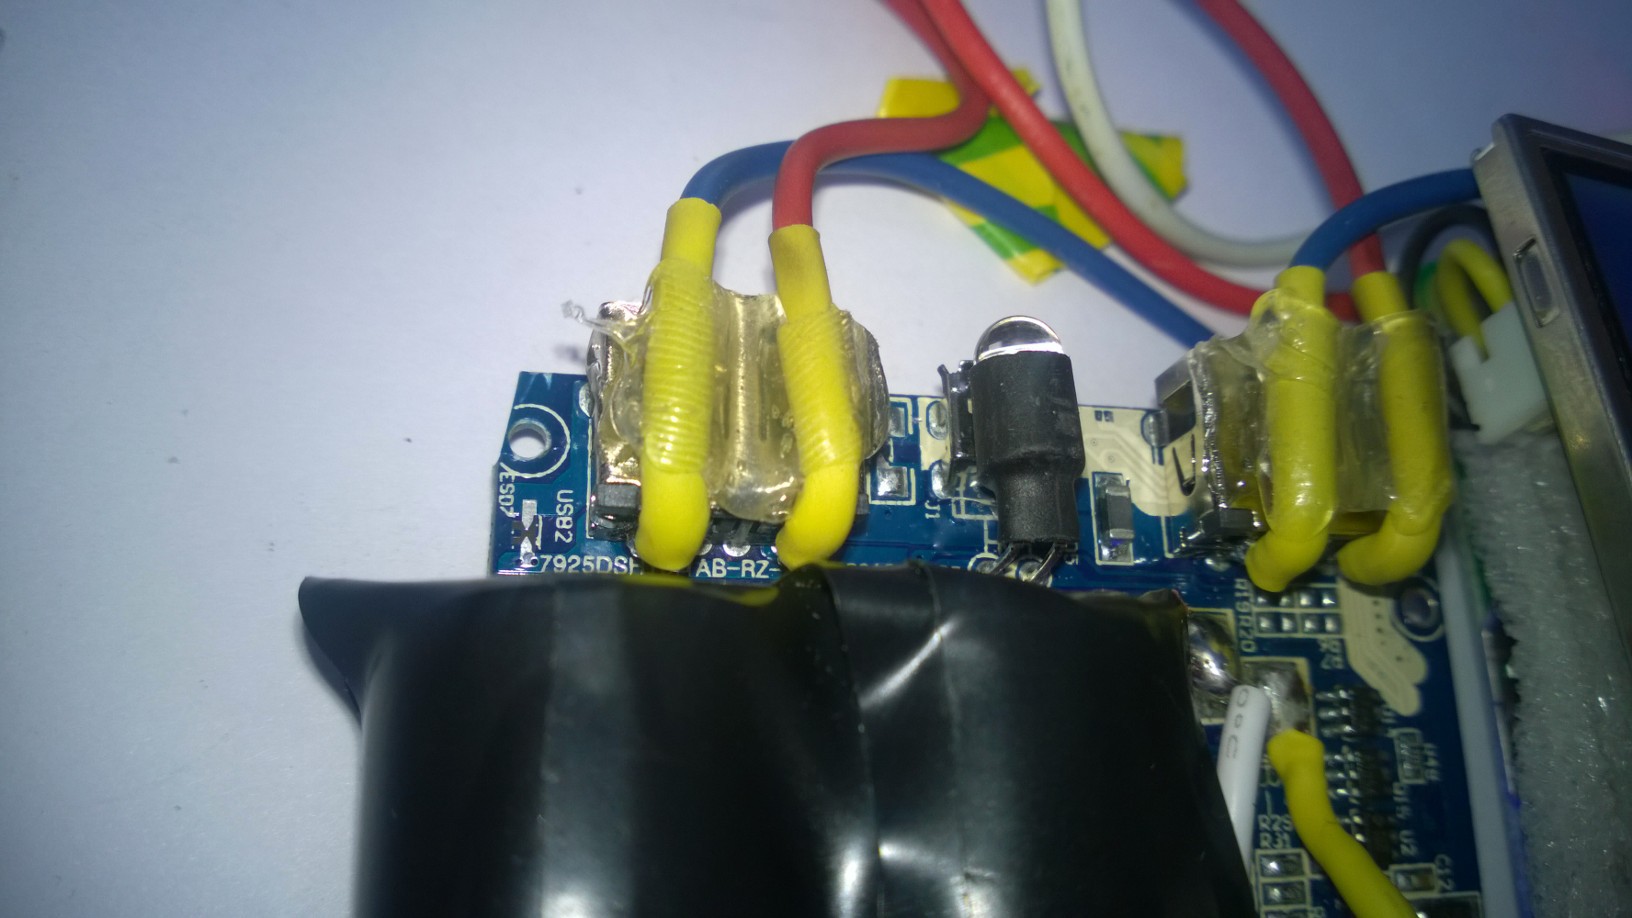
LumorContinued wiring everything together as tightly as possible, i've also shortened allot of wires. I also wired the power cables for the screen and the RPi directly to the powerbank, this will save allot of space although the way i did it might not be the most elegant way. It looks solid enough.
(I soldered the power wires to the back of the USB connector, added some shrink tube around it for extra safety and hot-glued it all to the connector itself. These wires won't move anytime soon.)
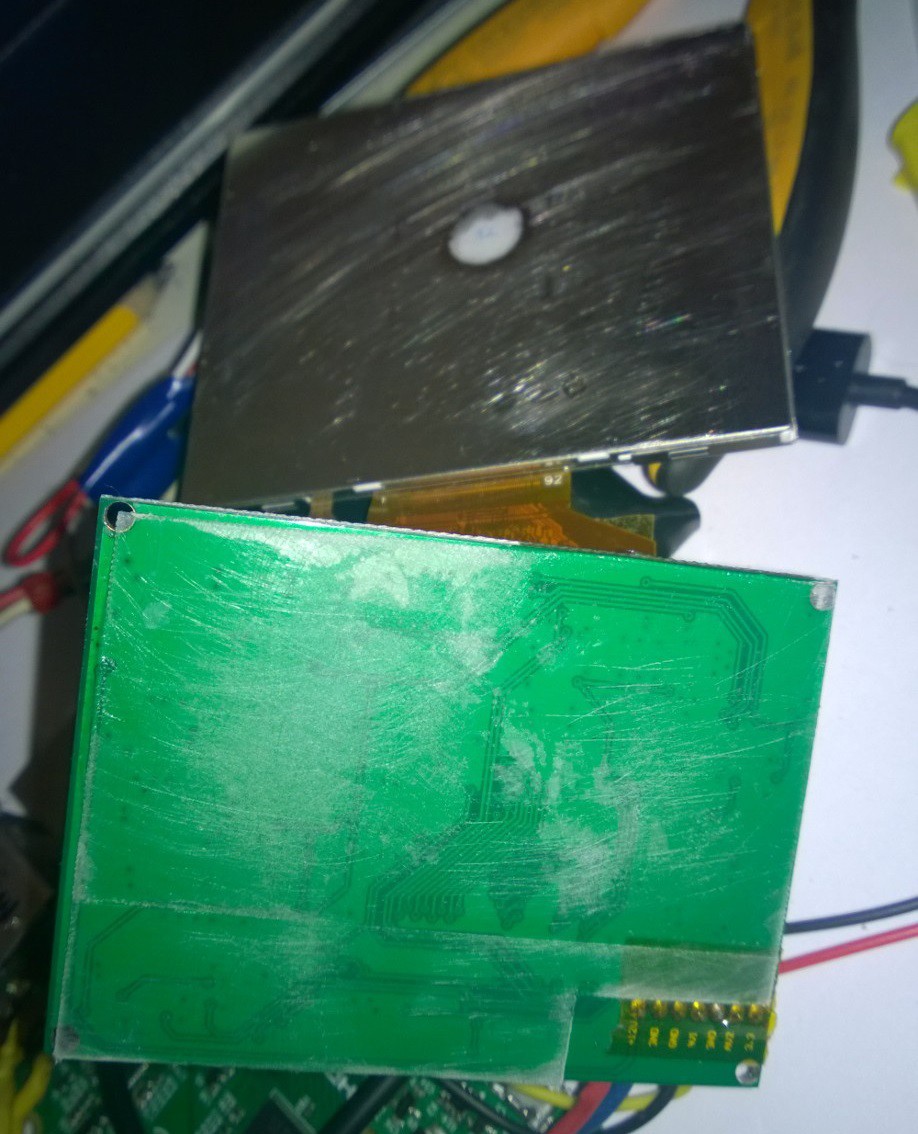
I superglued the screen to its PCB, it was flopping around too much and i started to worry about the flatcable. I had to superglue a piece of spacer plastic between the screen and the PCB for full contact.
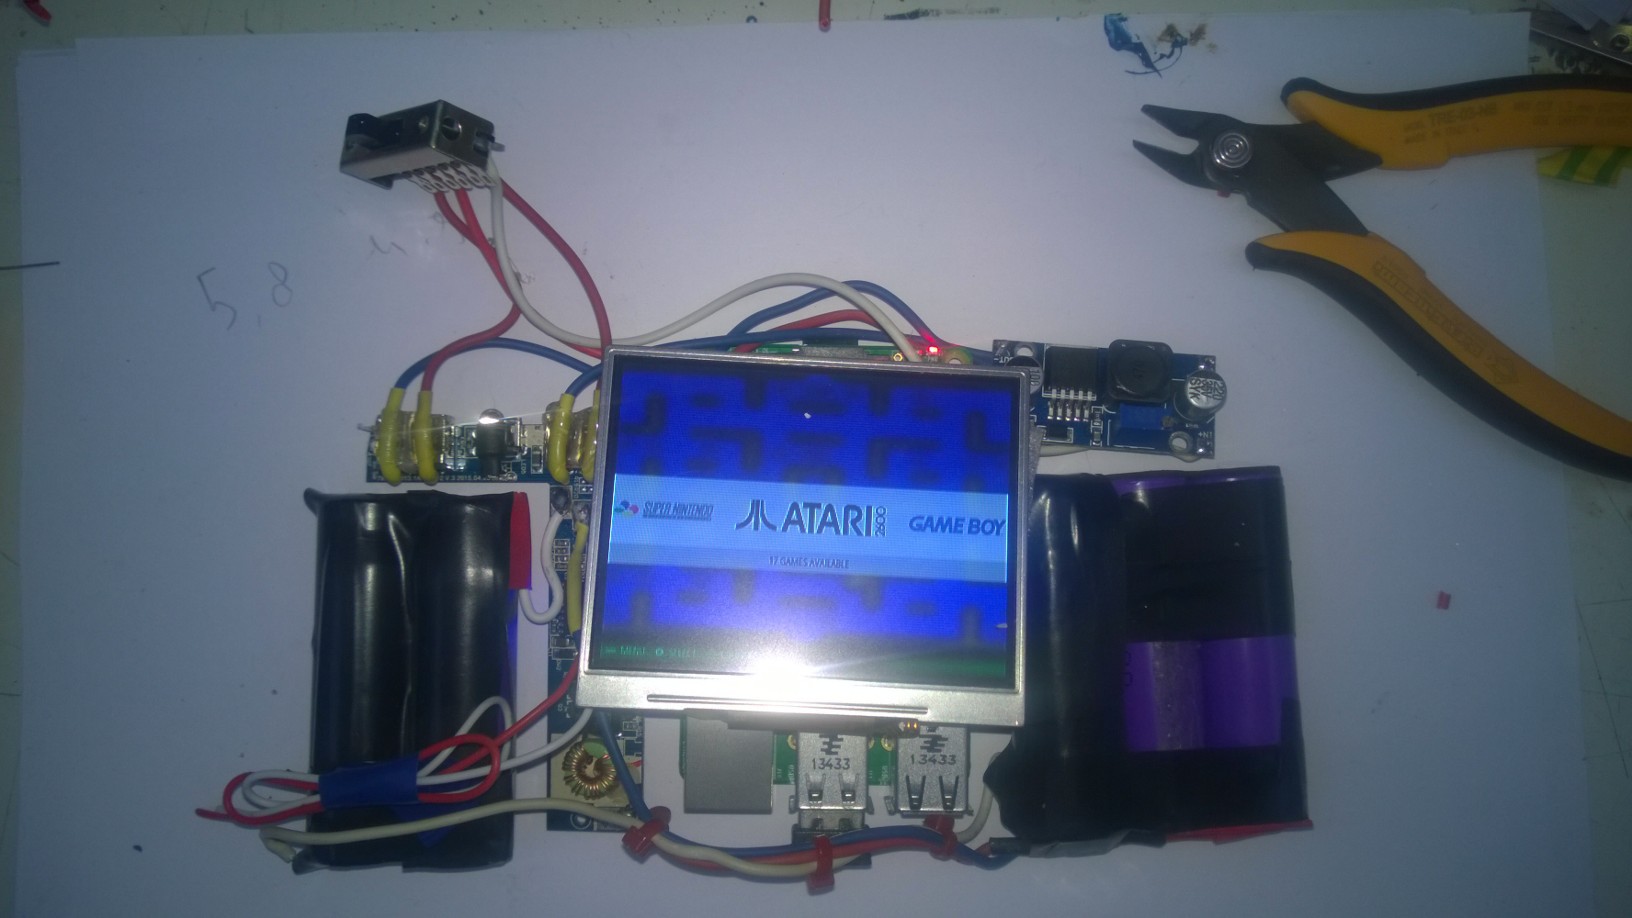
Here below you can see the layout all wired up, i added a power switch (may be replaced, it's what i had laying around). It's all still loosy-goosy, but once all the PCB's are bolted down it will be very solid.
(The white/red wire bundle at the bottom-left is the audio-output of the RPi, these will be connected to the amplififer as soon as i've build it.)
Discussions
Become a Hackaday.io Member
Create an account to leave a comment. Already have an account? Log In.