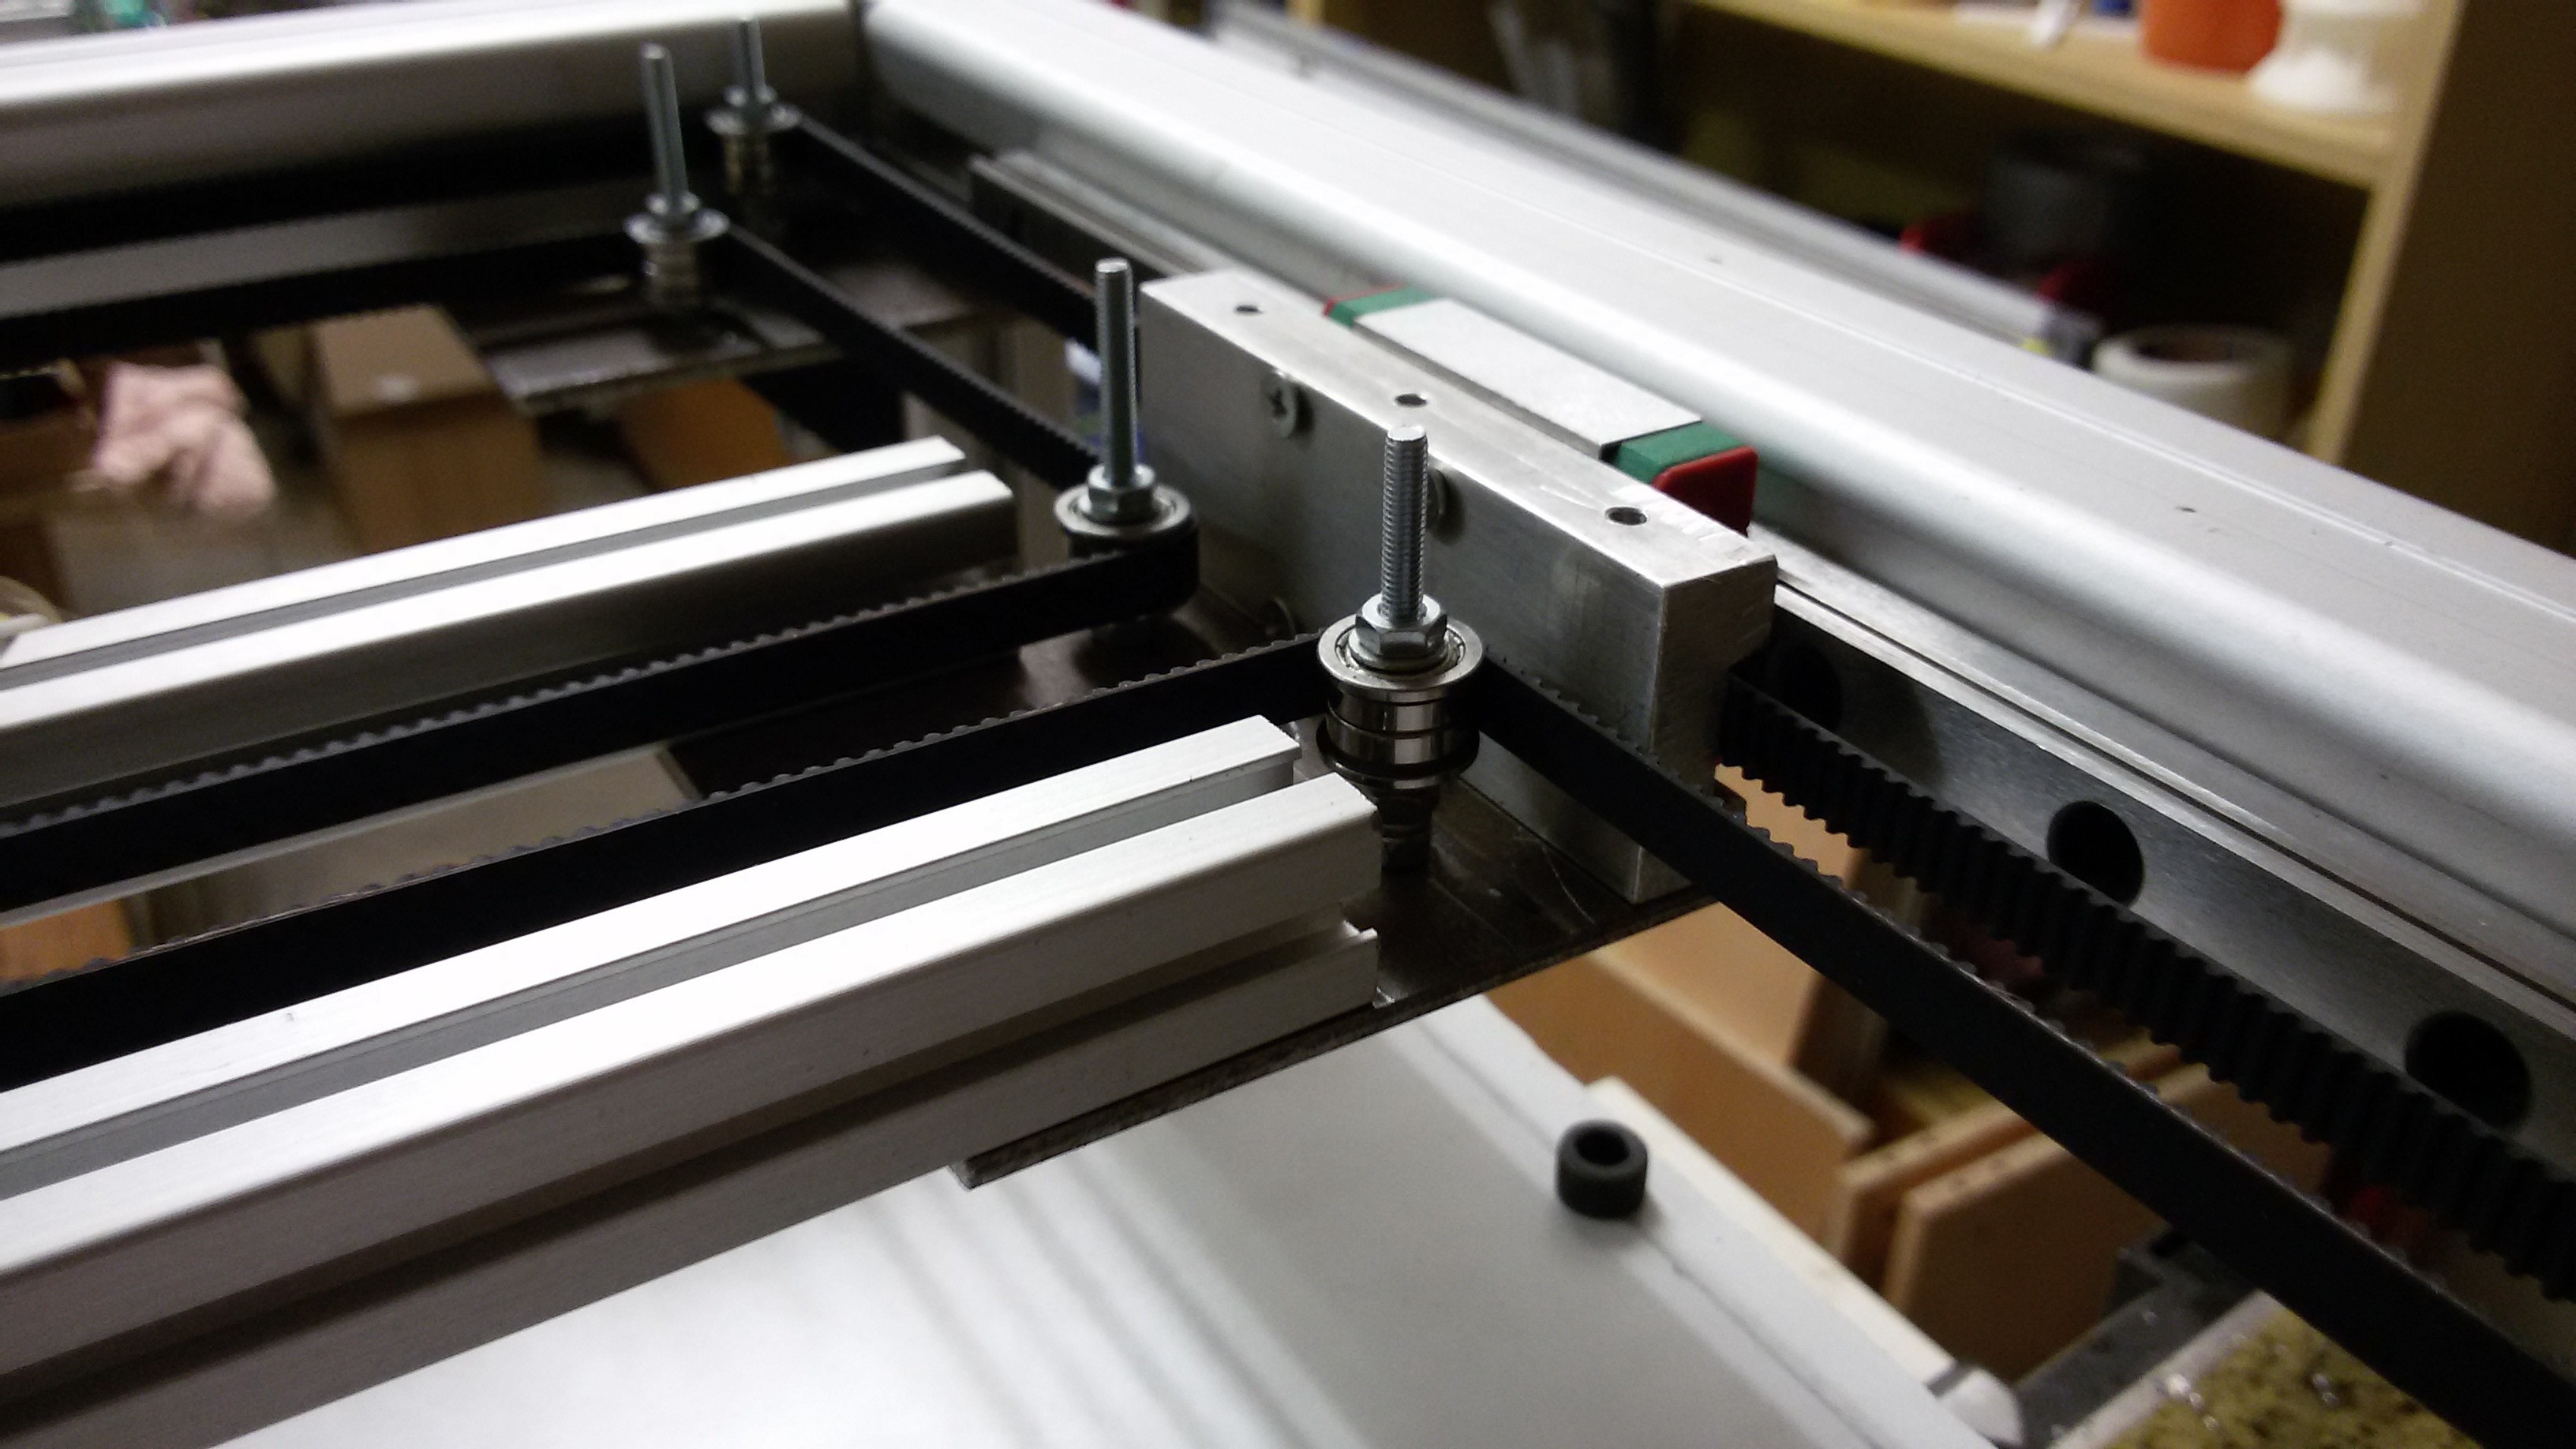
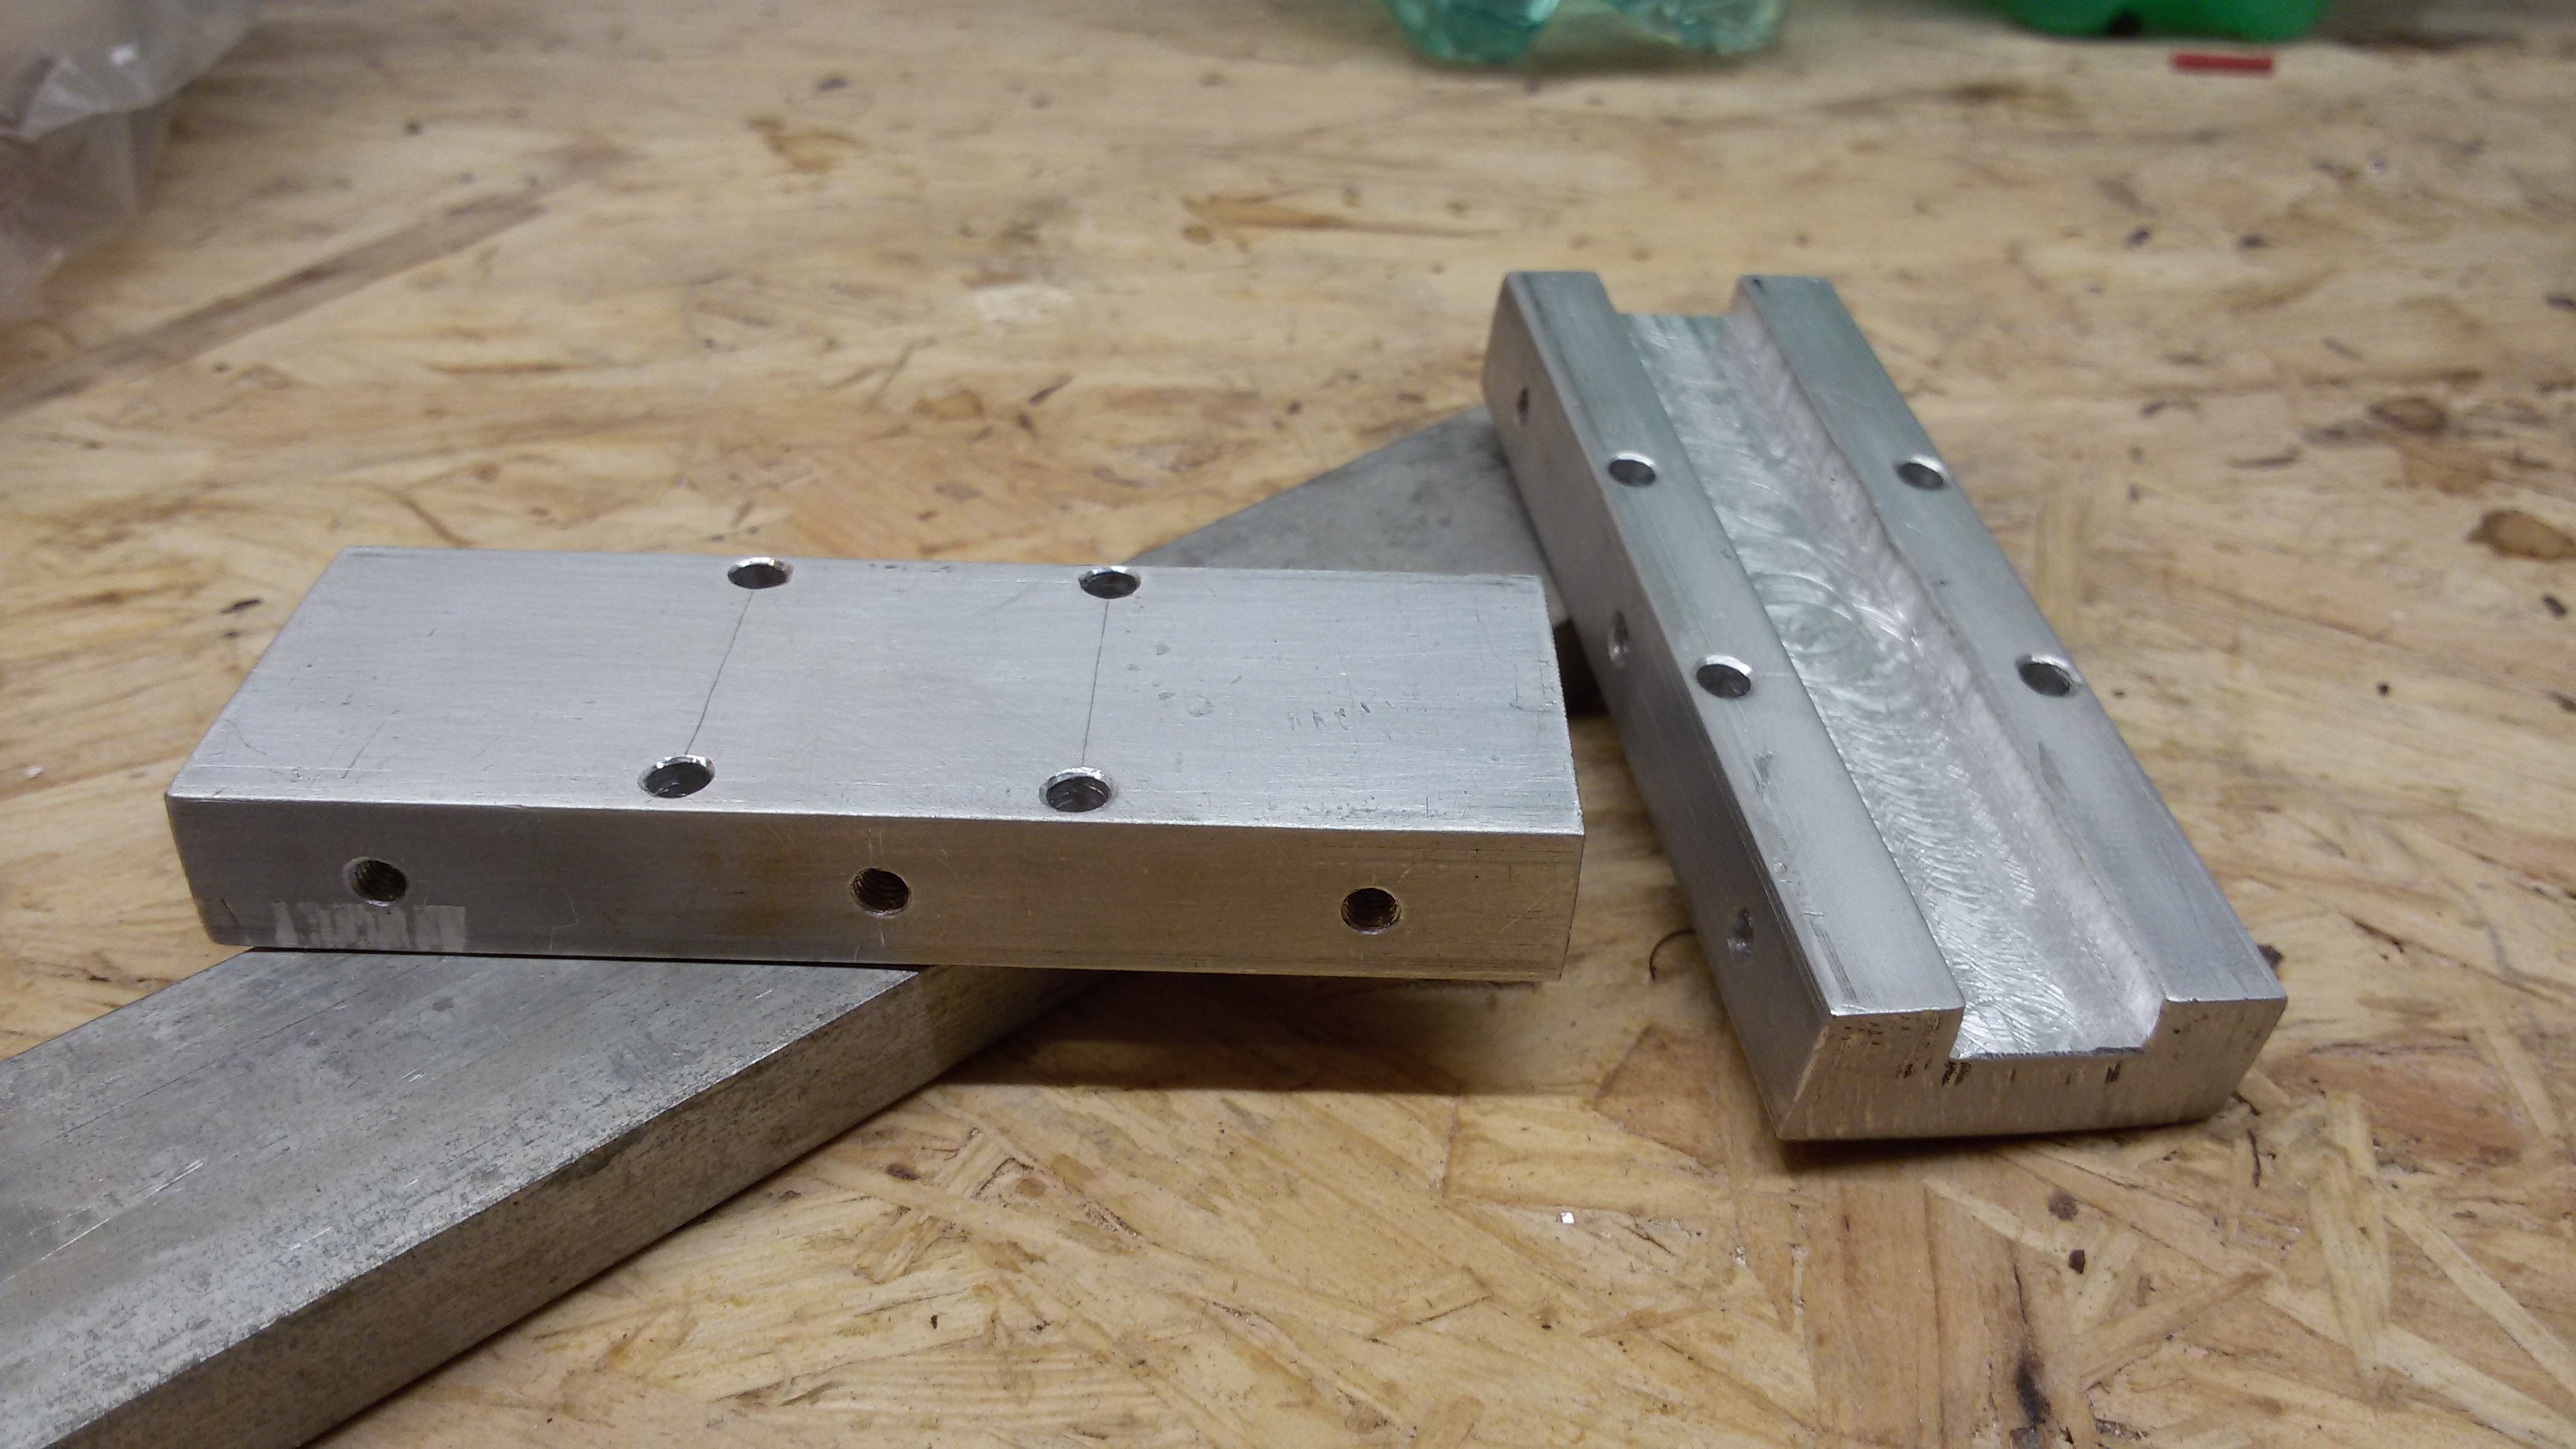
I made a decision to use linear rails instead of linear ball bearings. Ideally all components should be placed inside of the frame for better look. This raised the question where to put all the belts. So I came with "tunnel" solution which create belt return channel from front motors to the back side of machine.
 The "tunnel" part was ideal for CNC milling. So we started our bit enlarged ShapeOko and tried to mill the aluminum for the first time. After two broken tools and very poor results we gave up.
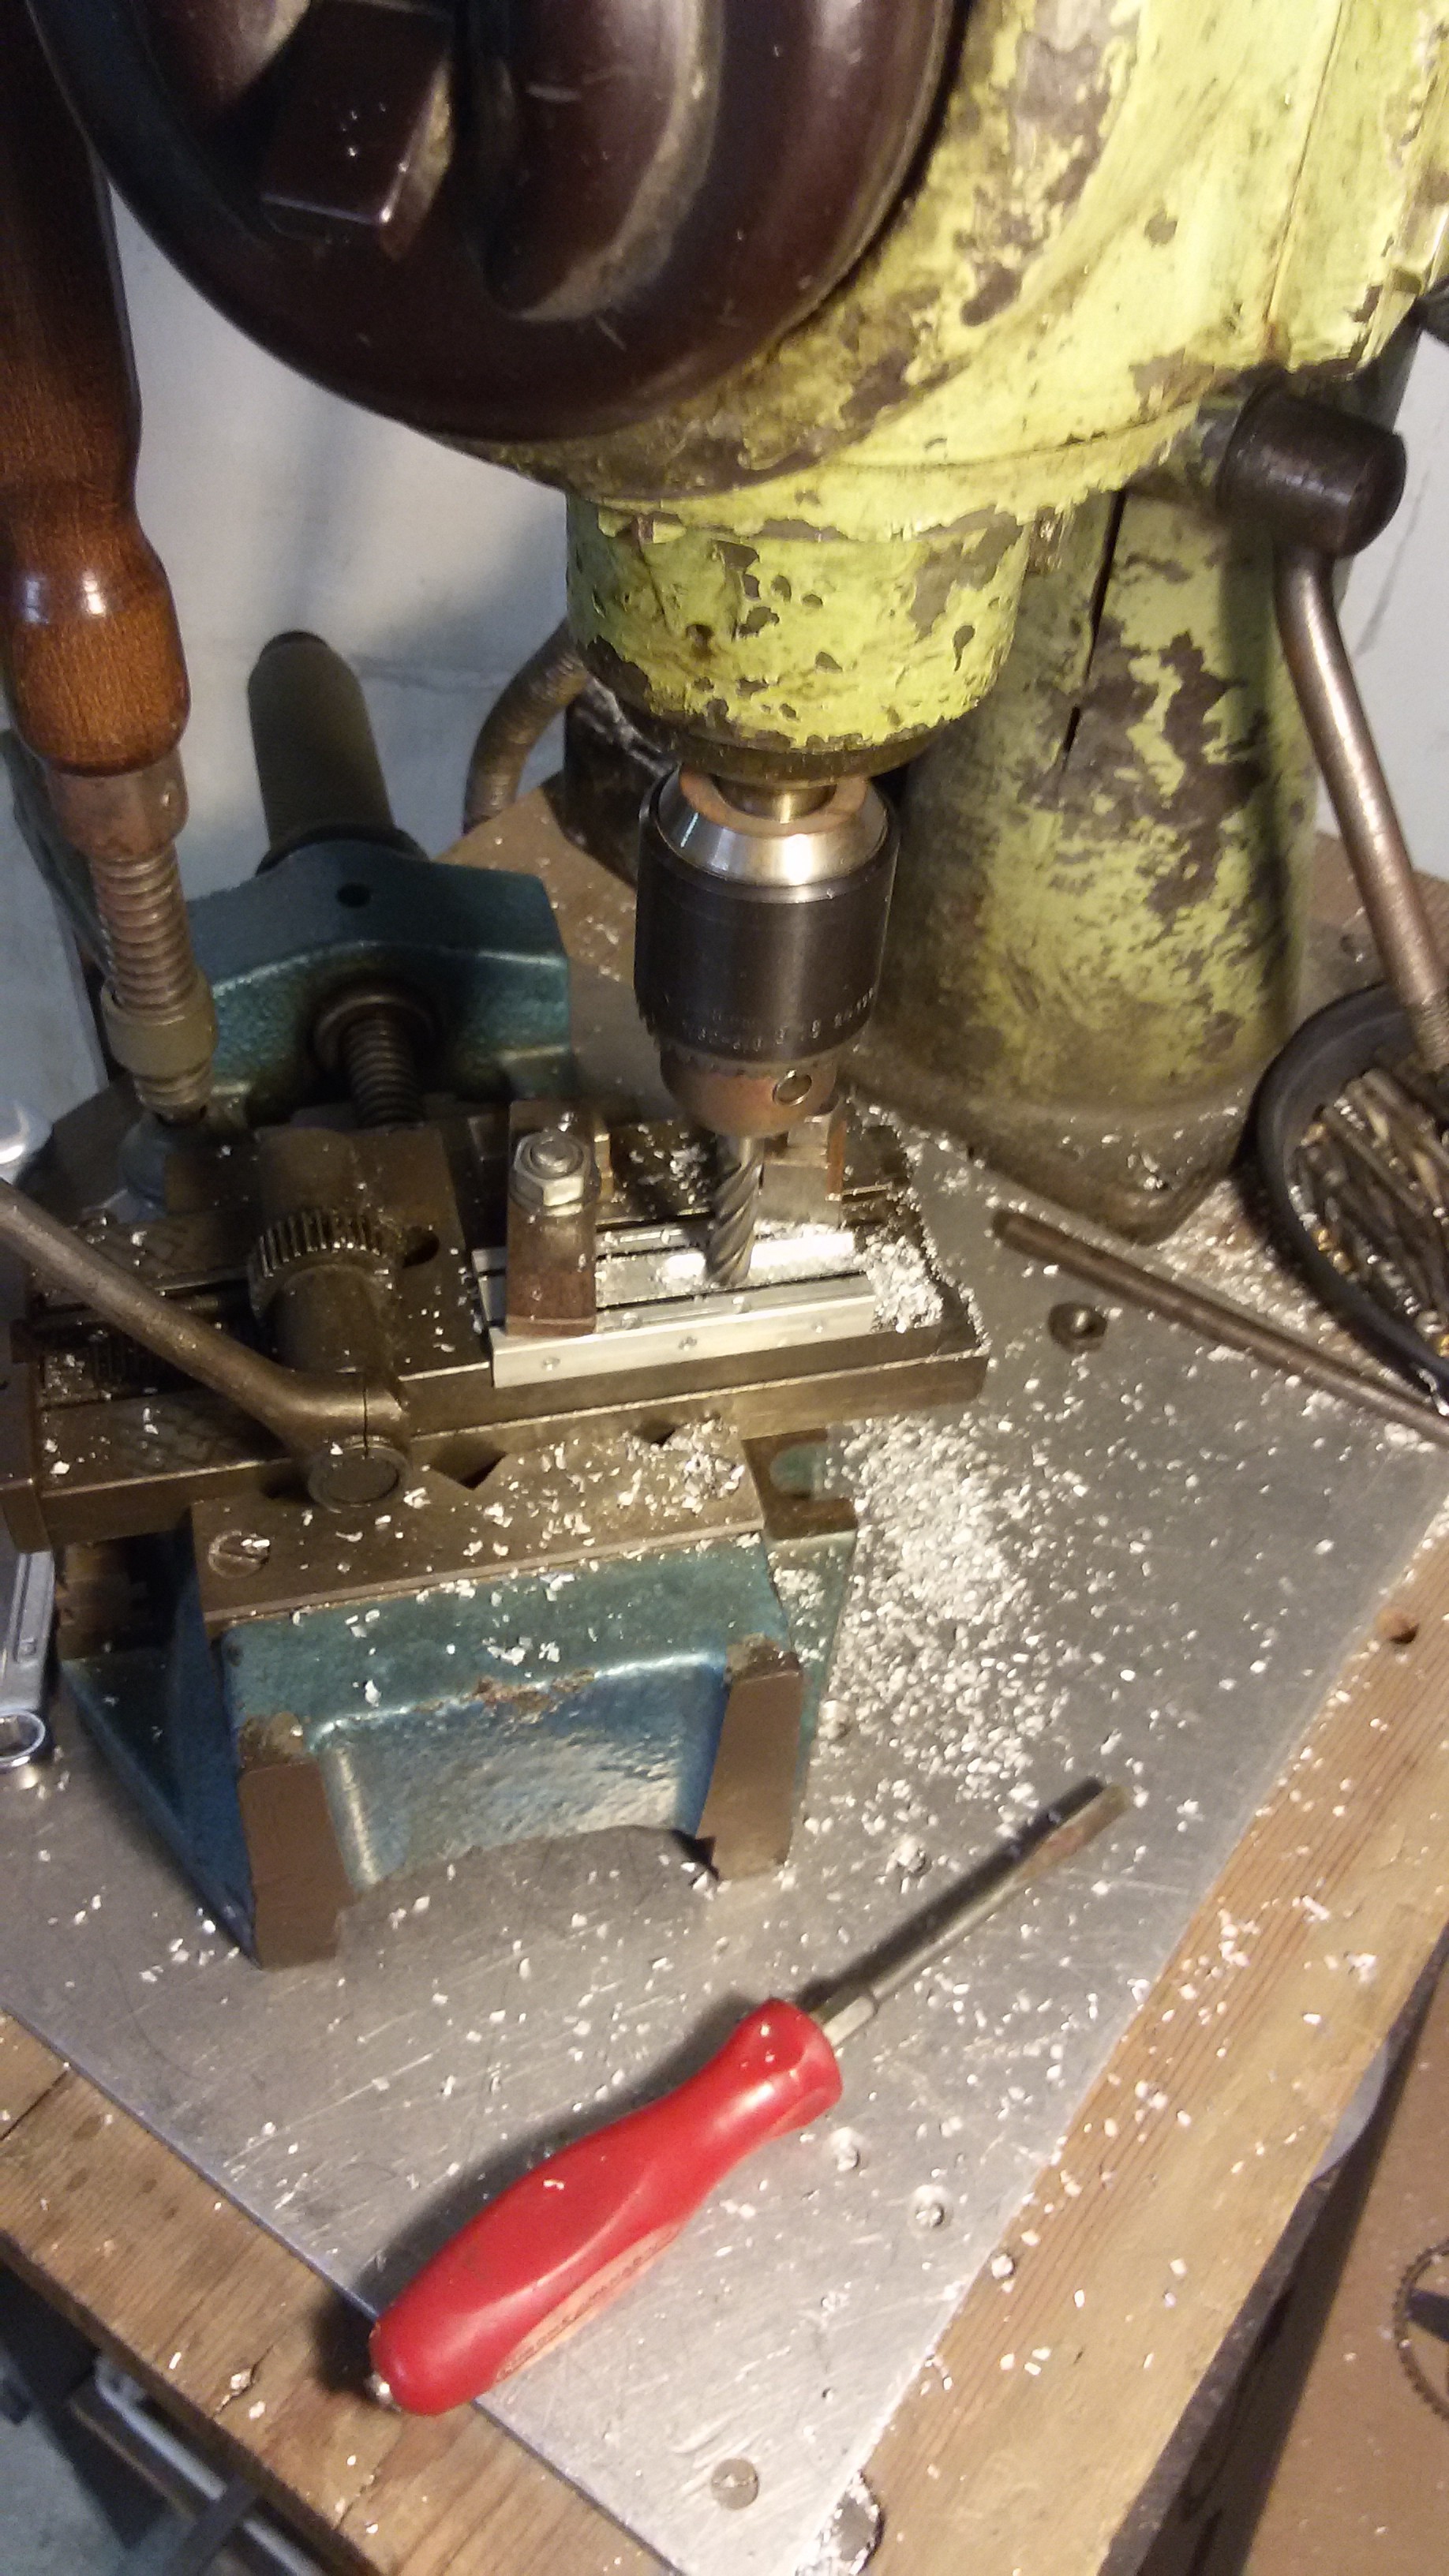 With the lack of manual milling machine the drill was the only option. With some improvisation i was able to make a one axis mill :) And here is the result. Good enough with that limited resources.
On the first picture is almost complete assembly. Only thing which is missing is the top plate. That plate must be installed to hold the bolts for bearings from both sides. The purpose is to prevent bolt bending.
X carriage
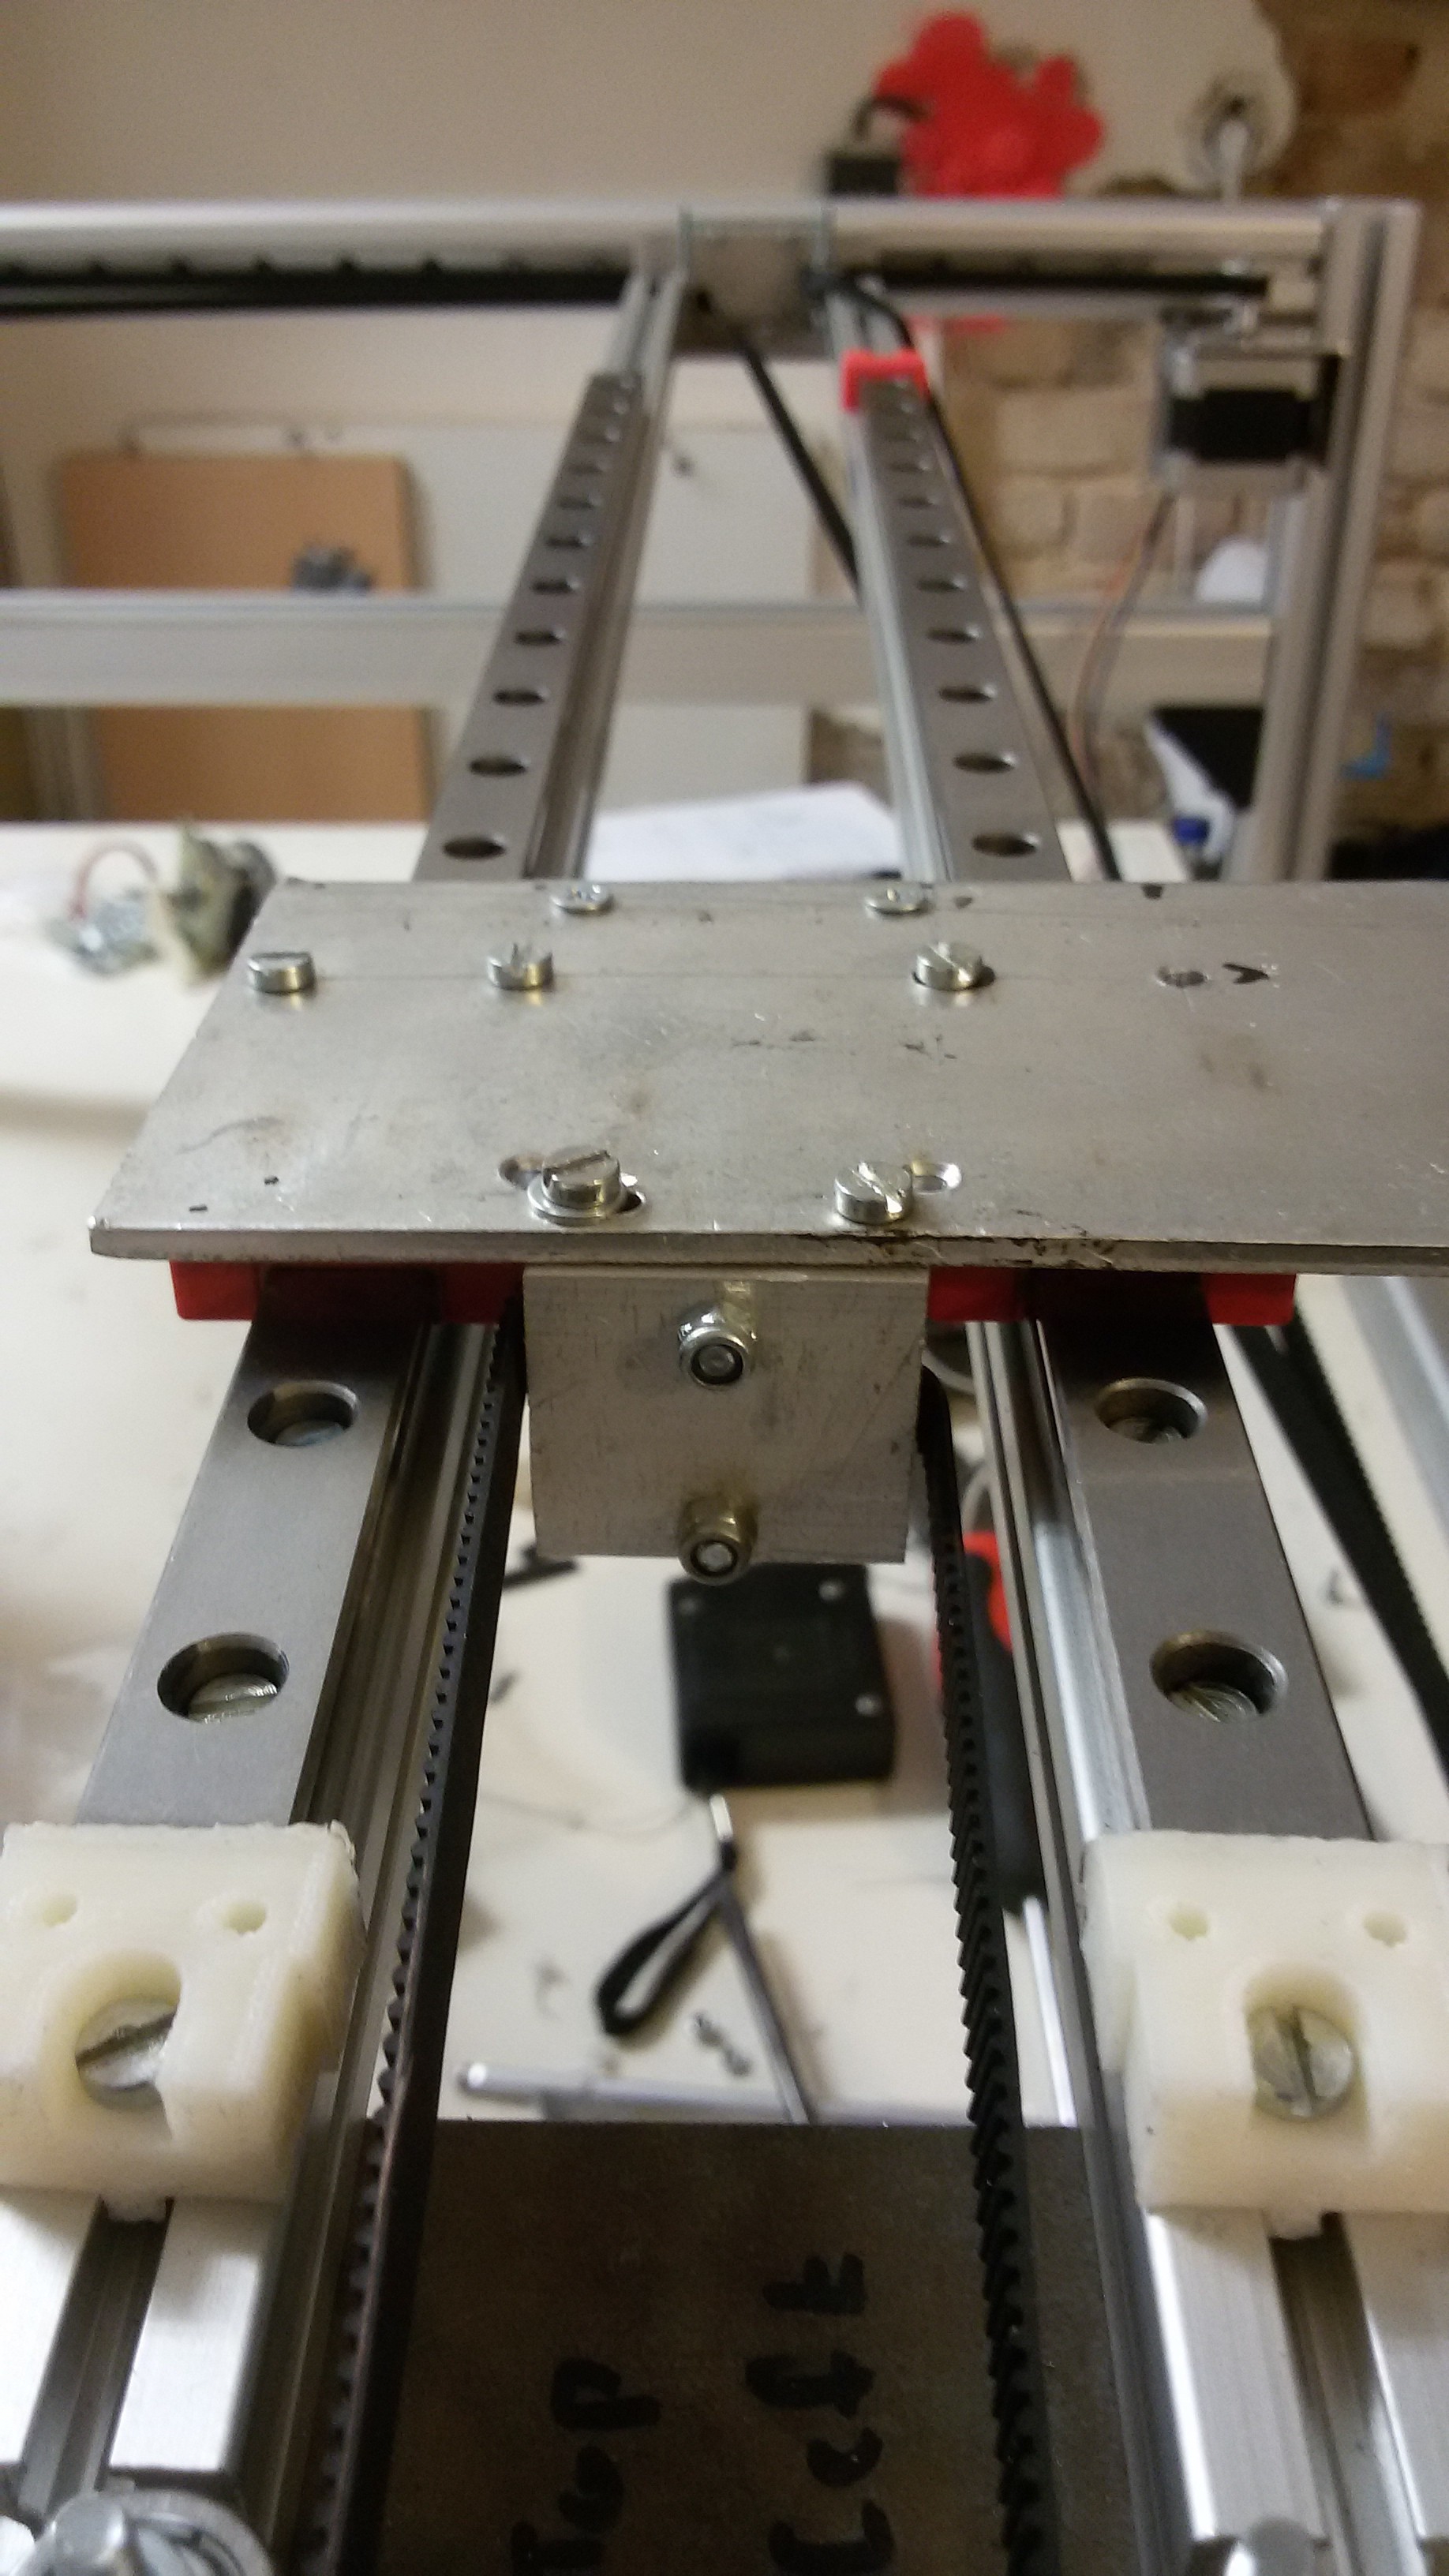
Since i don't have any parts for Z axis yet, i took a scrapped piece of aluminum and made a X carriage. That aluminum plate was really weird, really soft, easy to bent and incredible hard to work with (unable to make clean deburred the holes). That was probably "pure" aluminum, not the alloy.
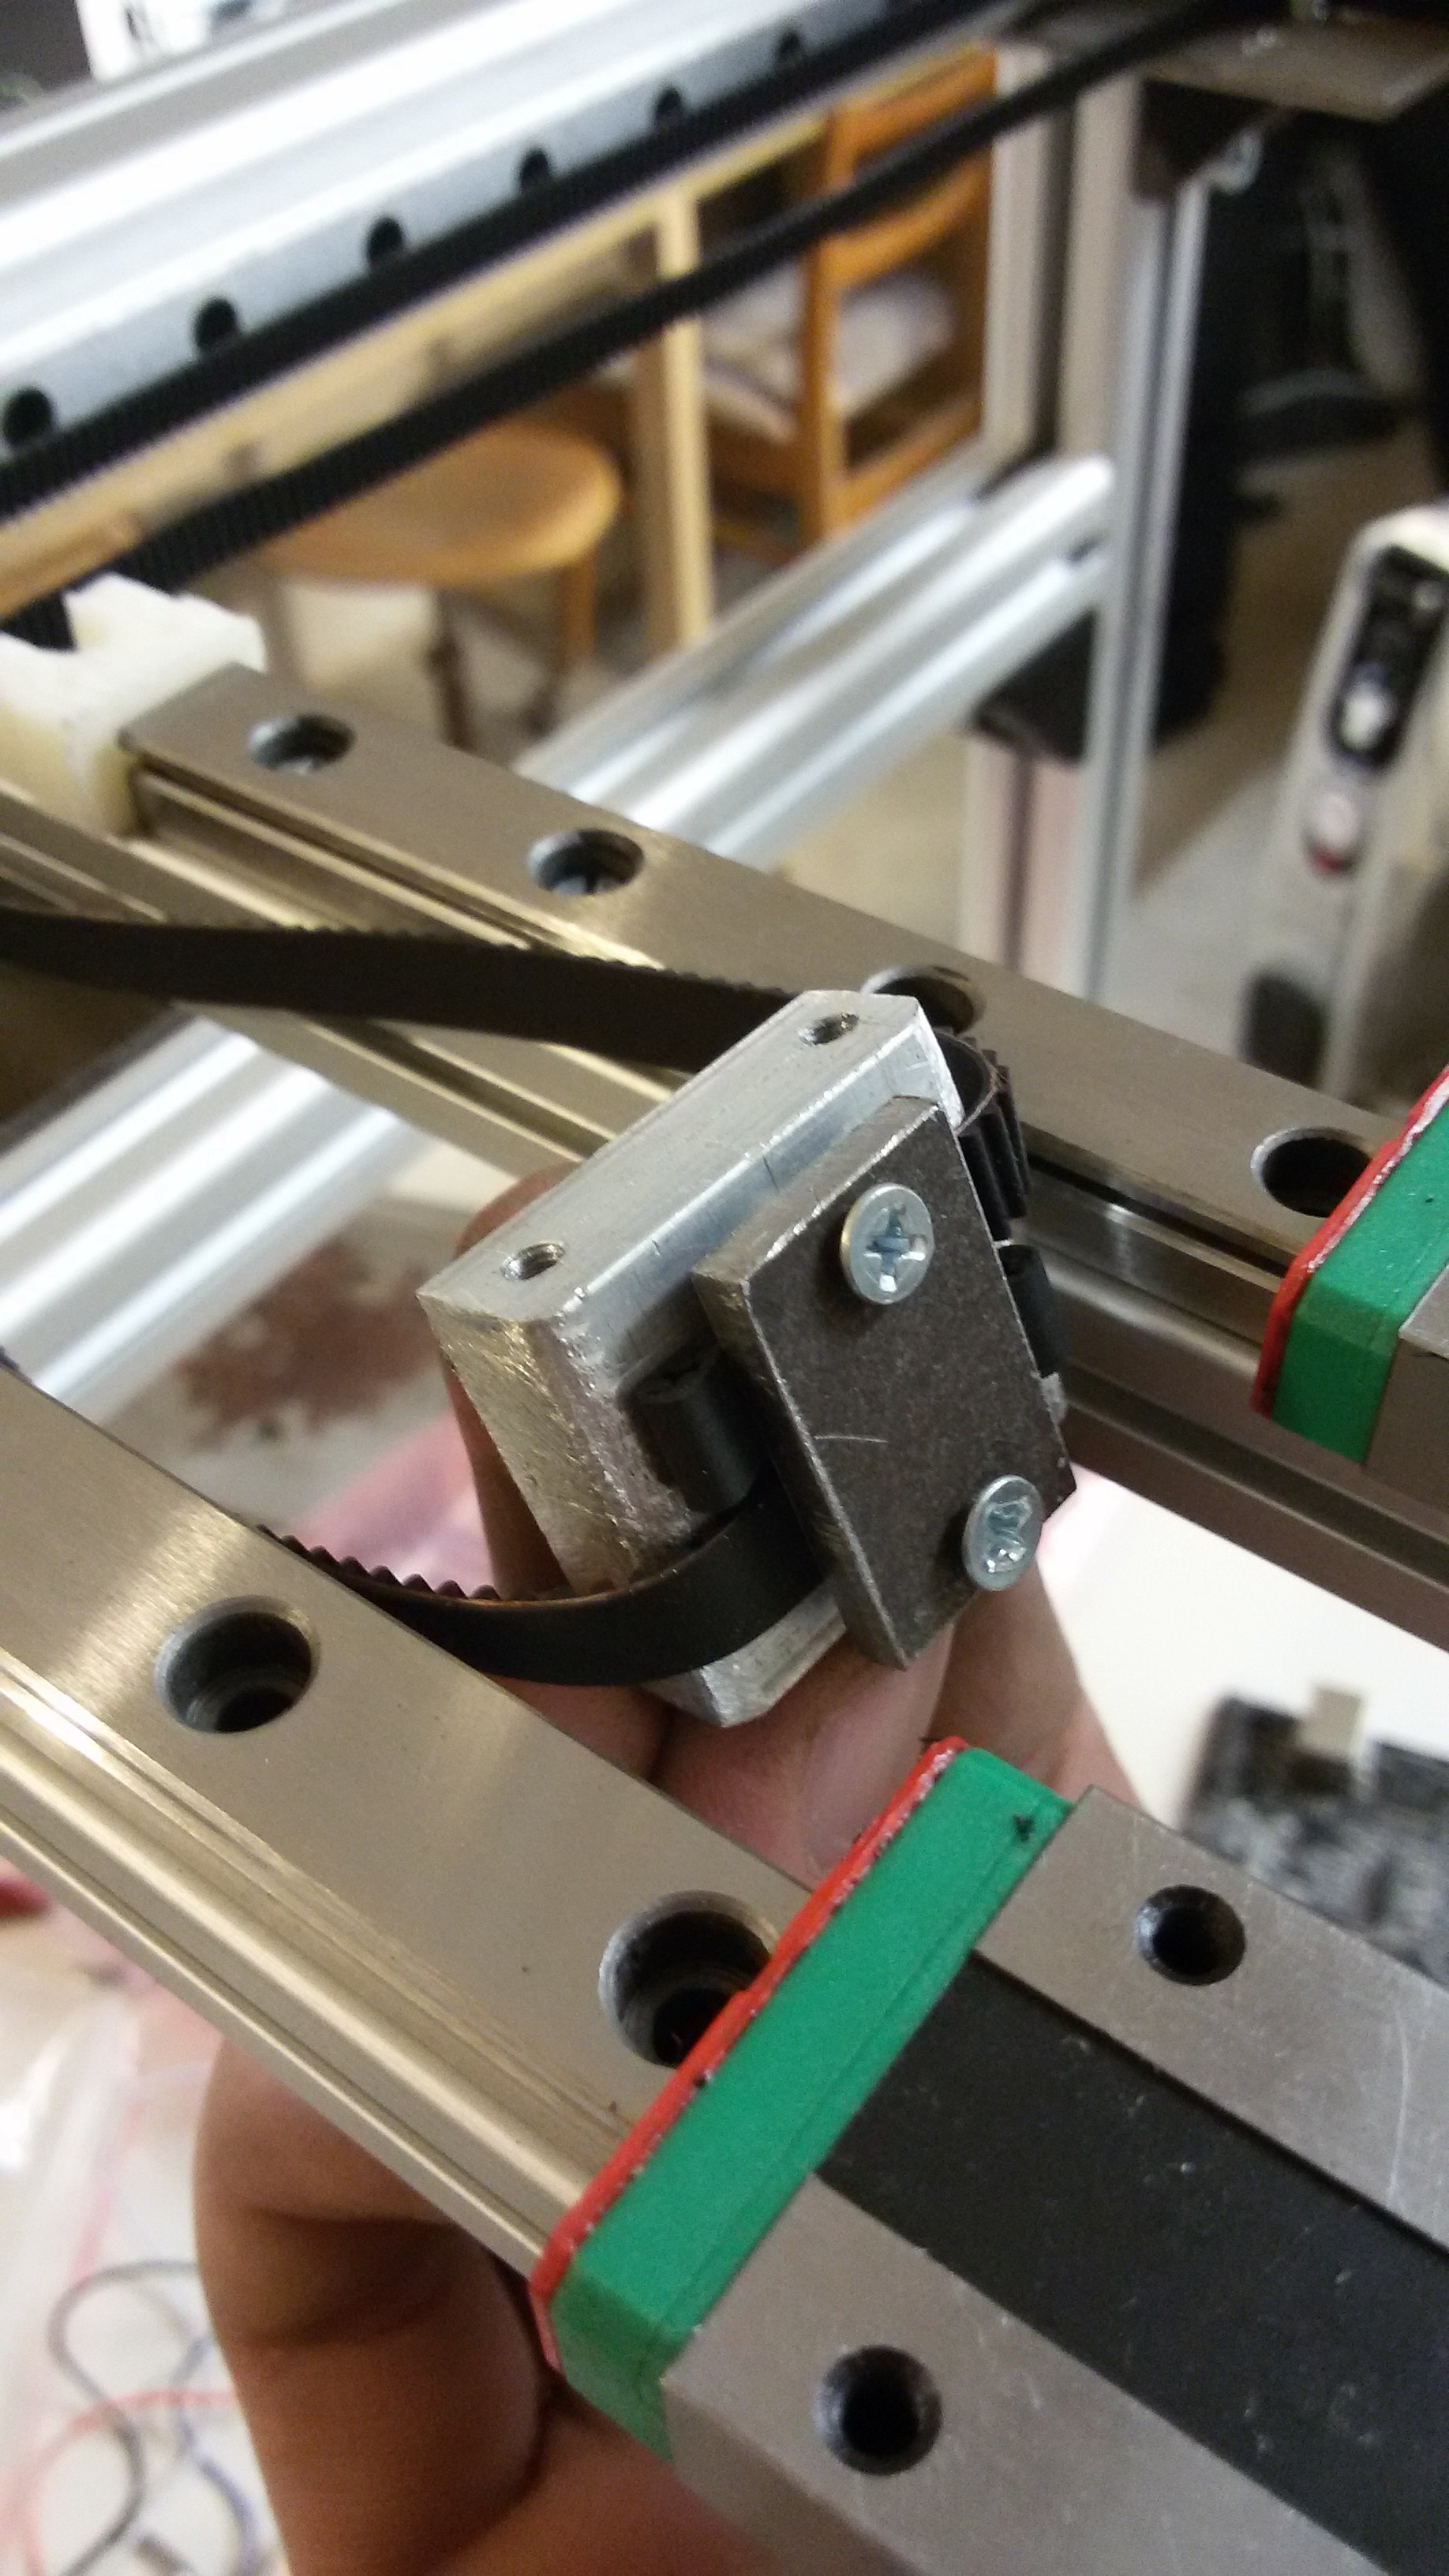
Here is the detail of belt clamp. This part is on both sides of X carriage. Its really easy to tighten the belts with this design.
Prototype of X and Y axis is done, now is the time for the move test!
Discussions
Become a Hackaday.io Member
Create an account to leave a comment. Already have an account? Log In.