 tshen2
i ended the last update with these two problems:
- the chassis is stupid. the wood warps when wet, the design wastes material, and the bezel bends under my fingers when i hold it.
- the LCD panel is mounted unevenly, causing backlight bleed.
these are both chassis problems, which require chassis solutions. solutions i built in parallel with Giger board - such is iterative design.
at this point, i was designing my chassis with Eagle and doing all my own lasercutting at danger!awesome. my chassis was still two pieces of plywood screwed together. i wanted a quantum leap in fit and finish,
my Industrial Design friend, M, was in town, and we sketched silly ideas in an empty apartment.
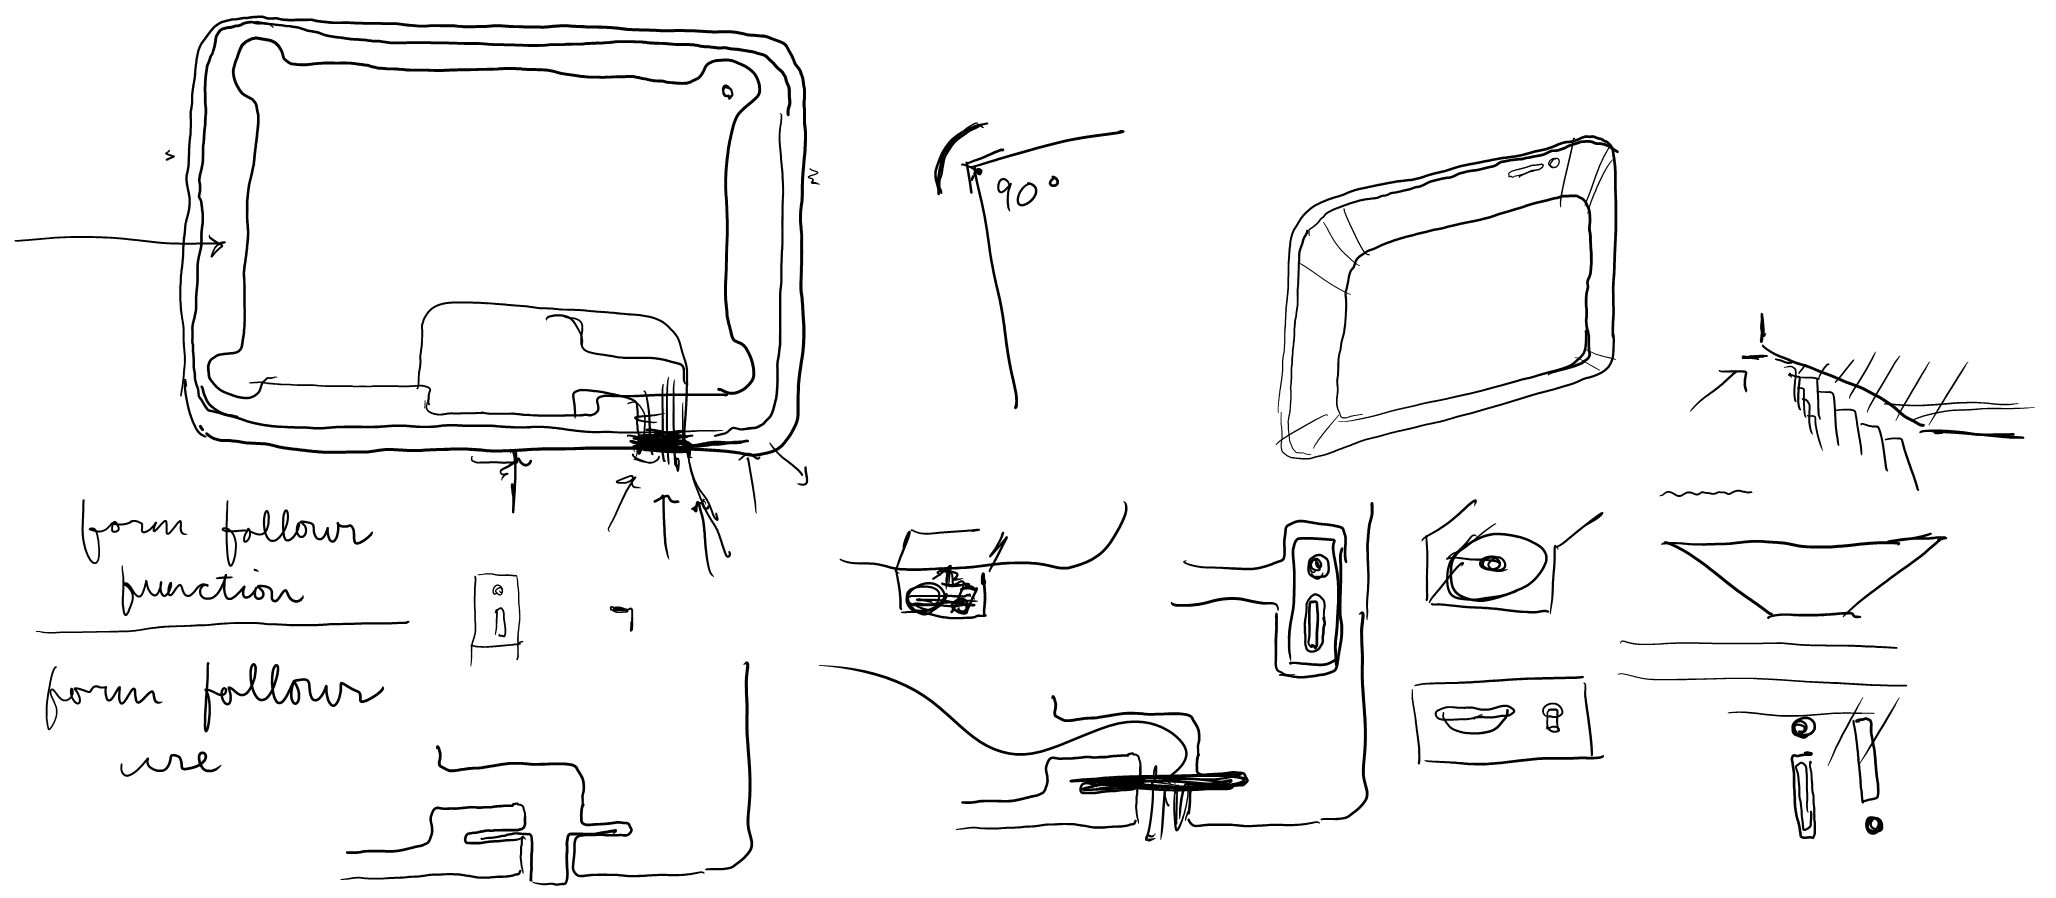
i seemed stuck on two opposing design requirements.
- the chassis had to be as thin as possible, for weight, material cost, and aesthetic reasons.
- i needed enough thickness behind the screen to house the 1/4-20 tripod mount.
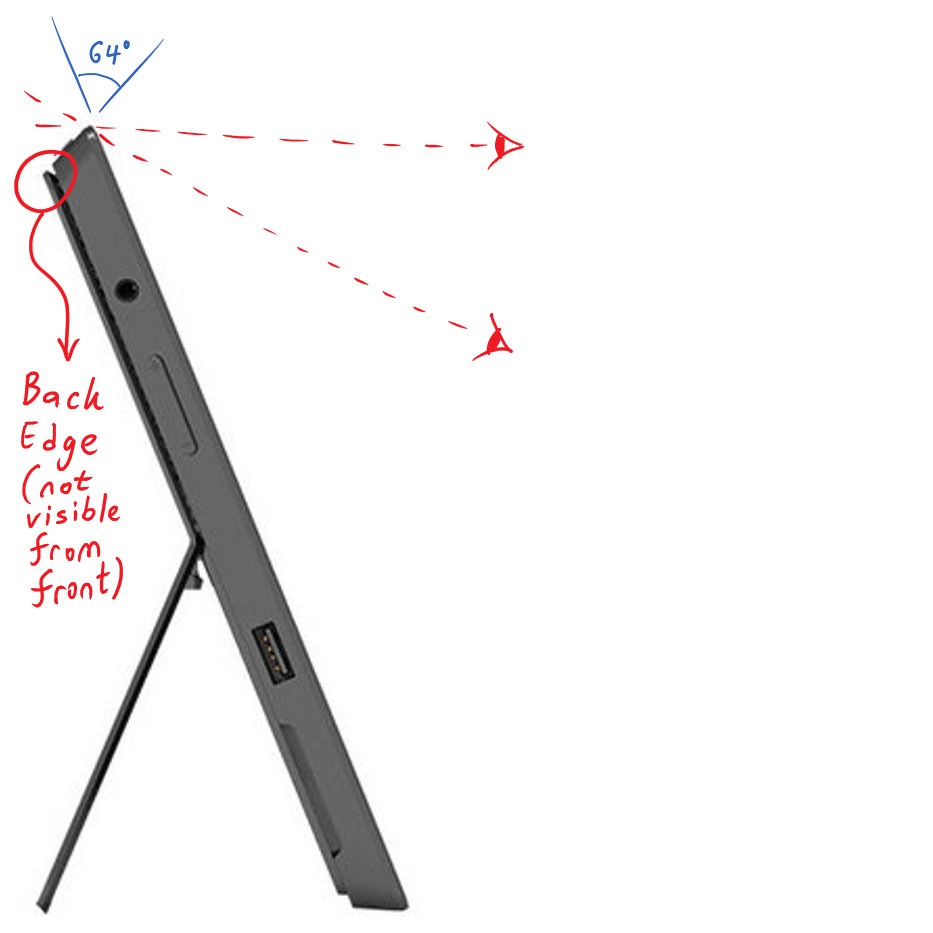
alright, M said, you need it to be thick. but can you make it look thin?
by chance, we were sketching on my tinycomputer - a great example of this illusion. Microsoft had to build a thick tinycomputer for thermal reasons, but they wanted it to look thin. so they bevelled the edges. the result is an 'infinity pool' effect, where the chassis depth cannot be seen from the front.
but it is not practical to create a smooth bevel with a lasercutter. could i CAD the whole chassis in 3D, and mill it out with a Shopbot?
so i downloaded a trial version of Rhinoceros.
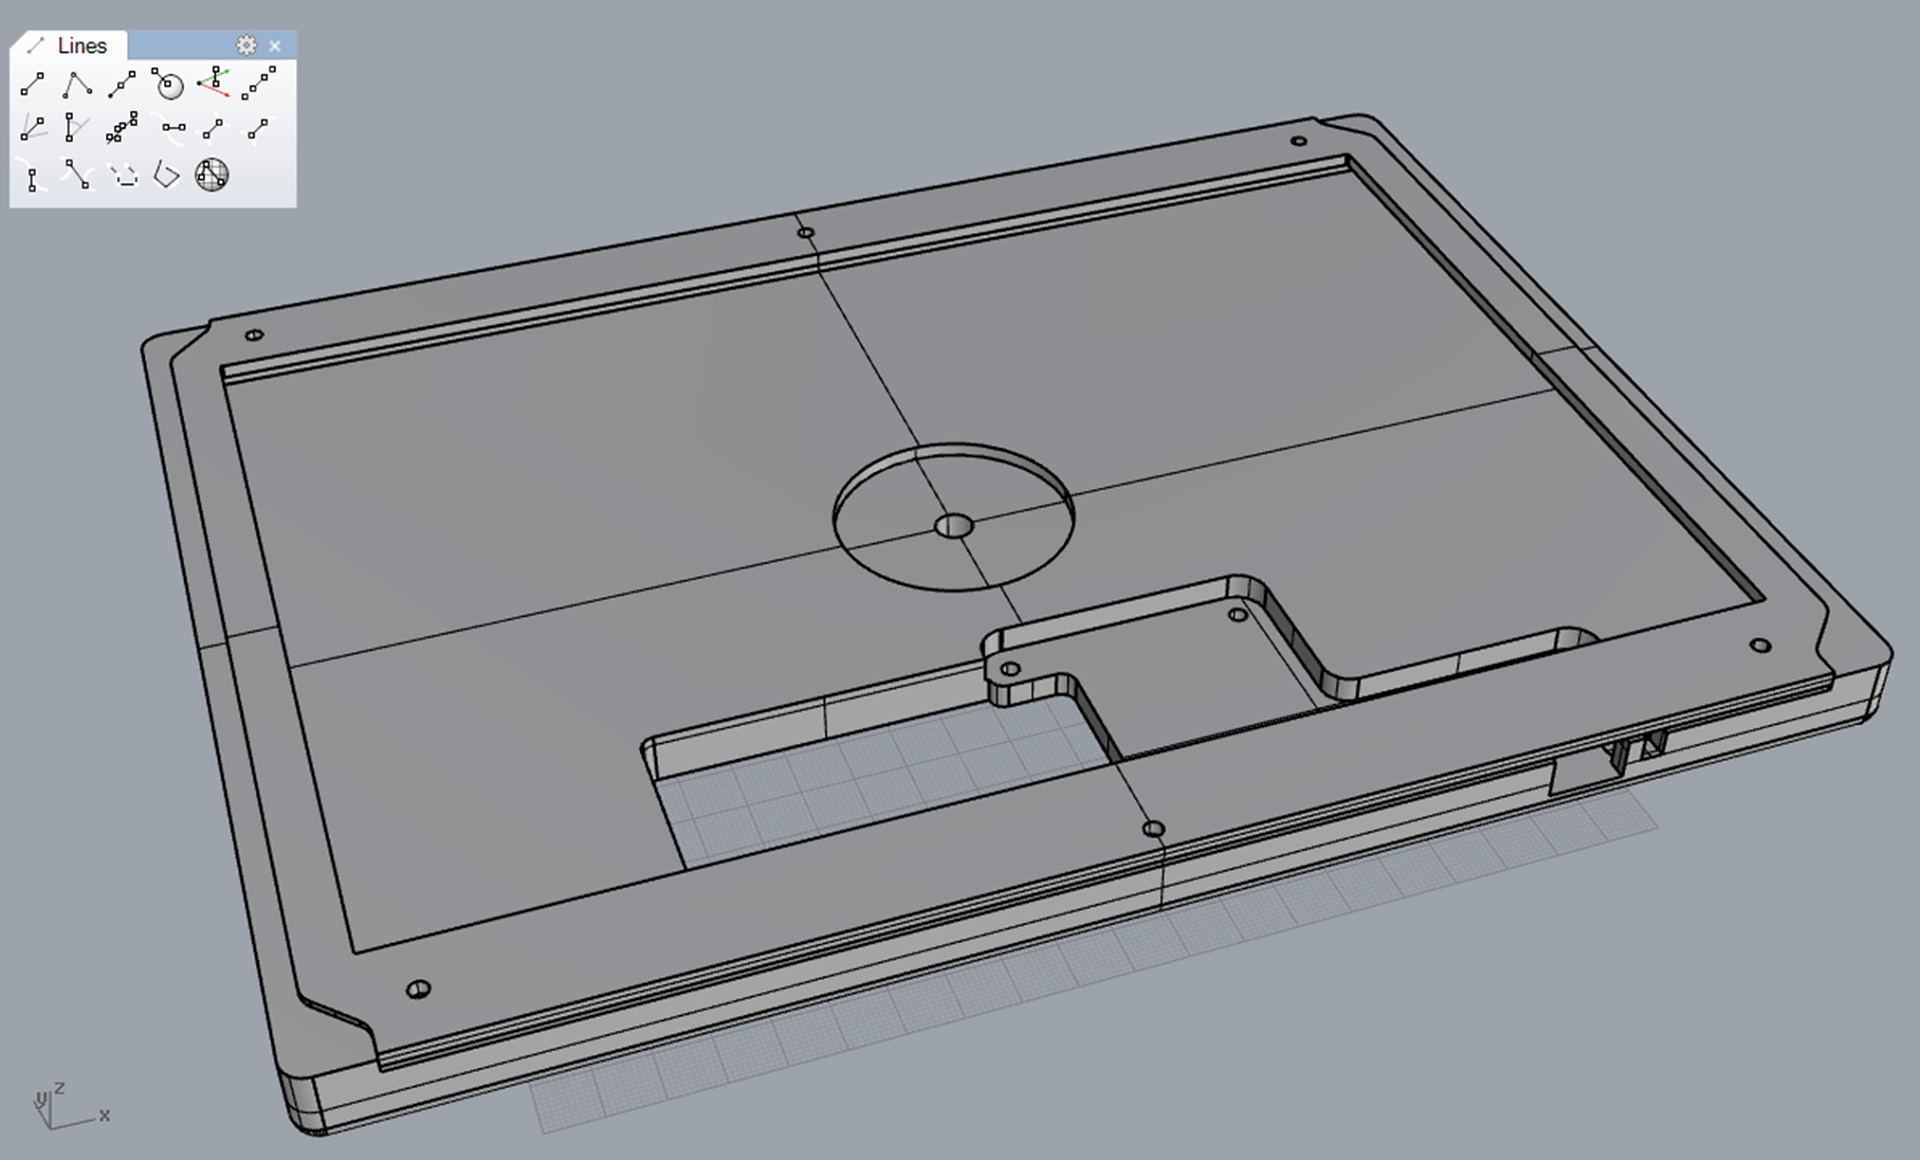
[attempt #1, modeled around the 'comma' board.]
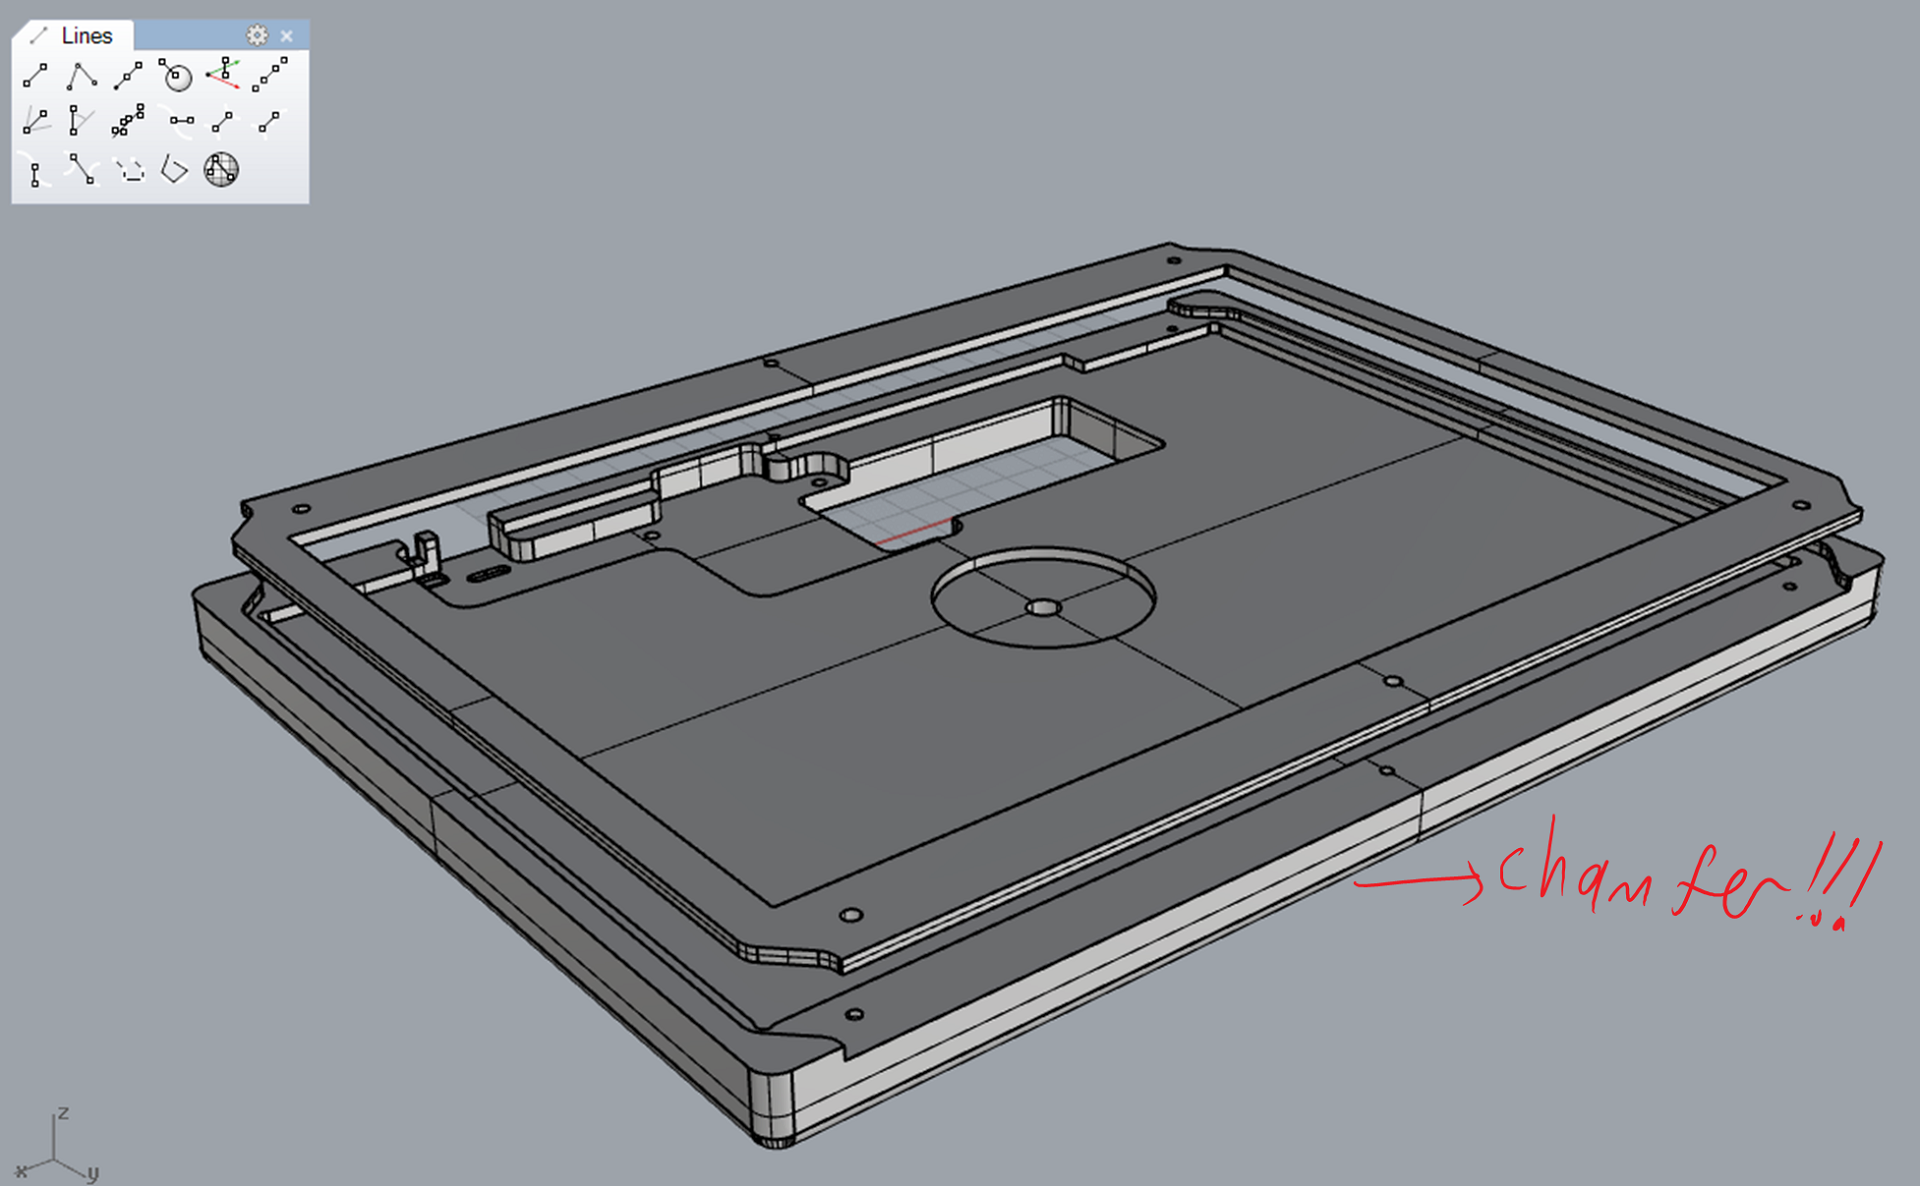
[rounded edges? no, we want chamfers! or bevels. same thing.]
[with a bevel, the back edge drops away.]
then i tried to actually manufacture it, and got stuck.
i'd found a Shopbot at a local makerspace, and bought an expensive membership. but there was no parking, inconvenient hours, and mysterious closing times. and i spent hours upon hours just defining toolpaths in Mastercam, after which the tool would do something crazy anyways, and commit trepanation on my precious plywood. if rapid iterations create quality, i was getting none of it.
but! this was a fundamentally 2.5D design. to make quick prototypes, couldn't i just lasercut & stack several layers of plywood? i wouldn't be able to create the bevel, but at least i'd know if the basic dimensions were sound.
five stacked layers of plywood approximated my milling profile, so that's what i used.
[side profile: wood wood wood wood wood]
[pretending-to-be-a-Shopbot prototype, rear view.]
janky though it is, this prototype helped set some direction for the next:
- this thing is basically solid wood - wasteful and way too heavy.
- unfinished wood is pretty, but warps when wet, and feels oily under my fingers.
- i need to integrate the cover of the on/off switch into the chassis.
- stacked lasercut layers are actually pretty good! can we just do that, and not need a Shopbot at all?
now abandoning the Shopbot.
so let's use nothing but a lasercutter, and get smart to make it work:
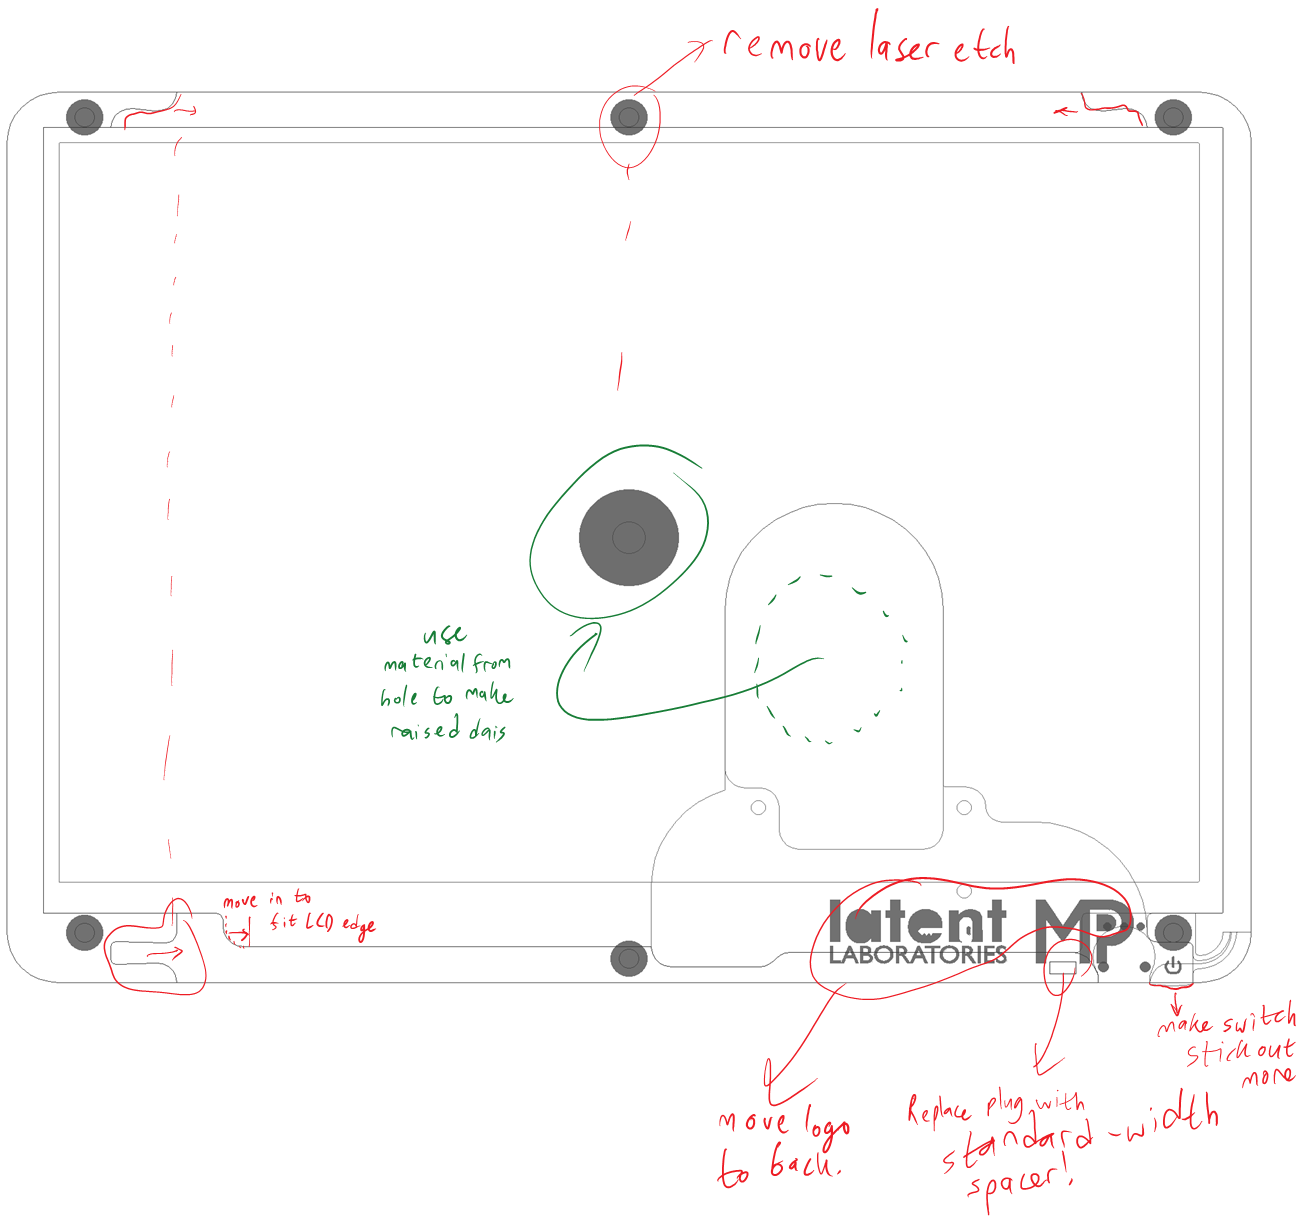
- use laser-etching to create small changes in layer thickness. this reduces the number of layers needed for enough z-height.
- use 2mm clear acrylic on the top and bottom layers. you can see the wood texture, but it's not exposed to fingers & water.
- integrate a switch cover with a living hinge for the on/off switch.
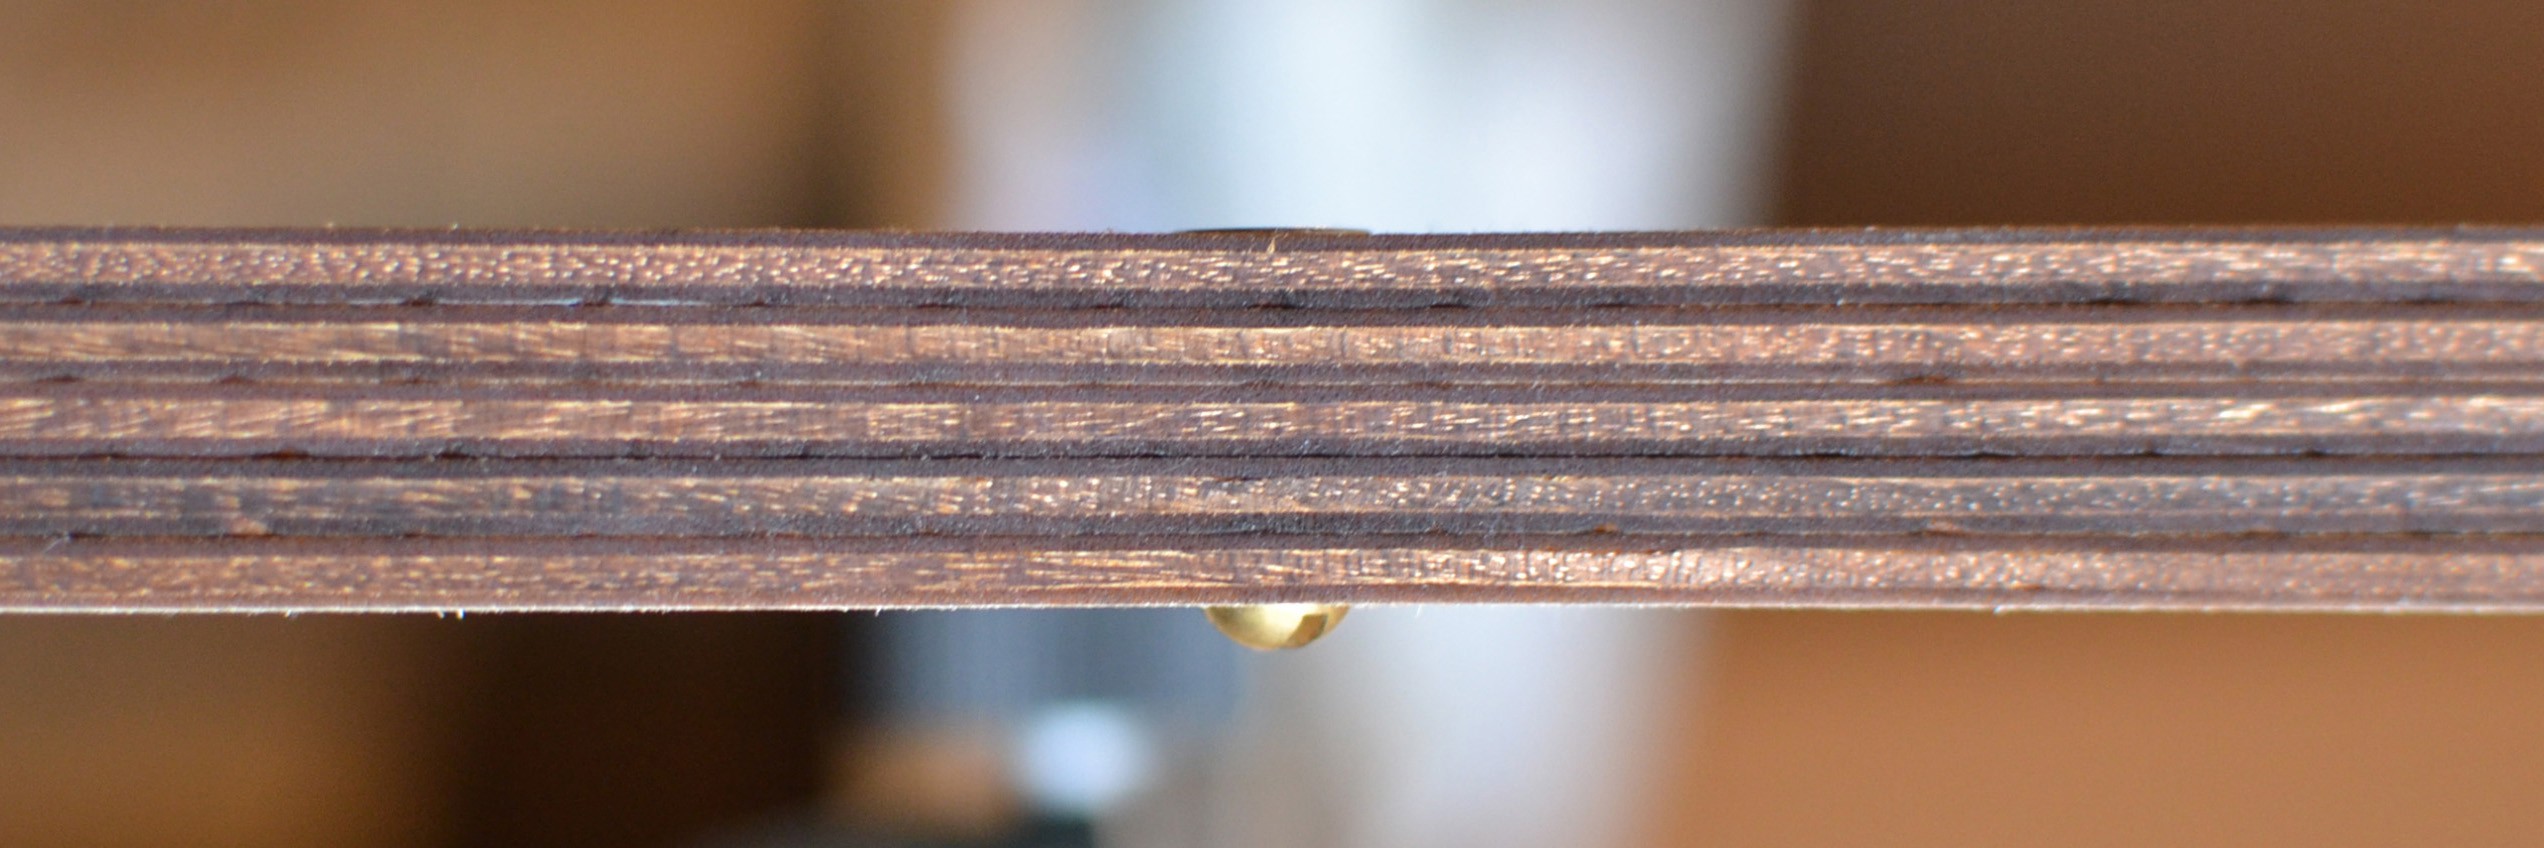
[side profile: acrylic acrylic acrylic wood wood acrylic]
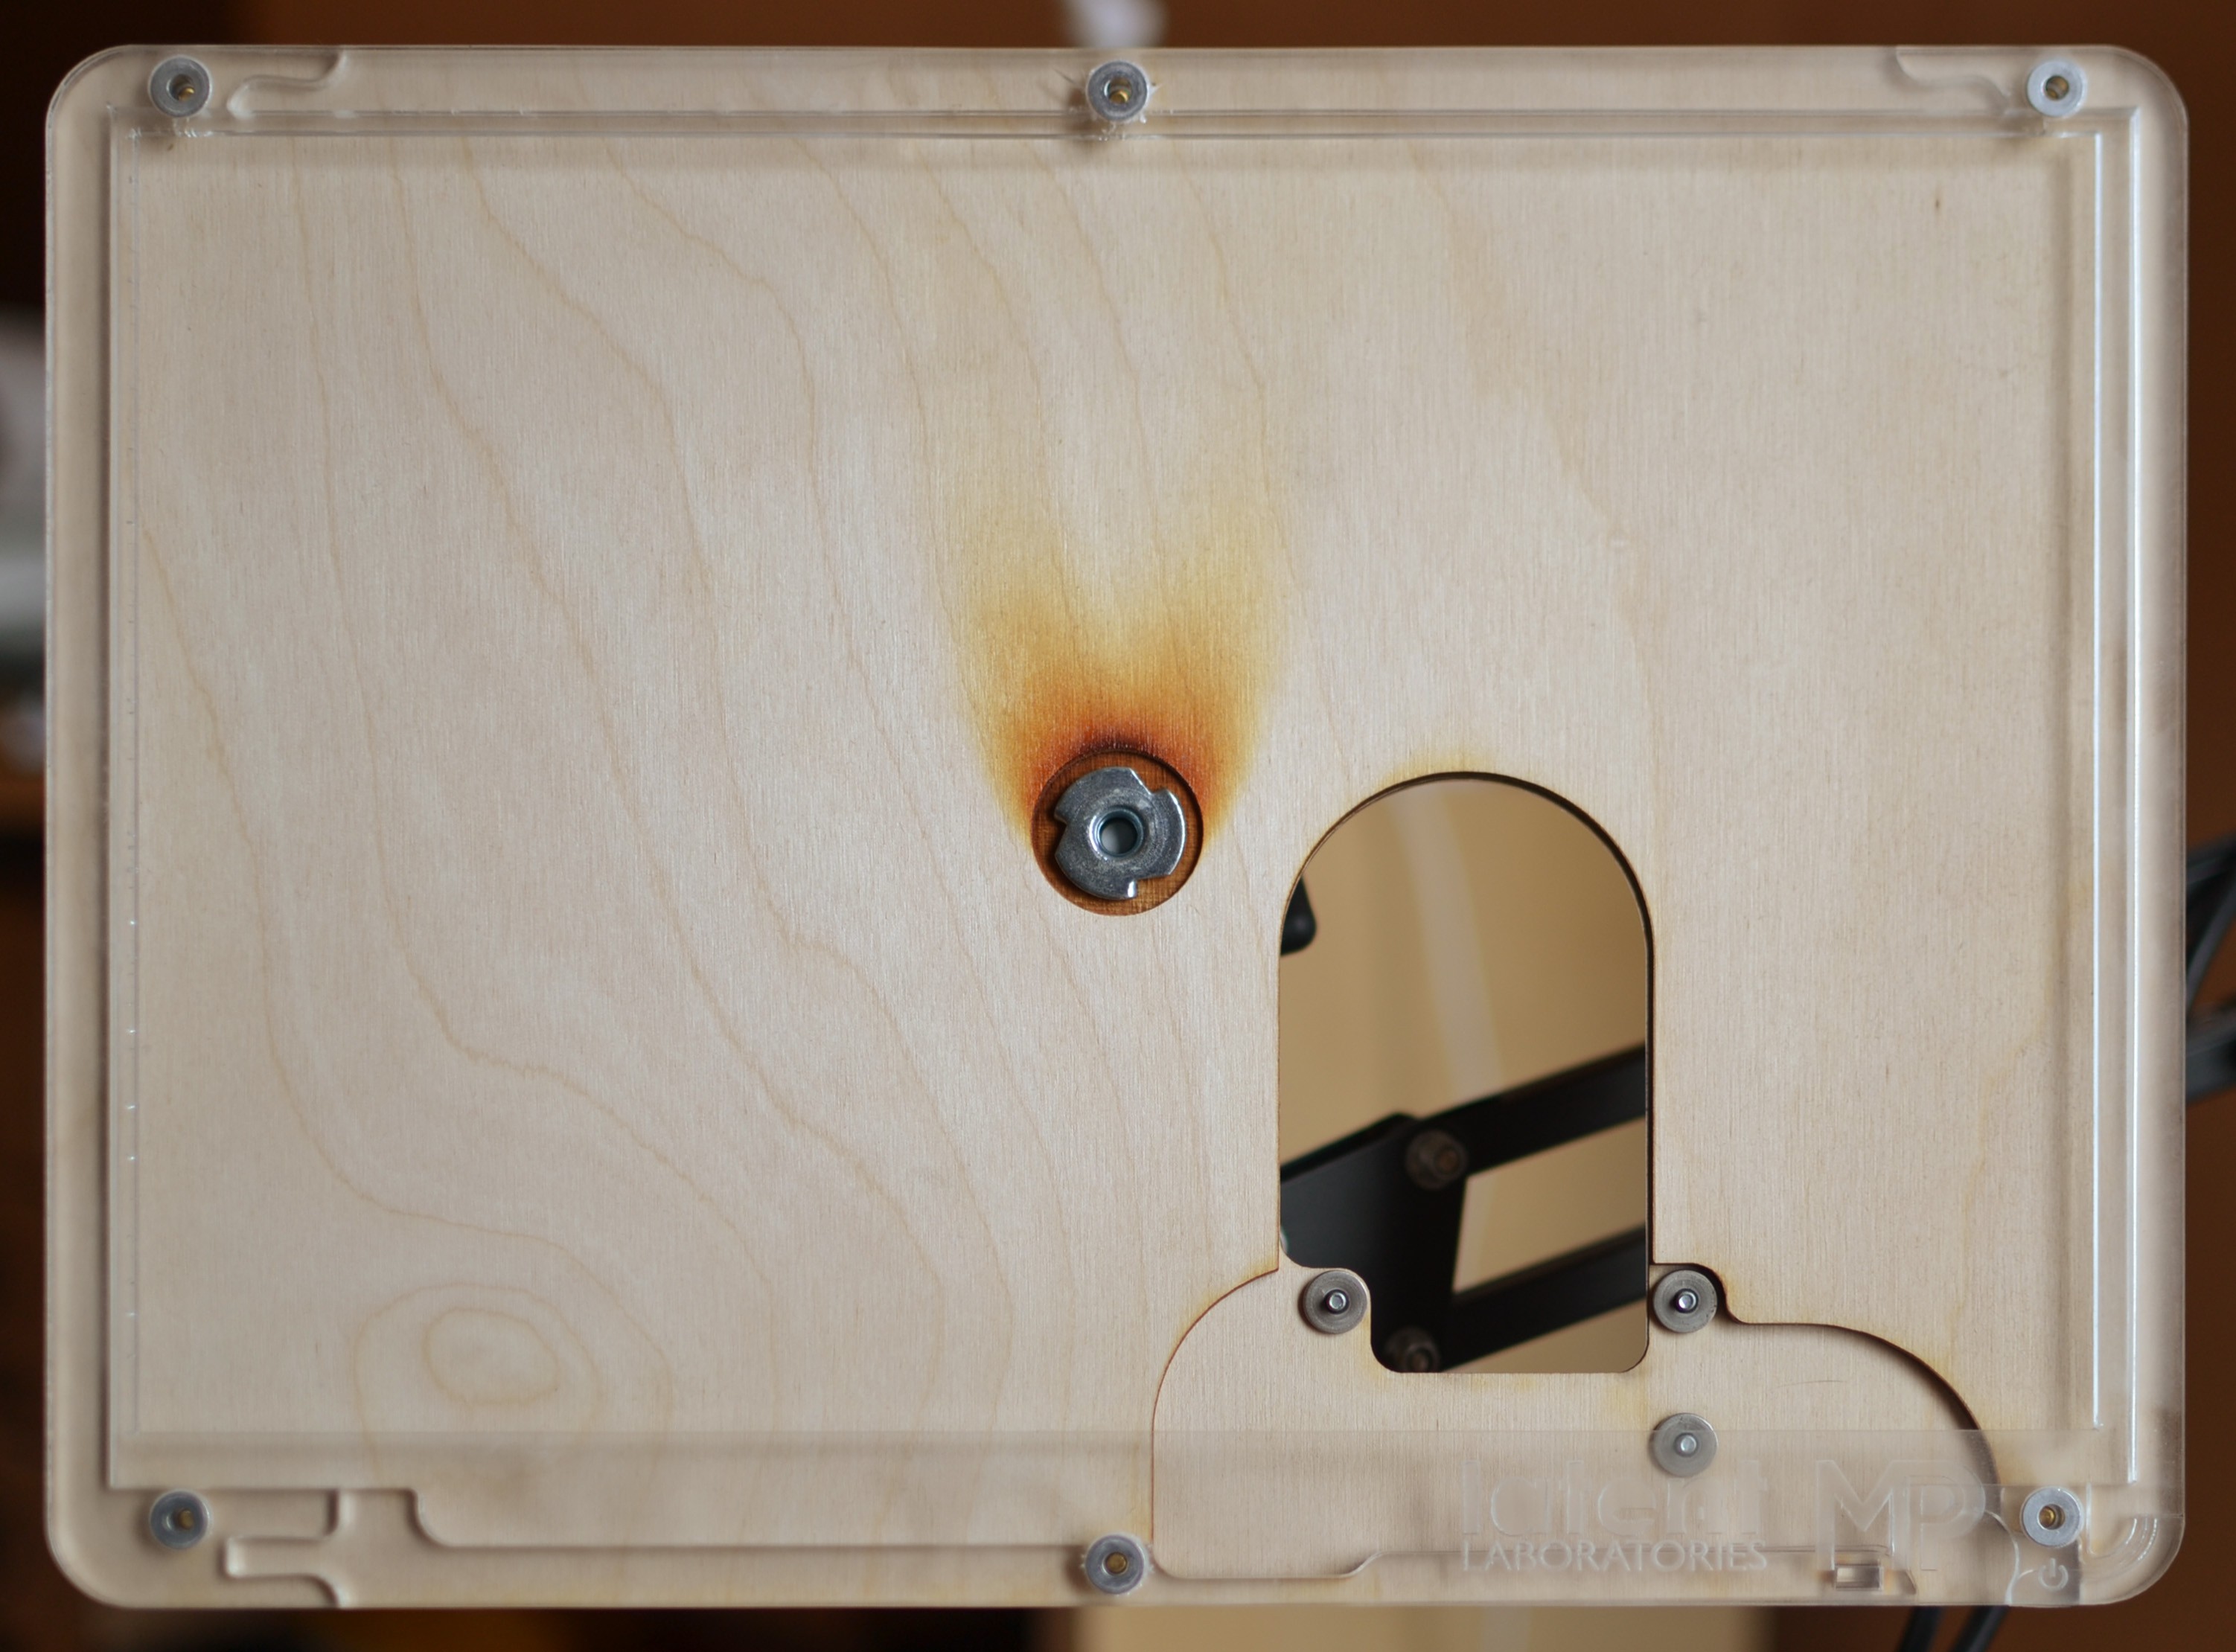
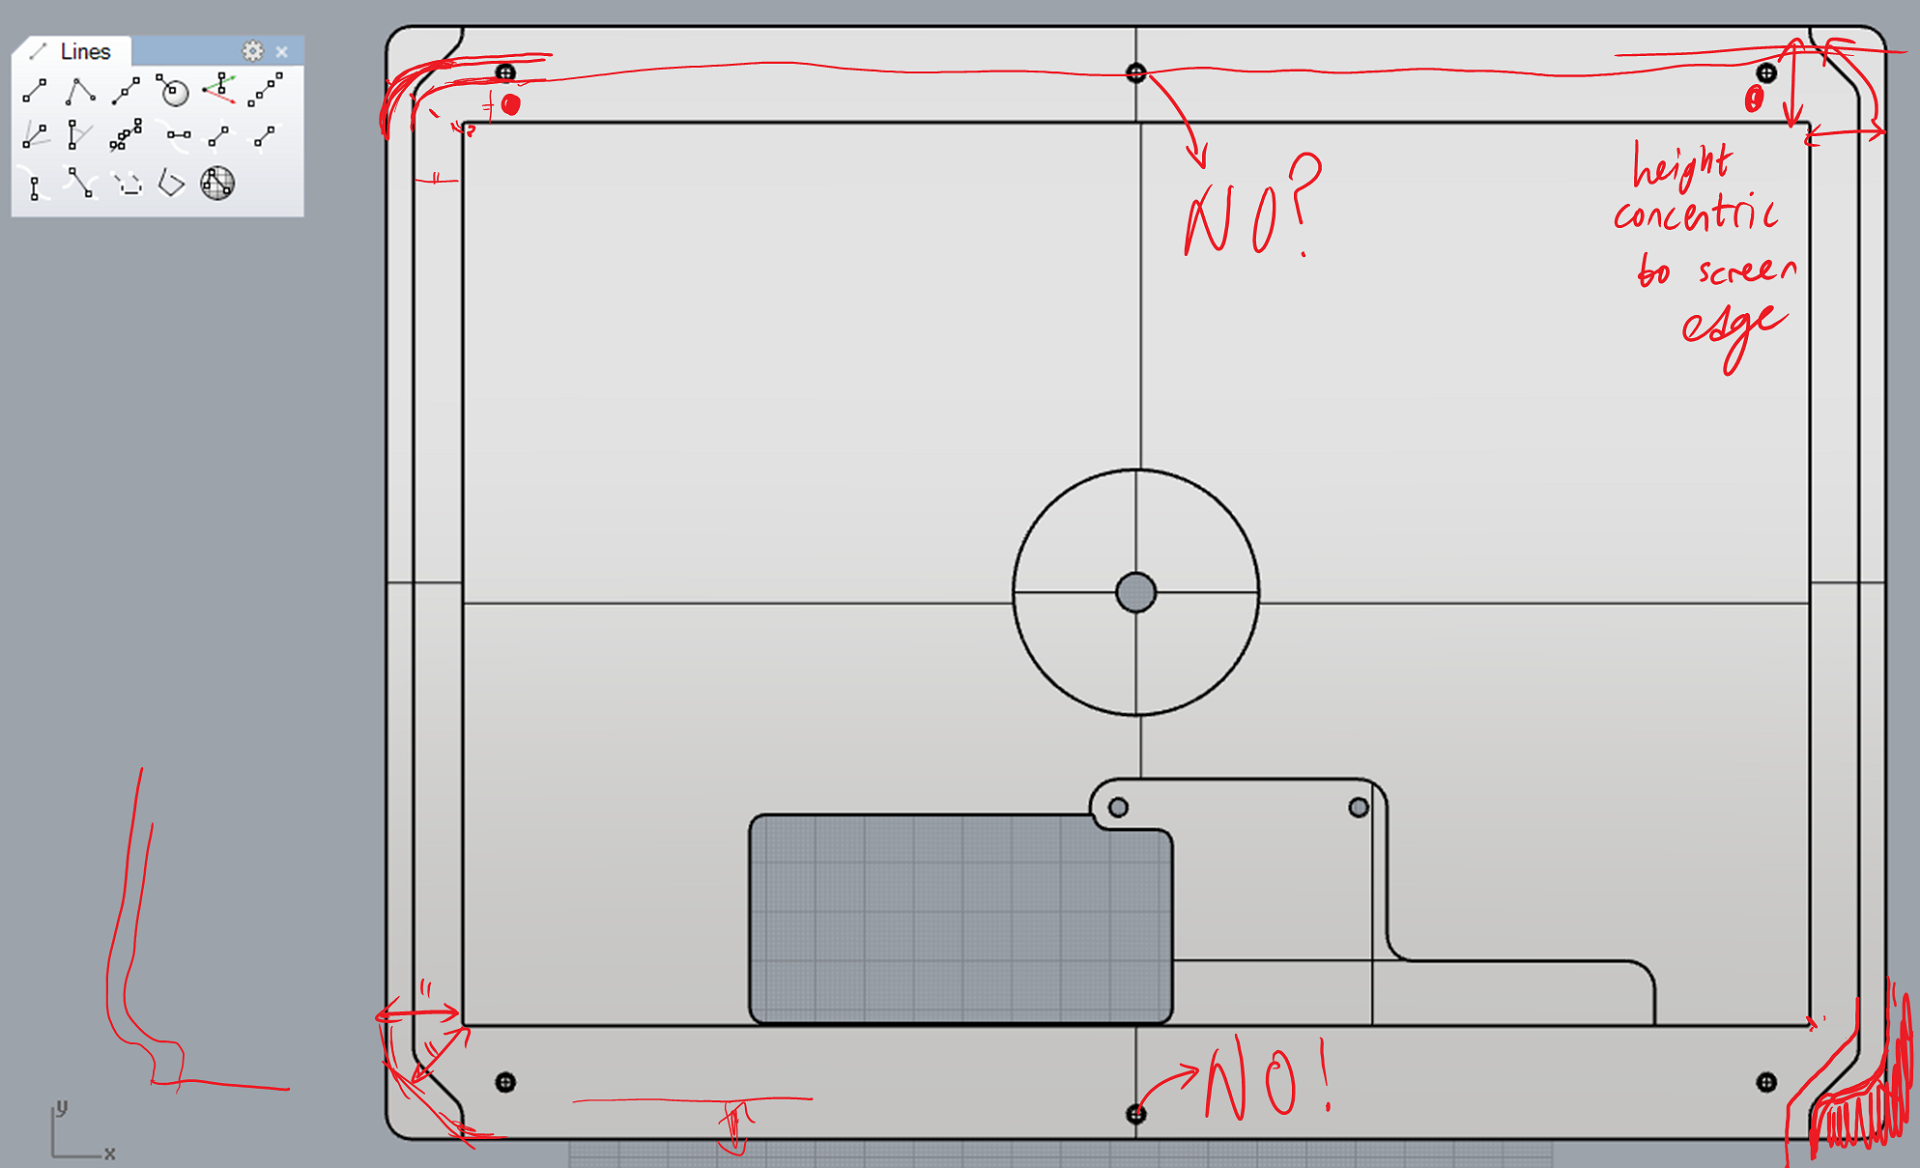
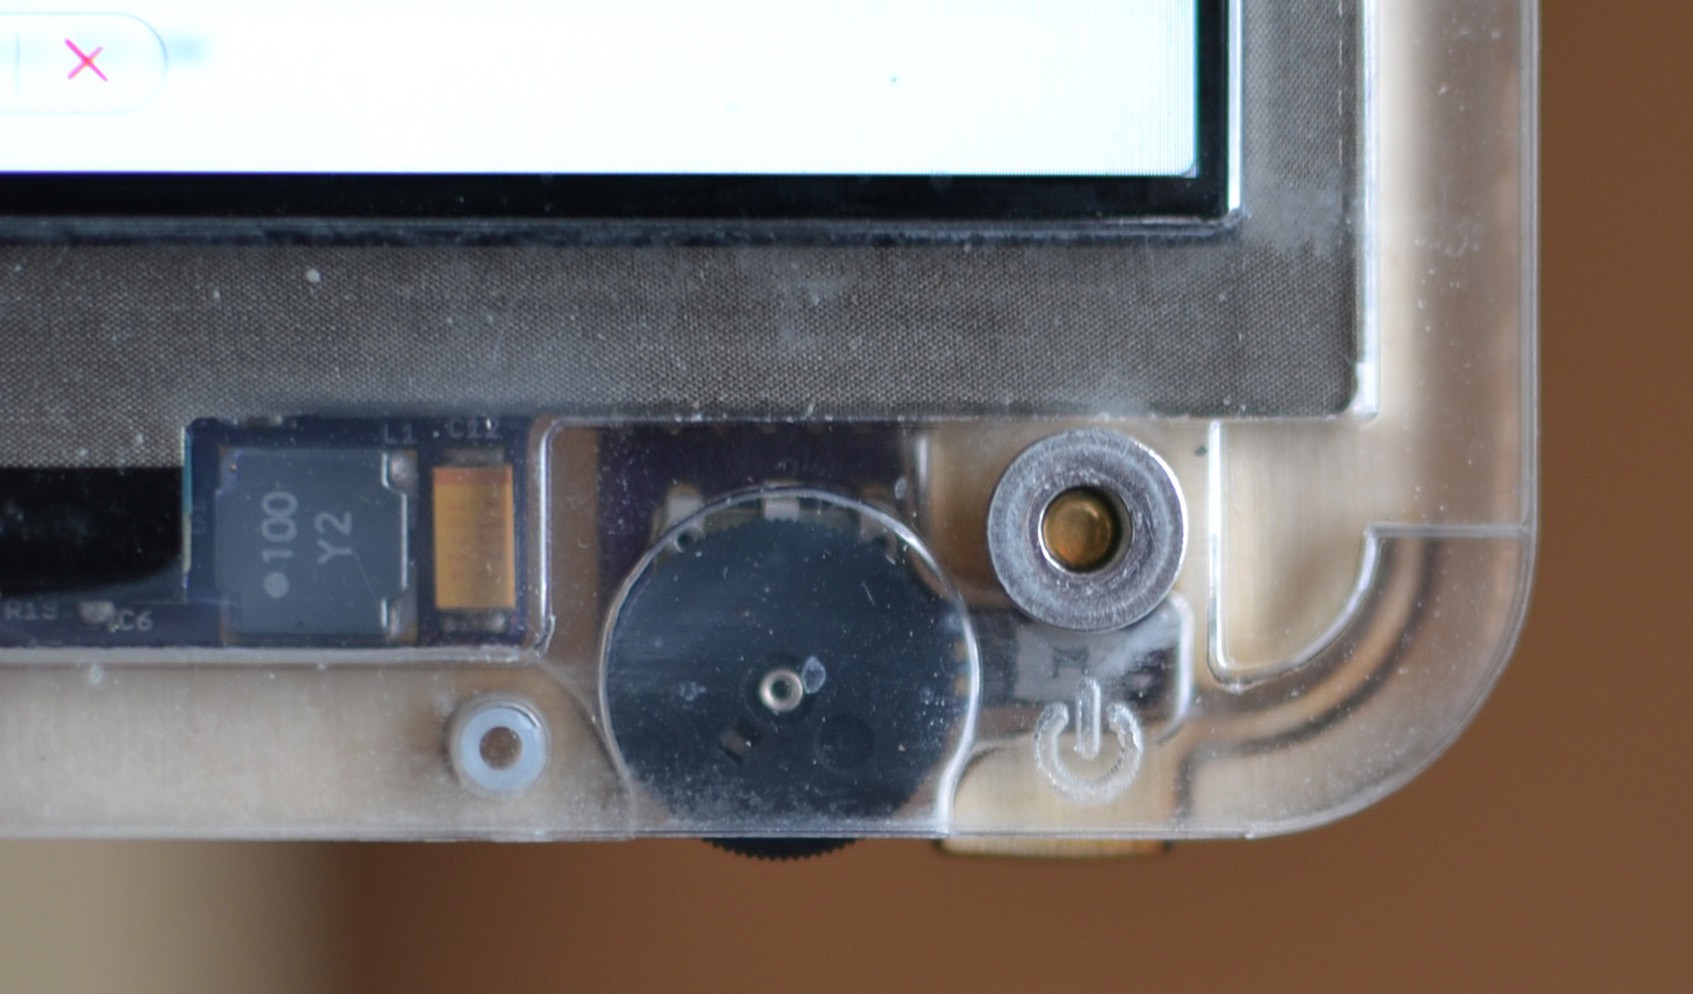
[designed-to-be-lasercut chassis, front view. laser-etched recess for the T-nut in the middle.]
this was much better! the reflective/transmissive acrylic outer layers really complement the texture of bare wood underneath. but i'd been too aggressive with the laser-etching, and the too-thin acrylic was splintering under the screws. plus everything was still too thick & wasteful.
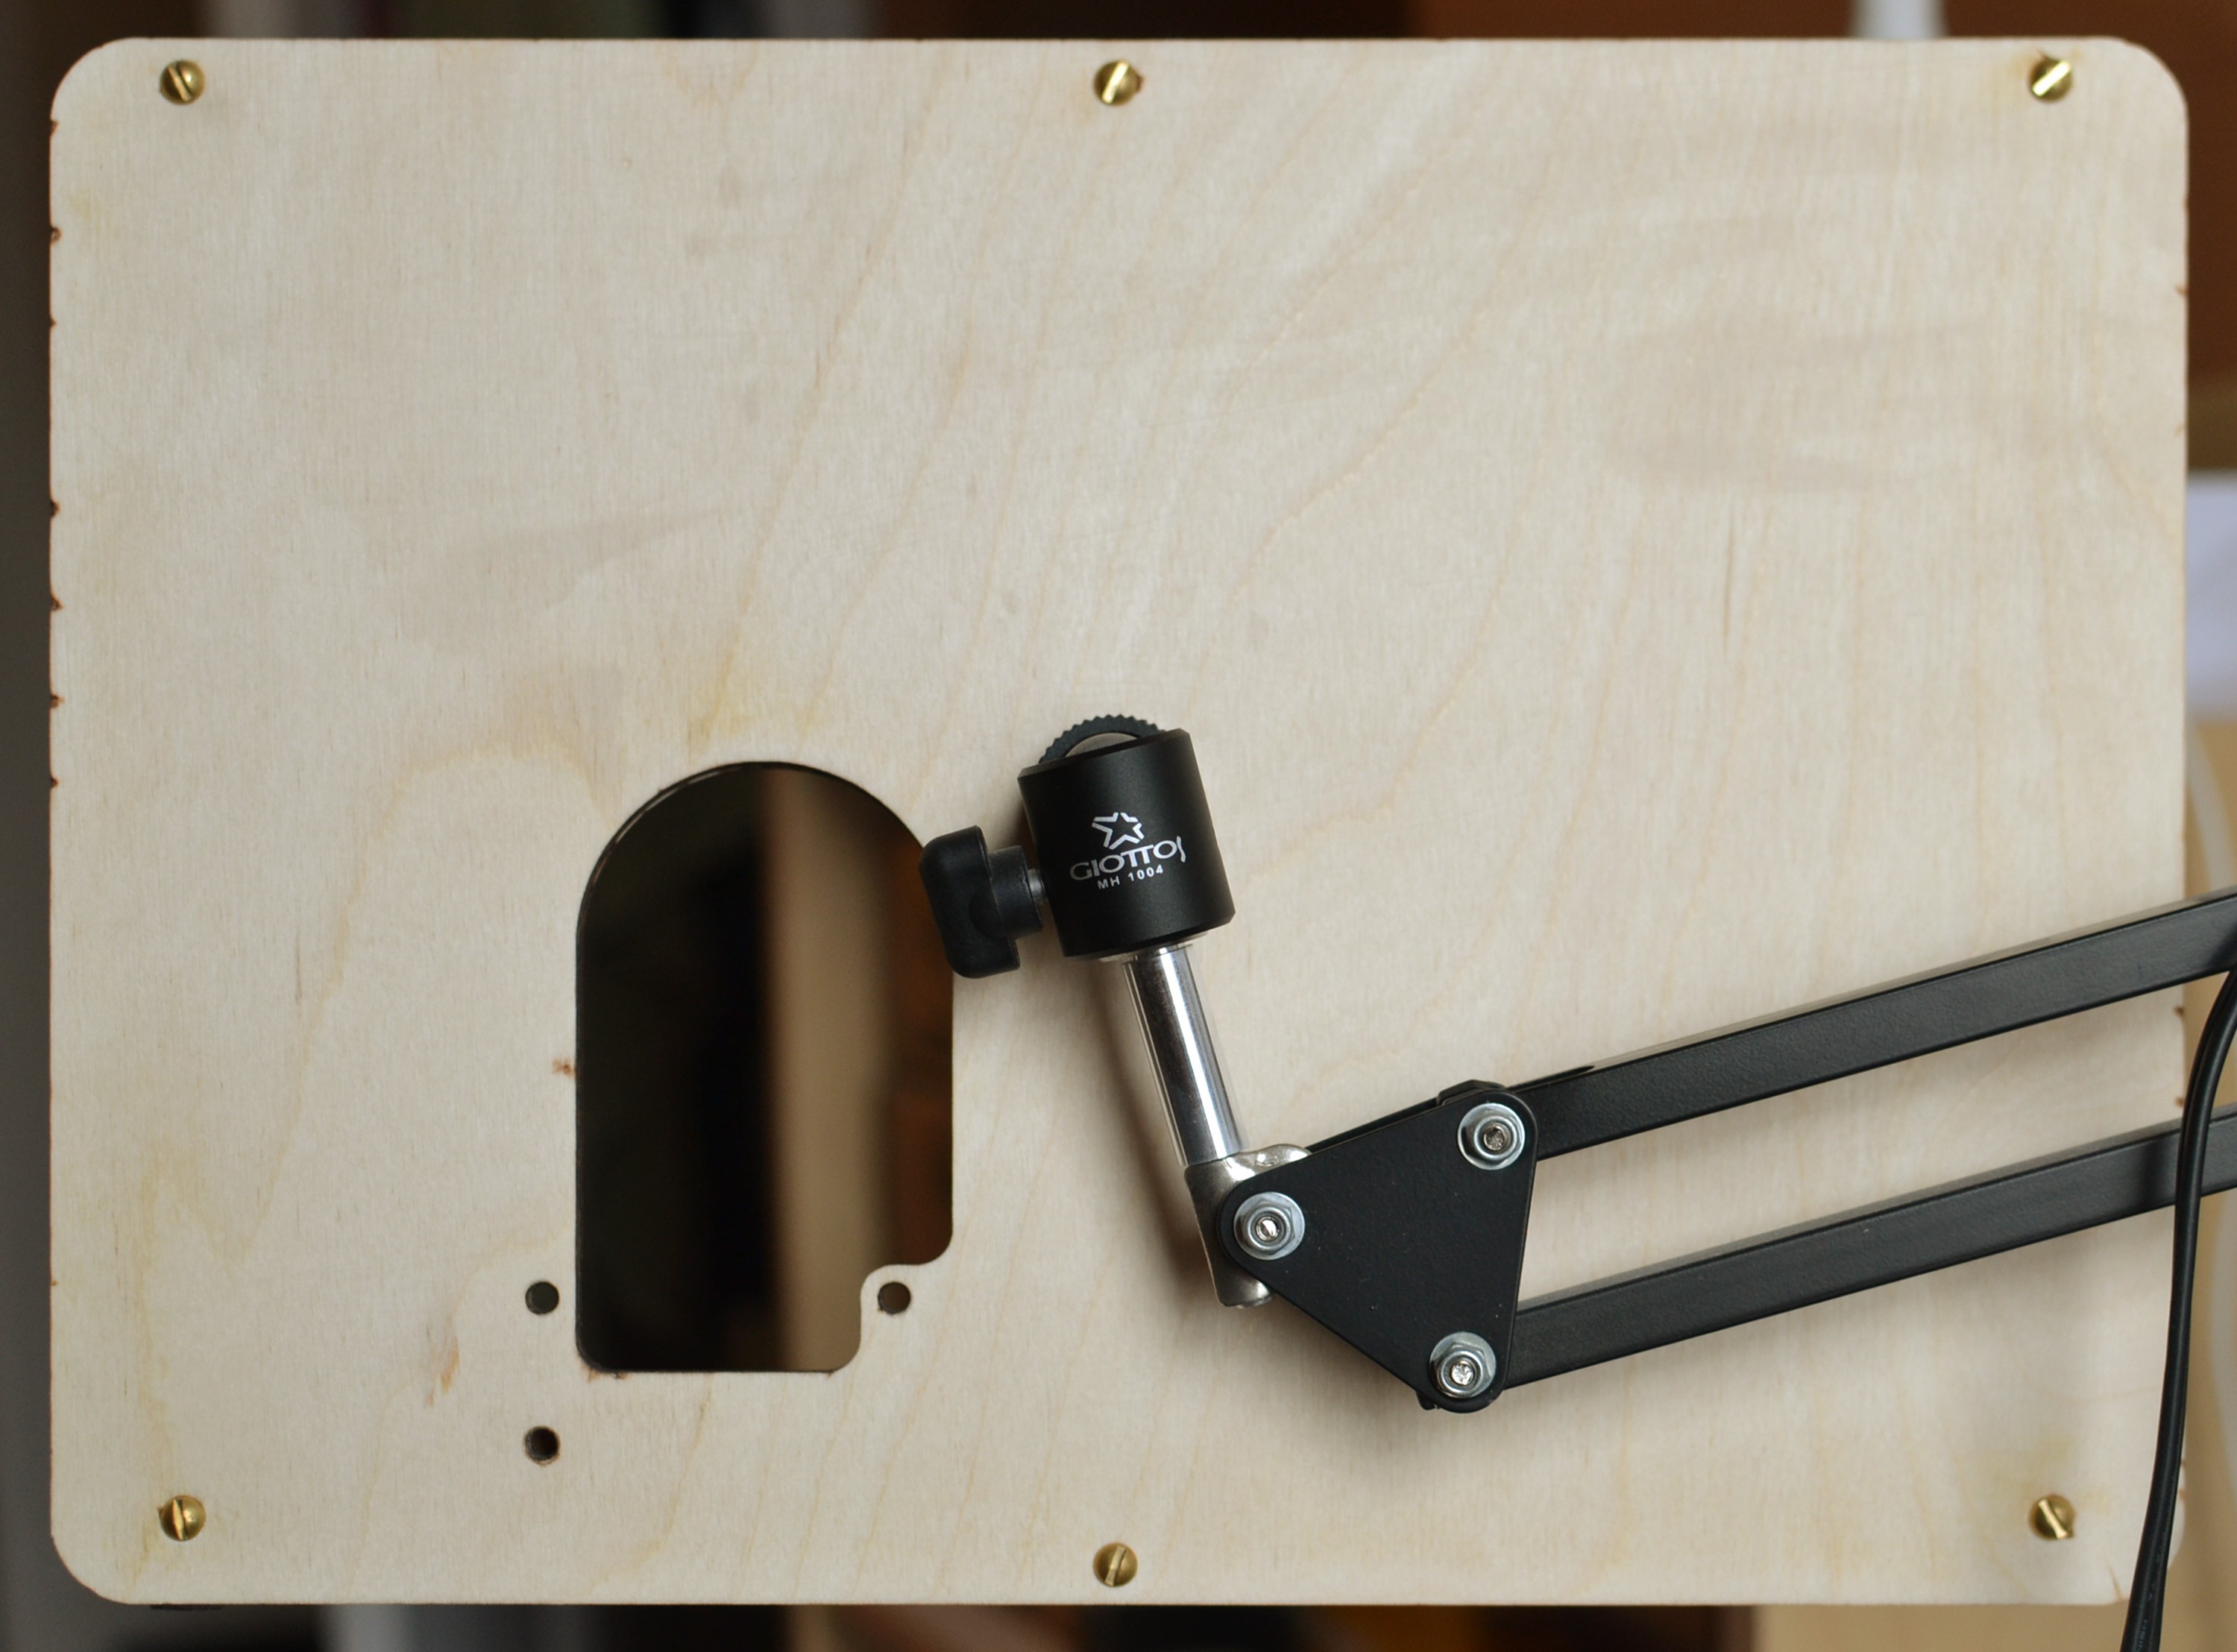
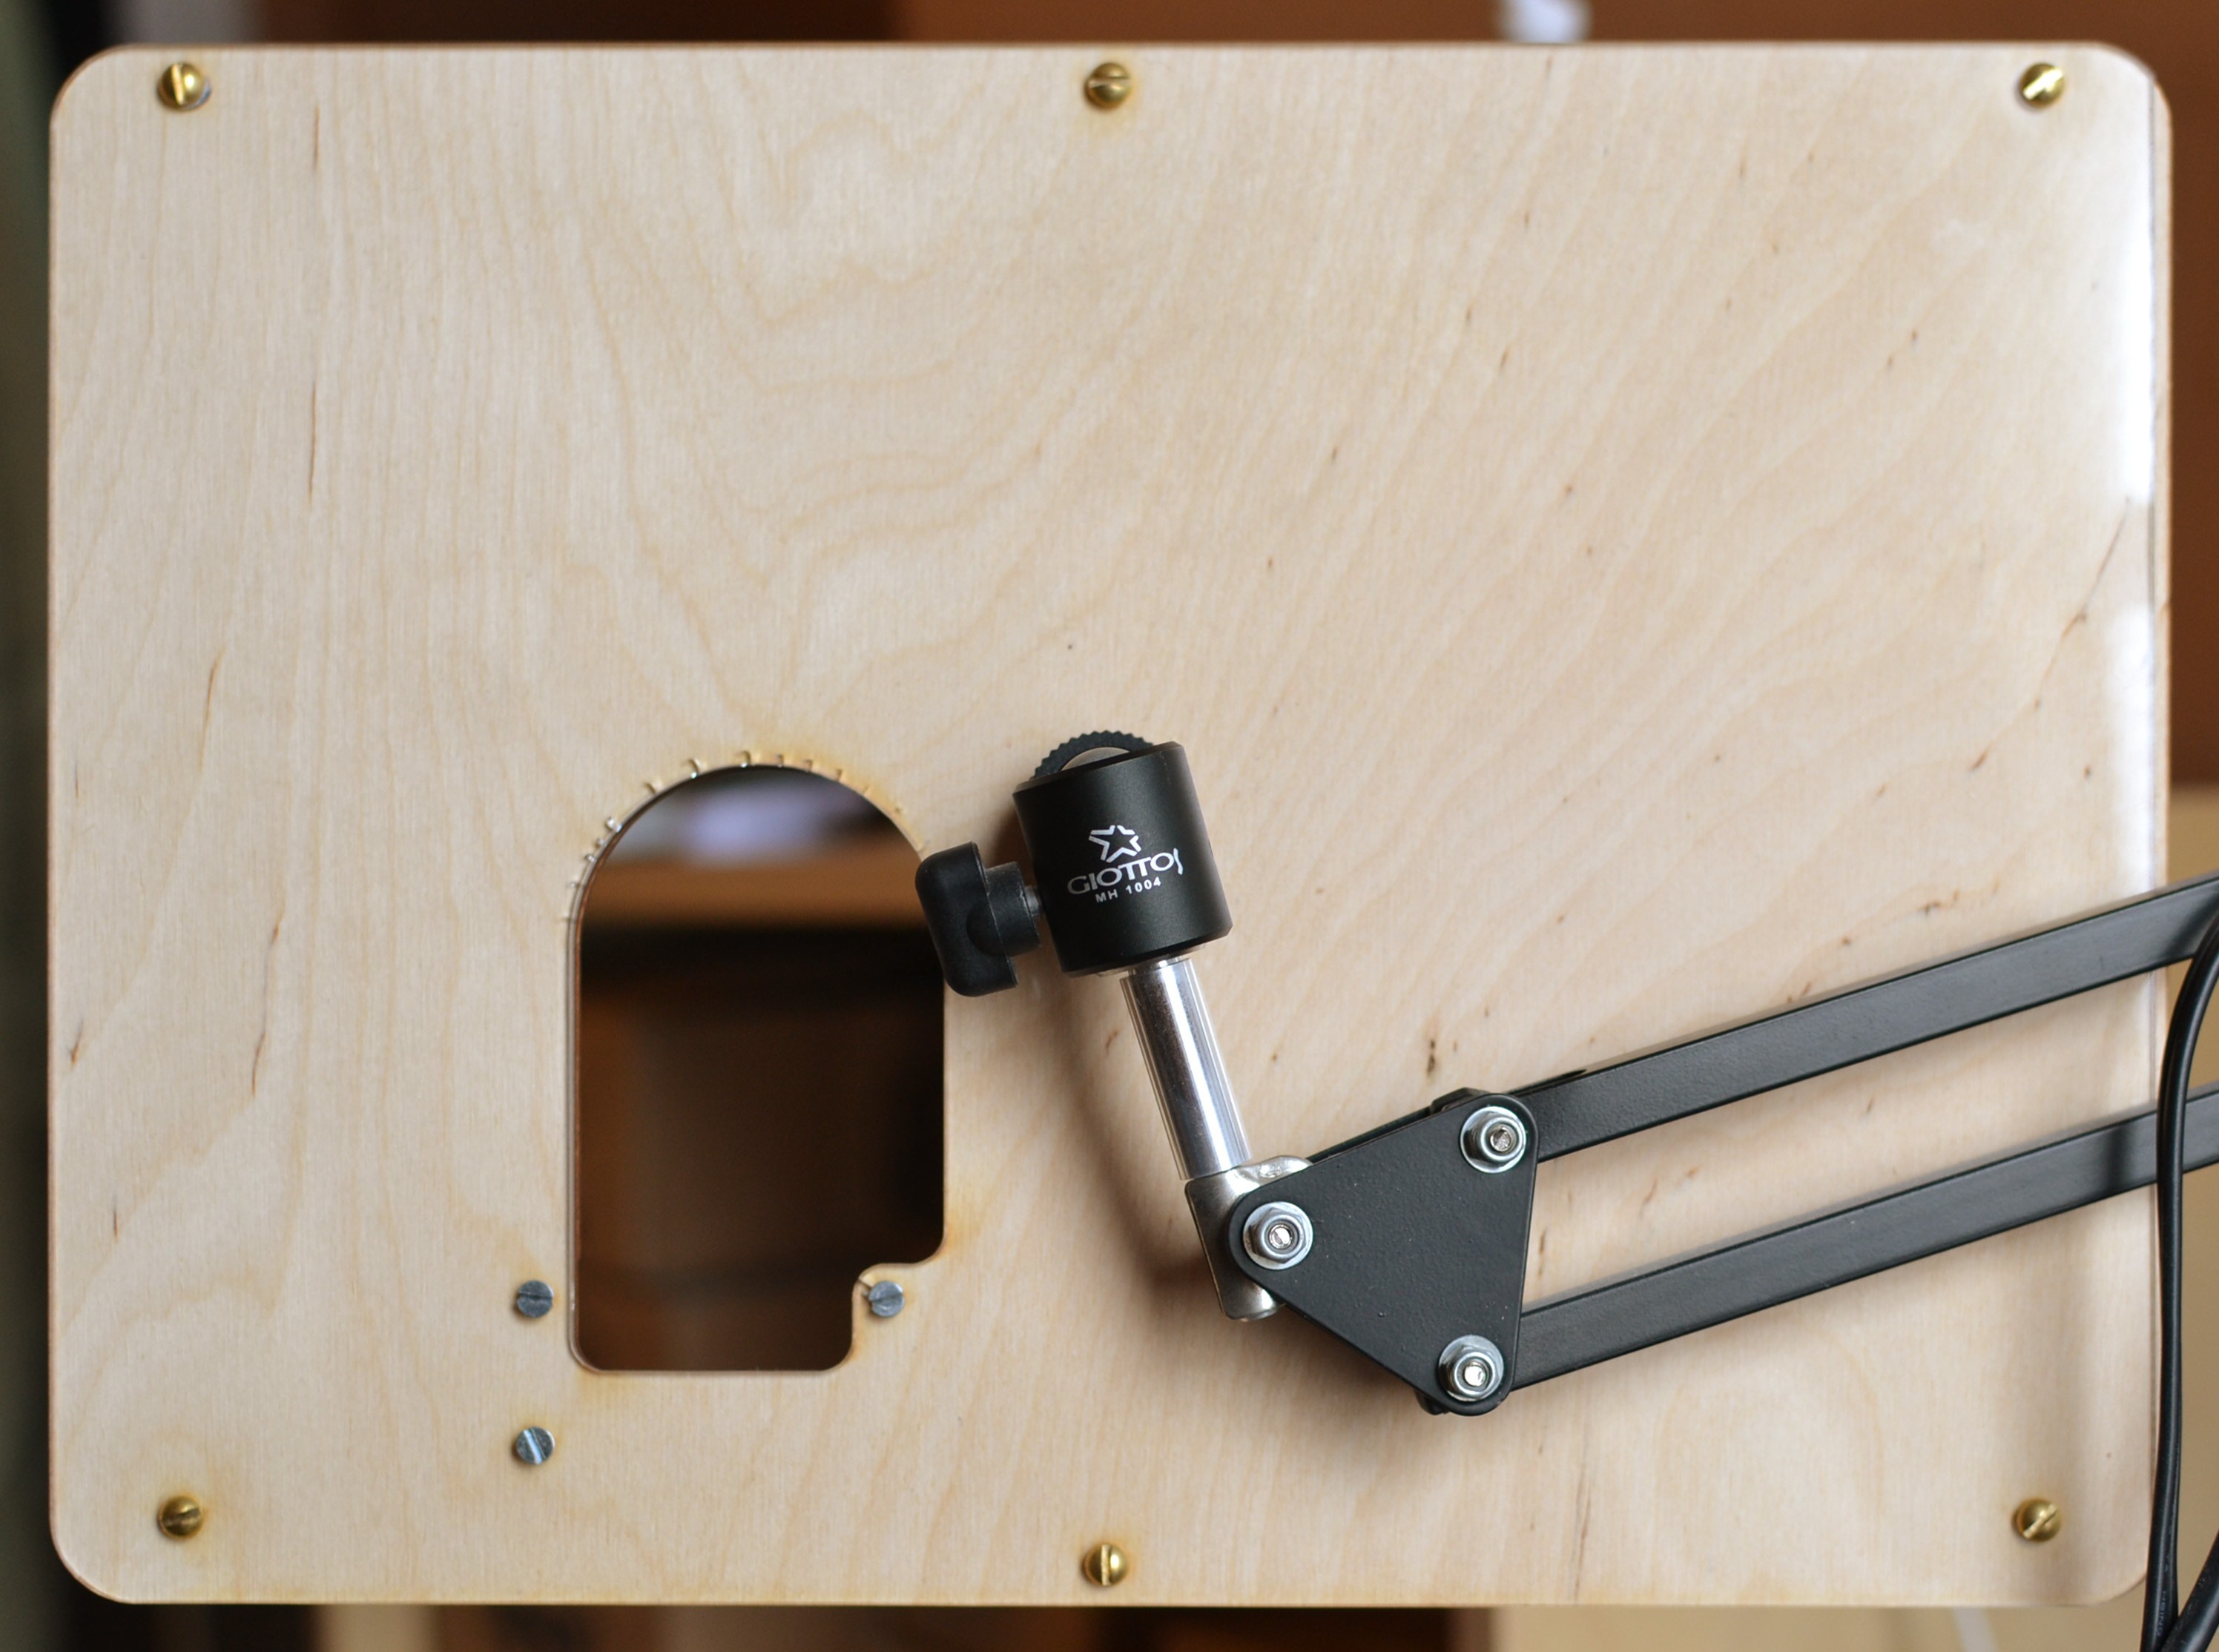
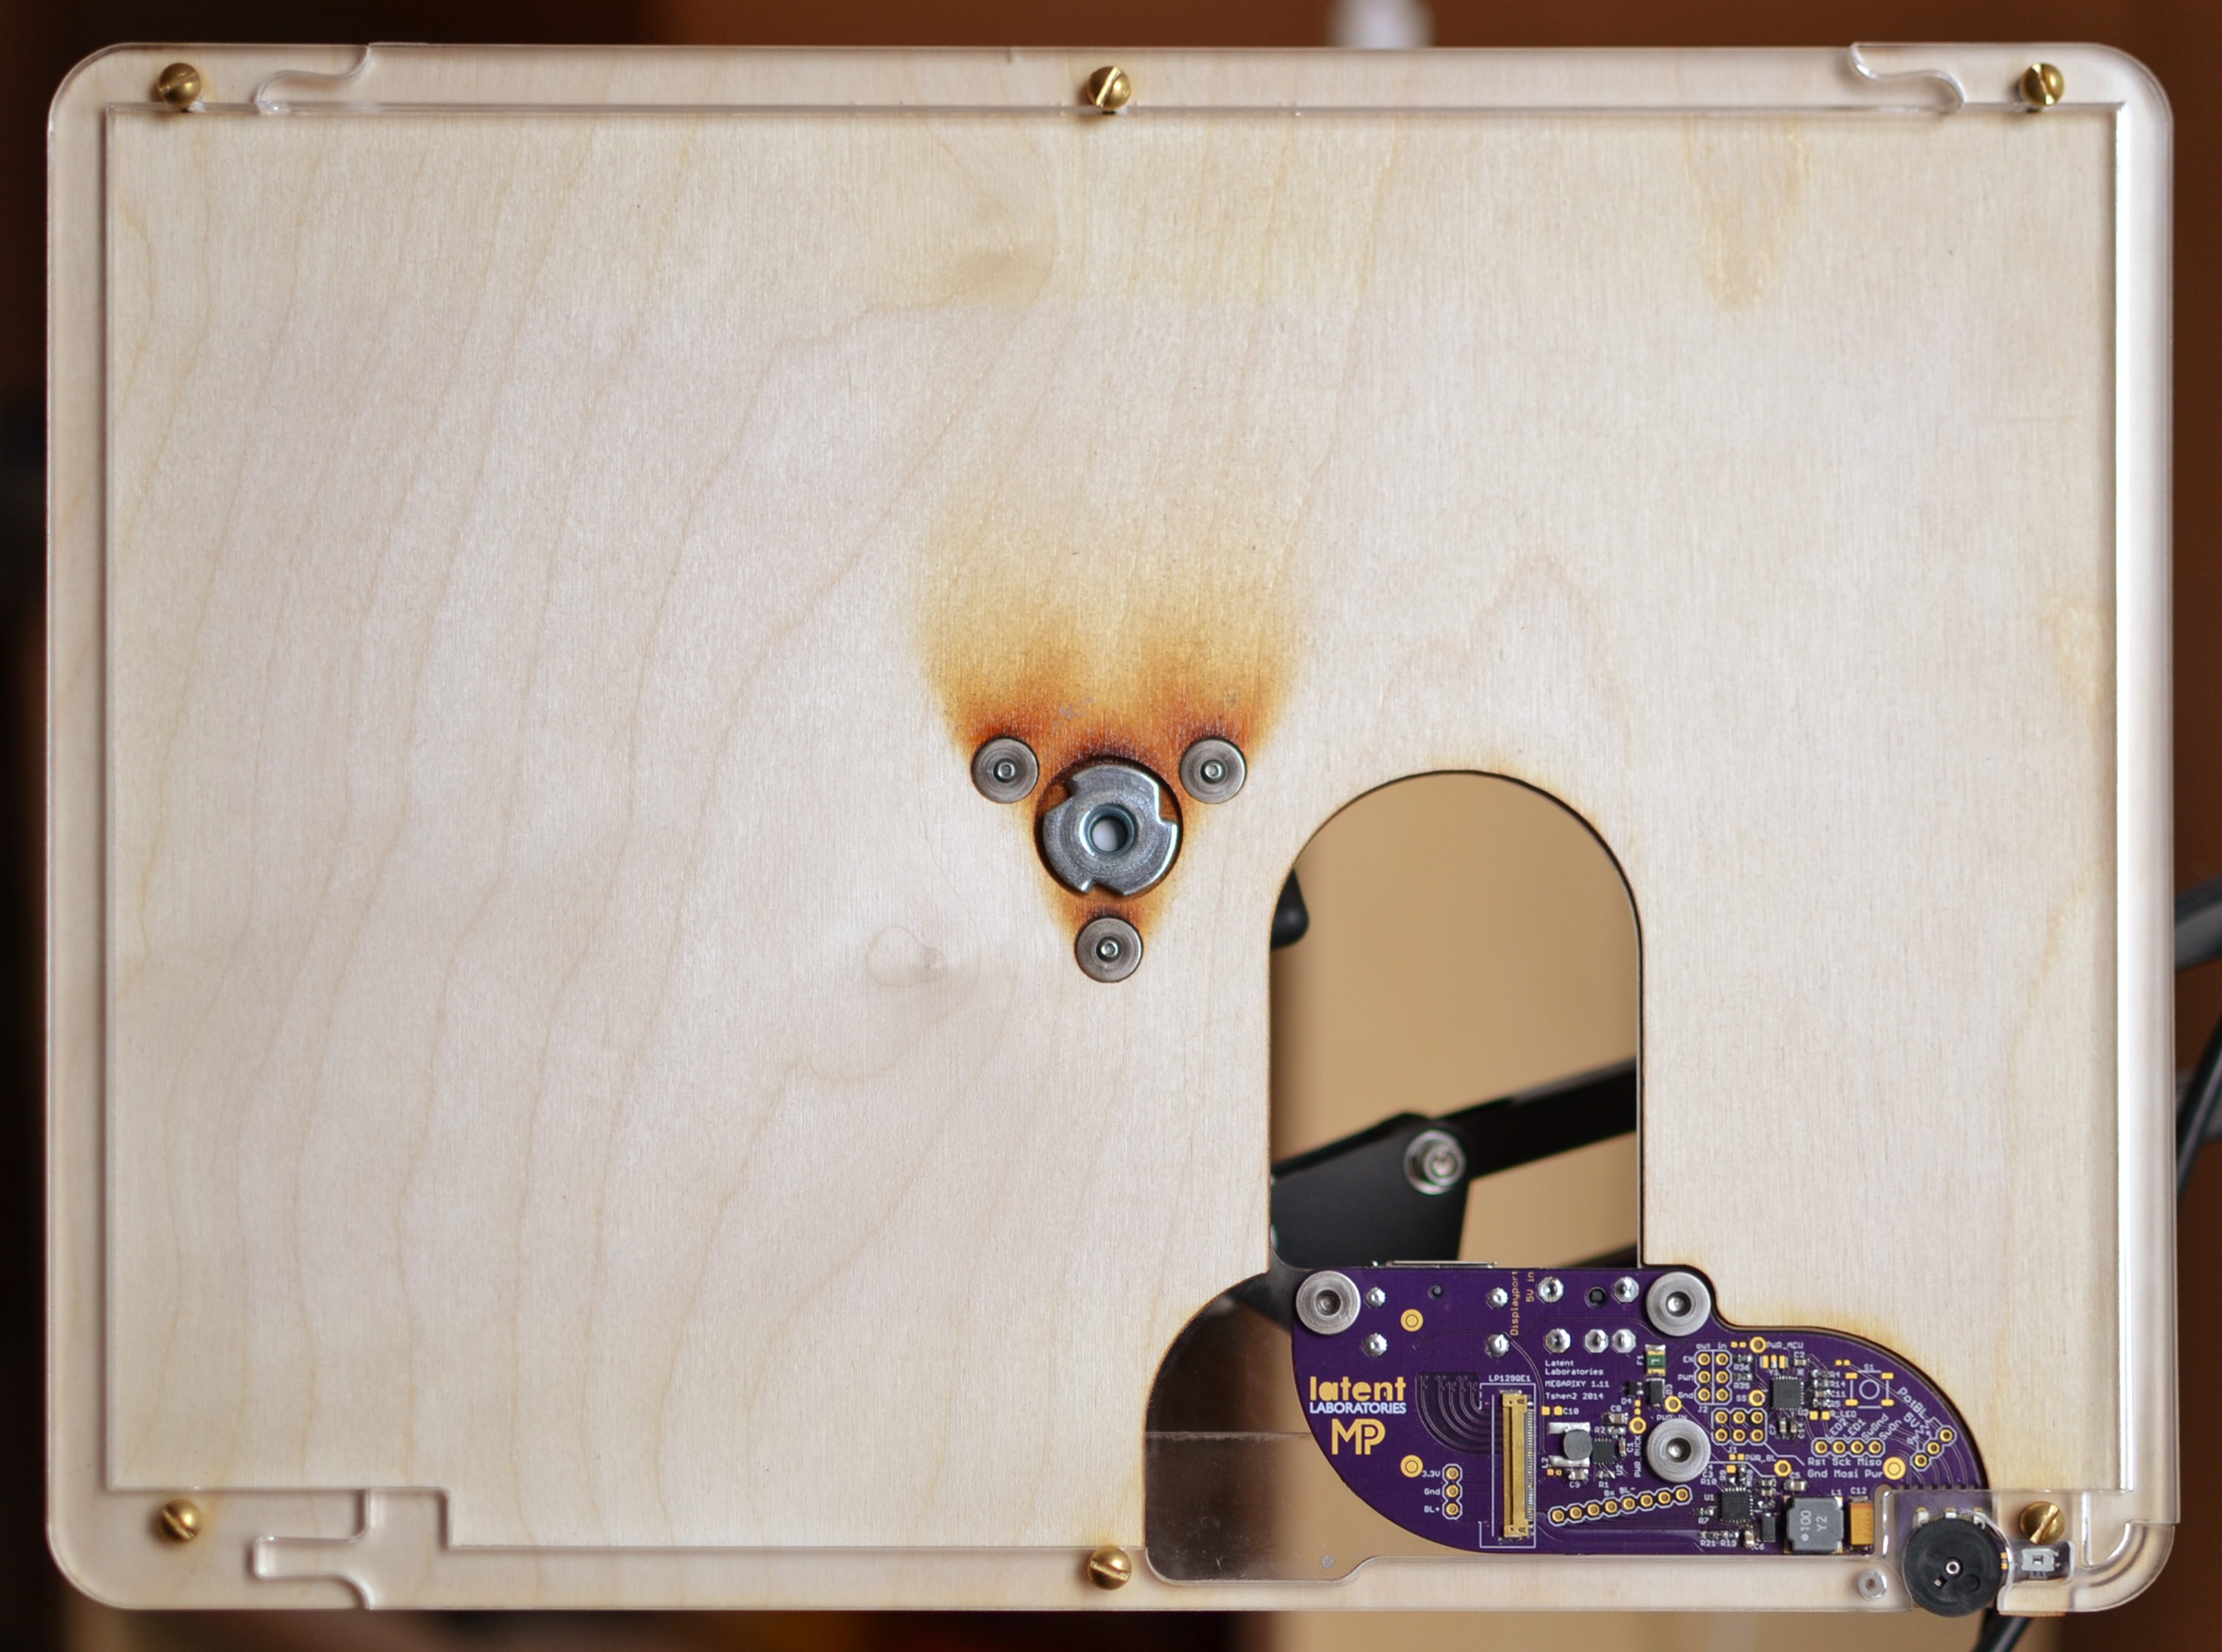
why was it so thick? because i needed a minimum wood thickness to attach the T-nut for the tripod mount. maybe i could use more wood under the tripod mount, creating a raised dais? then i could make the rest of the chassis thinner.
[this allowed me to remove one entire plywood layer.]
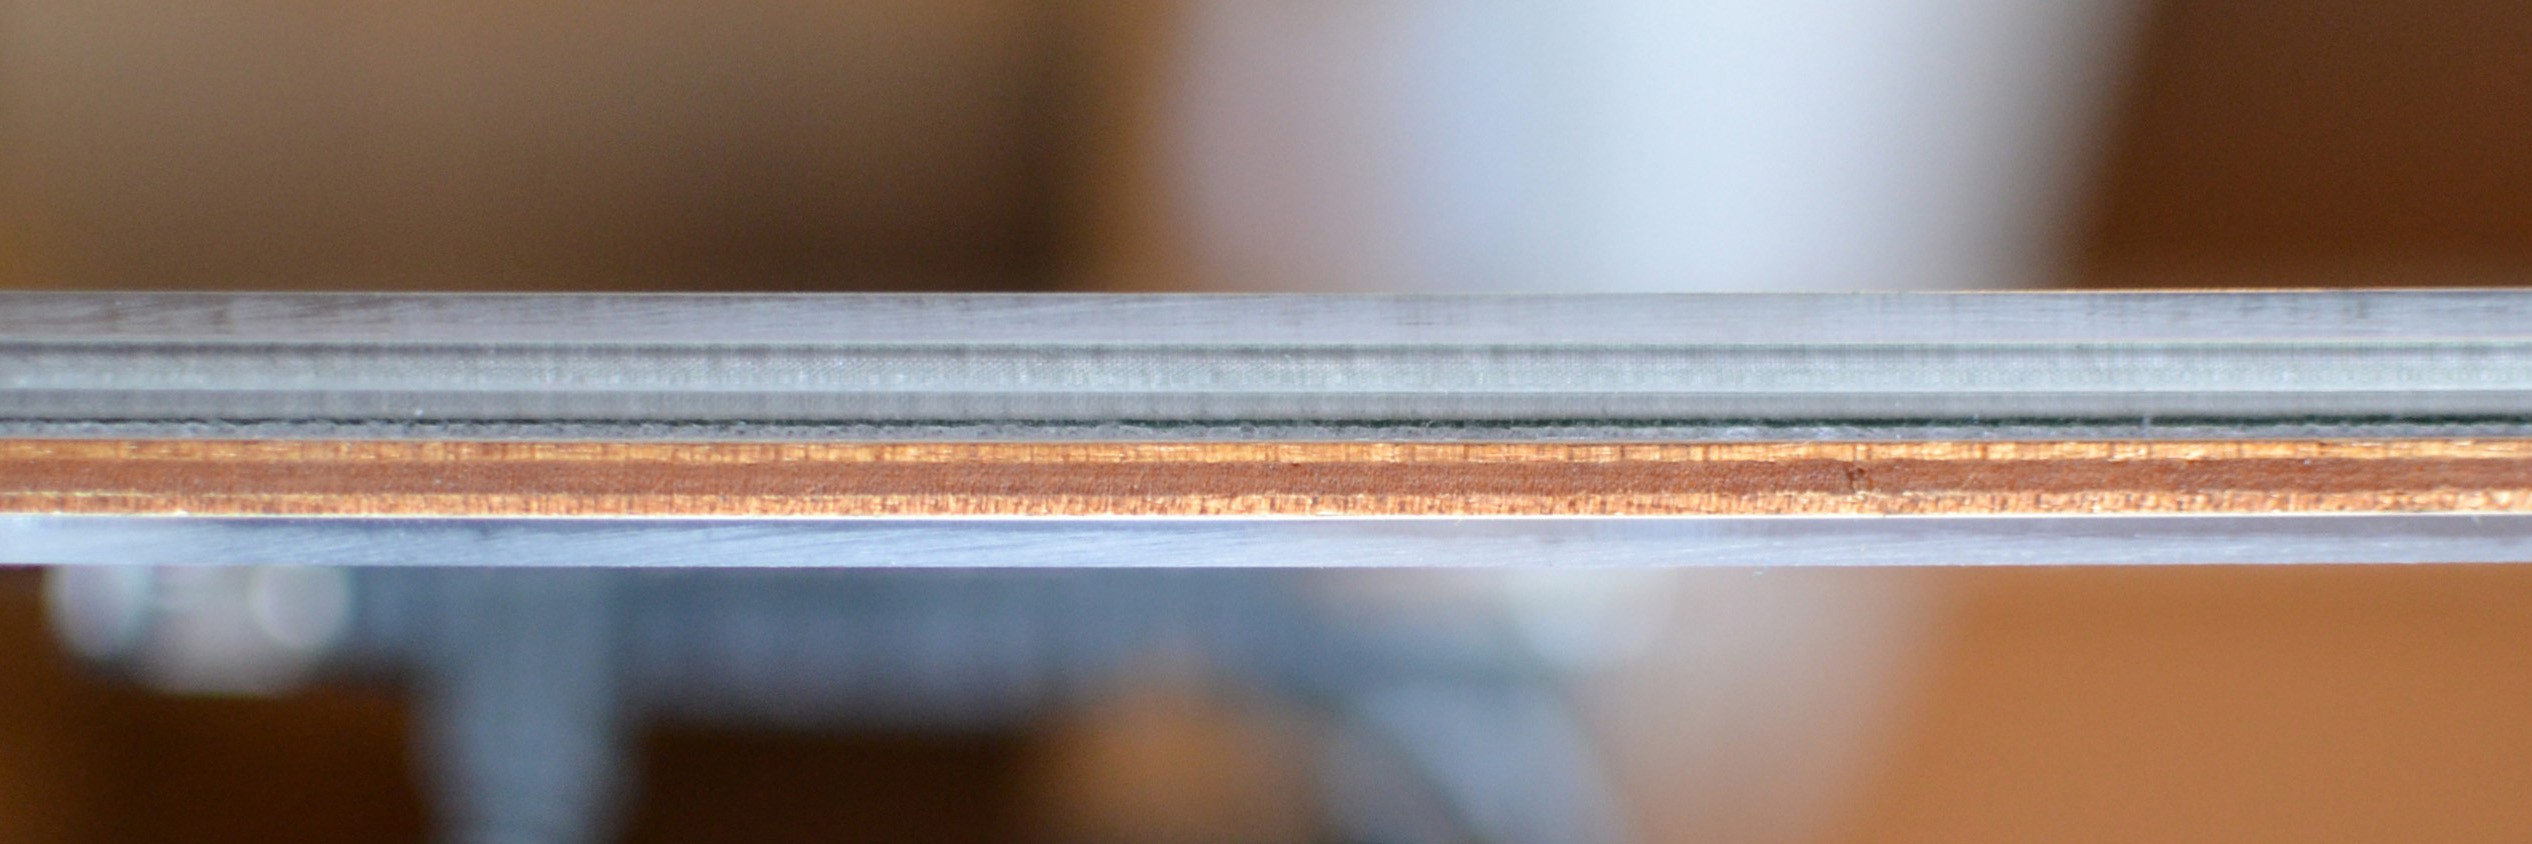
[side profile: acrylic acrylic acrylic wood acrylic]
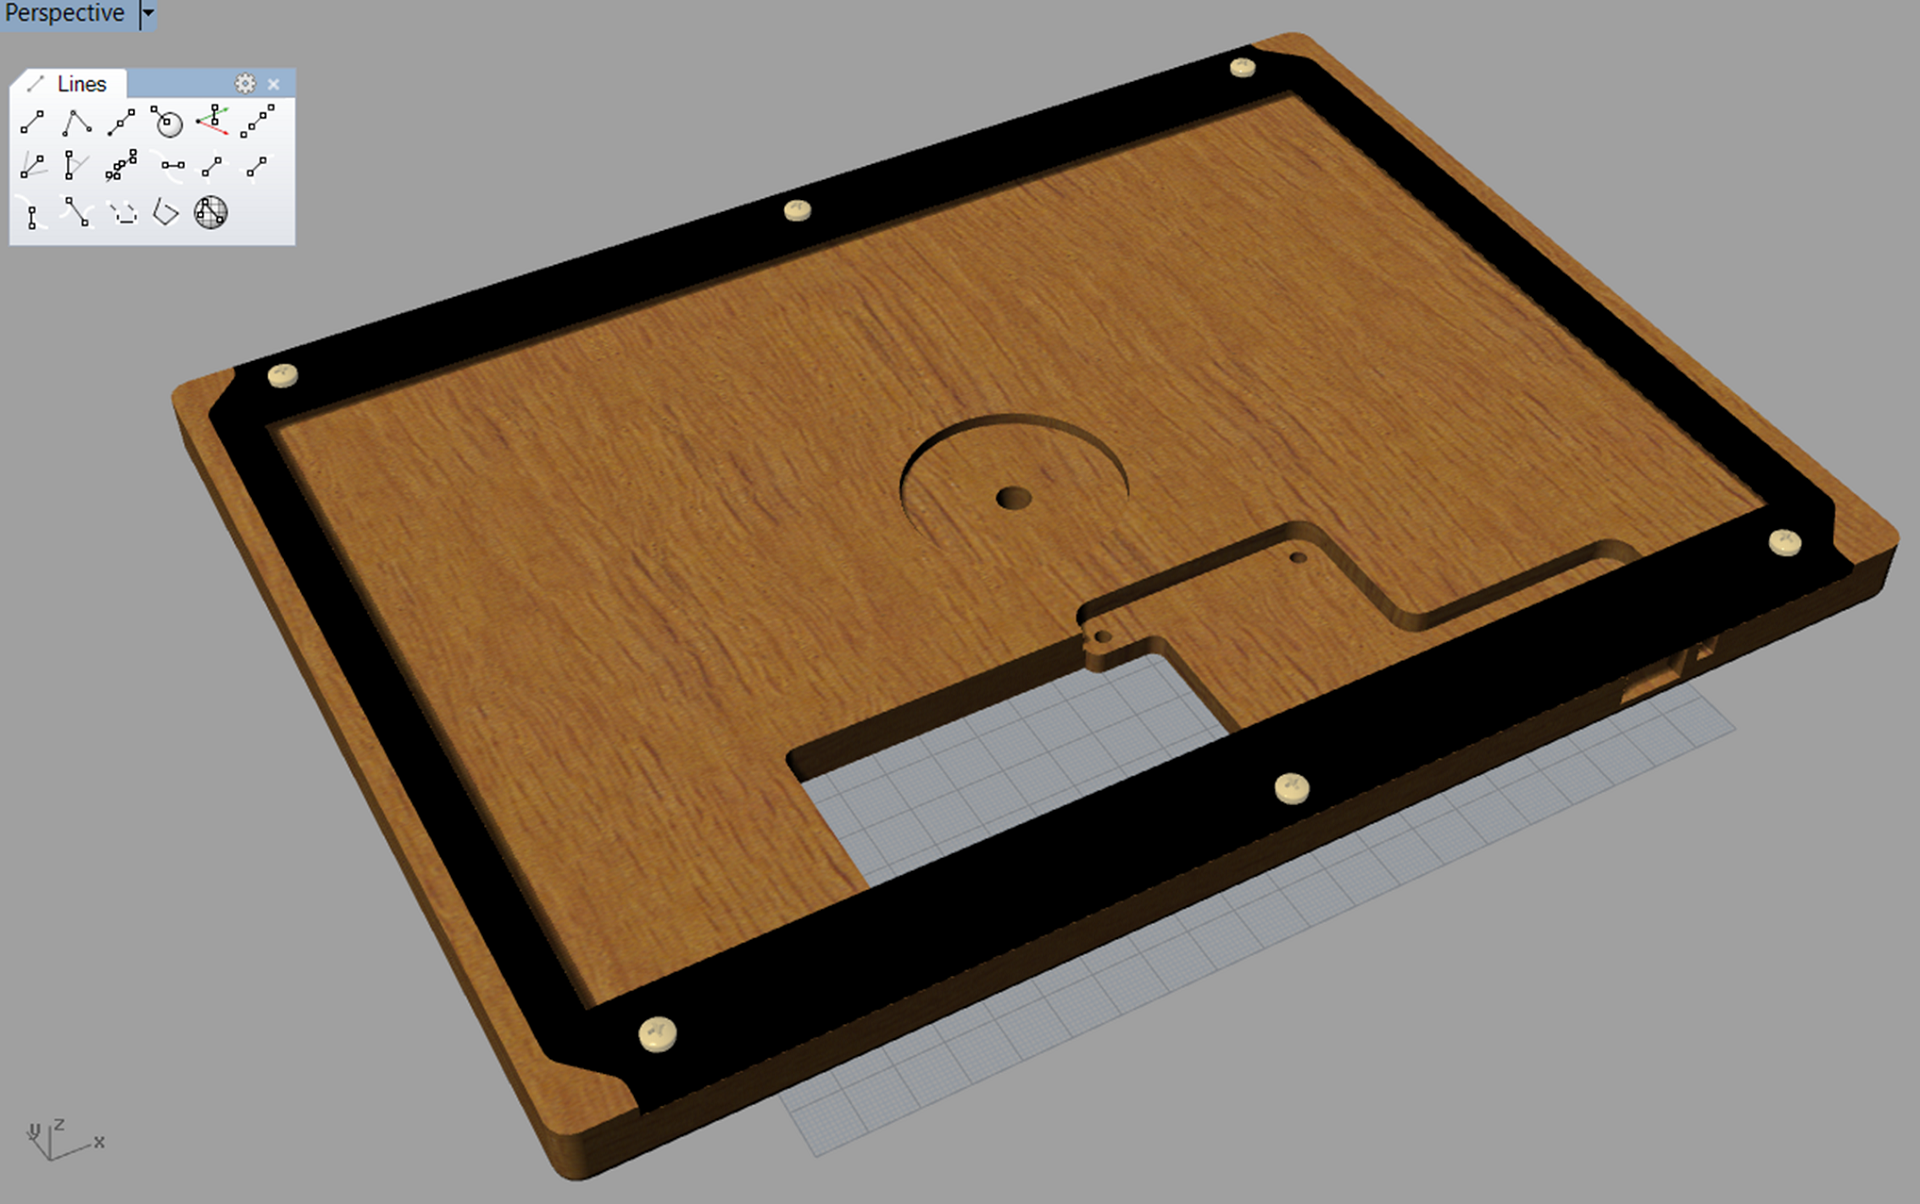
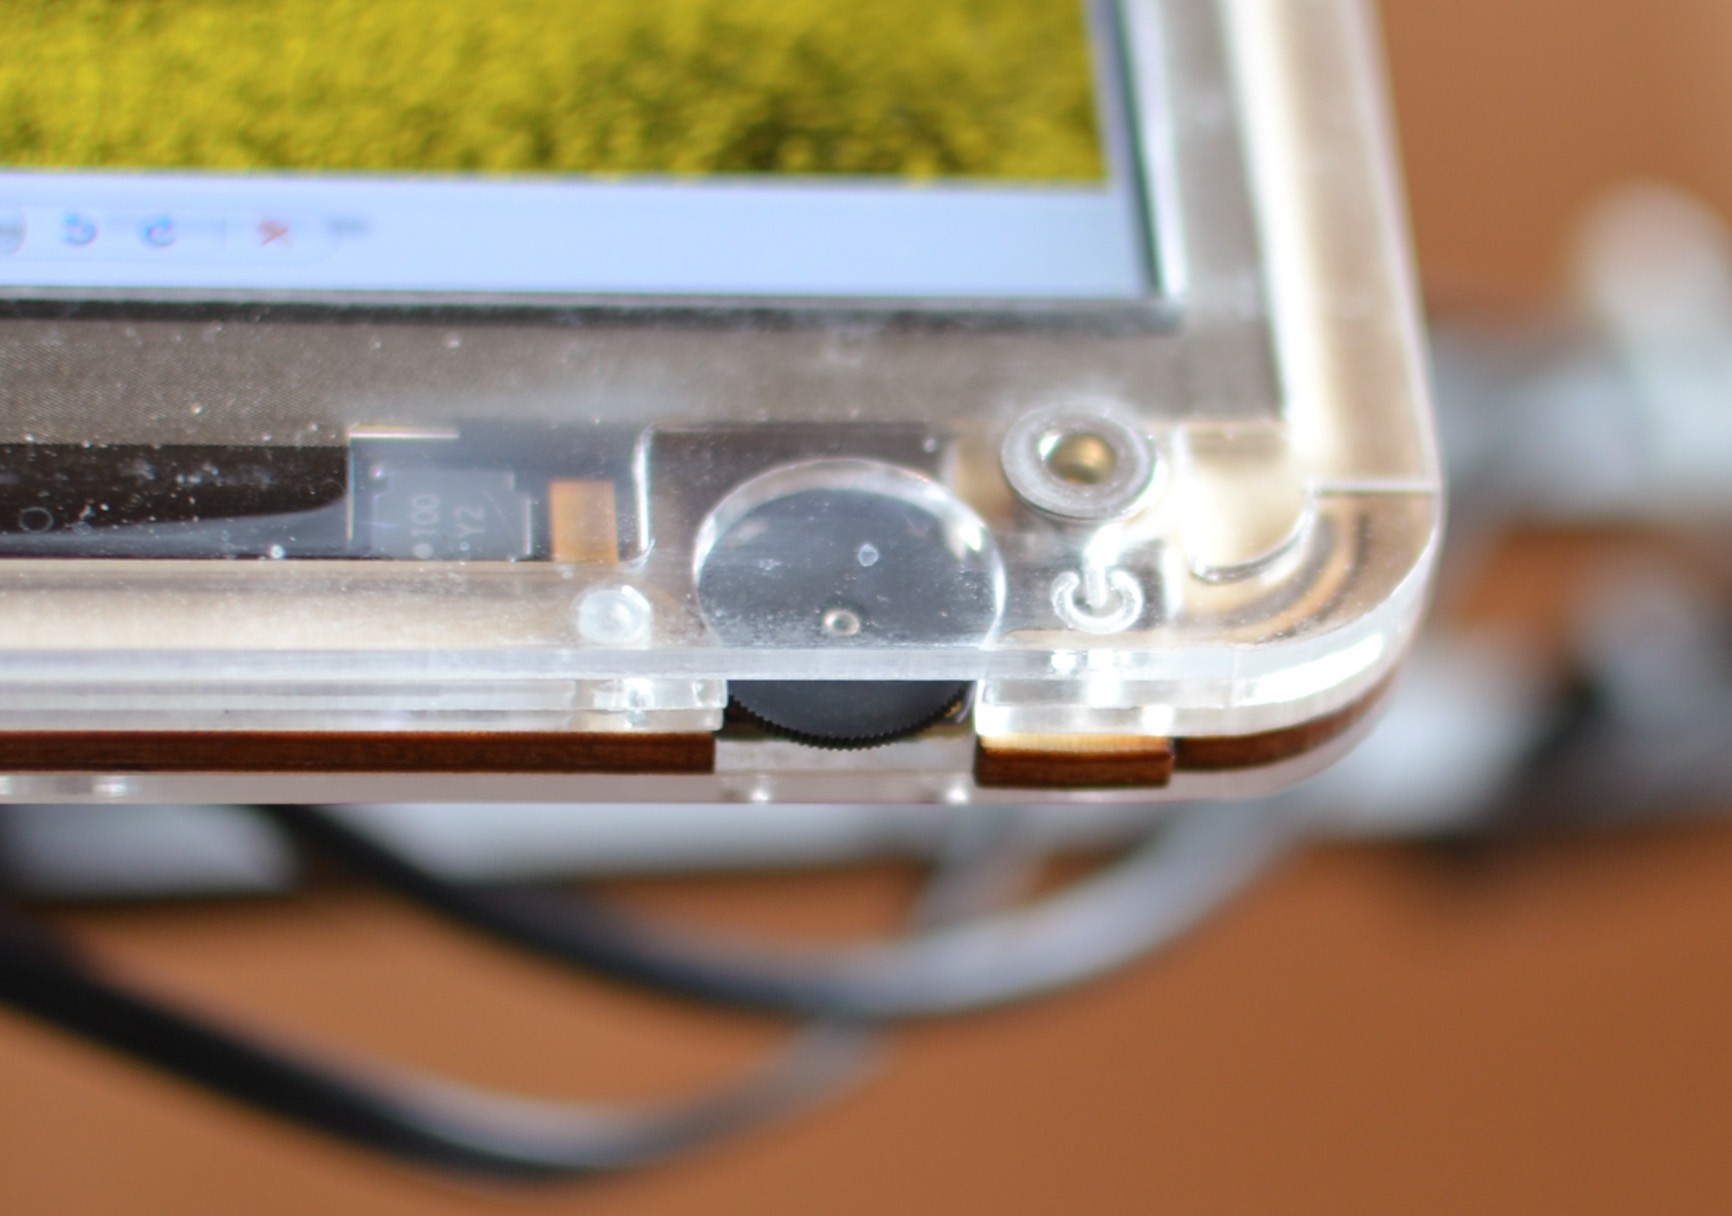
[designed-to-be-lasercut chassis, version 2, front view with bezel removed.]
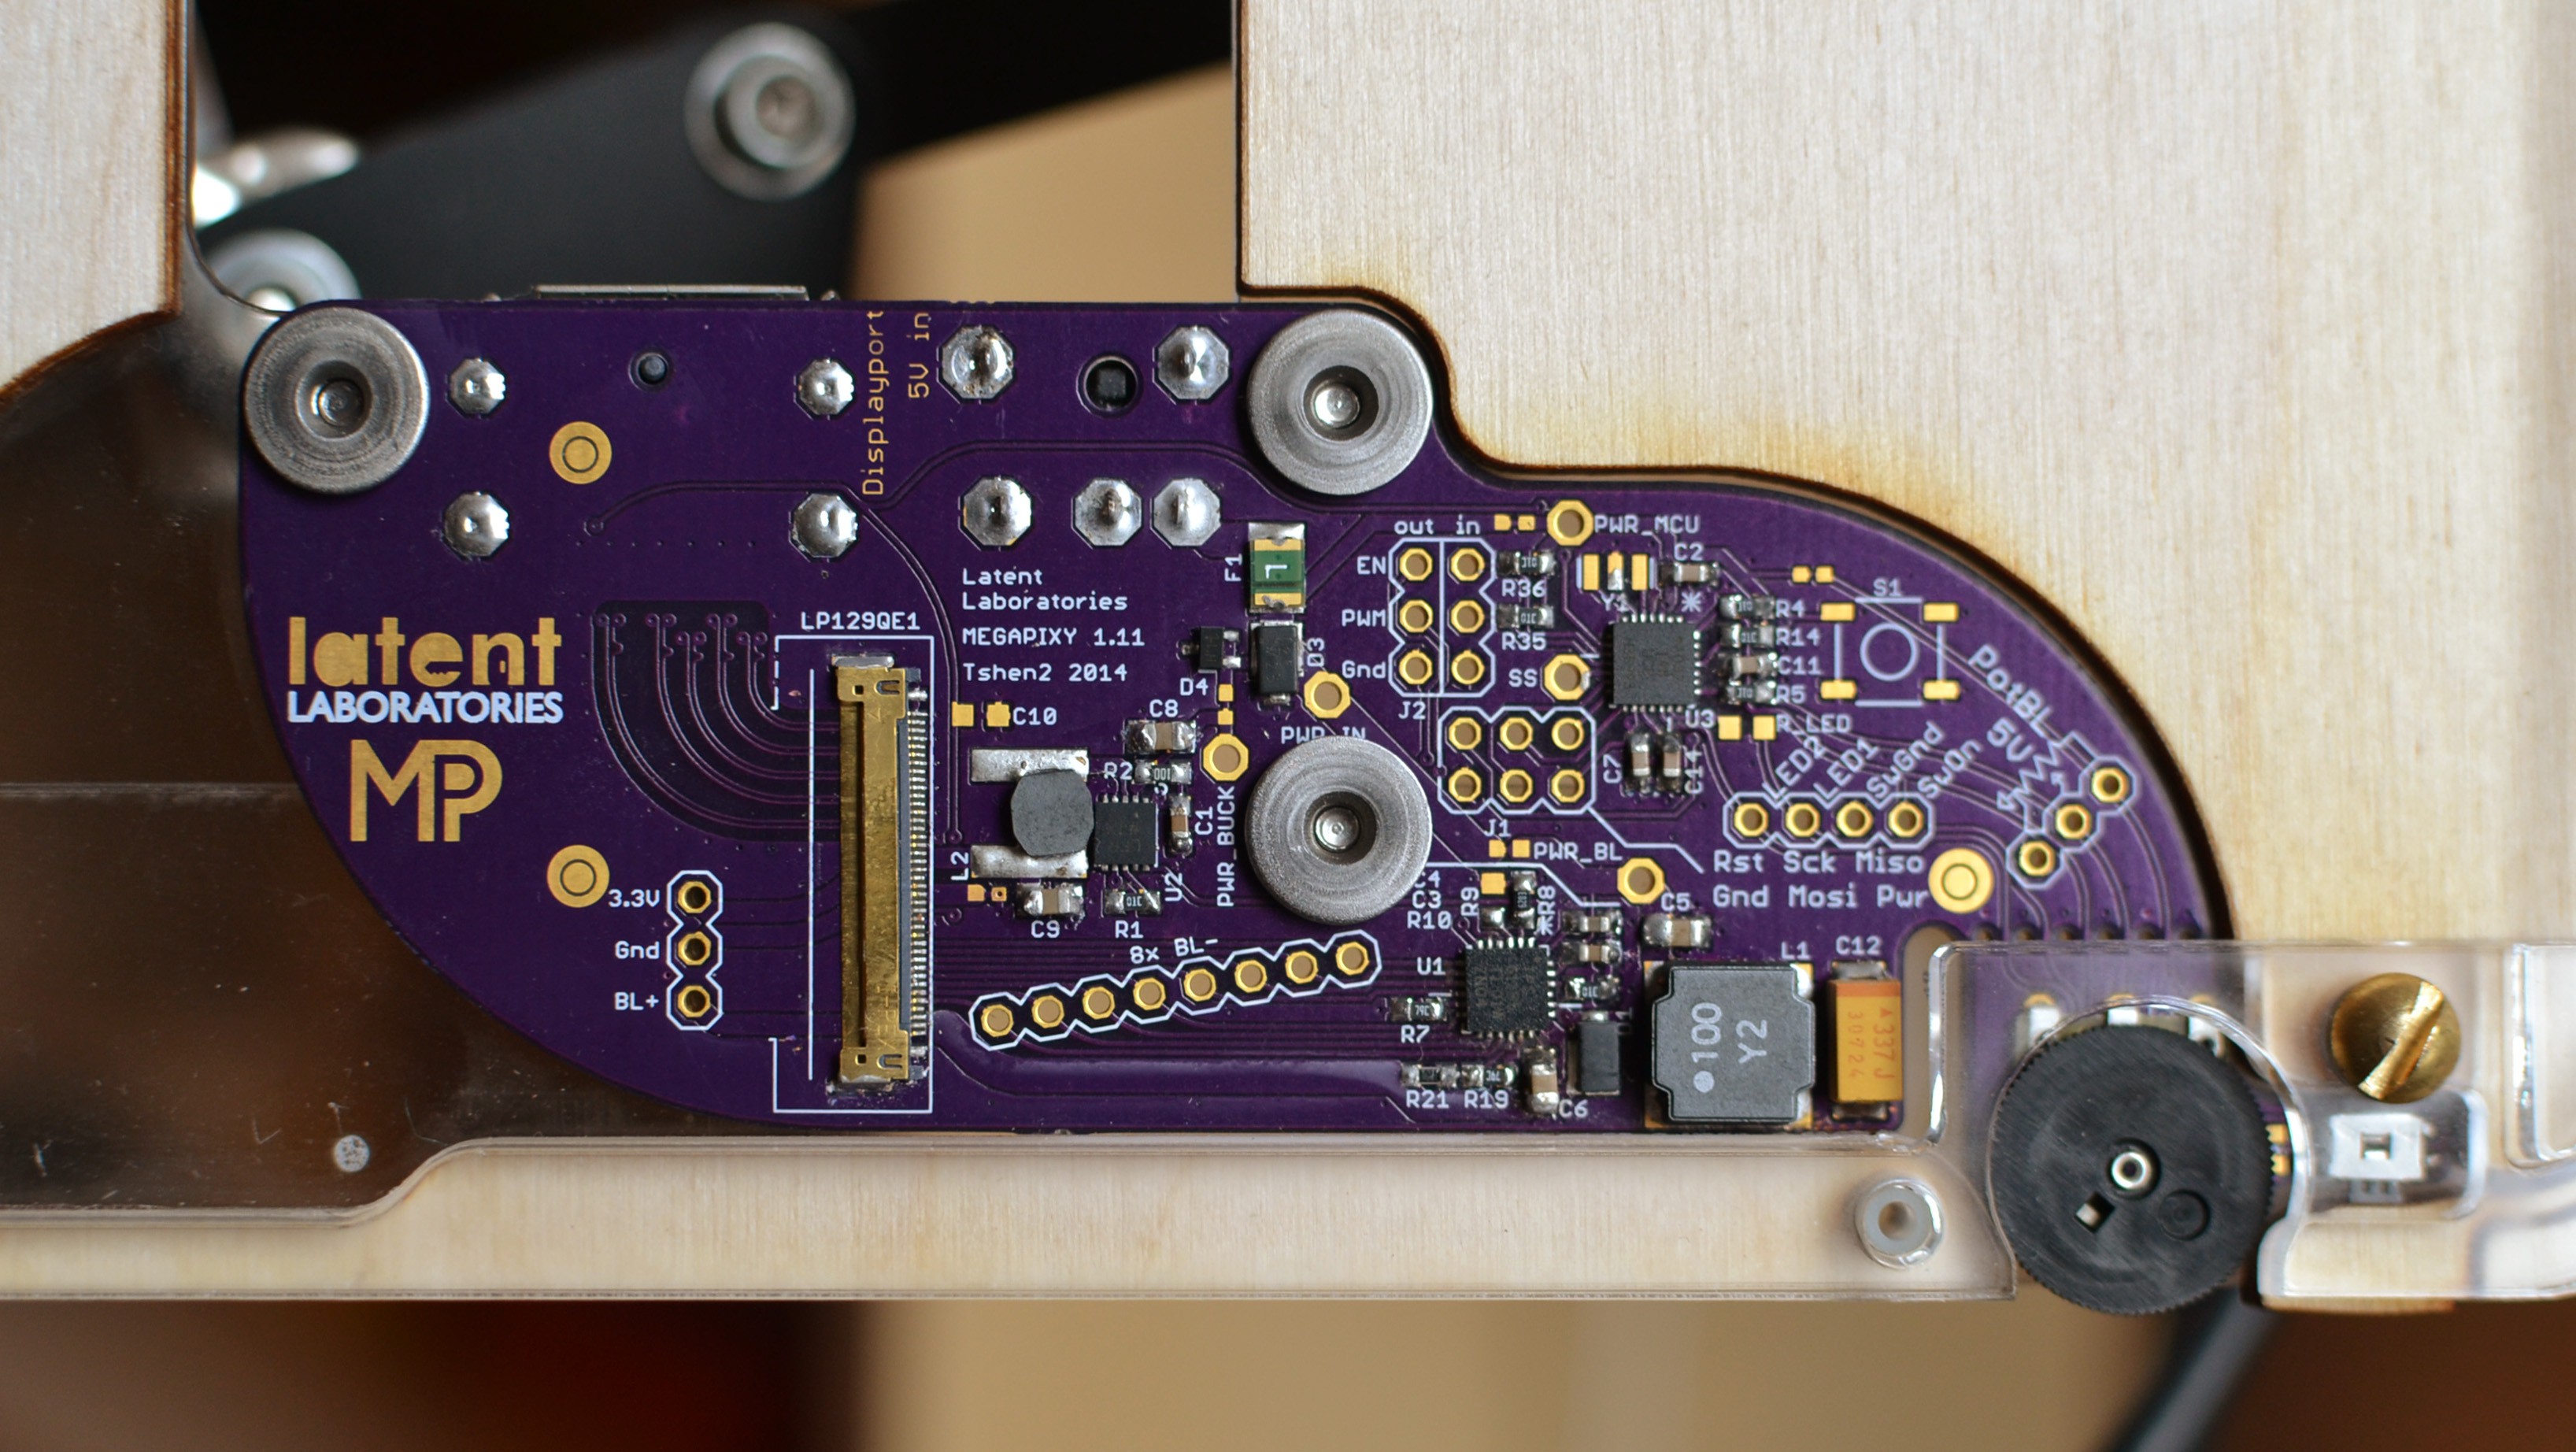
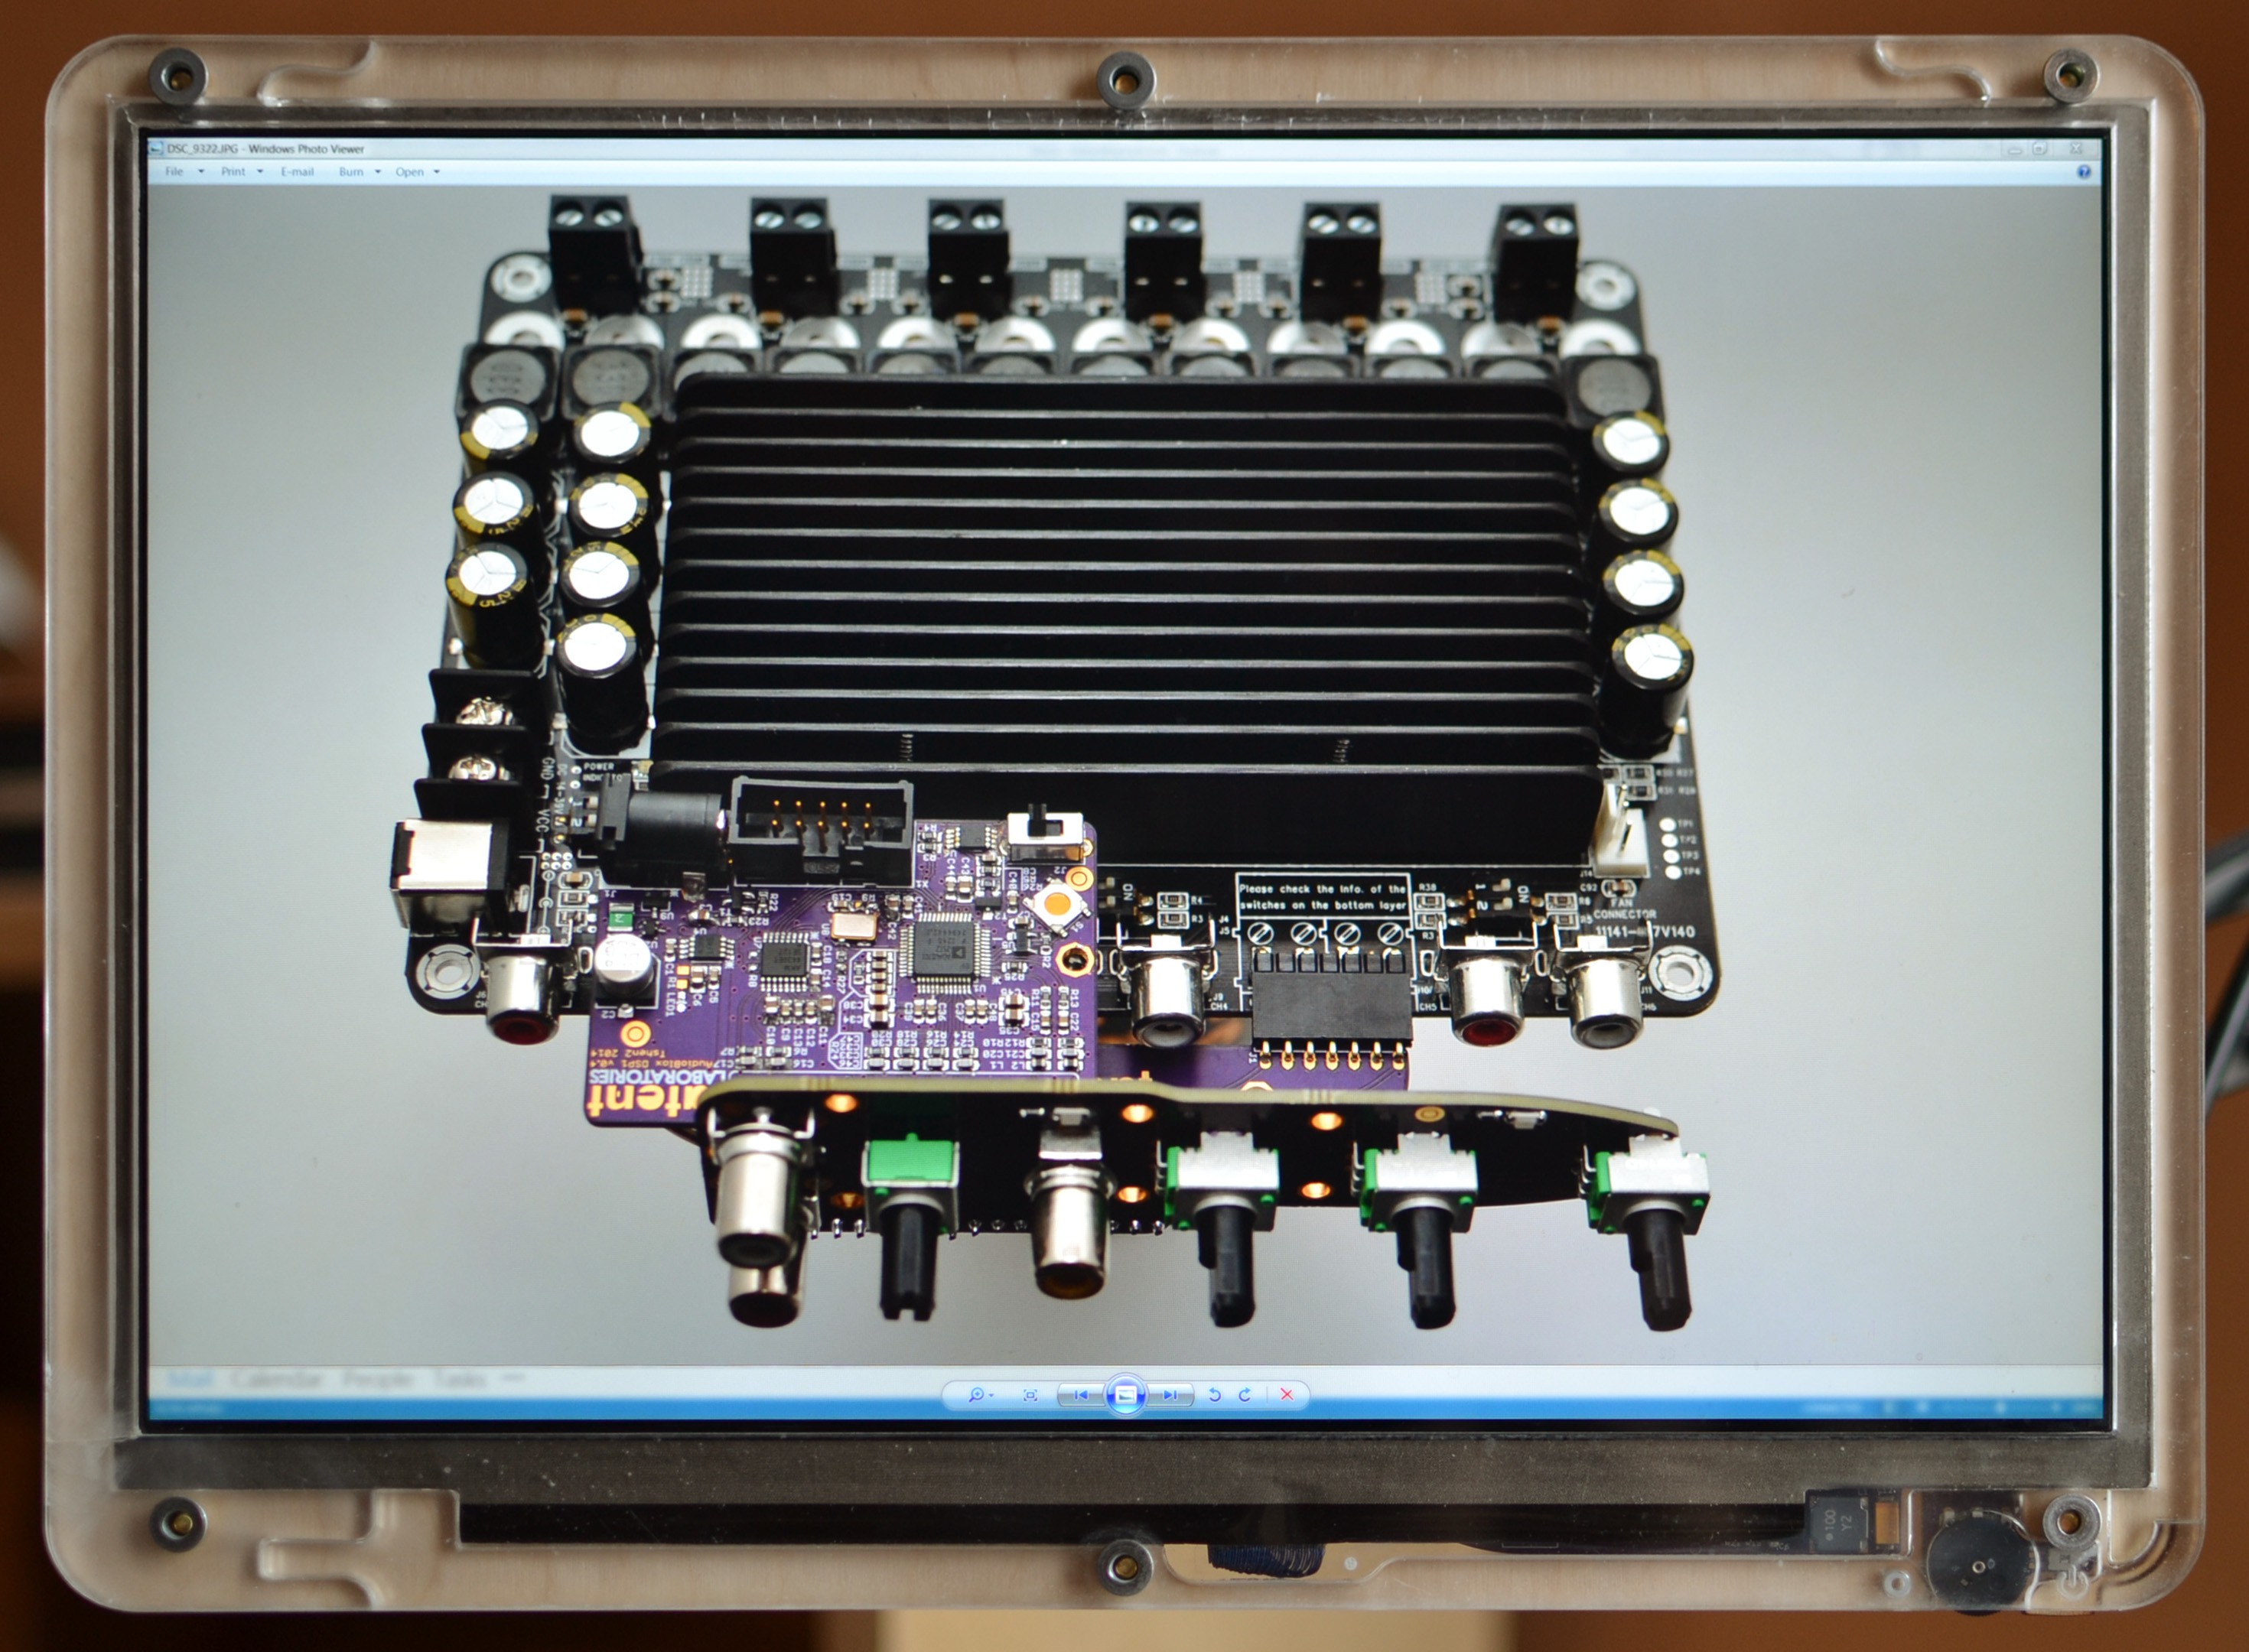
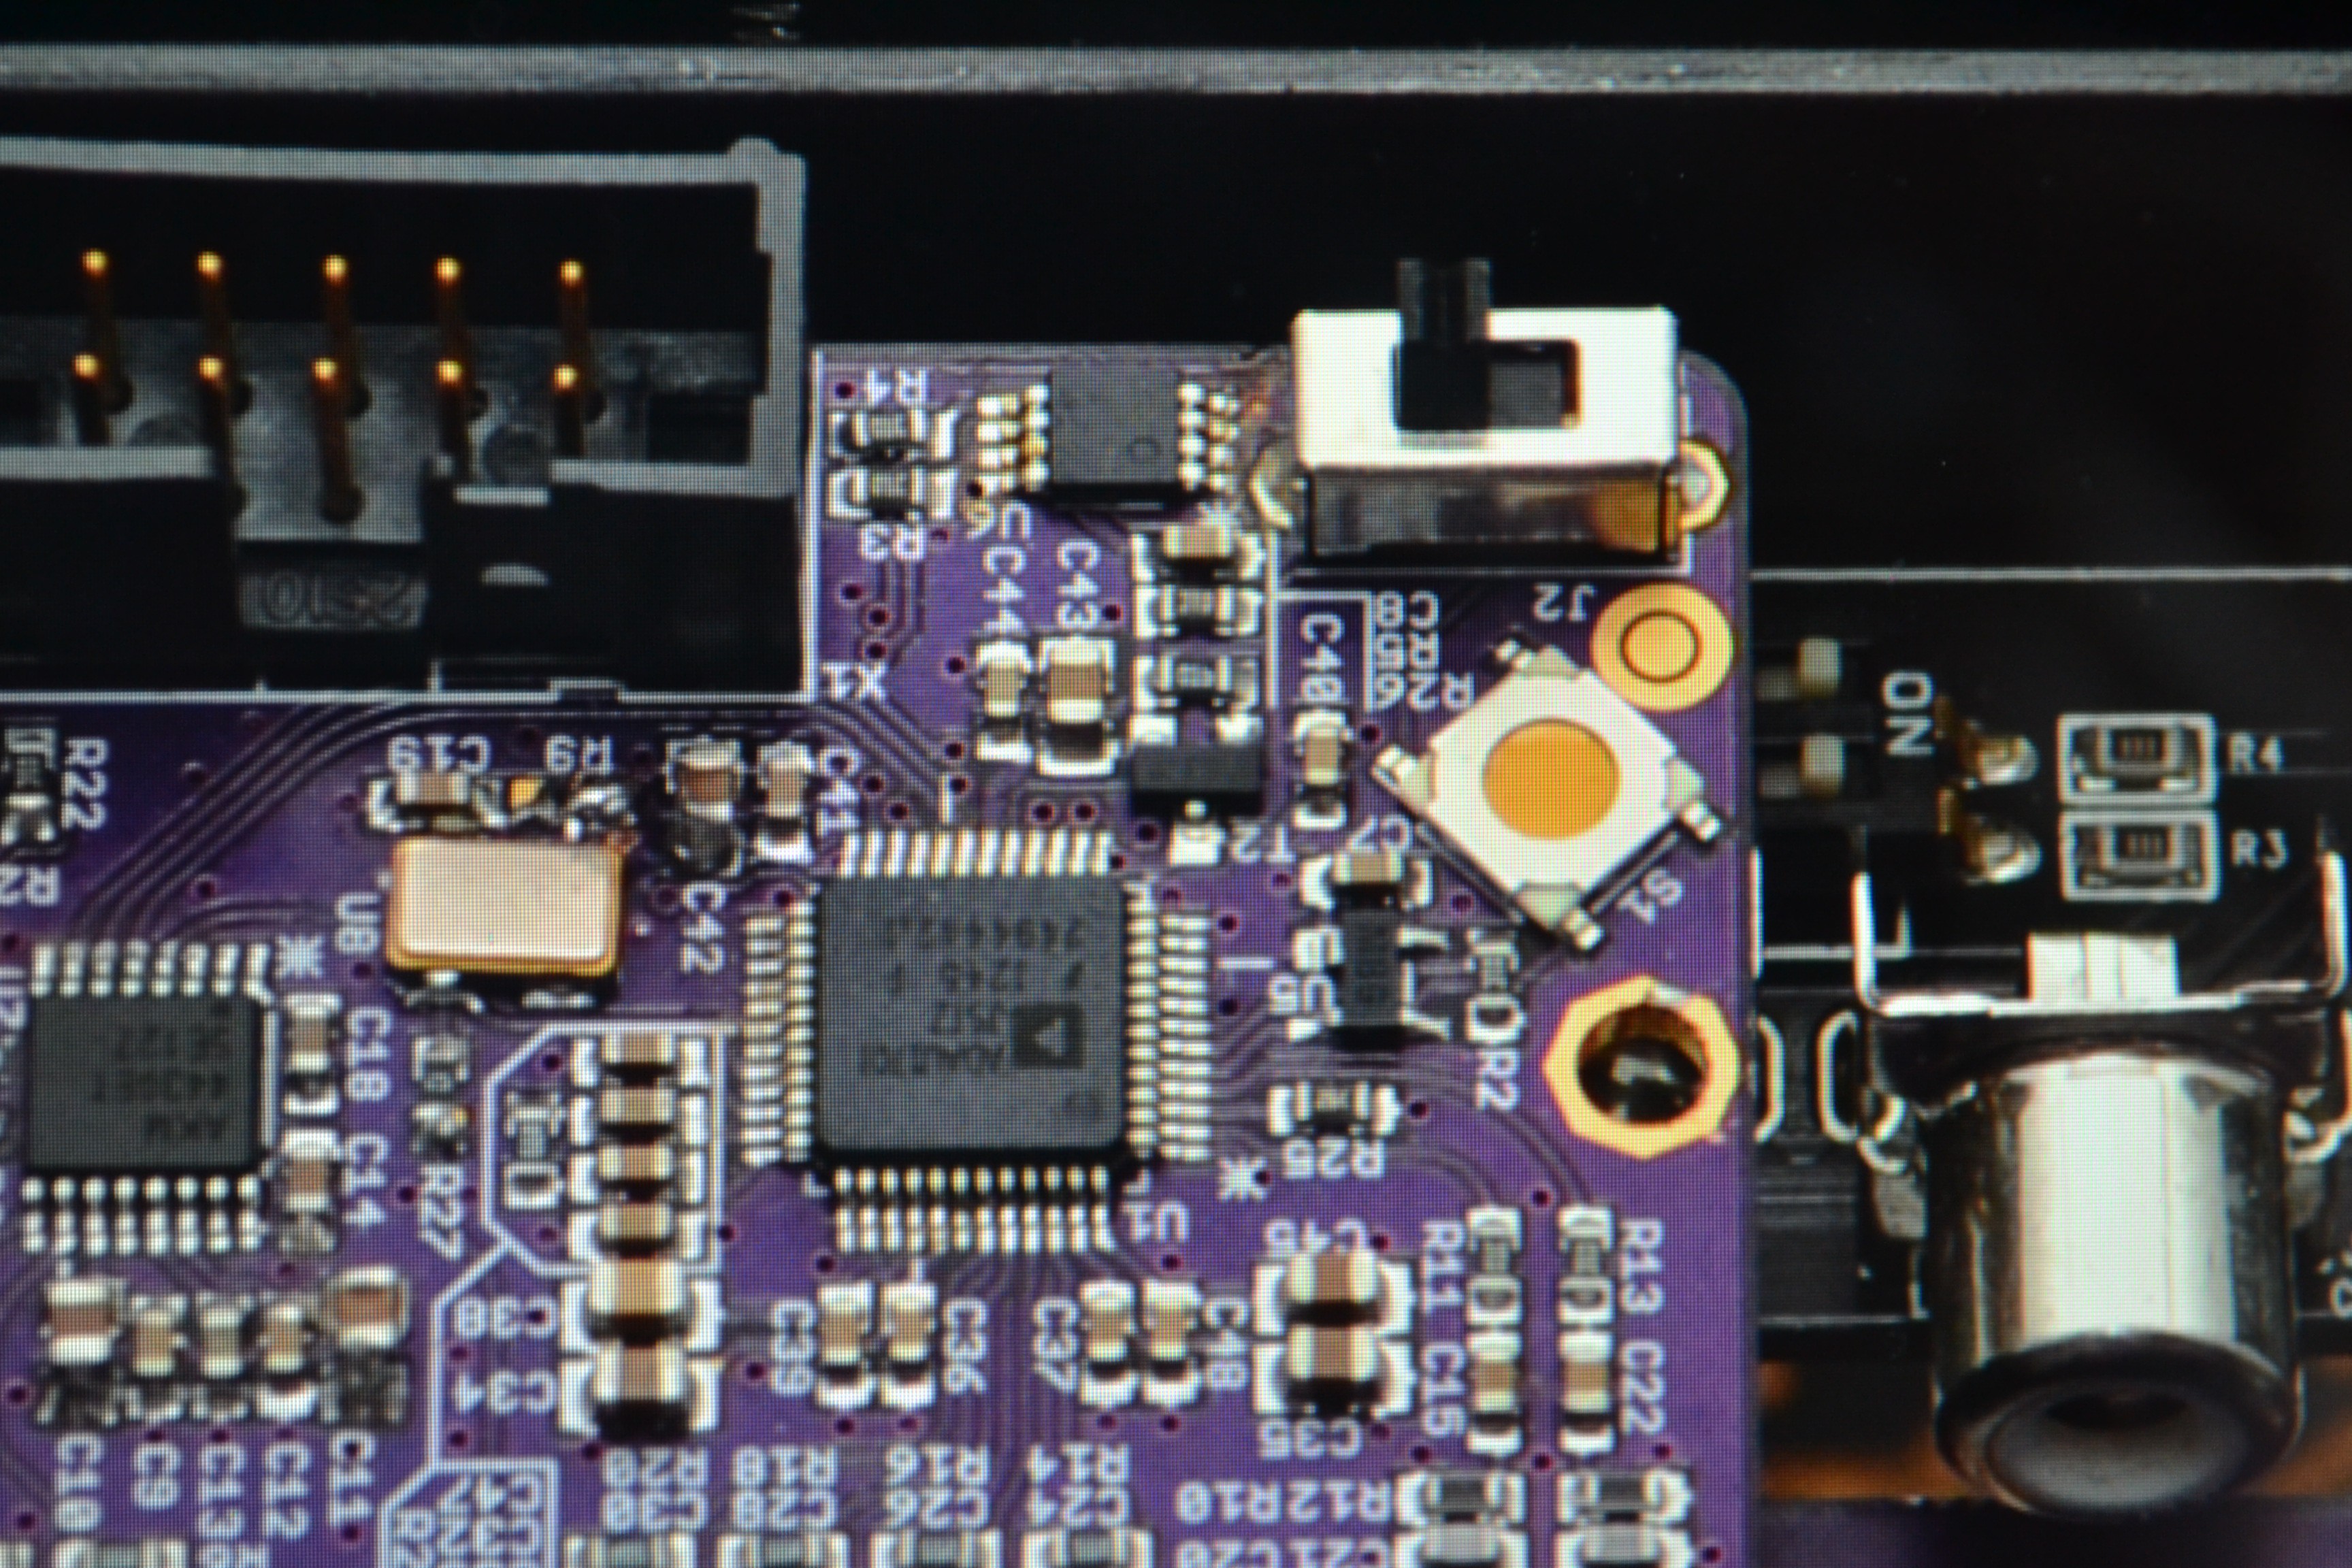
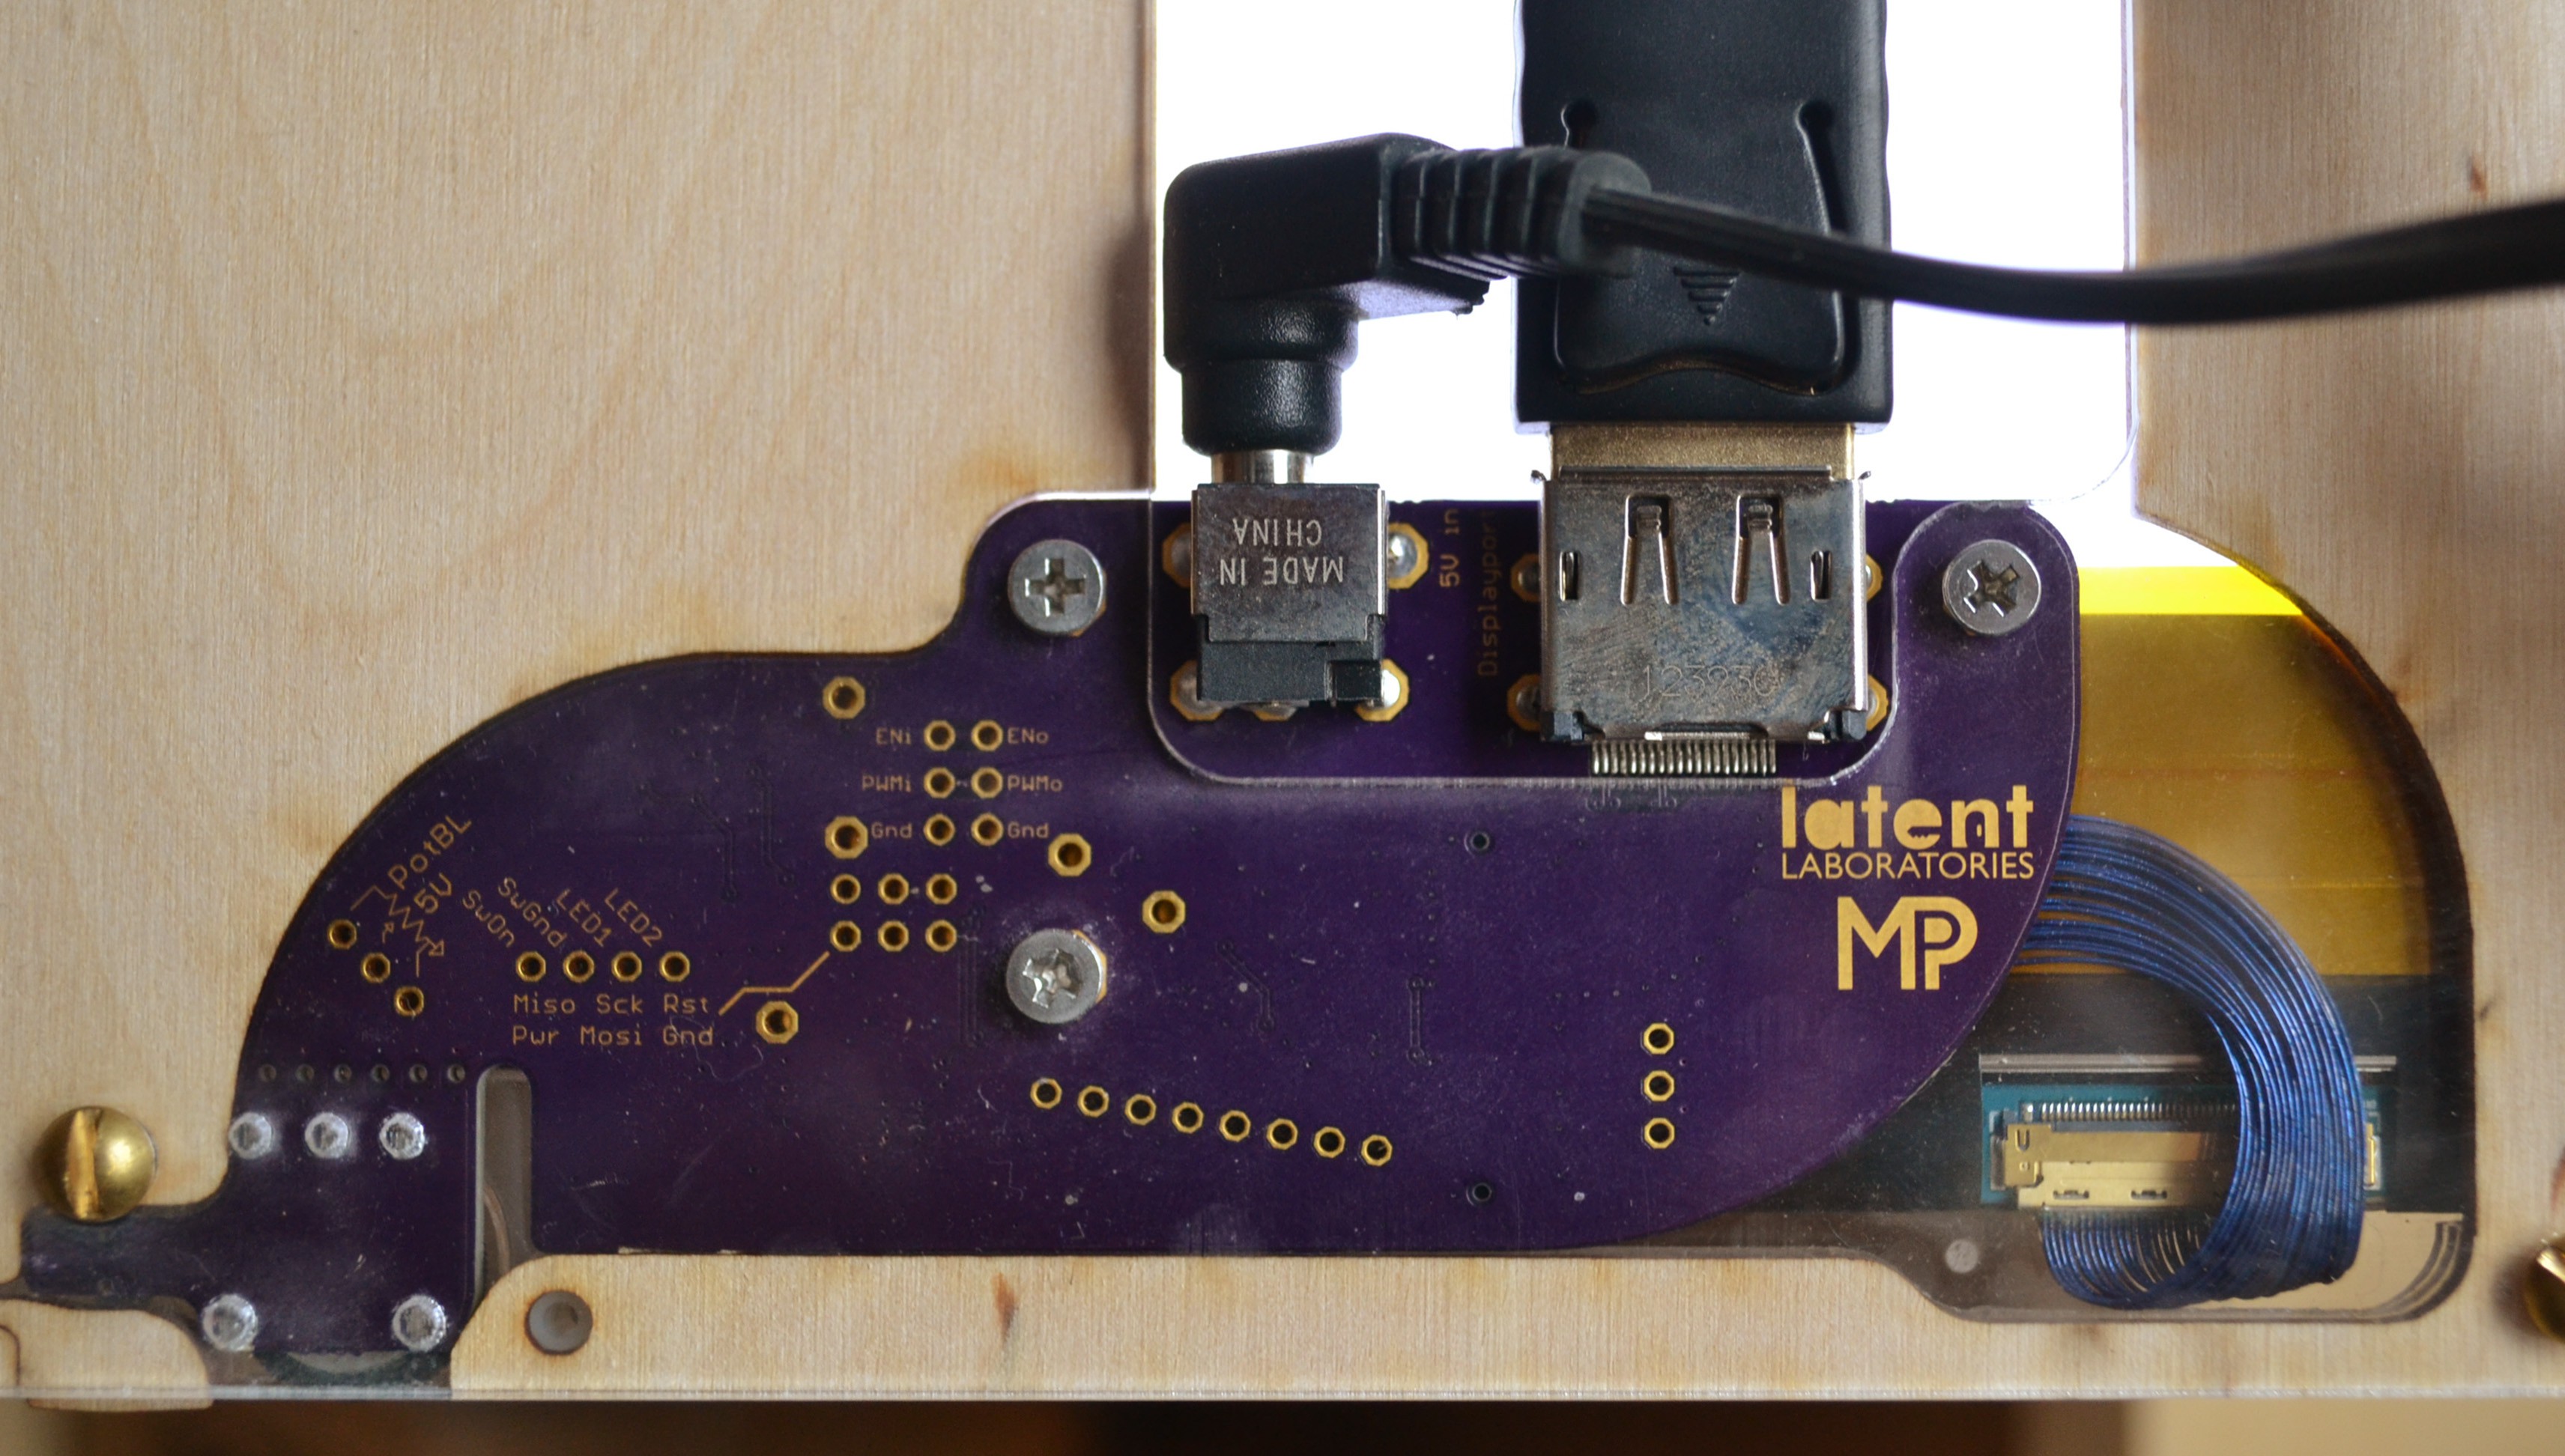
it also lets you see the Giger board through the rear acrylic, which is awesome.
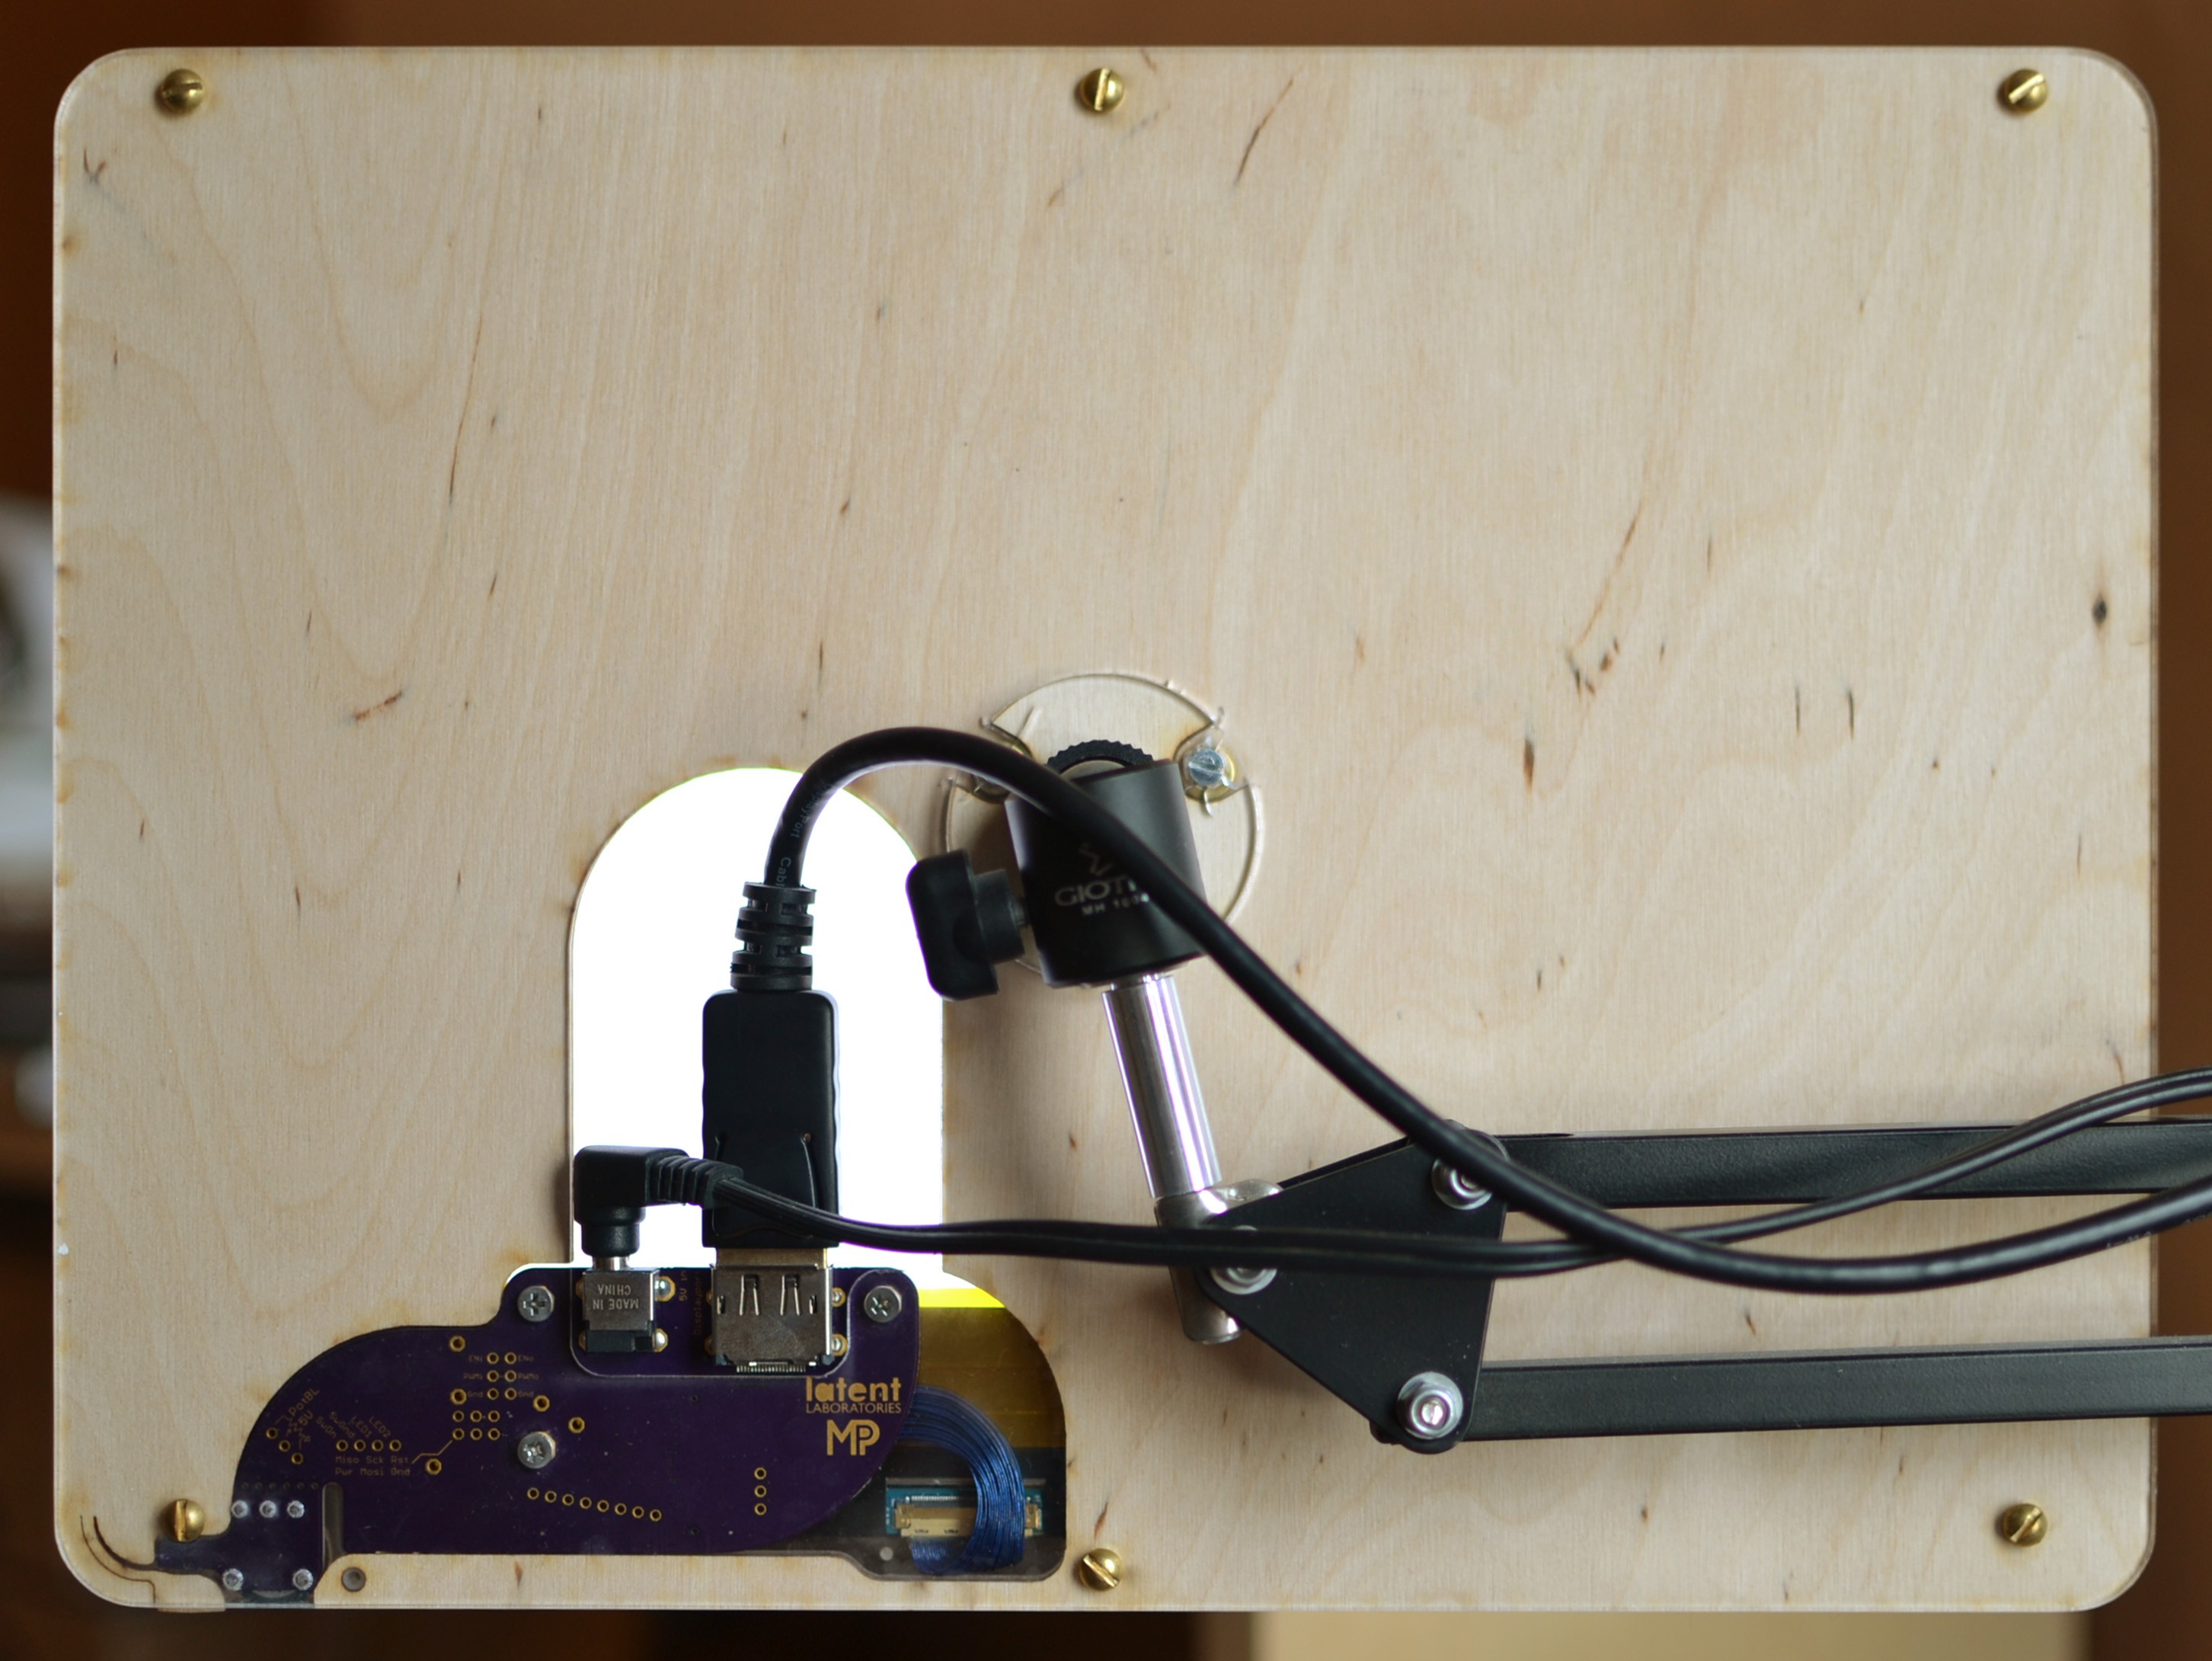
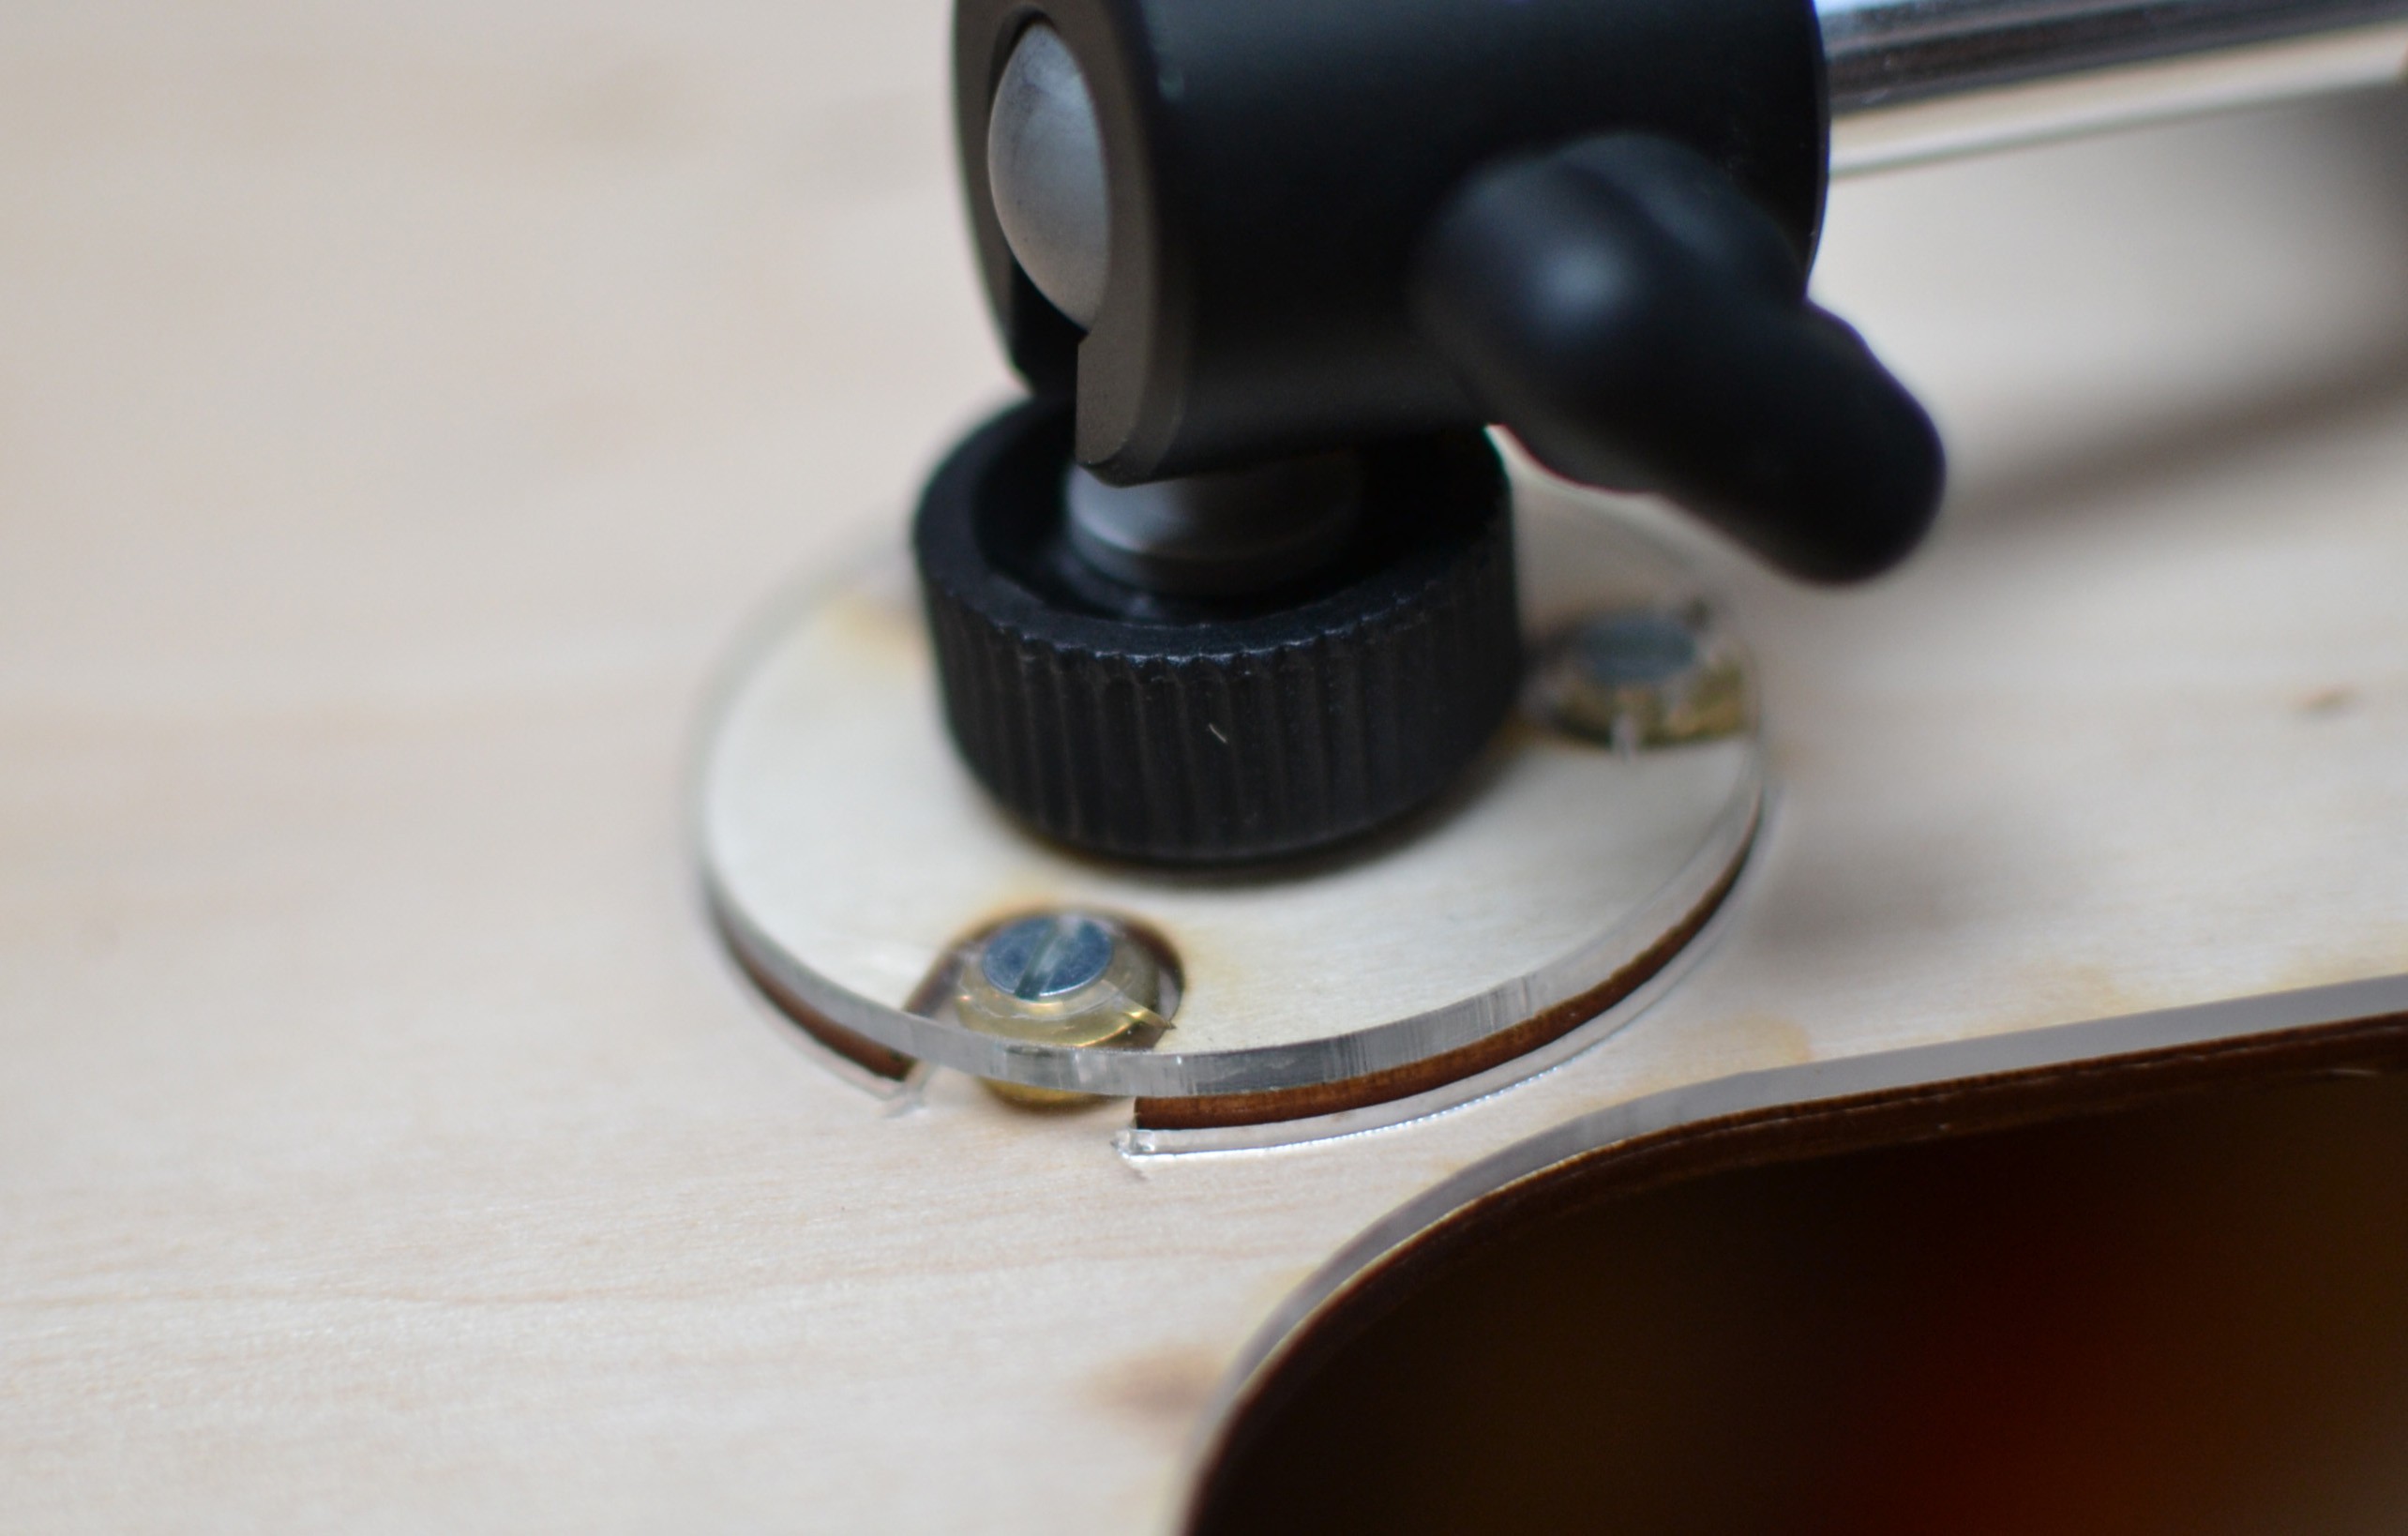
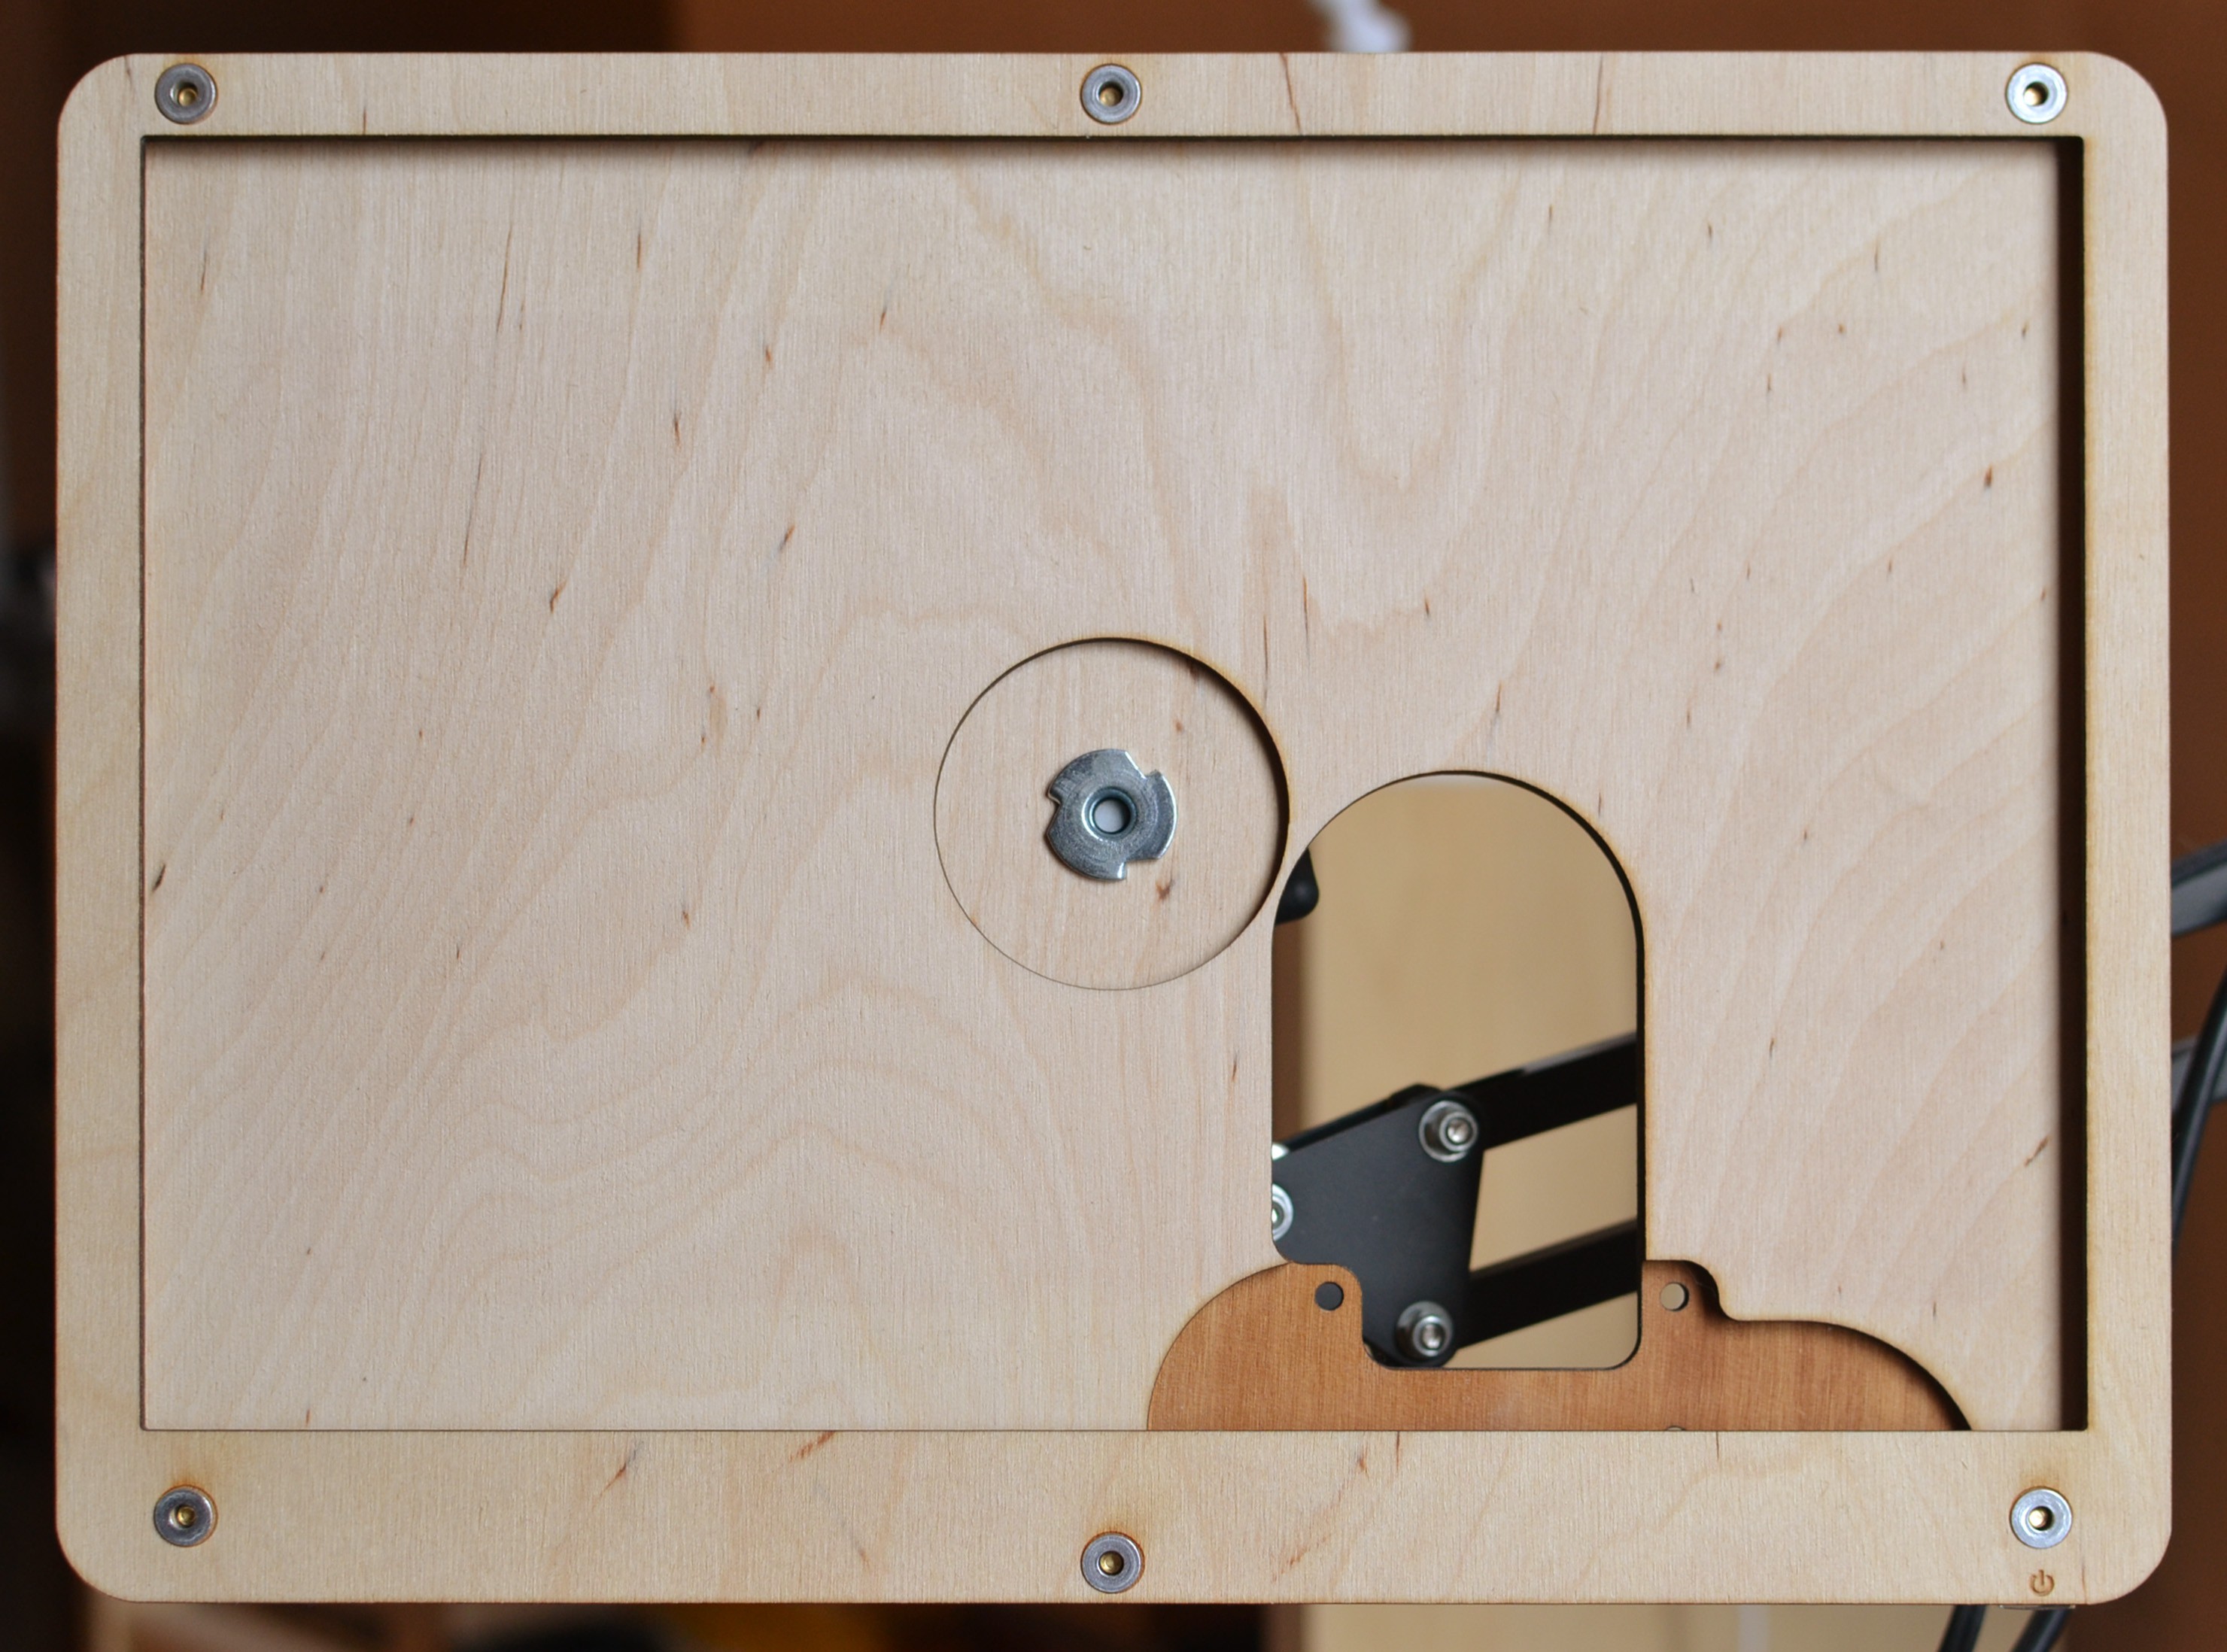
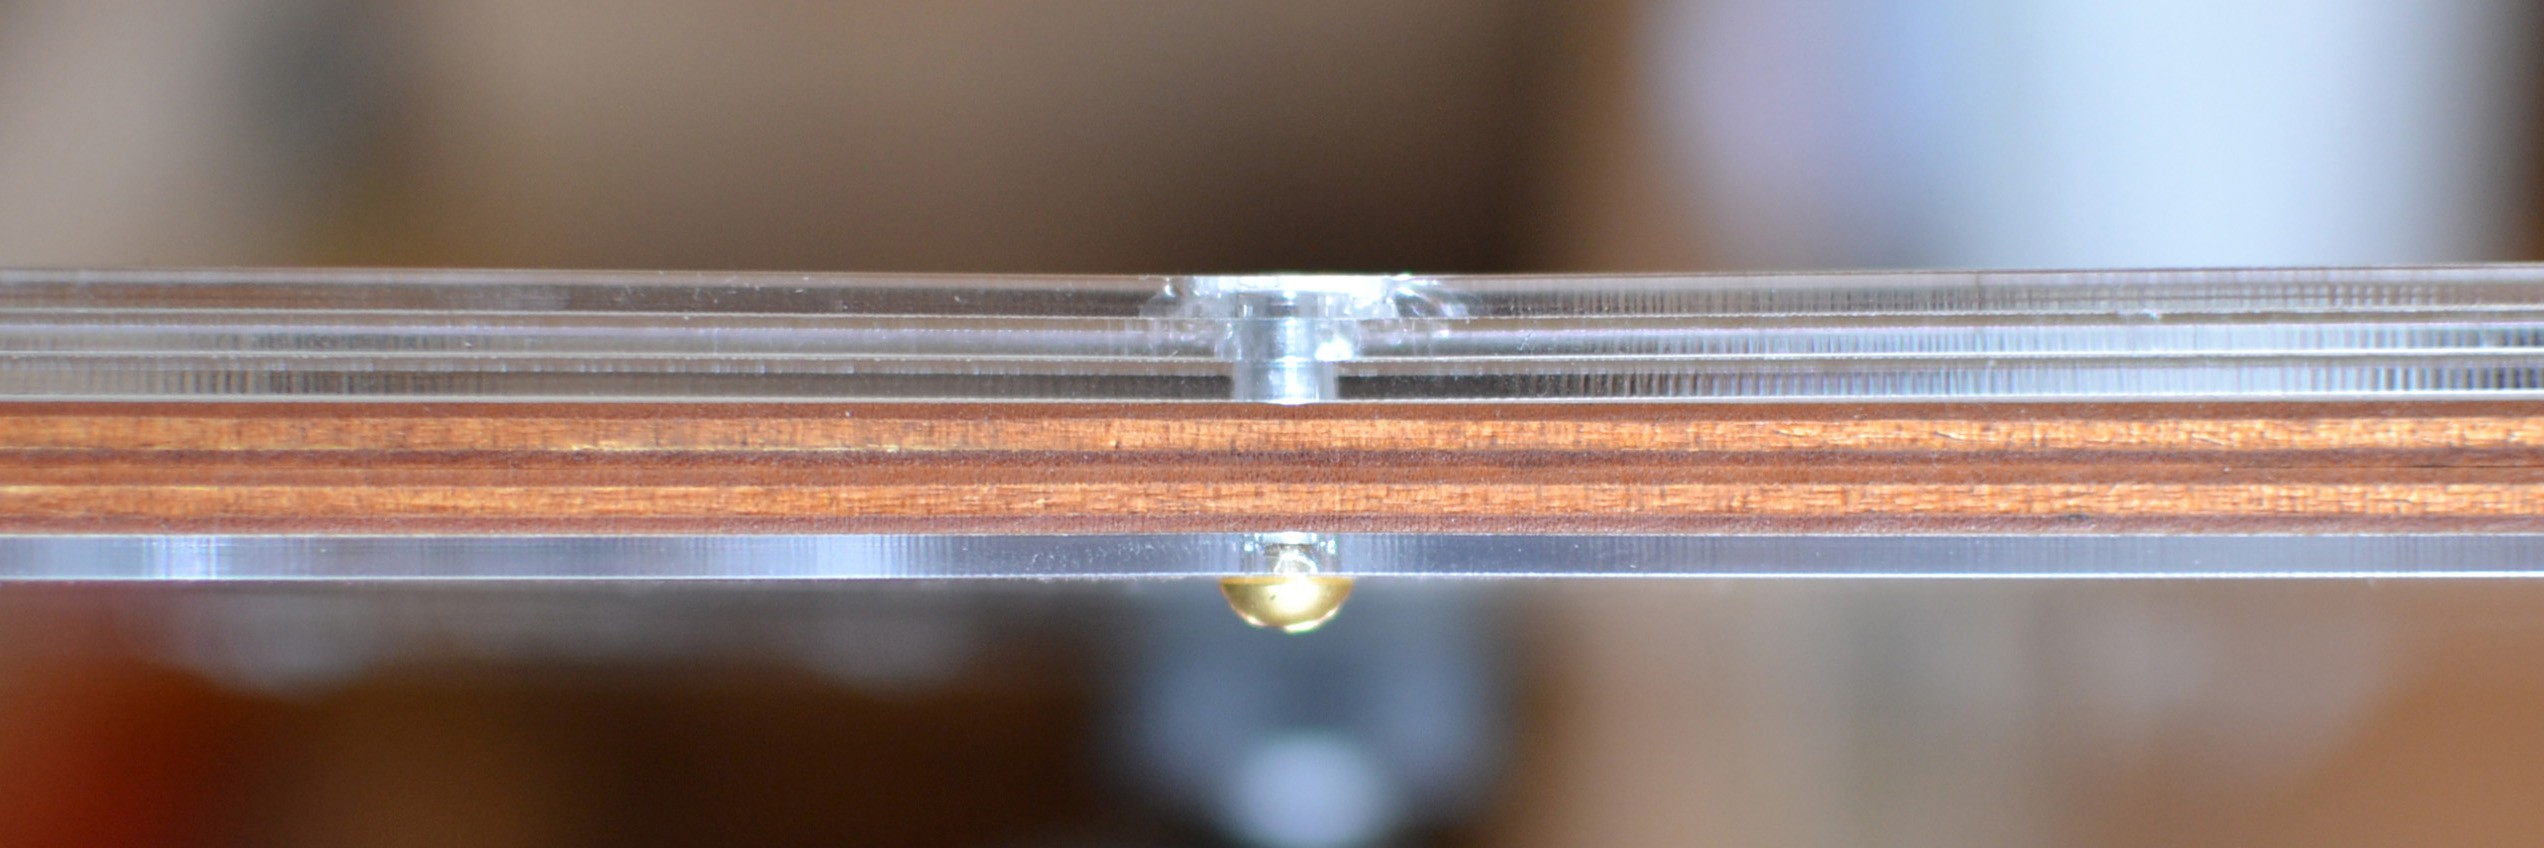
[raised dais for tripod mount - slight cracking caused by bad math.]
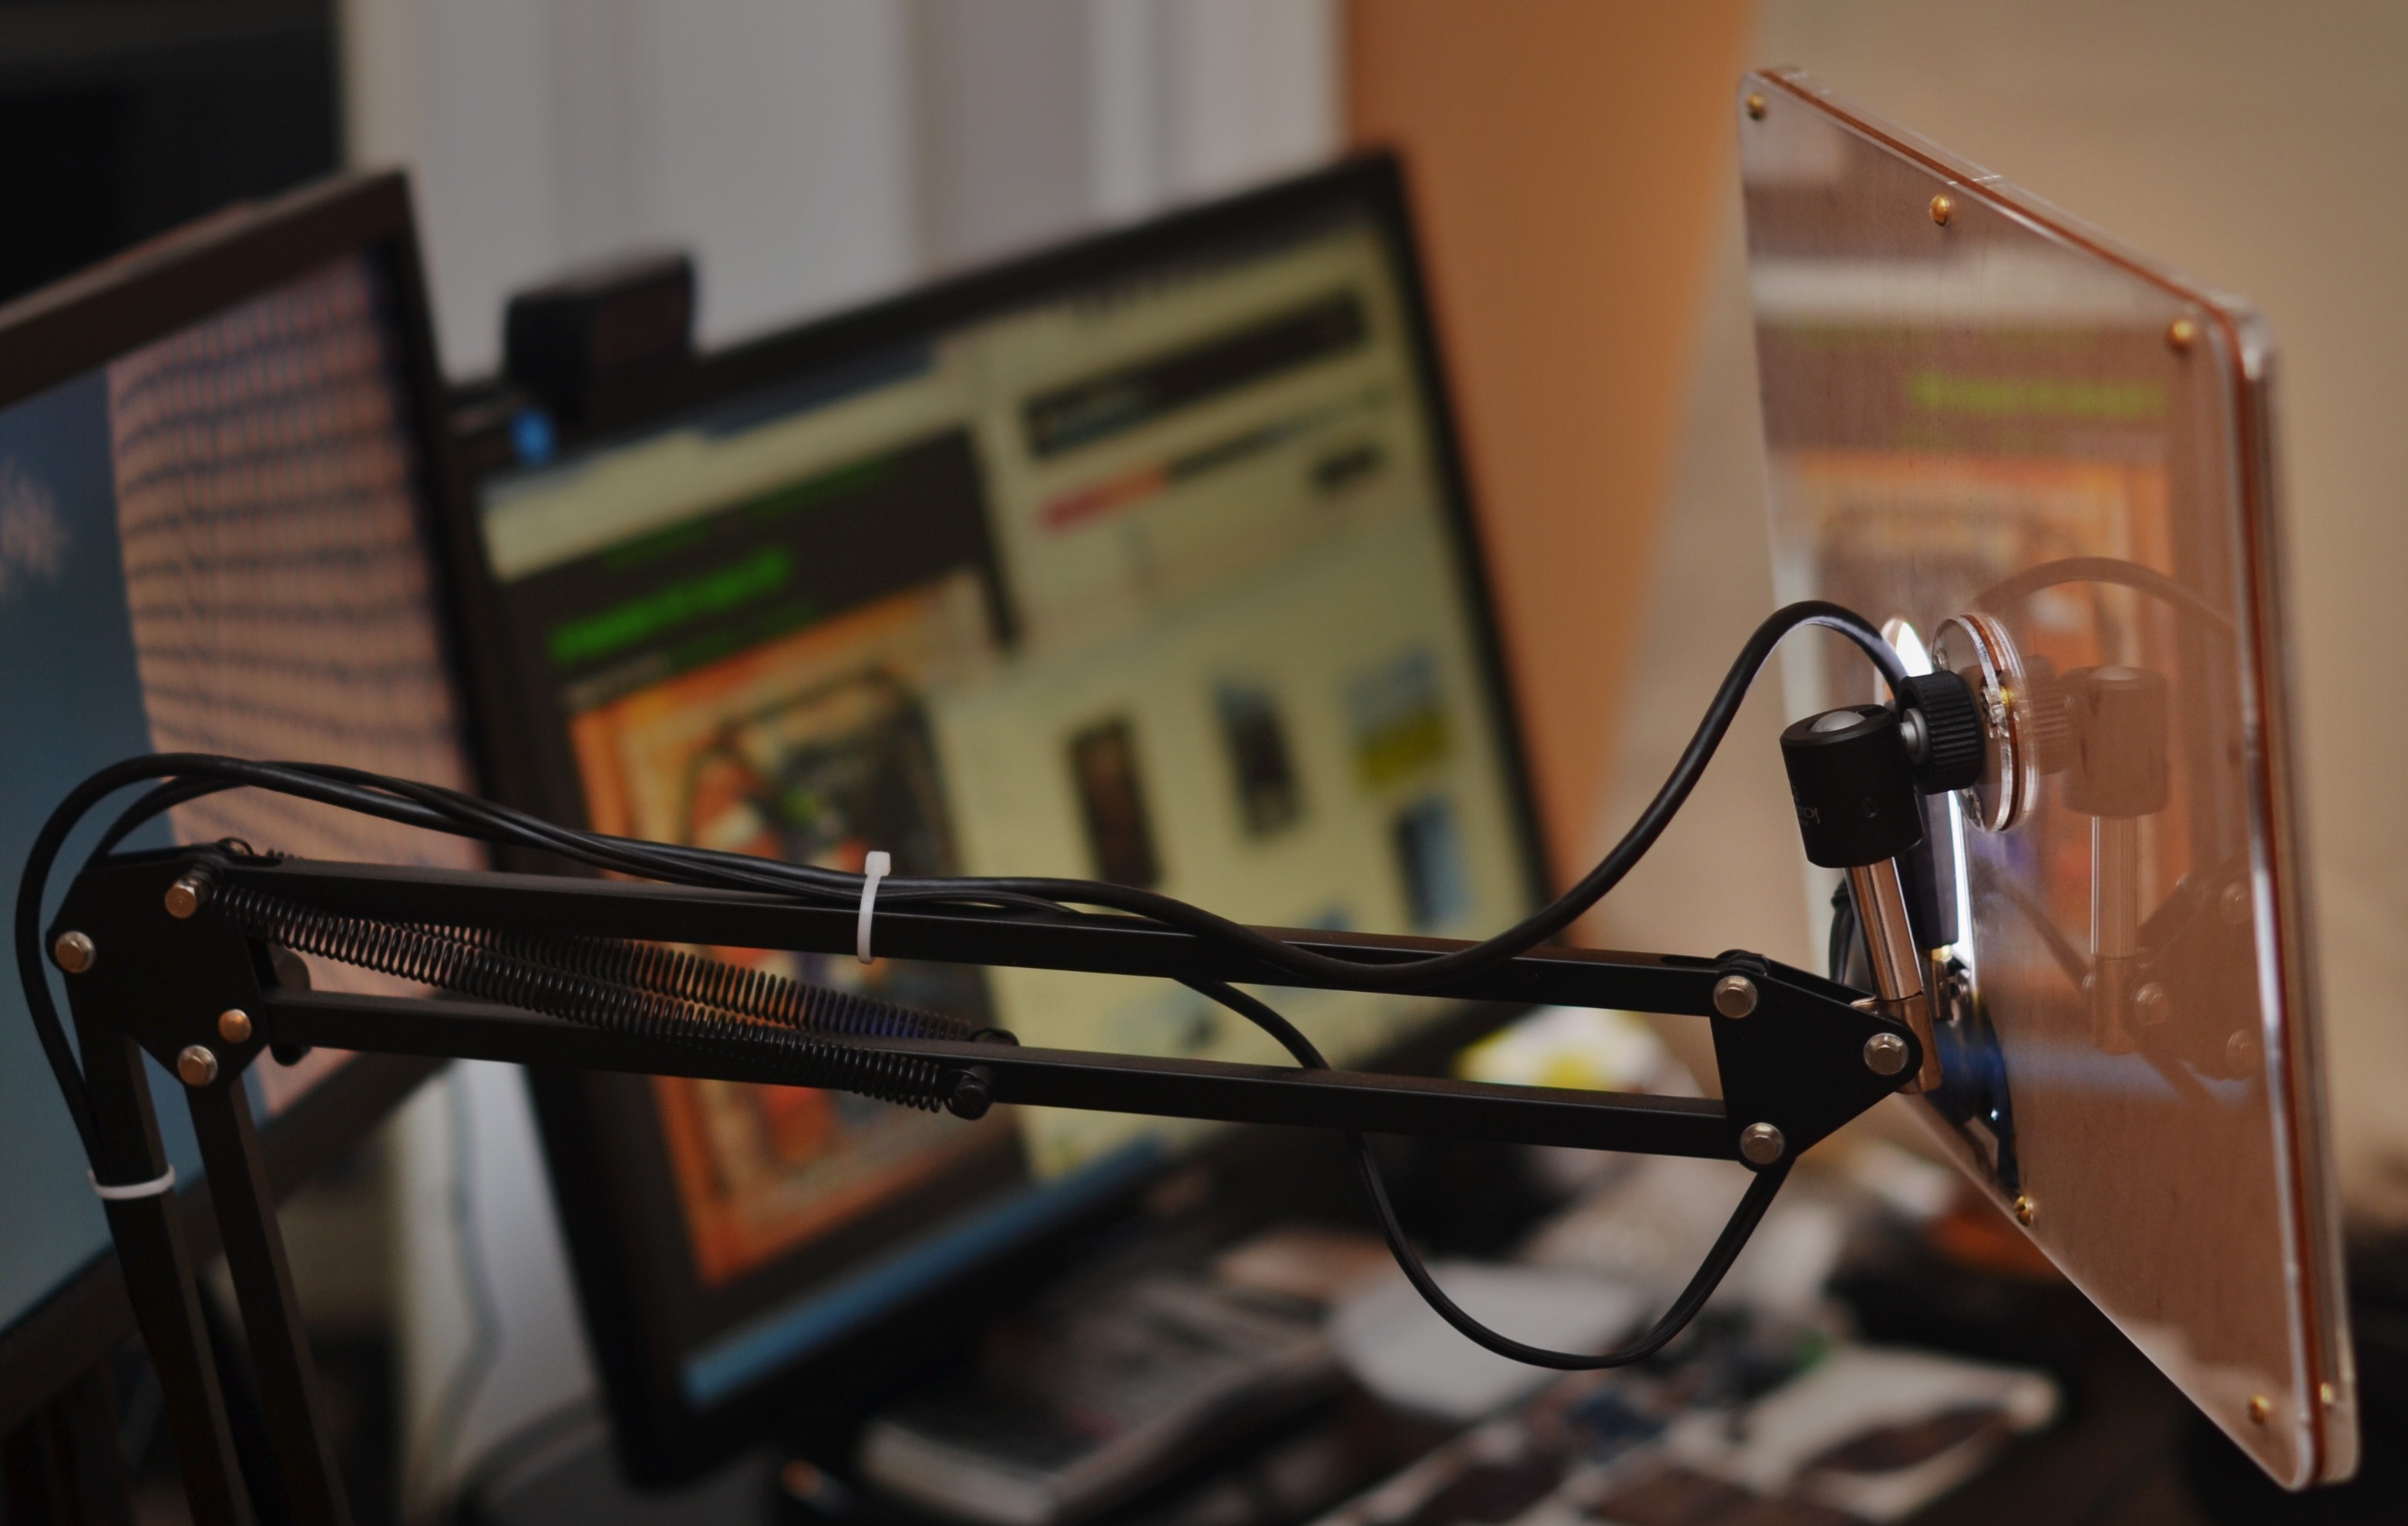
and i like it very much, so let's have more photos of the chassis in action.
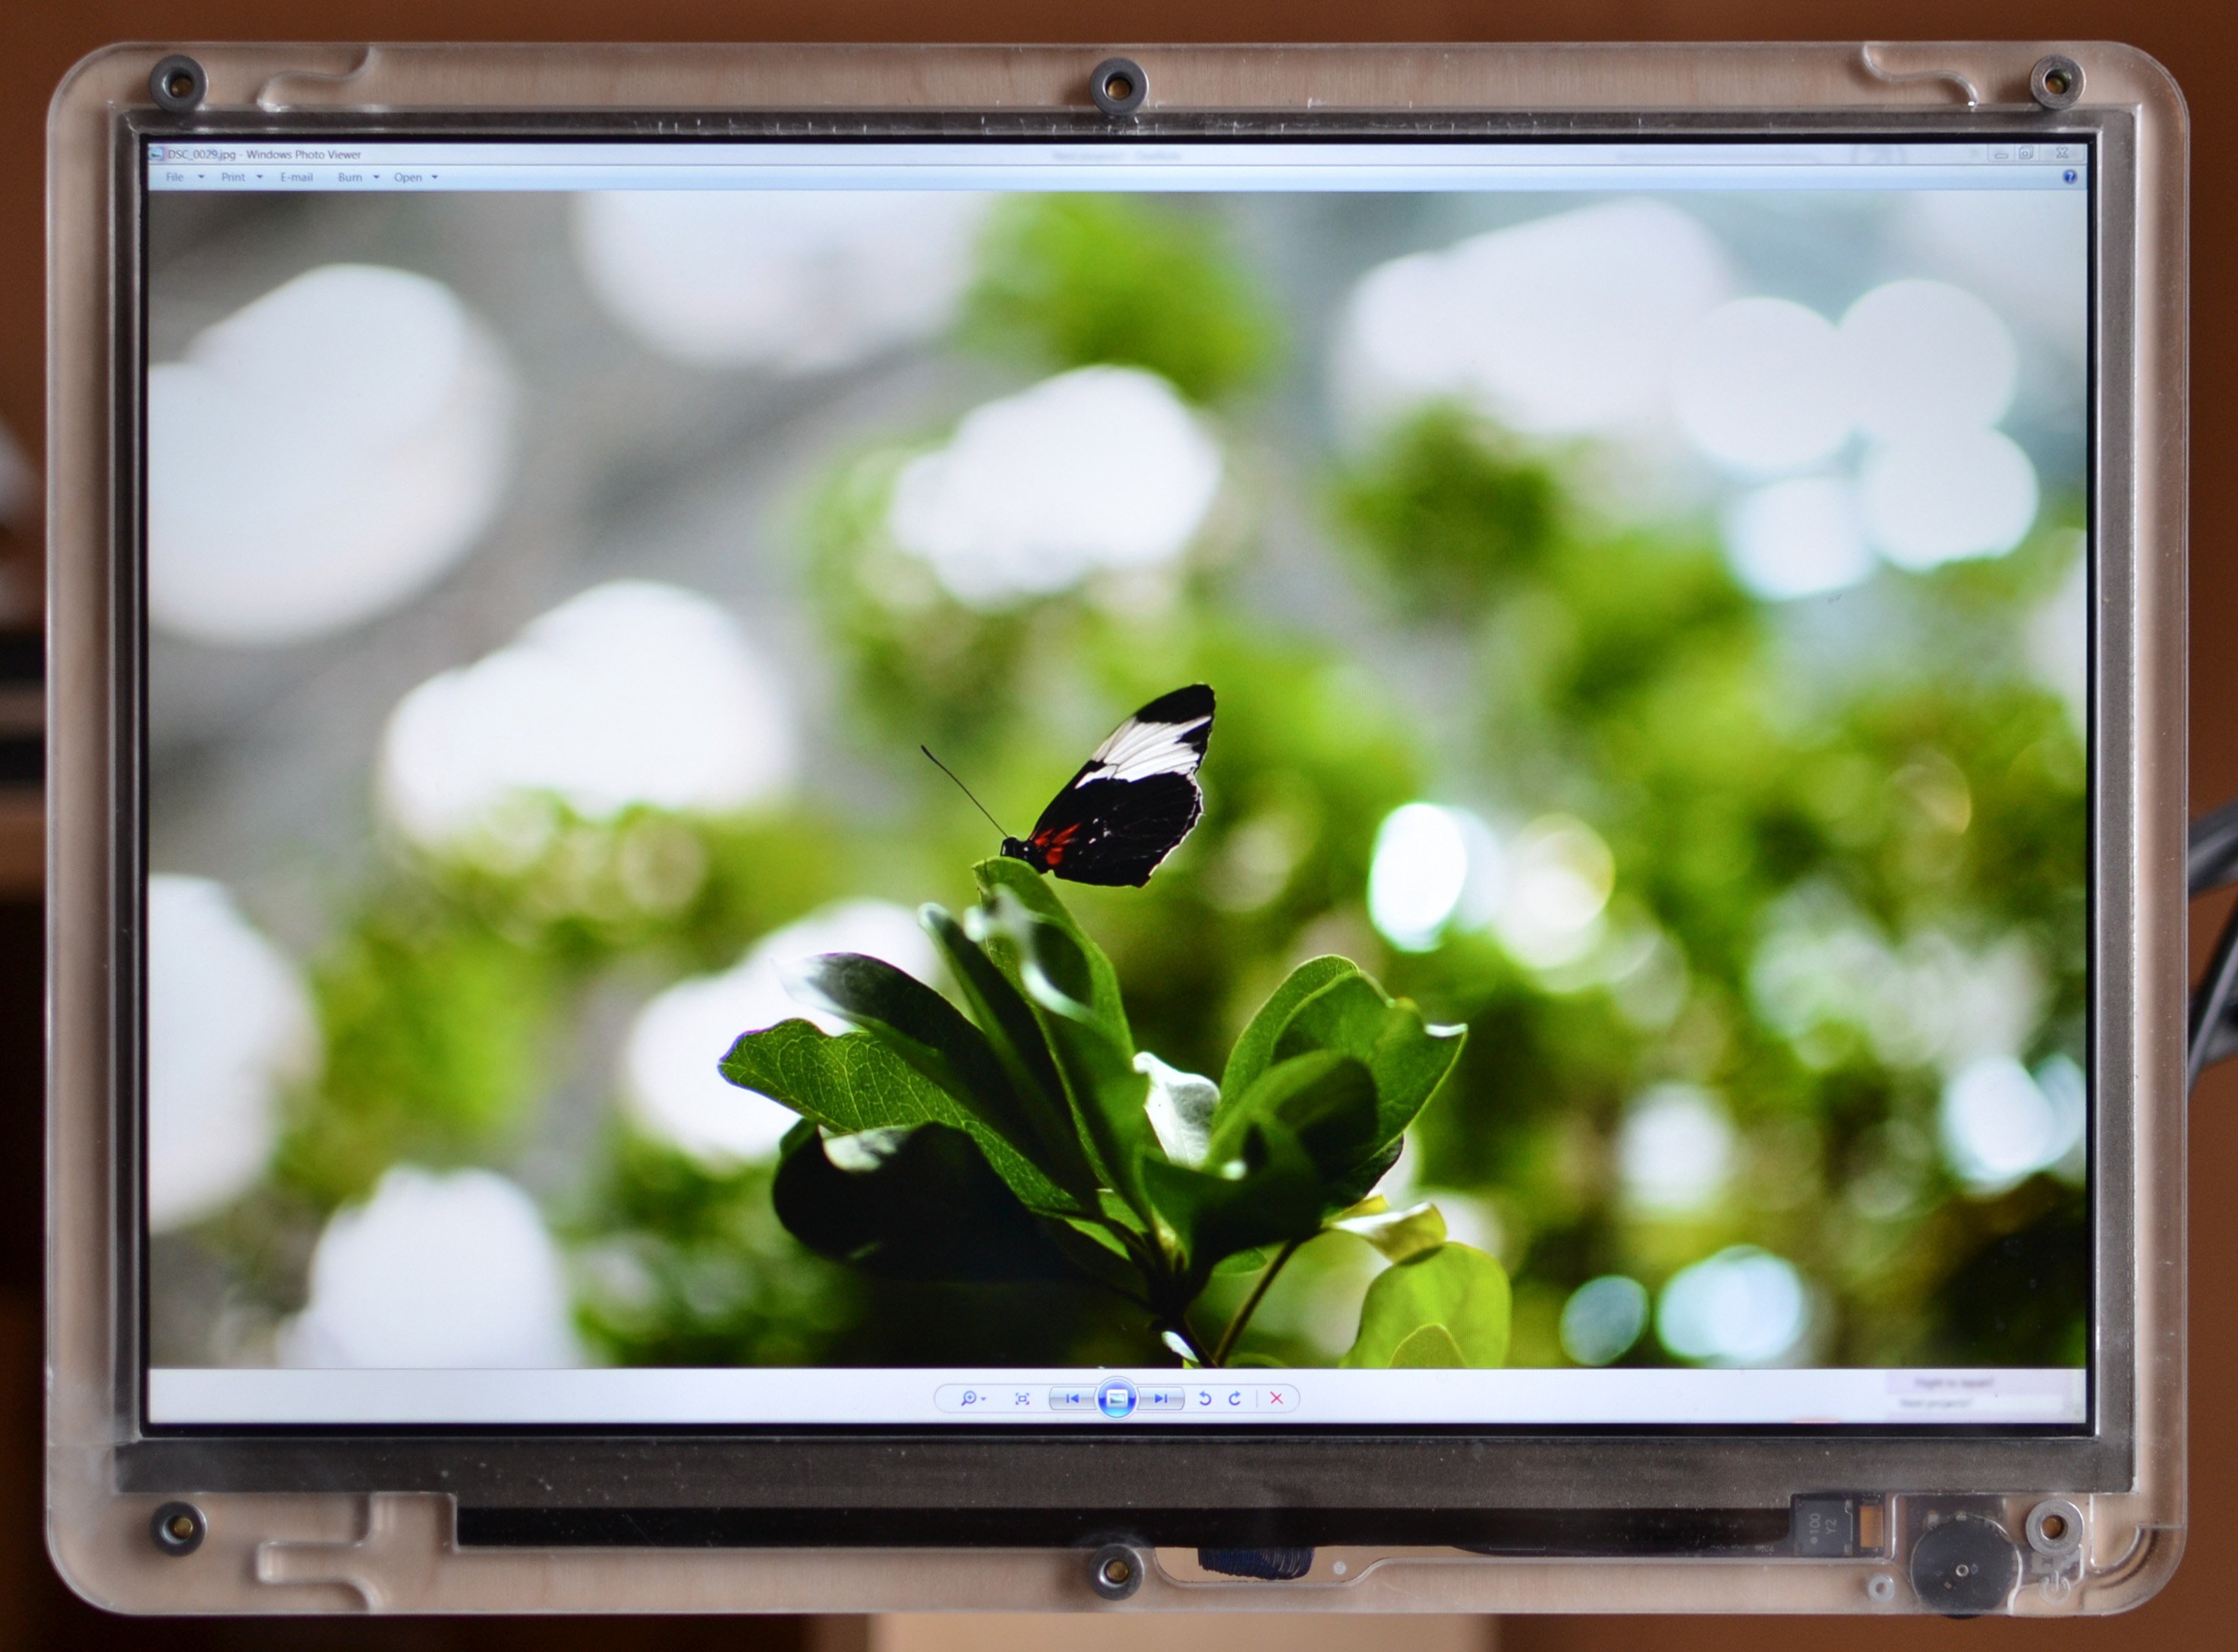

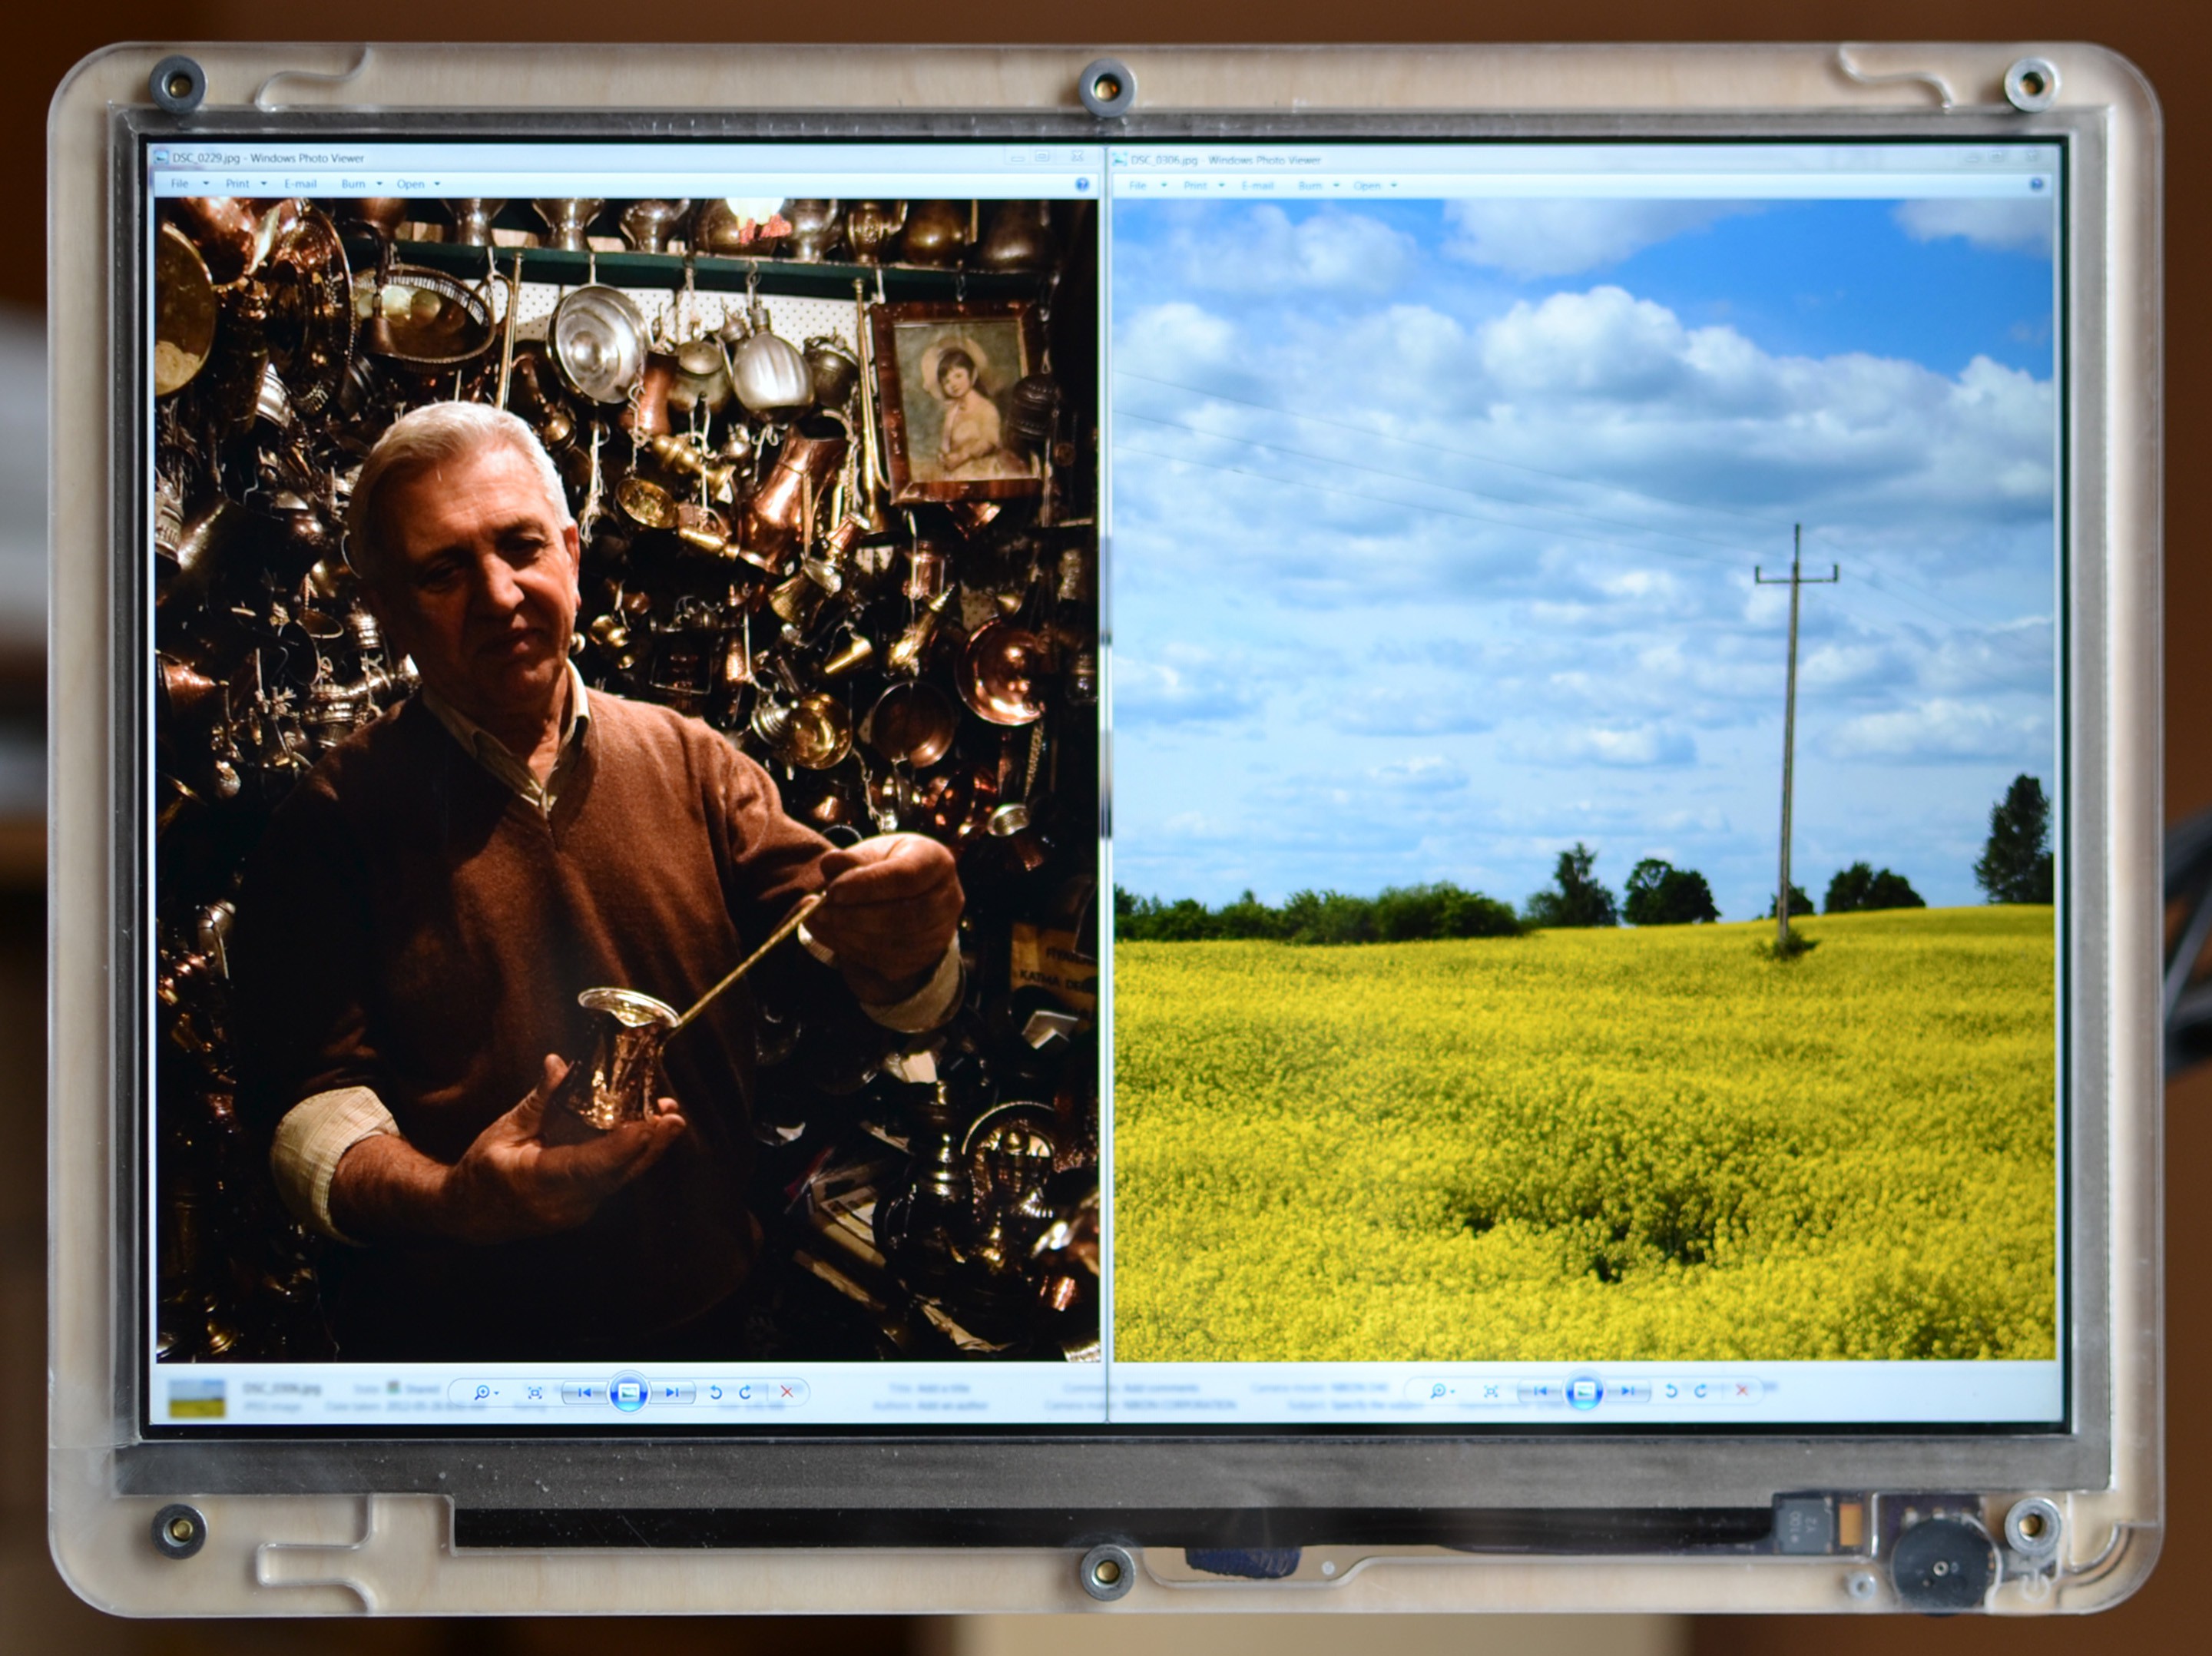
[can you see the pixels?]
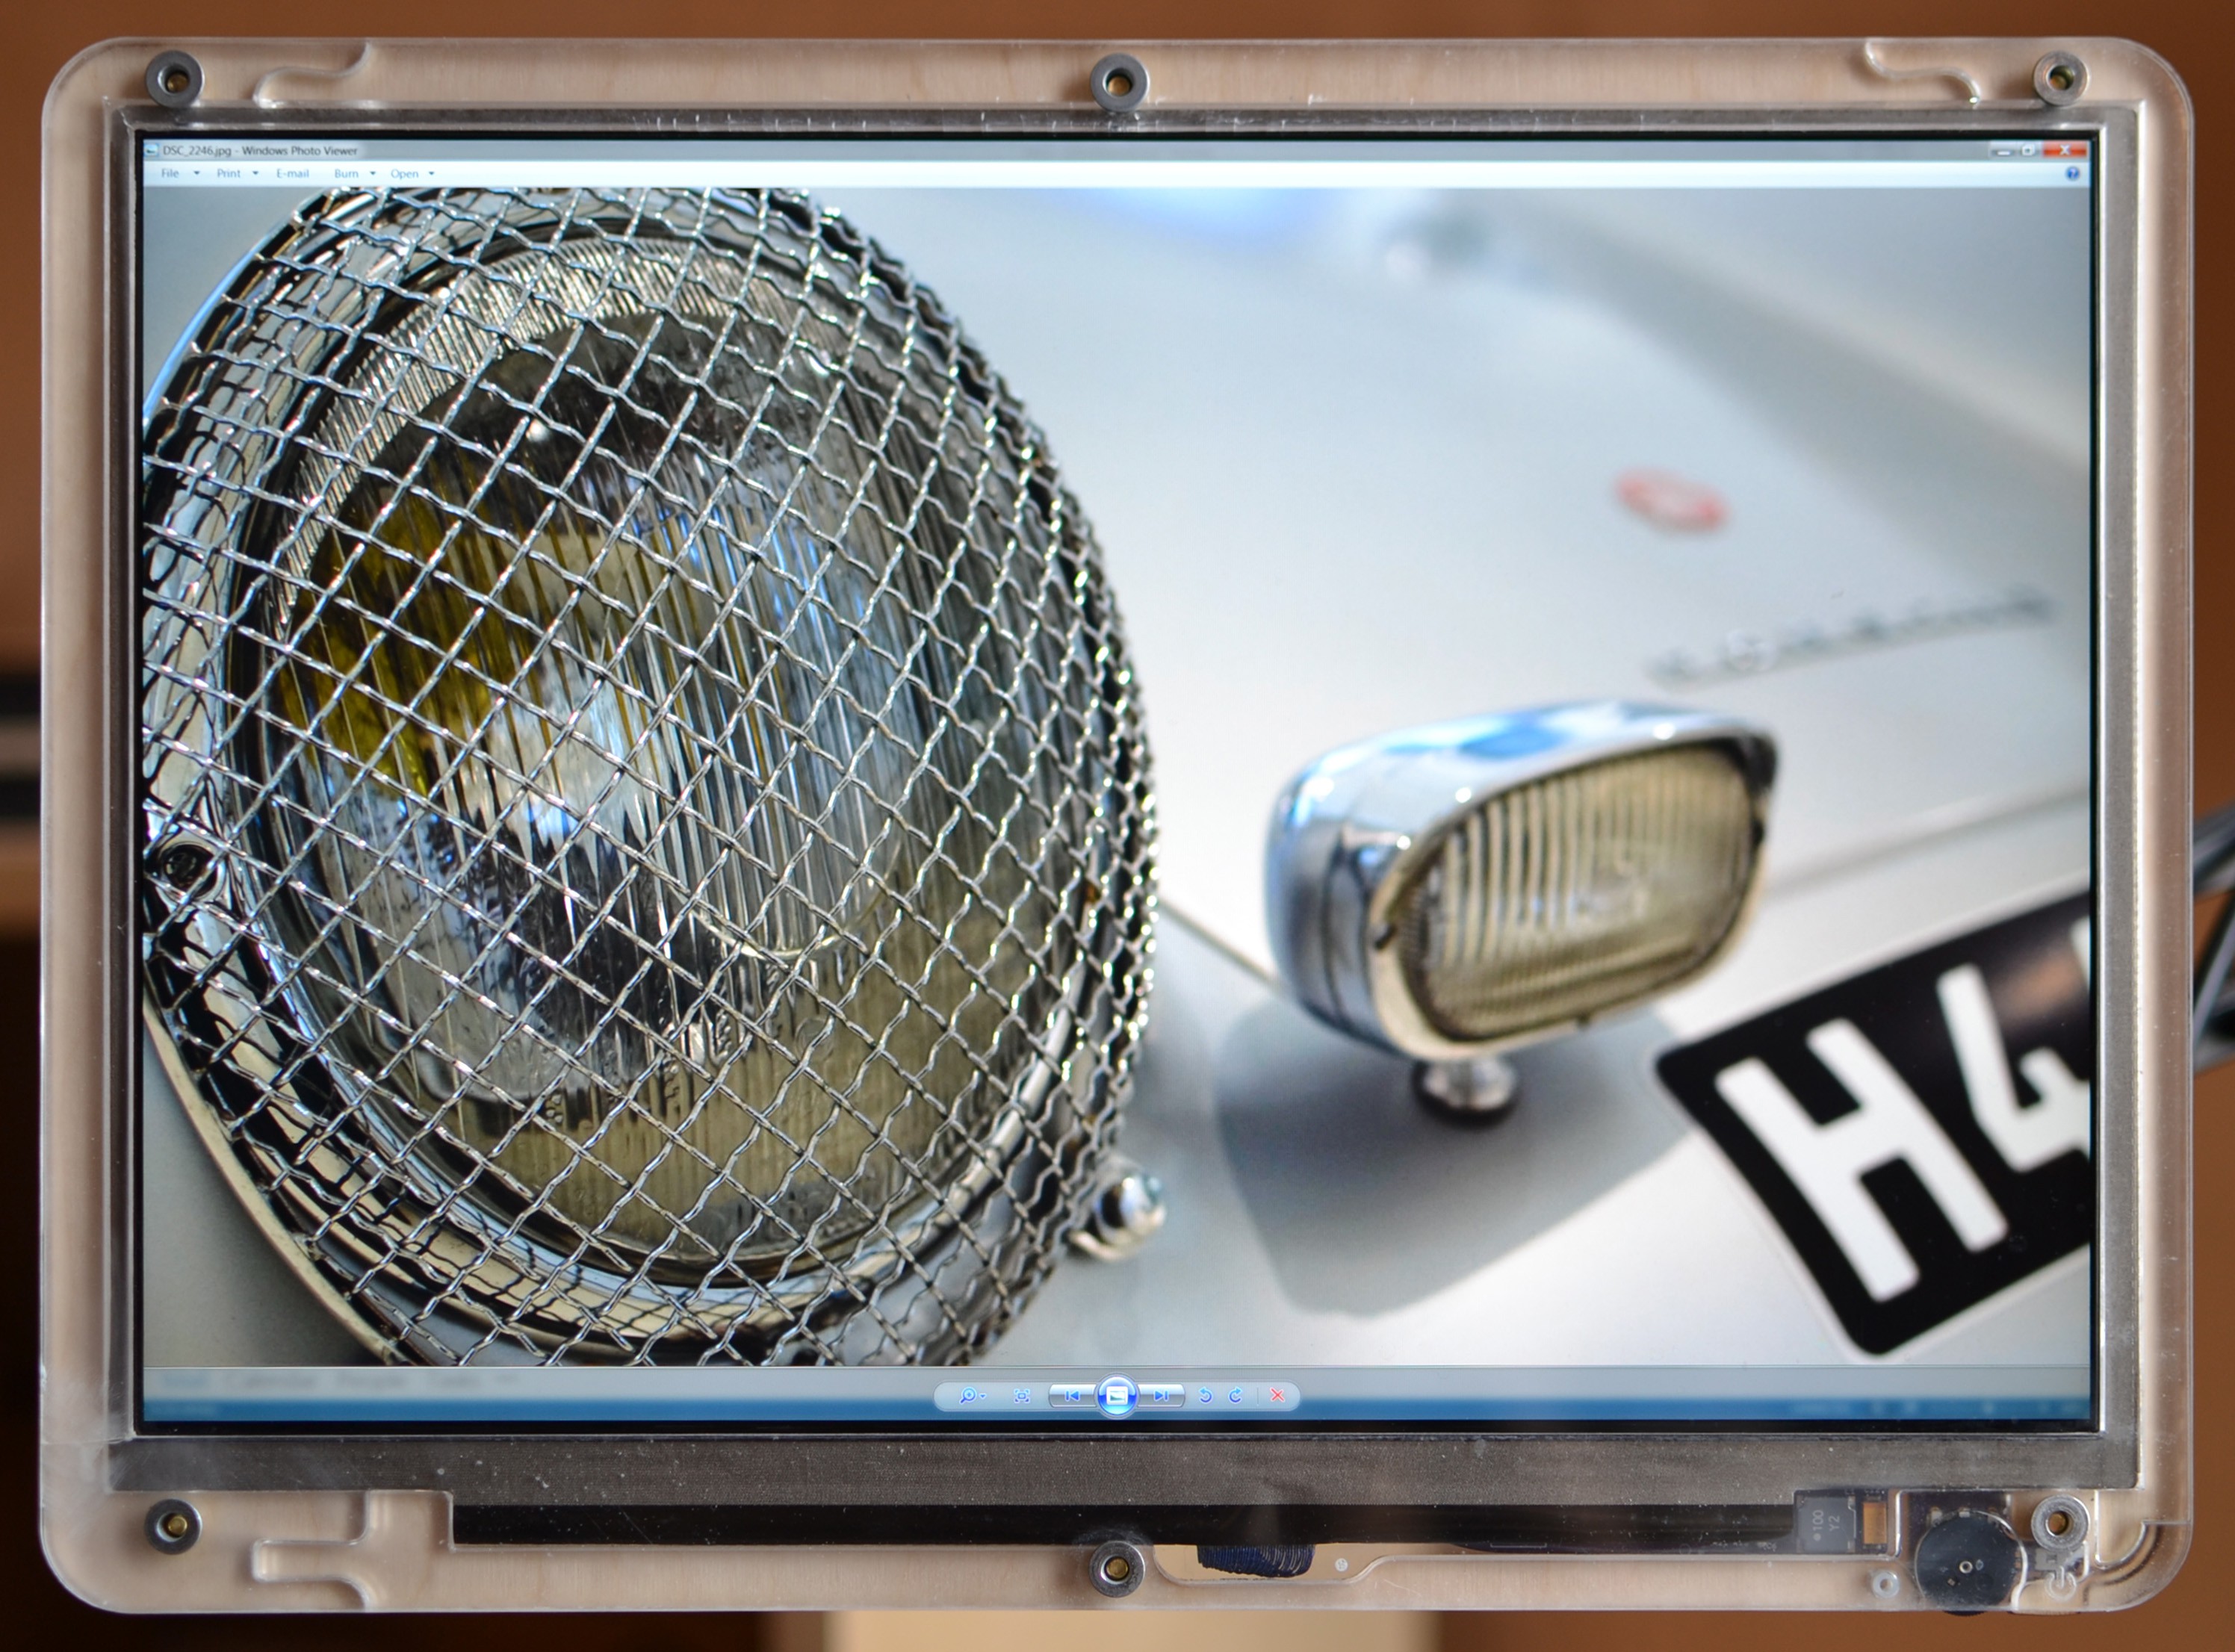
[it looks better than a magazine.]

next update: open source!
Tshen2 2014
Discussions
Become a Hackaday.io Member
Create an account to leave a comment. Already have an account? Log In.