 jupdyke
Now that I have the custom pins, roller chain parts, and a new mold it was time to start producing some Tank Chain. I mixed up my Polyurethane Rubber and added a black pigment. Next I poured this into a plastic syringe and placed that into my vacuum degassing chamber. While it was degassing, I installed 10 of my custom pins into the mold inserts and installed it into the bottom half of my mold.
I degassed it for about 3 minutes being careful not to let it overflow while the bubbles popped. Then I removed it from the chamber and carefully installed the plunger. At this point I had a syringe full of liquid rubber ready to be injected into my mold.
I left the mold open and filled each pocket of the bottom half of the mold. There is no reason to try and fill the whole thing through the injection hole. This lets me make sure the top of my tread is full before closing the mold. It also fills much faster because there is no pressure.
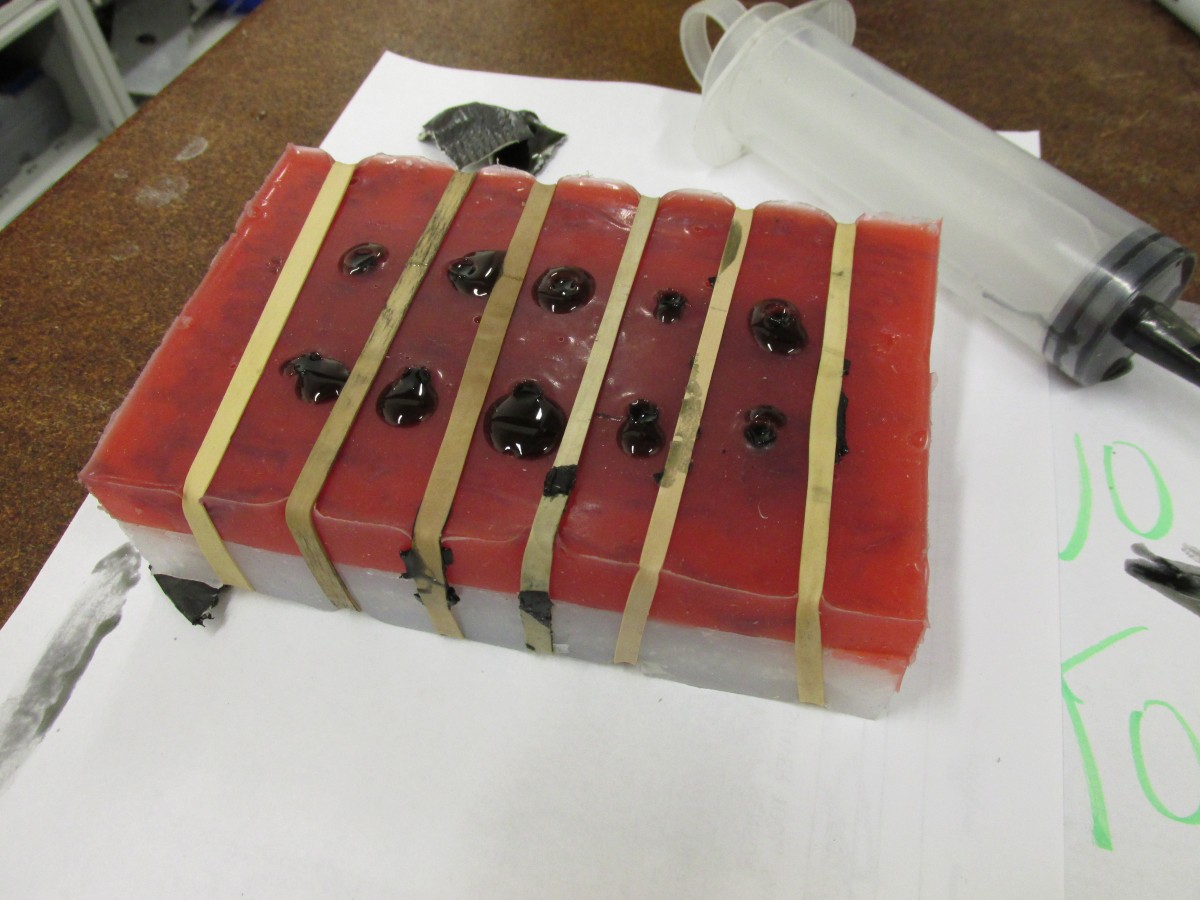
Then I installed the top half of the mold and used rubber bands to hold the mold together. I used the syringe to inject the rubber through one of the two sprue holes. I applied a little pressure. The key is to have only a little positive pressure and be patient. If you inject the rubber too fast it won't flow evenly and will spread your mold apart. I learned that on my previous mold. I watched for the rubber to start to come out of the second sprue hole. Once it did, I removed my syringe and moved onto the next part. You have to work quickly but I didn't feel rushed. The 30 minute pot life was just about right for this project.
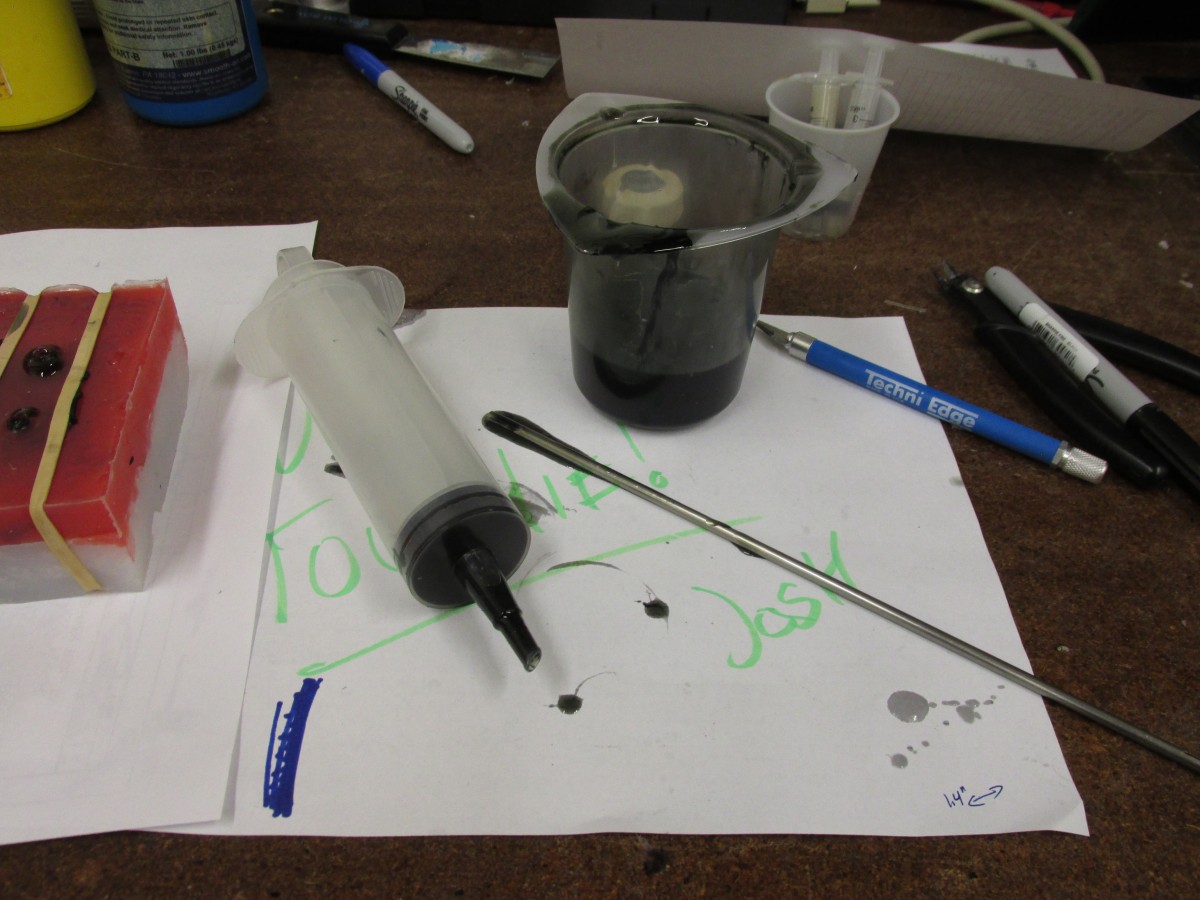
I wanted to document a few notes about cleaning up. DON'T DO IT. What I mean by that is don't try to clean any of the resin up while it is wet. Just let the stuff dry and peel it off. The resin in my cup and syringe pop out as one solid chunk if i let it harden. Not only can I reuse them, I can check if the resin is cured enough to demold my parts.
The empty bottom half of the mold with the custom pins.

Here is a picture of the mold after I filled it
Here is a picture of my mixing cup, mixing stick and syringe
Open Mold after the parts cured for 4 hours

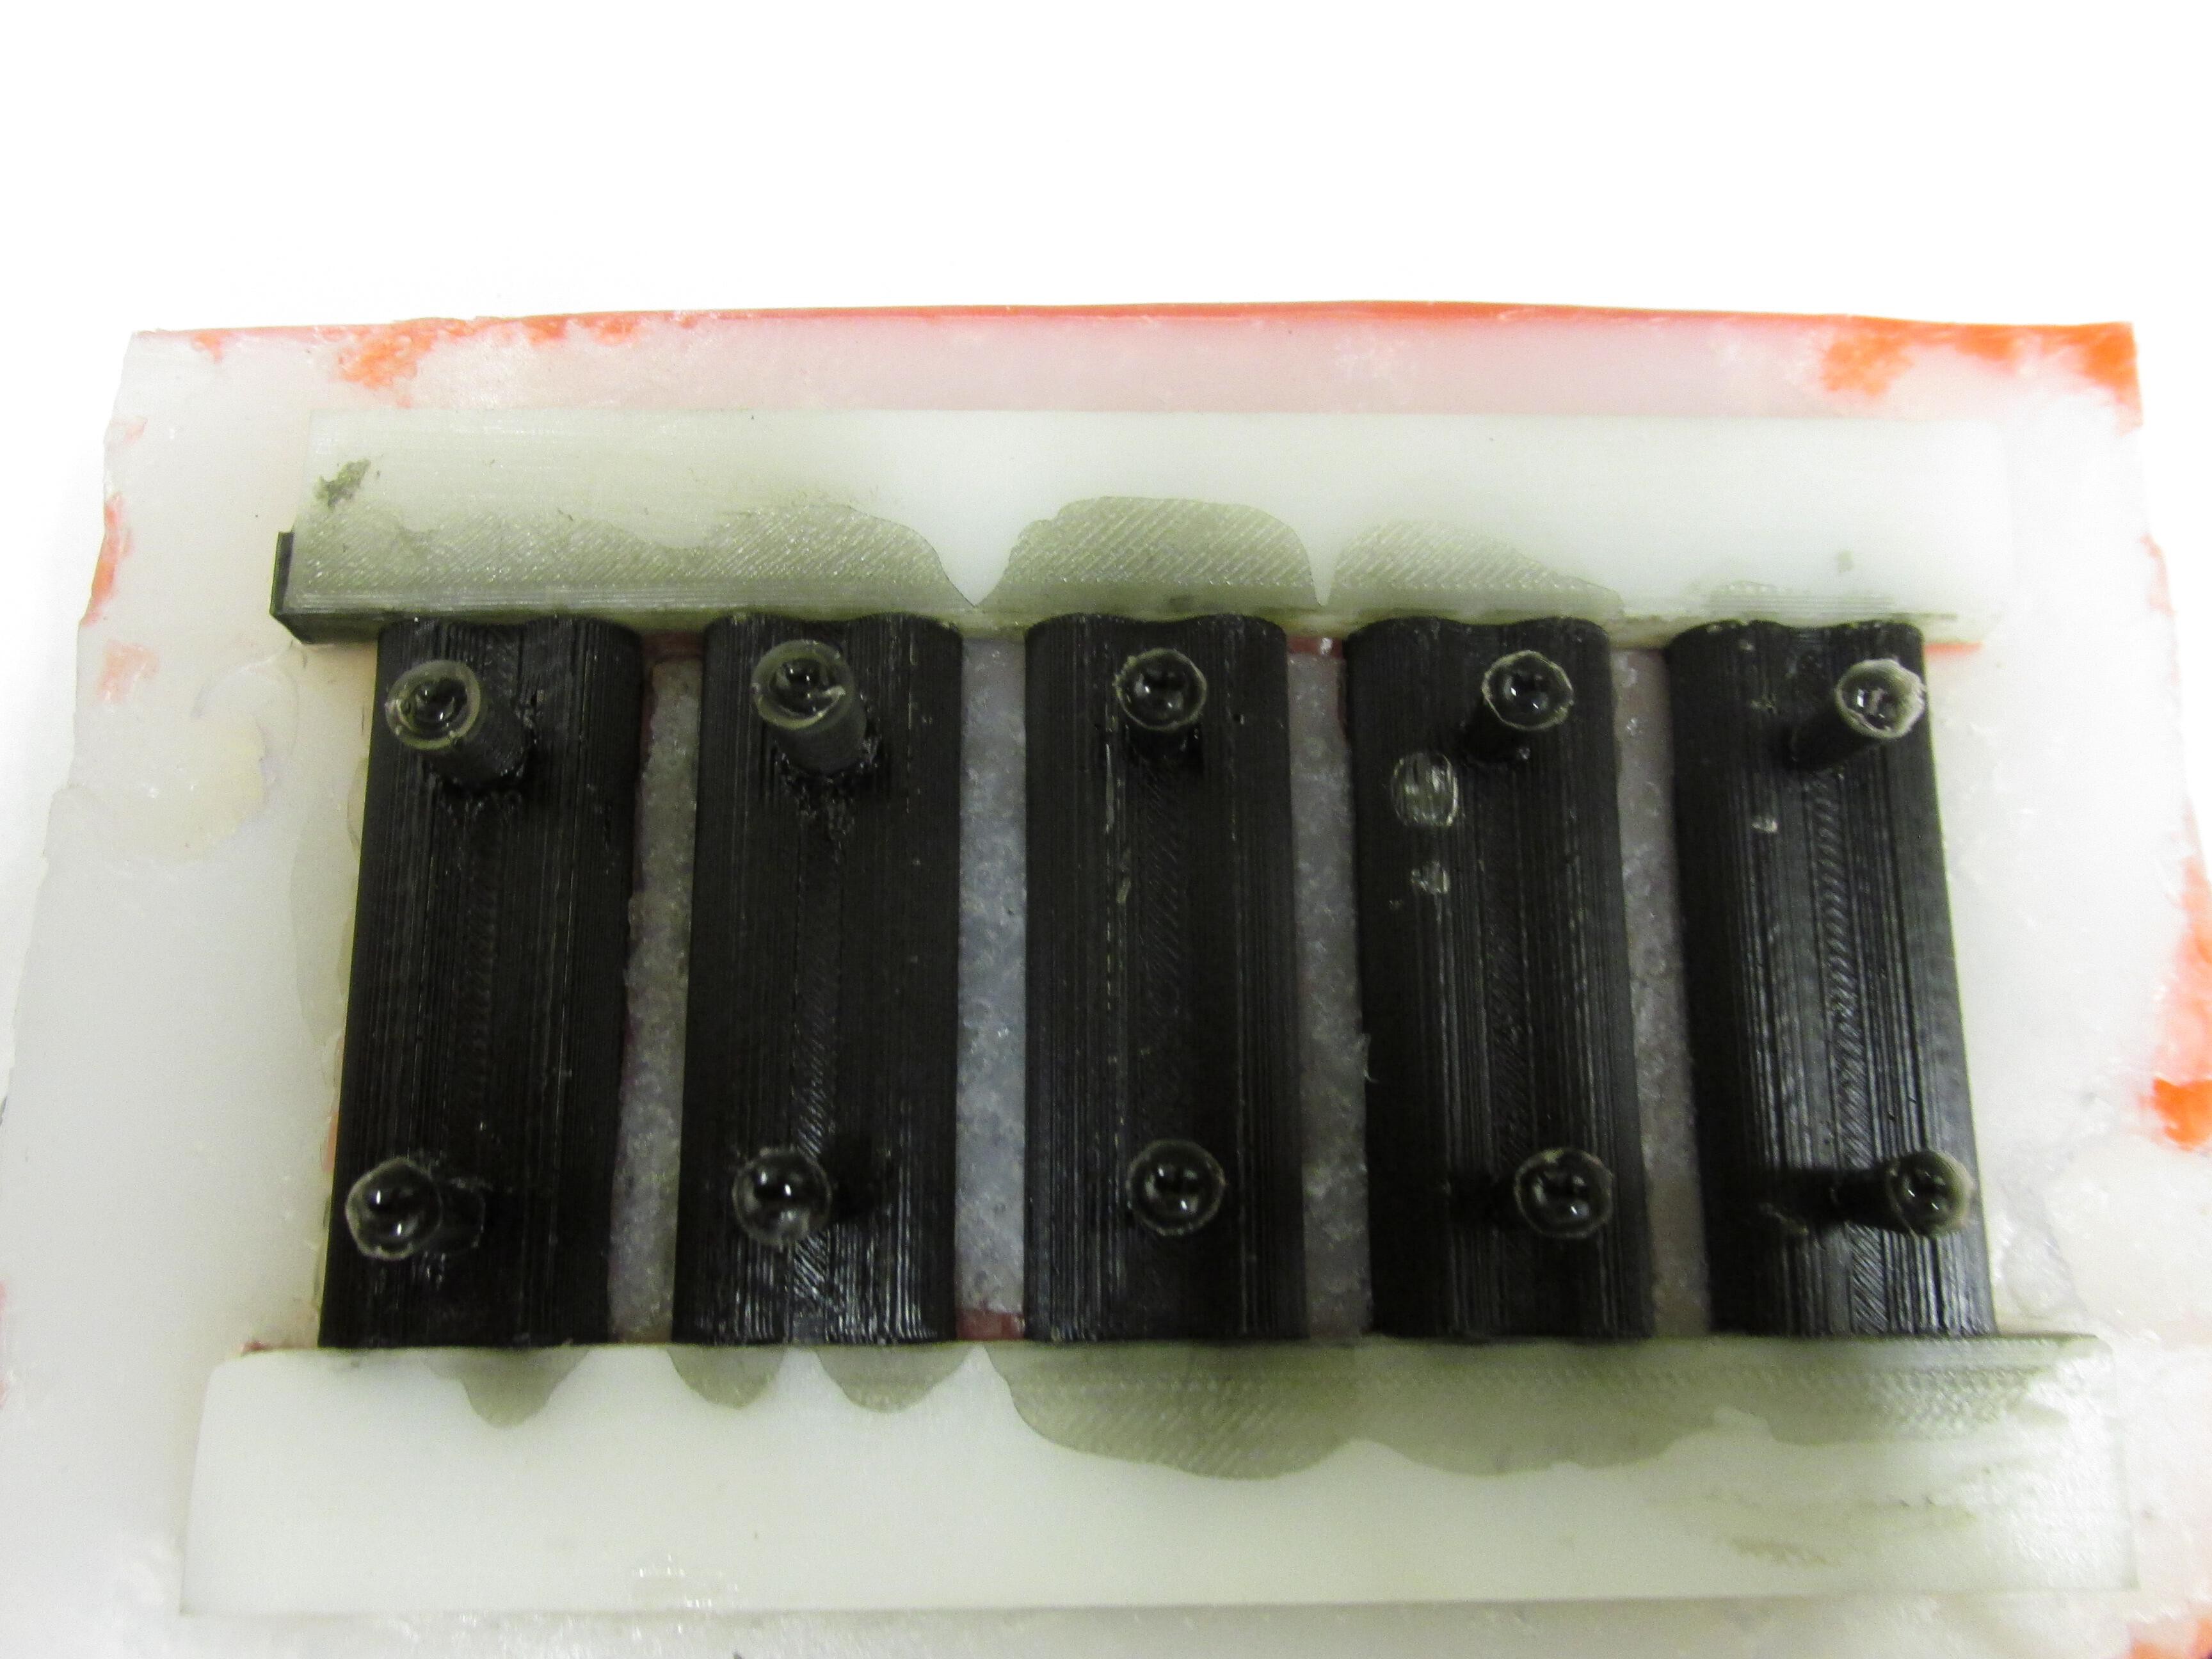
Removing the parts from the mold. You can still see the plastic insert that holds the pins in place.
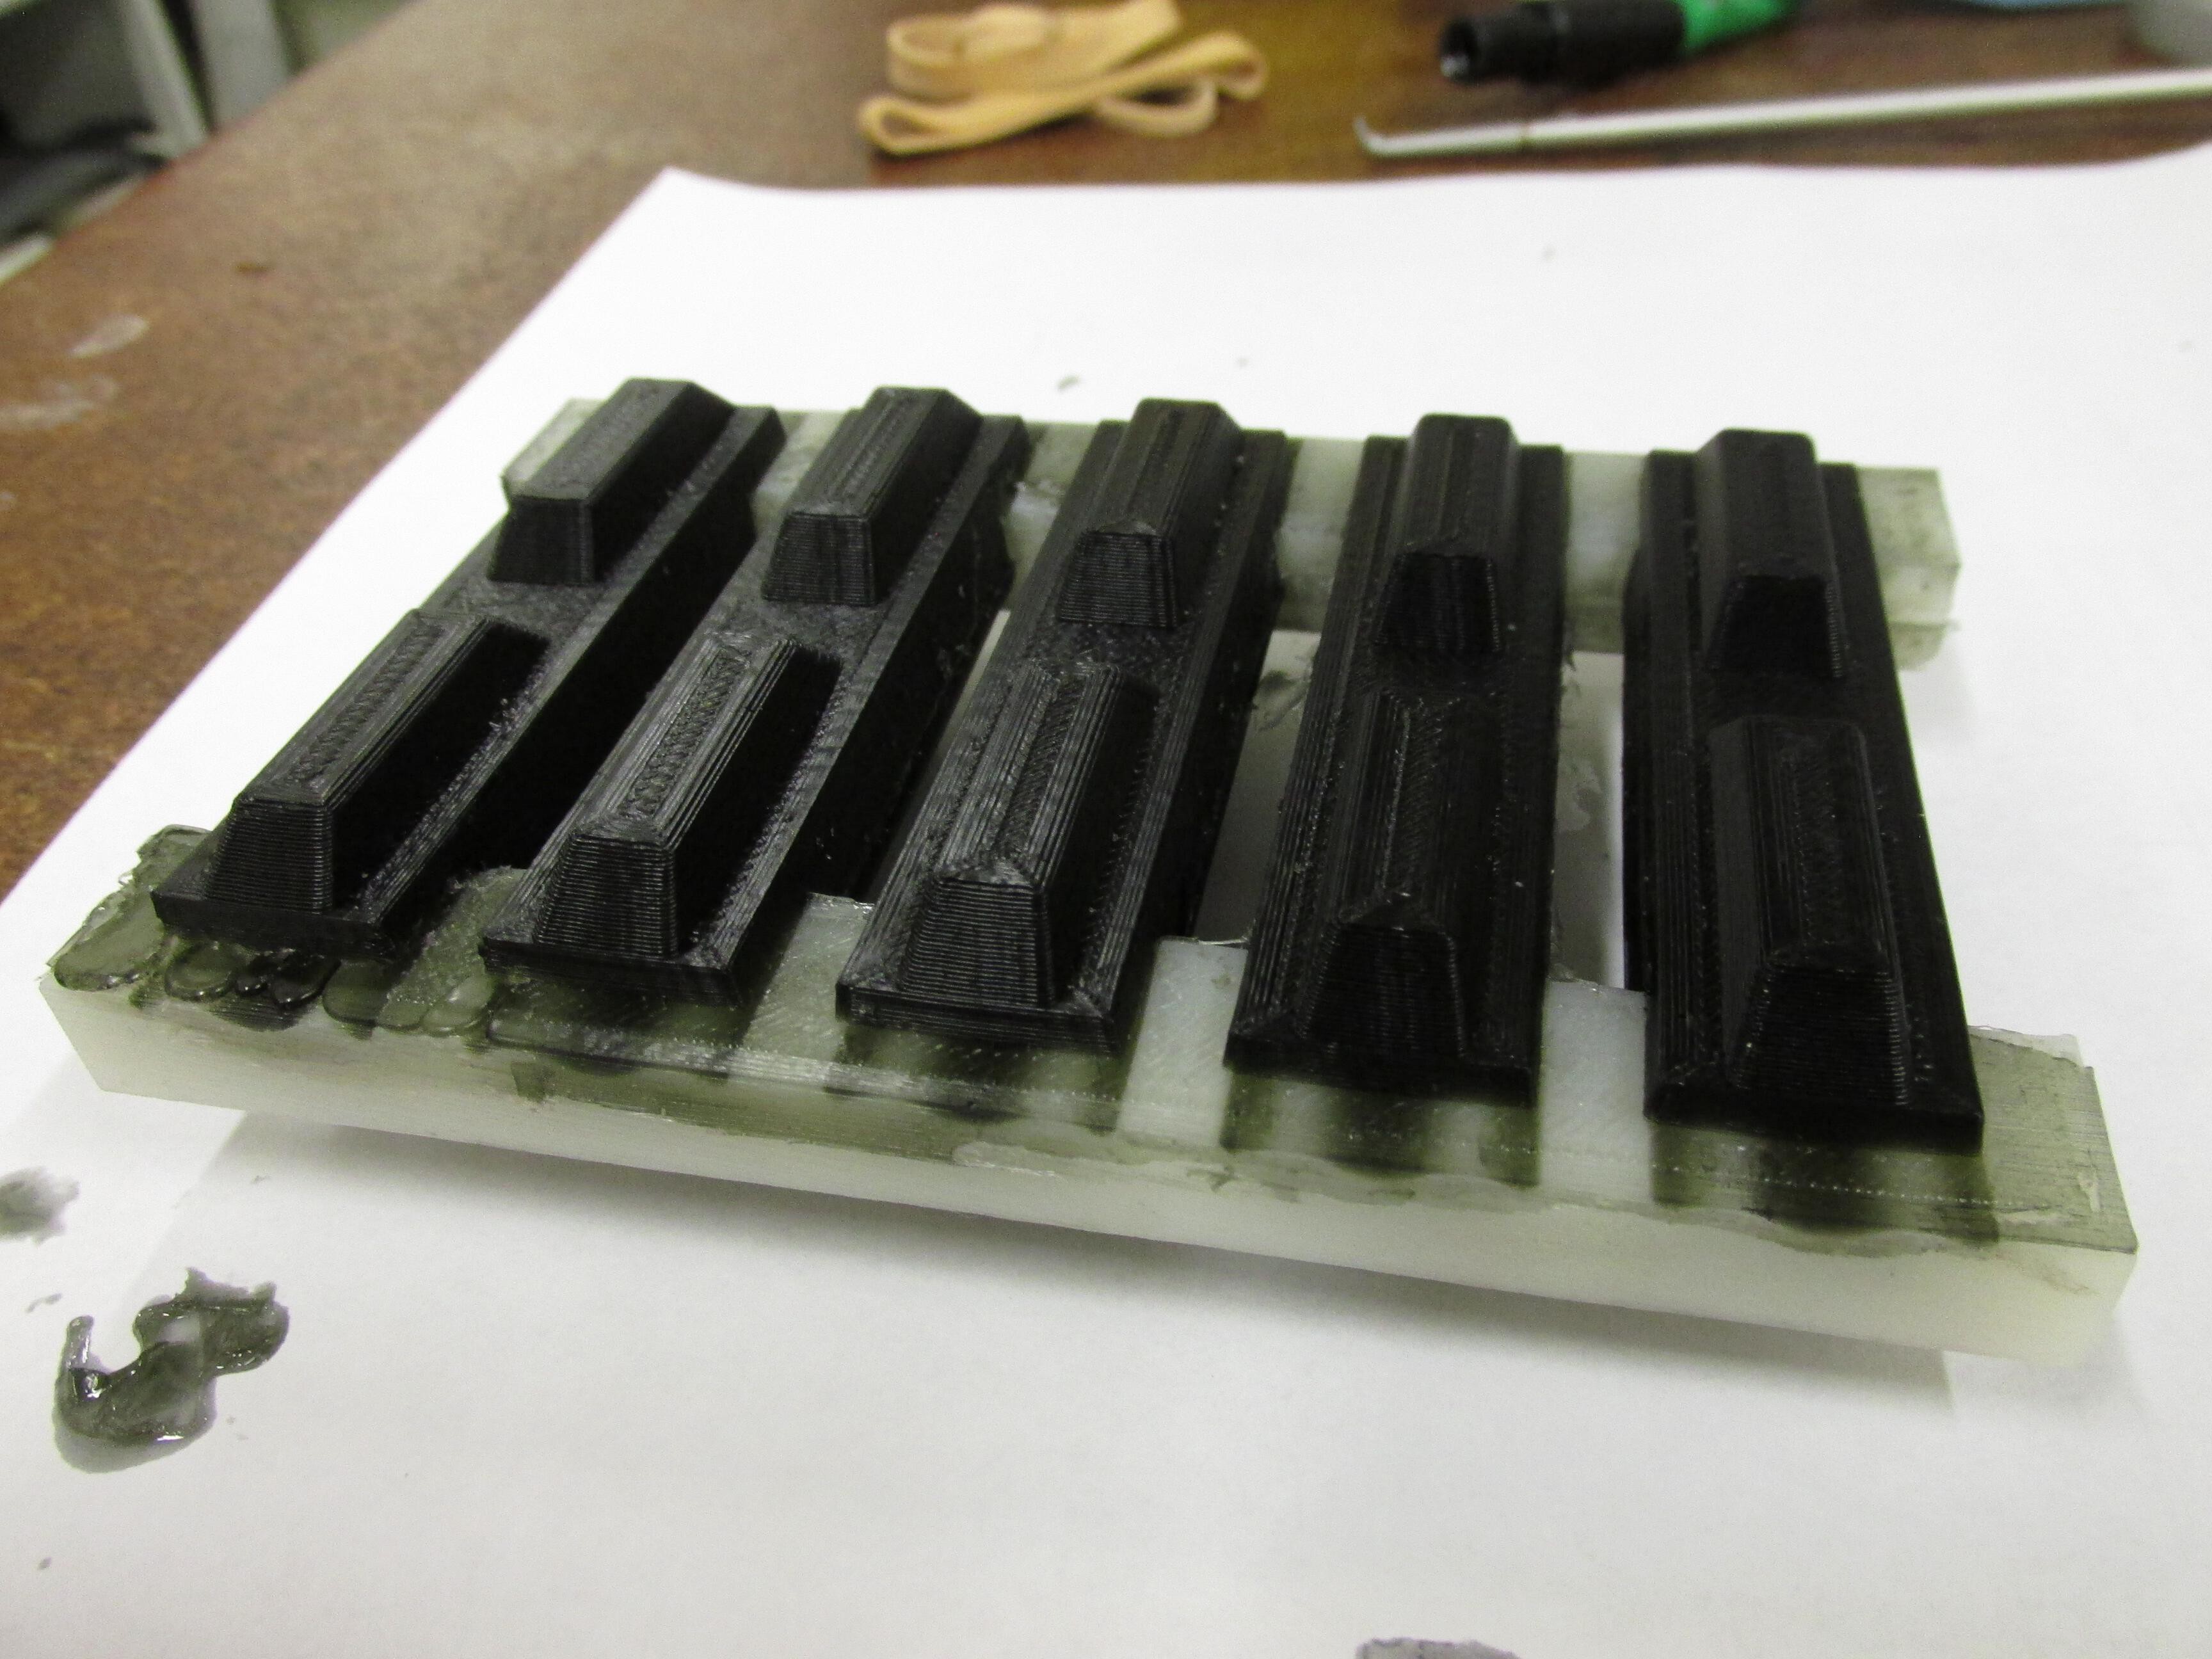

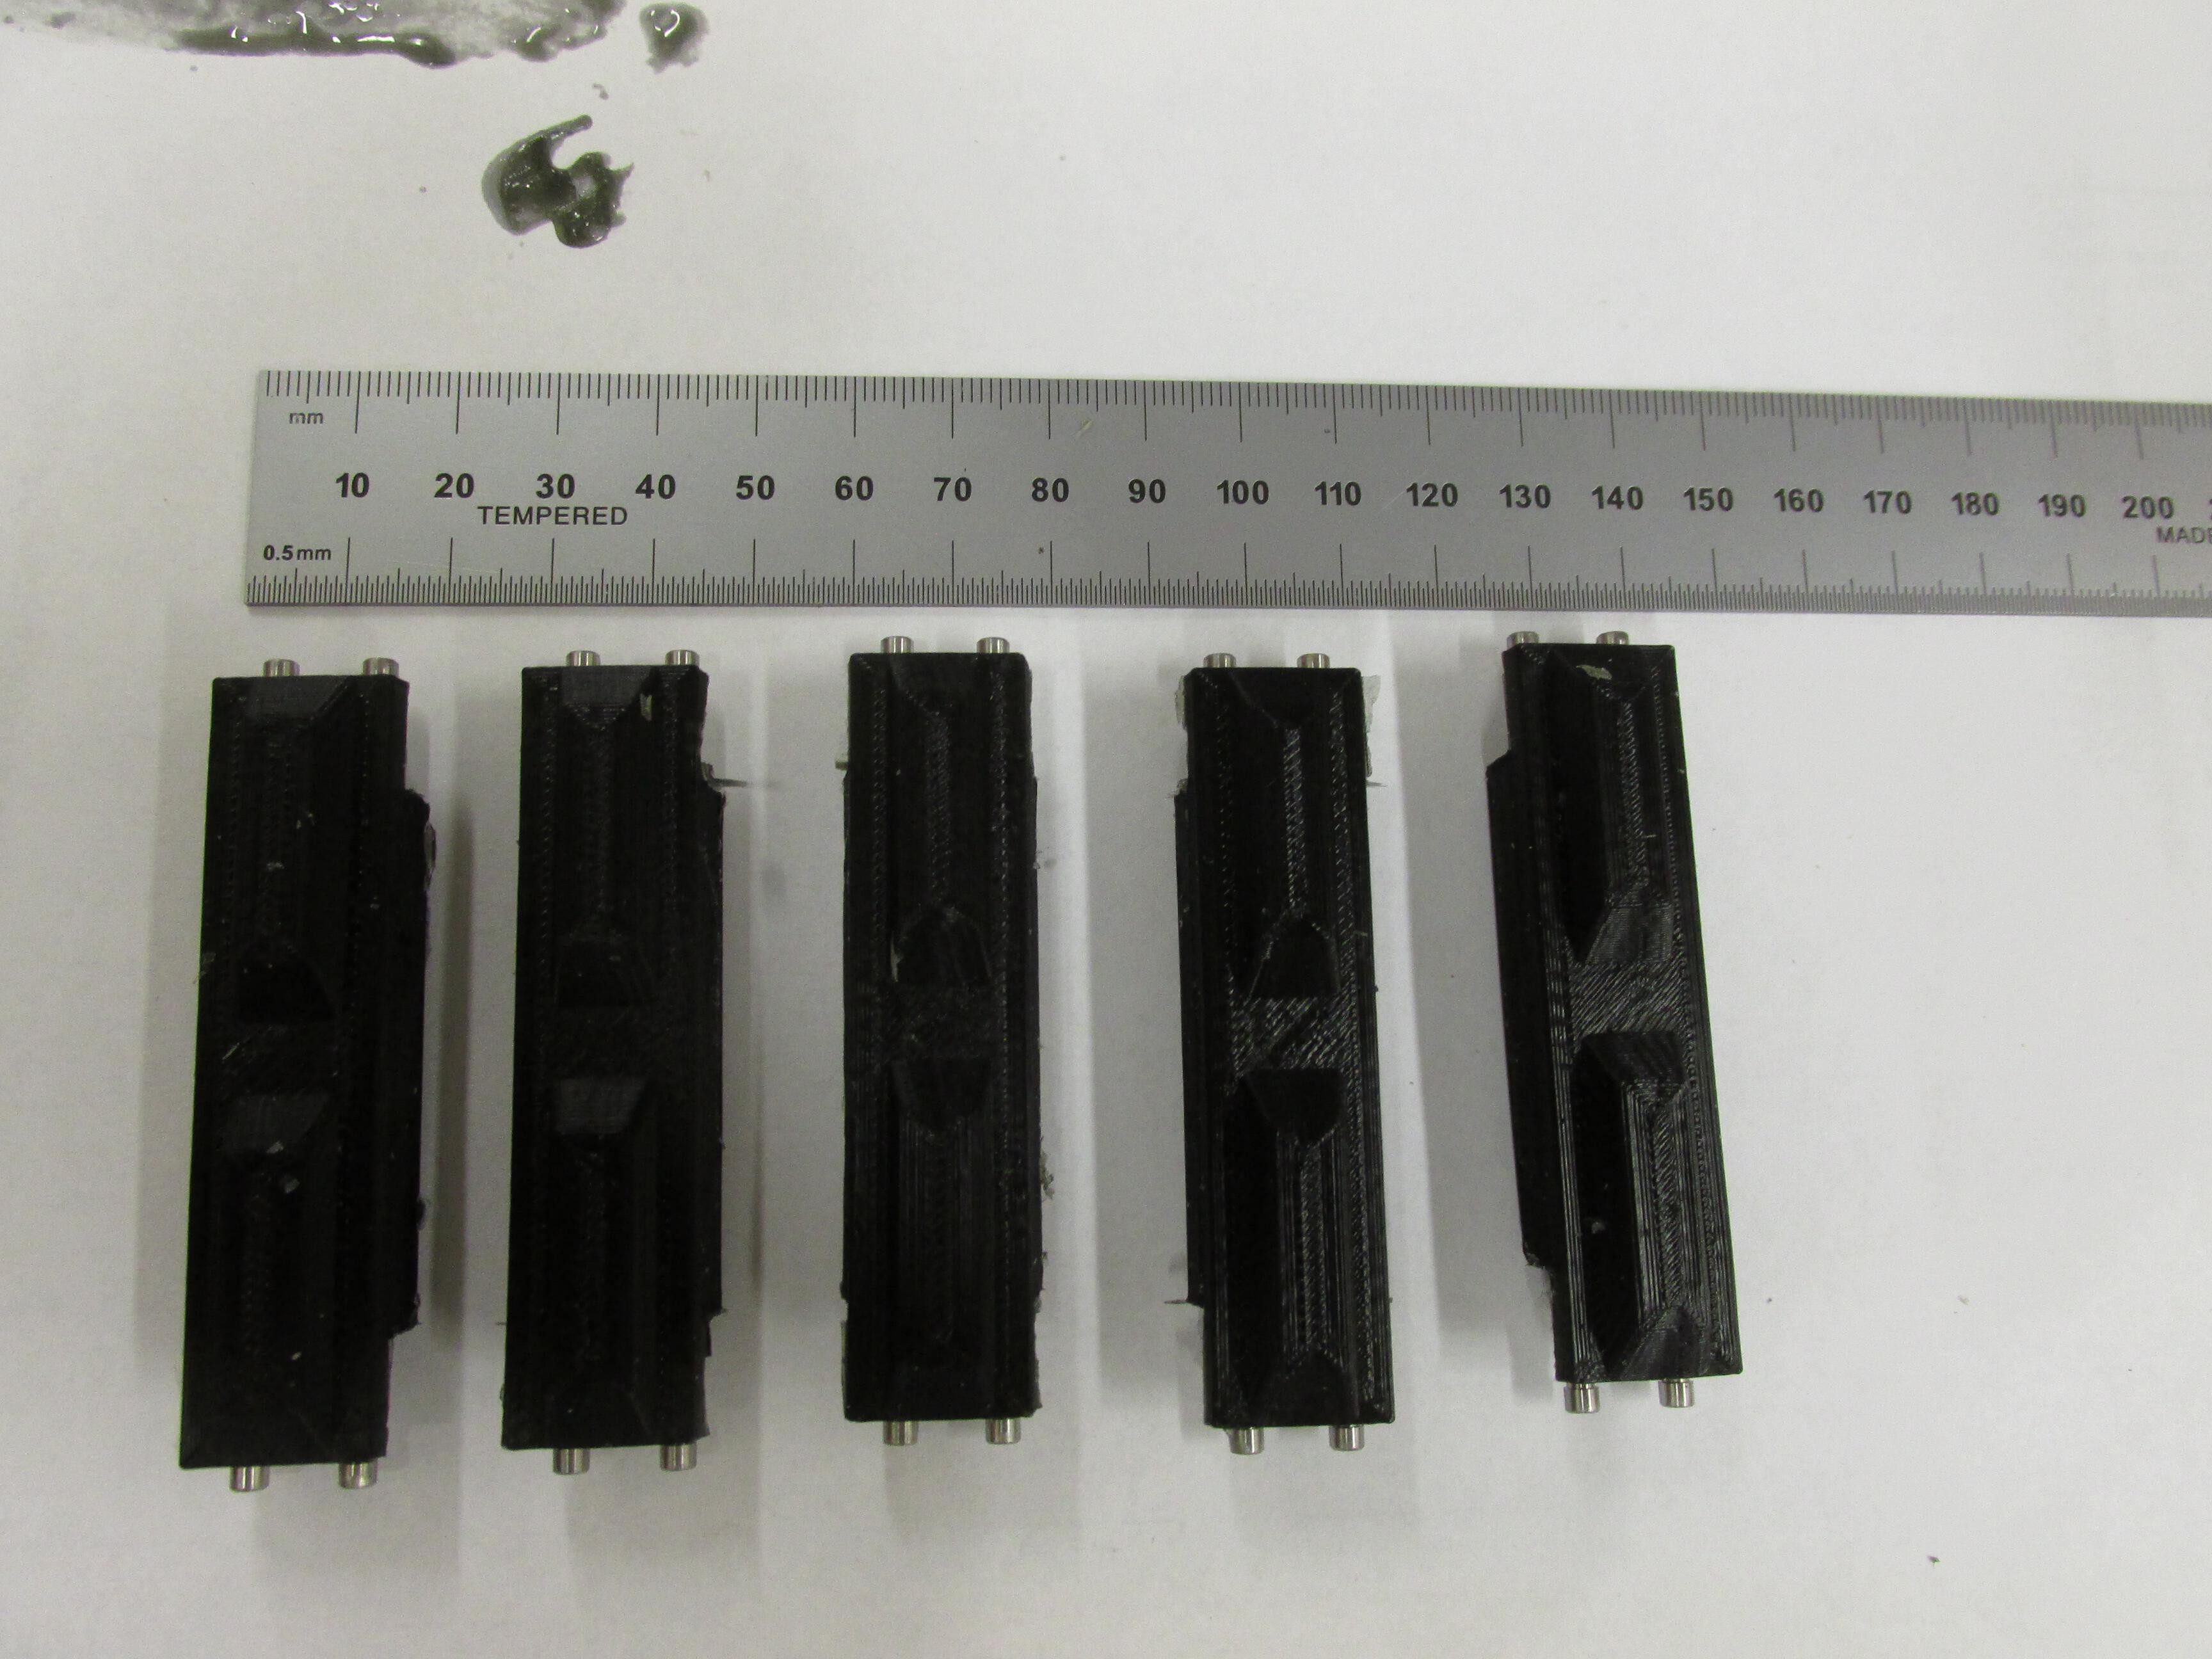
After removing the plastic pin insert I have 5 freshly made treads. They are still a little soft, and won't be fully cured until 16 hours after mixing.
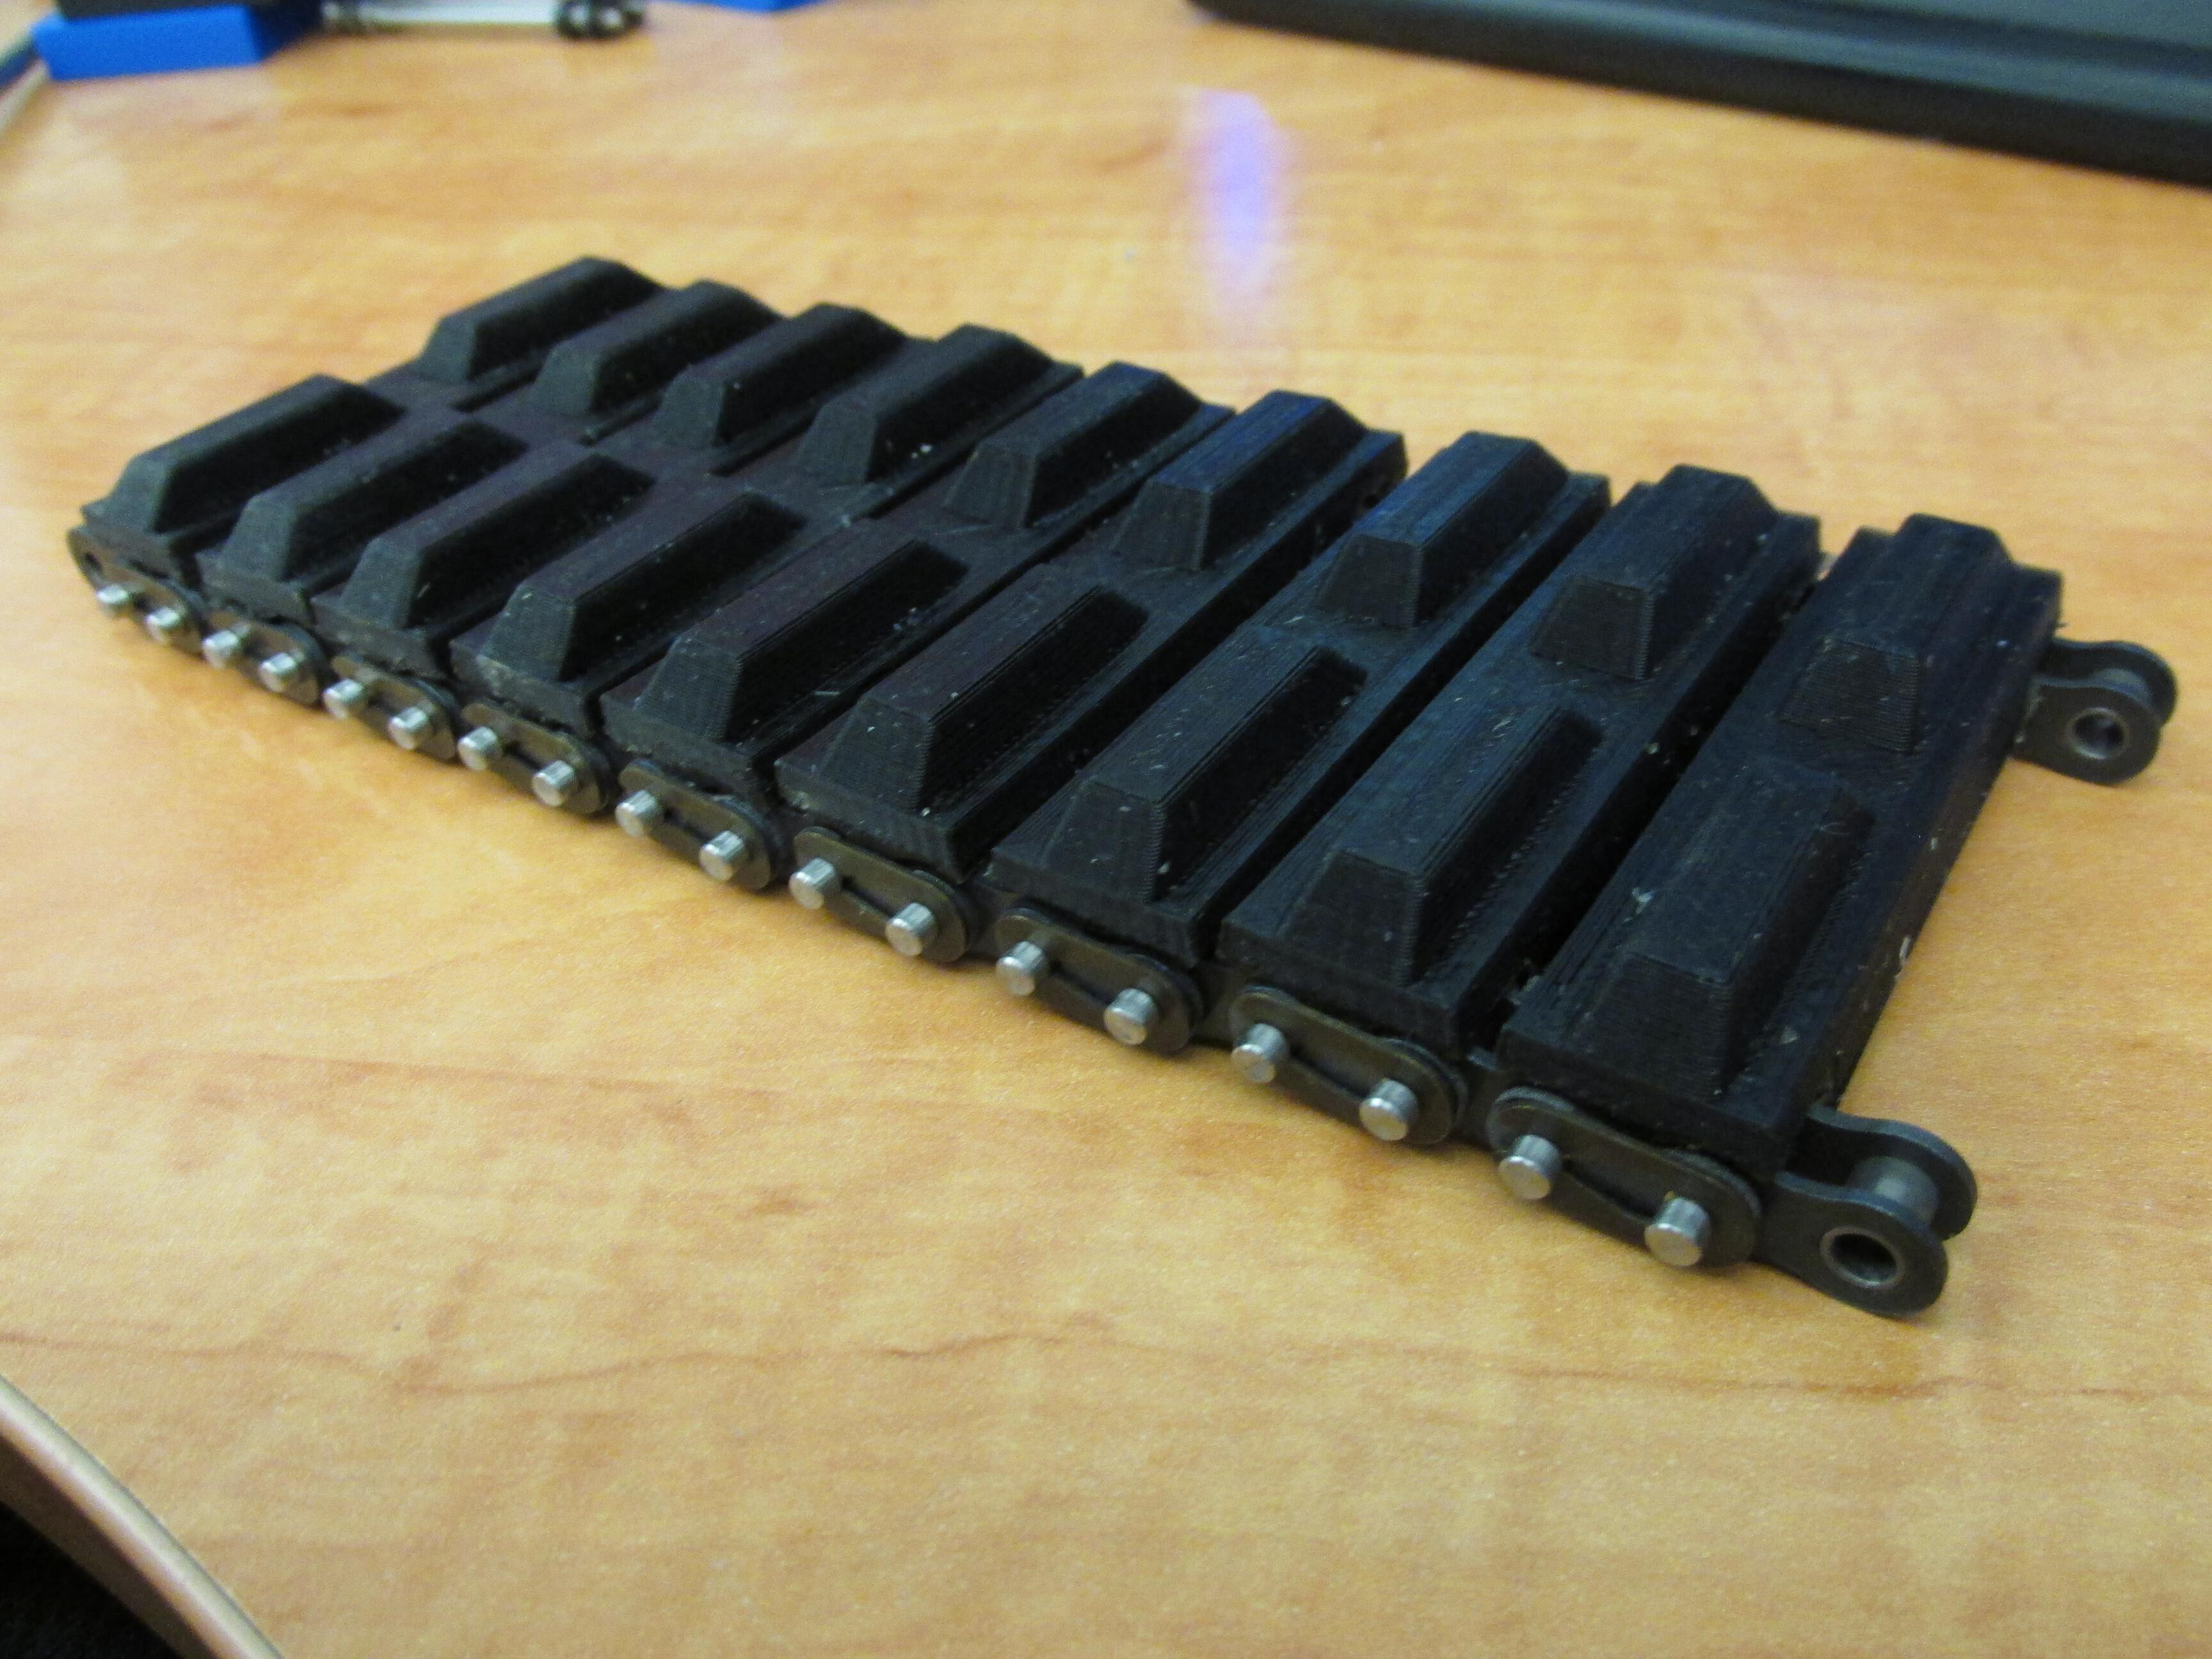
And here is a picture of the parts after I assembled the parts with the roller chain. Now I just need to make about 200 more. Stay tuned.
Discussions
Become a Hackaday.io Member
Create an account to leave a comment. Already have an account? Log In.