It was two or three weeks ago I first looked at the malfunctioning gripper, and got it working again, but I didn't take any photos of the process - well as chance would have it, it started becoming unreliable again, would keep dropping disks as it removed them. So I went thru another process just today to get it up and running again.
Long story short - the linkage arm between the solenoid and the guide disc had bent again, causing the 'reach' to be reduced.
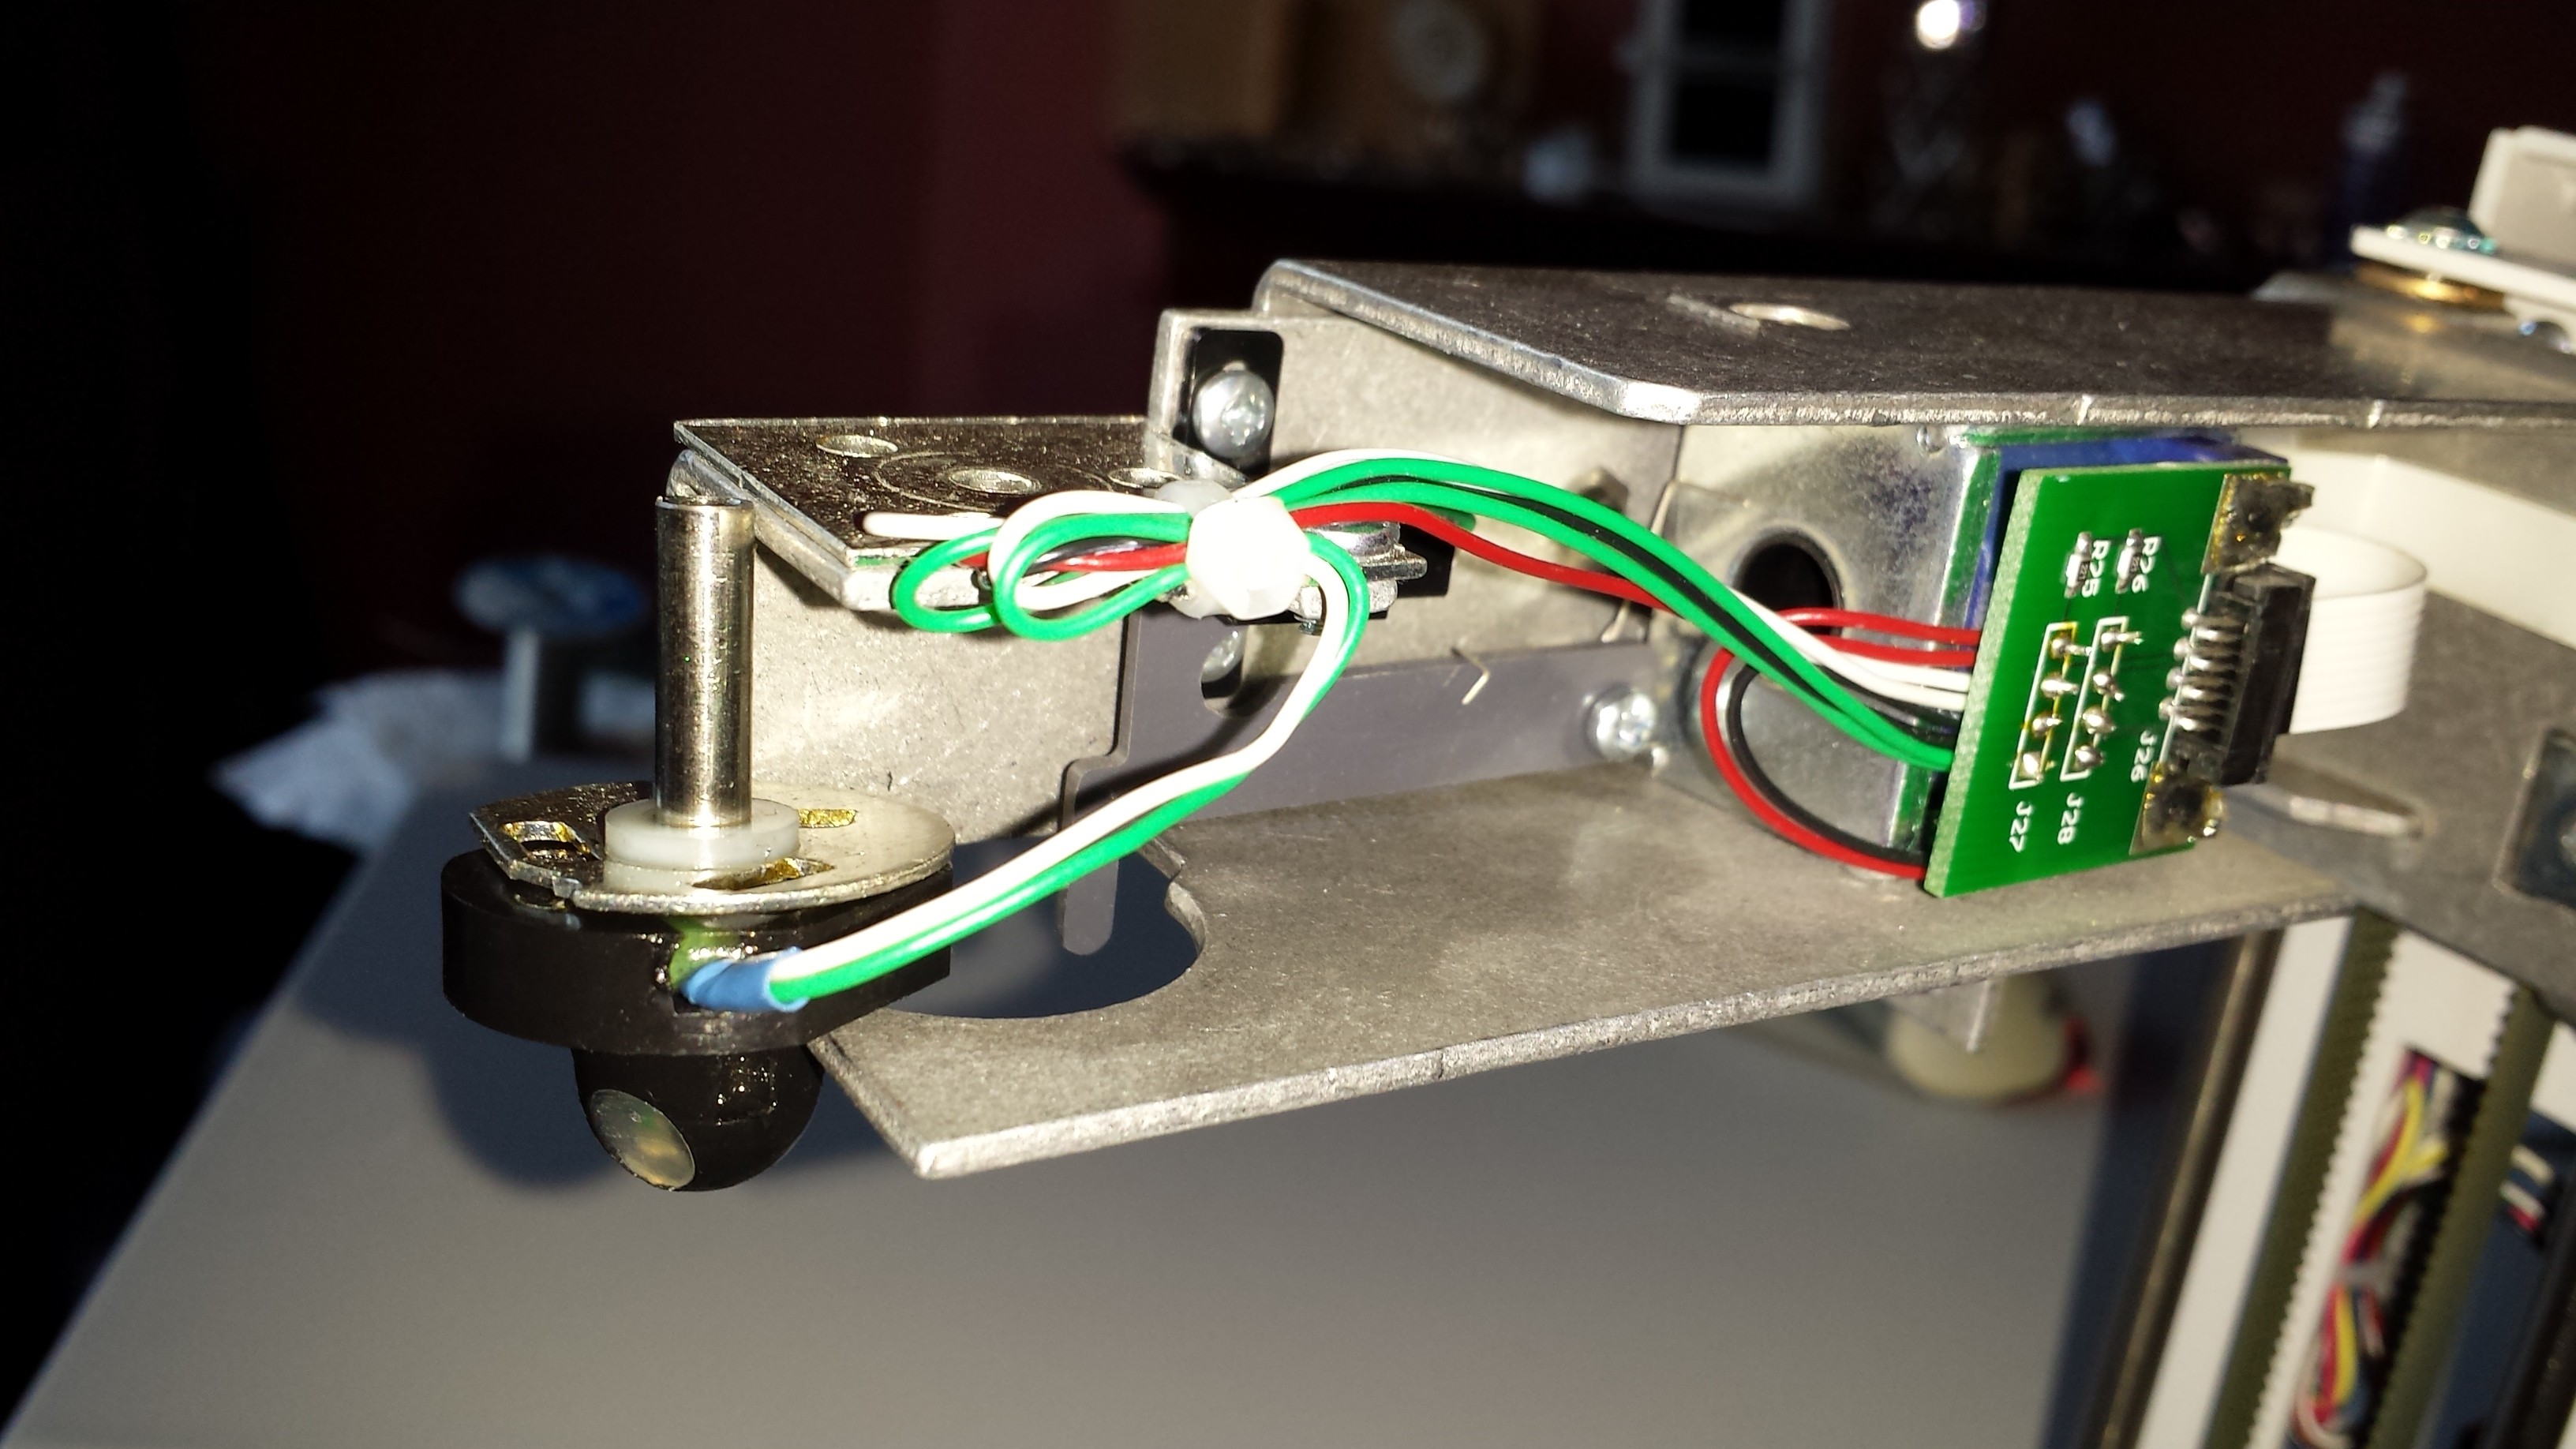
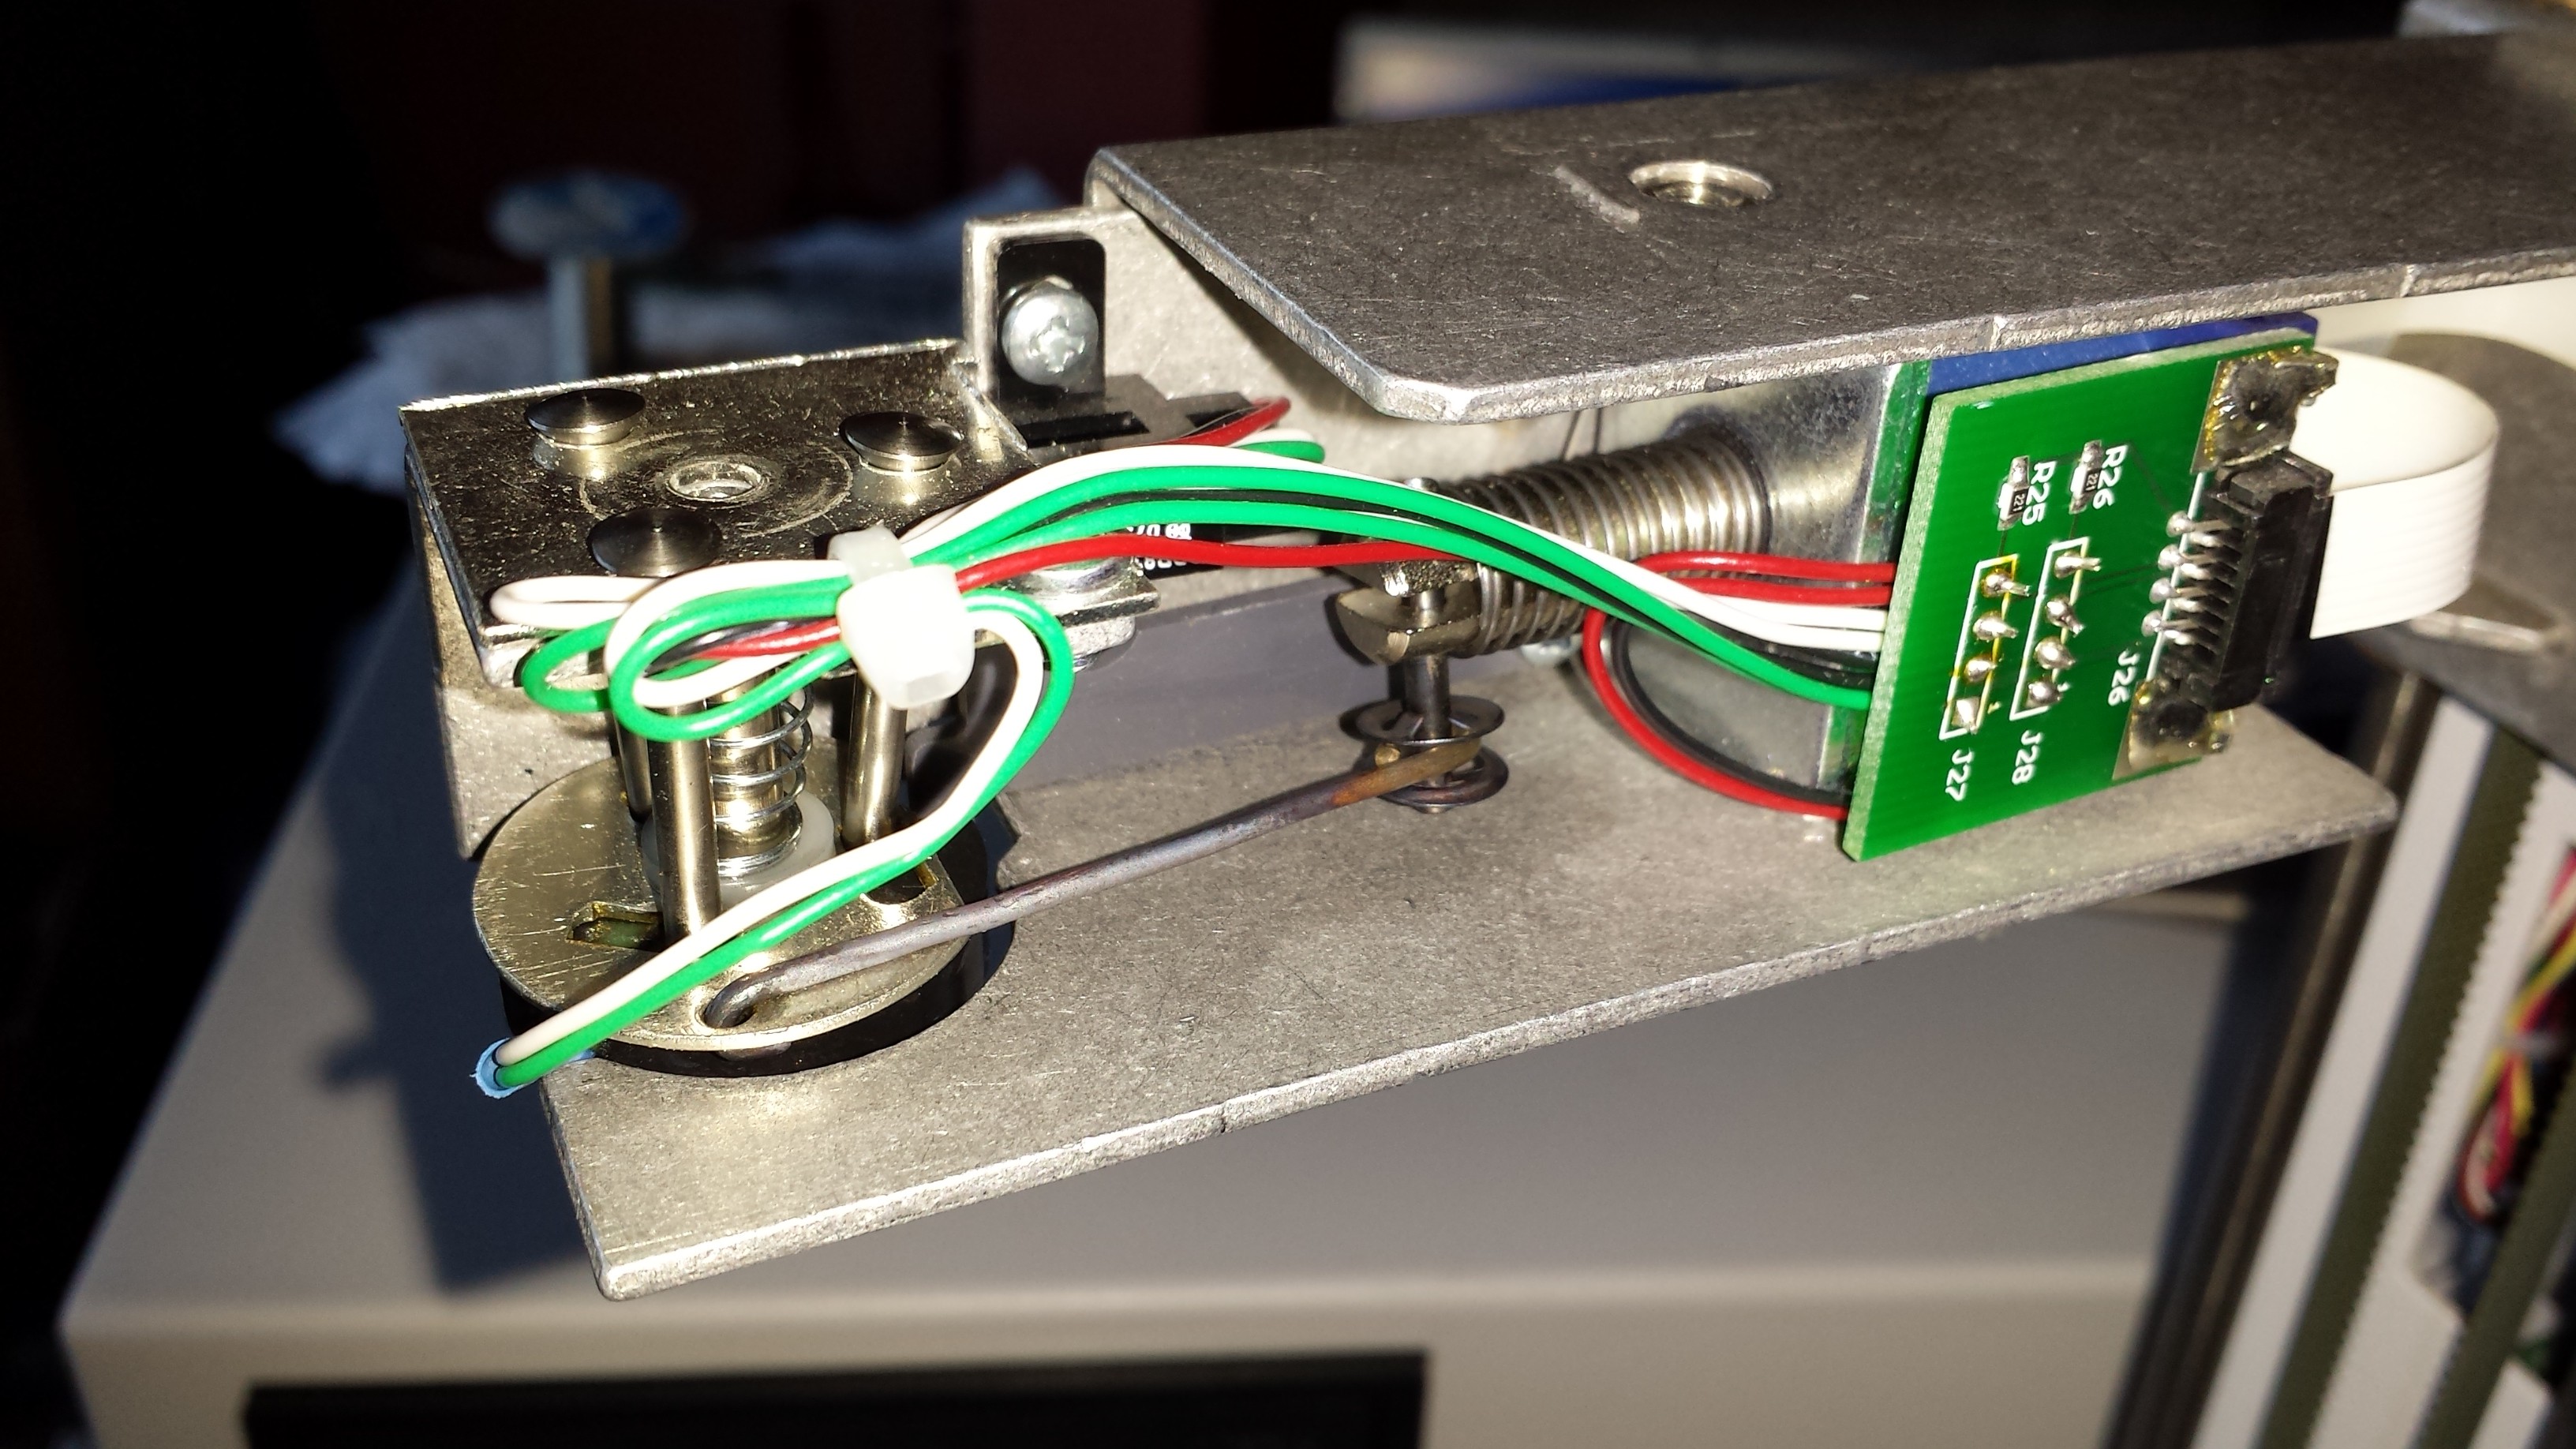
So what you can see here is the mostly dismantled picker mech. The black and chrome component on the left is the picker body, you can see there's an optical sensor on the front for detecting whether it has a hold of a disk, out of shot here is an IR LED towards the middle of the arm on the underside, to IR illuminate the sensor, for this to pick-up on. Above the plastic black picker body is a simple guide disk with three runners.
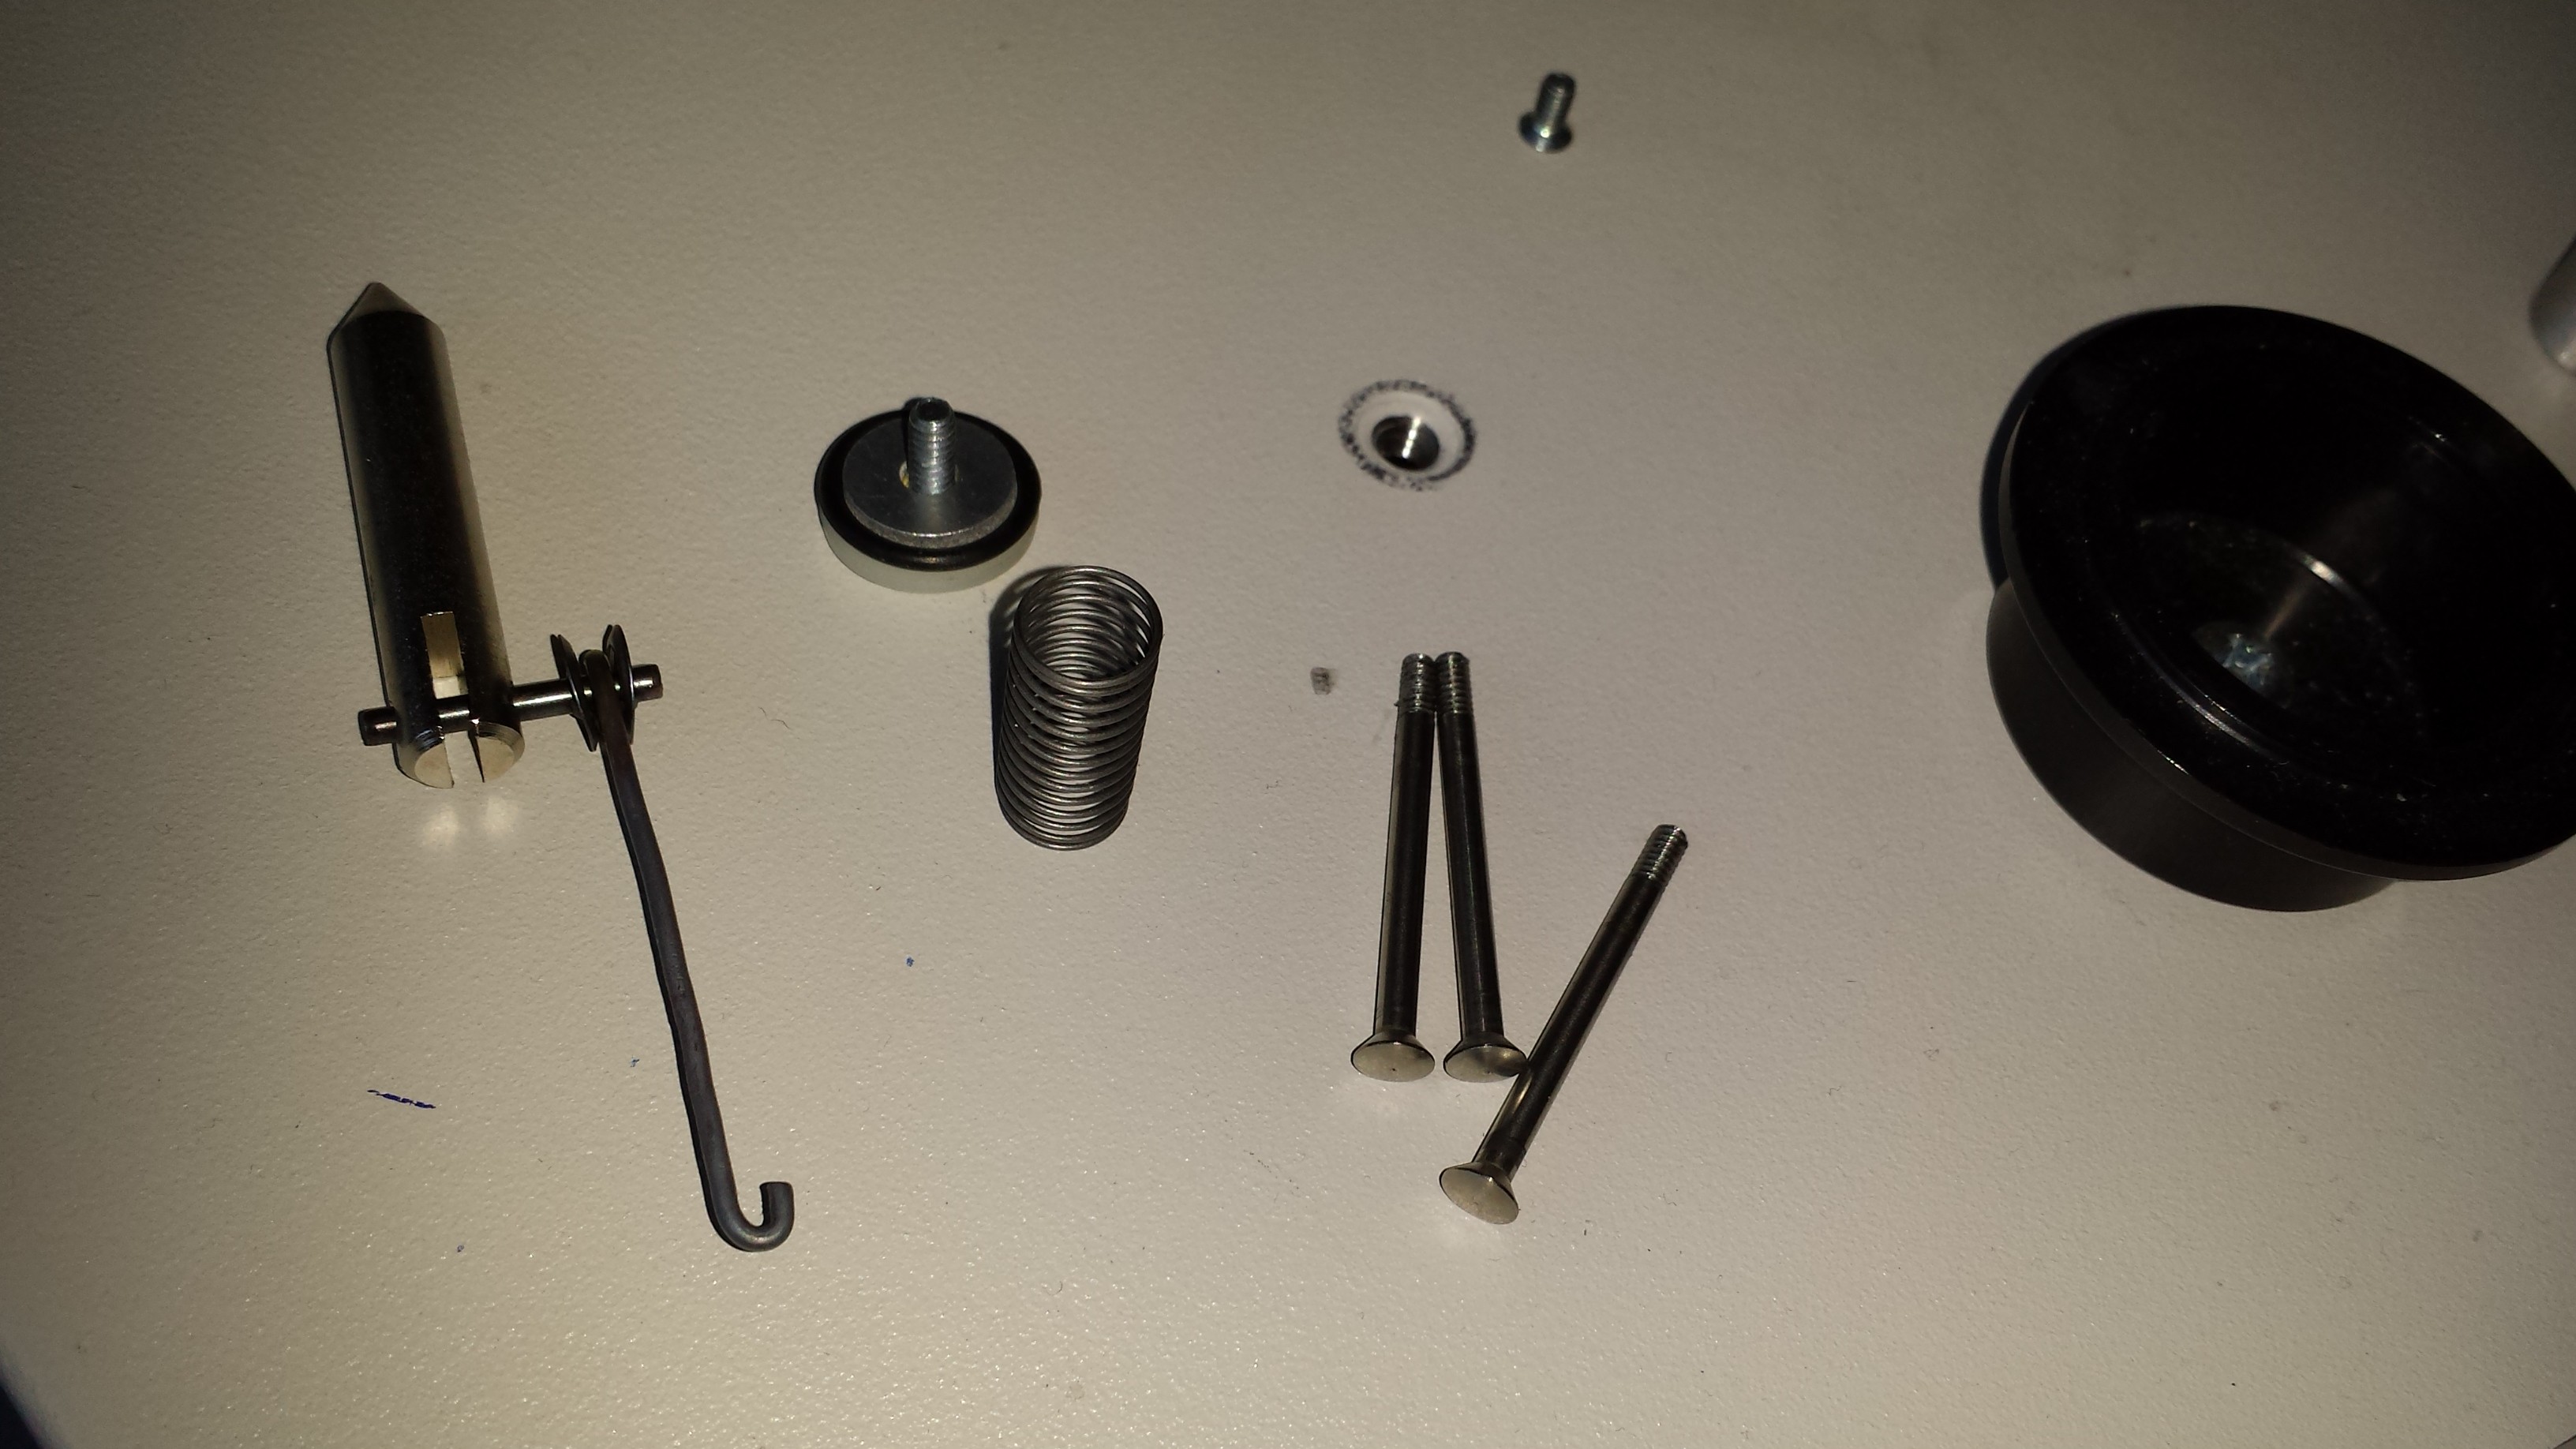
Shown here is the collection of bits that go into the picker, from left to right - solenoid core and linkage arm (this linkage was the culprit). Top washers and screw for securing everything down from the top, solenoid spring, and the three gripper points. These three gripper points are simply screw ended rods of steel. To activate the gripper these are 'protruded' sideways out of the black picker body (by the guide disk runners shown above) and grab the disk.
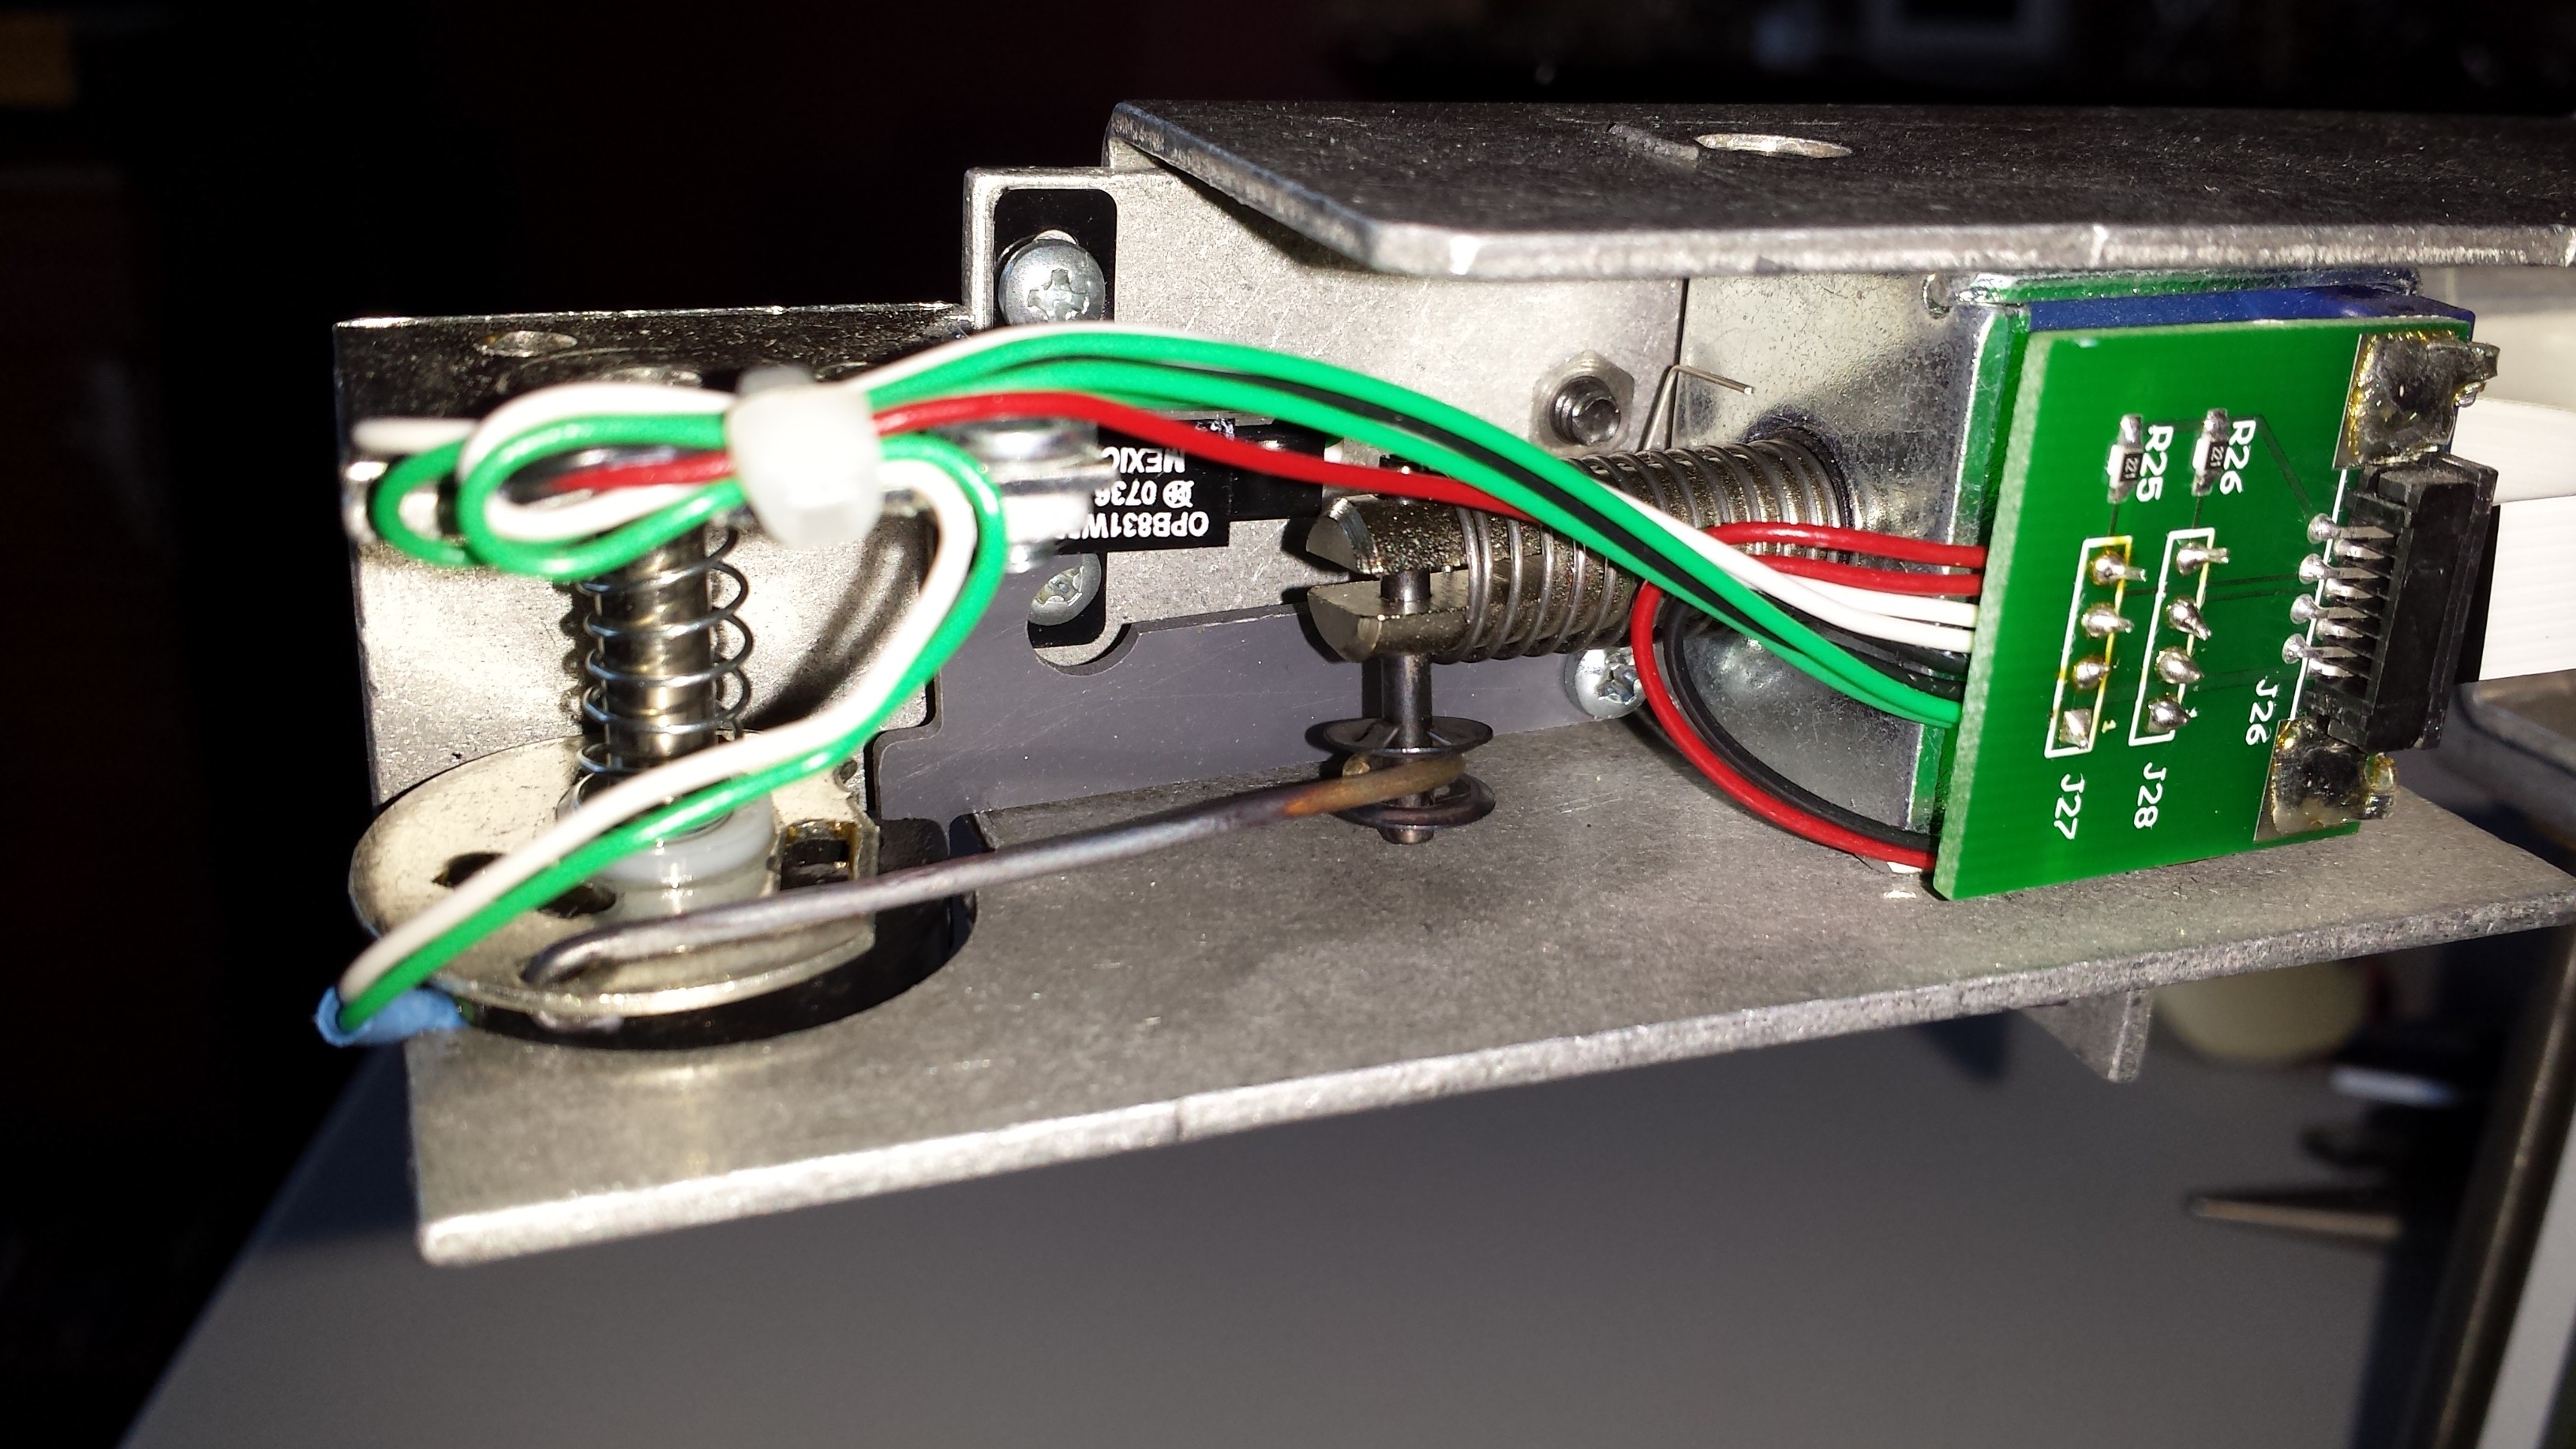
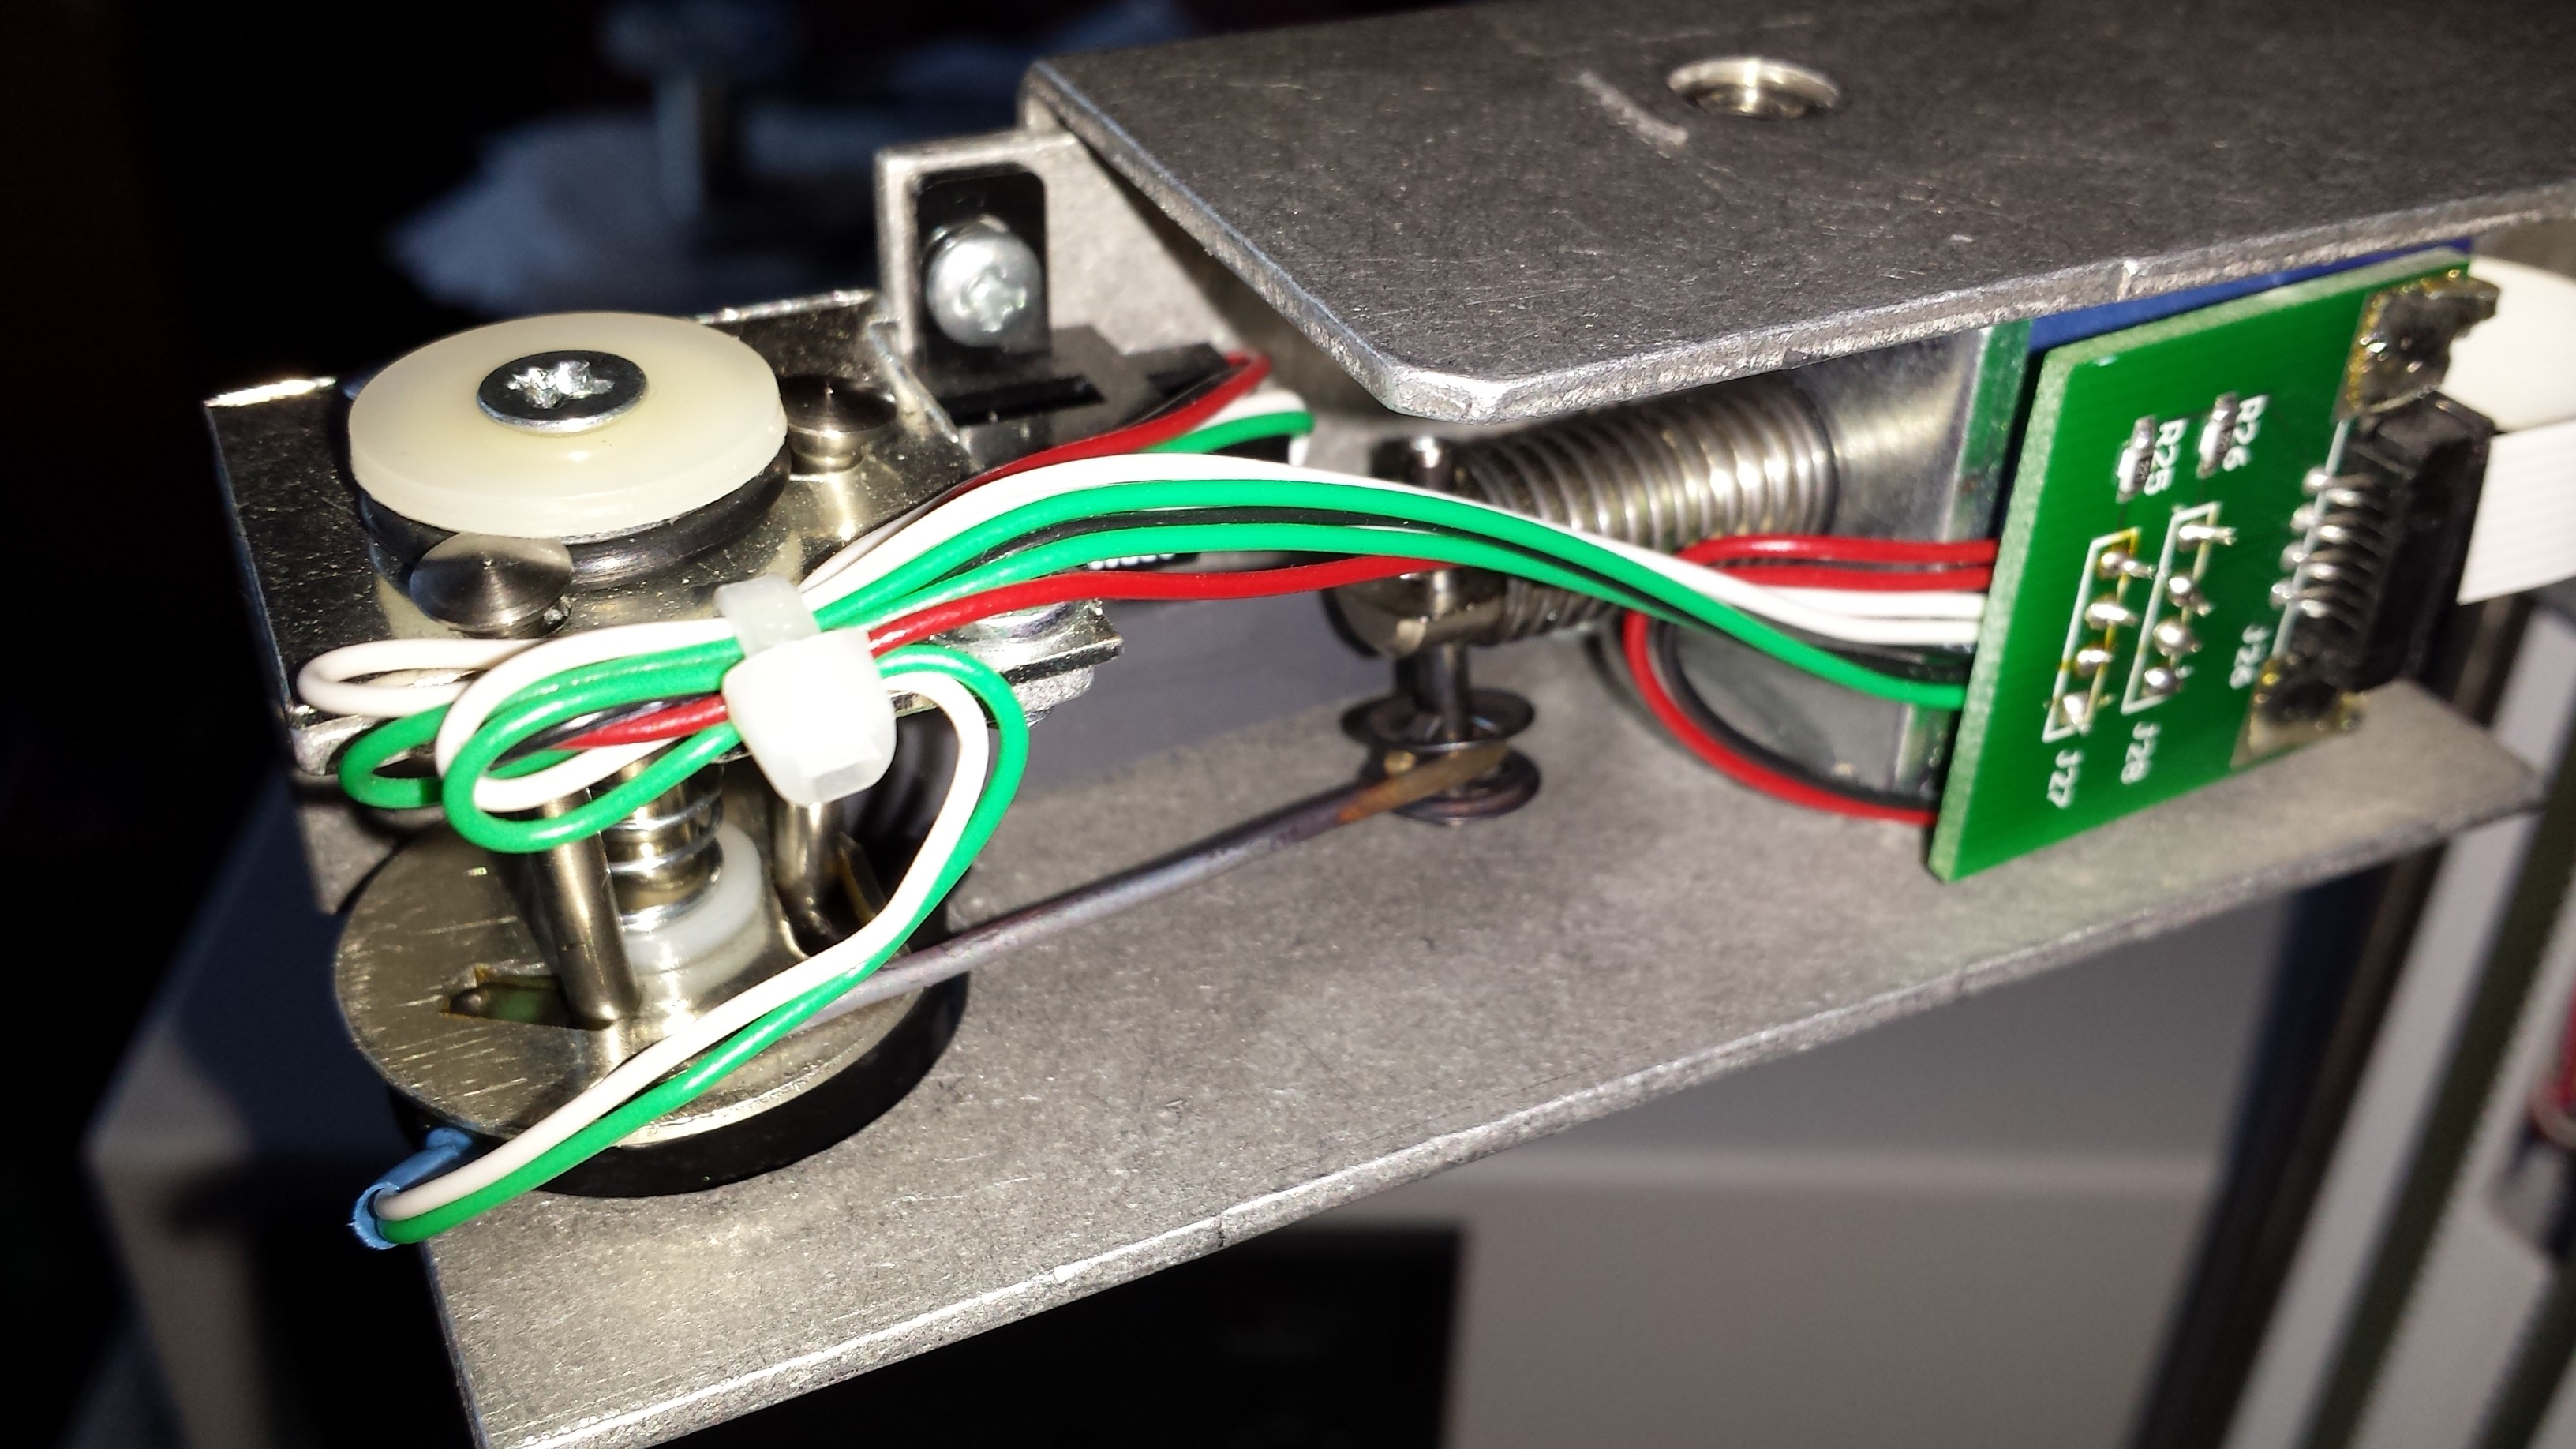
Here the picker is back in position, and screwed in from the opposite side with a single screw (the one at the top of the previous picture). The solenoid core and linkage is back in place attaching to the guide disk.
In the middle is the black component, shown directly between the solenoid and the gripper mech. This is the opto-interrupter switch to detect if the arm has touched anything (It didn't need removing to fix up the gripper mech). The dark grey shape directly below this is a spring-loaded arm that protrudes out the bottom - as anything touches it, it is bumped up and interrupts the beam in the opto-interrupter. Simple!
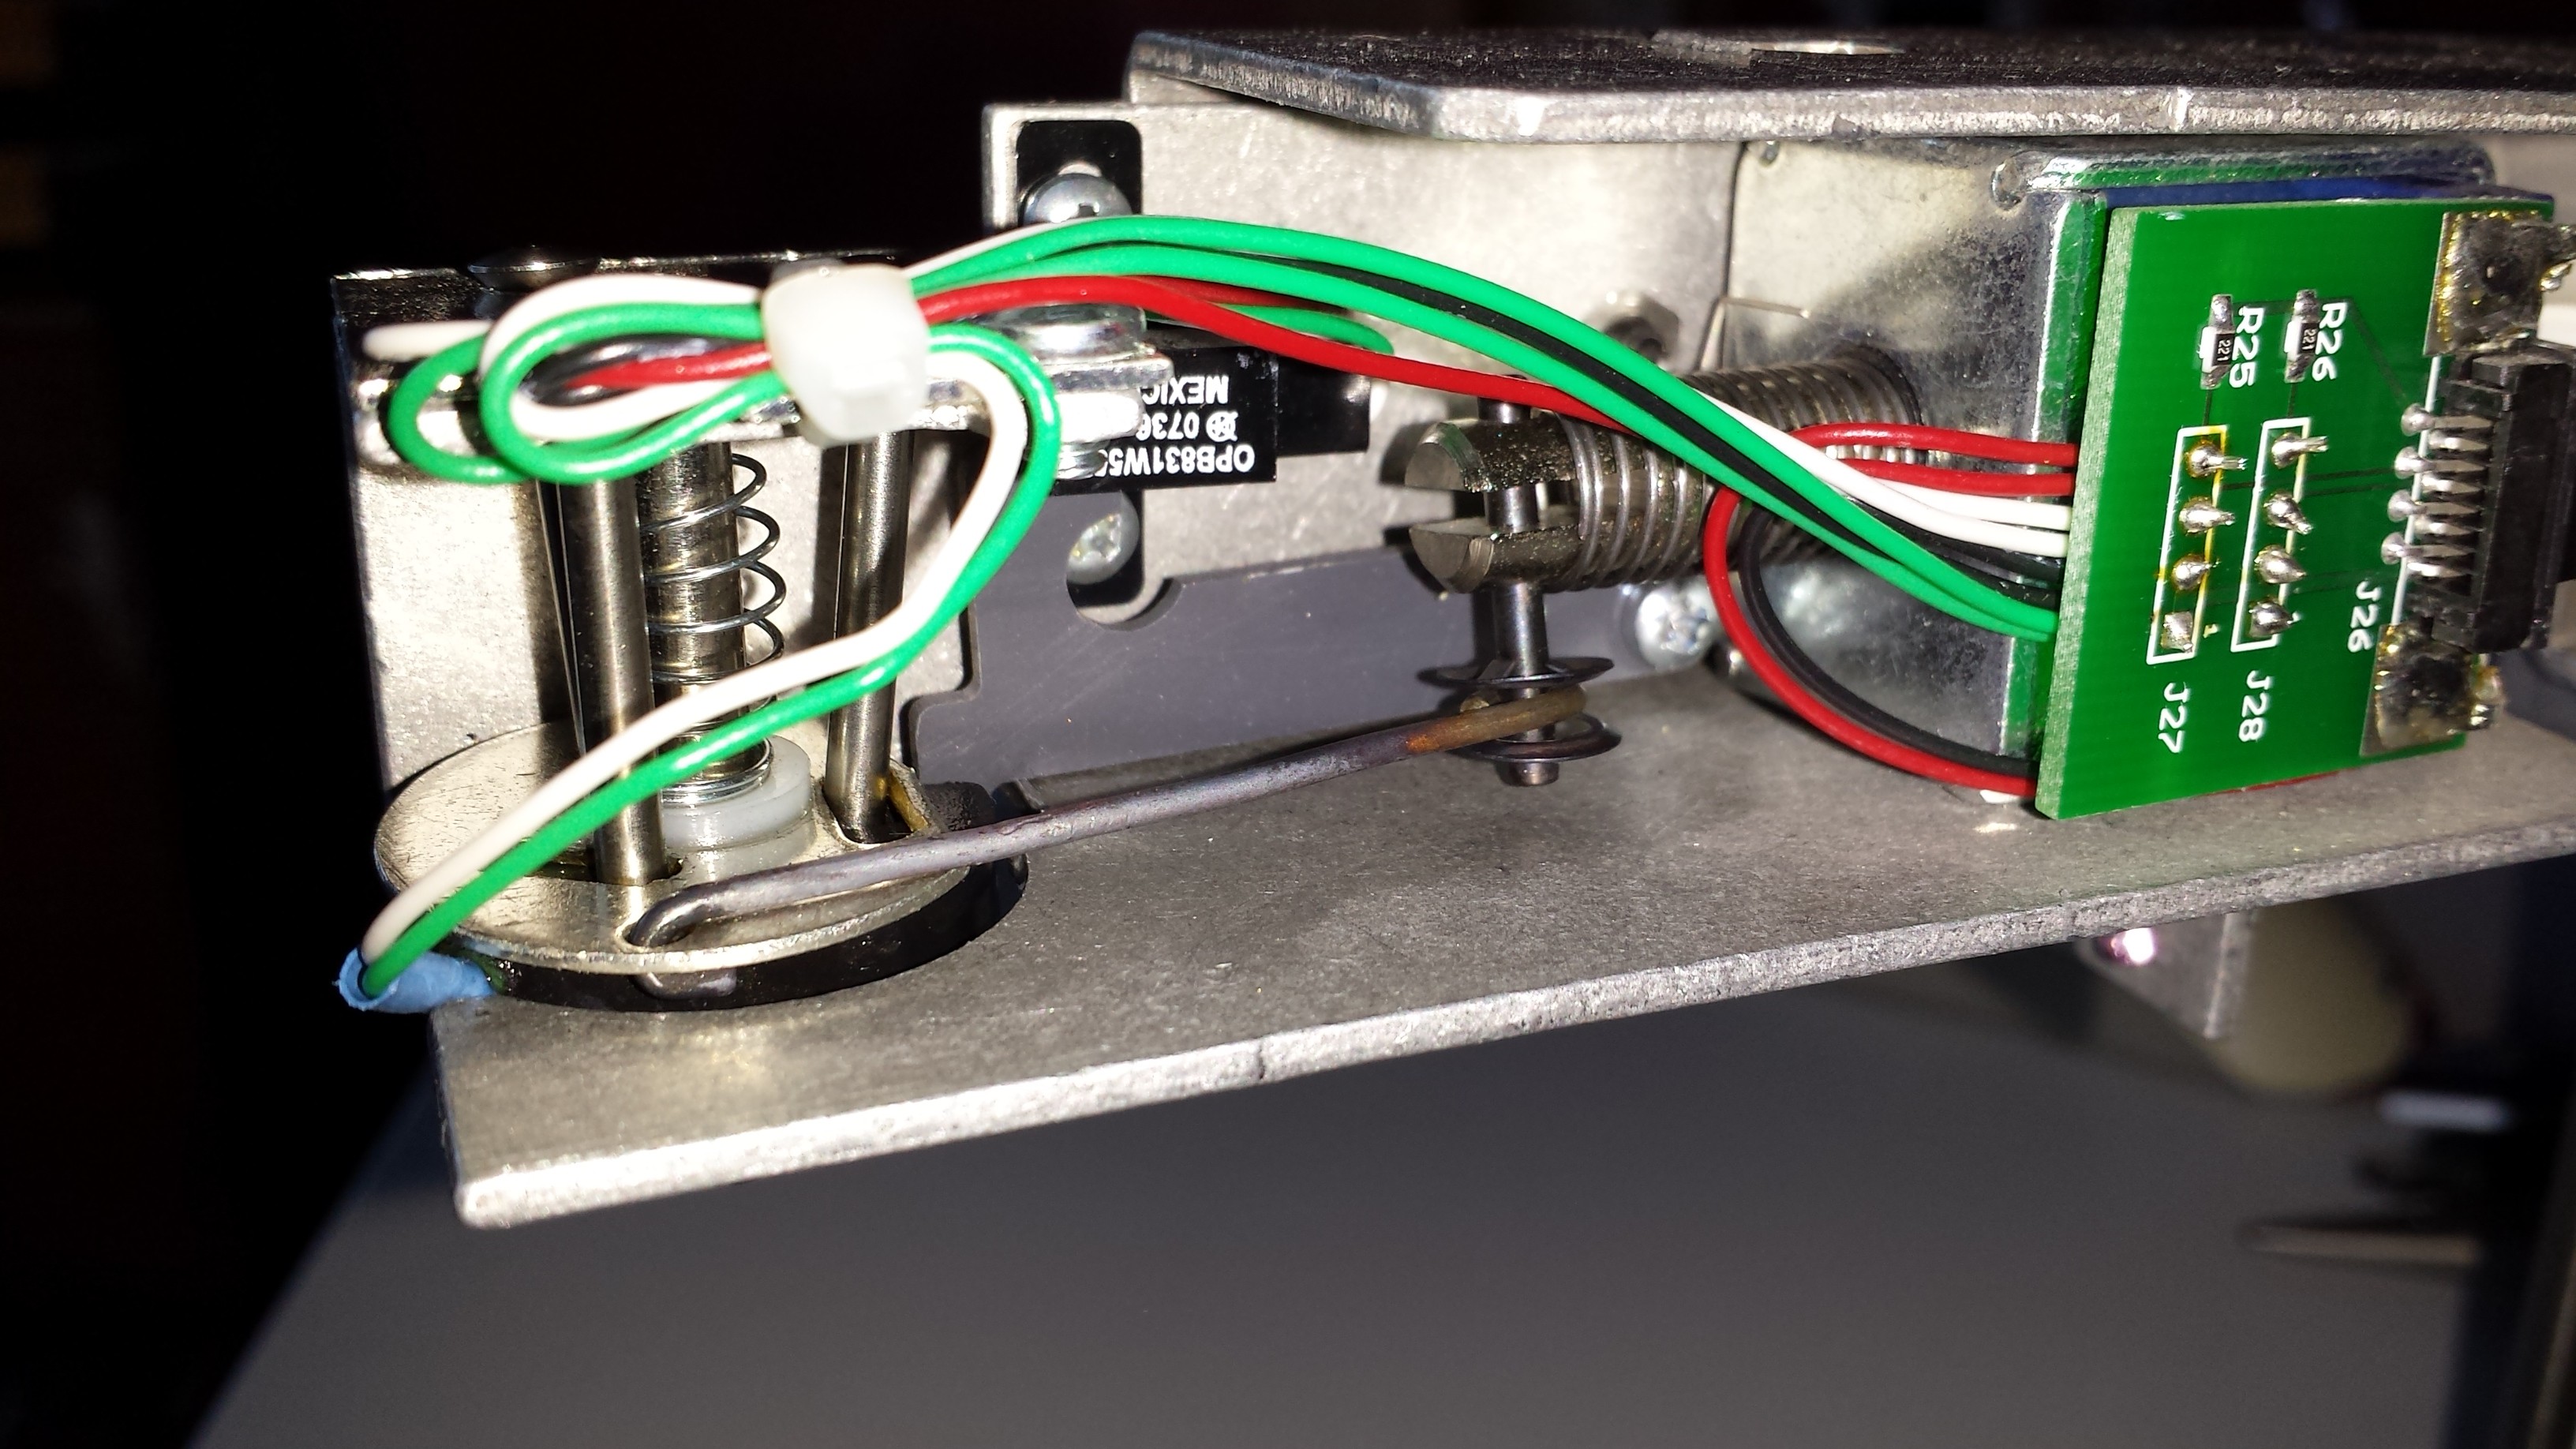
Although not much different a picture, this now shows those three screw ended steel rods. They slide in thru from above, into the runners in the guide disk. From this angle you can now see the small IR LED on the underside (far right).
Above is a different angle showing the rod head inserted into the top. Next this is secured in place with some washers and spacers, then screwed on -
This is essentially everything re-fitted. A great simple mechanism requiring no special tools, and no need for a brain for unravelling clever mechanics, 'cos I sure don't have one!
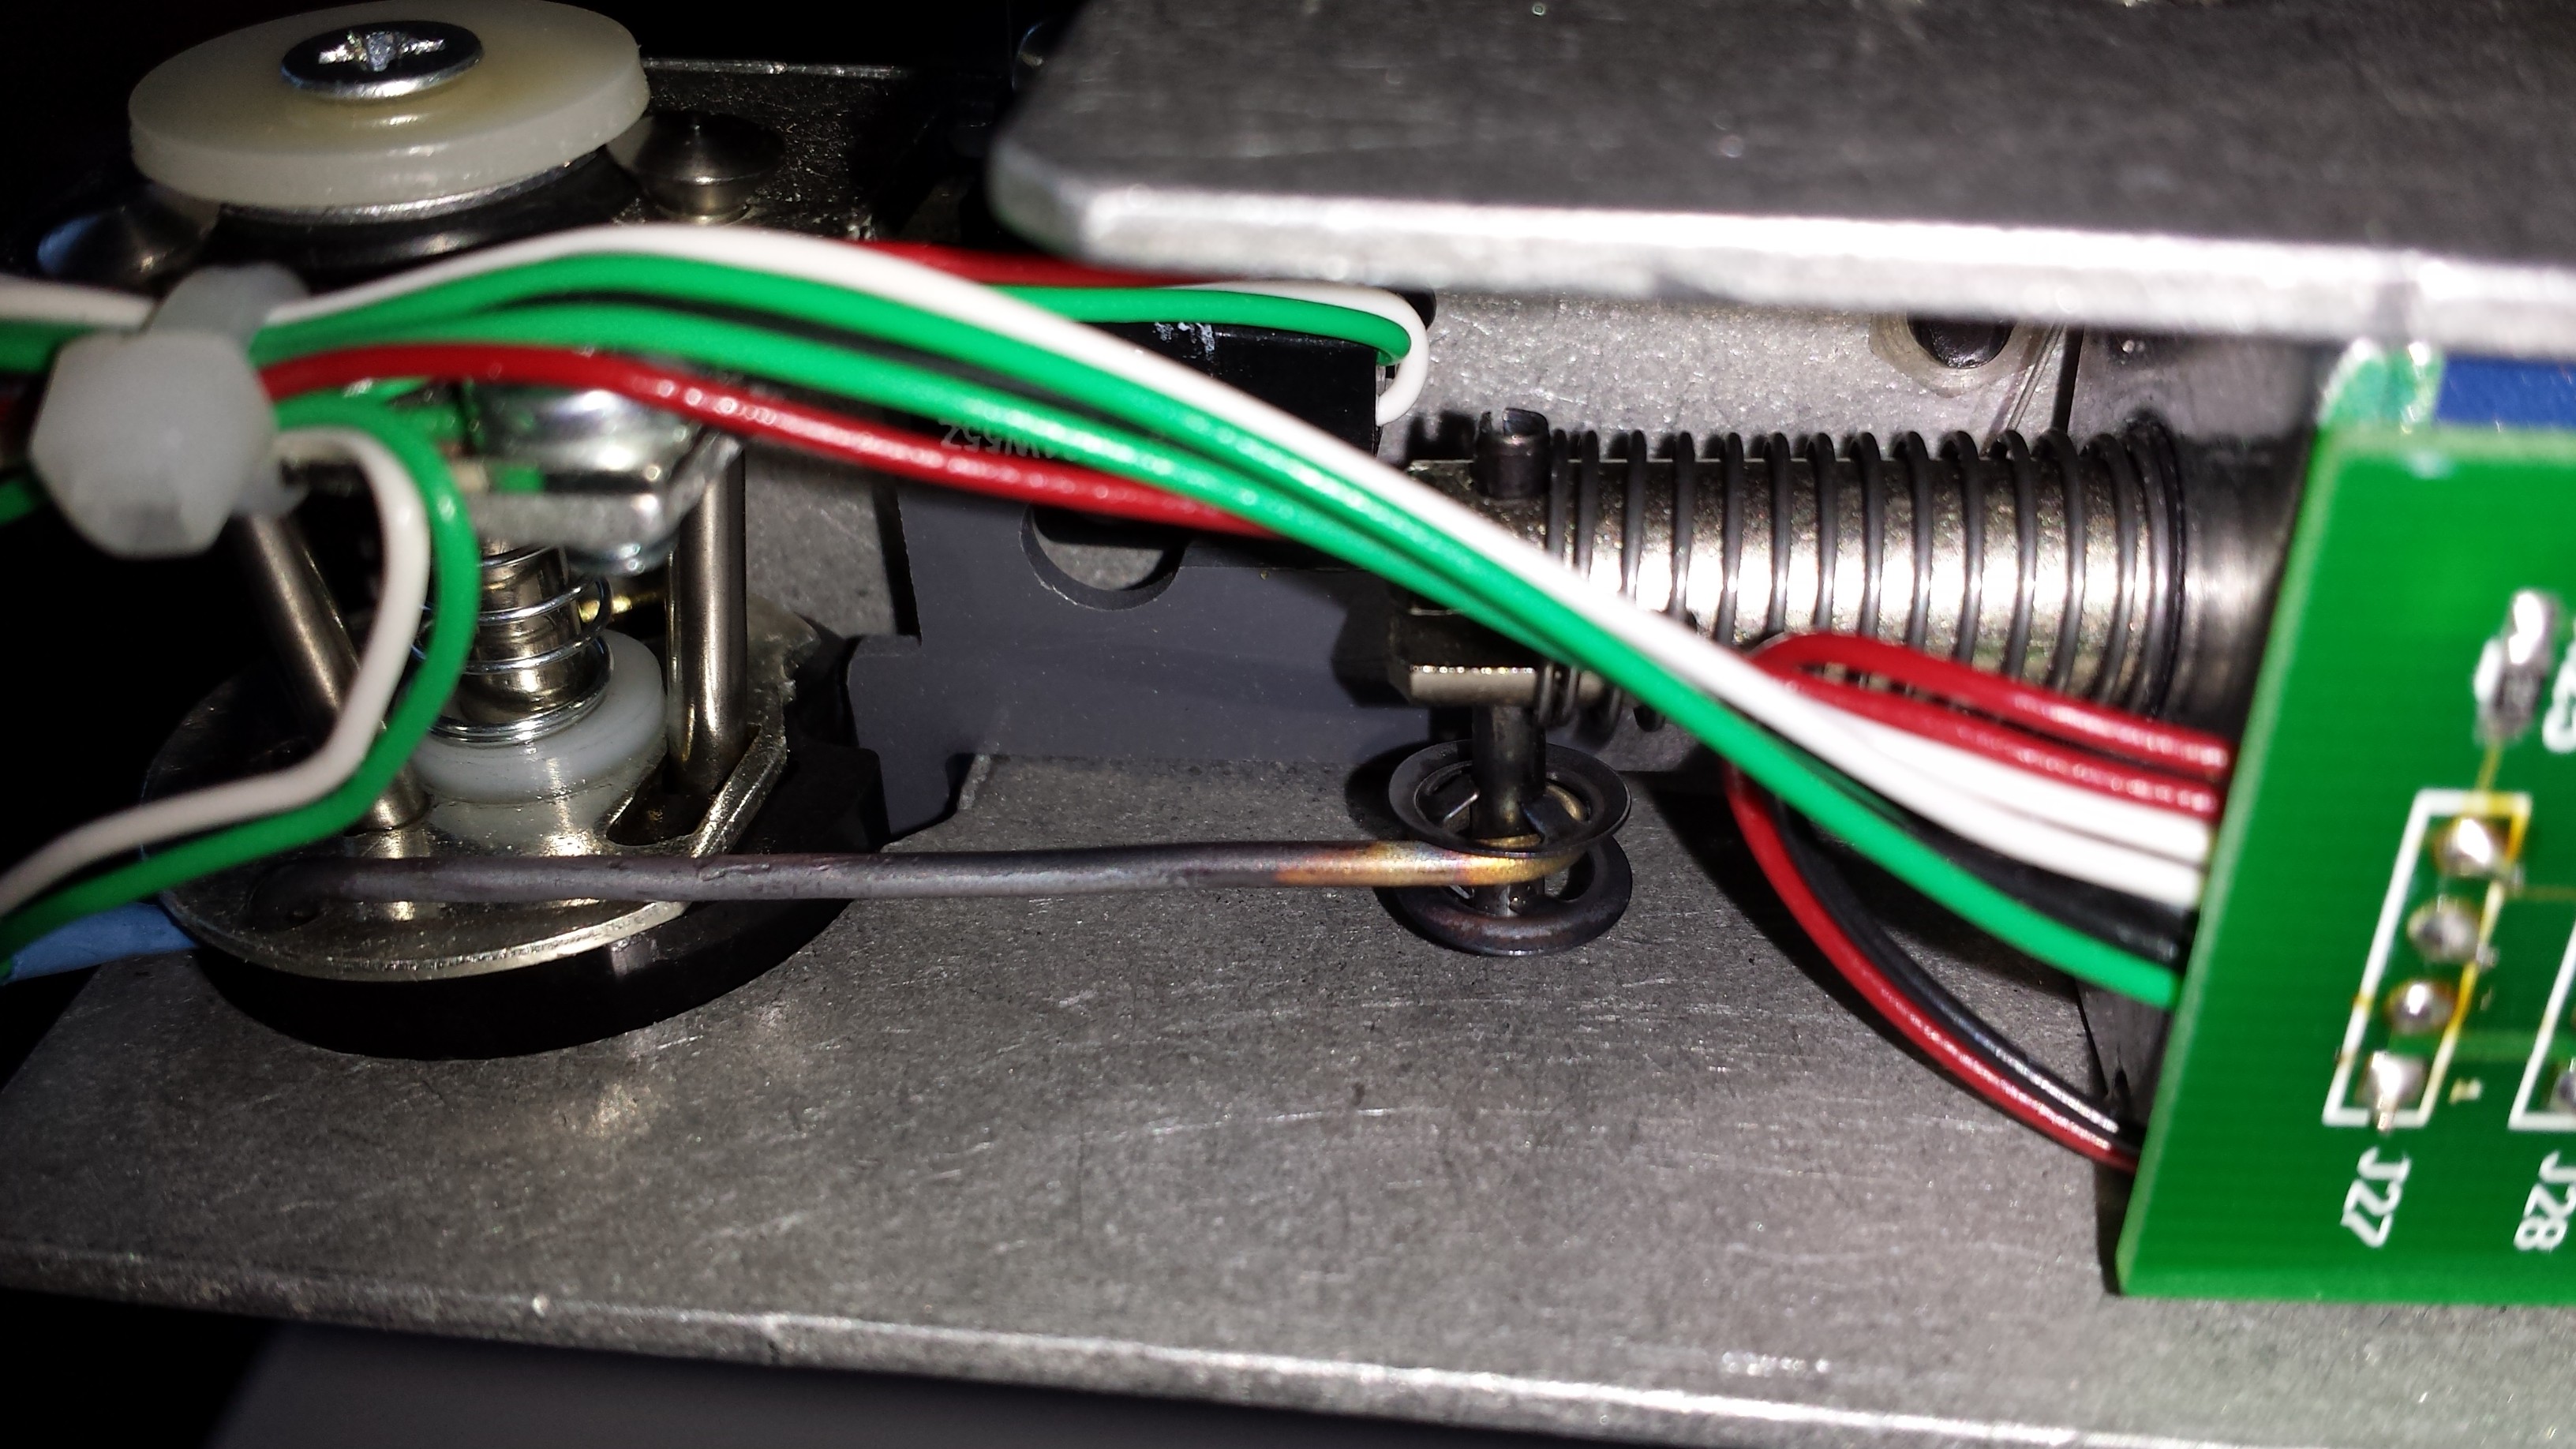
A slightly different view, clearly showing the solenoid, which simply pulls on the core, pulling on the linkage, pulling on the guide disk, which then slides the steel rods up the runners, effectively extending the ends outwards. You can test this yourself by pushing in the solenoid core to see if it works smoothly.
I didn't grab a pic of the underside, but you can see how the threaded ends make it quite easy to see how it's so reliable, the natural 'notches' give it a good way of grabbing only one disk. I never thought of this when I was experimenting with different gripper ideas myself.
First time round I also put on a bit of machining oil on there to help the motion, as it was still binding a bit as it moved. It didn't need any more this time round.
So after this, using my custom software I manually tested out the mechanism 10 cycles, disk in disk out, with 10 successes!
So what did I actually do to fix it, well all was needed was to straighten the linkage wire. You'll notice also that in the last photo above that it looks, well, tarnished a bit! This is because I also tried to make the fix a bit more permanent by heating it with a blowtorch to red hot, then quenching it in water. I then re-heated it and let it cool naturally, although I know I should probably do this properly by gradually reducing the temperature, I don't really have the equipment for this. Hopefully anyway I've gotten rid of any 'internal stresses' in the metal which might cause it to bend again after a couple of hundred or so disks.
Anybody have any ideas if what I did would actually make any difference, I'd be glad to hear about, as I'm no metallurgist.
Discussions
Become a Hackaday.io Member
Create an account to leave a comment. Already have an account? Log In.