 charliex
After a crazzeee work week where I ended up the las vegas NBA summer season doing a shoot, which was bizarre experience for me, my first stadium/sports experience, i've got a few hours to do some work on my OX build.
My TinyG arrived, I'm using it over the the smoothieboard, which i do really like because ethernet and not USB, but the TinyG apparently has some better motion control recommended to me by @Ben Delarre and it seems to be able to handle more amperage per coil. I do have a not yet very far along project to port TinyG edge to the smoothieboard, since i really dislike USB, ethernet is so much better.
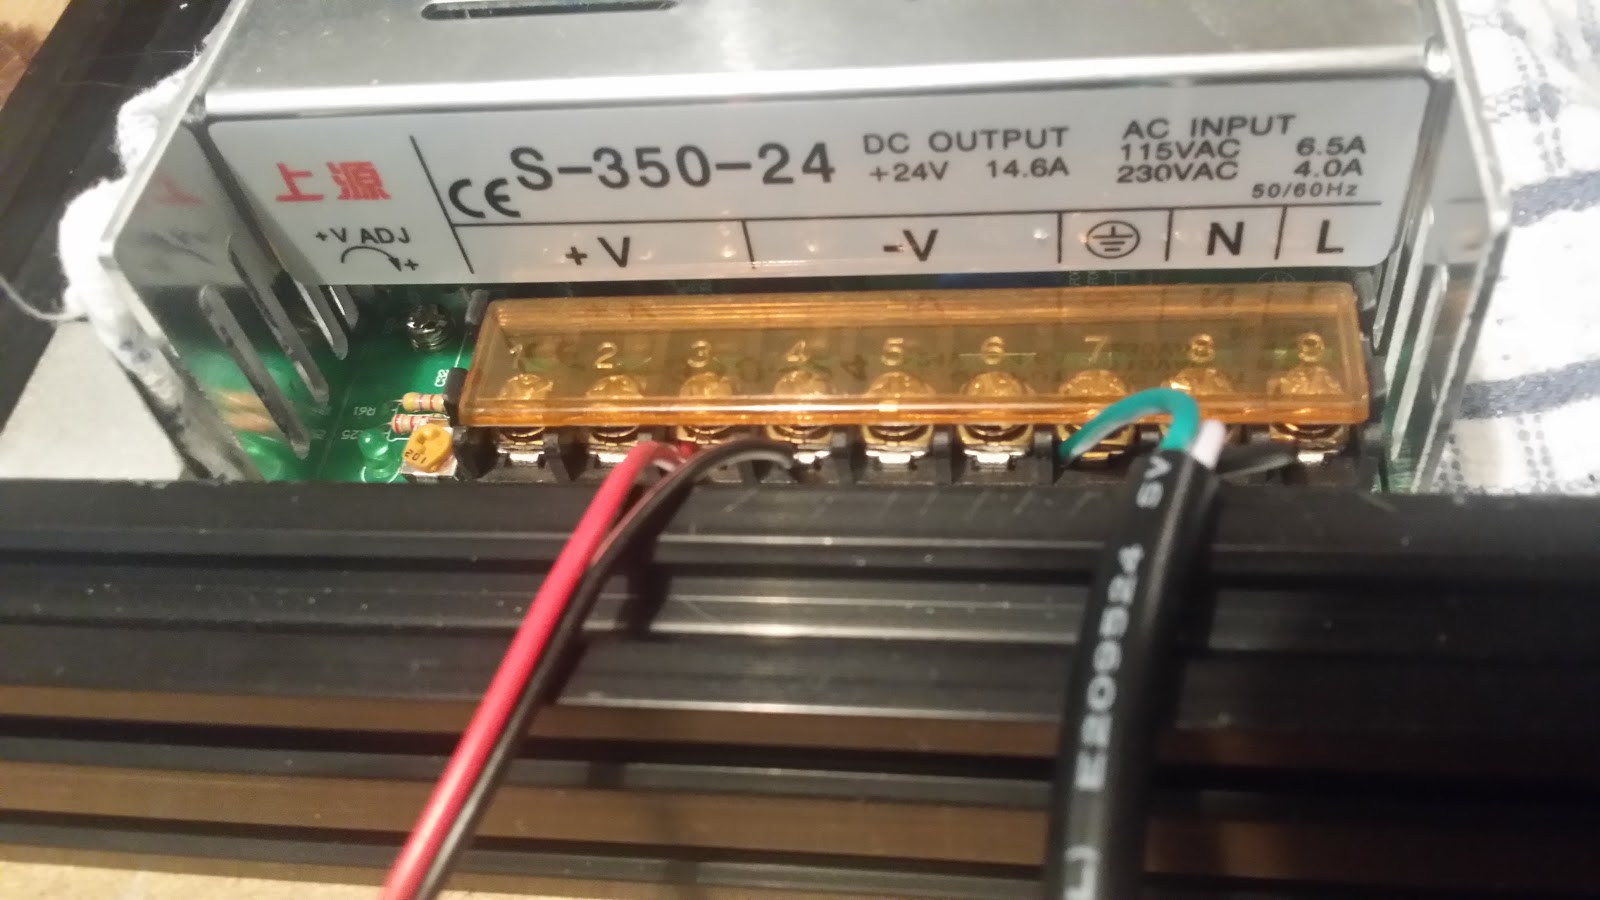
Wired up the TinyG to a 24V Power supply.

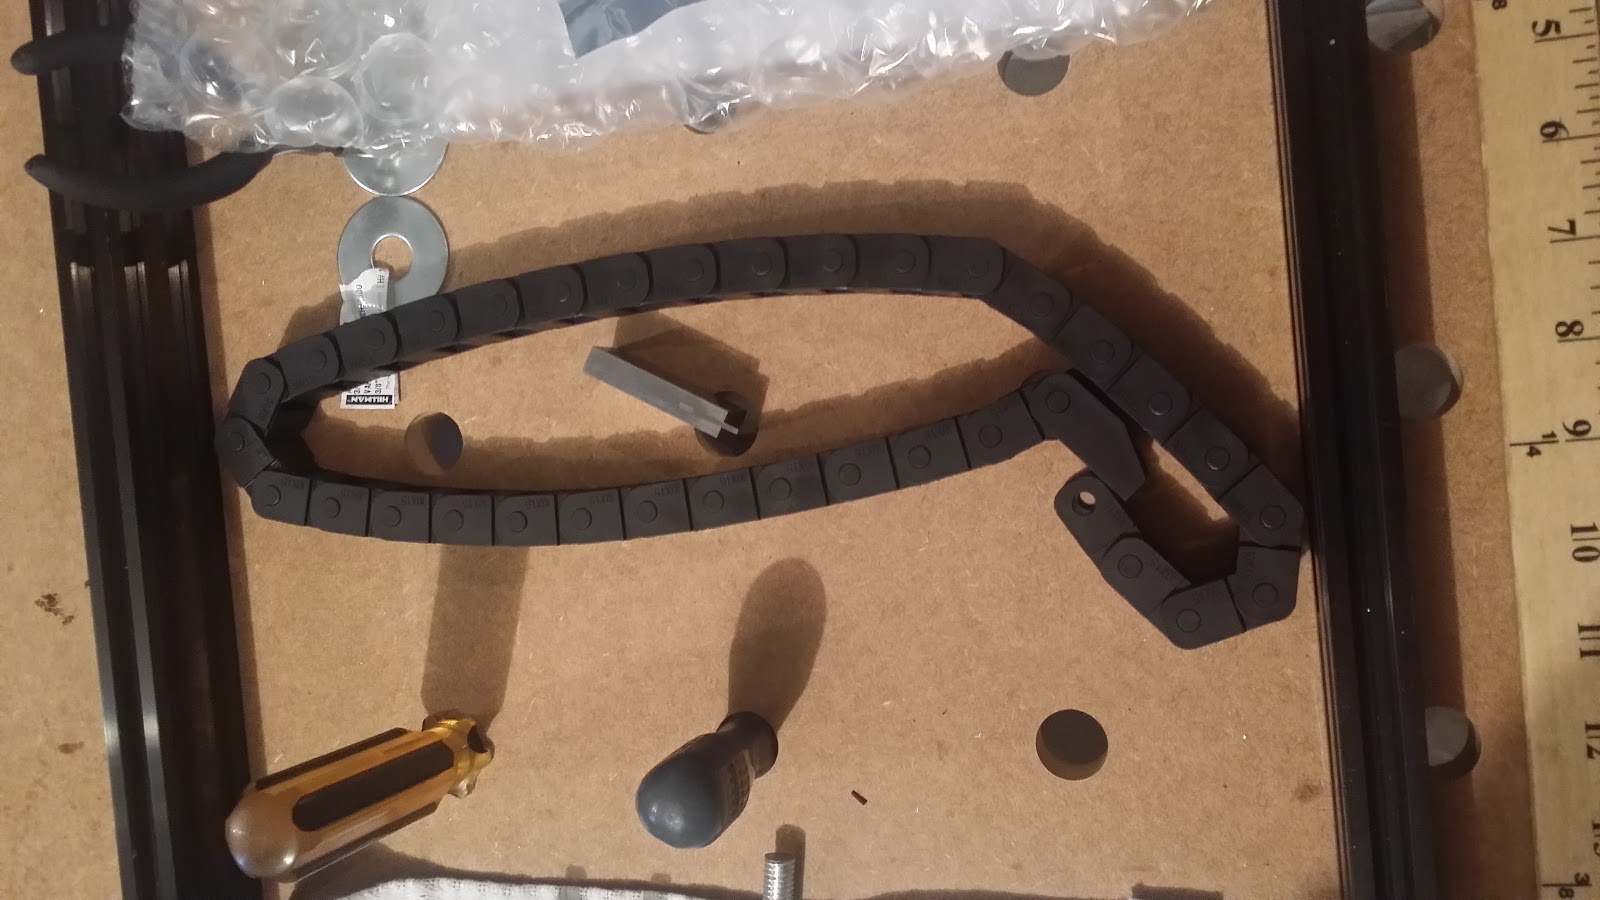
I also picked up some track from amazon, its a tad bigger than I needed, but it'll work.
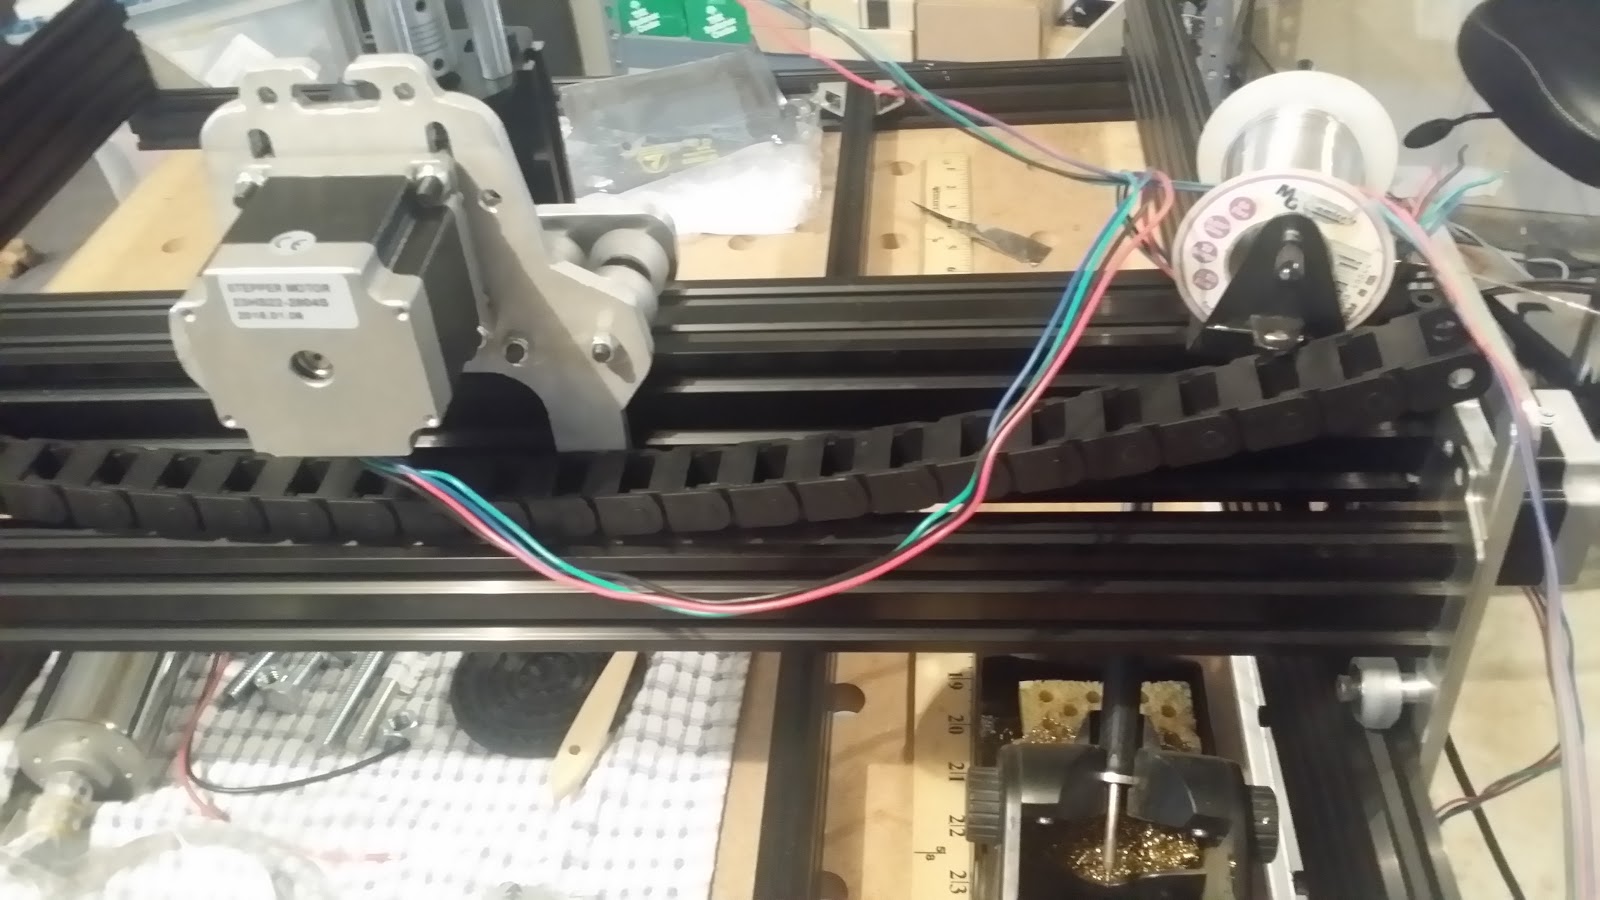
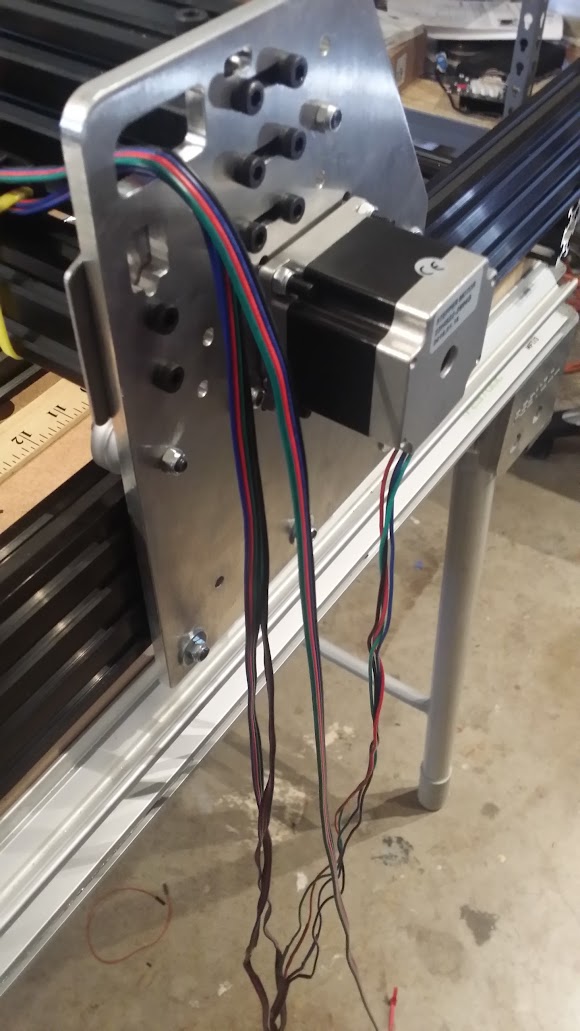
Soldering up extension wires for the steppers, these will run inside the track.
tie wraps til i figure out where it all goes
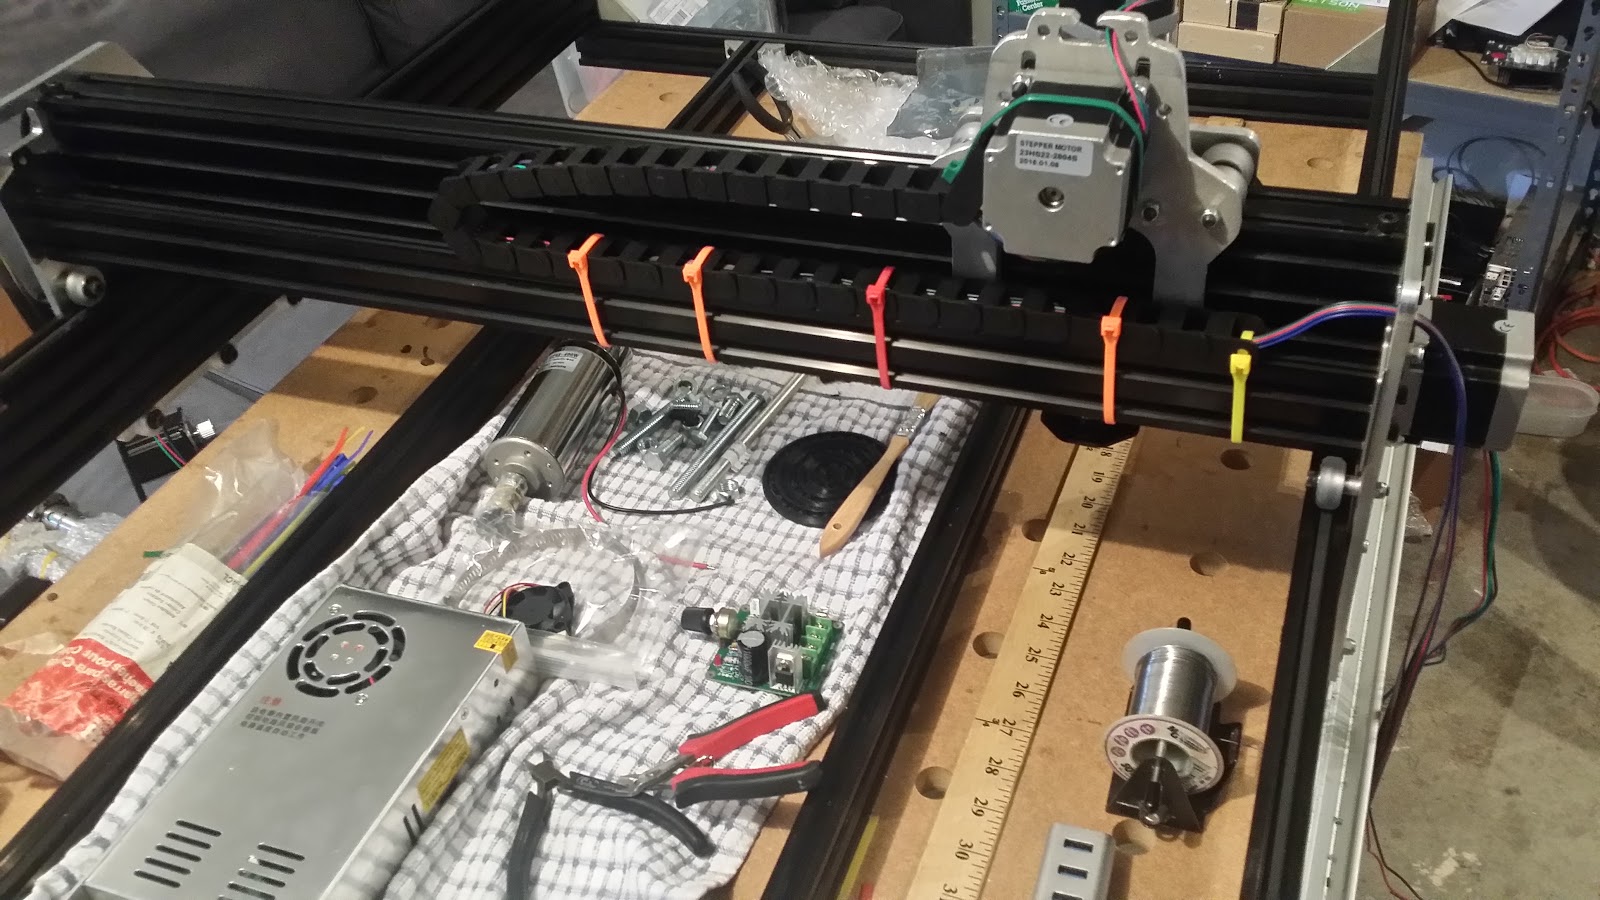
ended up a little short here, can just add another.
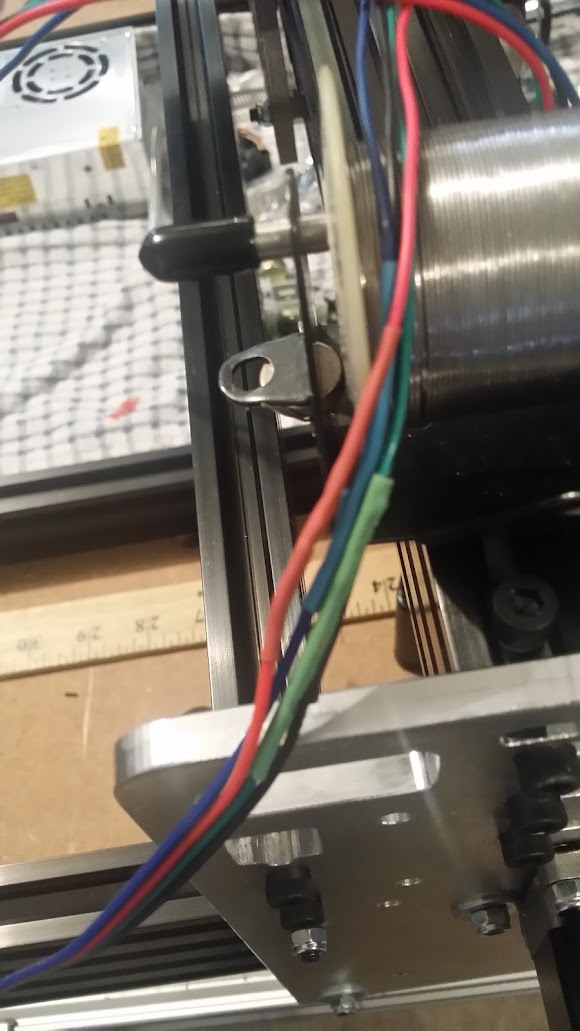
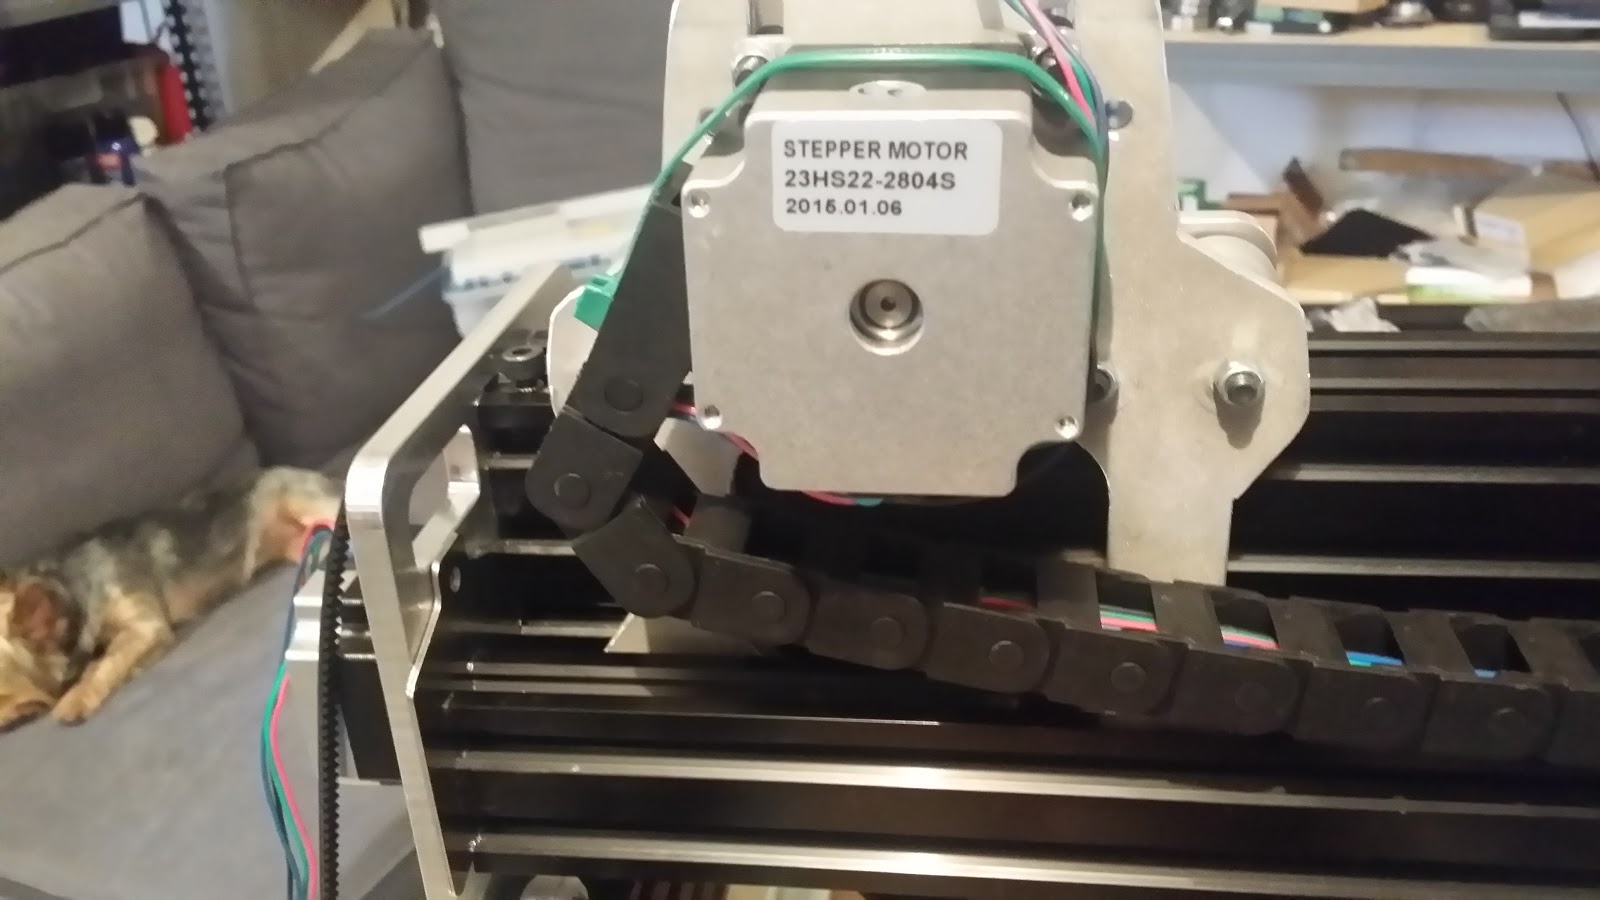
so while wiring up the two steppers for one side of the X and the Z i was moving it back and forth and thinking hmm while the strange resistance, of course since i was adding one piece of 4 conductor wire to the same place, i just soldered one motor to one end, then other motor to the other end of the wire then i'd pull them through and cut the wires. Of course that meant one motor was feeding the other....
Now to go back and add tho two Y motor's , i now realised i hadn't got that far yet and looking to see if the TinyG supports a dual mirror mode like the smoothieboard does, and it does https://github.com/synthetos/TinyG/wiki/Dual-Gantry-Configuration great, also noted that of course the other motor runs the opposite direction...
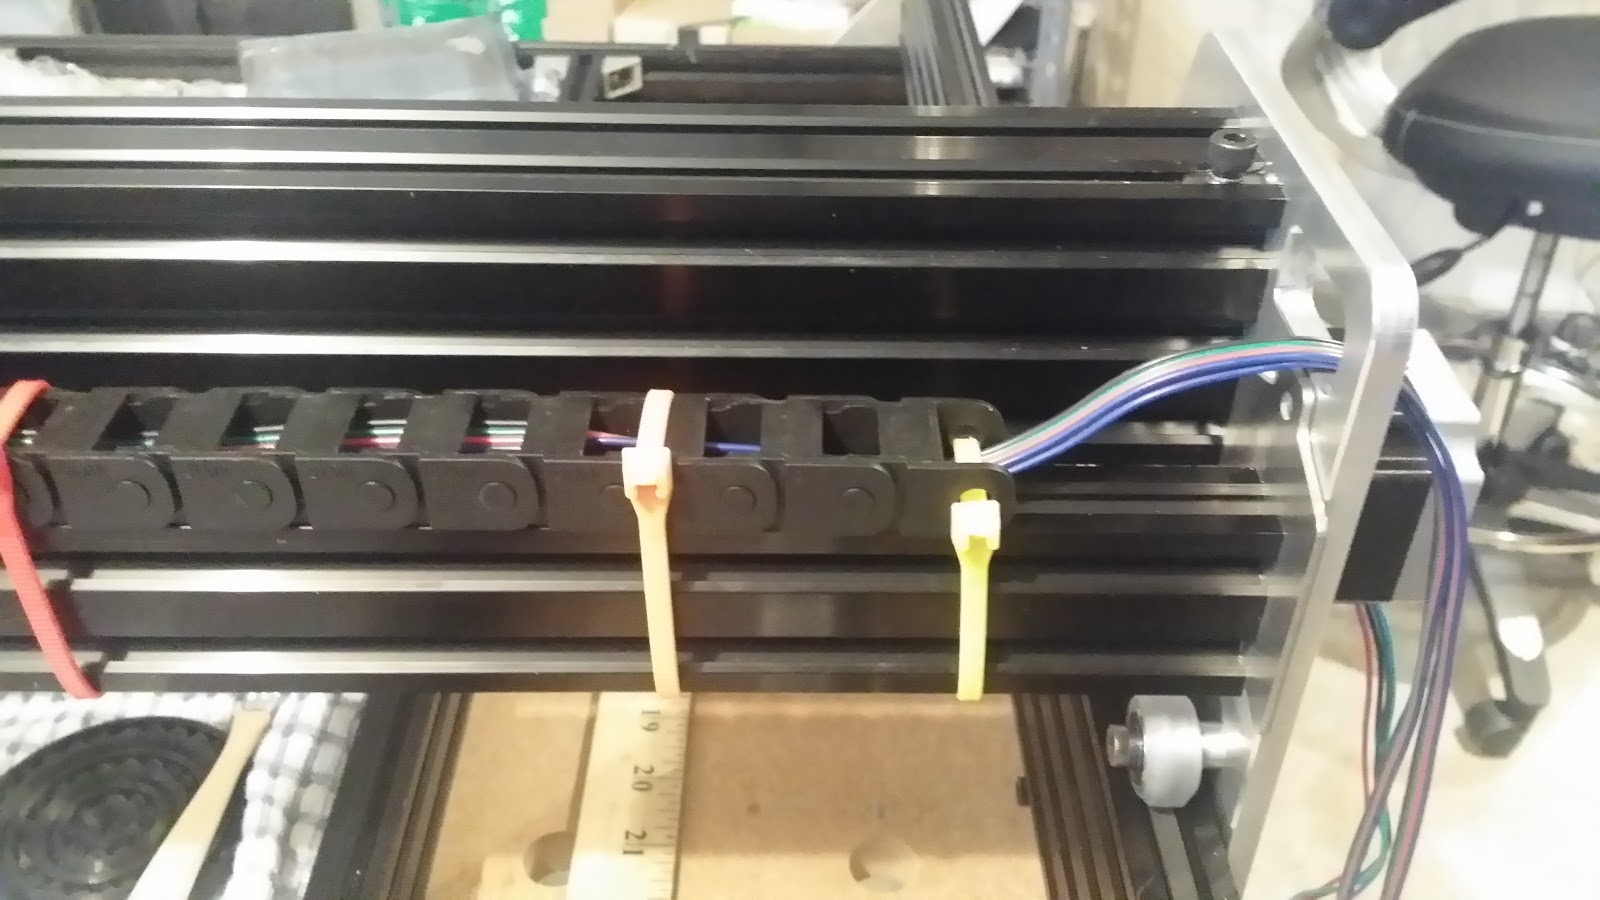
Right Y motor wiring added, leaving it with lots of cable for now in case of reasons.

threaded it into the extrusion then into the trunk , in the middle where it stops moving for the X.
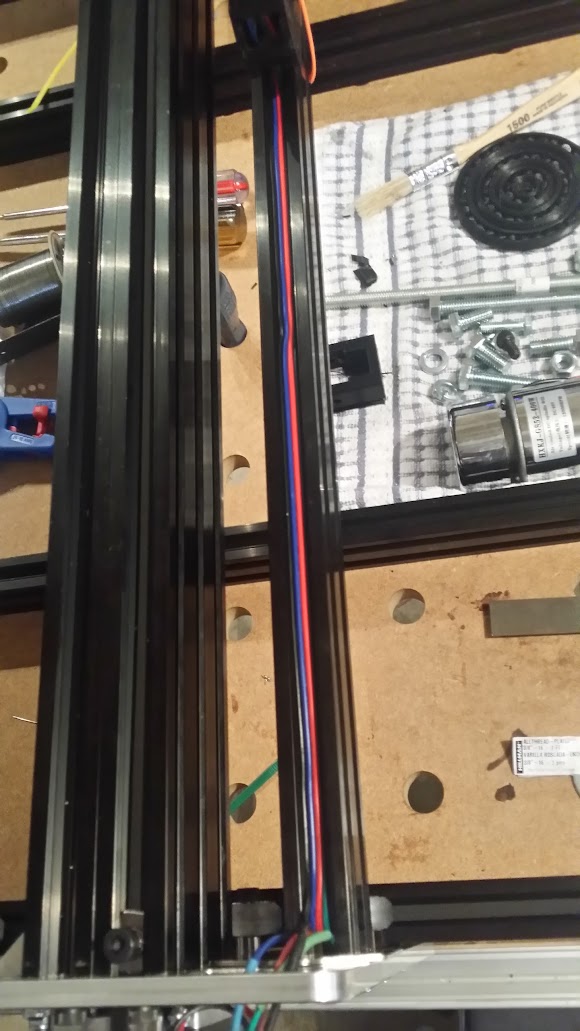


out the other side, the holes below are for the wires to come out neatly but my awesome shims are blocking them.
ready to wire into the TinyG now.

Desktop setup of the TinyG

awesome 24V power supply holder.

and powered

testing the X motor first, connected to the right port at 115,200,8,n.1 with handshaking! awesome.
decided to type G0X10 which it immediately jumped into life and i thought here comes the crash and it stopped right before the end, which is amazing given that the gantry was just wherever it was left.
ok rest of the axiseses and then onto the spindle.
so i wired up the rest of the motors, did a quick config set a Y share on motor 2 and 3 with one inverted, the nema17 on the Z wouldn't budge, just quietly whine. so i googled around tried different stuff then came across
http://chilipeppr.com/ and i see Ben's been here too, so i grabbed the serial port json server, connected it up and it said firmware was too old, looked up firmware, came across gui flasher, it didn't want to do anything but main or edge, and not let me select the branch chillipeppr wanted. so i reset the board with the button and ran avrdude
avrdude -p x192a3 -c avr109 -b 115200 -P COM17 -U flash:w:TinyG-440.15.hex
so firmware upgraded, and settings all reset back into chillipeppr and the serial json server
configured CP the same as i had it before, and no change on the Z, it isn't binding and i've tested the motor already, wiring seems ok. Turns out the step was so small it was barely moving.... sometime later x.x.x.x.. I switched the A coils and it jumped into life . I also remembered to add some slack for the Z servo wires.
here's the settings in CP for my setup, swm3d large ox.
so next is the spindle!
Discussions
Become a Hackaday.io Member
Create an account to leave a comment. Already have an account? Log In.