 zittware
3/13/2014: Been spending the last few nights chasing the bugs out of the system. Got the MPU board to boot, but goes straight into diag mode instead of attract mode.
Had a Solenoid board with a bad 'LS154 decoder. The ChipSelect pin was shorted to ground; causing the coils to fire every time the soundboard was accessed. It was pretty funny to hear the star trek theme being beat out by coils on the PF.
Tonight I worked on some of the lamps and began reassembly of the coin door.
Since that's all I have to report; let's take a step back in time and continue updates from this past weekend.
The Plastics were installed given the ball guides were completed. One of the pet peeve areas of the original Bally is the darkness of the Enterprise plastic behind the drop targets. Given the entire machine is planned to be LED for it's entire life; I don't have to worry about lamp heat melting the posts. So; drilled a hole between the two posts: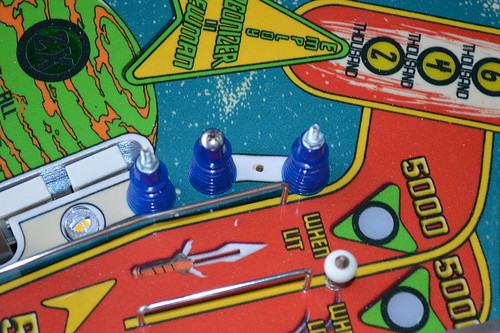
I promptly voided the warranty of one of Comet Pinball's LEDs by removing the Bayonet Base and collar... then soldered a Green and Orange GI wire to the diodes.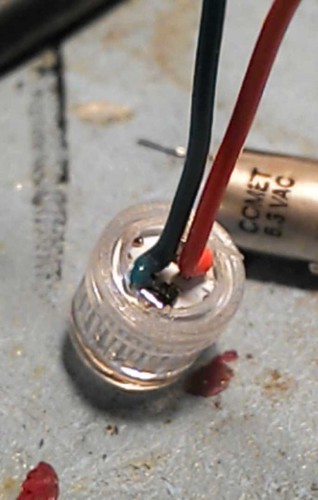 I saved the 30ohm current limit resistor from the base and soldered inline under the PF:
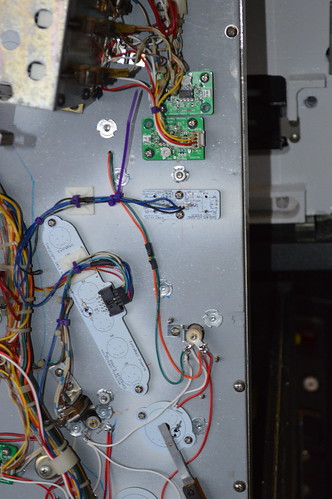 Connecting the wires to the base of a GI lamp socket nearby.
The result: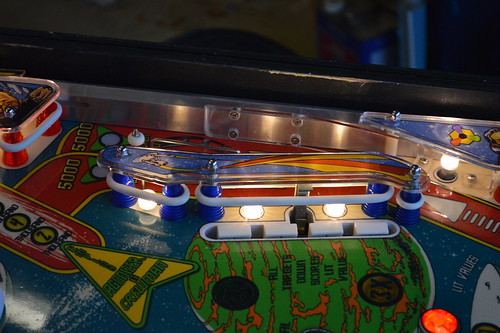 3/15/2014: Today was a good day... in short; Star Trek: The Mirror Universe LIVES.
A design short-sight with the MOSFET LAMP board I designed rendered the LED switched inserts too dim. Basically; I had forgotten that the MPU scans each LAMP in sequence which in effect cause the LEDs to be on for only a short period of time. I can't fix the design (will require a board spin at a minimum) in time for TPF; so I had to go back to the original lamp board... along with shoehorn in a 6.3V Switch GI transformer from radioshack.
ShertzPinball loaned me a untested Lamp board which I debugged and was able to get the lamps functioning well enough for TPF. Thanks Jason!
All but one lamp is working... the outlier is the 10K bonus section on the primary hull of the ISS Enterprise. I'm planning on further debug after I get it buttoned together. I suspect a bad SCR; but will have to test.
MPU was going straight into Diagnostics... or resetting after the machine entered Attract mode. given it was going into Diag / test mode was a clue... turns out that the 6821 PIA at U10 had pin 40 bent under the package instead of into the socket. This caused the flakiness.
All solenoids are firing under test; ball ejects into the shooter lane.
All switches adjusted so switch test passes. Original soundcard passes tone test.
Proximity sensors tested and verified working.
3 of 5 displays are installed in Pl1,2, and the credit window. All pass the diagnostic digit count.
Coin door reassembled and attached to cabinet. Lockdown bar hardware is being cleaned and prepped for re-install tomorrow.
Hope to install side rails and misc cabinet hardware tomorrow.
Sunday I hope to finish the last two displays and install them. It's at this point I'll probably drill the hole for the left handed shooter.
So; What Do I have to report? Let's finish up the picture bomb from last weekend's work. Rather than post a bunch of individual plastics images... I've created a panoramic stitch of several high resolution shots. Feel free to click the picture/link and look at the detailed original image: ( yeah... it's HUGE... so big it wouldn't load in IE11. Chrome or FireFox)
Each plastic (except the orbits) has it's own protector. There is protective transfer tape over the backglass... which will stay on until TPF to reduce scratches.
3/17/2014: Attention moves to the Lockdown bar mechanisms and coin door. I resurfaced the coindoor skin with some sandpaper and installed the new coin door inserts; pictures later when I take them. Installed the coin door and proceed to clean the lockdown bar assembly: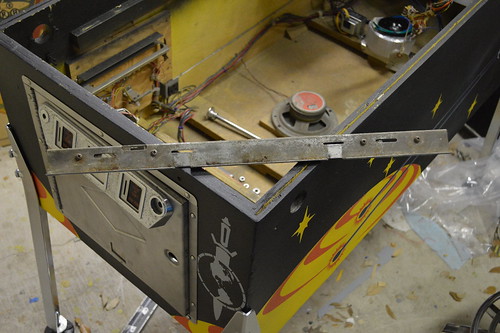 I disassembled it and cleaned the rust / grime off with some coarse sandpaper. Once I had the bracket rust free; I powdercoated it with some chrome powdercoat; keeping the metal on metal area free of powder coat. I reassembled the mechanism with stainless steel hardware to help prevent future rust:
 Playfield hanger bracket got the same sanding/powdercoating treatment:
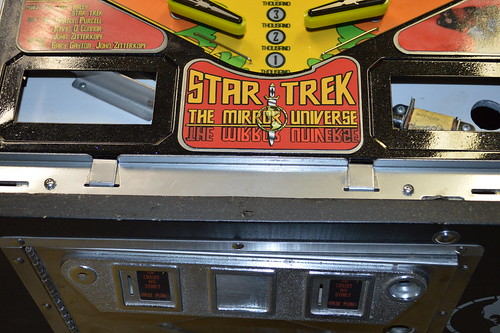
3/18/2014: Time to finish the lockdown bar... but the lockdown bar and side rails kinda go together.
I had bought a new set of side rails from PBResource... but they don't fit right. Not sure if it was my error or theirs. I'll have to email them when I get a chance.
Since I couldn't use the NEW side rails; I really had no choice but to recycle the old ones since I had no time to really source and ship new ones. The old ones were bent by the backbox as some point... and there is a really nasty scratch on one side.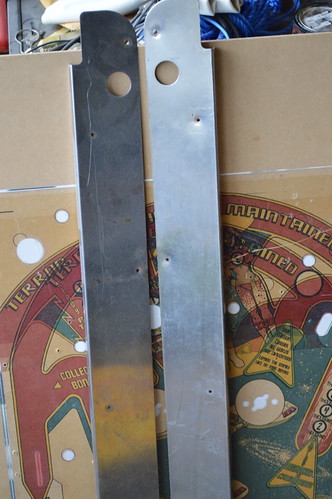 I tried resurfacing the rails with a belt sander... but it still looked like as$ to be honest. So... what to do?!?
Guess one must powdercoat them with black and the holographic clear coat as was done on the apron.So at 7:30pm Sunday; I jumped in the truck and raced up north to Techshop where I could bake these huge as pieces...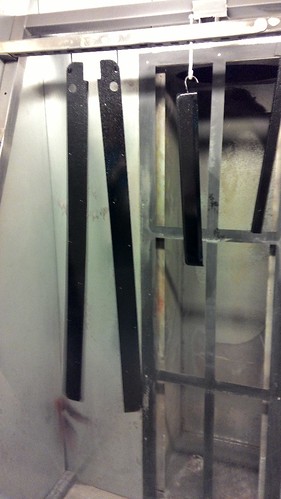 Yeap; that's right... I made the lockdown bar match... would you expect any different? I thought maybe the black would be too much; but it's really kinda kick ass on the machine:
 You likey?
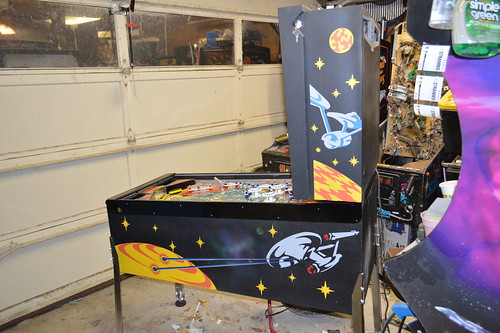
Discussions
Become a Hackaday.io Member
Create an account to leave a comment. Already have an account? Log In.