 Tim
TimSAB3T - Prototype 2
I mentioned in the last update that my initial design worked but was to big and had stiffness issues. I was able to solve both problems by moving the servos and Arduino to a new location underneath the screen. There is now a central 3D printed part that holds the servos and a universal joint. I changed to an Arduino Nano to reduce size. There is a wood plate at the bottom to act as feet and a wood plate on top to hold the touchscreen. My touchscreen measurements were correct this time so my printed brackets now work.
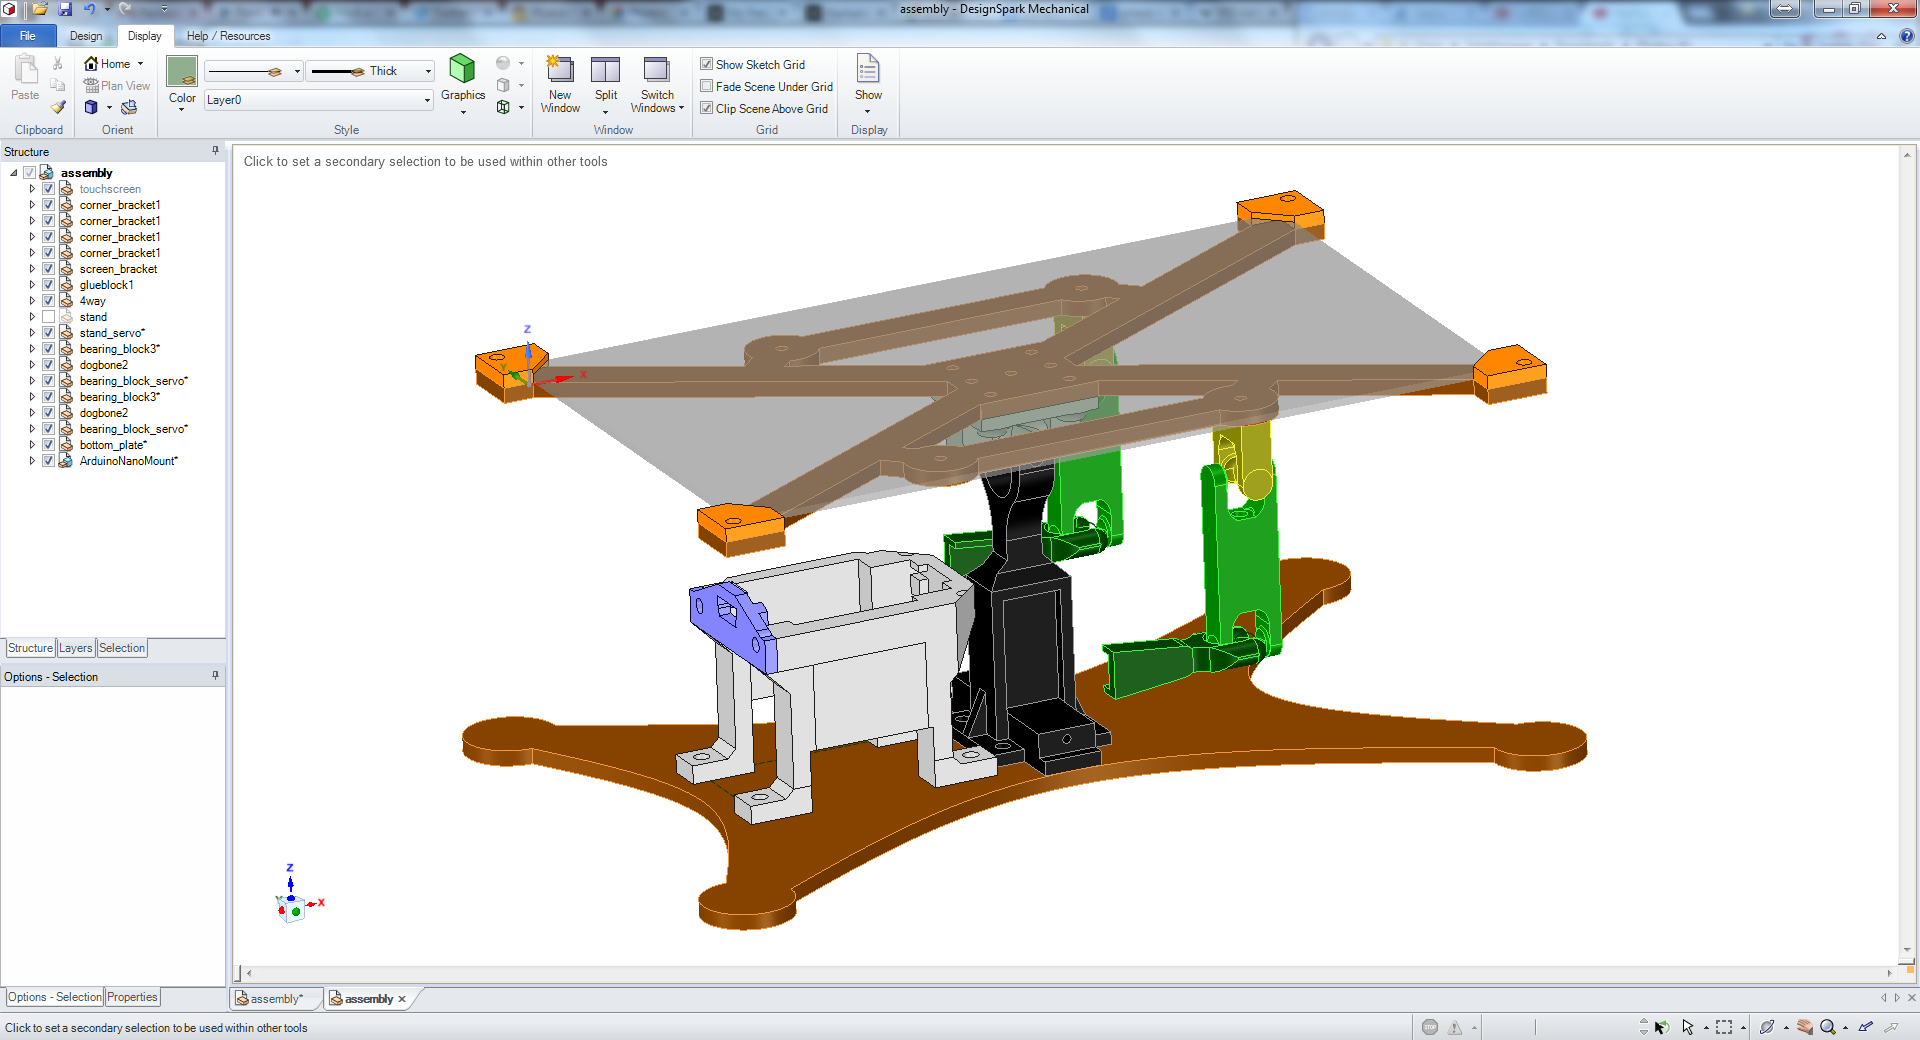
This version worked quite well, but there were still several things that I wanted to improve:
- The servos need to have a part glued to the servo horn. This needs to be replaced by a fully printed part.
- The Arduino holder needed support material to print. Ideally I want this to print without support material.
- The Arduino holder and the central tower were designed to be screwed to the wood from the top down. Once the screen is installed you cannot easy unscrew them without removing the screen.
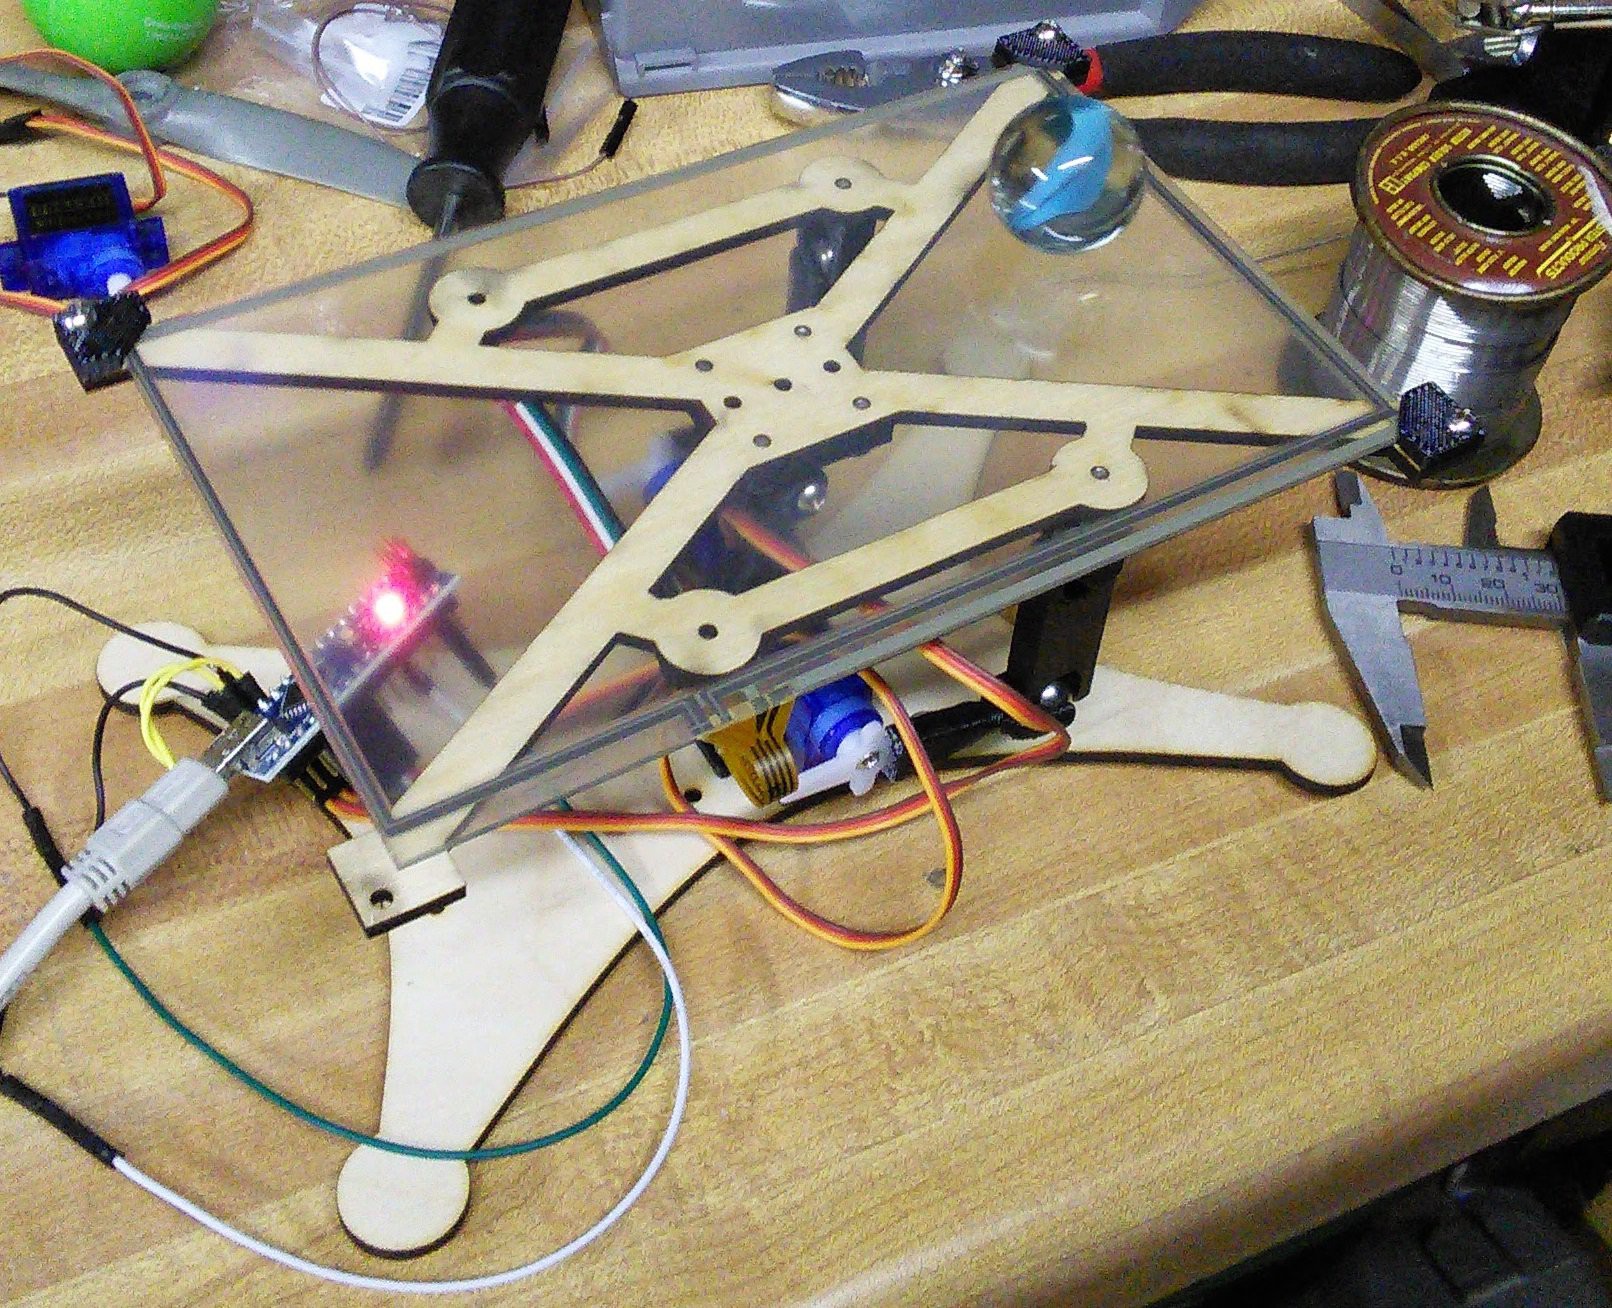
SAB3T prototype 2 in action:
Discussions
Become a Hackaday.io Member
Create an account to leave a comment. Already have an account? Log In.