 charliex
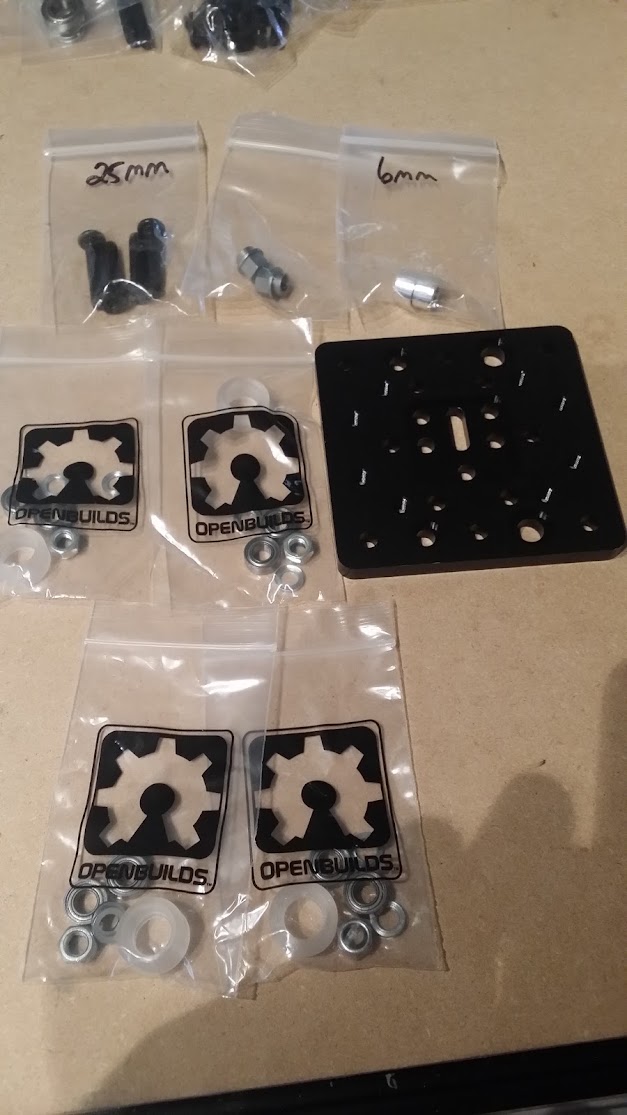
Laying out the parts and checking its all there, the gantry is the Z bag. There was no non anti backlash nut in my packaging, so can only install the anti backlash one.
X

Z/Gantry
I assembled the wheels, bearing inserted, spacer, bearing. then rebagged them.

The rest of the parts to mount the wheels

There are two sets of holes, two larger for the bolts + eccentrics, two for the 6mm spacers.

Bolt , smaller hole, 6mm spacer, 1mm spacer. wheel, nut


both spaced wheels on, showing the orientation of the eccentrics.


1mm spacer again


The way i do the eccentrics, is that if they just fall in to the C beam, then they're too loose, so they'll just sit on top like this, rotate the eccentrics til the gantry has no slop. Make sure to look for swarf first.

it should sit wherever you put it, when the c beam is sitting vertically.

So all the parts from that subset of the Z bag should be used up, the 25mm bolts and 4 wheel kits, one c beam and the gantry.
Next it is :-
- 1 - 8mm Anti-Backlash Lead Screw Nut Block + set screw + nut , there is no lead screw nut block in my kit. It is a different set of holes
- 2 - M5 Nuts
- 2 - 3mm Aluminium Spacers
- 2 - M5 x 20mm Screws

I setup my nut block like this

It should be installed like this, the provided drawing is incorrect, it shows the nut on the set screw going towards the other side. The set screw isn't going to be that easy to change later.

Before screwing it down, clean out with the lead screw i can see the swarf in mine just eyeballing it, run the screw through it a few times taking care to remove the swarf as you go. The ends of the lead screws are cut so the thread is damaged there and can mar or cut the plastic, so you way want to smooth off the end of the thread a little before doing this step, make sure it threads smoothly. About a dozen back and forth and this is what came out.

add the 3mm spacers


That's it for this step.
Discussions
Become a Hackaday.io Member
Create an account to leave a comment. Already have an account? Log In.