 Nathaniel Graff
I was unable to cut out the speaker hole in the face plate, so I went ahead and glued together the outer pieces of the cabinet.
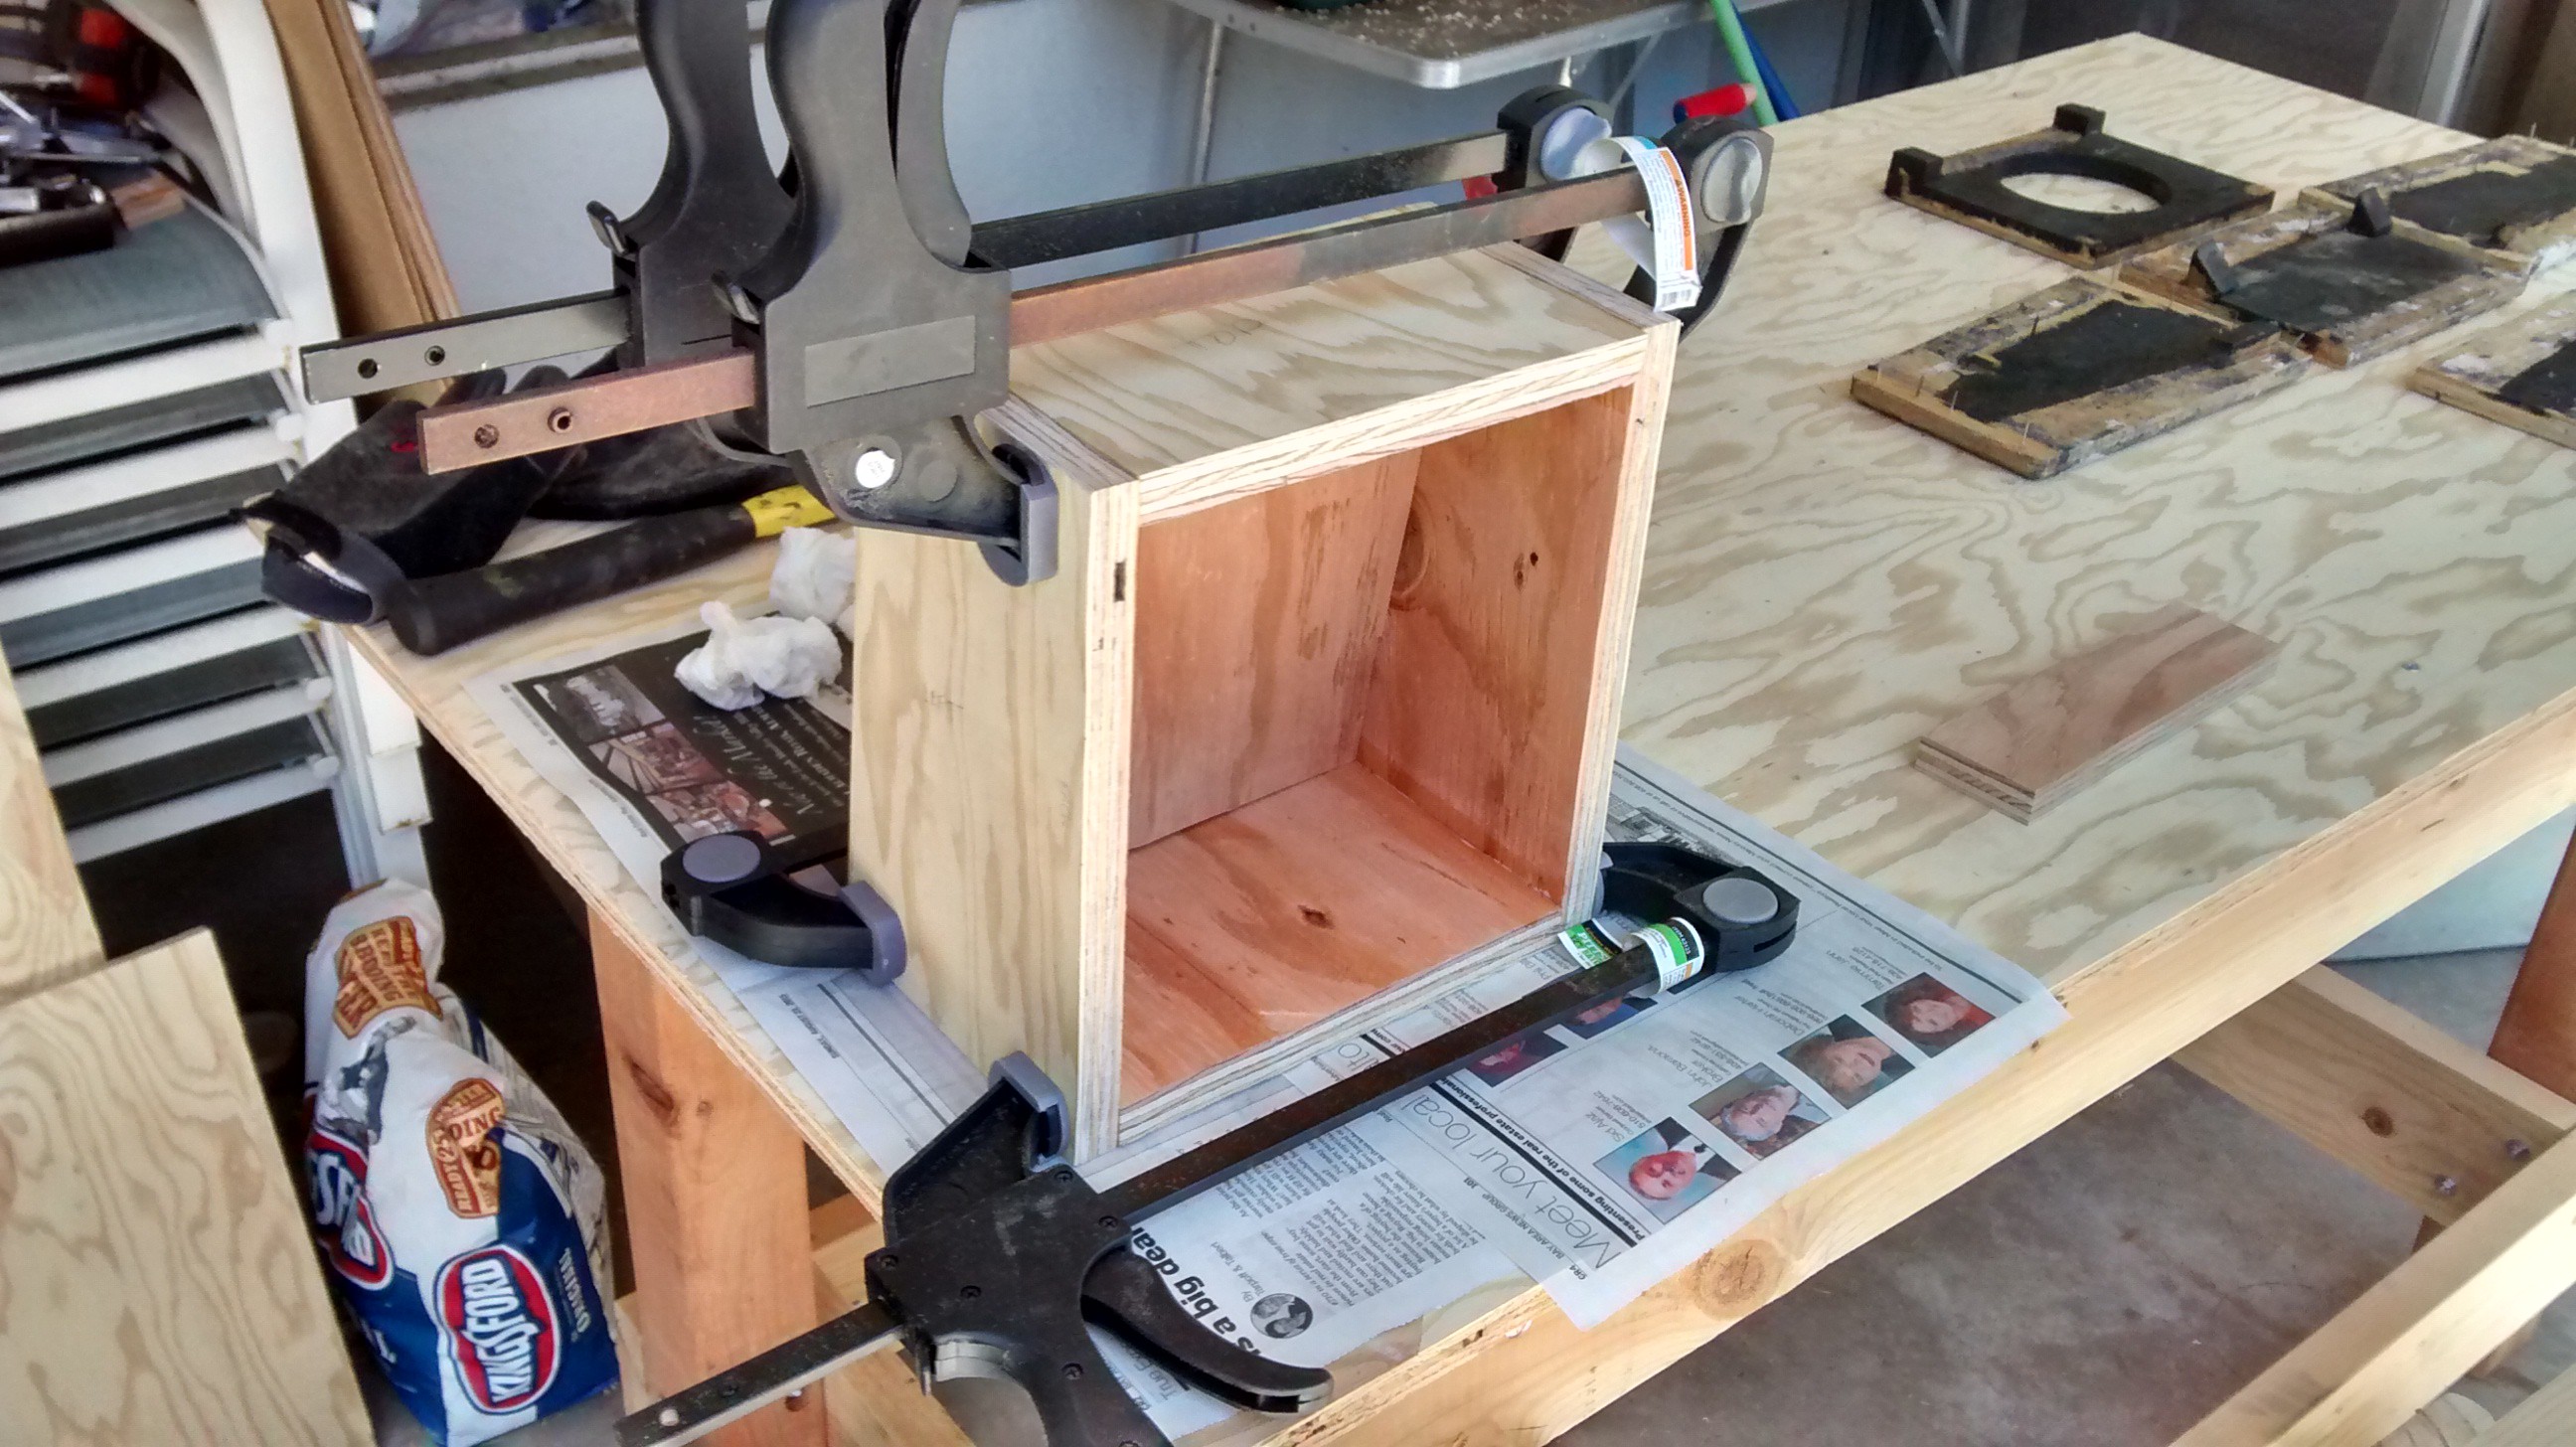 The face plate was left in there while the glue set, presumably for a reason, but wasn't glued in itself.
I'm also missing a batch of photos from this part of the build, so I don't have any visuals for the next bit.
Like I've mentioned, I want to mount the face plate differently in this rebuild. The original construction had it permanently nailed into the cabinet, but that didn't allow for the grille cloth to wrap around the edges. It wasn't designed to have any grille cloth so the previous owner just screwed it onto the front and left the edges visible. In order to accommodate the thickness of tolex and grille cloth between the face plate and cabinet, I need to fit the face plate with a gap around the edges, so the first step moving forward from here was actually to drill the mounting holes for the chassis. I simply clamped the old top piece to the cabinet and match-drilled the holes.
With the chassis mounted, I trimmed the edges of the face plate until I had about 1/16" clearance around the edges. It may be too much, it may be too little, but it's already more forethought than I expected of myself so I have hopes.
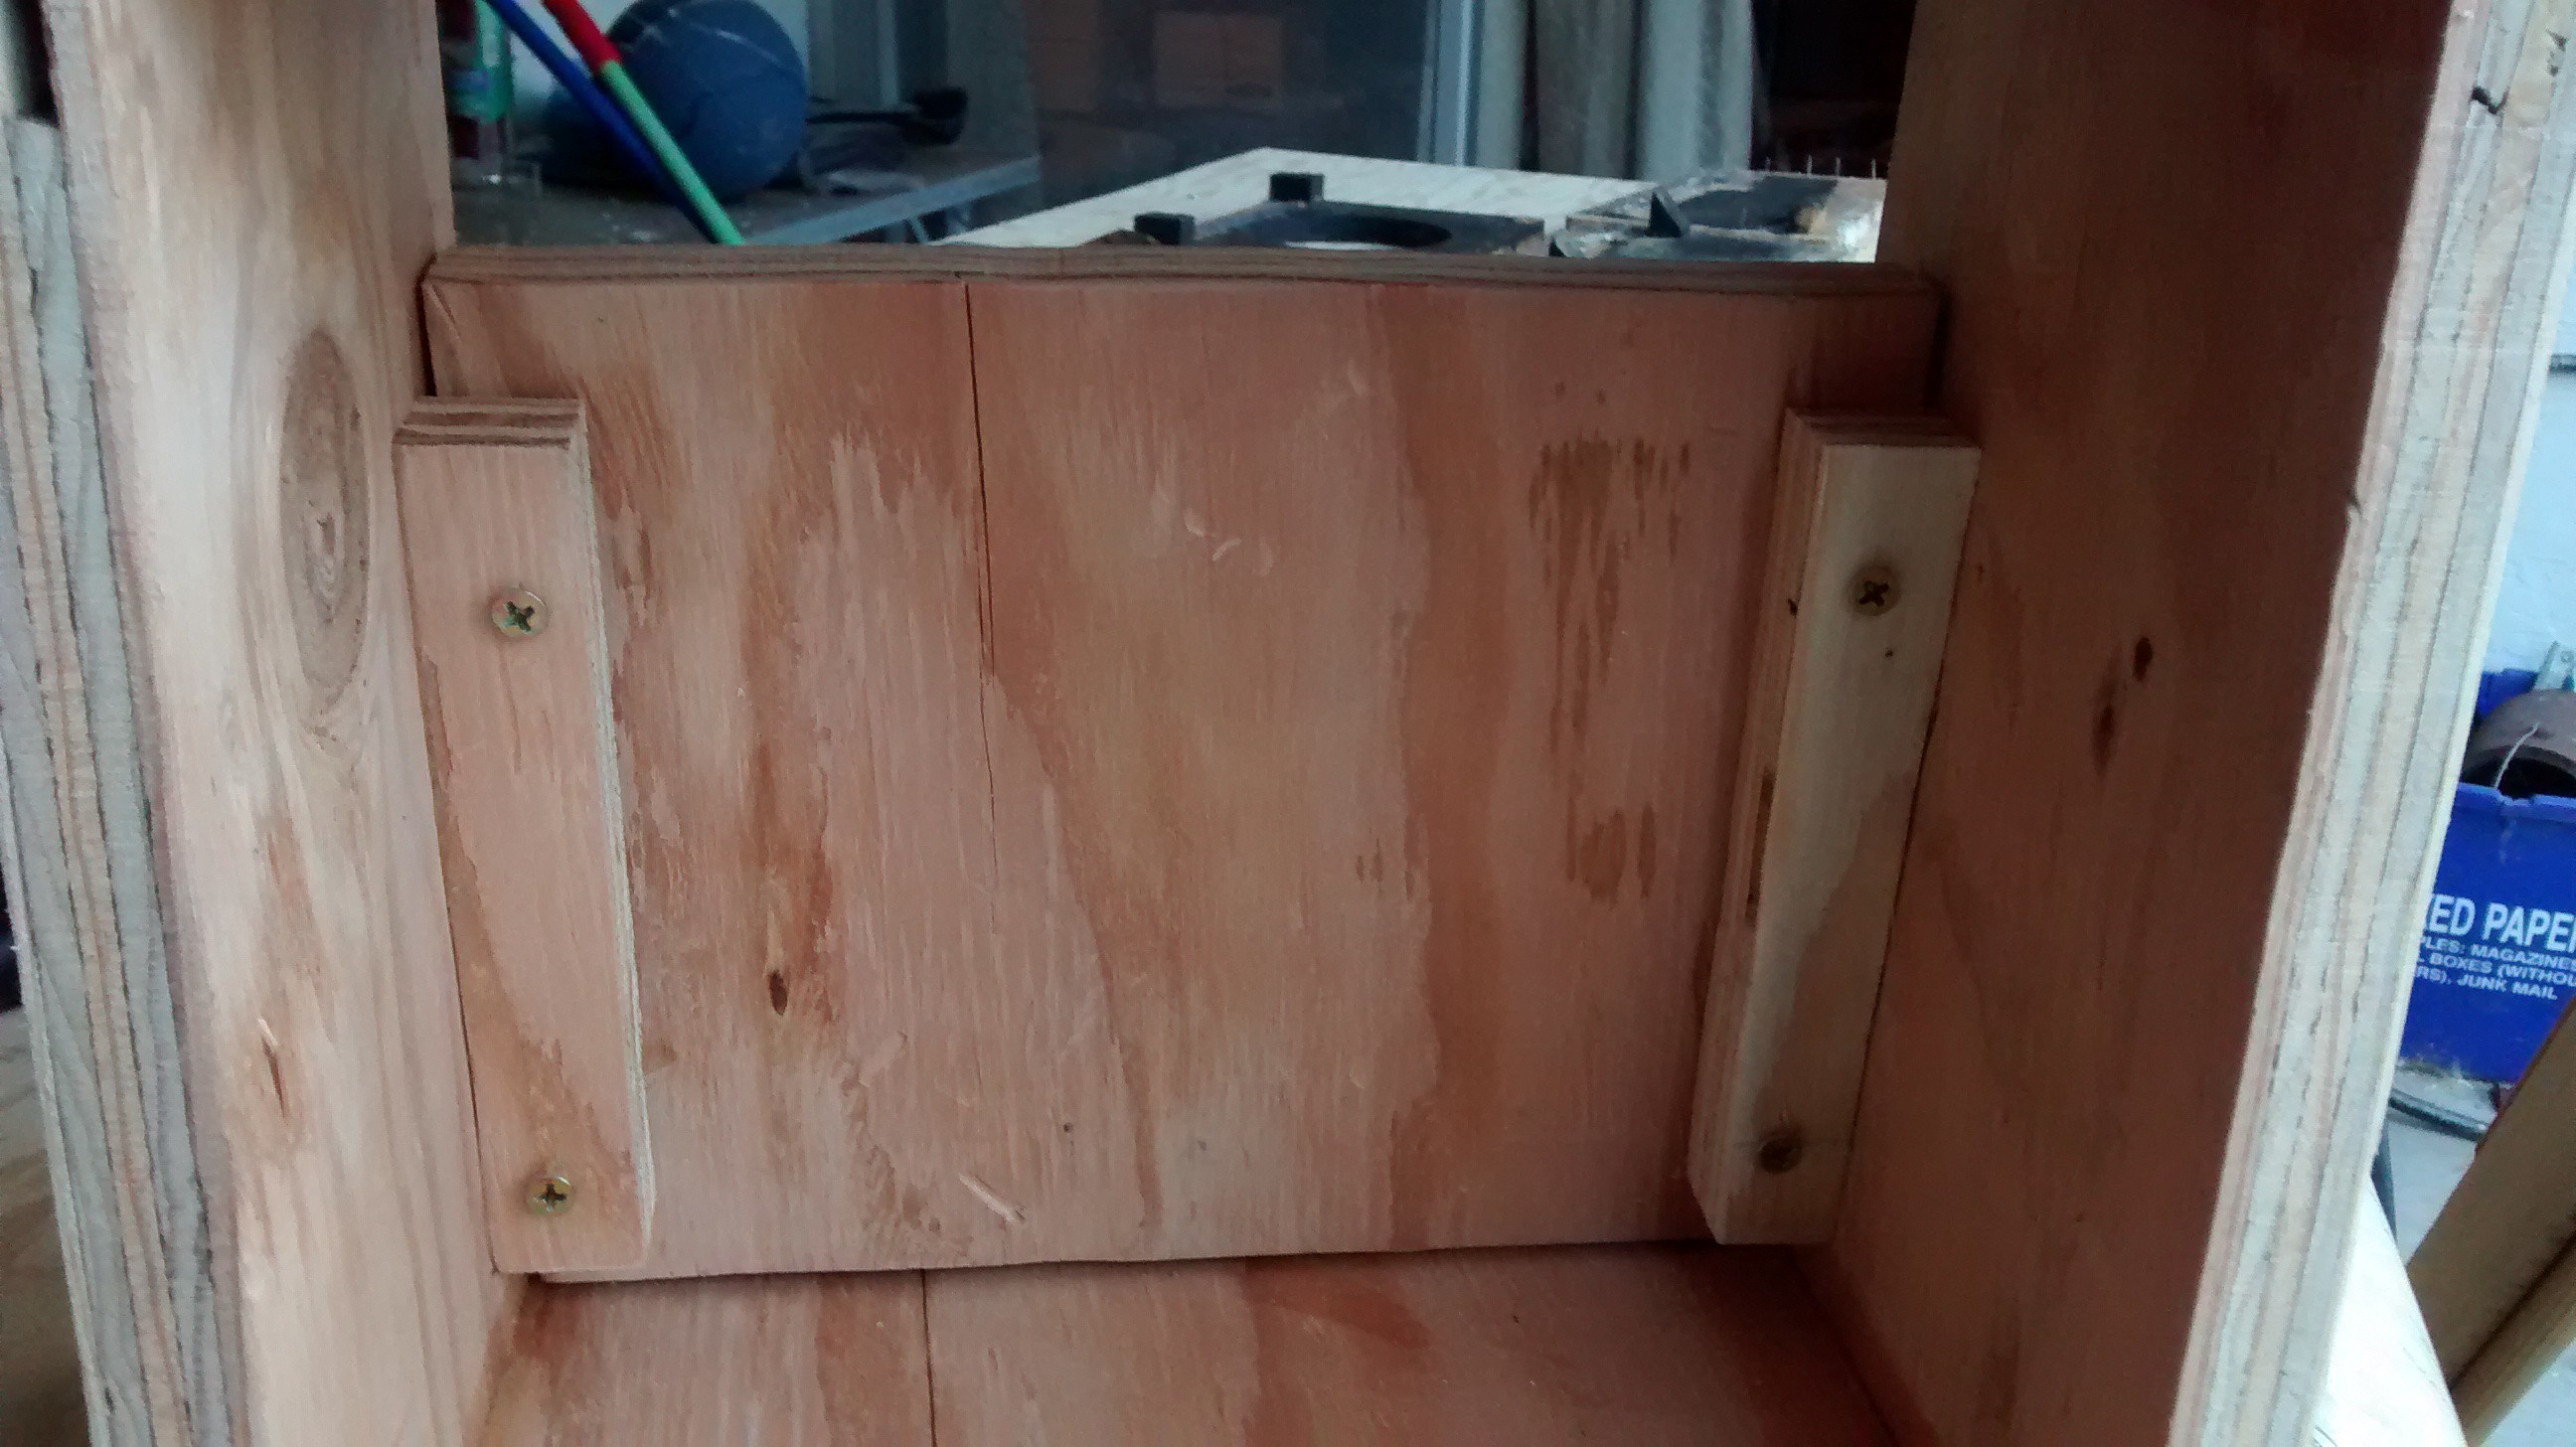
I then picked through wood scraps to find suitable pieces to act as mounting blocks for the face plate. I chose two pieces of wood about 3/4" wide and trimmed them to about 3/4 the height of the face plate. Then I taped them to the sides of the plate and held it inside the cabinet in about the position I wanted the plate and marked on the sides where the mounting blocks would attach. I glued them into the cabinet, making sure that the lamination went perpendicular to the direction the face plate mounting screws would go.
When the mounting blocks were dry, I realized I hadn't ensured that they were coplanar (see: previous comment on forethought), so I glued a small shim to adjust. (Pictures resume.)
 The result:
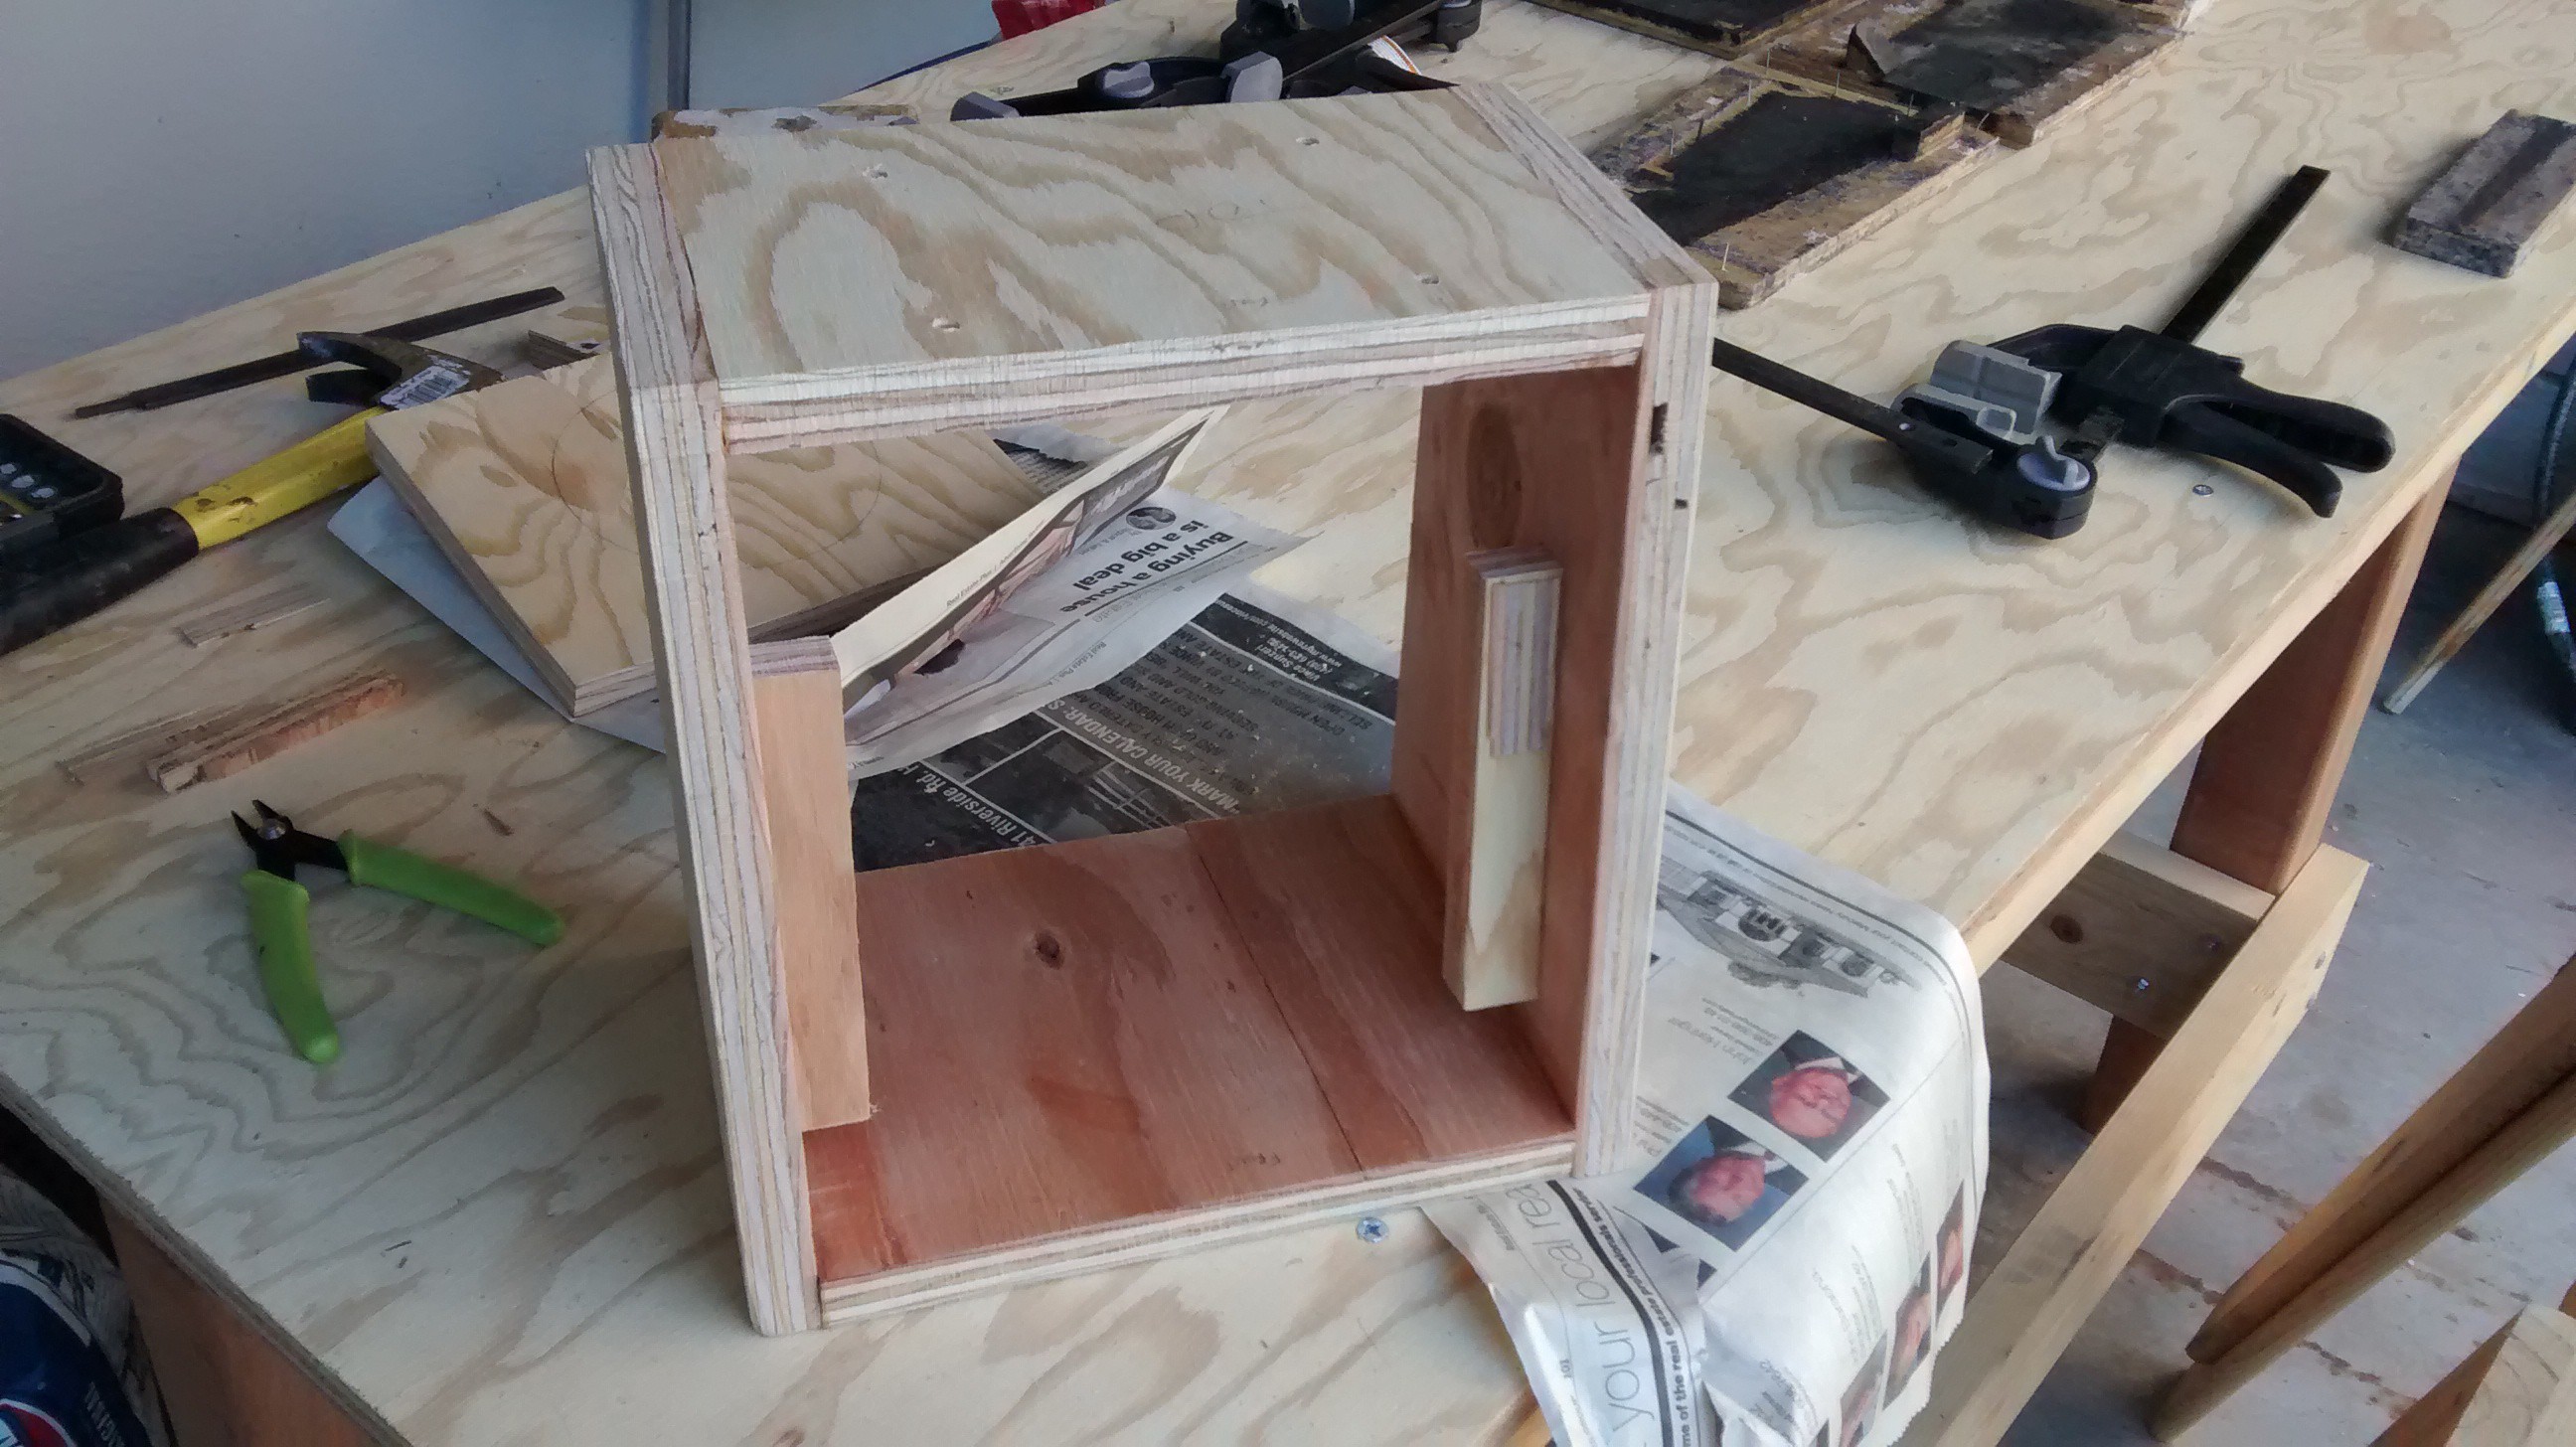 Also visible in the above image are the chassis mounting holes in the top panel.
Finally, I could mount the face plate. The original amp hardware didn't have adequate screws, so I dug some small brass wood screws out of the garage. Then I clamped the face plate into place, drilled pilot holes for the screws, and screwed the plate on.

 Finally, I made sure the chassis still fit above the face plate.
 There are essentially two steps left if I want to have the bare minimum for a functioning combo amp again: cut out the speaker hole, drill speaker mounting screws. I might have to be a bit clever about the actual mounting solution for the speaker, though, since I don't plan on making the grille cloth removable. I'll consider that when I get to it. Following those procedures, I need to mount the back plate like I did the face, and then I need to route and wrap the cabinet.
Discussions
Become a Hackaday.io Member
Create an account to leave a comment. Already have an account? Log In.