 Dewet
DewetThe Status of Things
I can’t believe it has been 2 years since I was last able to work on this project. With life and travel getting in the way I was not able to continue my side projects for a very long time. As is the case in most countries COVID19 has brought everything to a halt in our country and with a full lockdown in effect, I was finally able to spend some long-overdue time on this project.
I started work on the NOAHCube back in 2018 with the idea of building an upgradable hardware platform that I could run my home automation from as well as a few other projects around the house that always seemed to need a dedicated device here or there. Since then nothing much has changed in terms of my requirements so I got to pick up right where I left off.
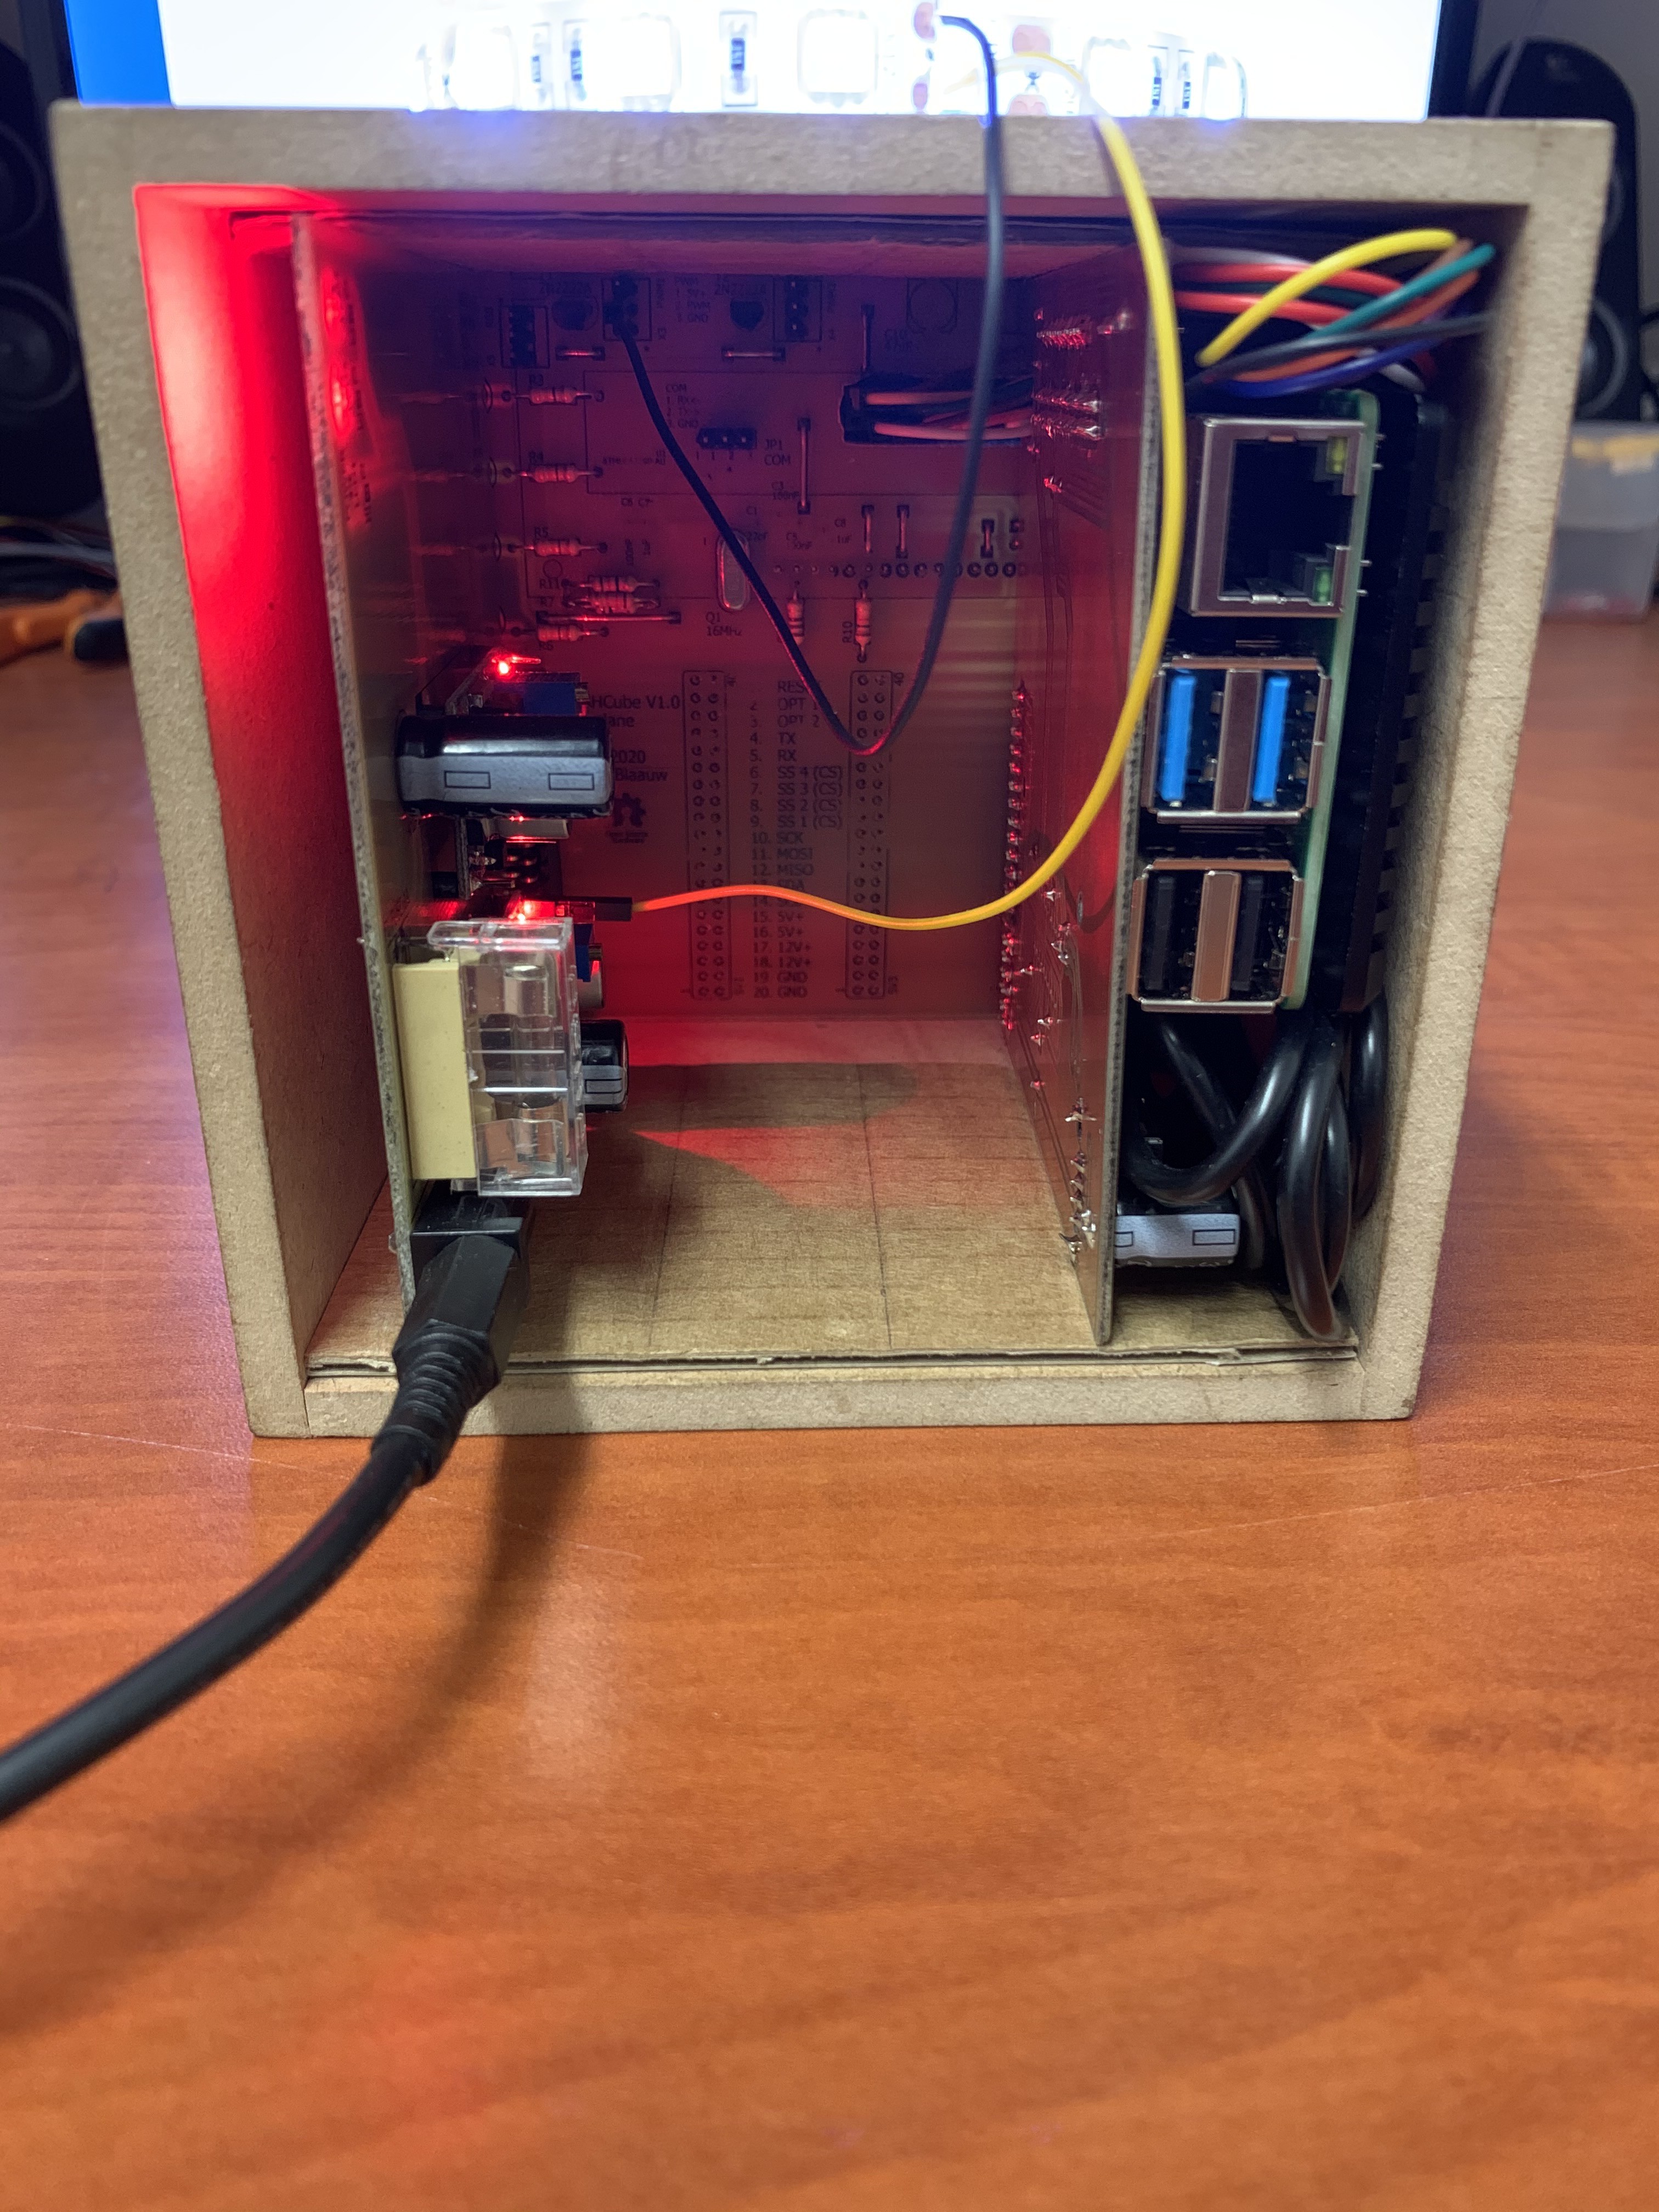
The Backplane
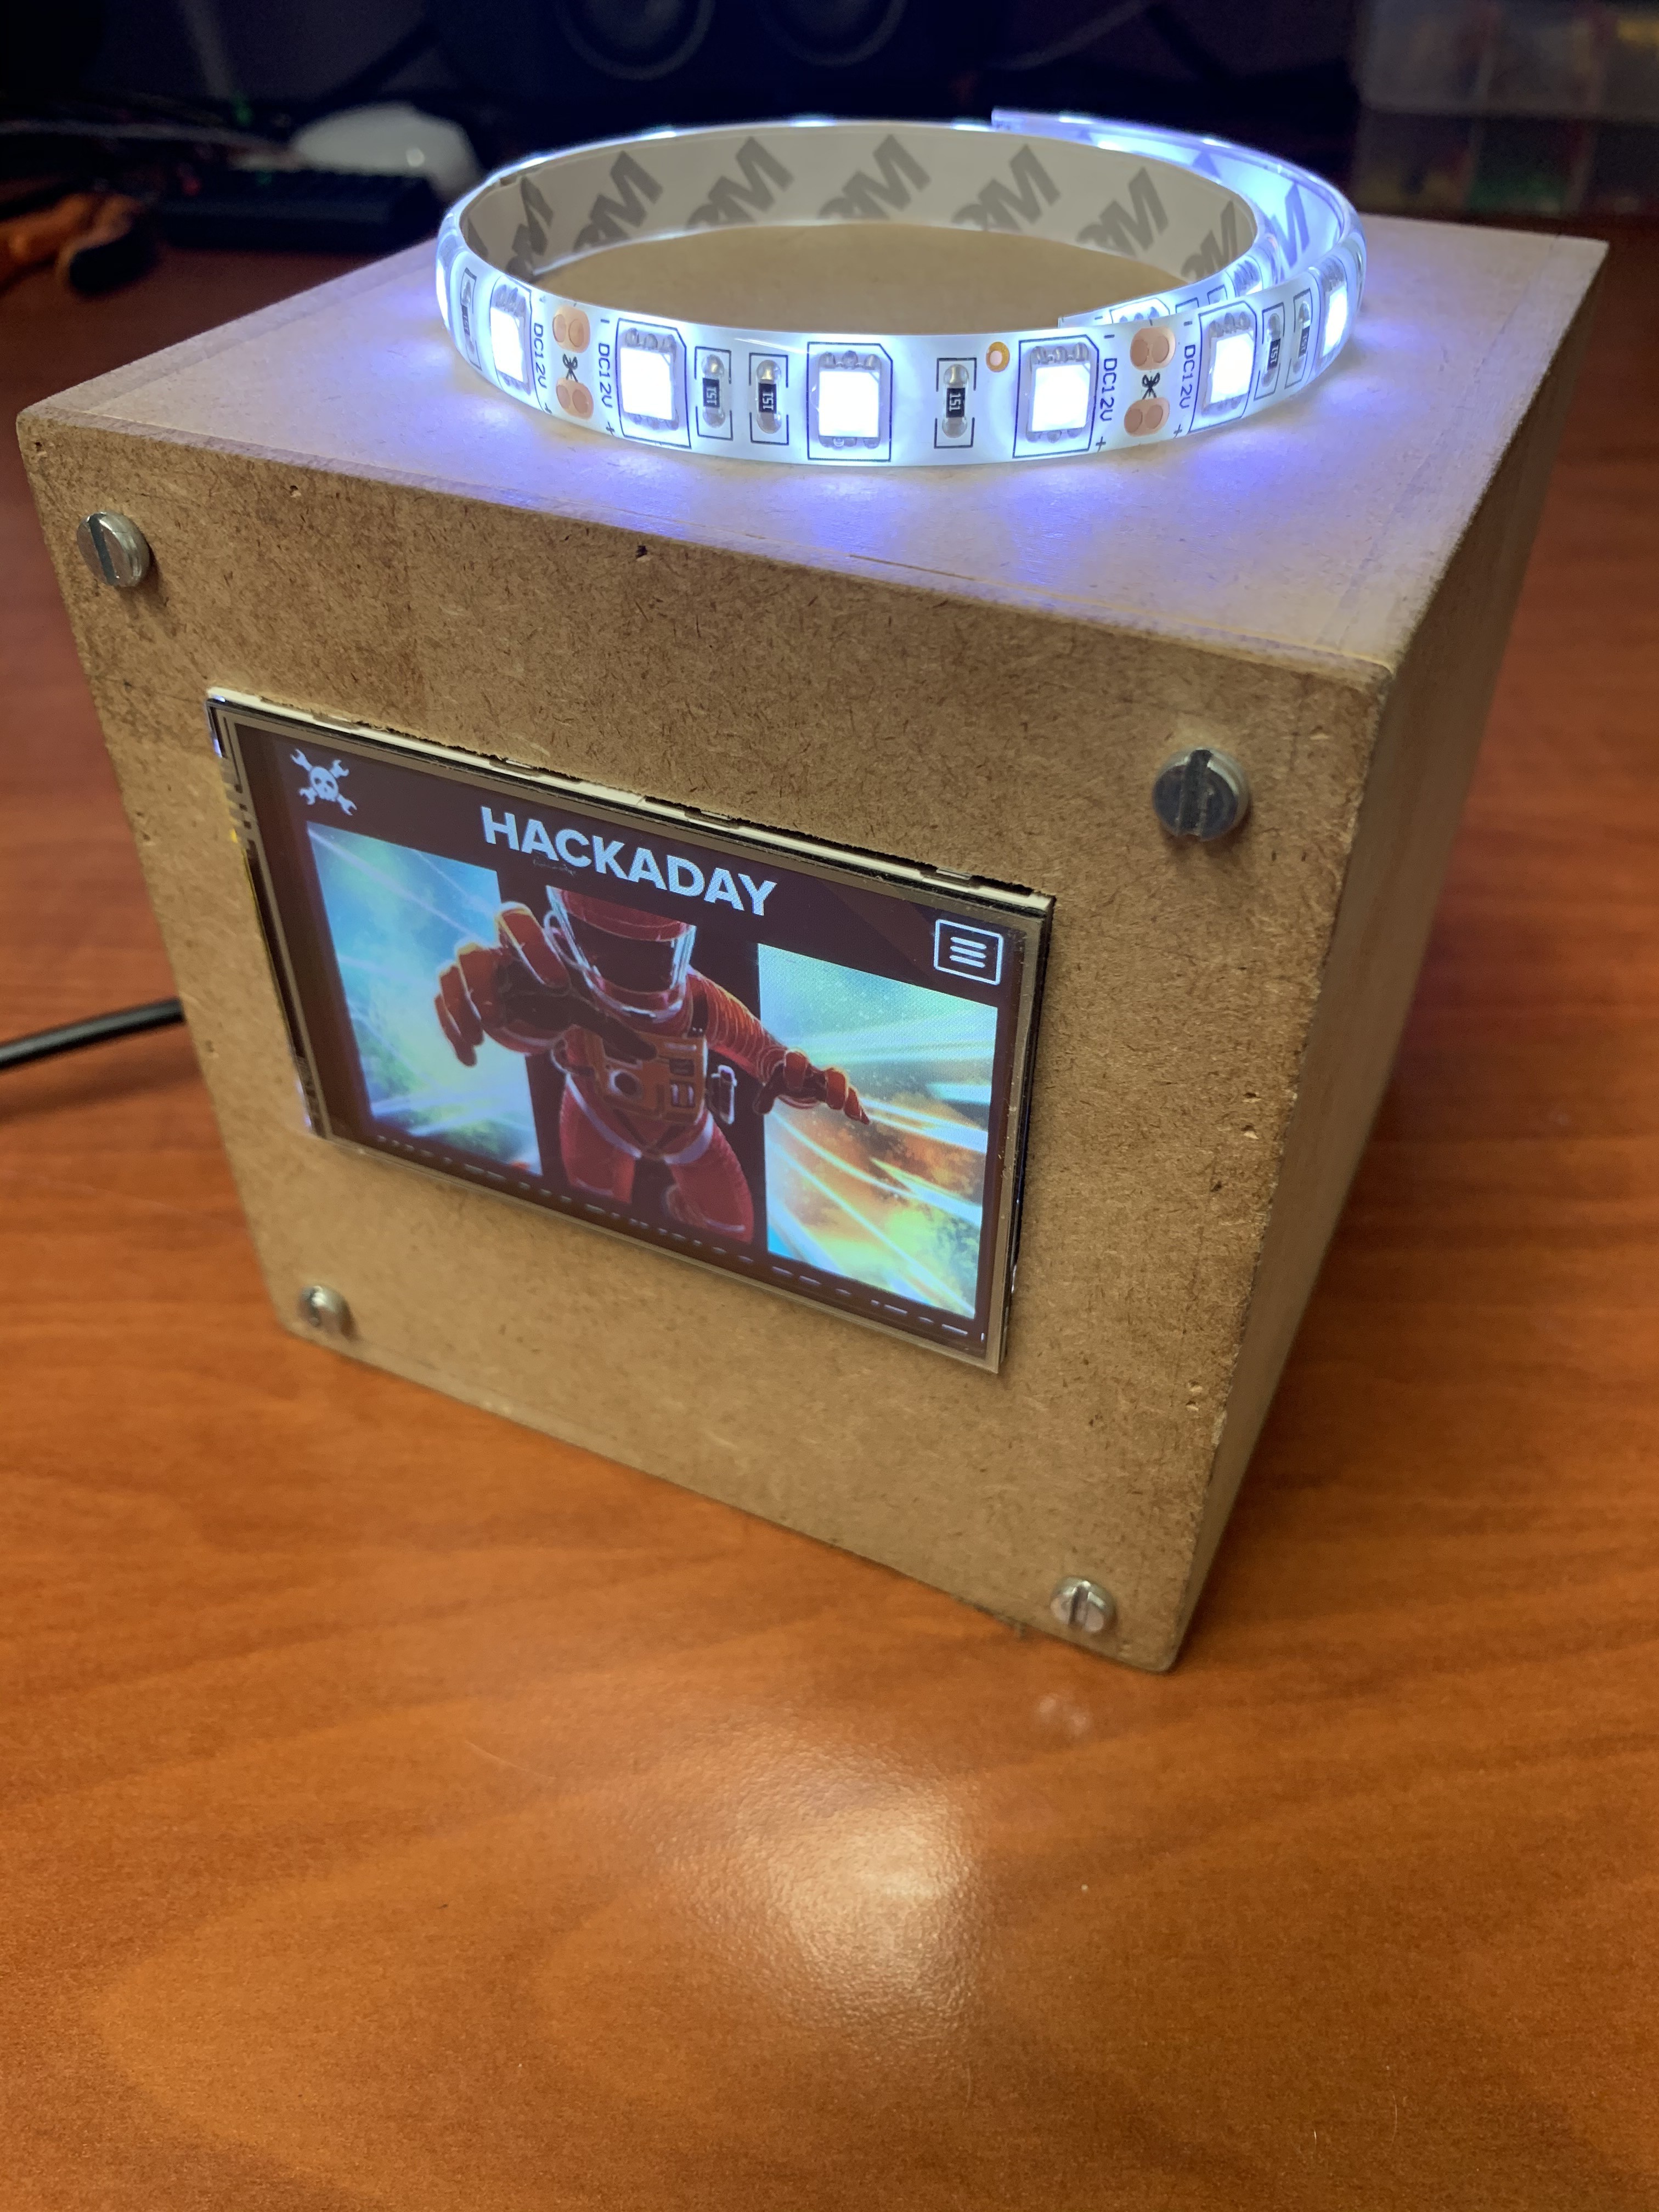
My initial REV A design for the backplane had a few problems when I finished it back in 2018. These issues have now been rectified in the REV B design and so far everything looks good. The backplane was originally designed to feature a 16x2 LCD to show information and status updates. However, in the last 2 years, 3.5” full-color IPS displays with touch capability have become so cheap that I decided to use this instead of the 16x2 LCD. I did not remove the 16x2 LCD header or functionality so the backplane can still be outfitted with a working display in case I wanted to use the backplane in something else.
Some of the changes I made to the design required me to drop the Arduino compatibility. Even though I wanted the backplane to be Arduino compatible this was just not a feature I needed at this stage of the design but it will remain as a feature that could go into REV C.
So in short, the backplane hardware is now ready and is currently doing the job so far as I can tell. It was also designed to be a bit bigger this time to allow for a better fit inside the Cube and provide some more structural stability for the slot in cards.
I also added a header for RGB LED strips that will fit behind frosted Perspex plates at the top and bottom of the design. I believe adding the RGB strips adds a nice visual cue to alert the user to notifications, status updates, and to be honest in 2020 you just have to add RGB.
POWERCard
The POWERCard was designed as the first slot in card and used to provide the 12V and 5V power rails for the entire system. This card is still in REV A and except for some horrible coil wine on the 5V DC-DC converter all seems well. My idea was to power the cube from a 15-19V 4A power brick and it seems that this is just too much voltage to drop for the 5V DC-DC converter at almost full load, hence the coil wine. As an interim measure, I am supplying the 5V converter with the output from the 12V rail as there is almost no load on it. This temporary fix has taken care of the wine coming from the 5V converter. All tests seem to indicate that the card is sufficiently powering everything including a Raspberry PI 4 B+ while running at full load.
*As a side note, I should have added the ability to monitor current on the 5V and 12V rails so I will add this to the feature list as part of REV B for this board.
CPUCard
I initially wanted to run the system from a Raspberry PI Zero when I created the specifications back in 2018. Since then the PI 4 came out with significantly more powerful hardware so I redesigned the REV A CPUCard to fit that instead.
At this stage, this card is no more than a carrier board so that the PI can interface with the backplane. I wanted to add some additional microcontrollers to this board but with everything the PI 4 offers now and other advancements, I no longer think this will be necessary.
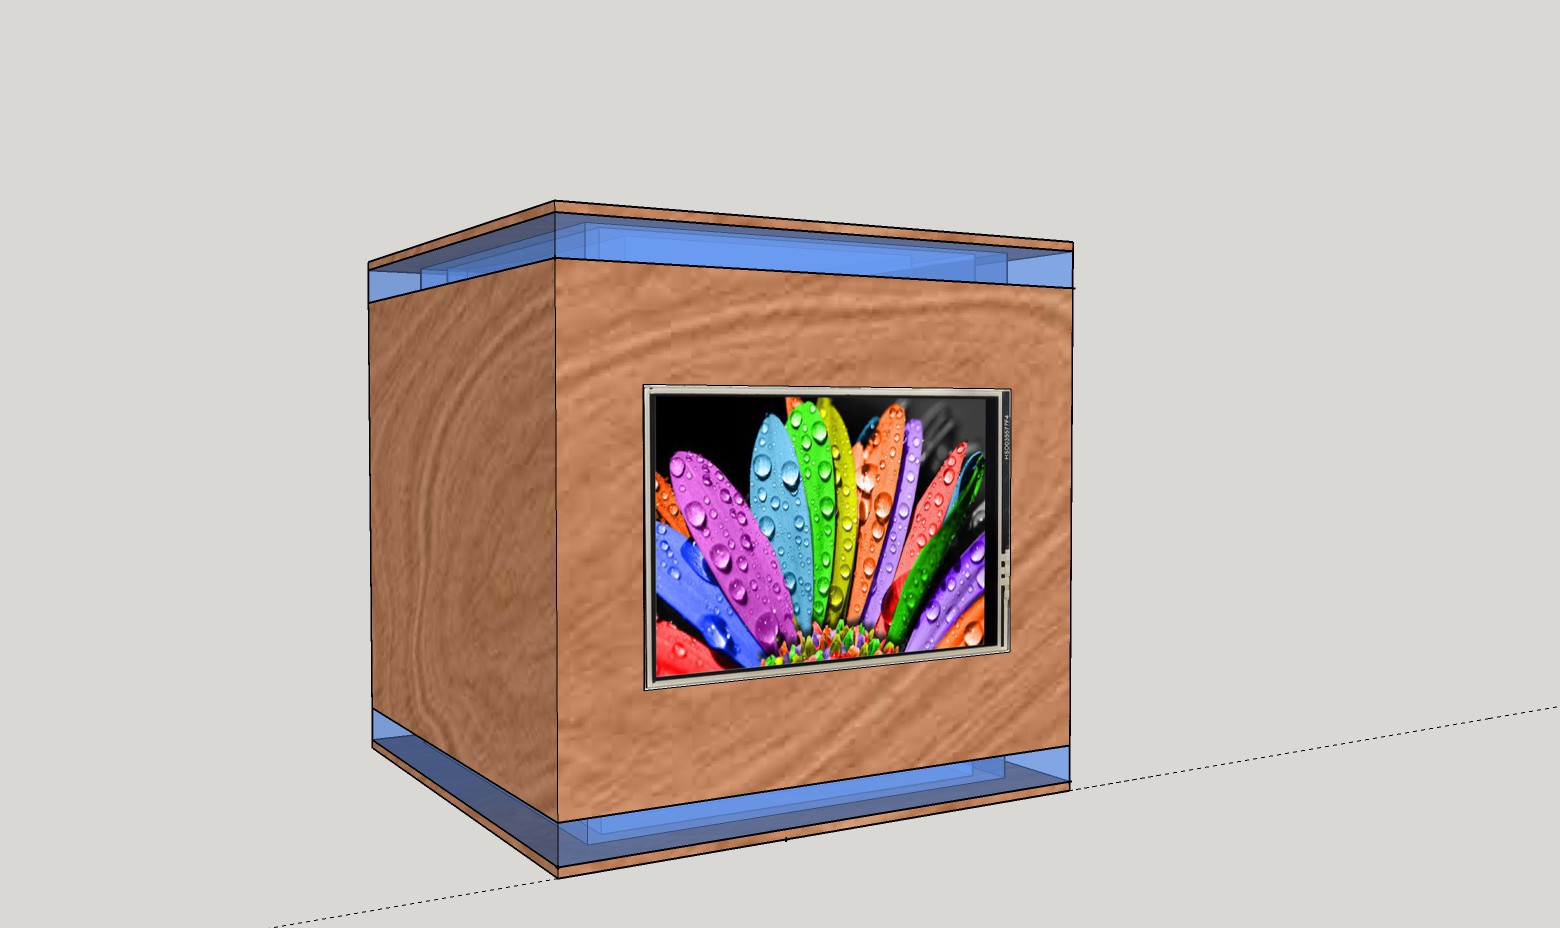
3.5” Touch Screen
This was the most significant upgrade to the design that I made since originally conceiving the cube. With the addition of an IPS 400x360 pixel touch screen this little device now becomes allot more interactive and provides a way of interfacing with device controls directly from the cube.
Final Cube Design
One of the last major items on my list is the look and feel of the cube. I have thought long and hard about how the outside should look and honestly I am still not clear on how to do this one. The idea was to cover the cube in some sort of material resembling a Google Home mini or jean fabric but because this is a cube that becomes very difficult to achieve. When working with a cube there will be seams and I just can’t get something to fit nicely (This might be my total lack of experience in the textile department).
Some more research will need to be conducted to find the right material and method so, for now, the cube will keep it’s stylish MDF prototype looks.
To Summarize
The NOAHCube is now operational and running Raspbian + OpenHAB as well as a custom Java application that I use to fill the screen with some common controls. Thermals are OK under load and there seems to be no risk at present of the MDF catching fire. I have also started work on the IOCard but this will probably only be done at a later stage as all the IO I need to control has already been built and scattered around the house. I am also thinking of working on a UPSCard that will have a LiPo battery and charging circuitry so that the cube can run on battery power in case of power failures.
I truly hope it does not take another 2 years to get to the next phase.
Discussions
Become a Hackaday.io Member
Create an account to leave a comment. Already have an account? Log In.