 AVR
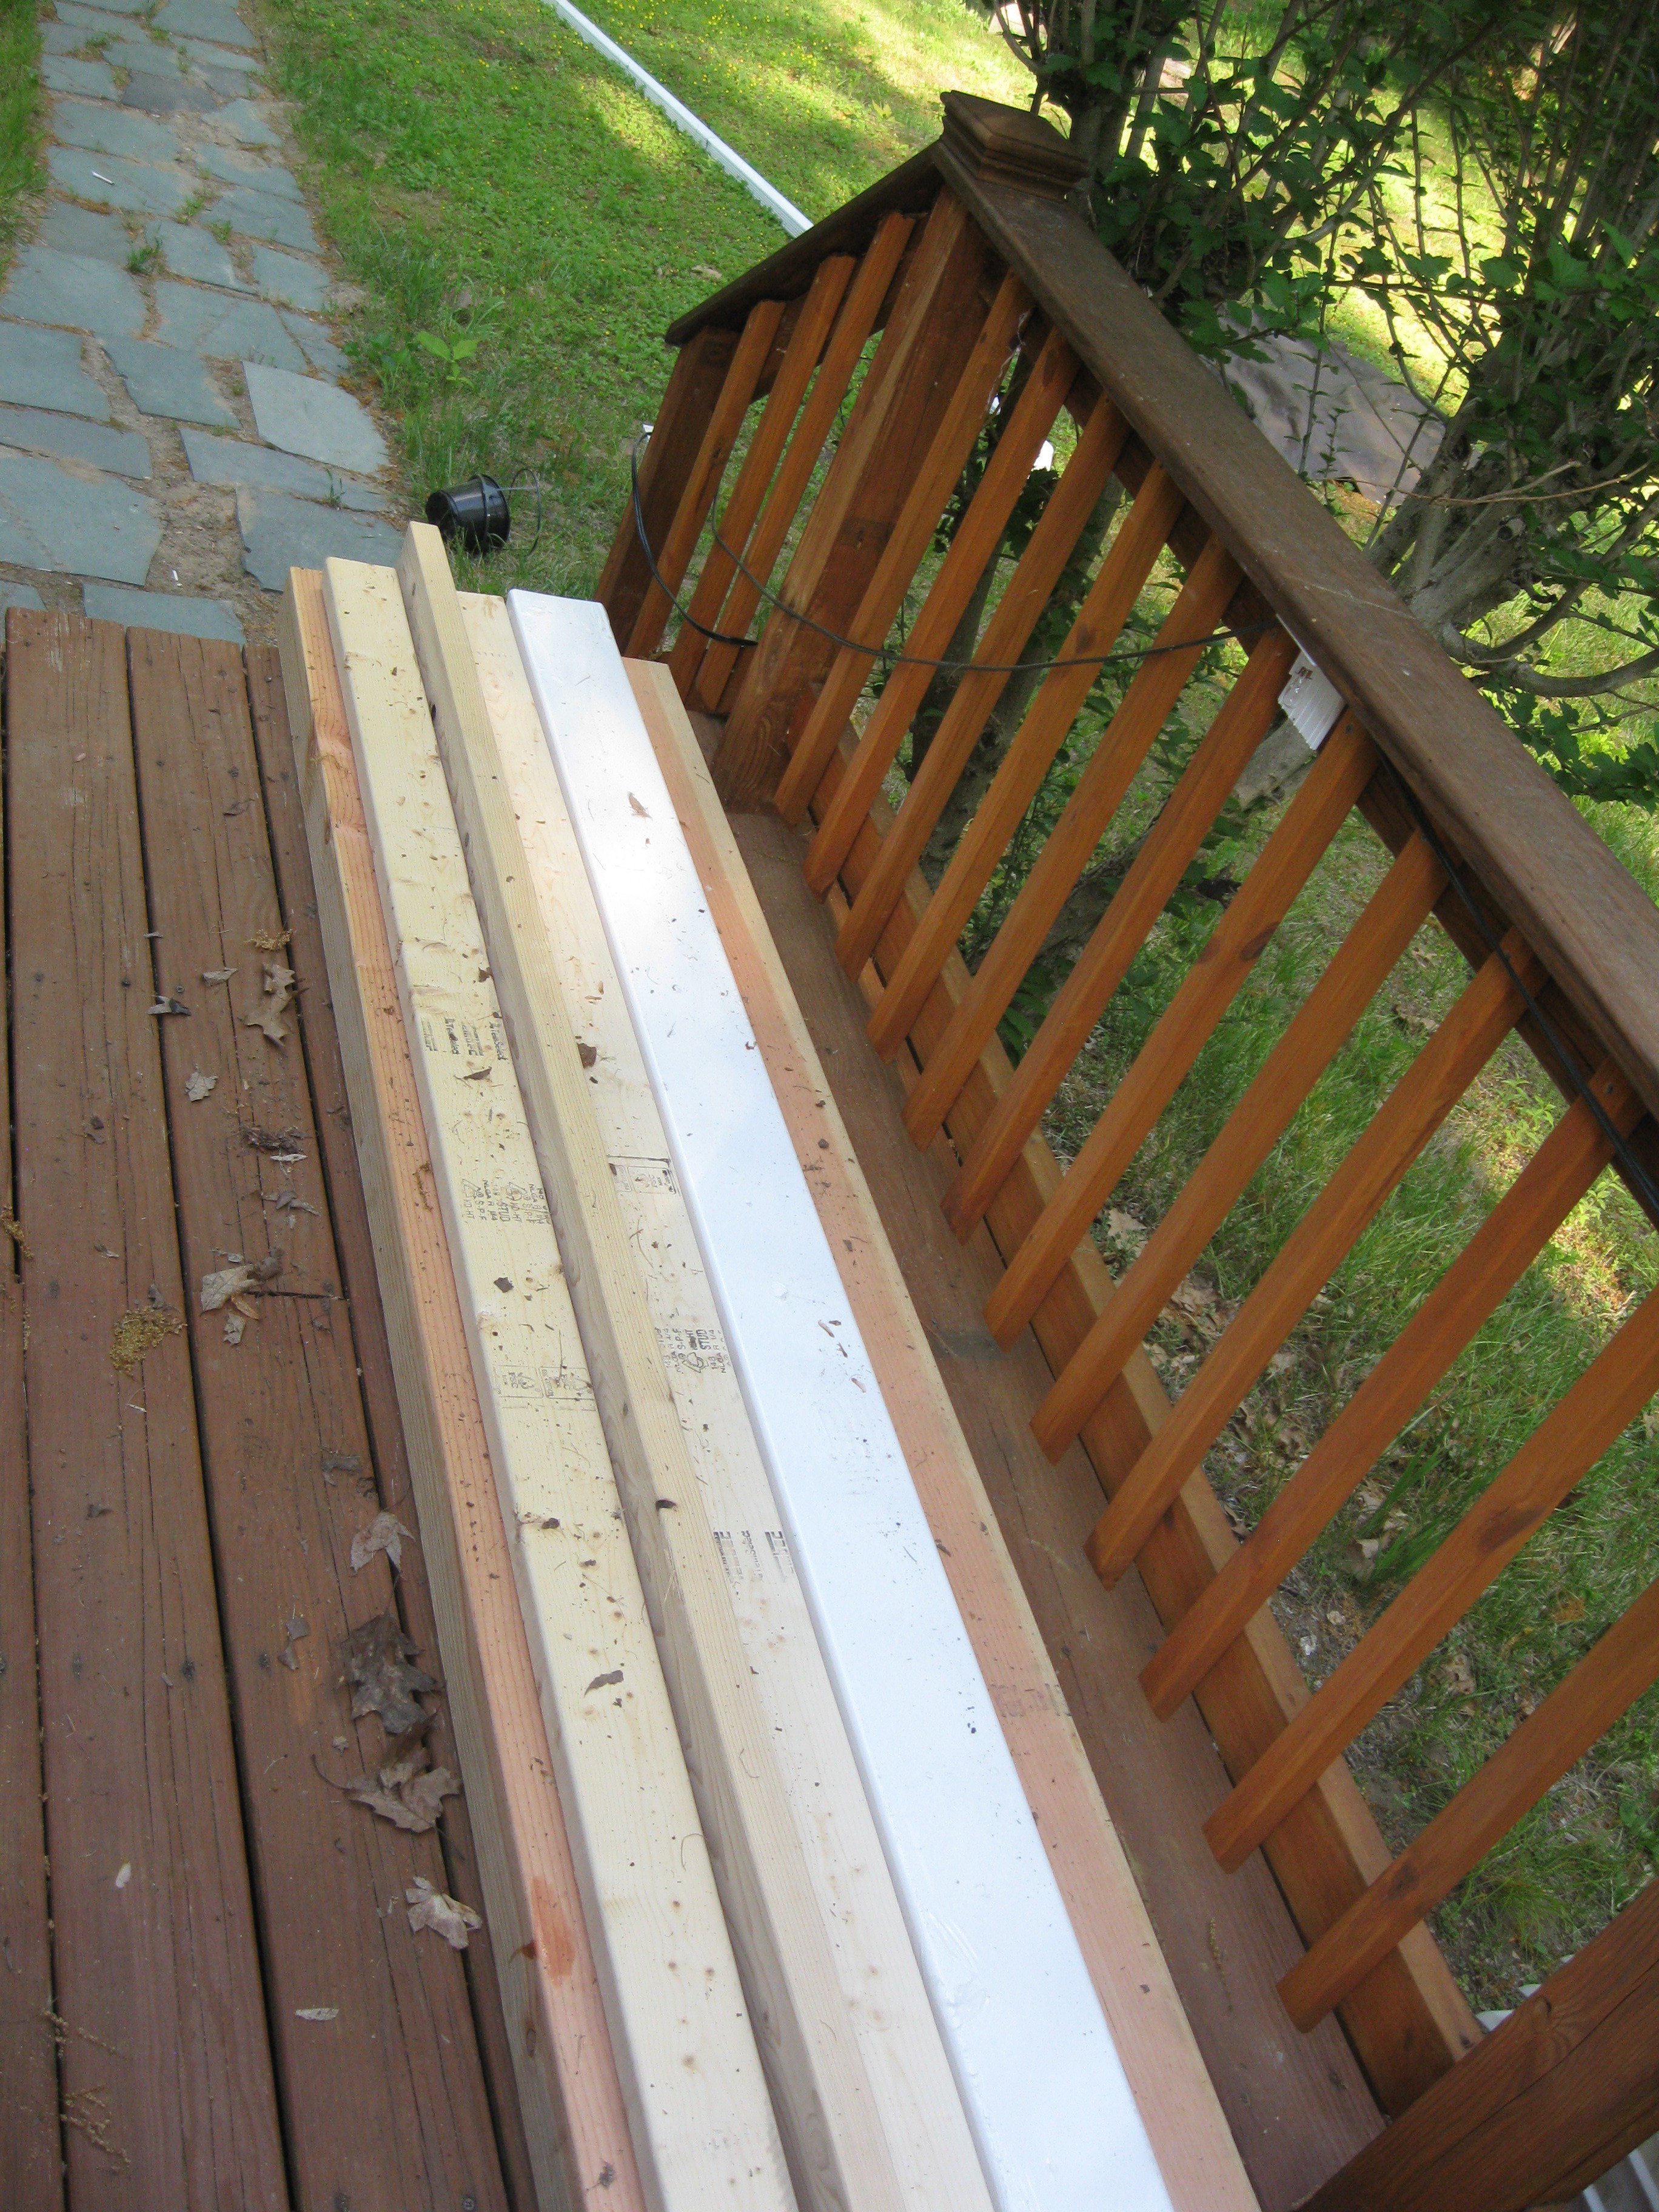
AVRMaterials: 2X4s, 4X4s, and 5X5 PVC fence post
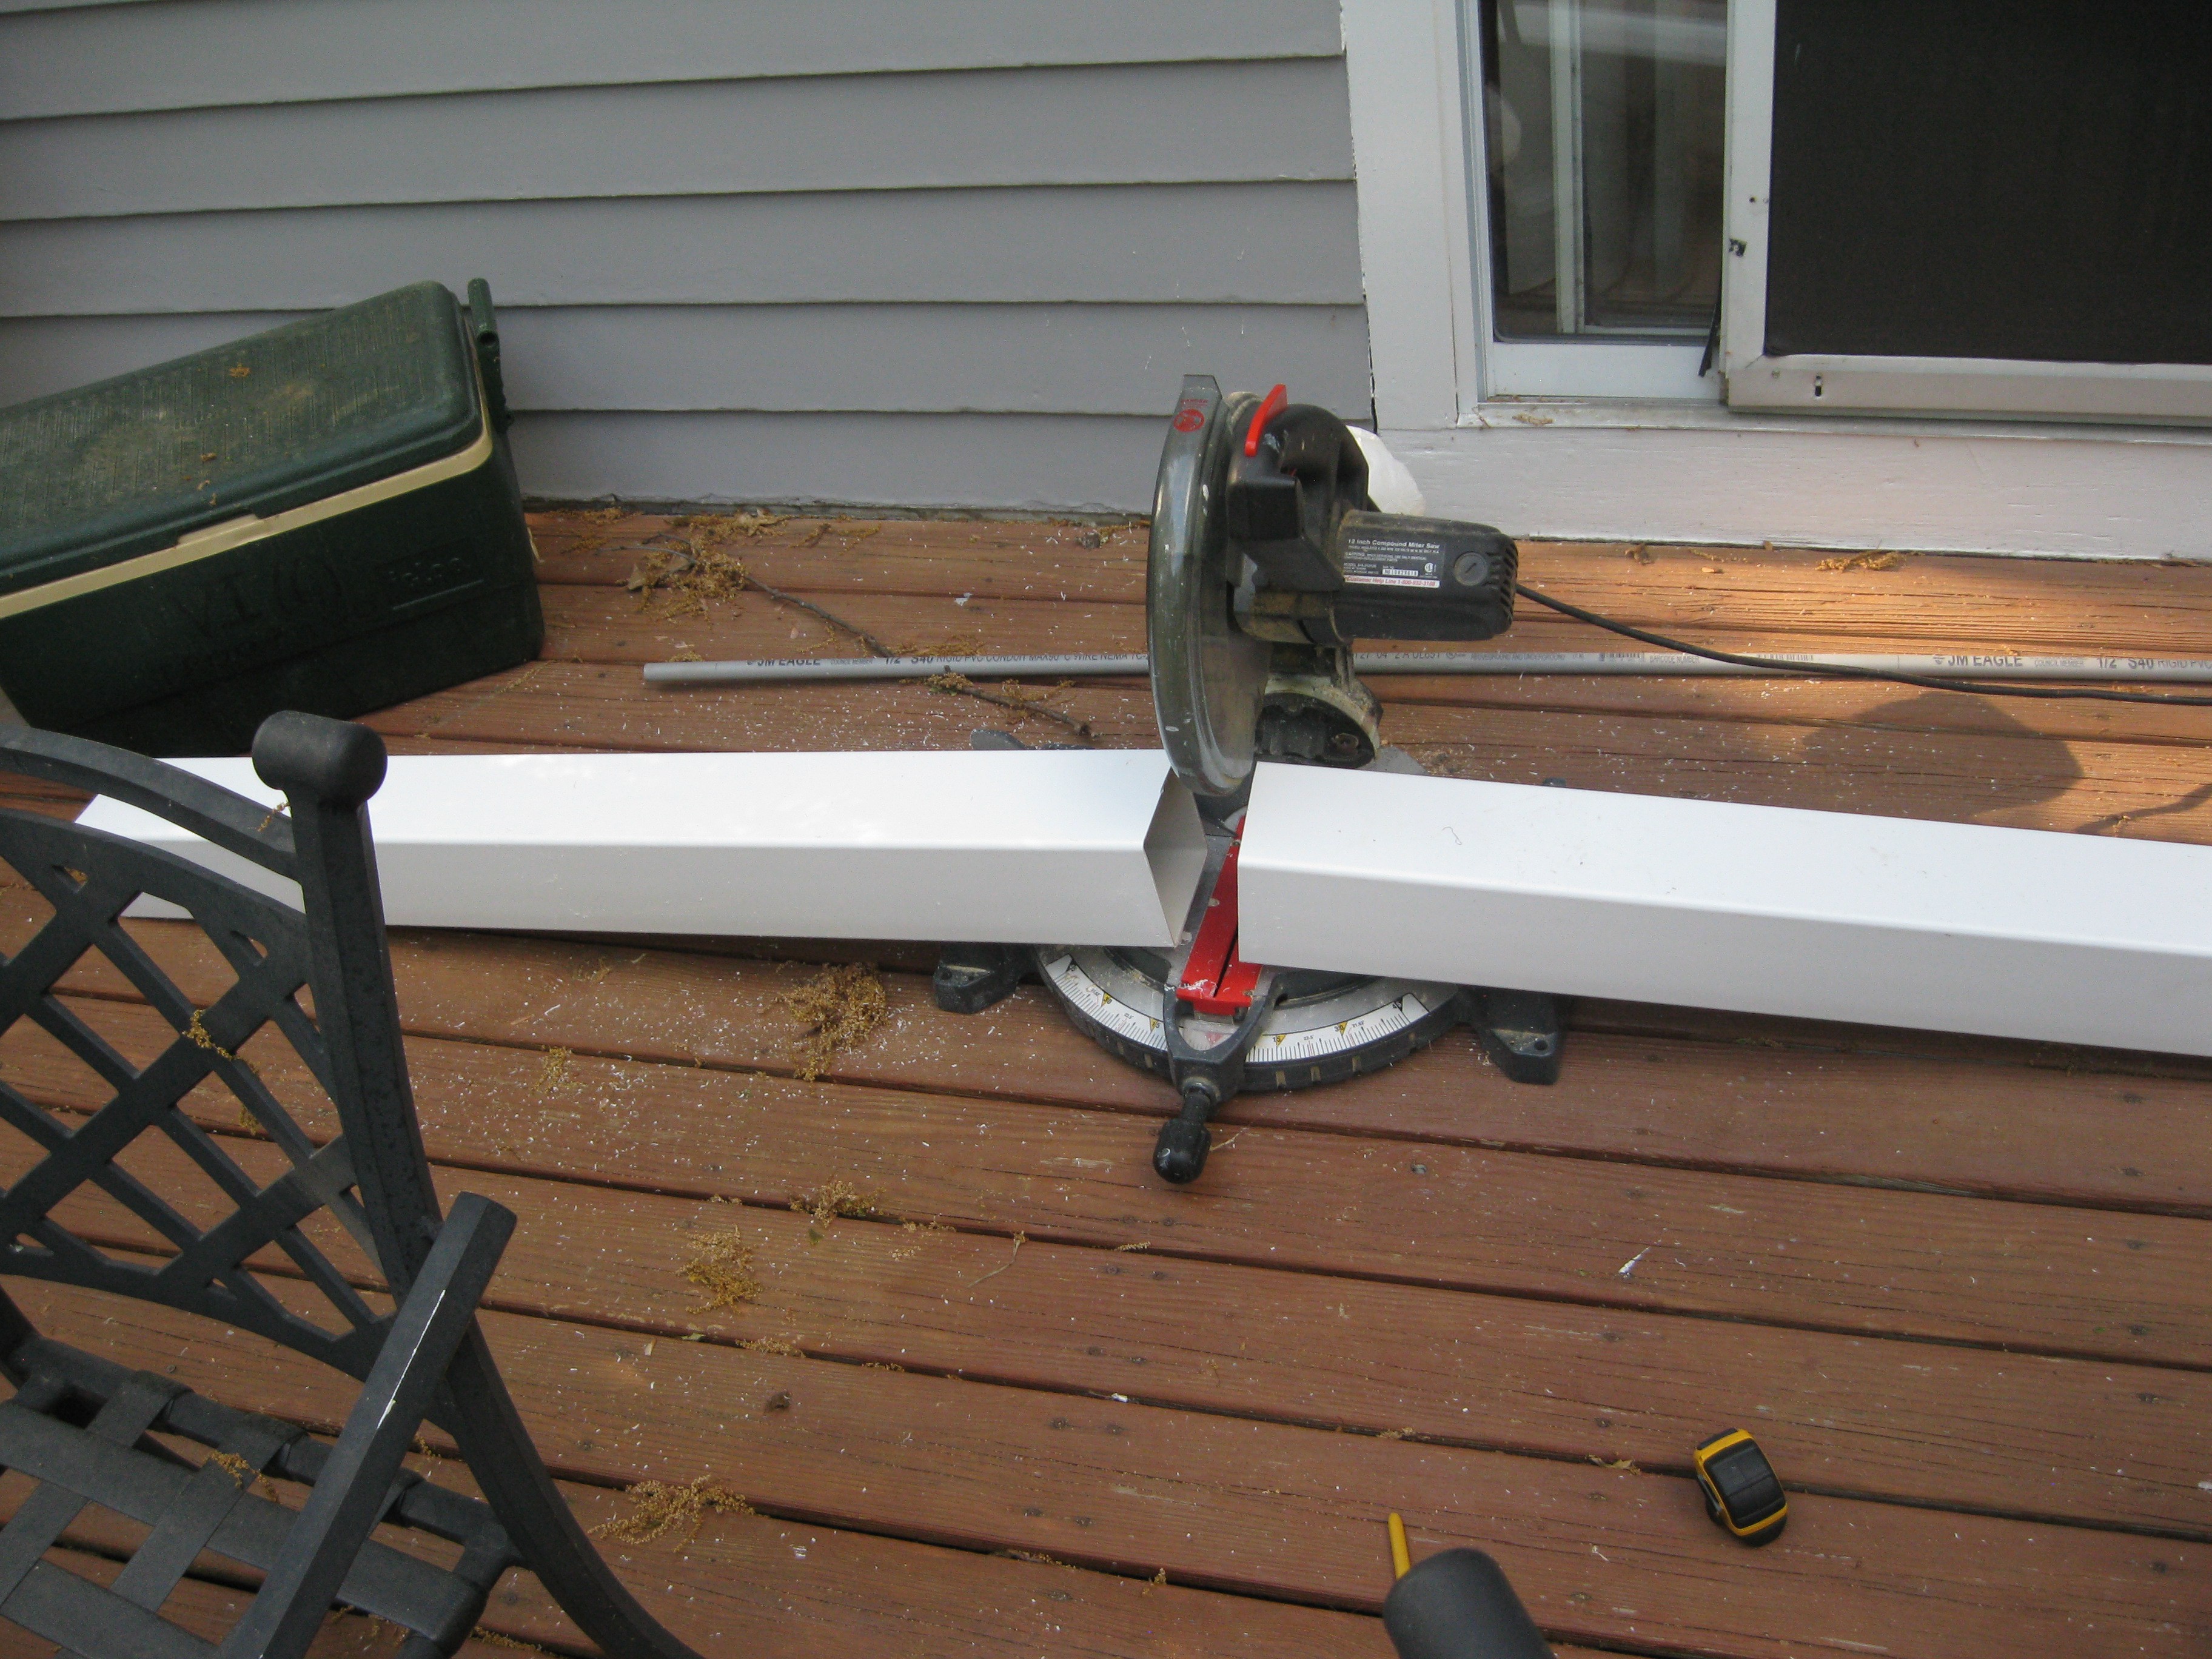
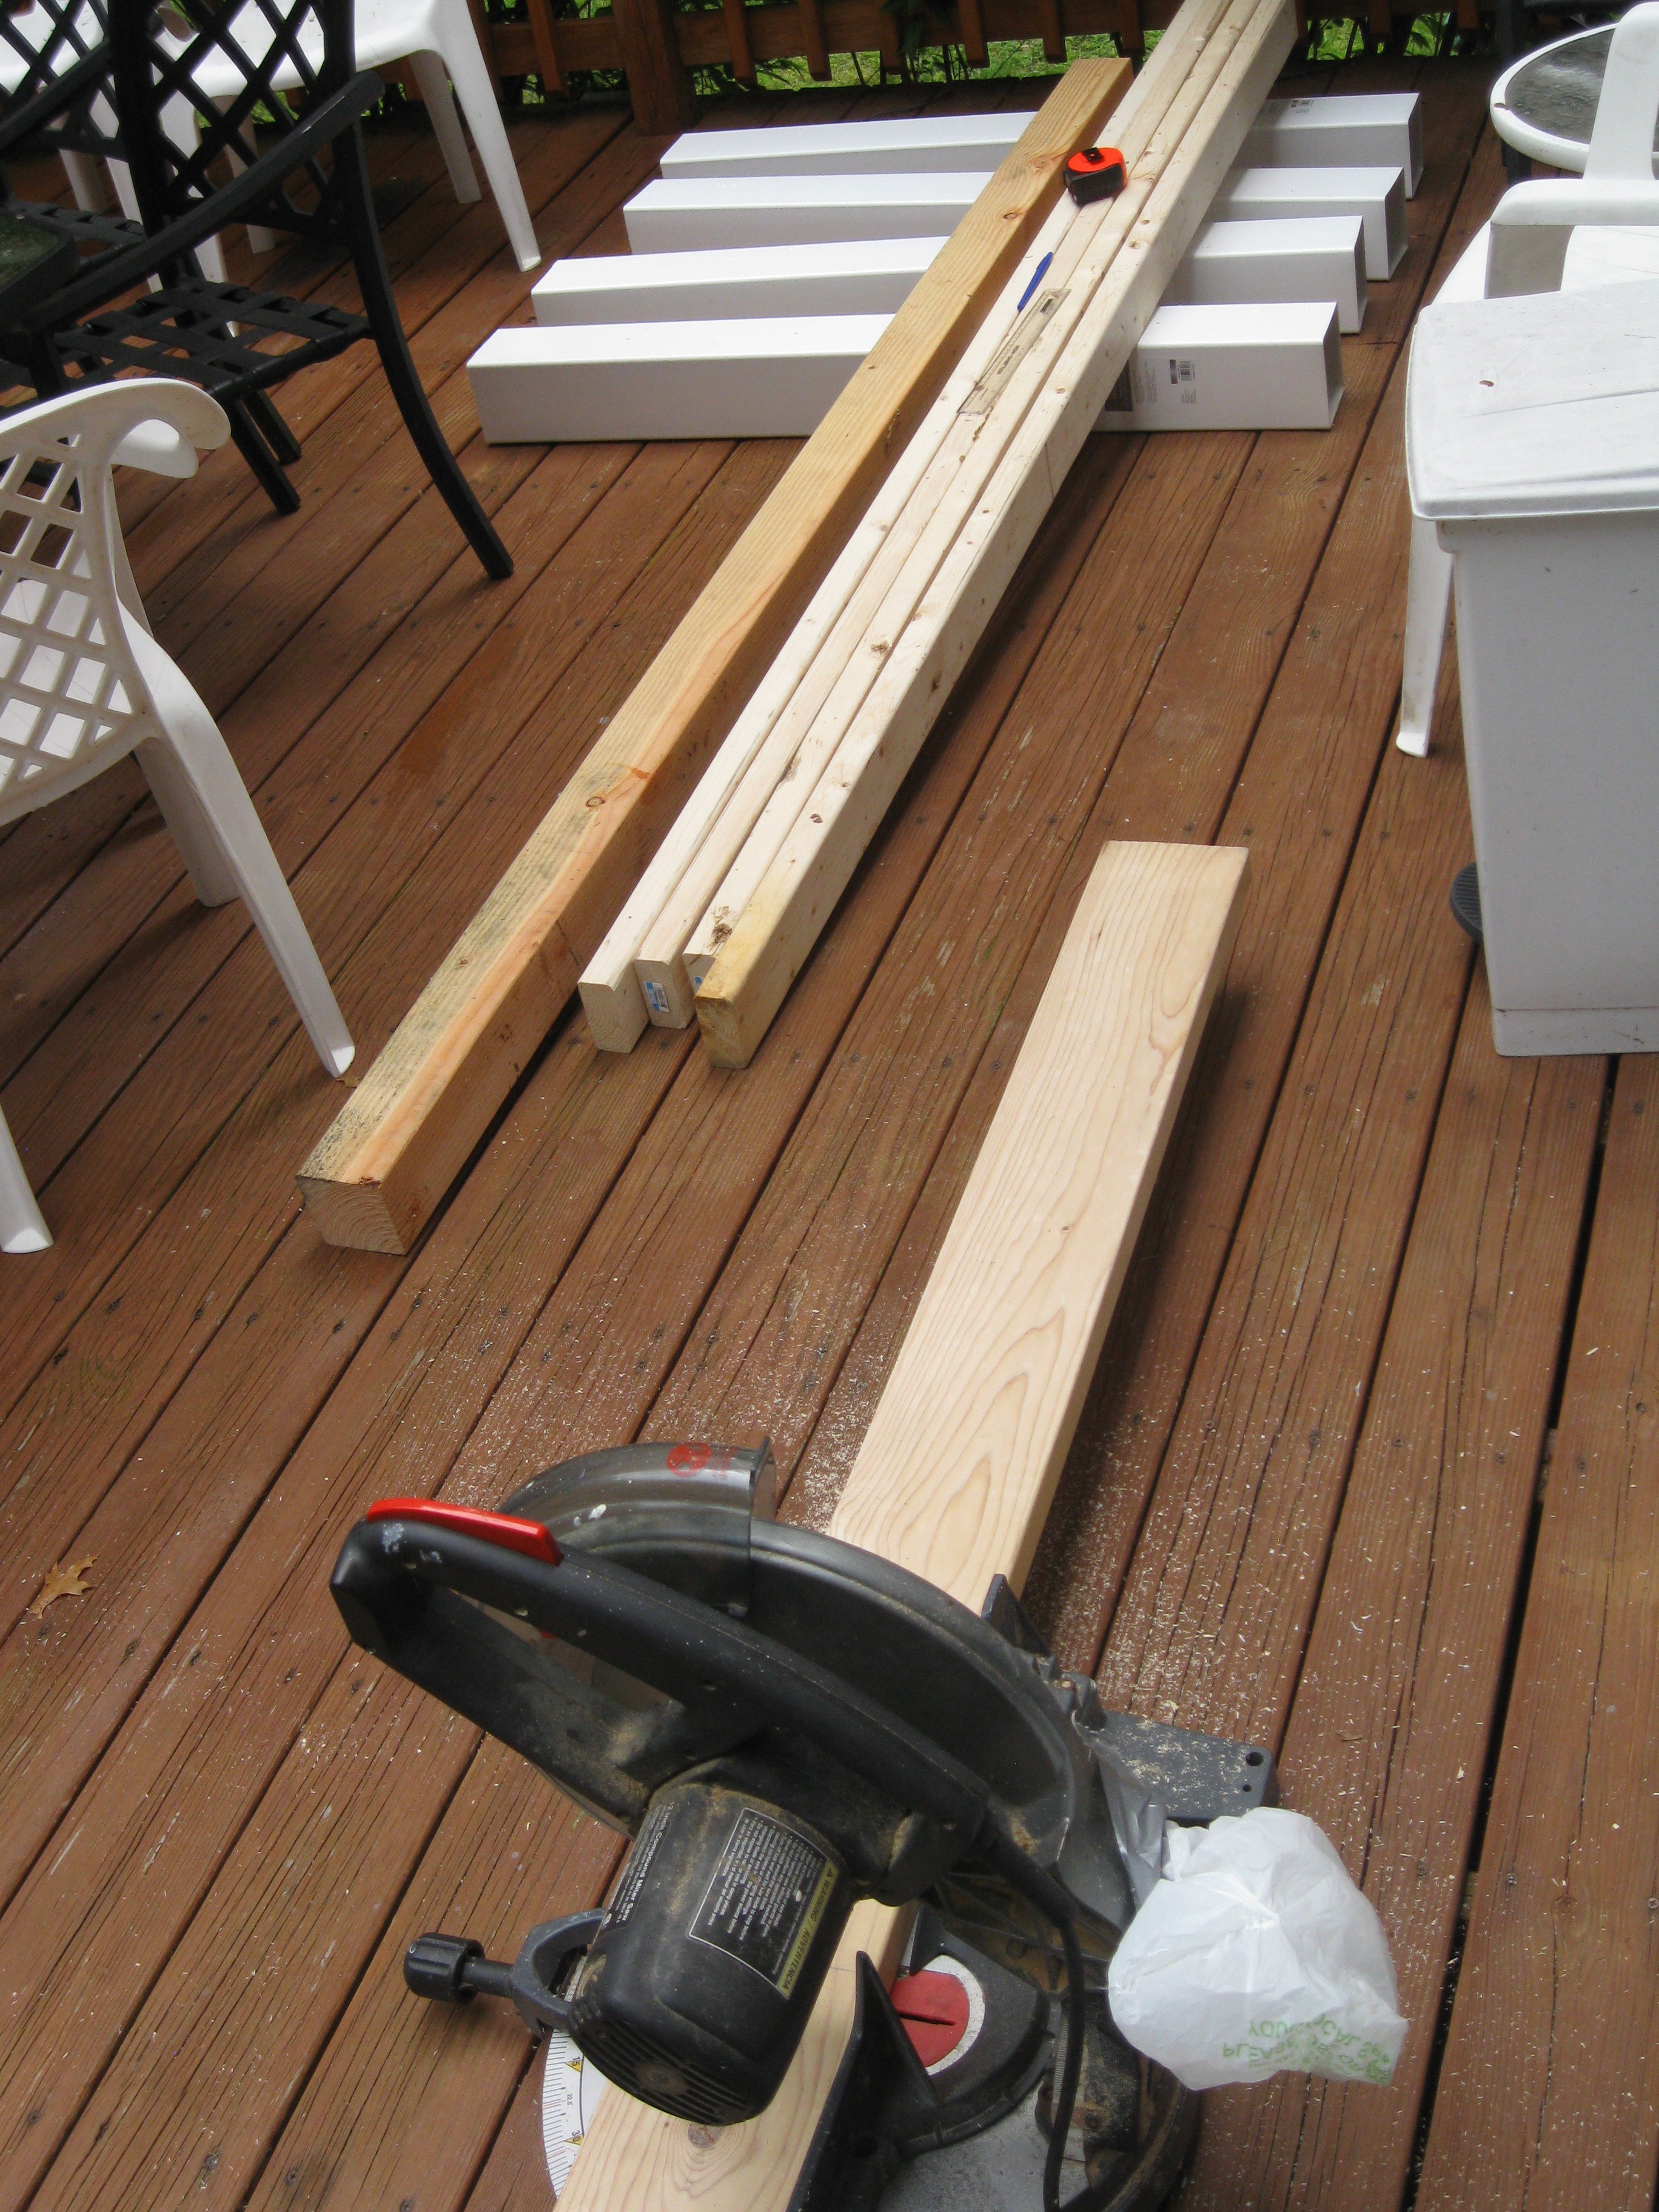
All Cut, the chop saw wasn't big enough to fit the whole width of the post so I had to rotate it 3 times to cut them, I don't recommend this but if you do wear safety glasses and be very careful.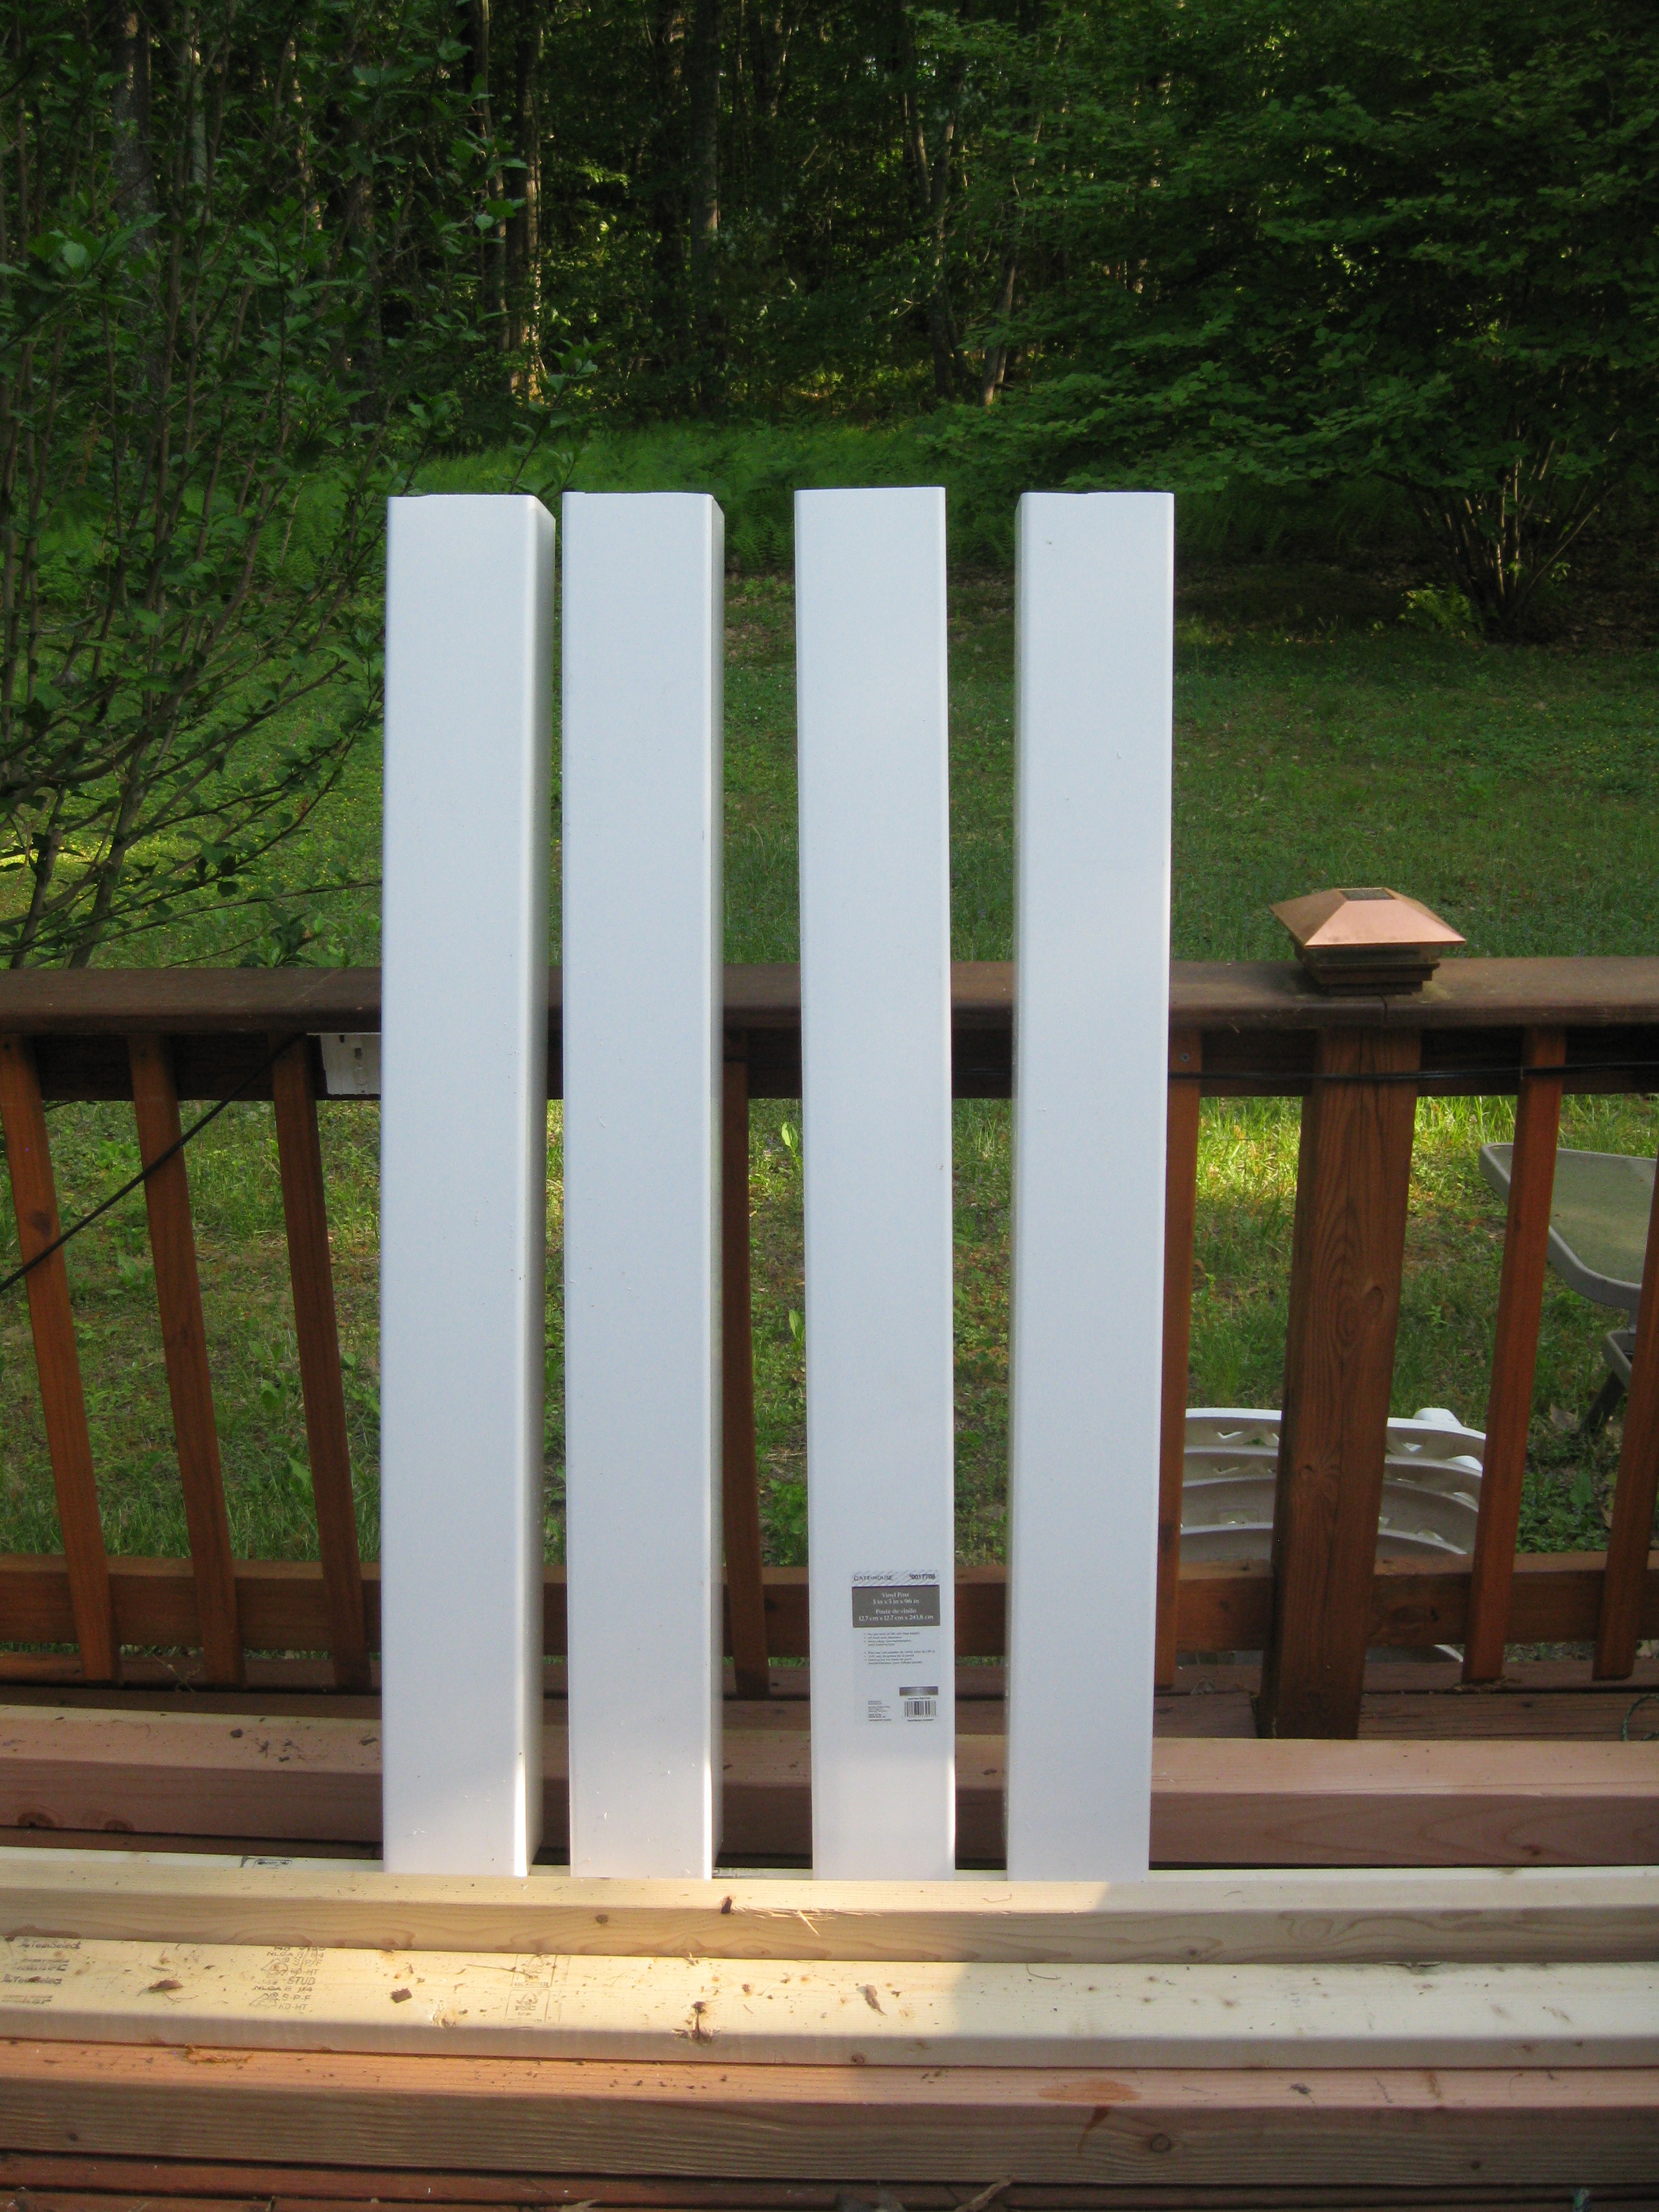
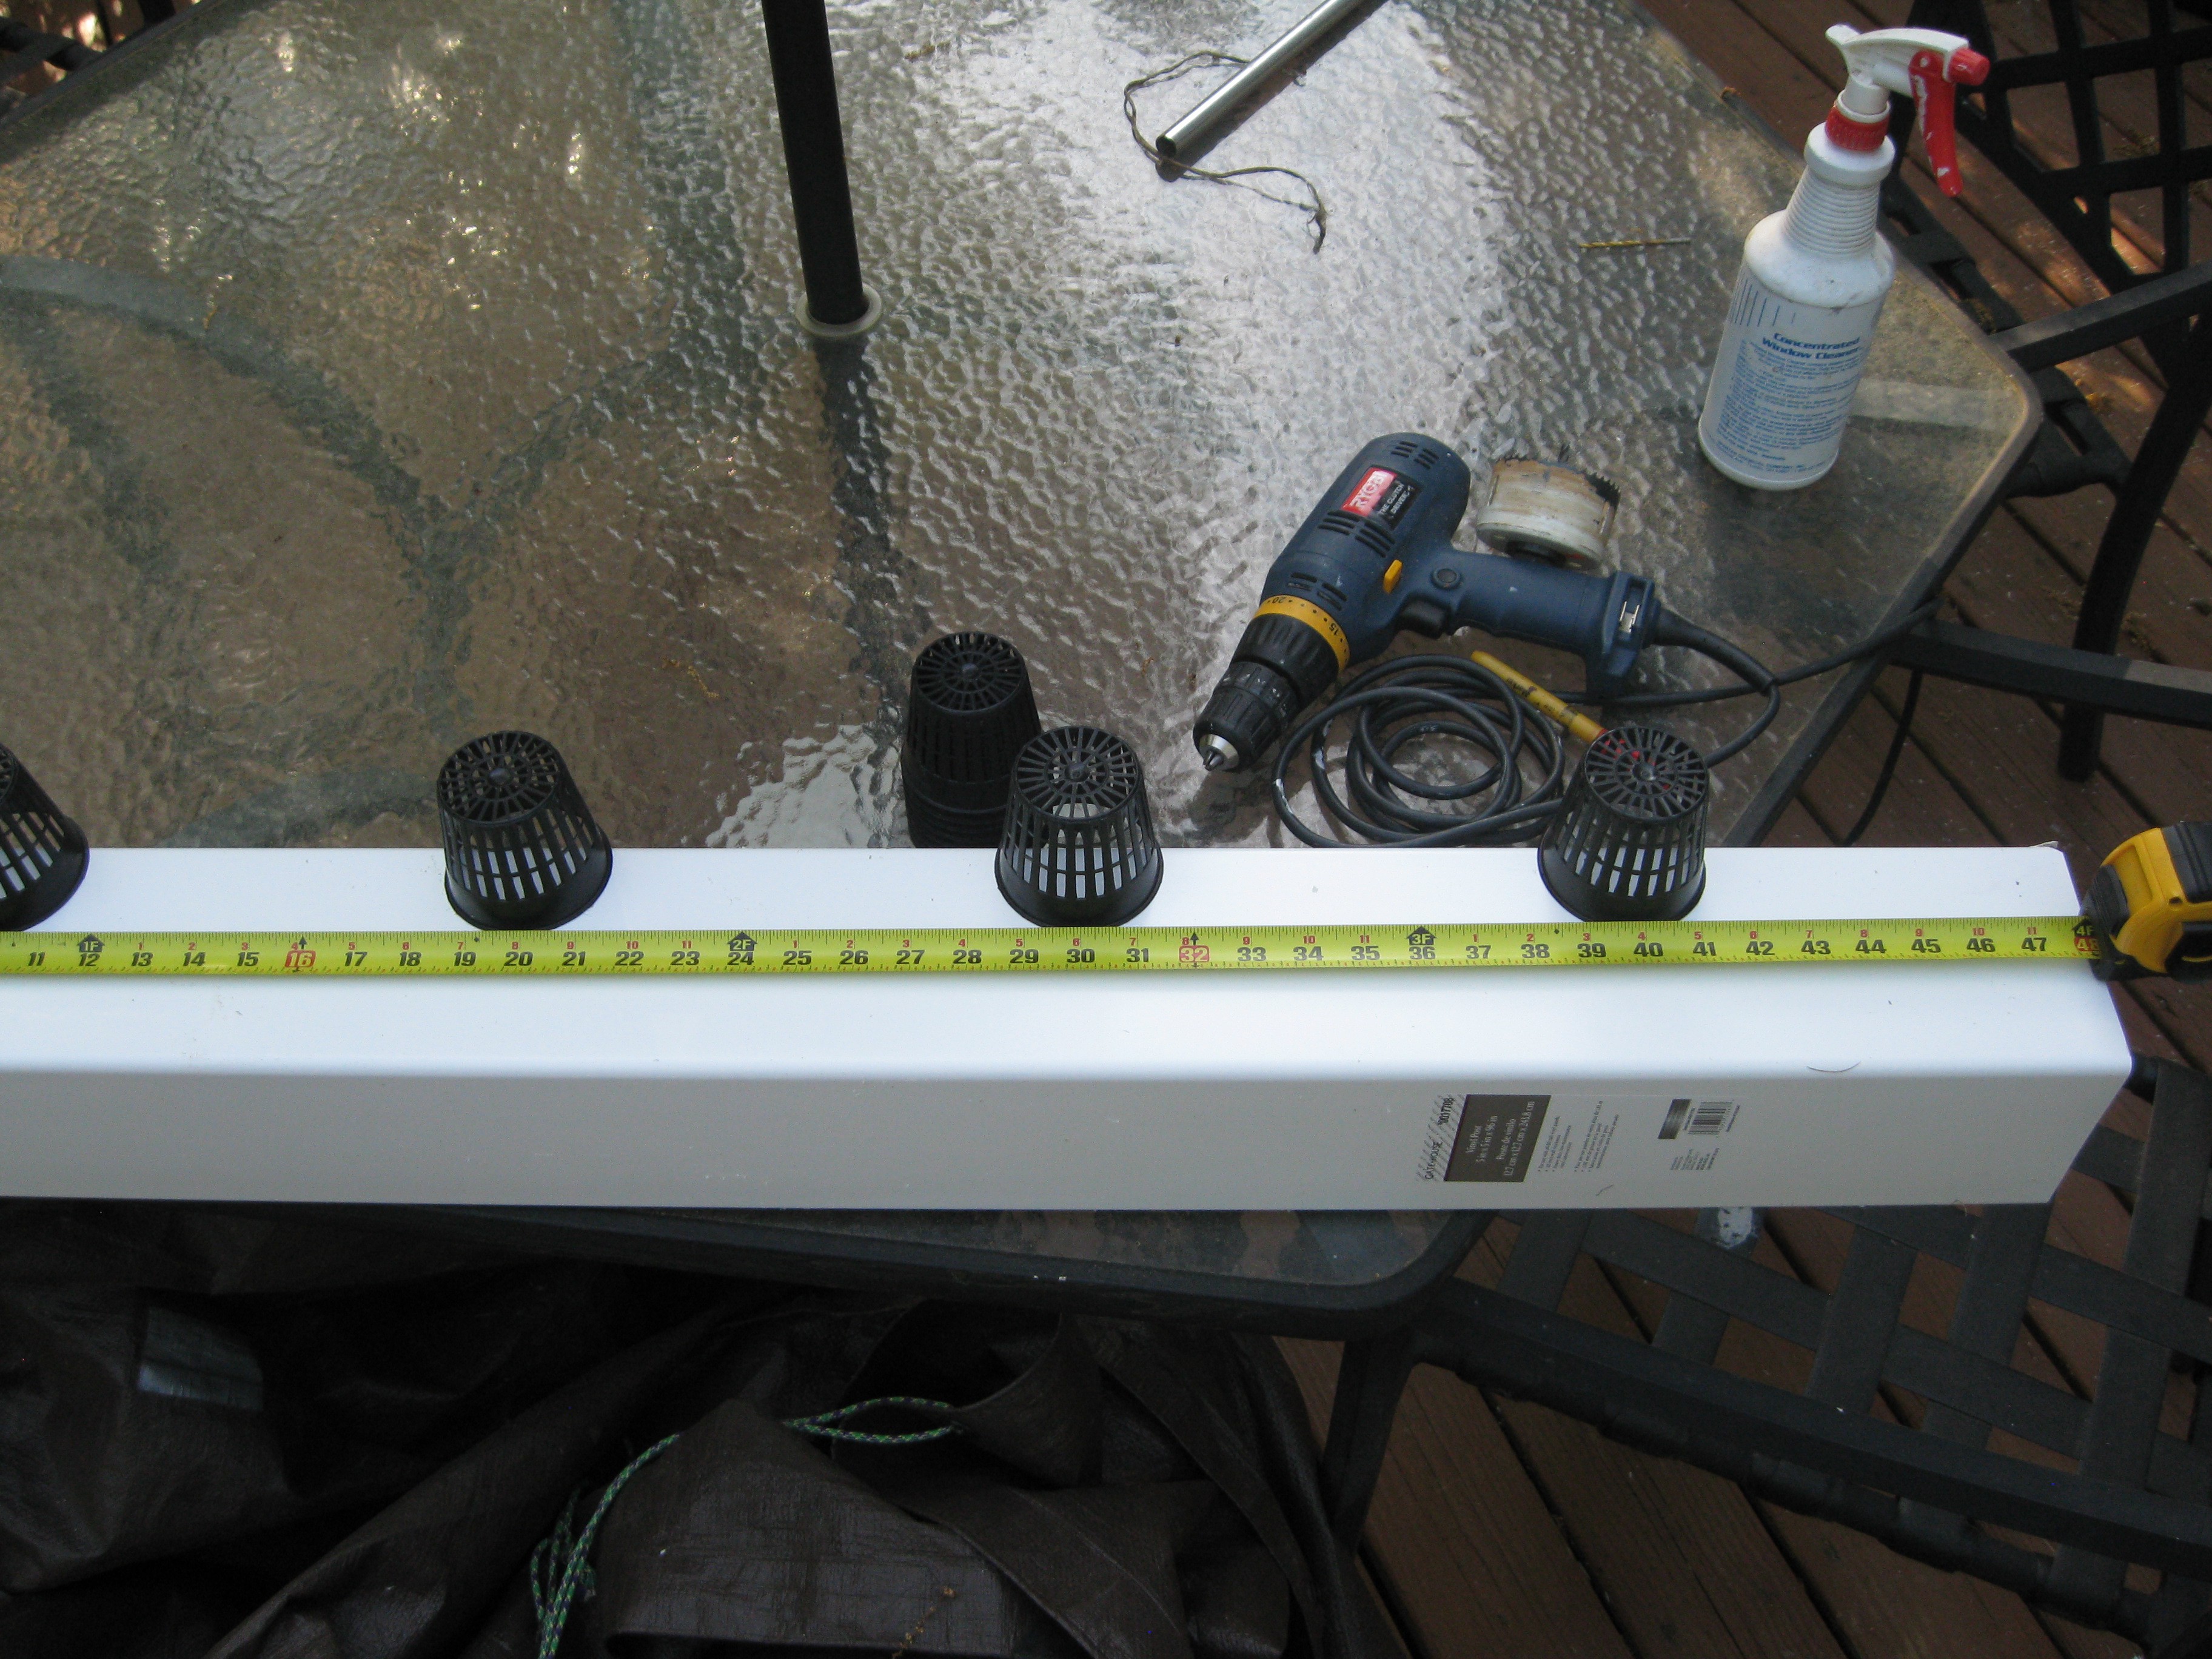
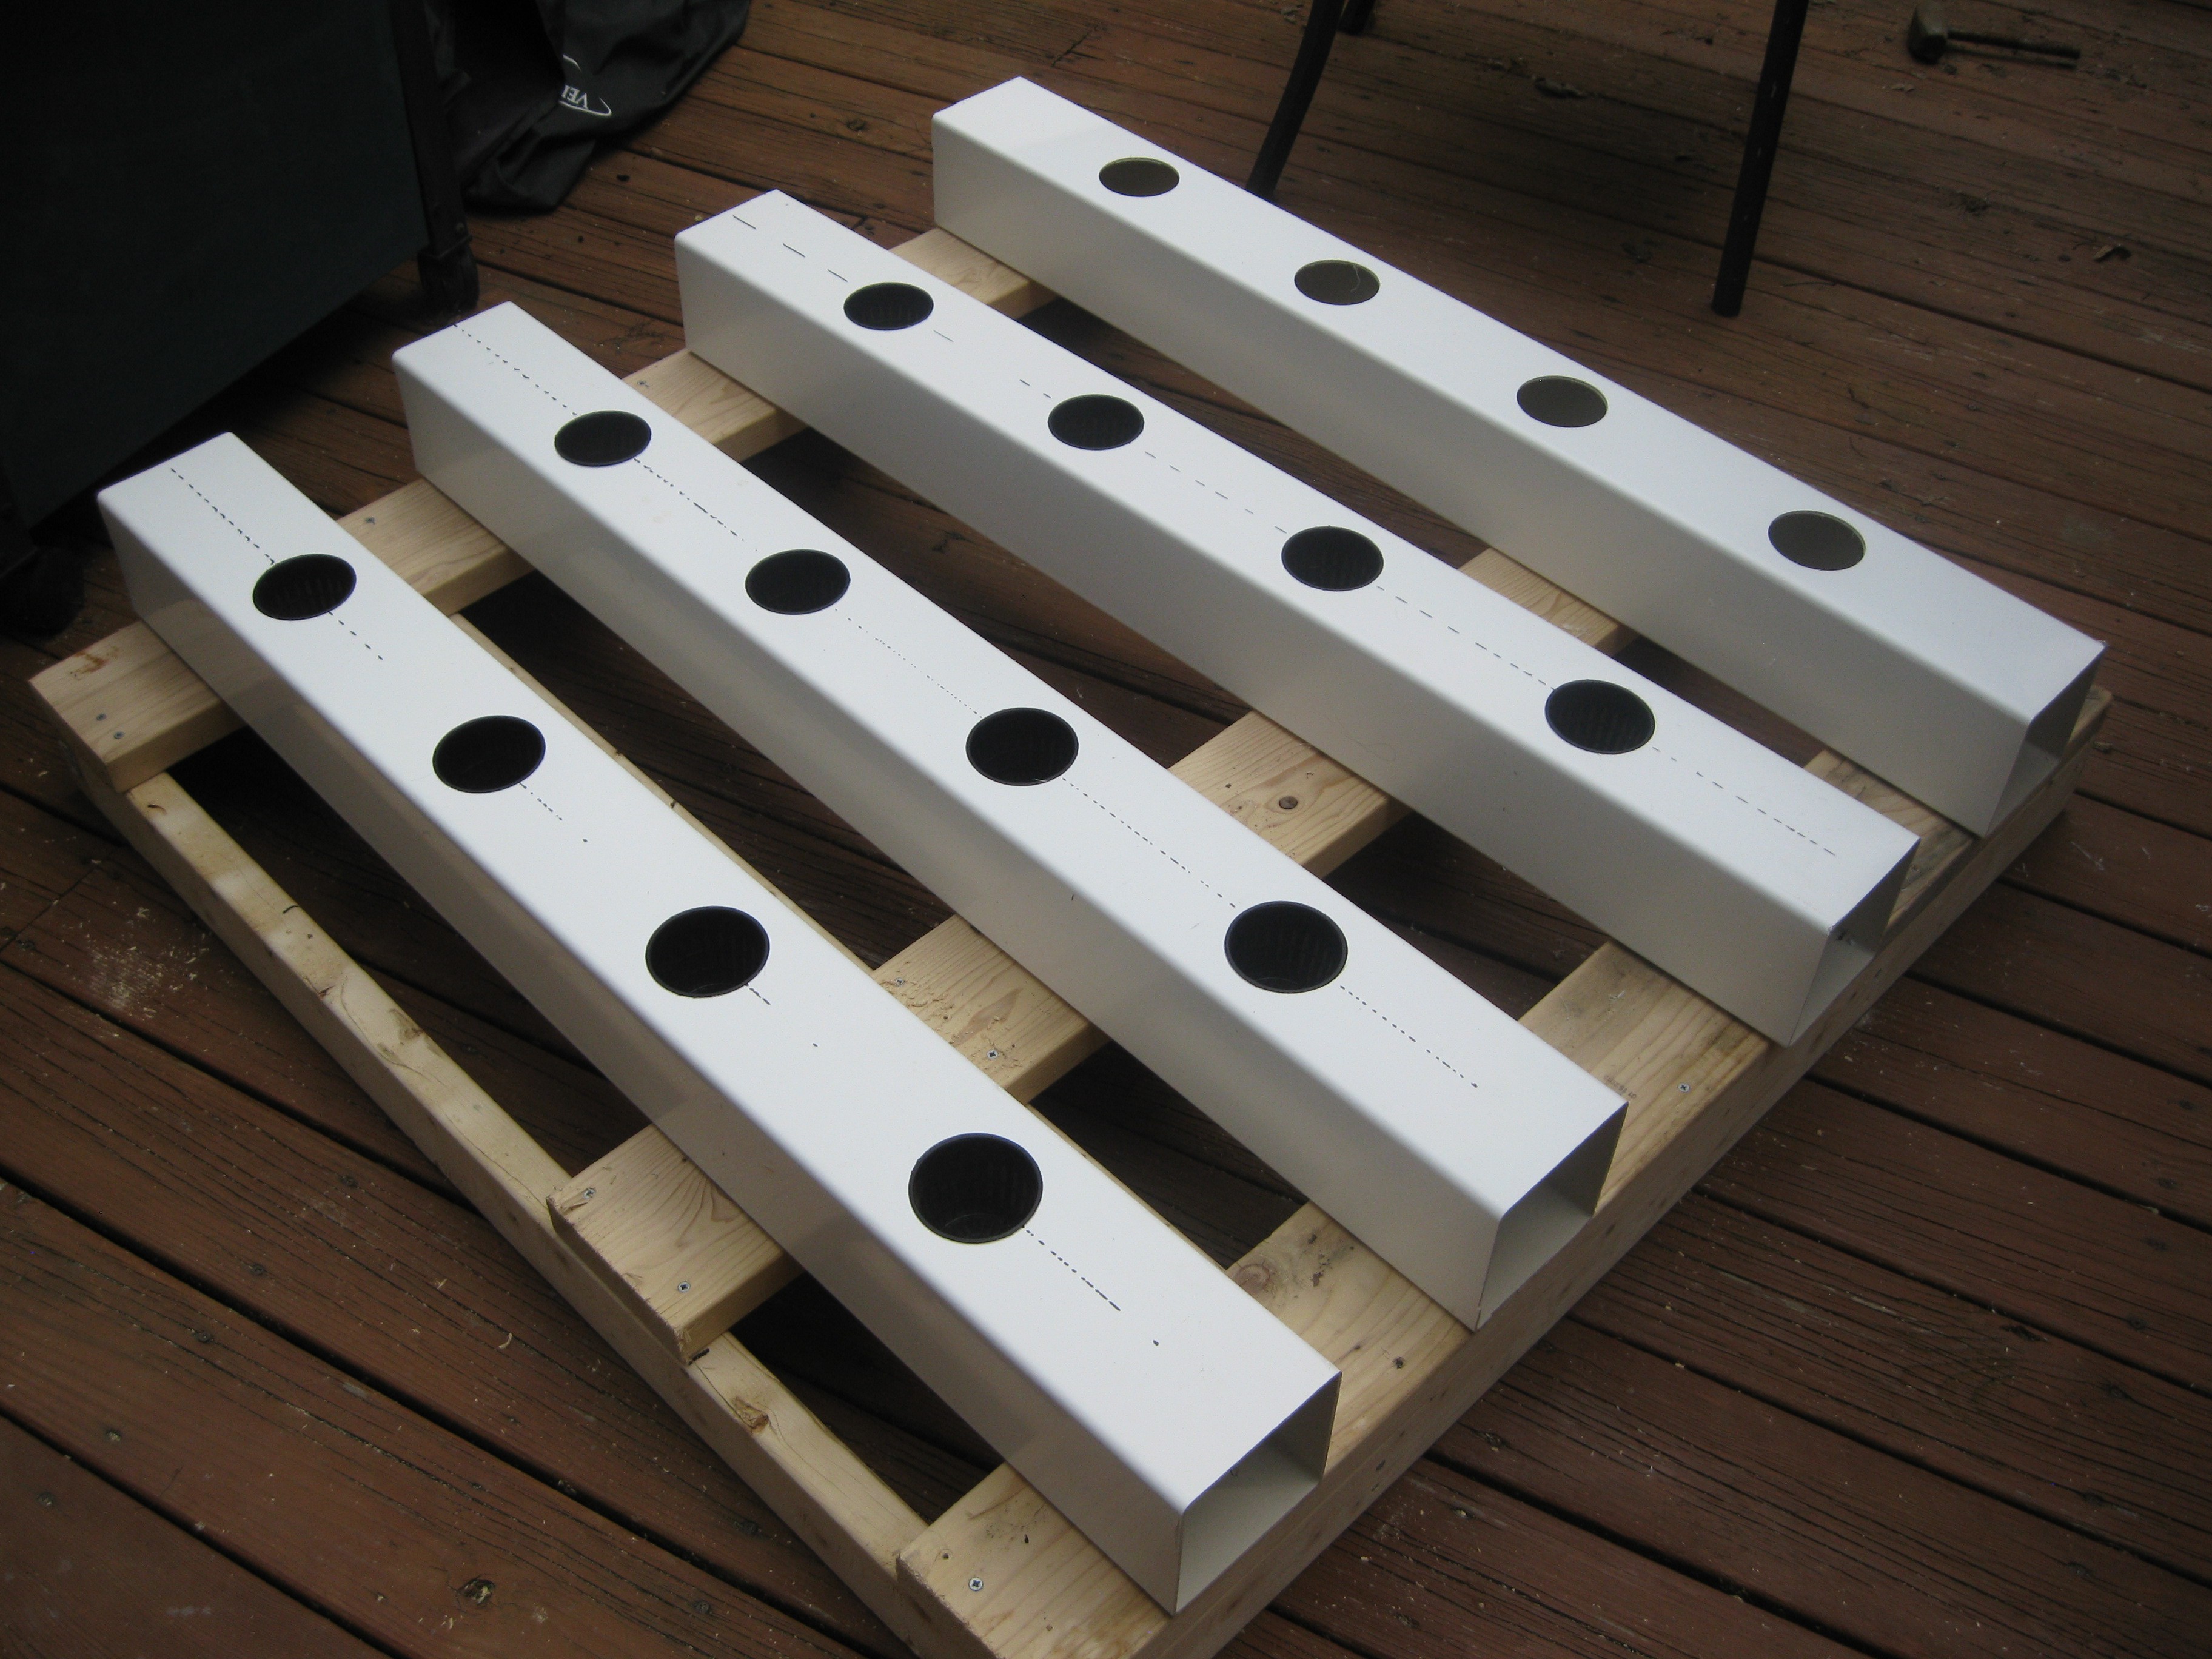
Measuring spacing of the plant pots and drilling pilot holes for the hole saw. I was planning on using my 3 inch hole saw to cut holes for the pots but the drill (on the table) I have won't fit the hole saw. I need to borrow a friends drill to finish. Next off for building the unit will be the frame, I haven't decided what the frame is going to look like. Simple requirements for it will be to mount the 4 rows and be tall enough to fit a 55 gallon water barrel underneath to act as the reservoir for the system. I plan on using the 4X4s to make legs and to build the rest of the frame with the 2X4s.
So thats what I got done on the unit so far, I'm hoping to do some more work Friday if its nice outside to use the saw, stay tuned for more updates later!
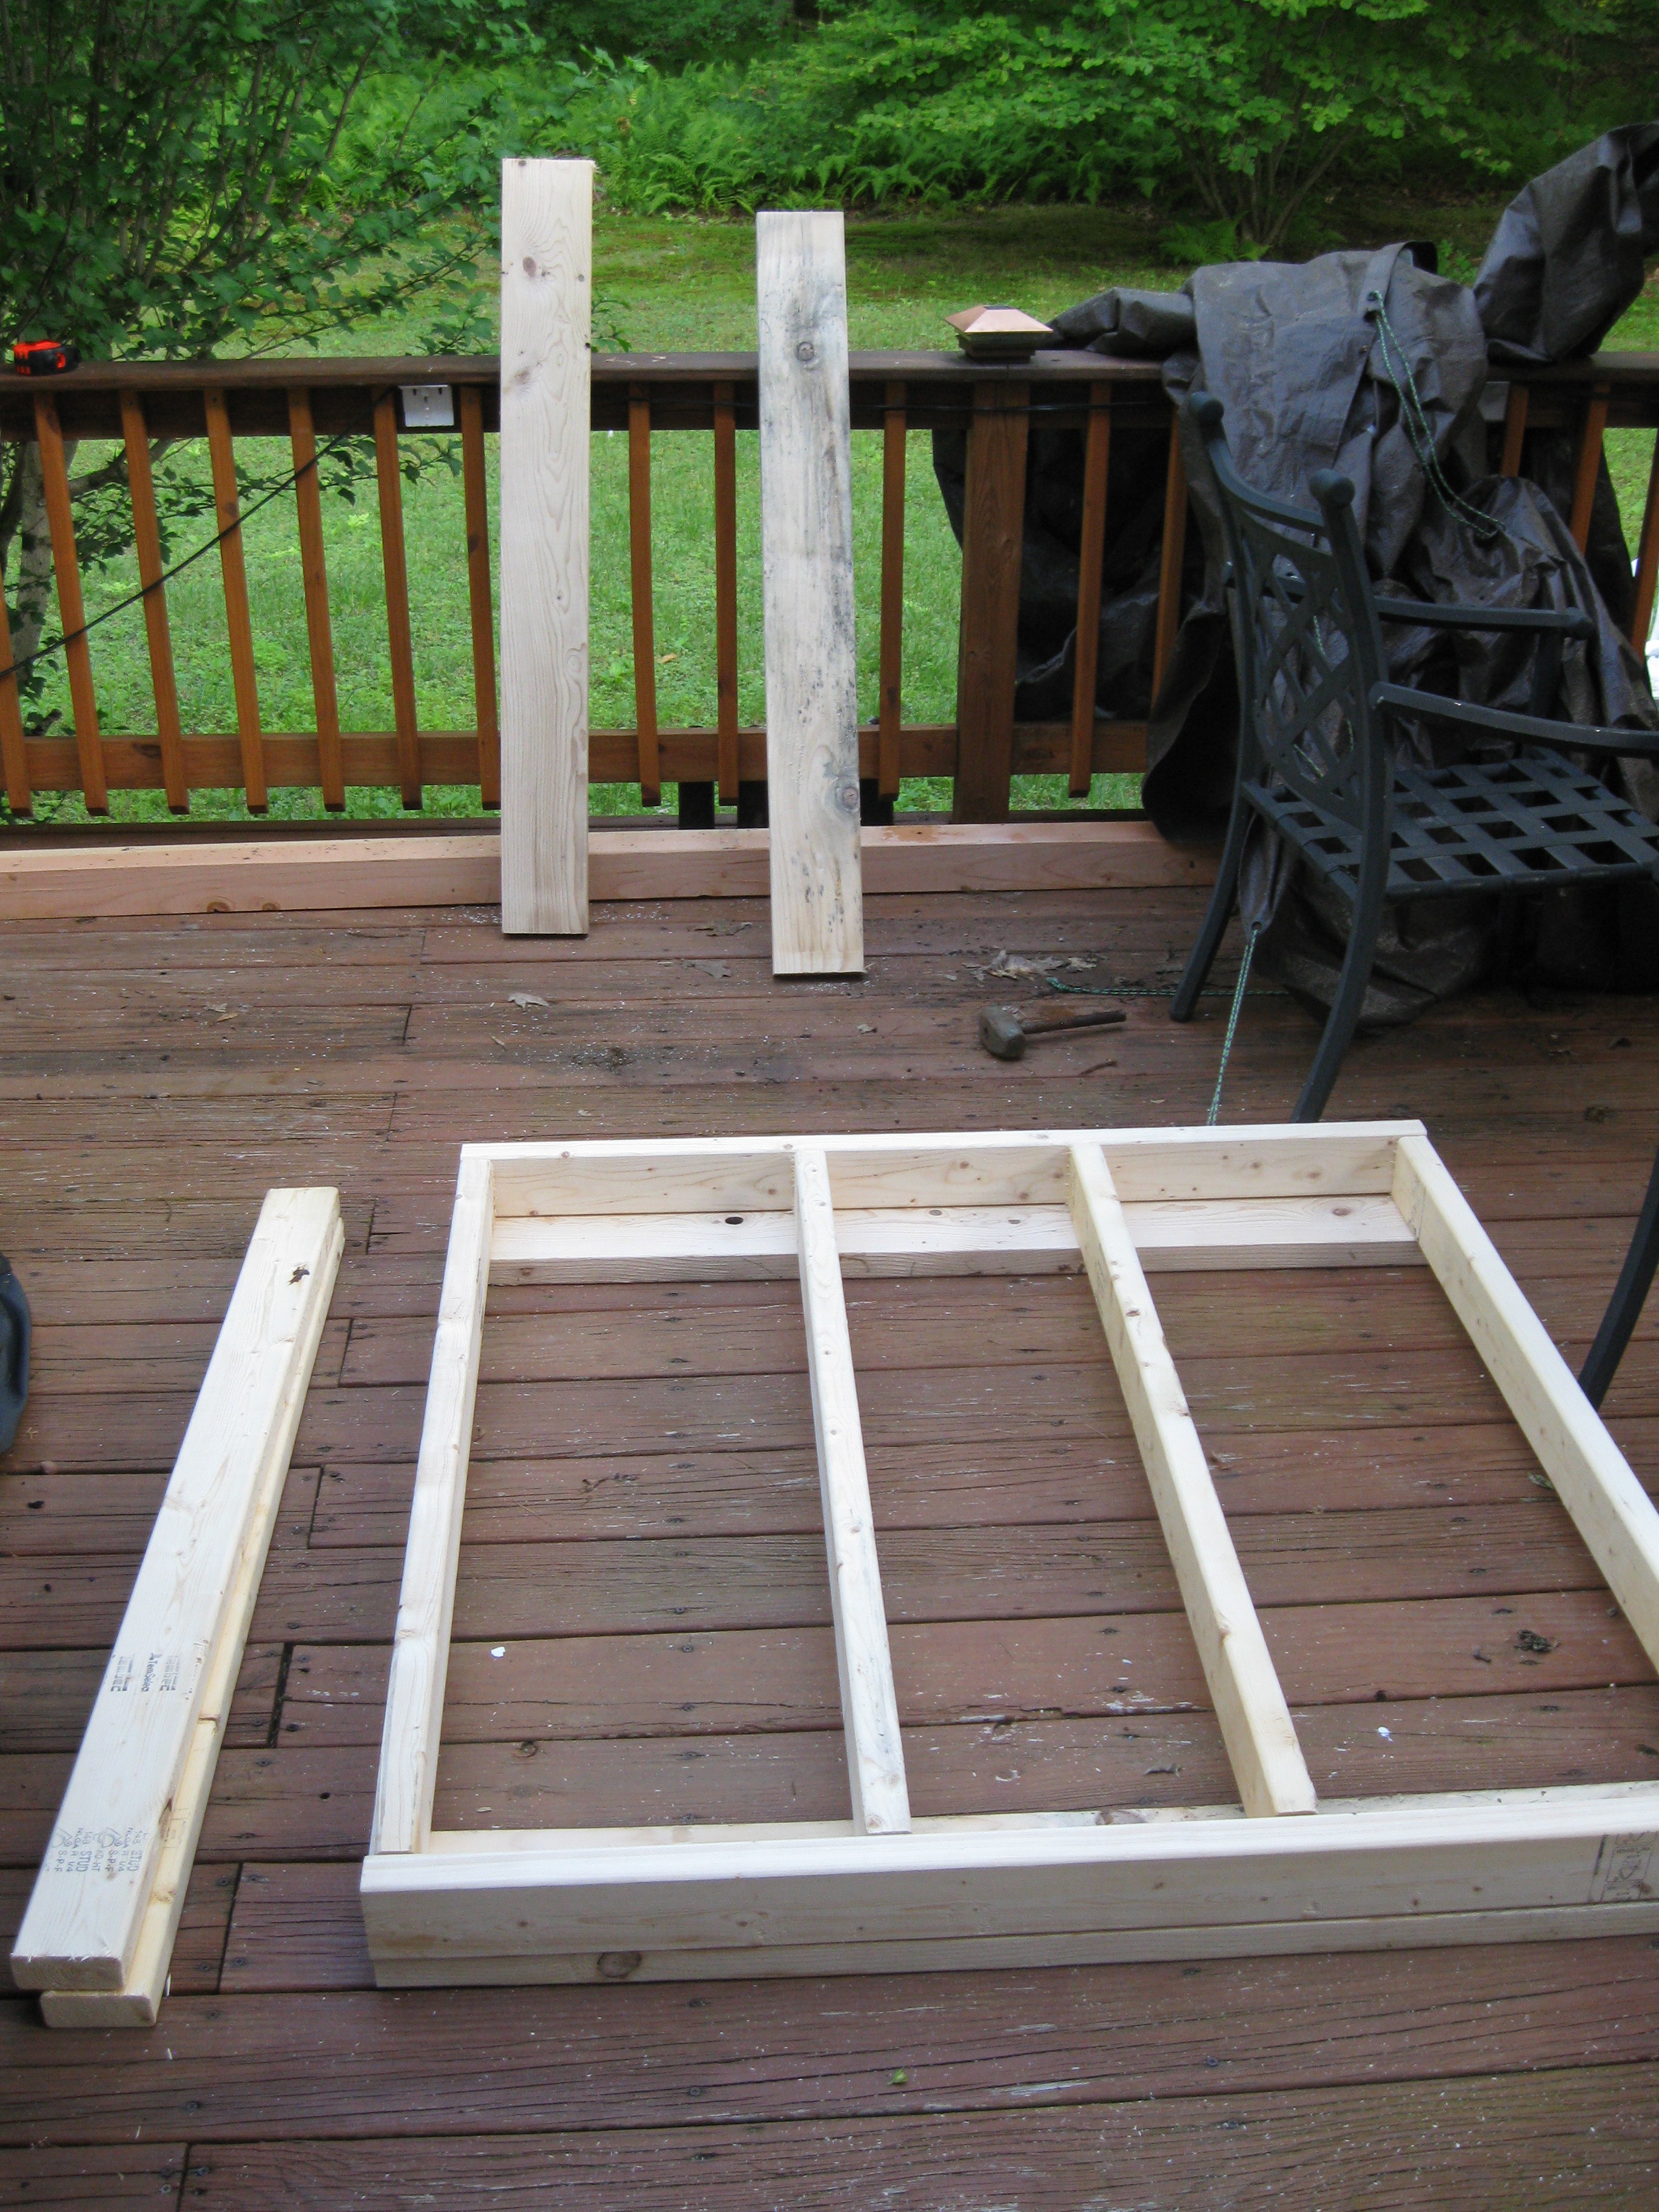
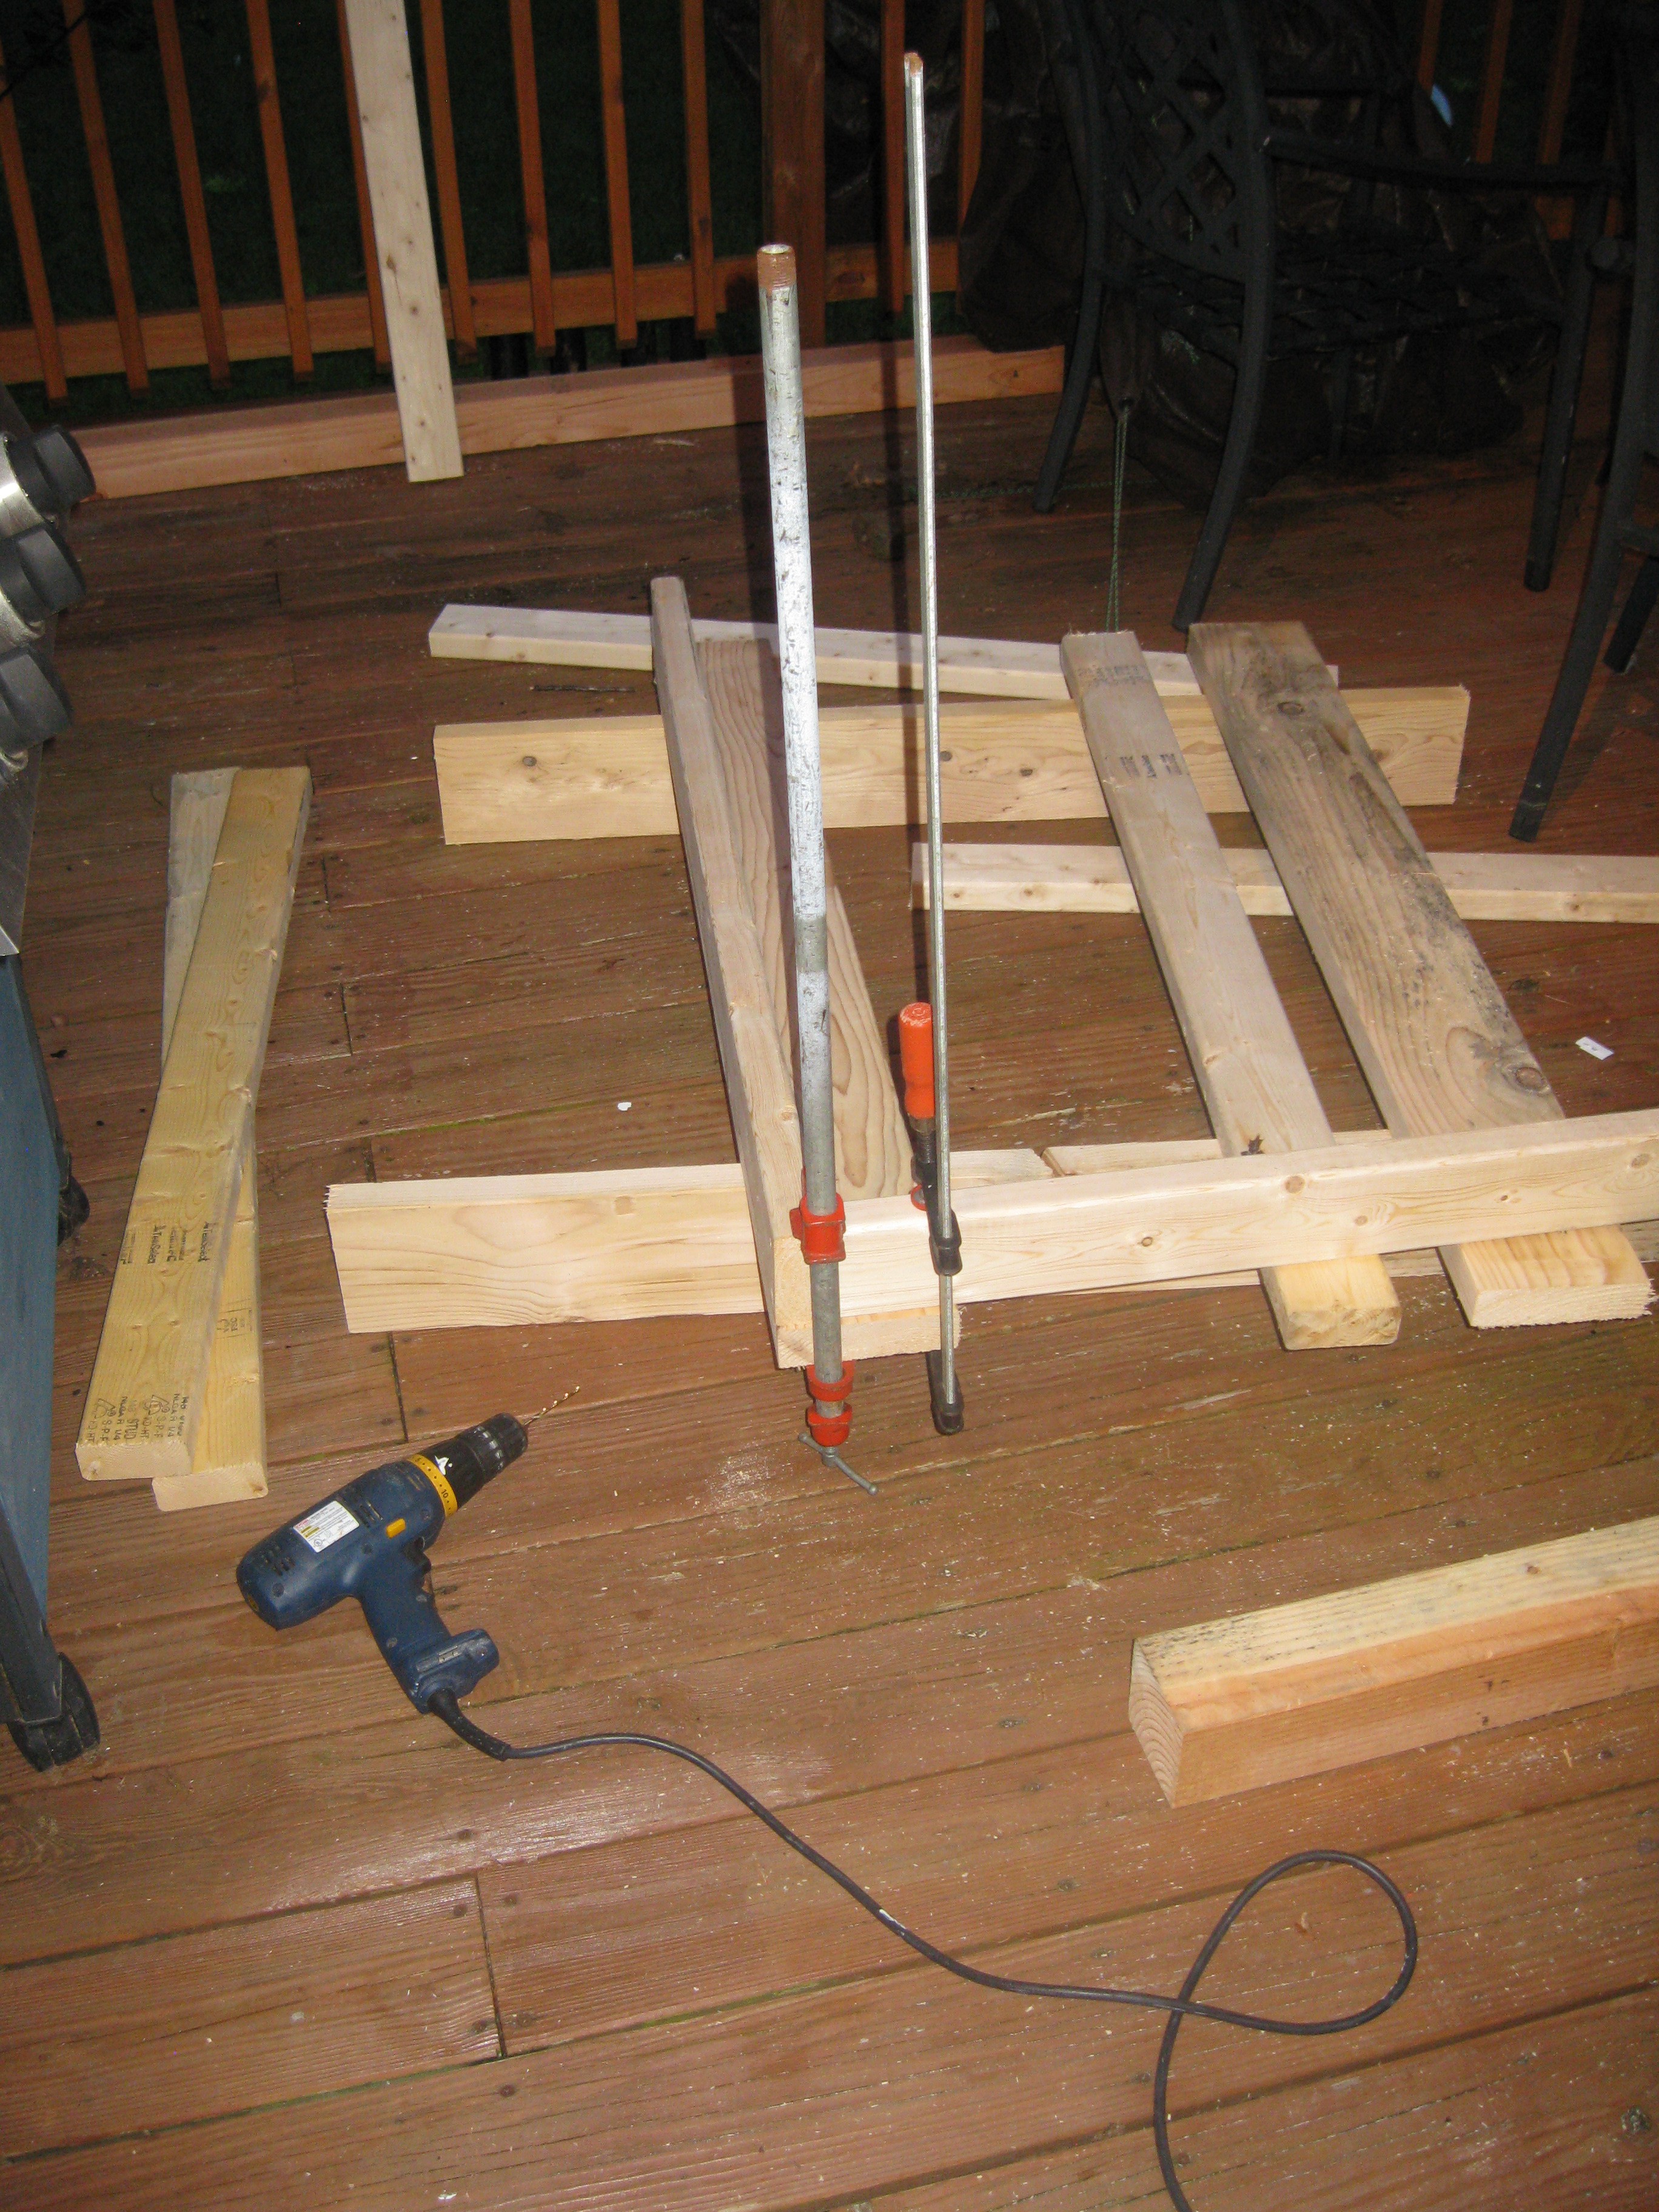
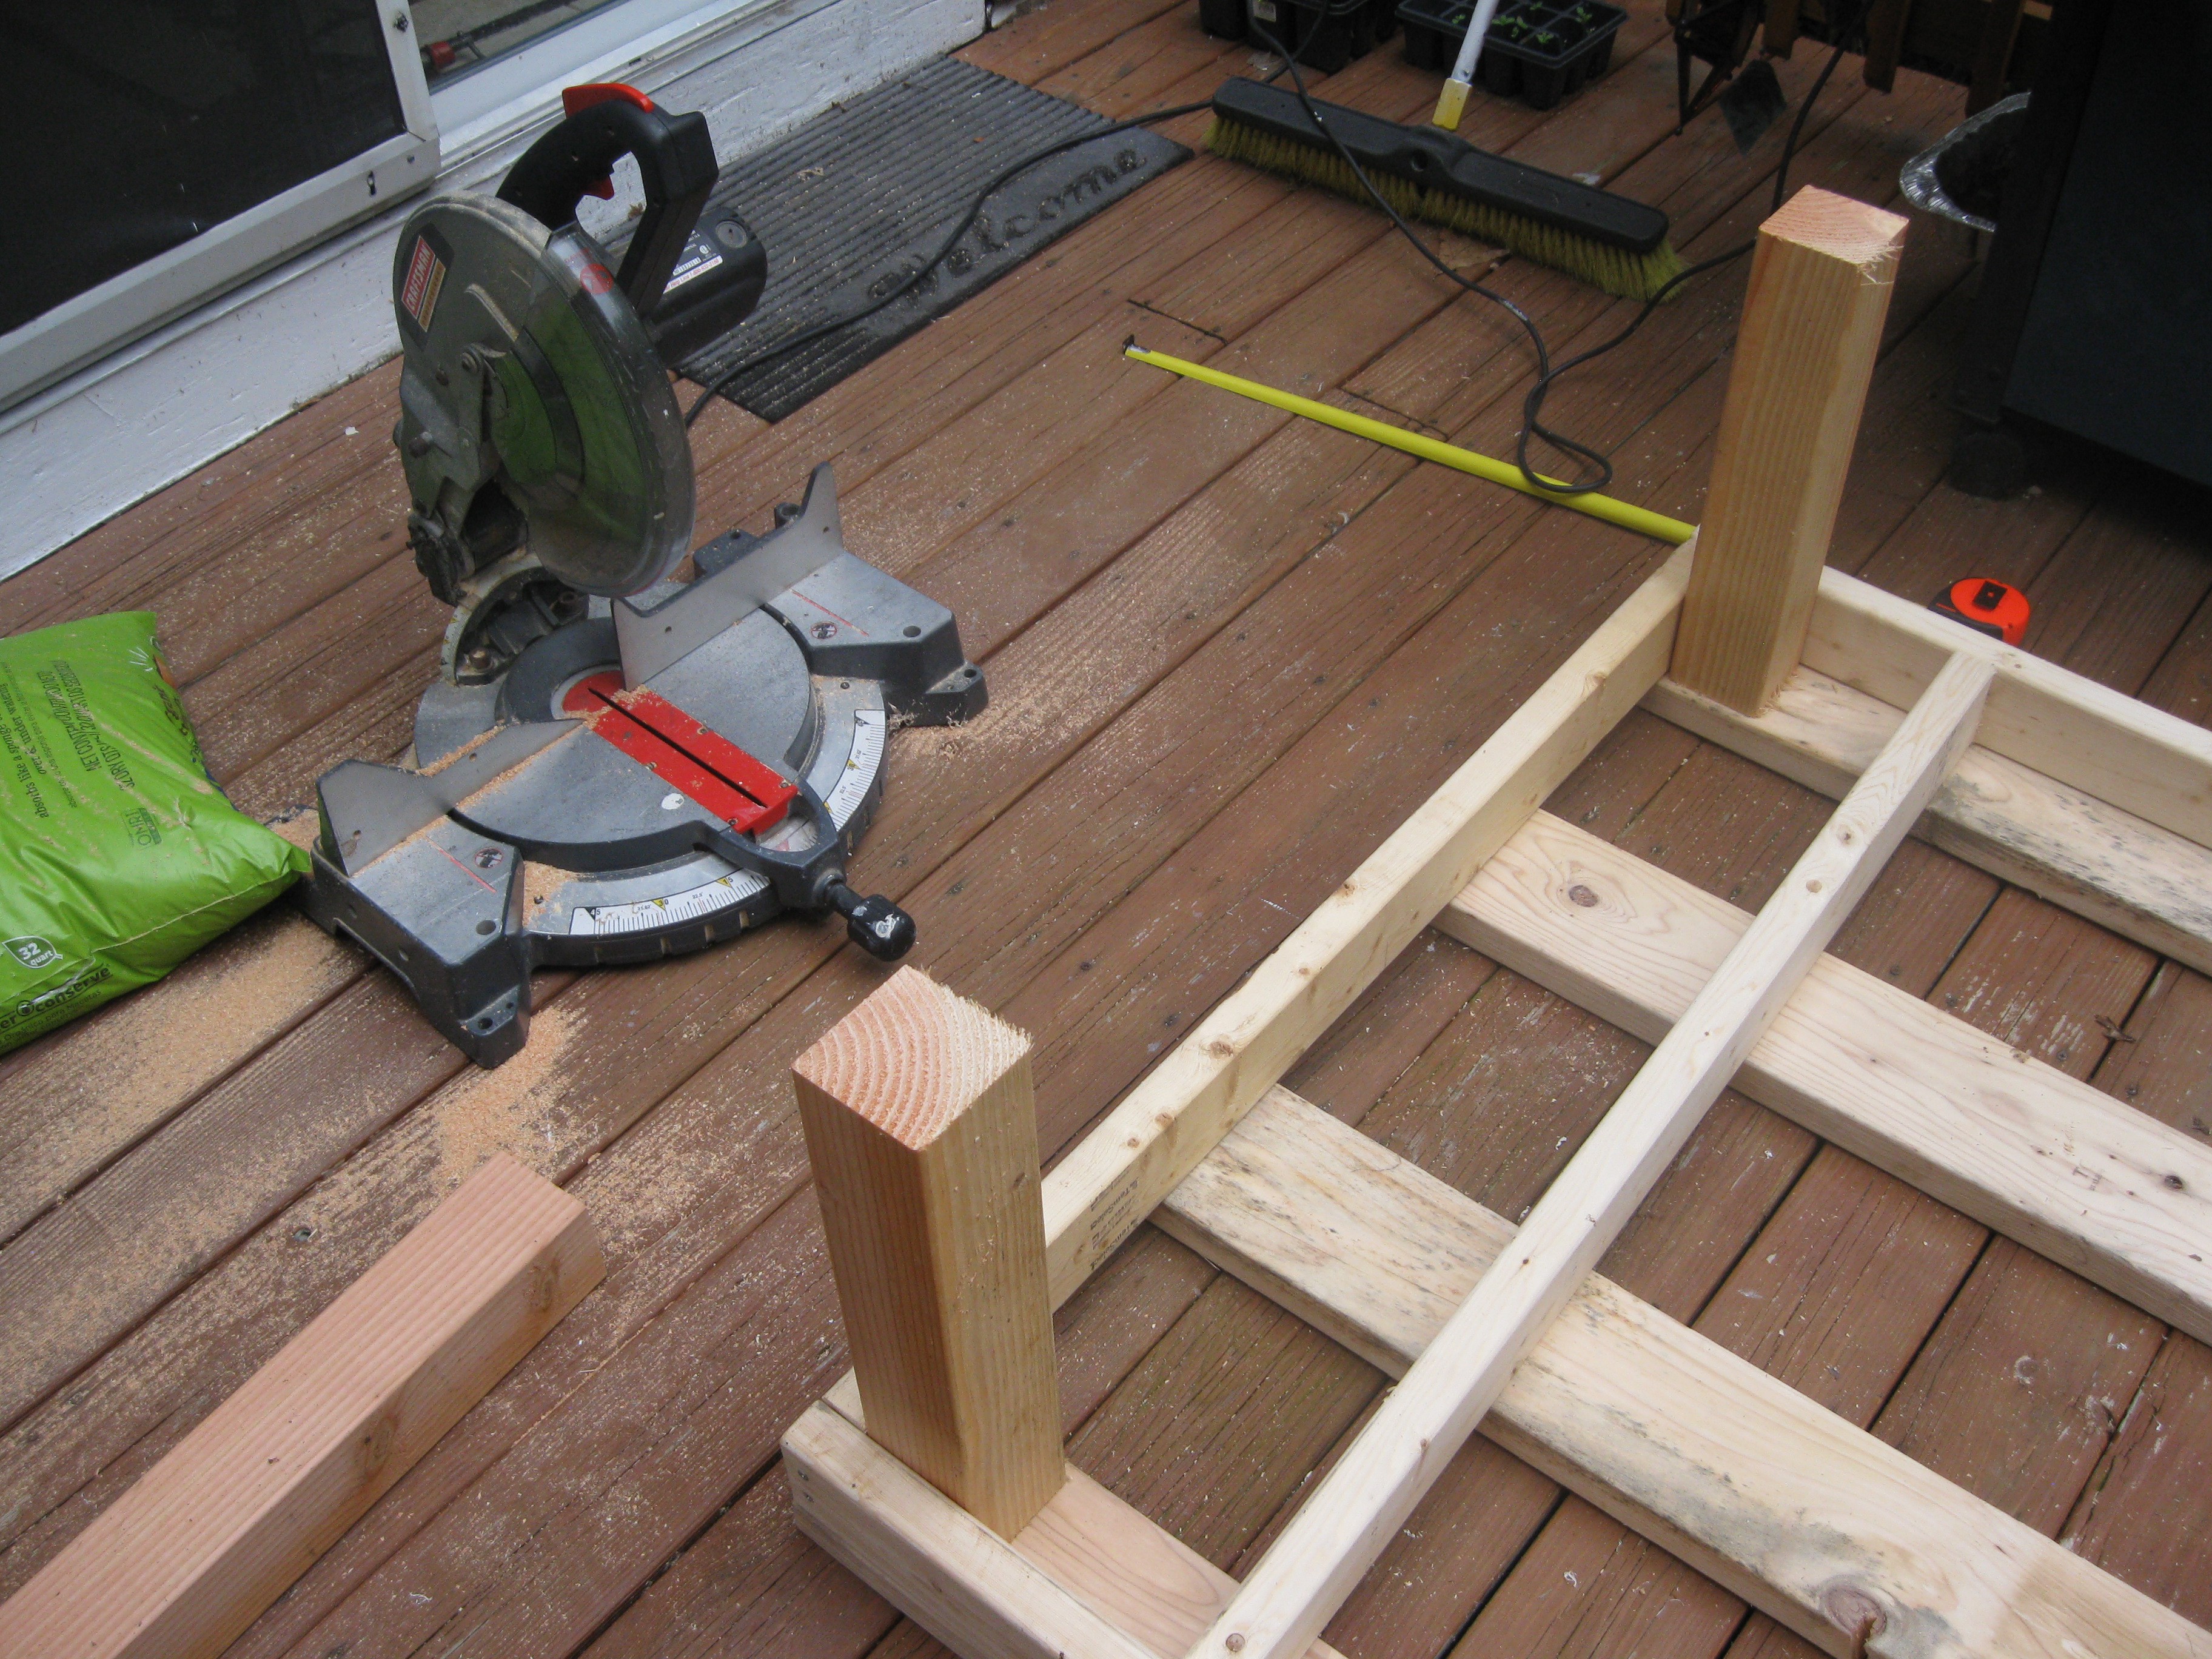
Last week I did a lot more work on the NFT grow unit the HydroPWNics control system will be deployed on. I finally decided on a simple design to hold up the 4 cut piece of fence posts holding the plants. I choose to cut the two by fours into two pieces one larger than they other. I used all these piece to make a simple box frame and added boards on top to strengthen and support it further. Its hard to describe with words so I have included a bunch of pictures of what I have done so far:
Materials laid out being measured and cut
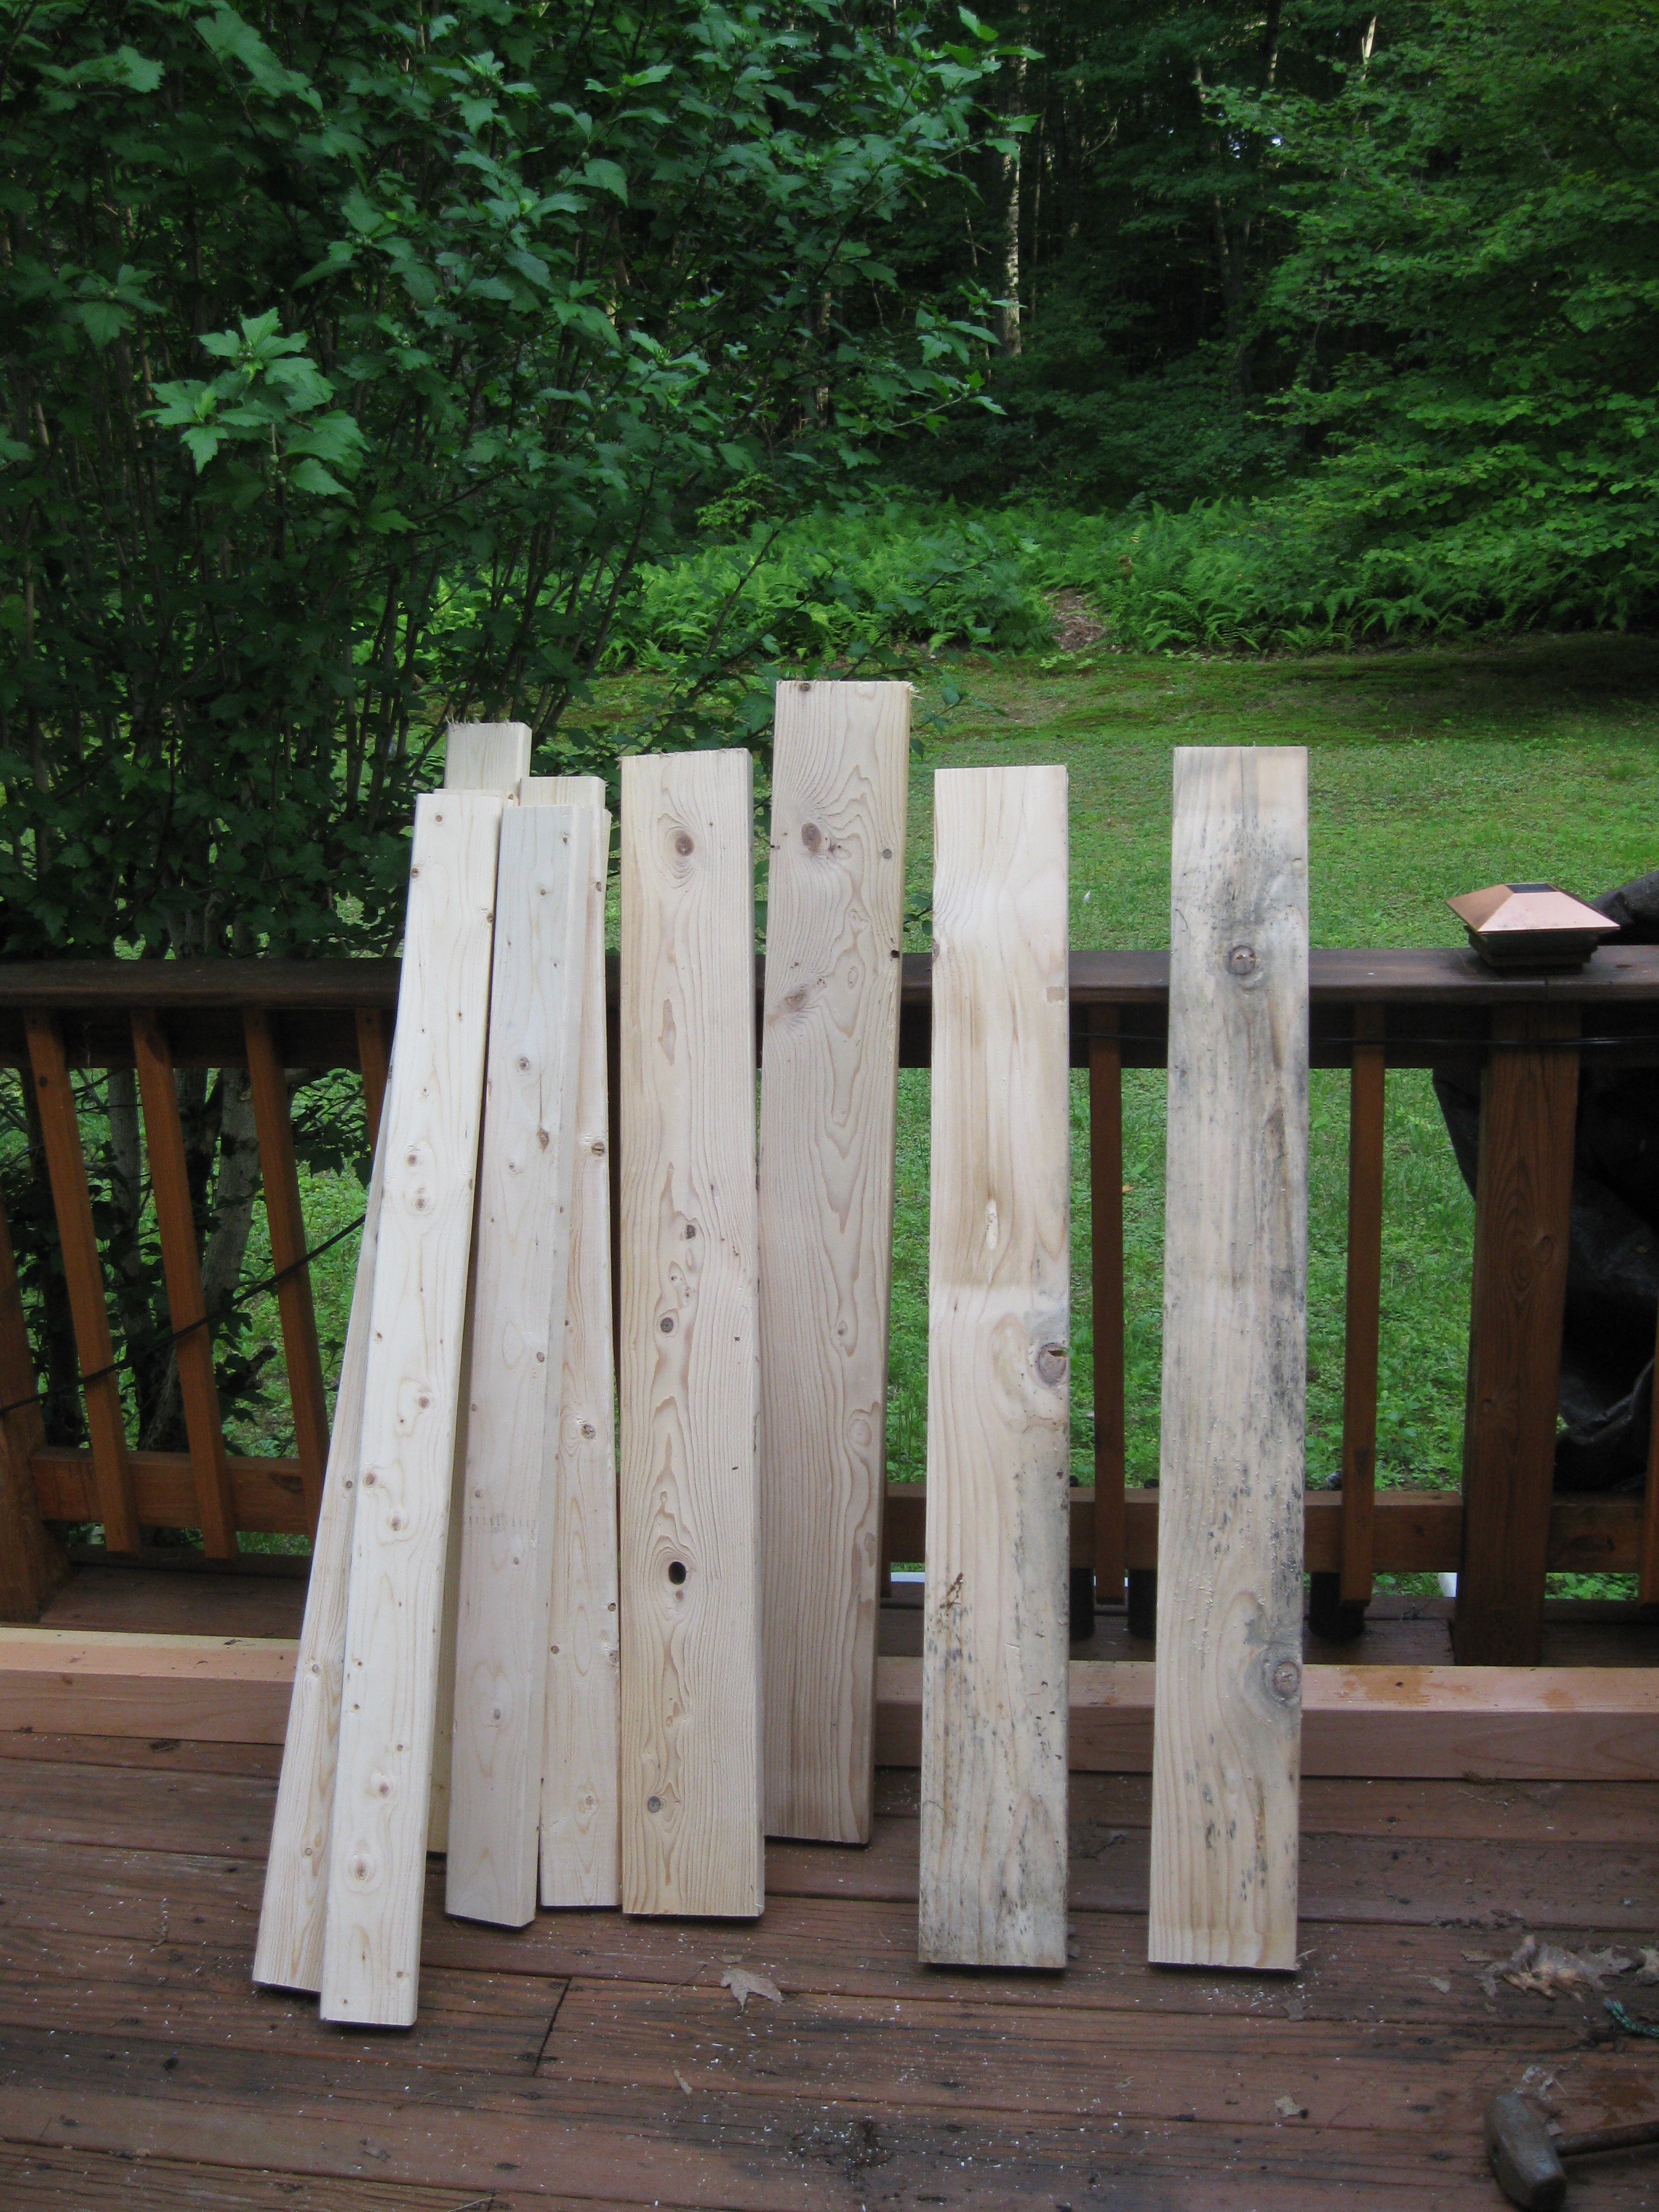
Wood all cut to length, time to drill pilot holes and screw it all together:
Just placing it together to see how it fits and see how well the cuts came out. The cuts were spot on, and everything slid together without any real big gaps between wood. You can see how the pieces were cut purposely uneven (like how I mentioned before) so that they fit together neatly at each corner.
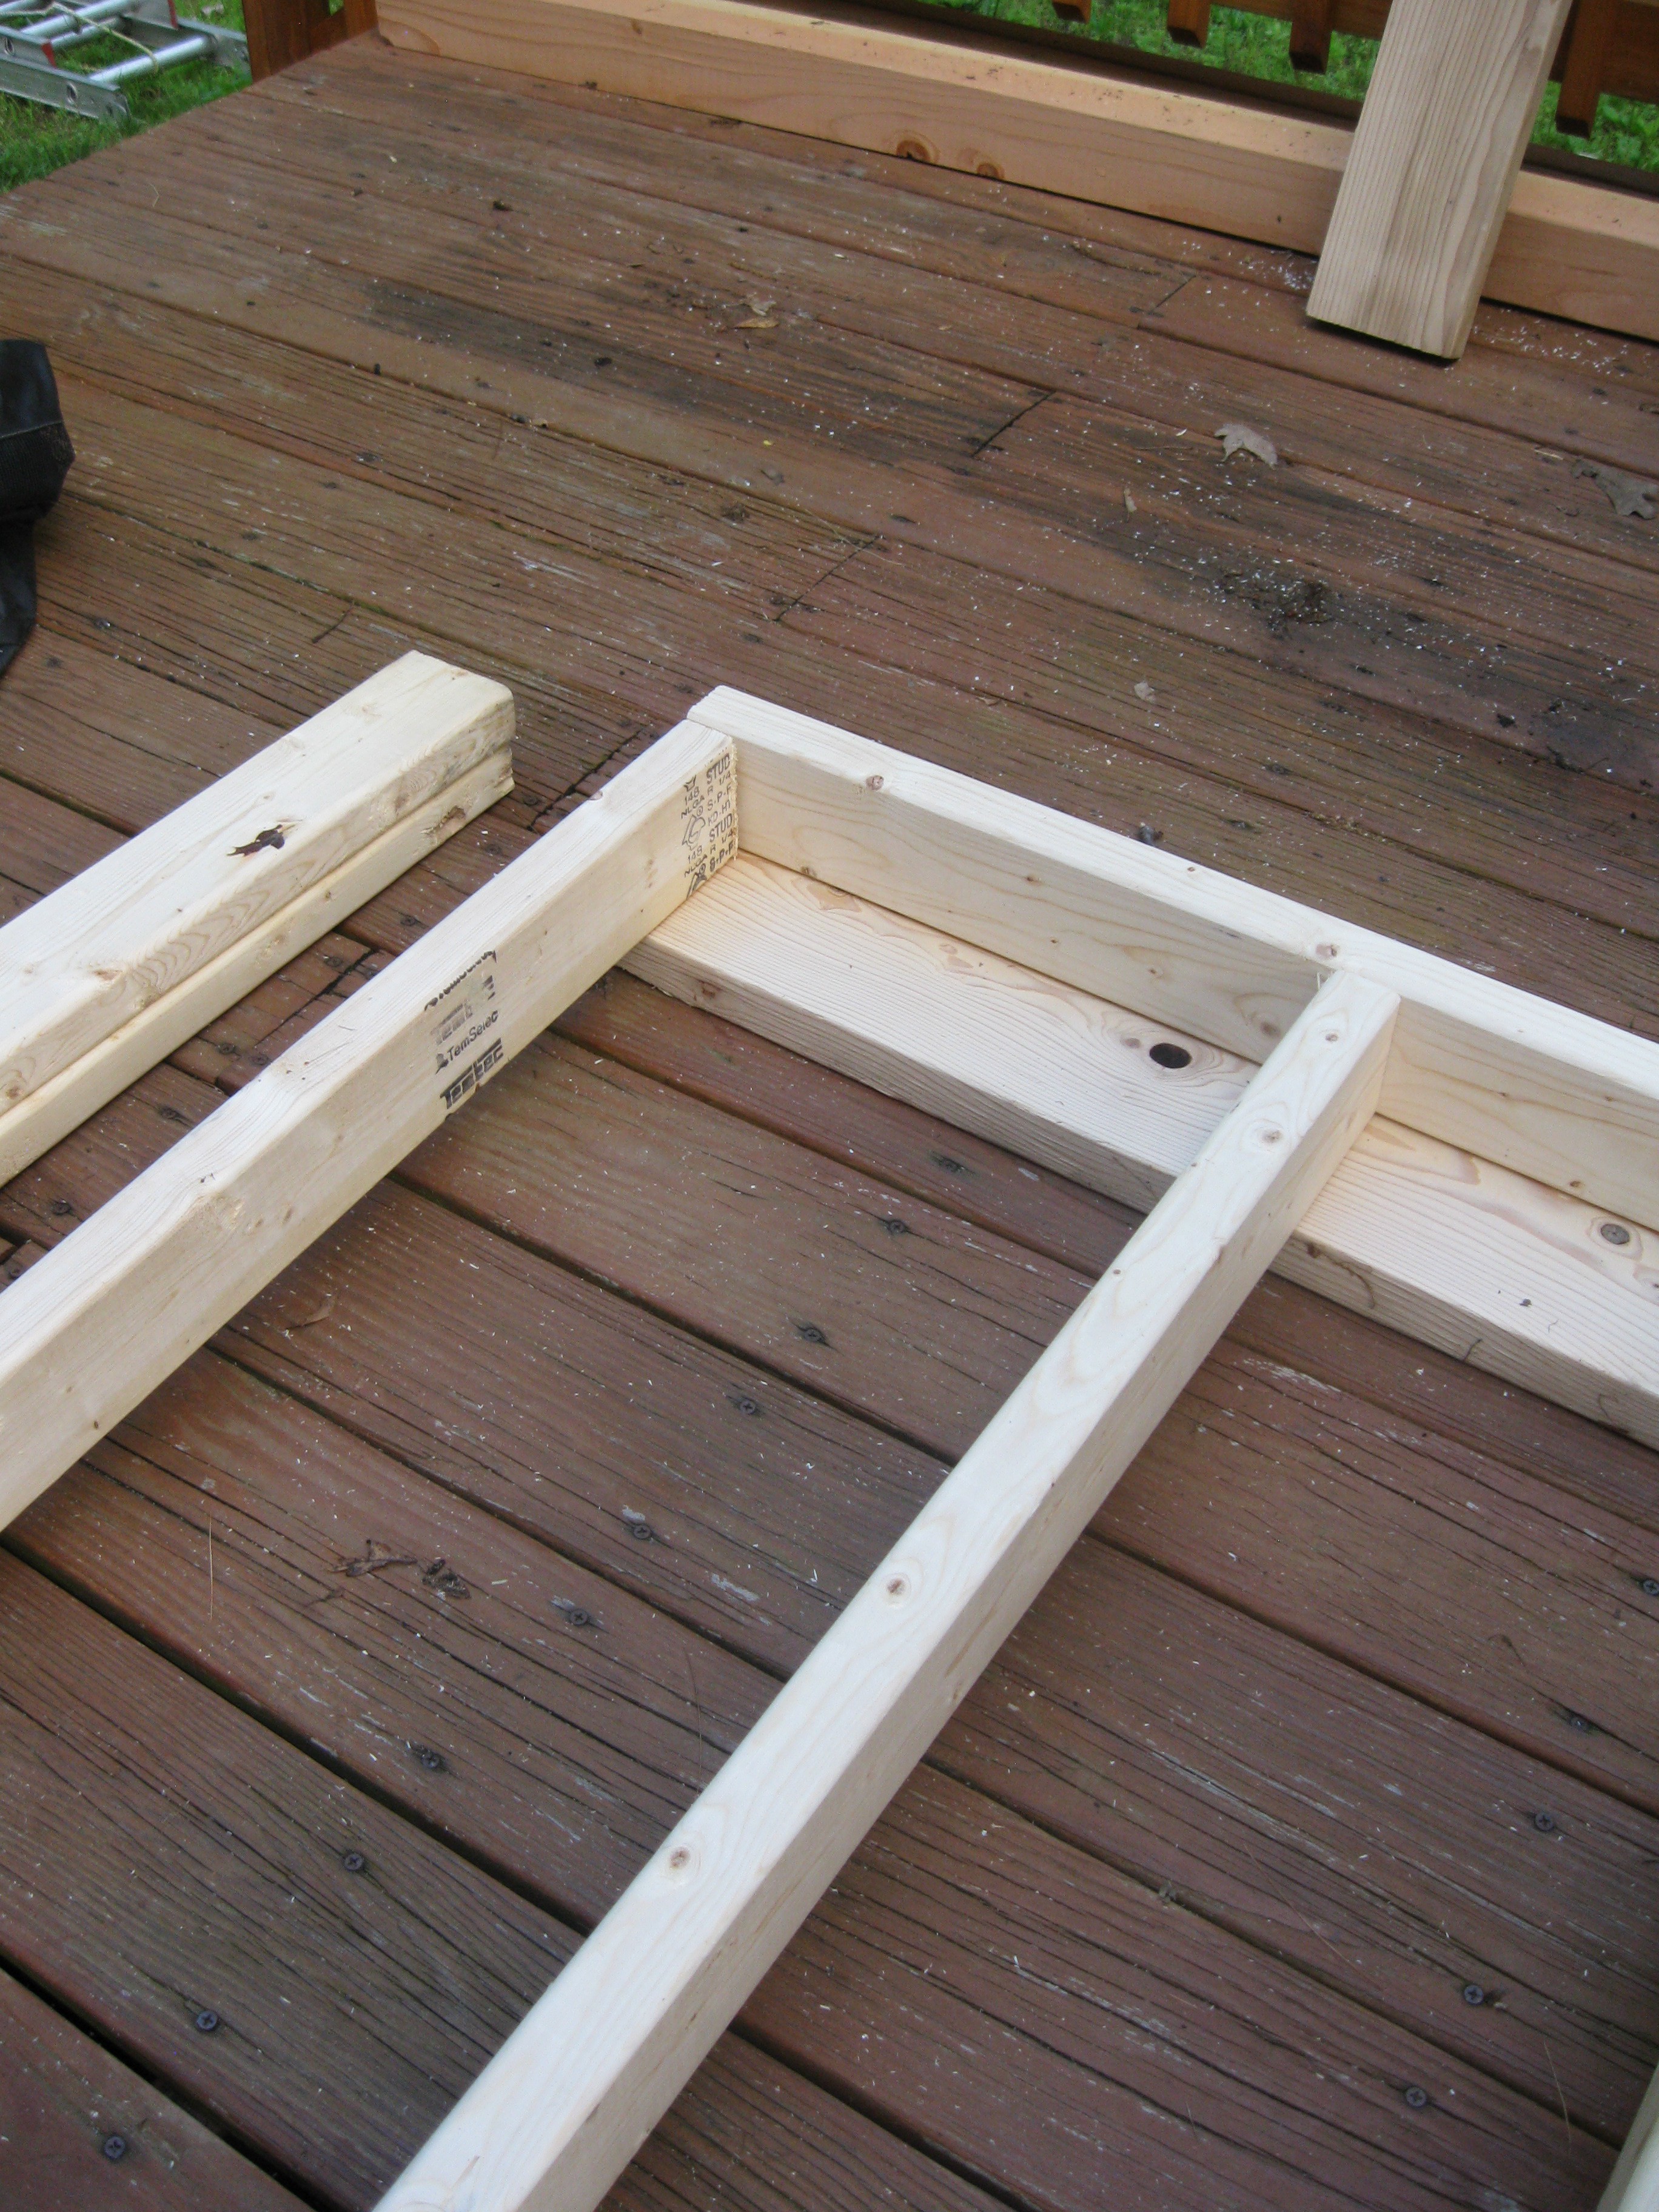
Closer look at the at the construction
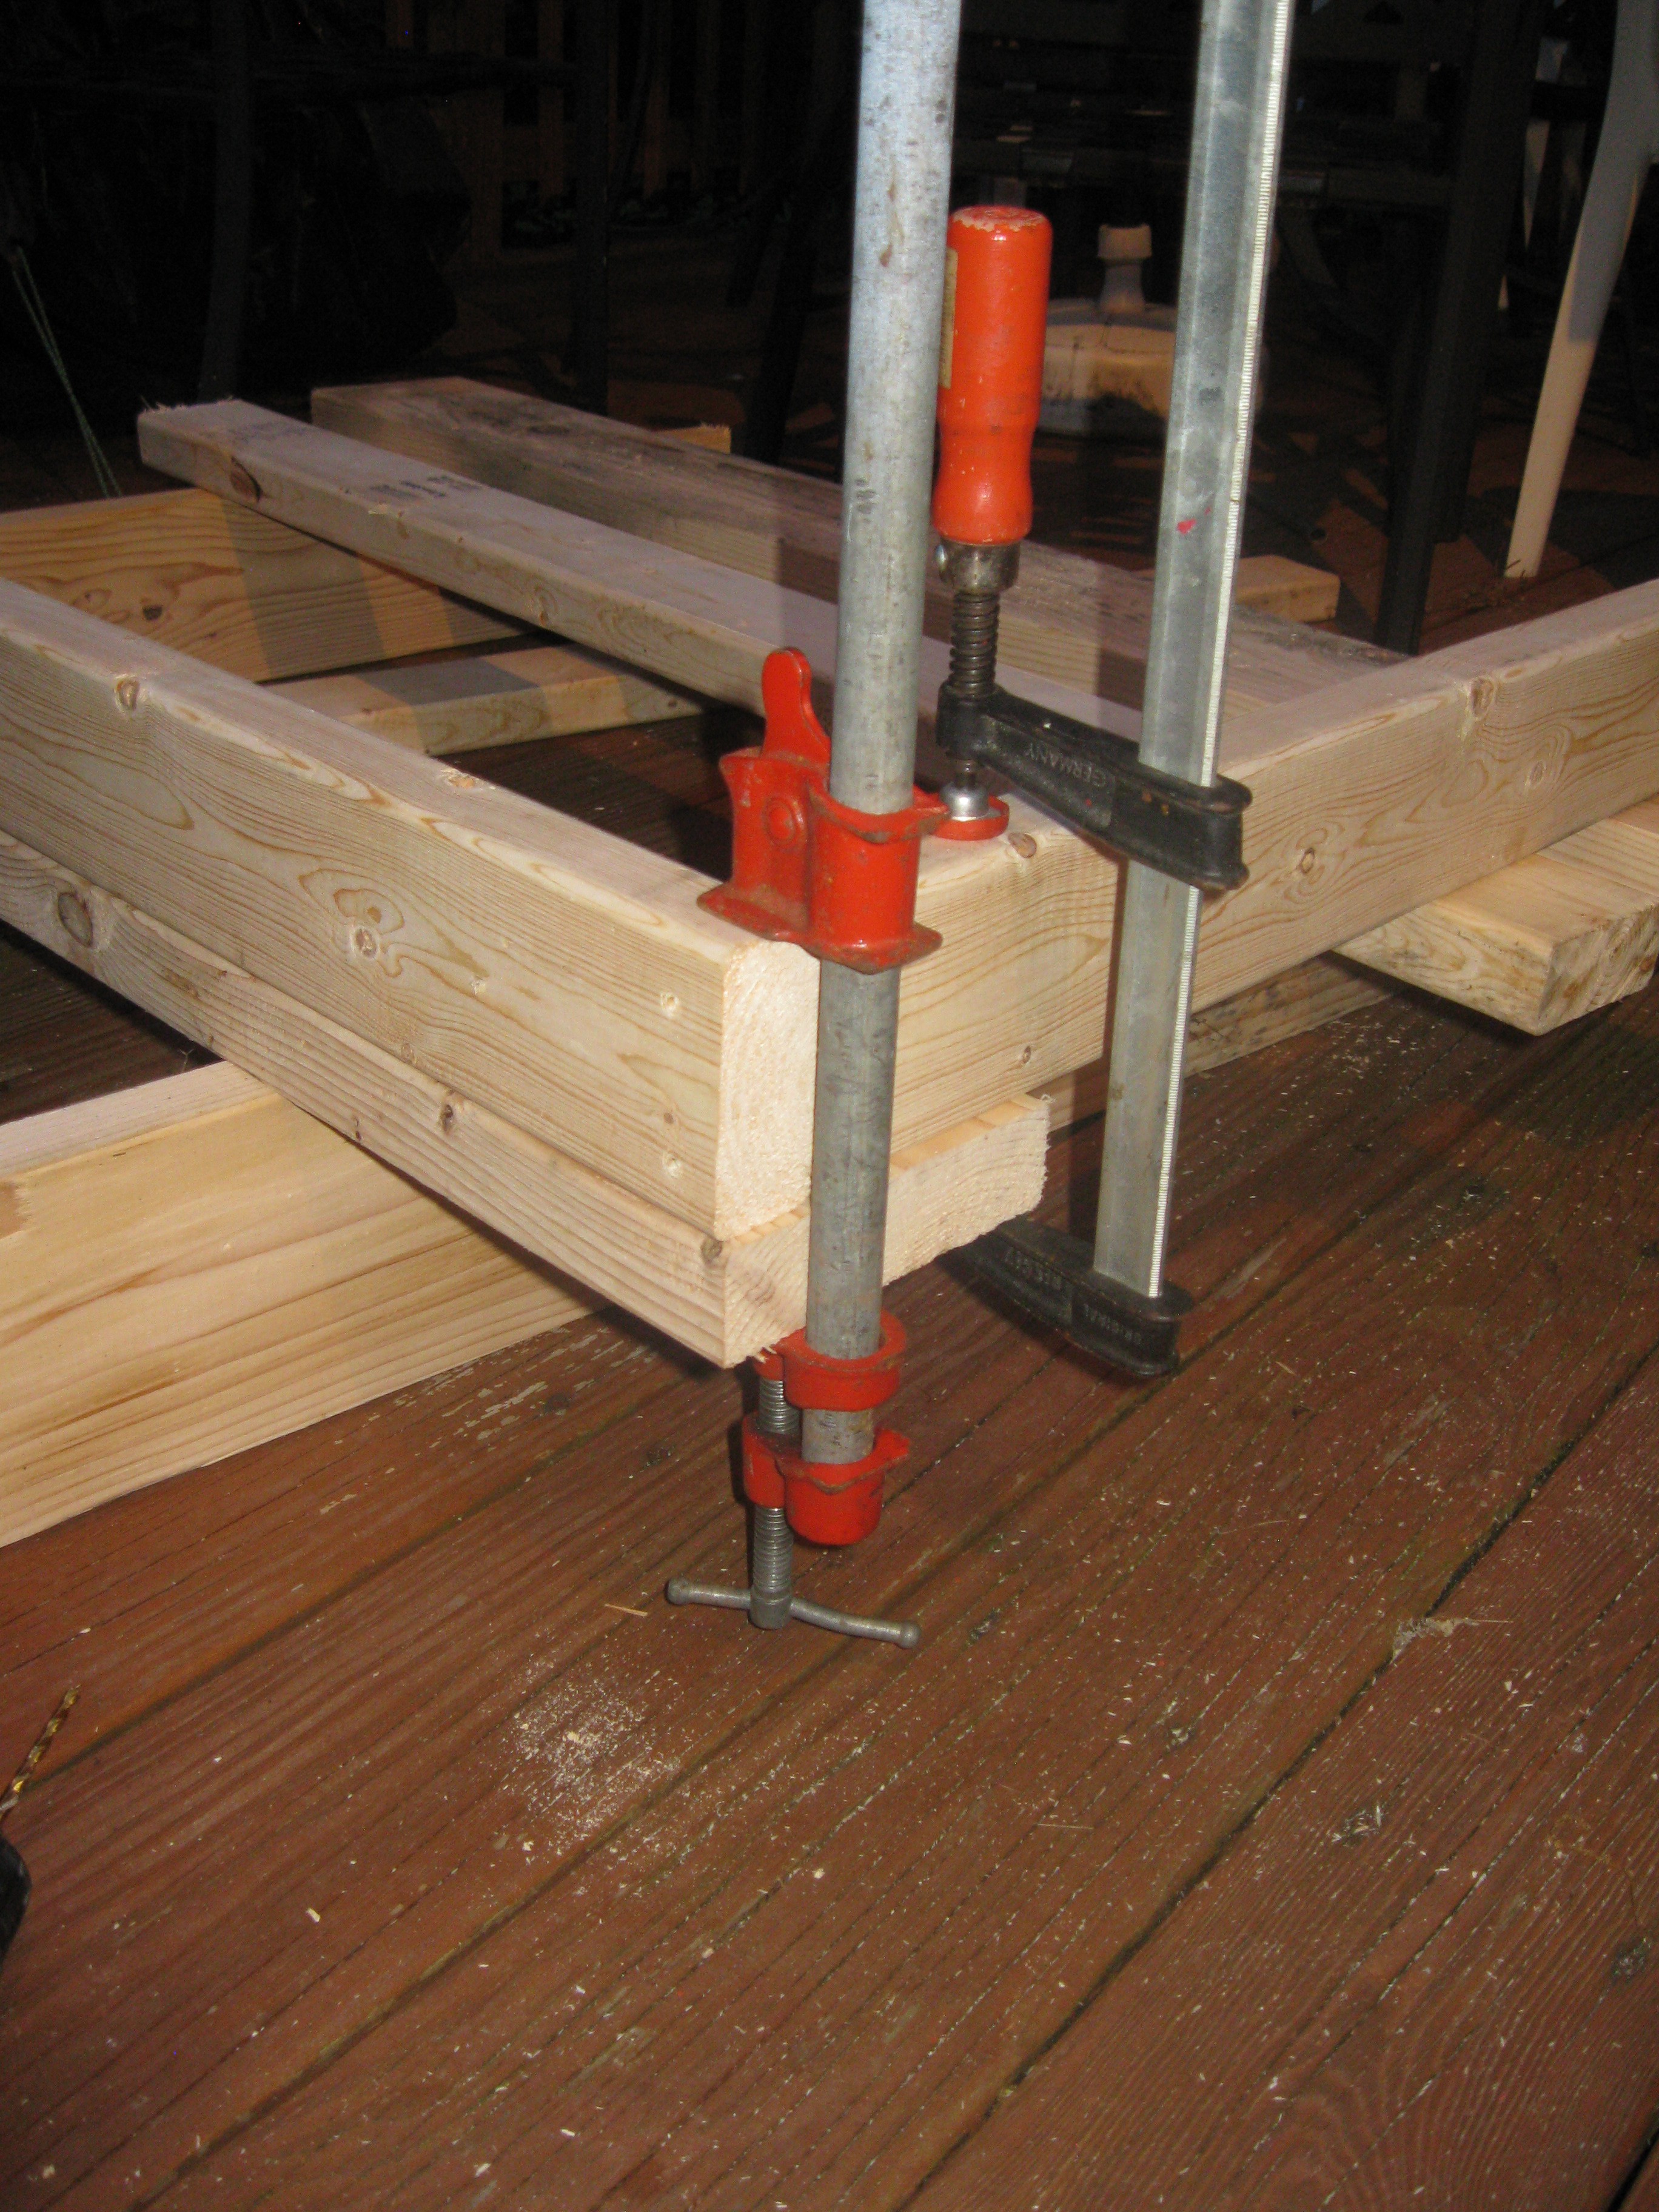
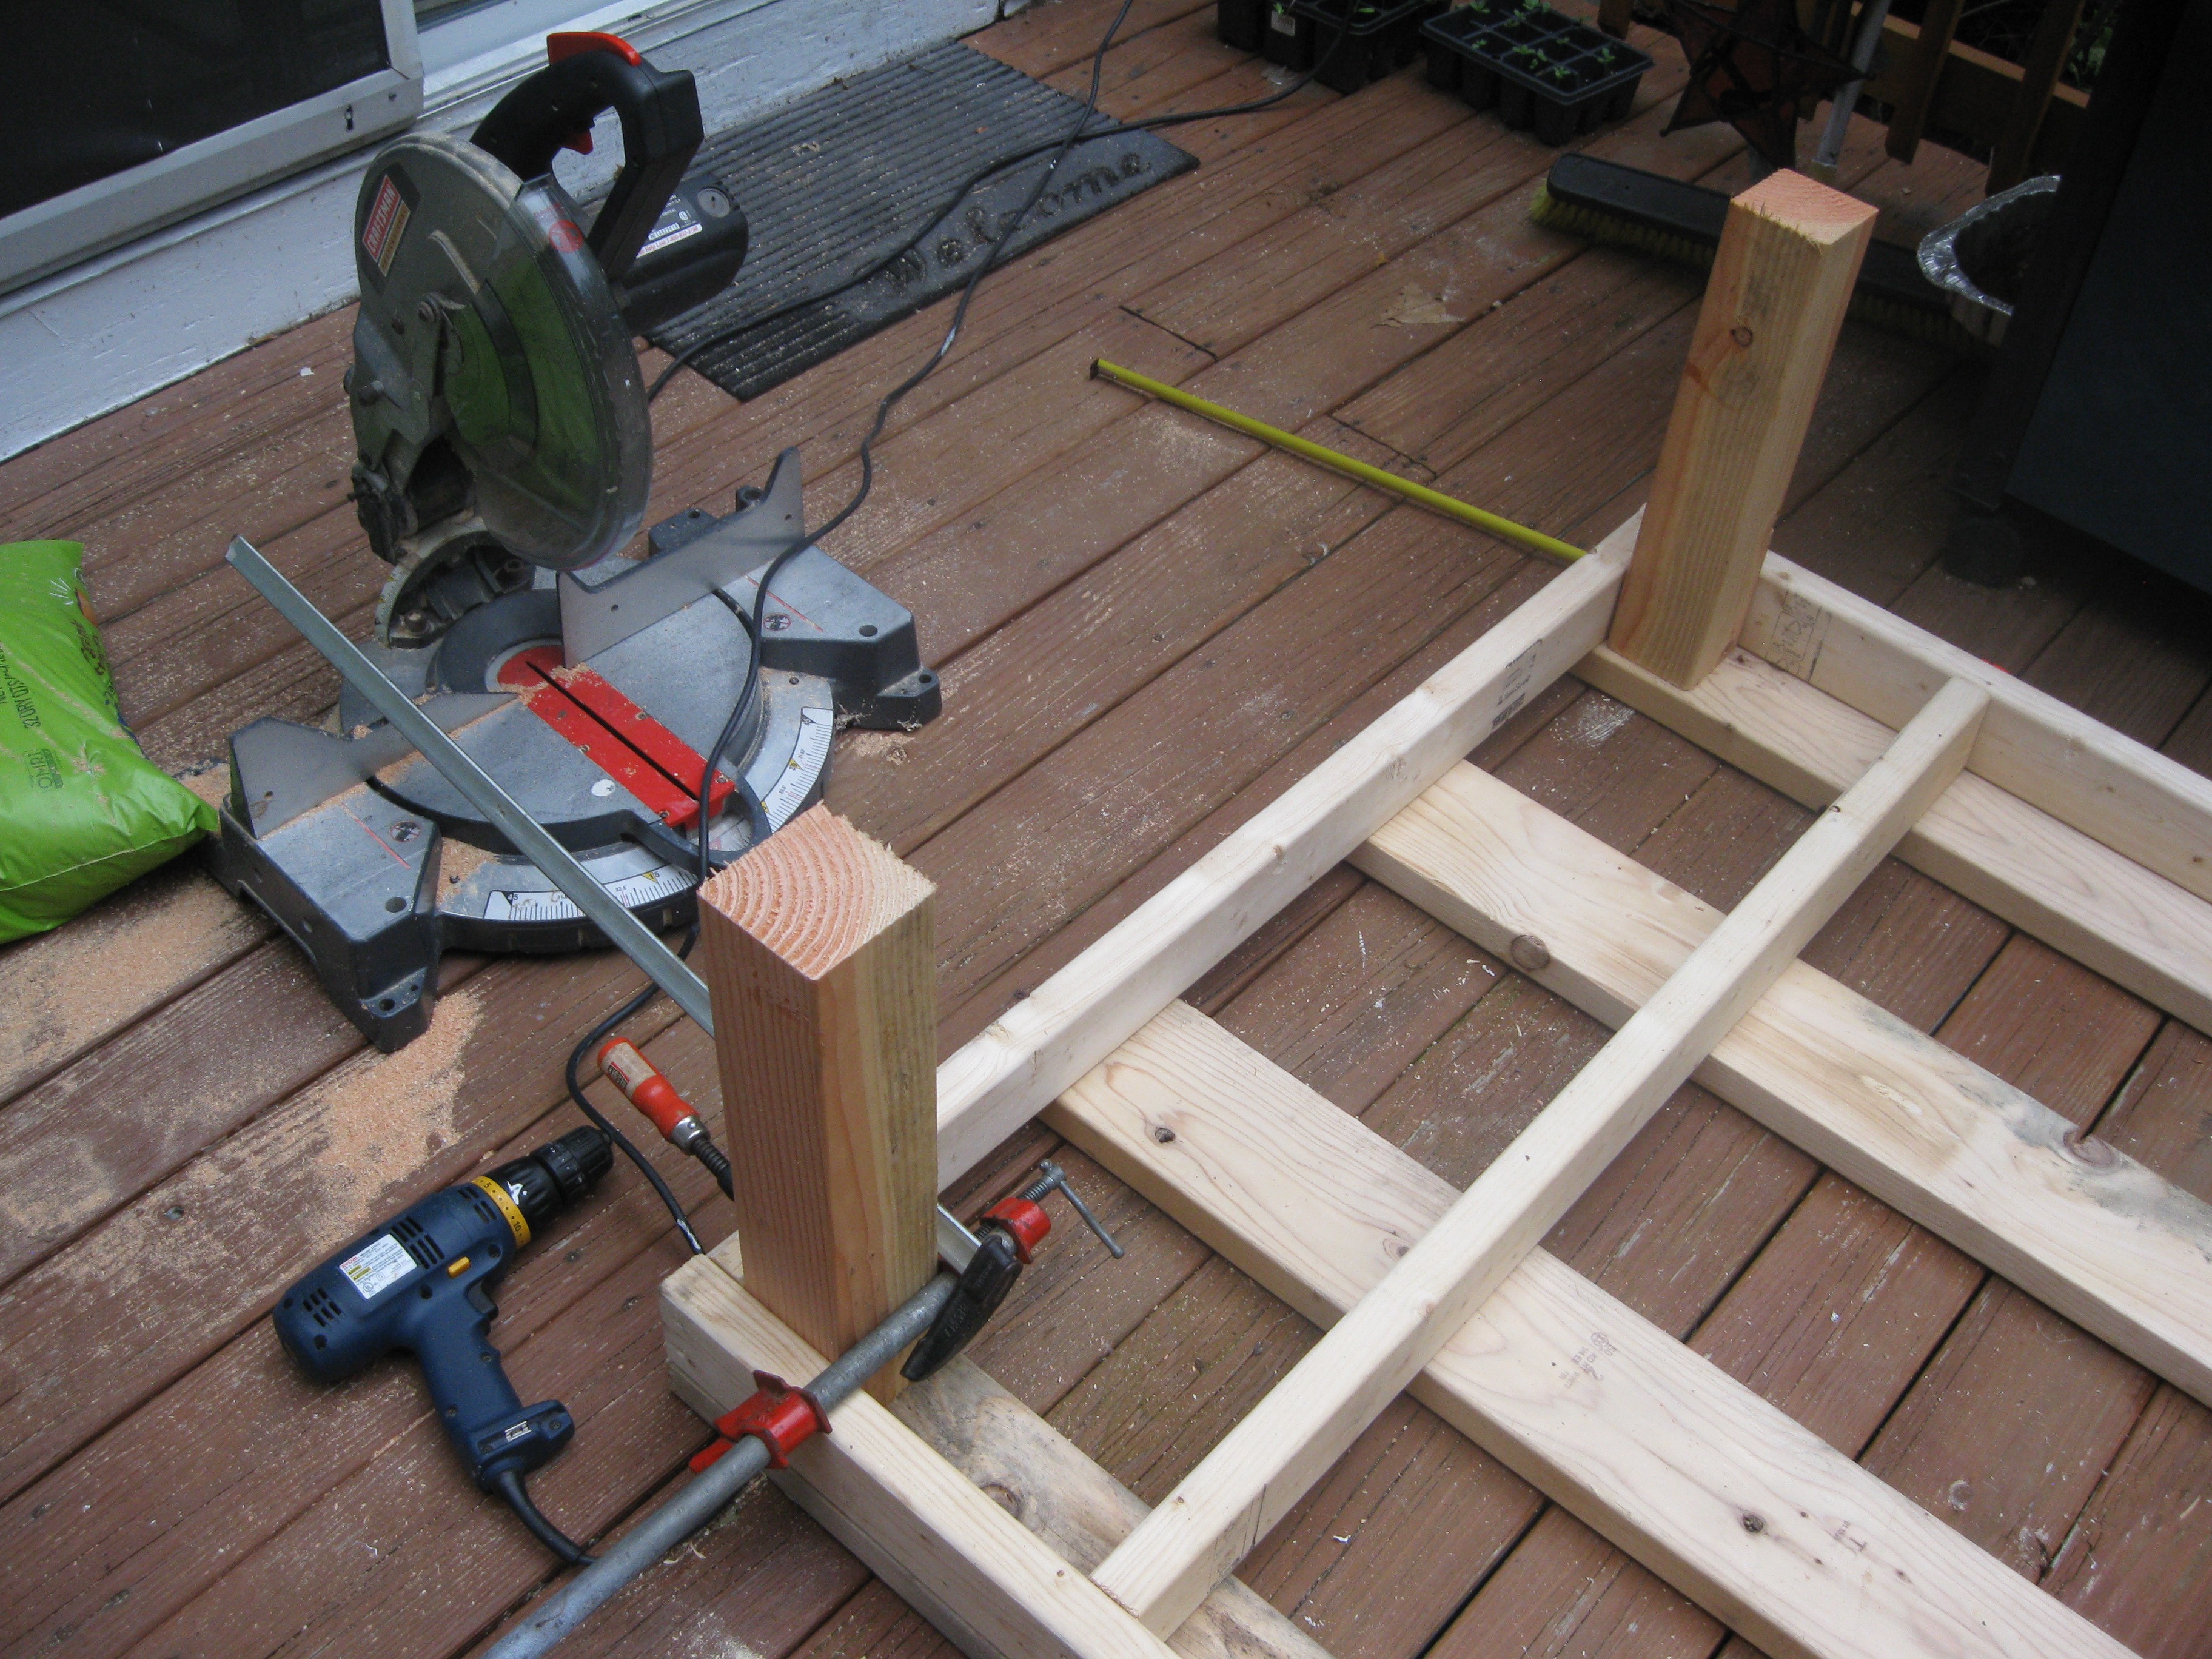
Its much darker out because it took me a while to find some clamps around the house. I clamped each joint together, when I drilled the pilot holes and left them clamped when I added the screws. It took much longer to clamp and drill pilot holes but in the end I didn't get any cracks in the wood and everything went together rather smoothly.
Closer look at the clamp placement and placement of the wood. I forgot to take pictures earlier but what I did firs was take the longer lengths of two by four for the frame and bolted them to the top planks at the end, which are also the same length. I did that first to make it easier to clamp, drill, and screw each corner of the frame.
The frame after the first day of work. The middle two by fours are screwed in from the top and side, so they are held in place rather well. One got attached crooked and it makes things look weird but I plan to fix it later before I paint the frame.

Stay tuned for another update on the frame as well as the rest of the project either later tonight or tomorrow. This post is for last week's work and I just forgot to make a post. I hope to have some more to show from this past week, so stay tuned!!!
Posts all drilled with pots in all but 4 positions, see that the frame isn't finished, more on that next!
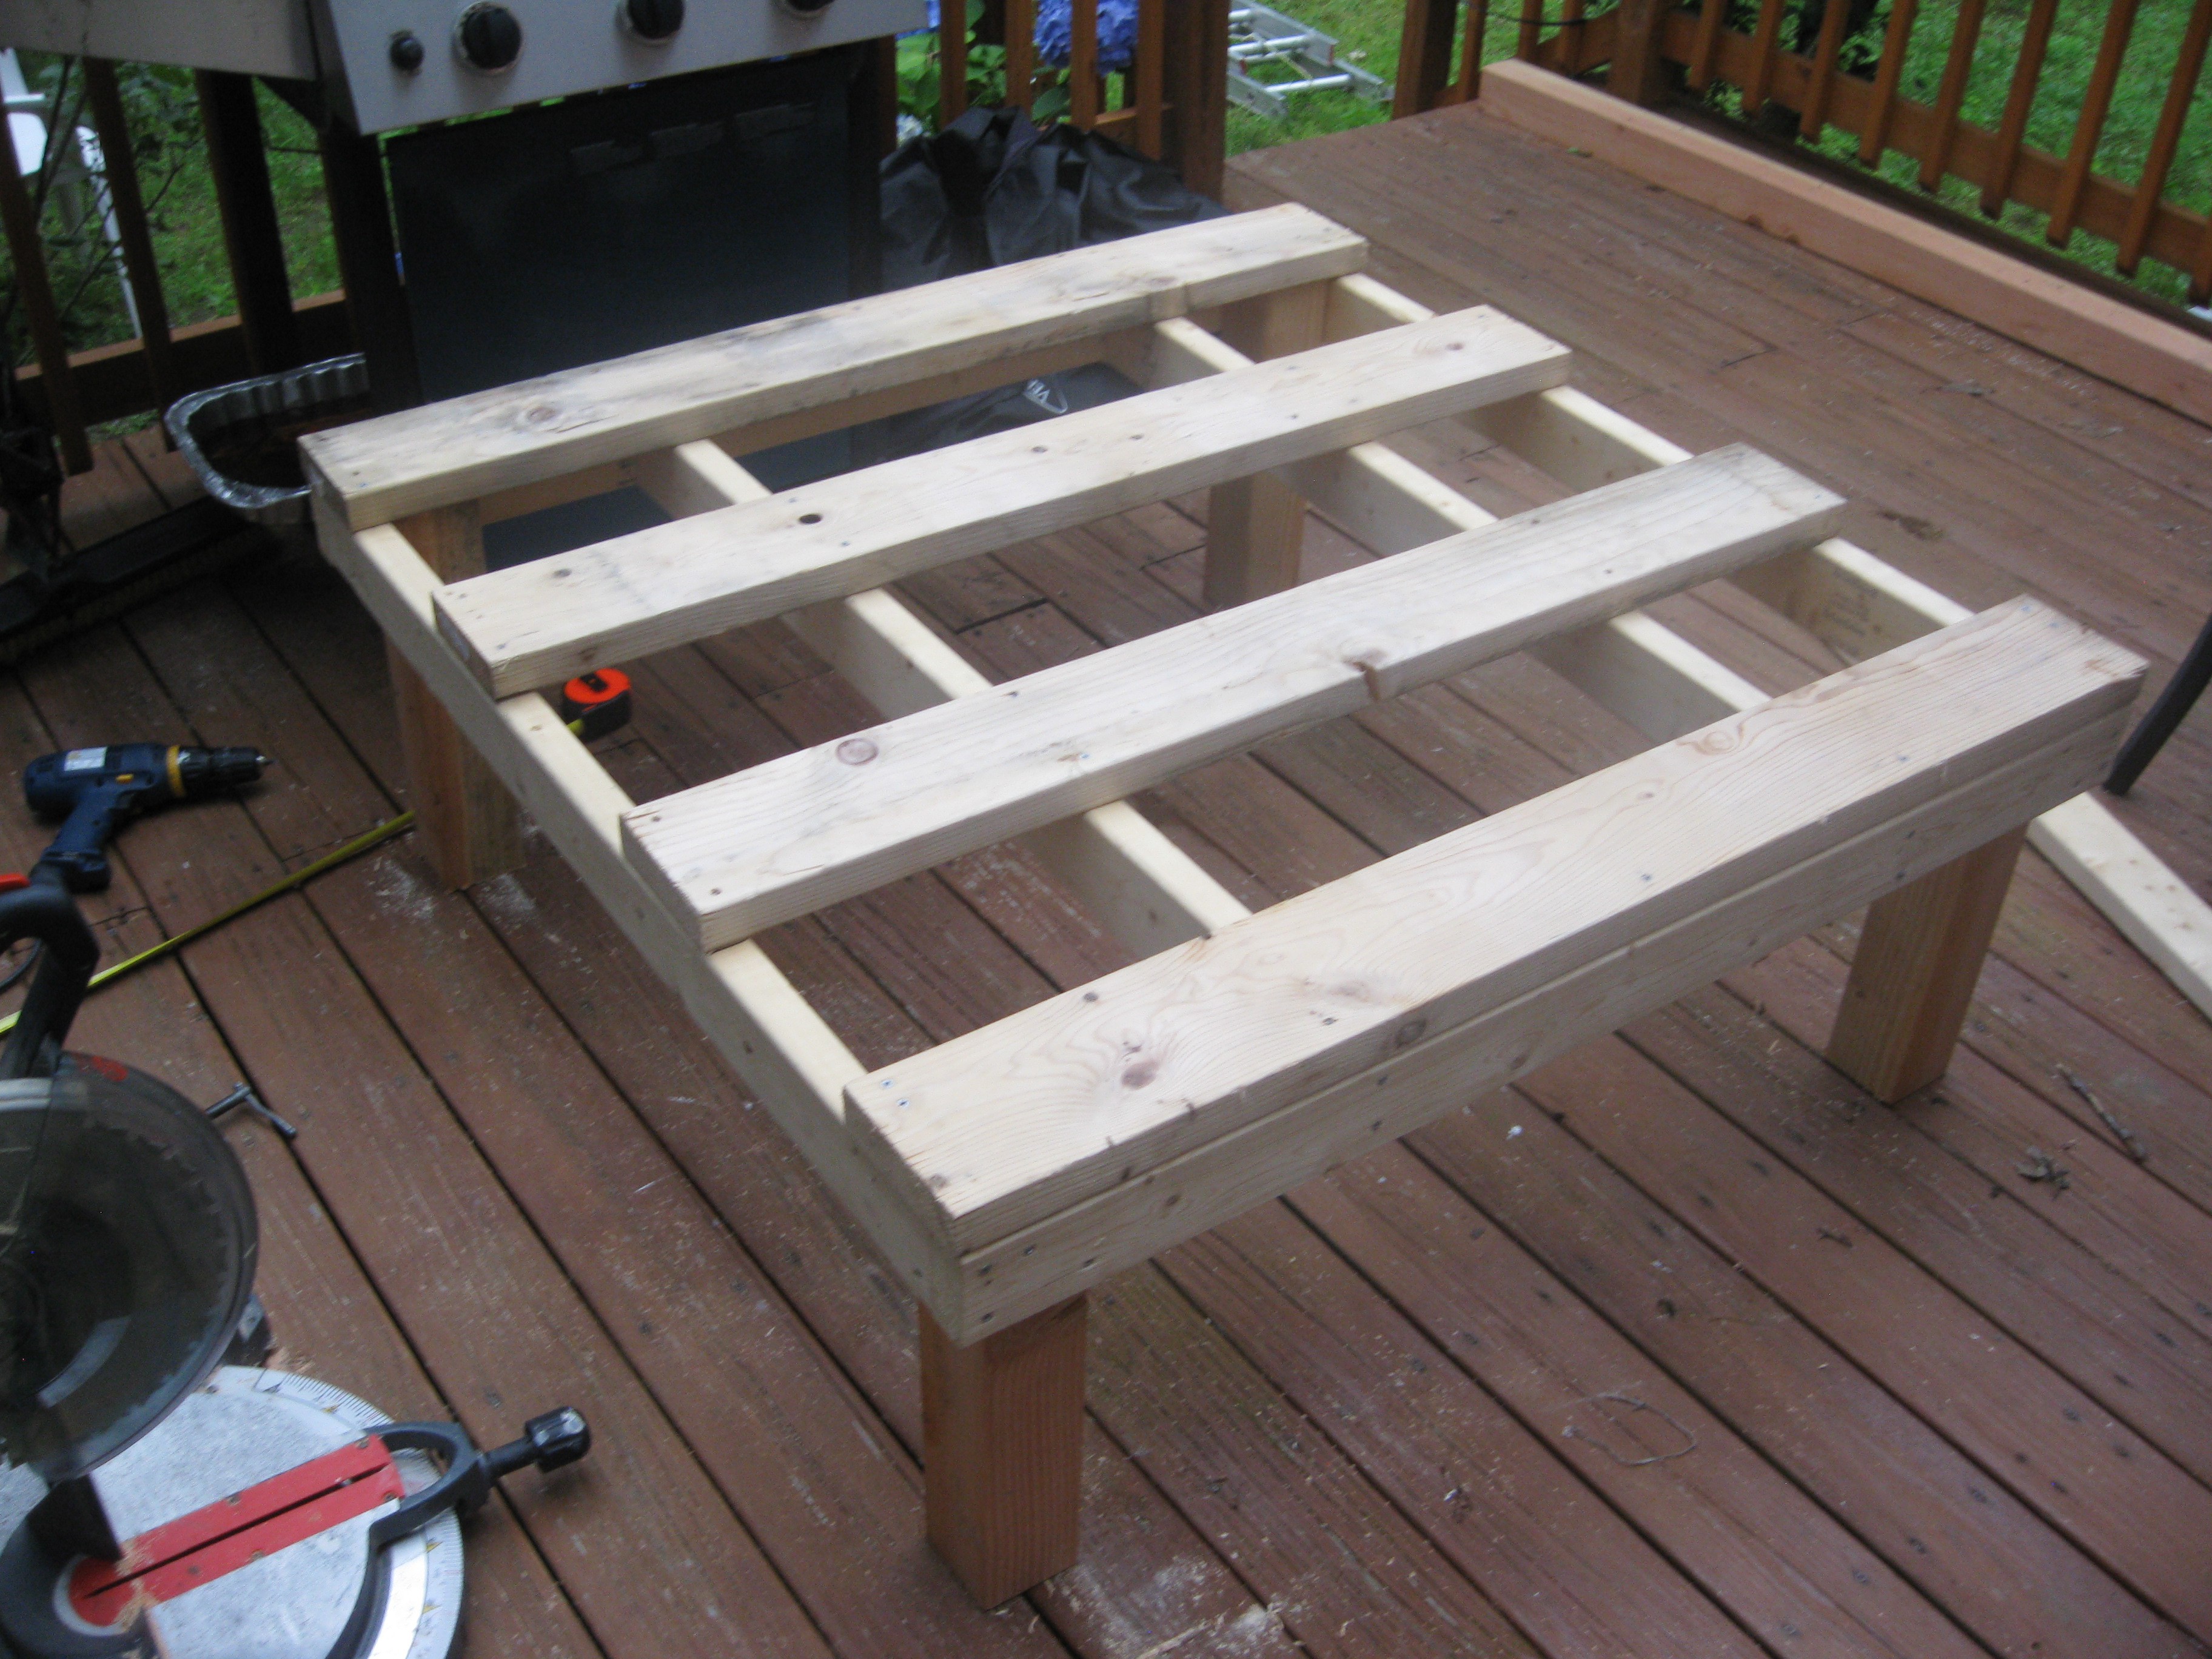
Today I finished the wooden frame of the whole unit. I added the crossboards and legs, take a look at the pictures to see what I mean:
Dry fitting the legs after the cross boards added to the top of the frame.
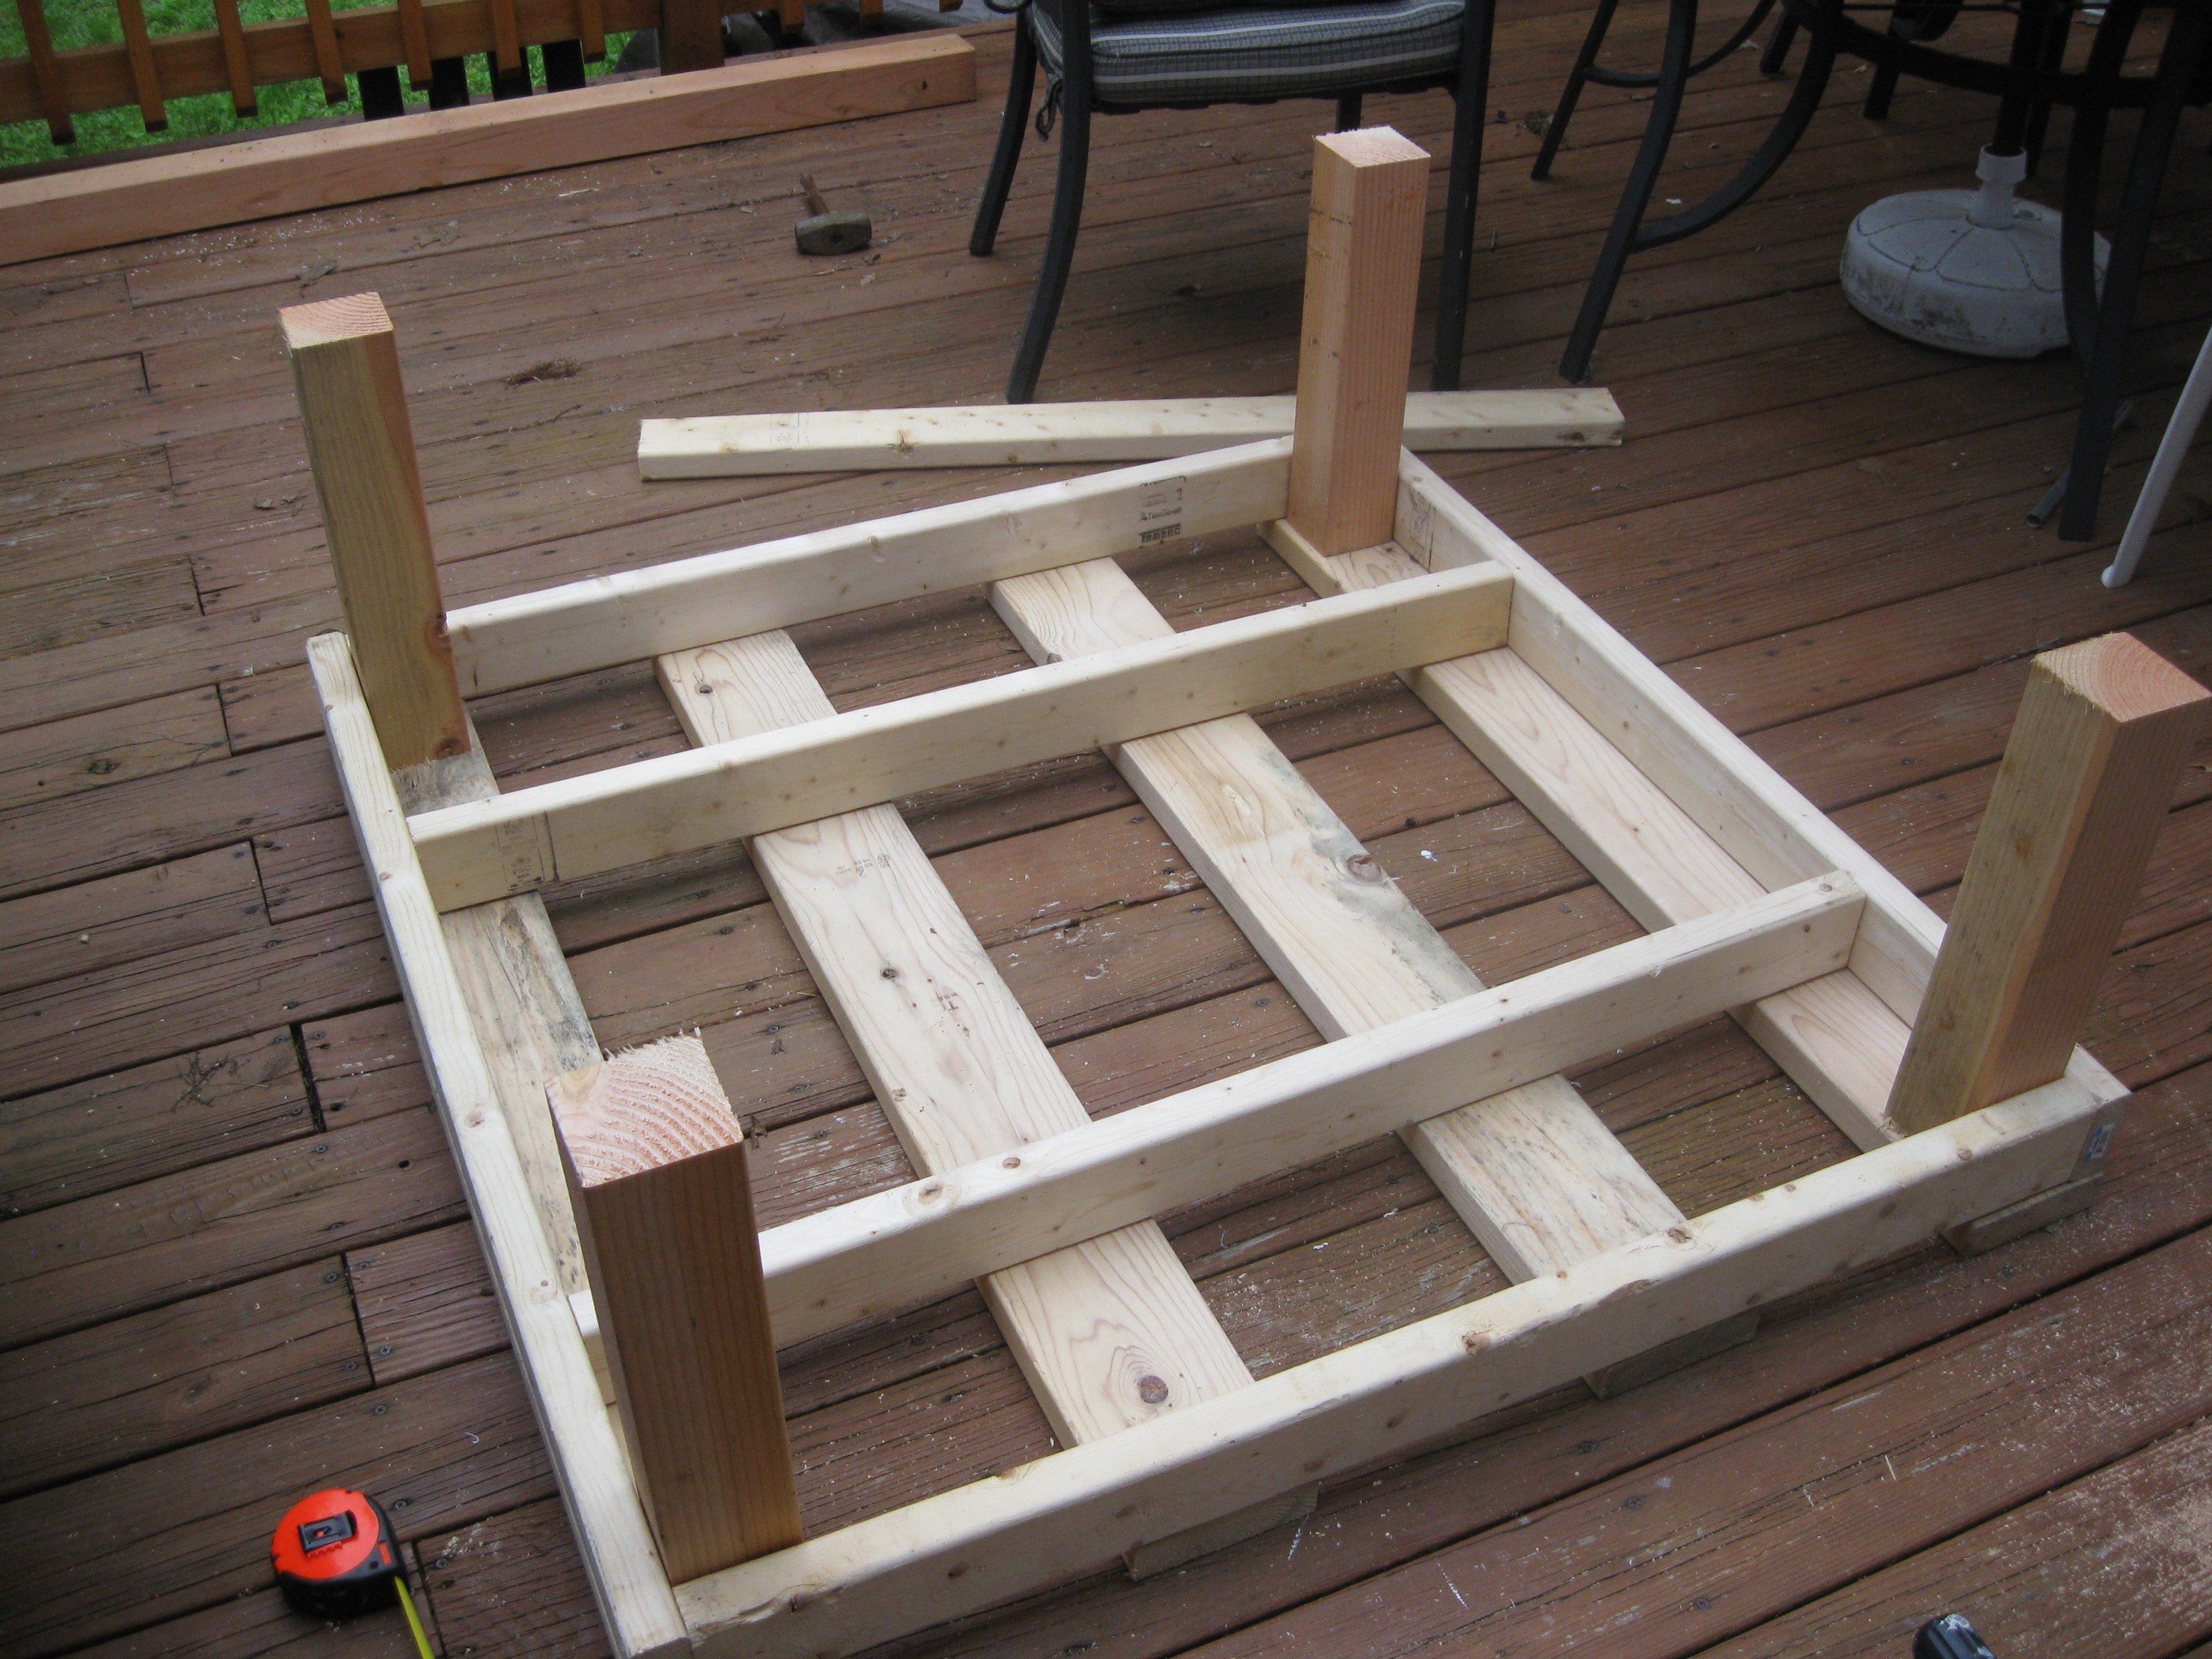
To attach the legs securely and straight, I clamped them tightly into each corner with the same two clamps I used the other day. I used a spare piece of the 4X4 wood to hammer each leg after being clamped to make sure its flat up against the board on the top of the frame. I used 4 screws on each leg. I'm trying to decide if I want to have crossmembers between the legs or have a skirt for the frame at the bottom, or both. I think a skirt at the bottom is definitely going to happen, mainly so I can build a giant drawer underneath the unit to store the water reservoirs.

Another view:
Done for now, there will be a two by four skirt added to the bottom (as I stated previously), next trip to the hardware store I will be getting the remaining wood to build the skirt and bright green paint!
What it looks like with the rows of fence on top:
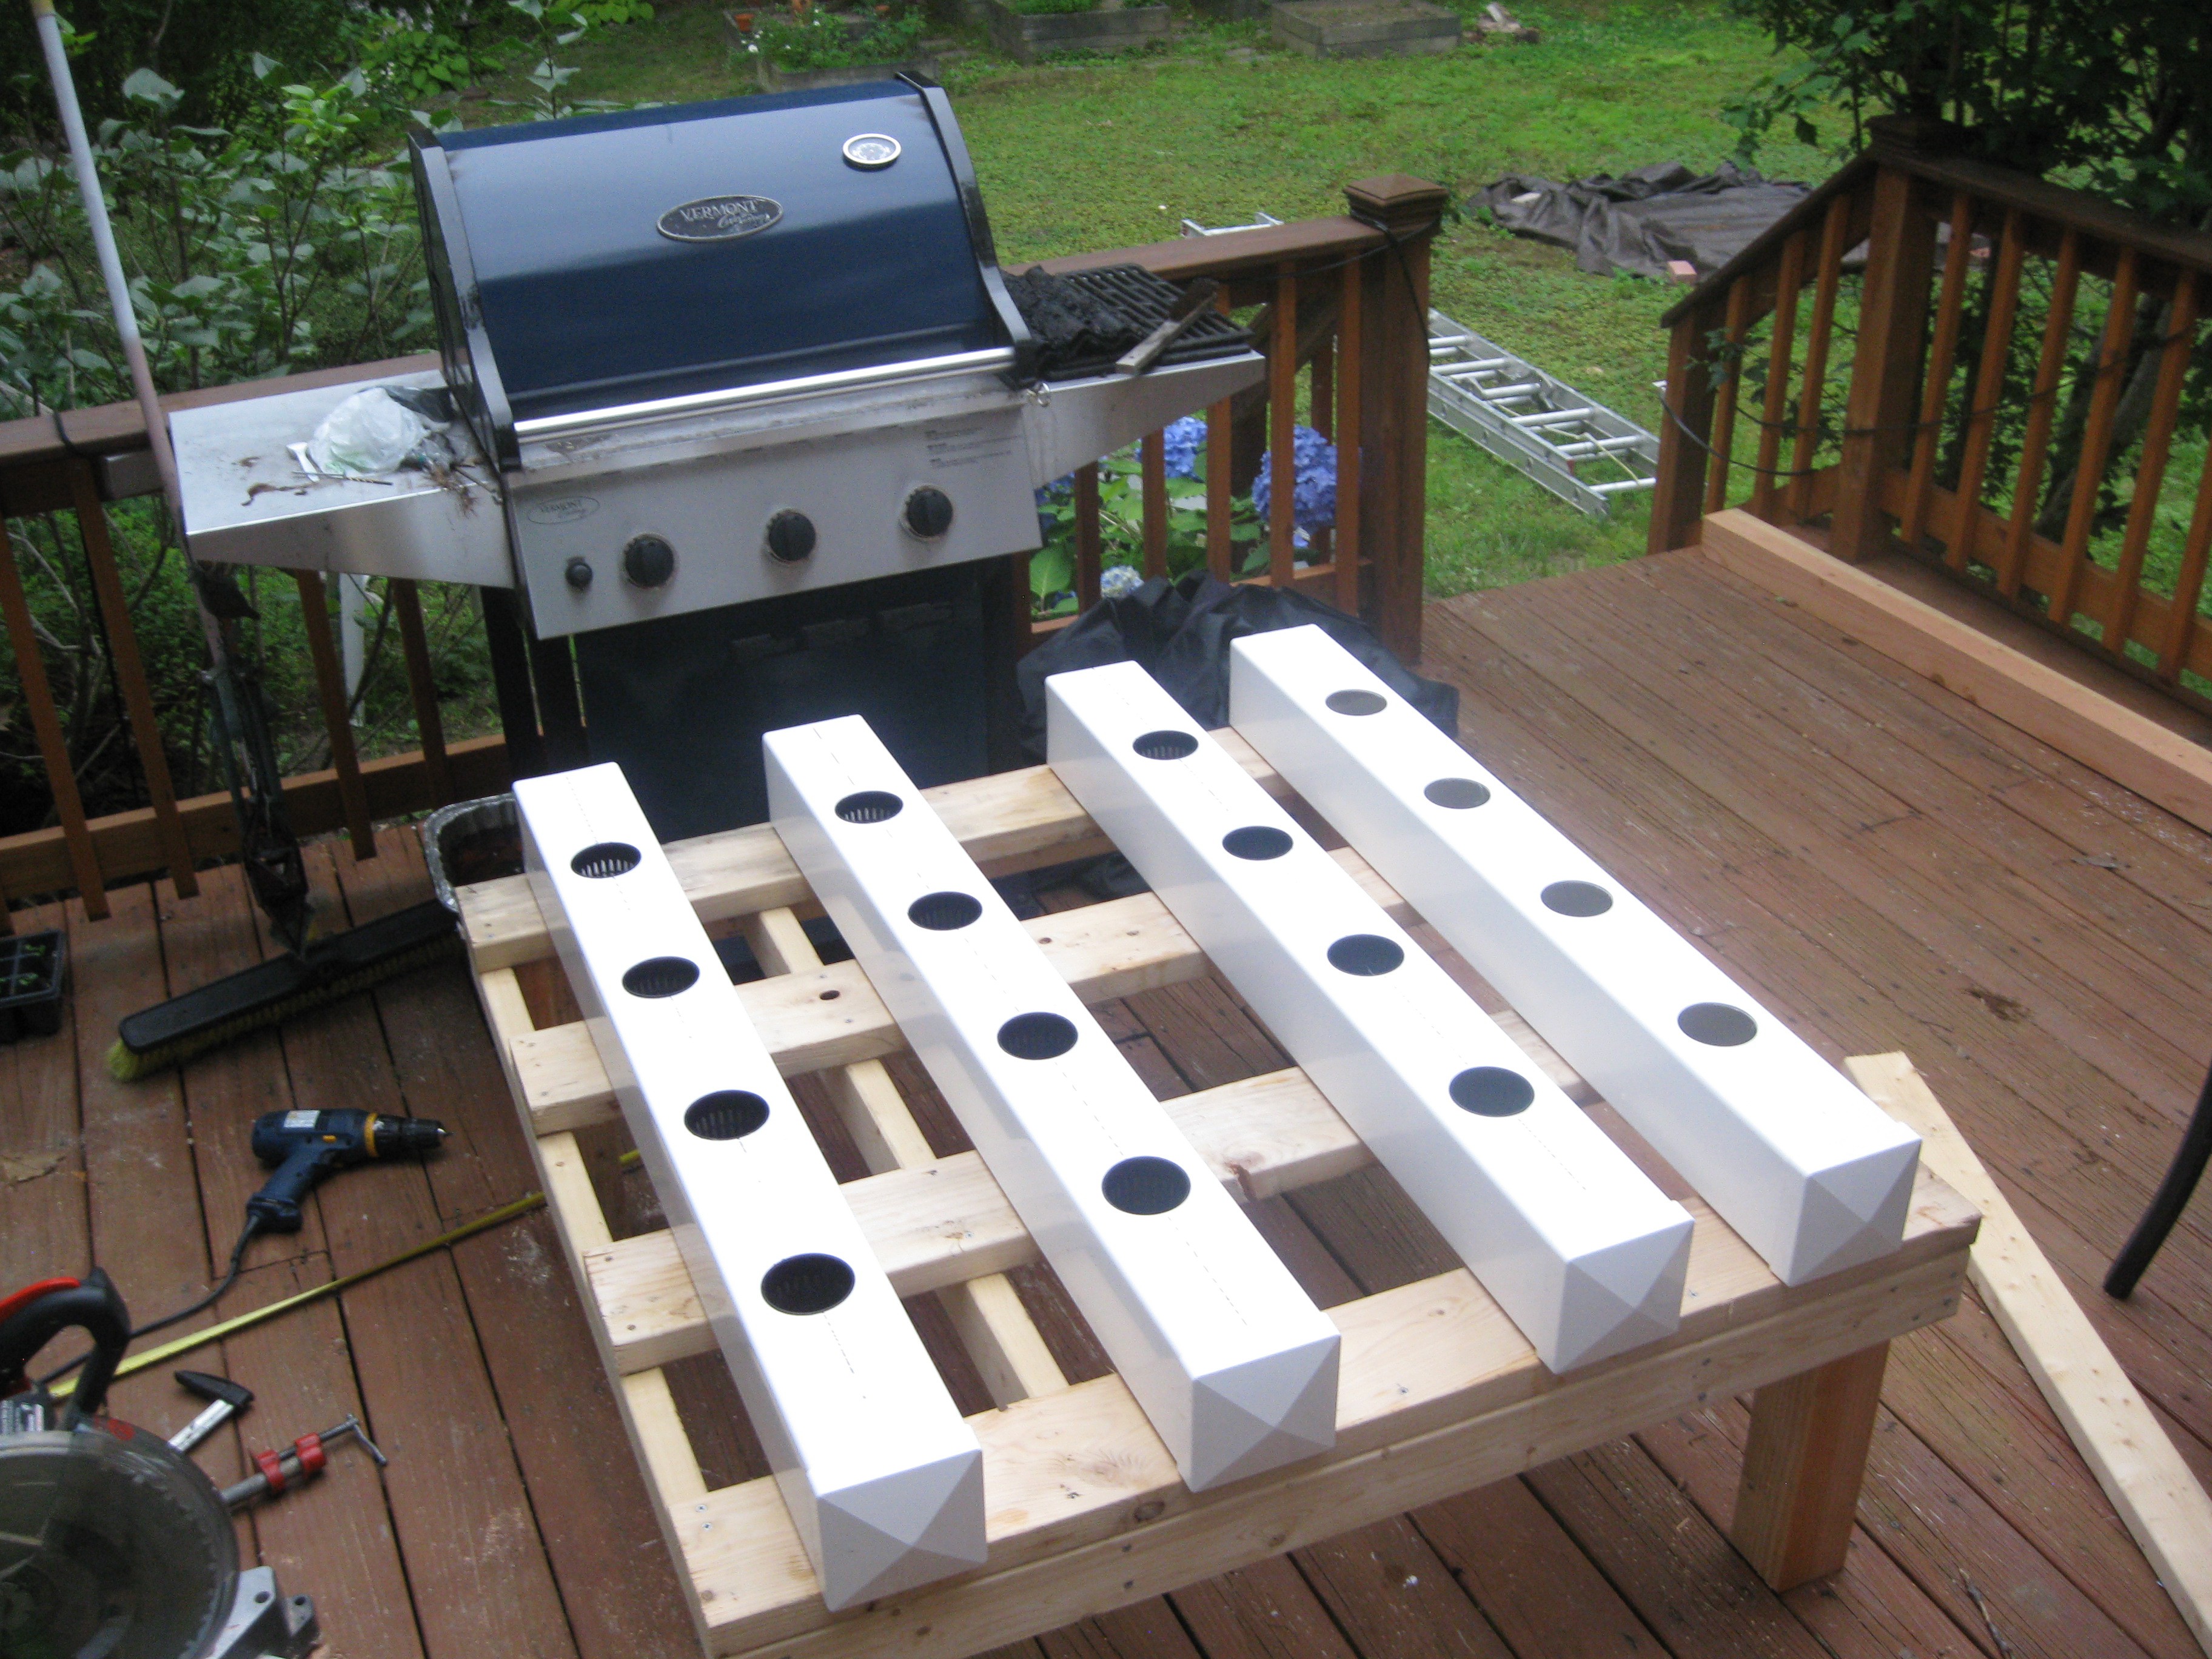
Overall I like how the frame came out, its almost a perfect 4X4 foot square and a little less than two feet of the ground. Orignally I was going to make it 5 tall off the ground, but I wanted more height for the plants to grow. I am also going to be using rubbermaide tubs for a reservoir instead of a 55 gallon water barrel which was also another reason to make it shorter.
Discussions
Become a Hackaday.io Member
Create an account to leave a comment. Already have an account? Log In.