Close
0%
0%

MP3 pedal for gigs

A simple MP3 player pedal for playing backing tracks in gigs.

Similar projects worth following
In our band we needed an MP3 player to play backing tracks in gigs (live). We used to use a laptop, but is very unconfortable and you need to use your hands -or a person asigned to it-. So I decided to make a pedal with an Rapberry Pi in it.
The usage is simple:
It has an USB drive where it scans the songs (MP3, WAV, etc). Then the firs song is presented in a 16x2 LCD (retroiluminated so it can be seen while the lights are out). You can select the next or previous song with the corresponding buttons. A big button will start playing the selected song. While playing, any button touched will stop the song (that is because if the band is unsynchronized with the backing track, is better to stop it as soon as possible and the band will continue playing -without backing track) [RULE #1 in music: show must go on. Never ever stop playing].
I'll be using a big arcade button for the play/stop and two smaller buttons for the next/last buttons.

I want to start saying that the project is old (may 2013), but it works.

Back then I didn't know anything about python, so the programming is awful (instead of using includes, I inserted all the functions only in one file). So, forgive me for this.

Apart from this, the project has a bug with the files it reads in the USB drive: no spaces allowed. You should use numbers to order the files as you like.

I had plans to improve the project (that never did):

- adding other type of audio outputs
- fixing bugs
- adding an external USB audio-card 5.1 so it plays more channels at the same time (made some tests, but I was unable to make it work)
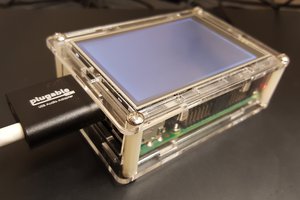
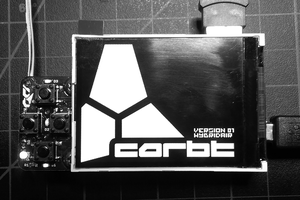
- improve the form factor (smaller and stronger box, proper footbuttons, etc)


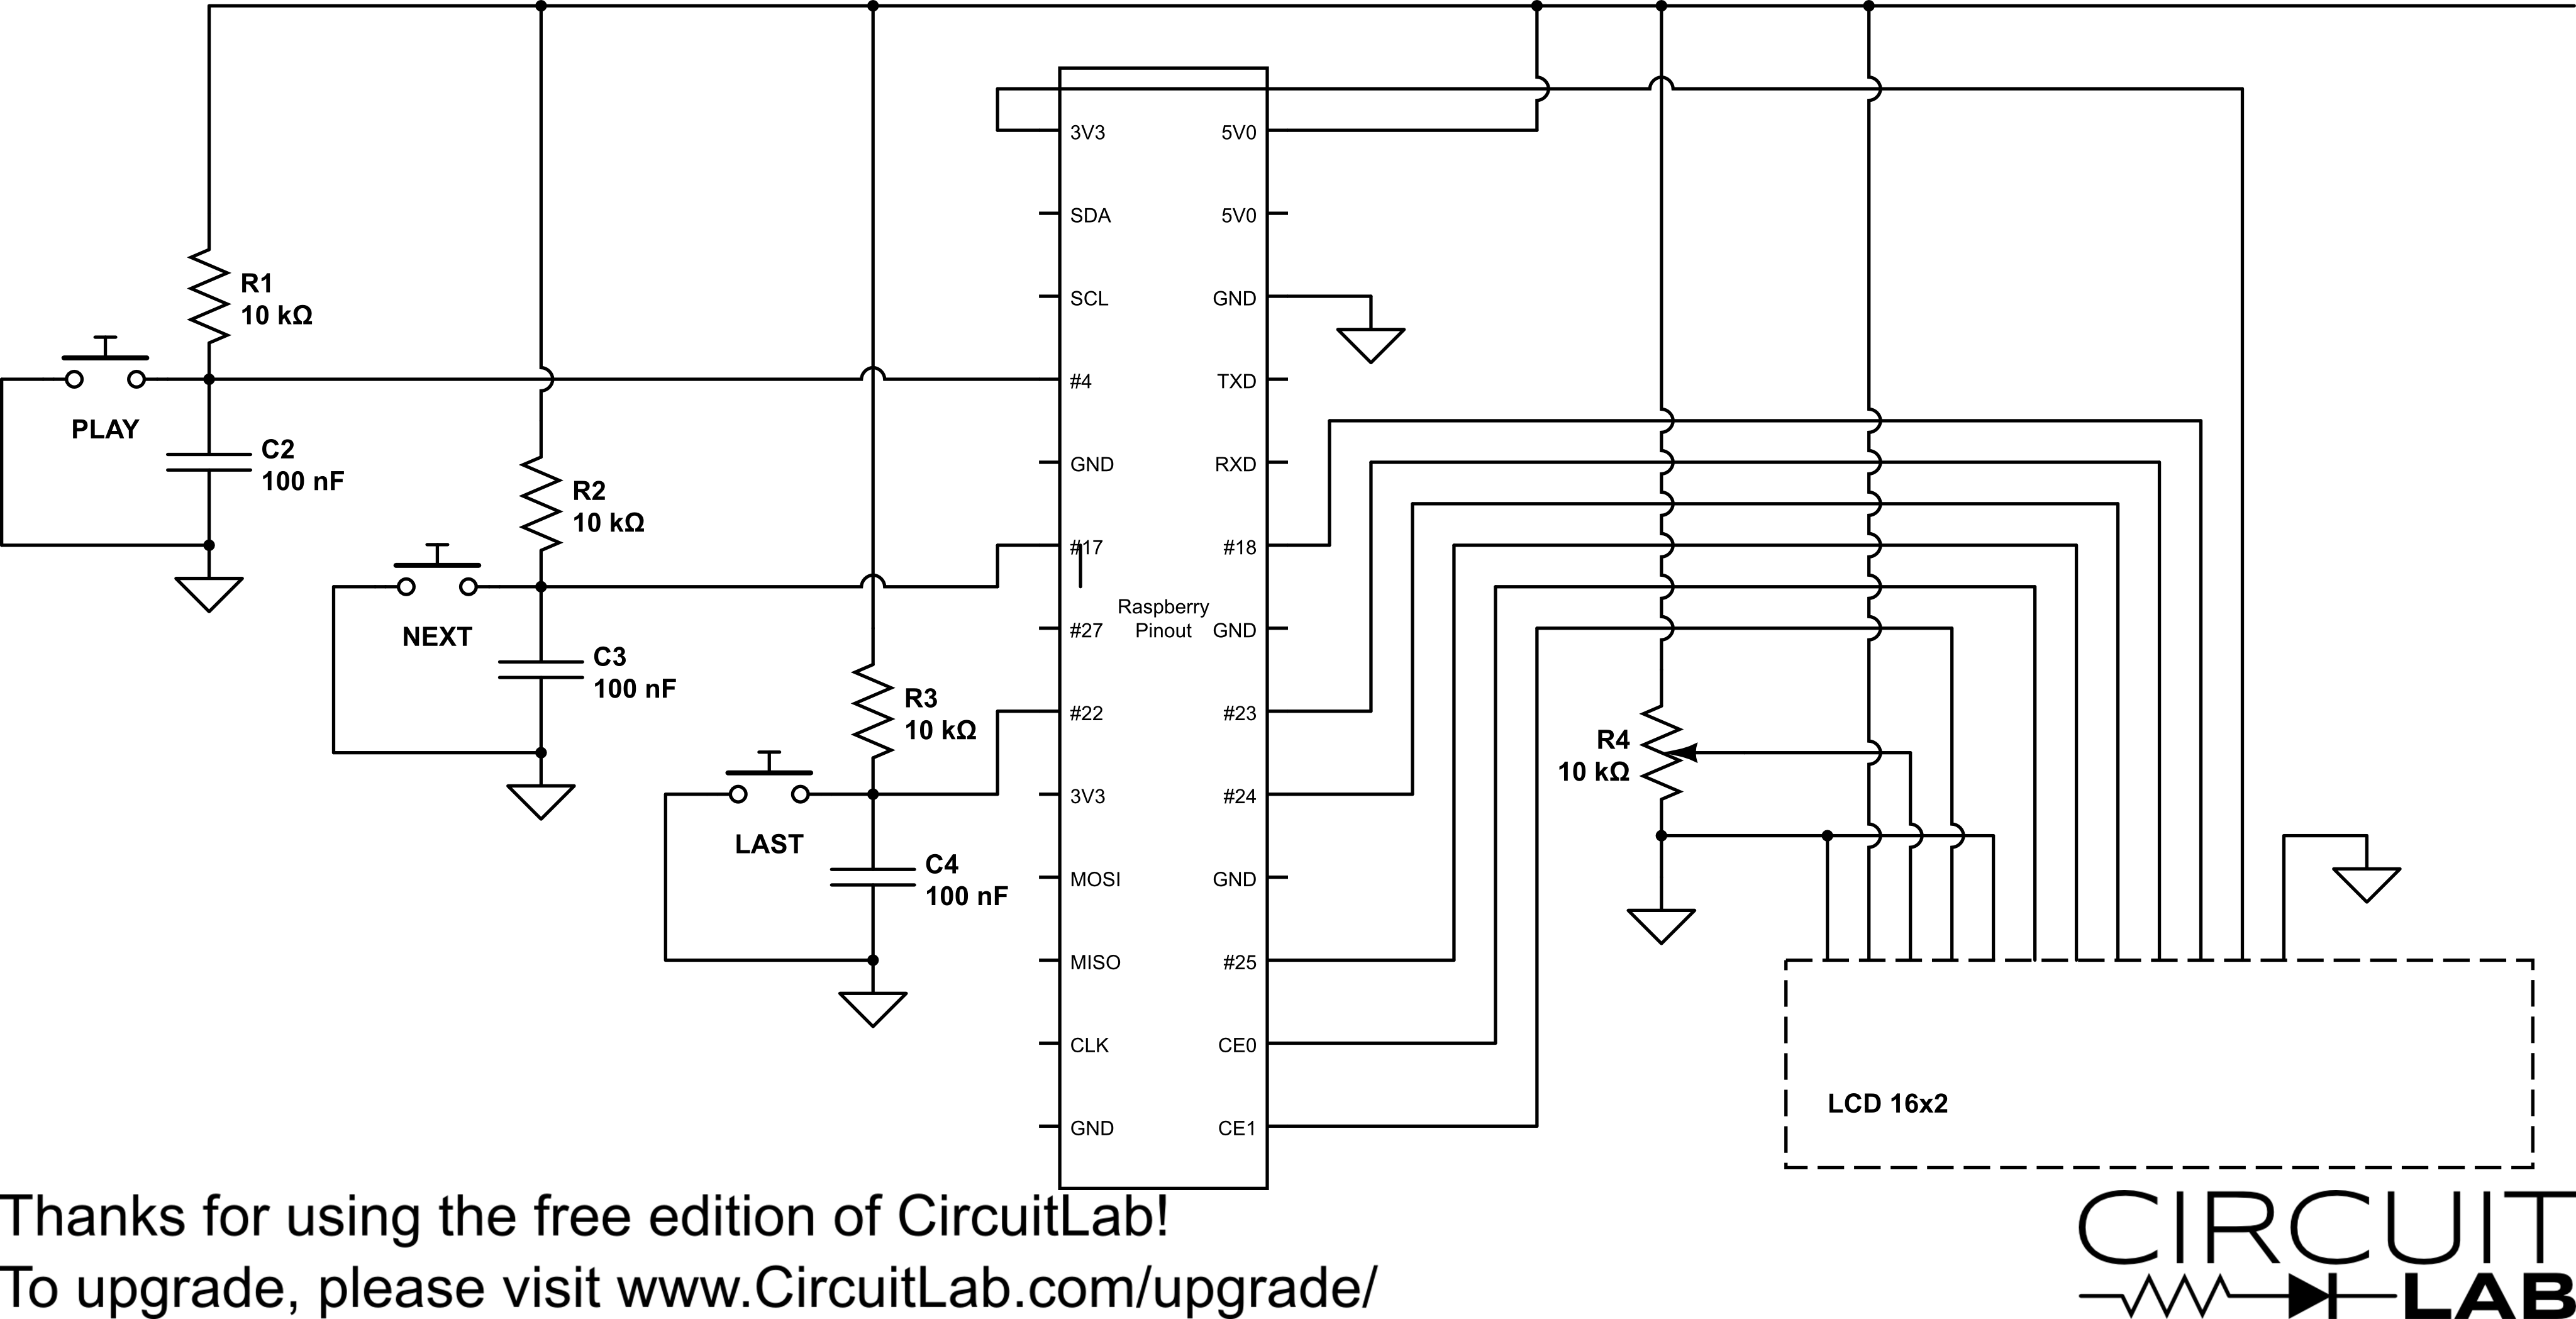
In the Raspberry pi, I'm using Arch linux because it boots in 10s and speed is a must (Raspbian will boot in 1min in a Raspberry 1). No graphic interface needed, so Arch is the perfect choice.

You should insert the USB drive in the pedal before powering it up, so the program can read the files in the drive when it boots.

  • 1 × Raspberry Pi
  • 1 × Arcade Button (Big)
  • 2 × Arcade Button (Small)
  • 3 × 10K Resistor Debouncing buttons
  • 3 × 100nF Capacitor Debouncing Buttons

View all 12 components

  • 1
    Step 1

    Connect the buttons and LCD Screen to the Raspberry as seen here:

  • 2
    Step 2

    The LCD part is not well described in the previous image. Take a look at this:

  • 3
    Step 3

    Prepare an SD Card with Arch Linux for your Raspberry Pi.
    Install Python, and mpg123.
    Try playing an MP3 file with mpg123.

View all 4 instructions

Enjoy this project?

Share

Discussions

Similar Projects

Does this project spark your interest?

Become a member to follow this project and never miss any updates