 John Reimers
The Hardware
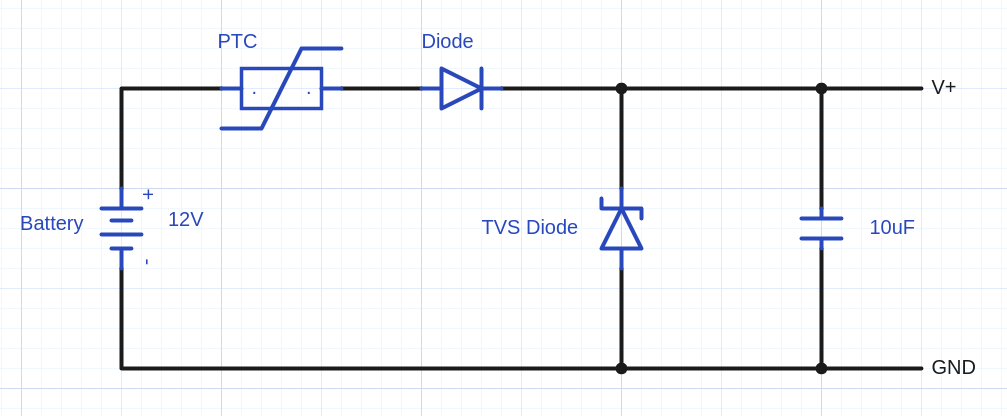
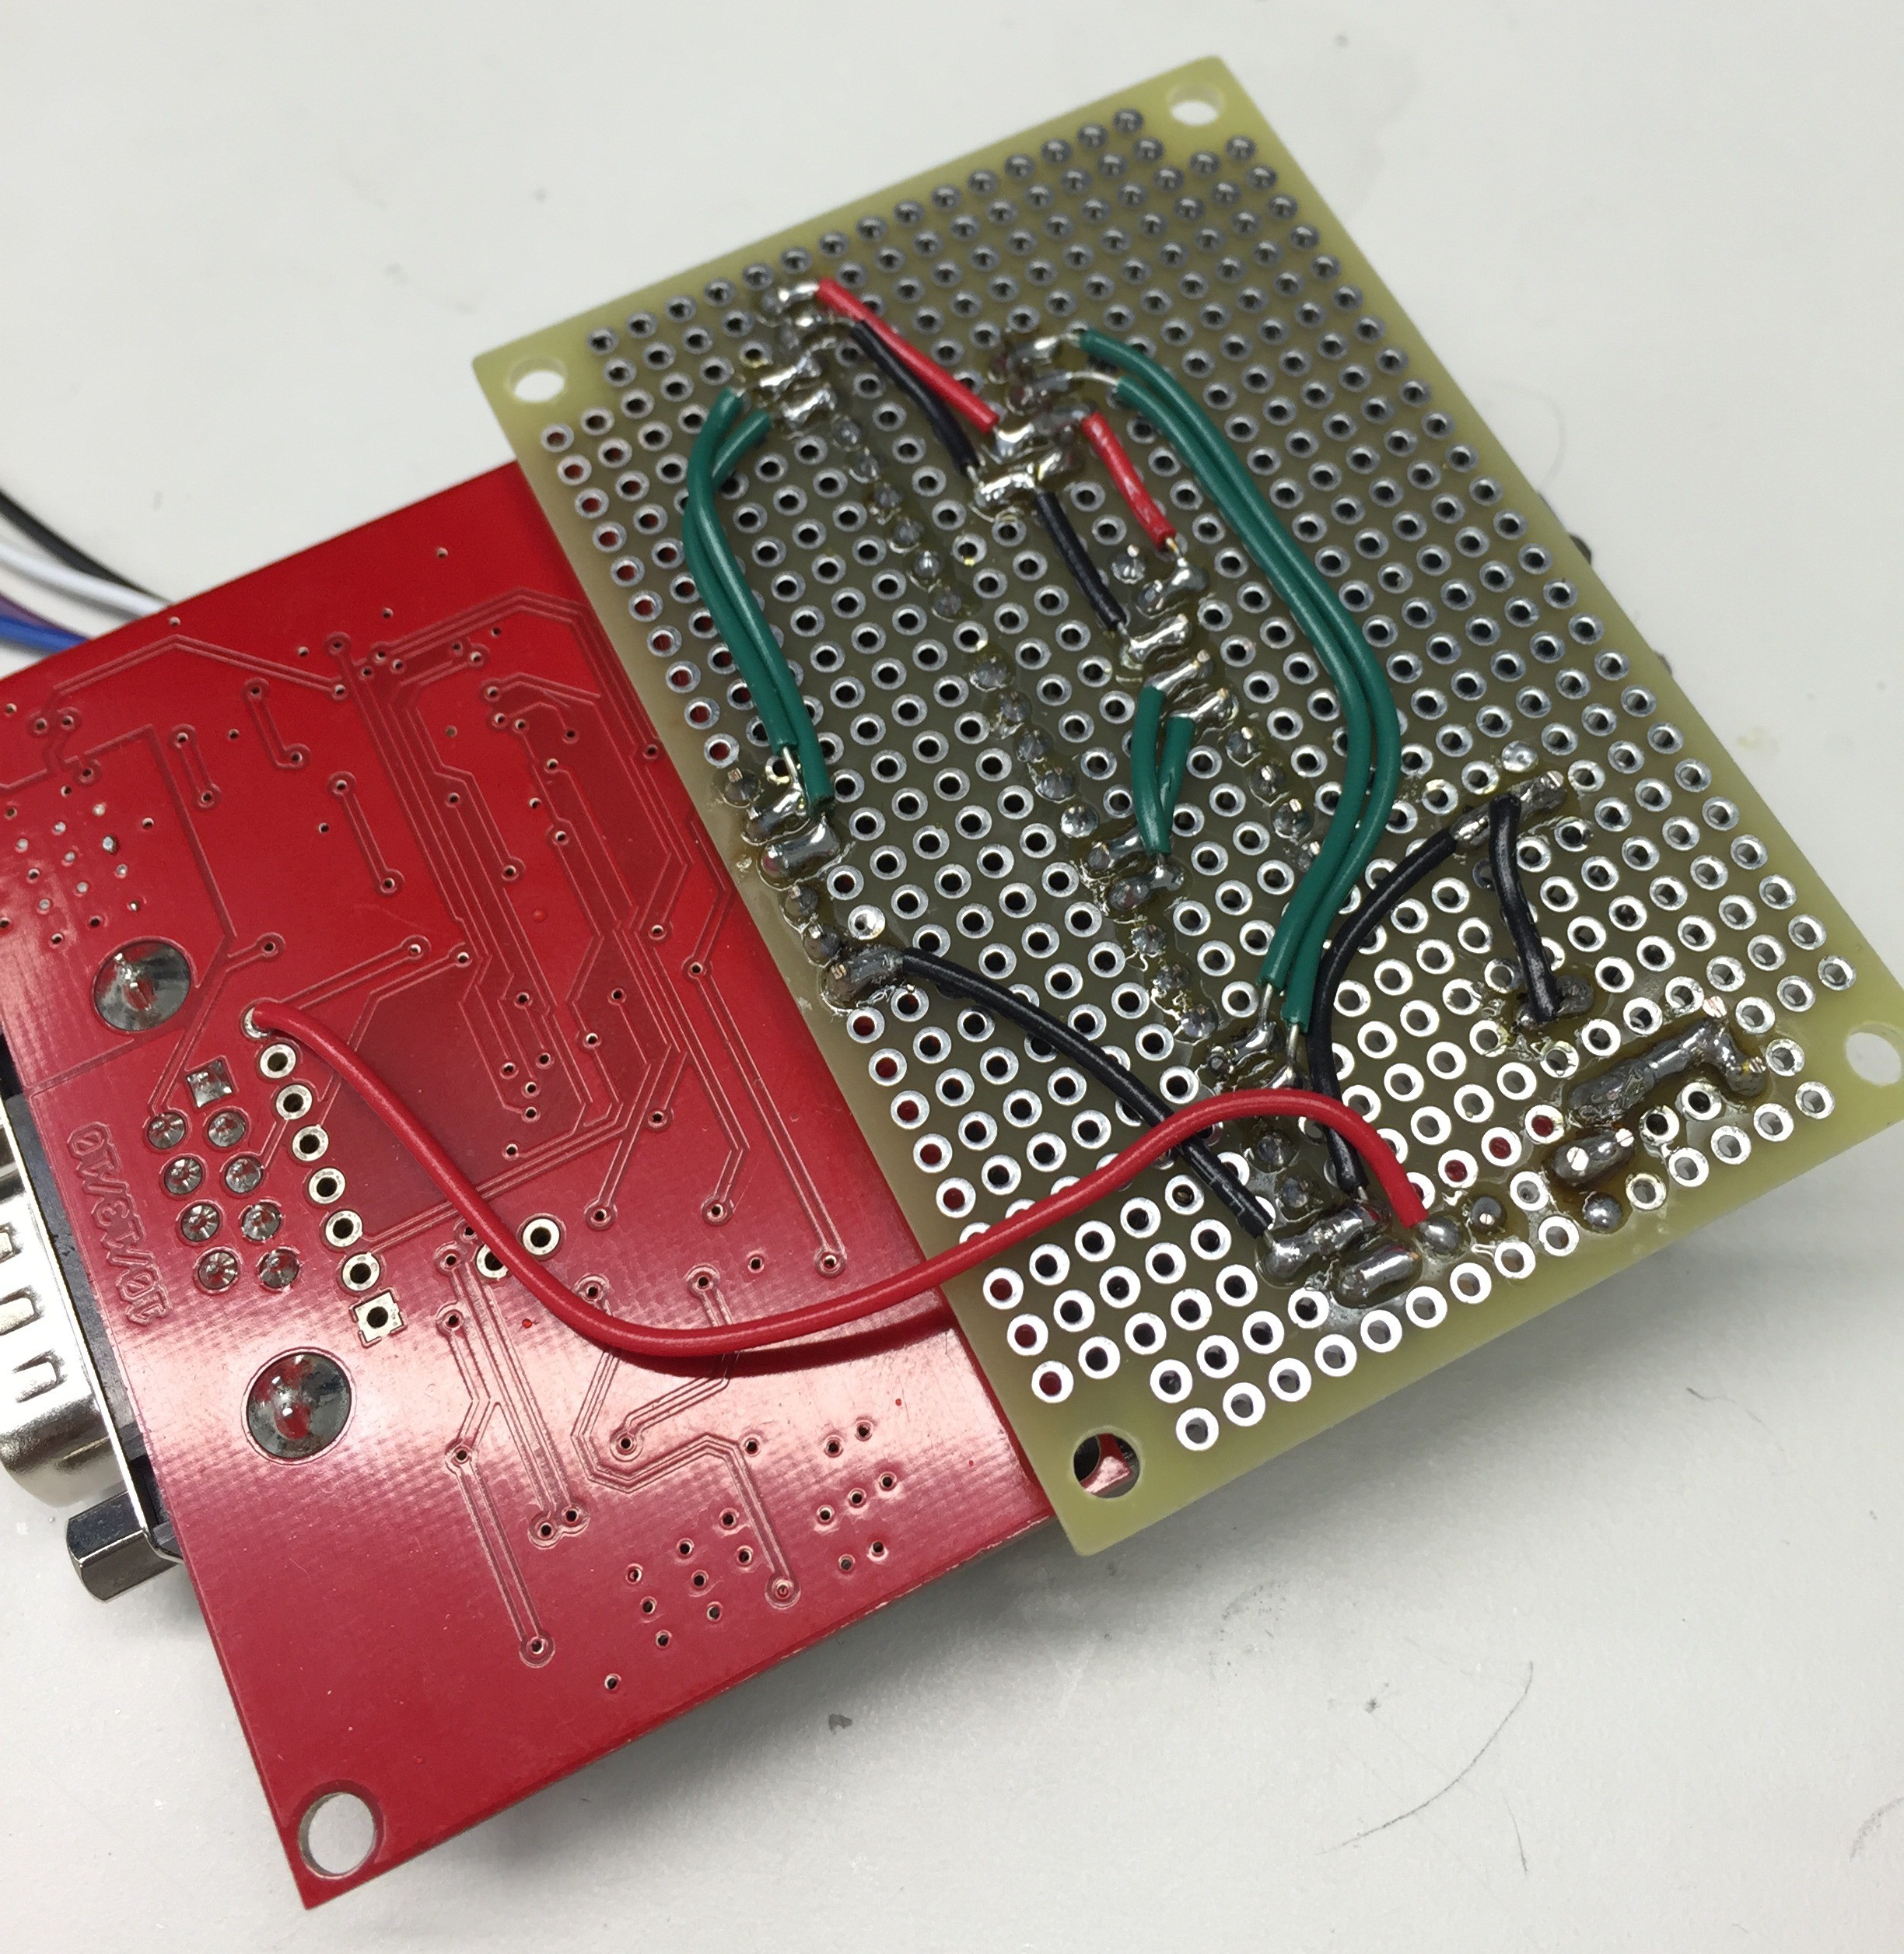
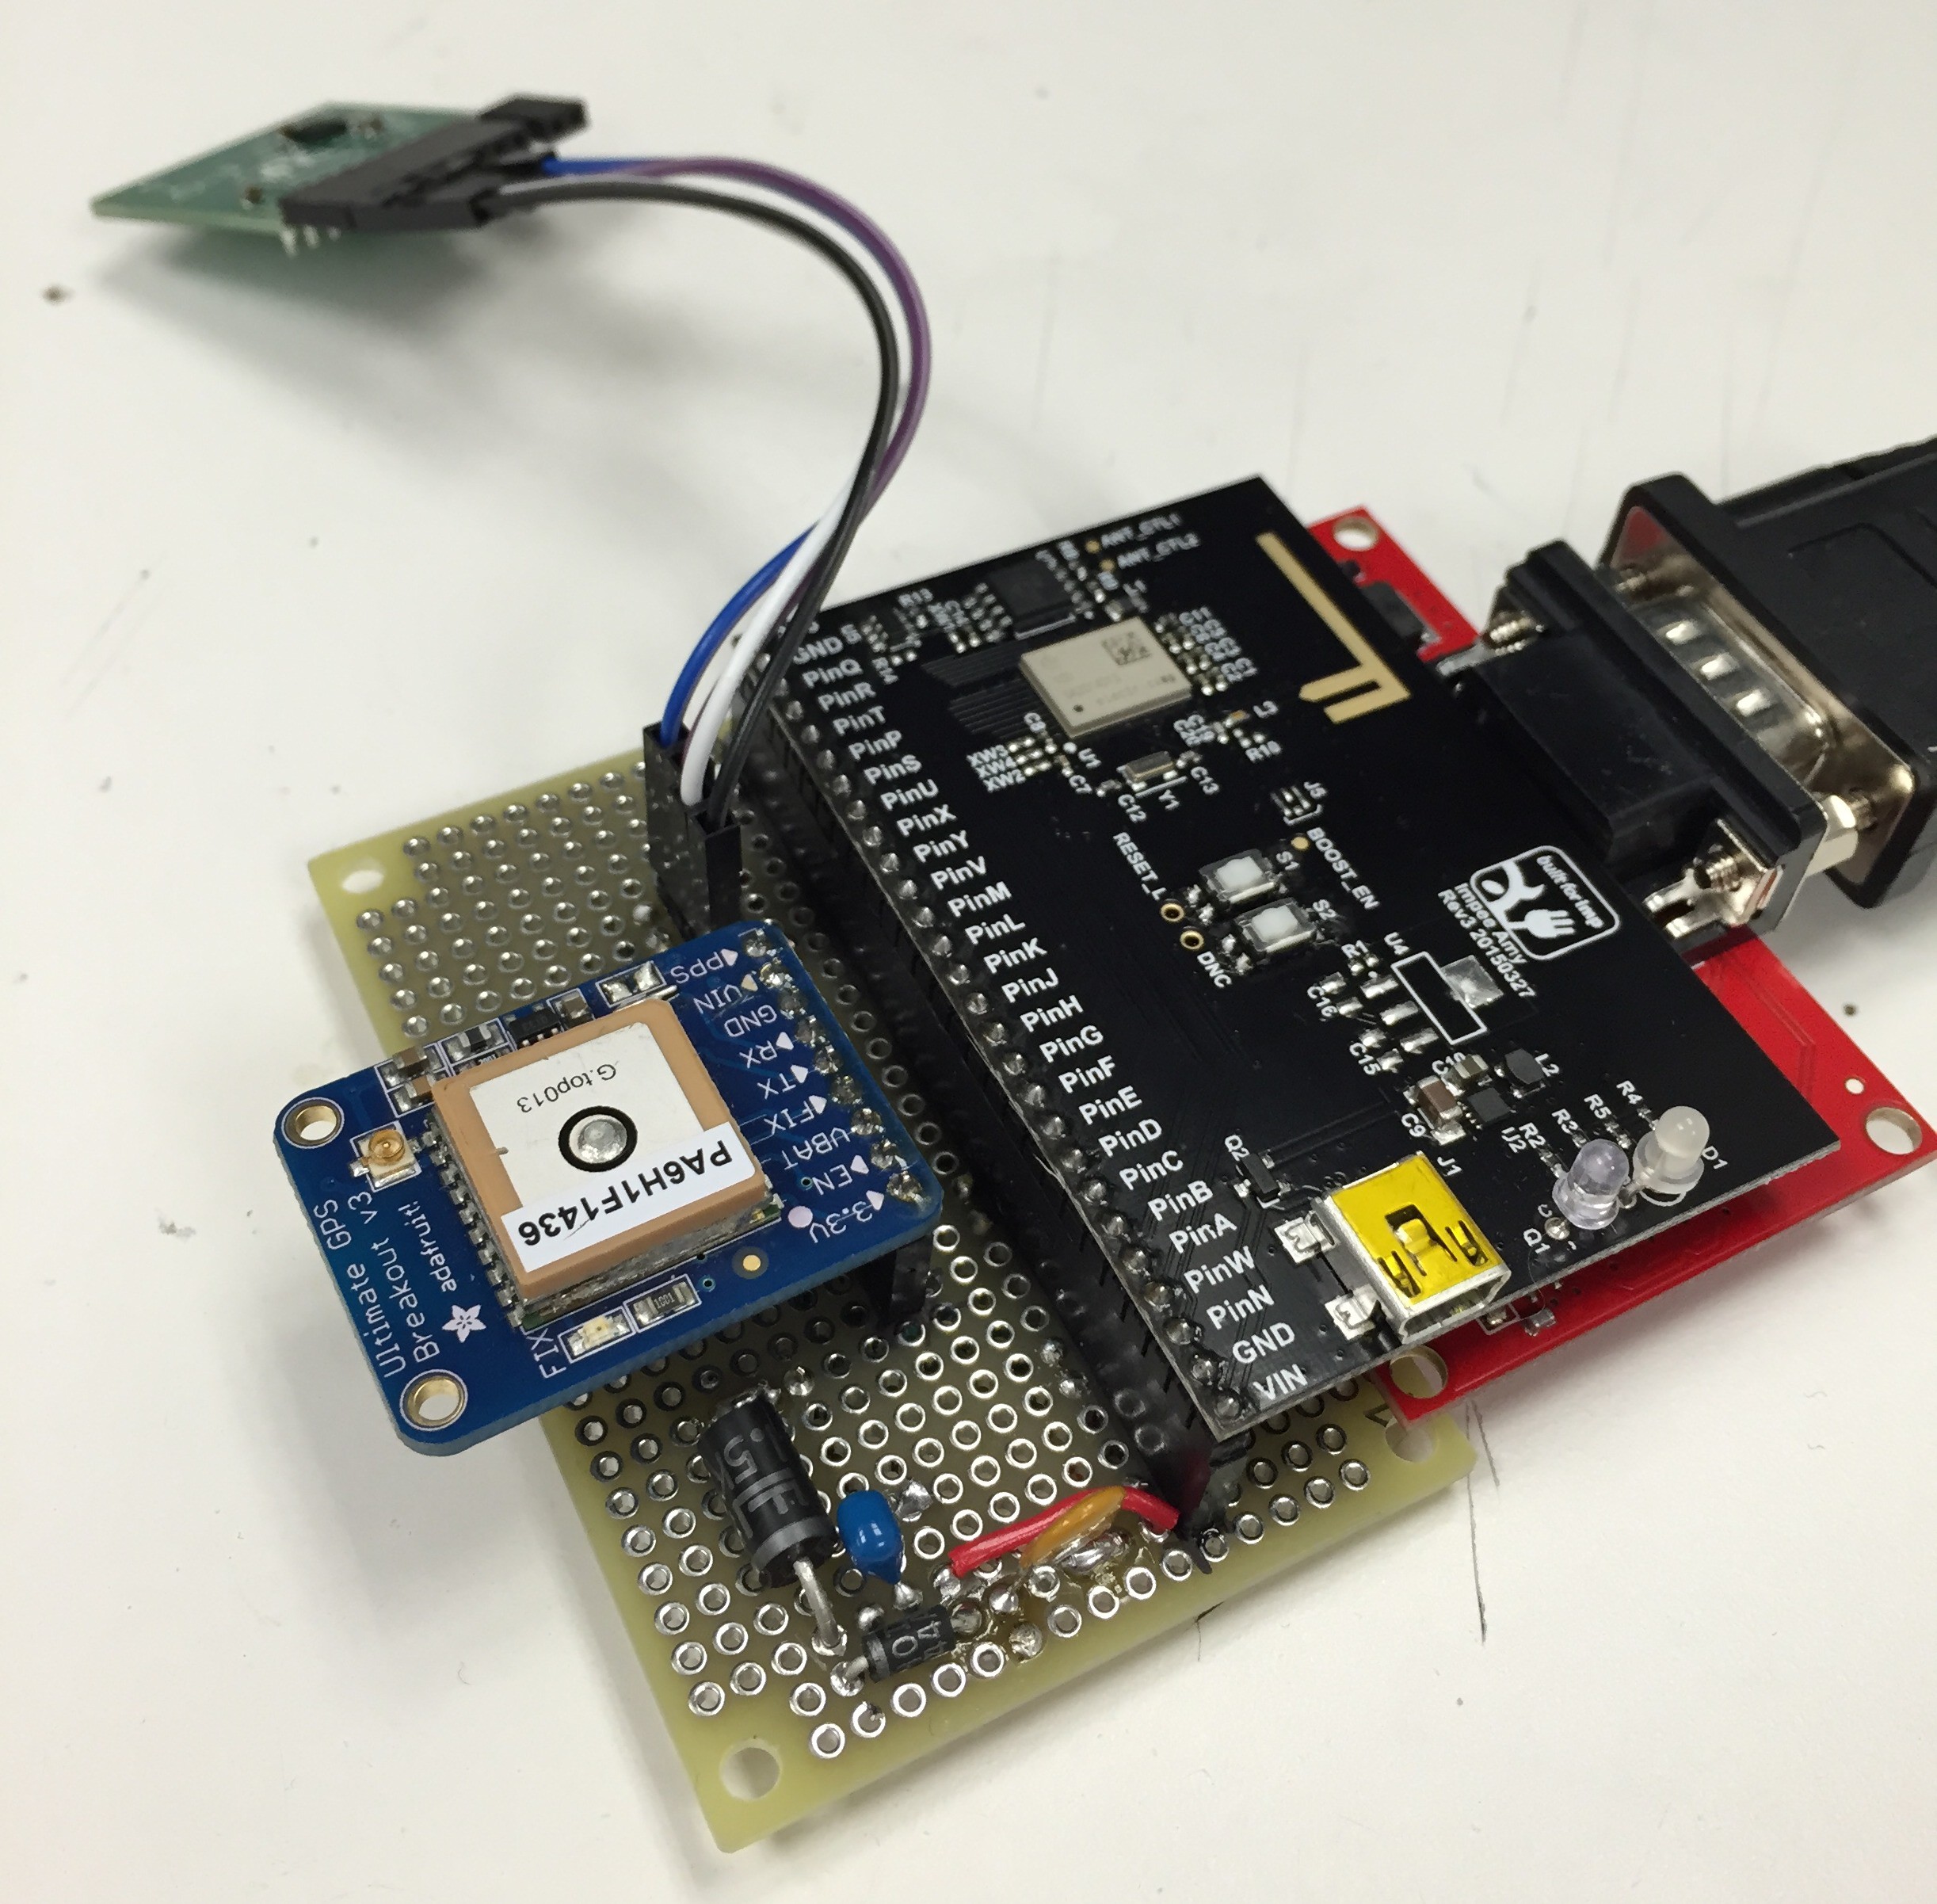
An Electric Imp Amy breakout is used to interface the GPS, OBD-II and accelerometer boards. A simple transient voltage suppressor circuit was built to protect the Imp's DC/DC converter from any high voltage spikes that might happen in a noisy car environment. The GPS and OBD boards communicate over UART with the Imp while the accelerometer module communicates over I2C. The Imp needs a wifi connection, so if you're not unlucky enough to have a car with a remotely exploitable wifi hotspot you can tether it to your phone or other cellular hotspot device.
The Software
The majority of the code is in the driver libraries for the STN1110 OBD to UART interface and the PA6H GPS module. These can be found on Github
STN1110: https://github.com/electricimp/STN1110
PA6H: https://github.com/electricimp/reference/tree/master/hardware/PA6H
The device code batches the updates from each external board and sends them to the agent (the Imp's sever side counterpart) as one packet. The agent receives the packet and pushes it directly to Firebase.
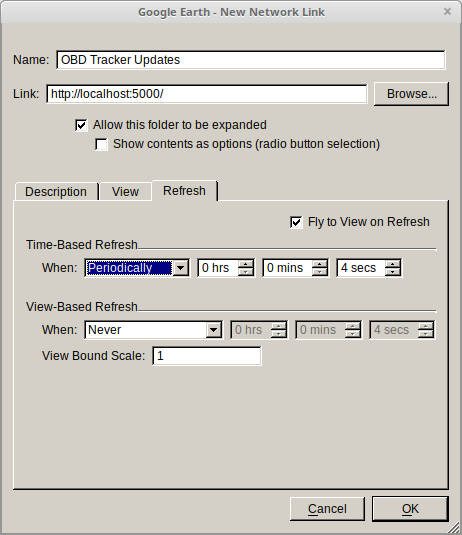
To get real time updates, Google Earth will poll a web sever written in Python. The server is a simple Flask app that grabs everything since the last poll from Firebase and renders it as KML which can be understood by Google Earth.
Putting it all together we can watch the car drive around in real time and graph engine stats. Logged data includes
- Vehicle speed
- Engine RPM
- Throttle position
- Intake air temperature
- Coolant temperature
- Fuel pressure
- Accelerometer x,y,z
- GPS lat/lon
I have yet to figure out a meaningful way to display accelerometer data in Google Earth, but the data is there so it can be easily post processed.

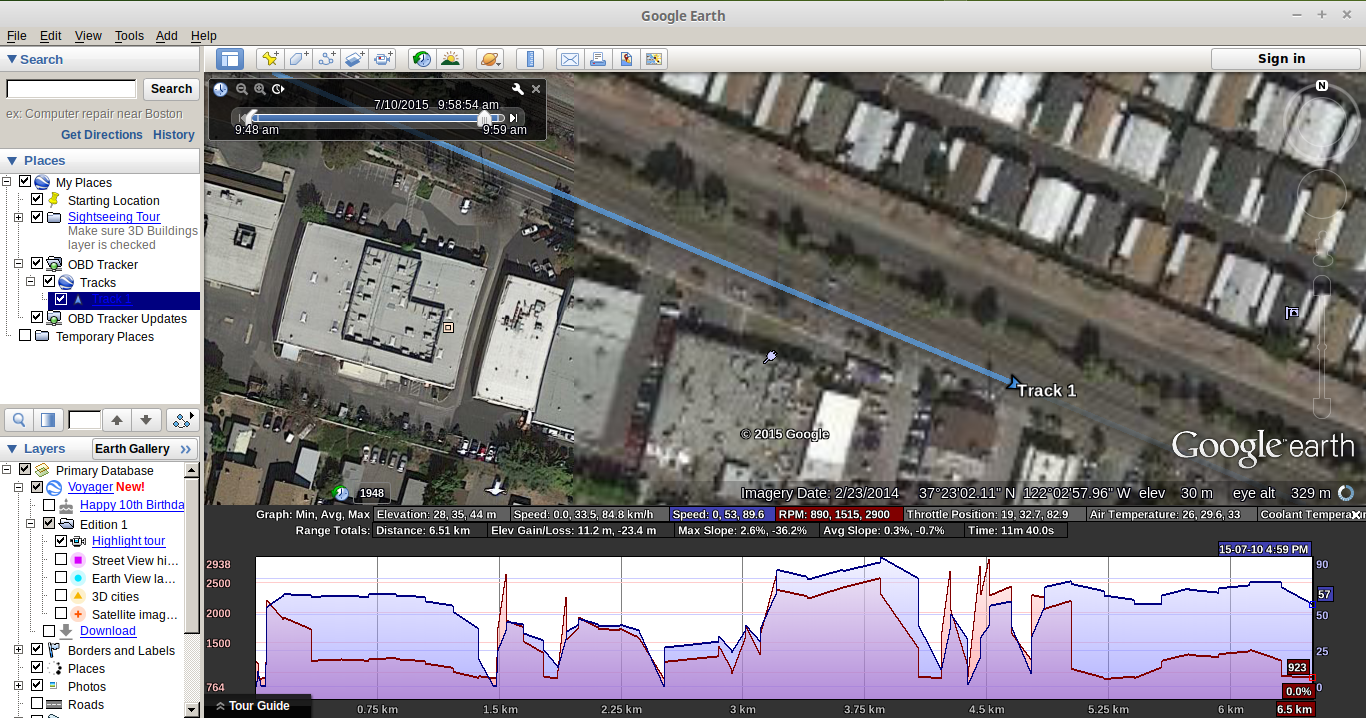 Right clicking on OBD Tracker and selecting "Show Elevation Profile" will enable the graph pane. Up to two engine stats can be graphed at a time.
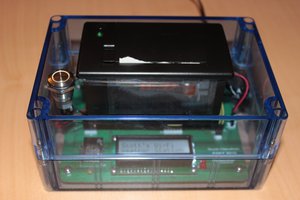
 Scott Clandinin
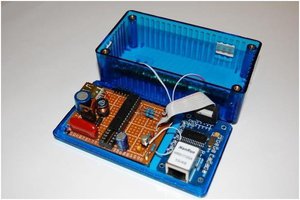

 Sagar 001