 Suleyman Hashi
Before ordering the PCBSs, I first need to generate the Gerber files from my EDA program and ensure my design met the design rules of the fab house. See https://oshpark.com/guidelines for more information.
For this section, I decide to cover how to generate the Gerber files step by step and finally ordering the PCB from OSH Park.
I use Altium Designer as my EDA program and WinRAR to make the WinZip file required later on, therefore your mileage may vary.
I would like to thank John (https://hackaday.io/Johnny) for helping with figuring out the steps and I hope this helpful for anyone thinking of making PCBs.
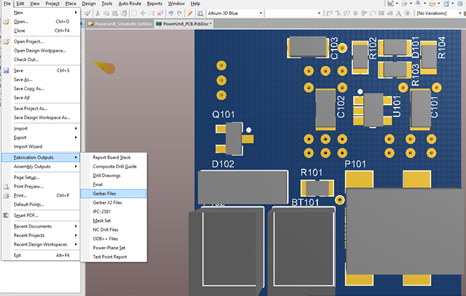
The first step is opening the PCB document and File > Fabrication Outputs > Gerber Files.
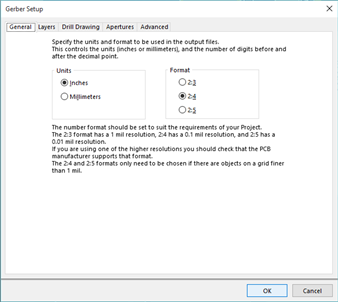
You should be presented with following window and you need to select Inches and 2:4 format.
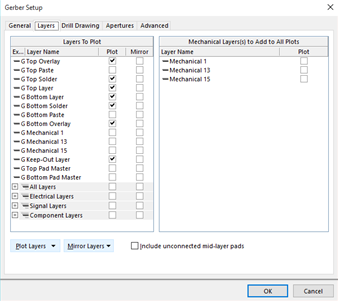
Go to the layers tab and the select the required layers.
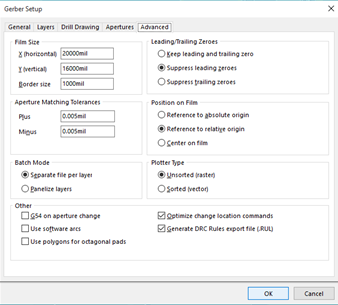
Check final tab and should have the following setting. Click "OK" and the EDA will generate the CAM file.
 The CAM file should be in view, however, there is no holes present. Therefore we need to generate the drill files.
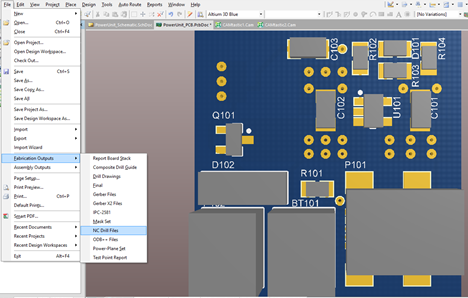
Go back to the PCB document and select File > Fabrication Outputs > NC Drill Files.
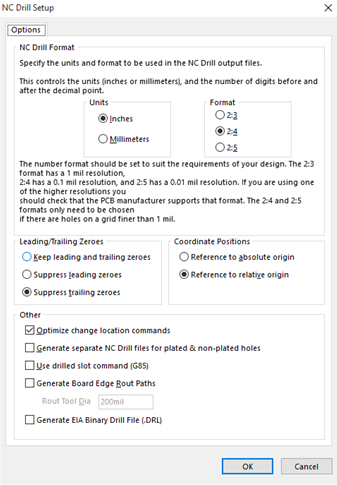
 Ensure the setting is the same as follows and then click "OK".
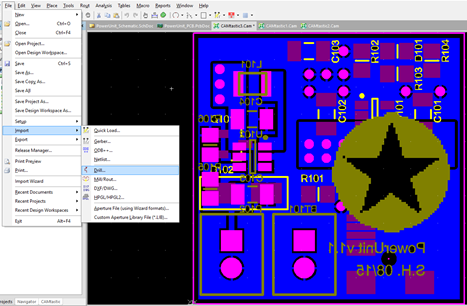
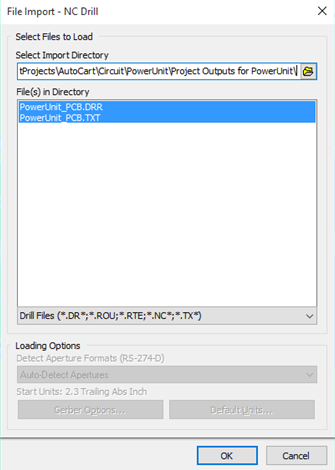
 Once drill files are generated, we need to import those files into the CAM documents. First open the CAM document and select File > Import > Drill.
 We need to navigate to the Project Outputs folder in the presented window and ensure we select the following files and click "OK".
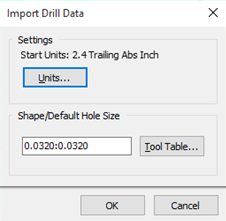
 For the next window, simply click "OK".
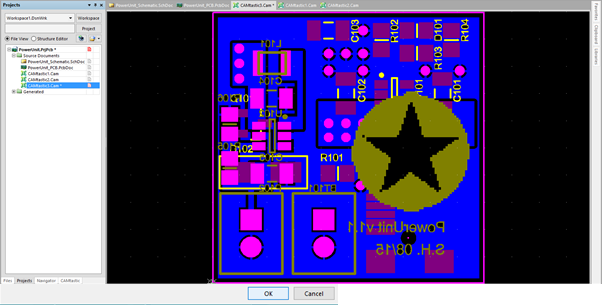
 Now Altium should show a status report. Just open the CAM document again and now there should drill holes. Ensure that holes are in the correct locations.
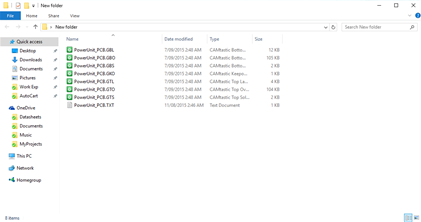
 Now navigate to Project Output folder and copy over the following files. Double check that file extensions are same as the required extensions covered in the Fab house design guidelines.
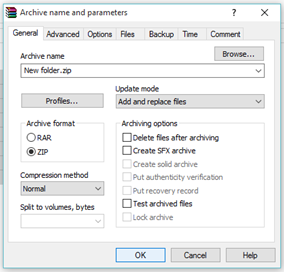
 The files now need to be in a single zip file and that will be the file we send to the Fab house.
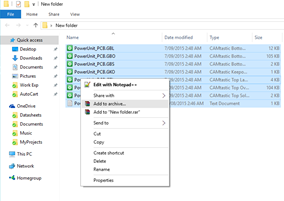 Ensure its in a WinZip archive format, I have not tested archiving the files in a WinRAR format as the Fab house specifics a WinZip.
 Now you can import that WinZip file into OSH Park.
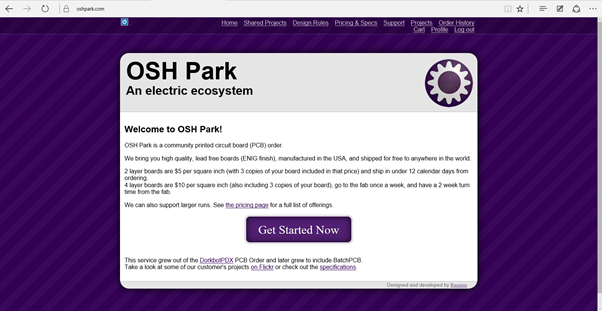 Navigate to https://oshpark.com/ and click "Get Started Now" to view the next window.
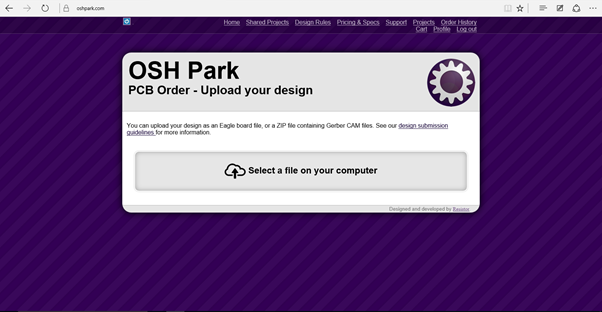 Click "Select a file on your computer" and select the WinZip file from before.
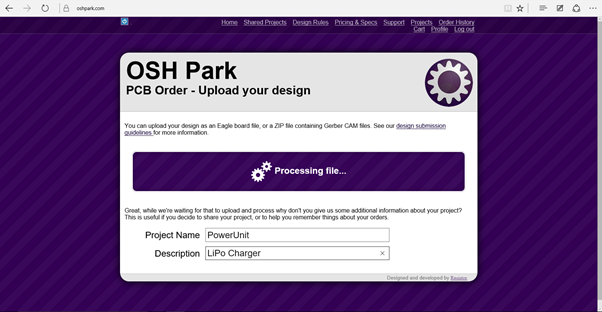
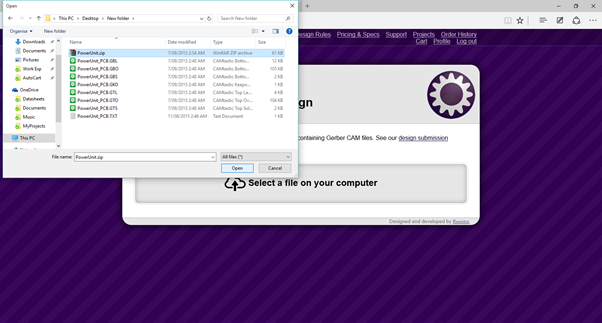 Once you selected the WinZip file, fill in the details while the site is processing the file.
 If there are no errors, you should be present with the following windows.
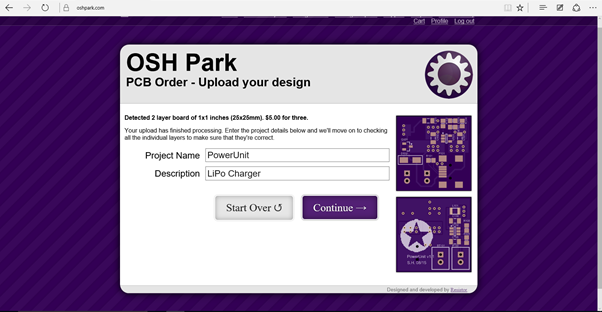 Click "Continue".
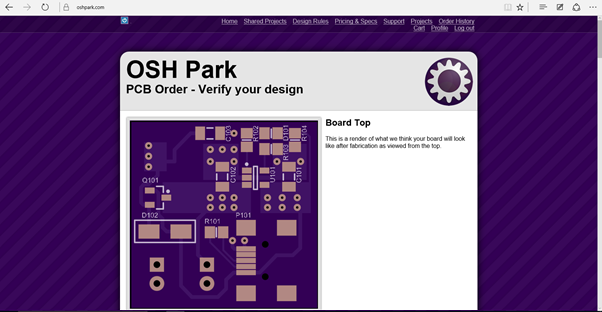 Check the presented images to ensure all layers are correct.
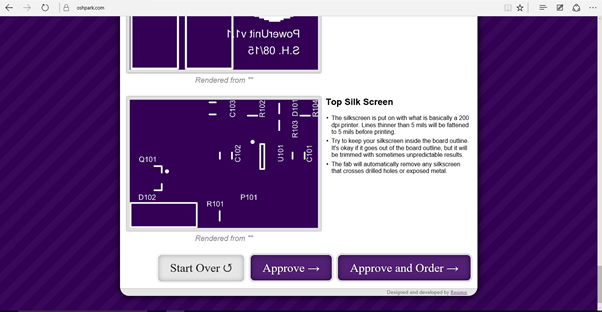 Once happy with PCB, go to the bottom of the page to approve and order the PCBs.
Only steps left is registering for a OSH Park account, adding details and paying for the order.
From order the PCBs to them arriving in Melbourne, Australia took just about three weeks.
One important mention is the need to ensure you have a board outline within the Keep-Out layer. If there are no board outline, we will get an error in OSH Park. This was not a issue when importing the PCB without the board outline Seeed Studio, however, I have not order a PCB from them yet.
I will be sharing my Gerber files once I figure out the best place to host them.
Discussions
Become a Hackaday.io Member
Create an account to leave a comment. Already have an account? Log In.