 Rocketburns
Big update, it actually can write now! A lot have things have happened in between updates, so I will attempt to fill in all the gaps now. First of all, I had to make some quick adapters for the stepper's connections:
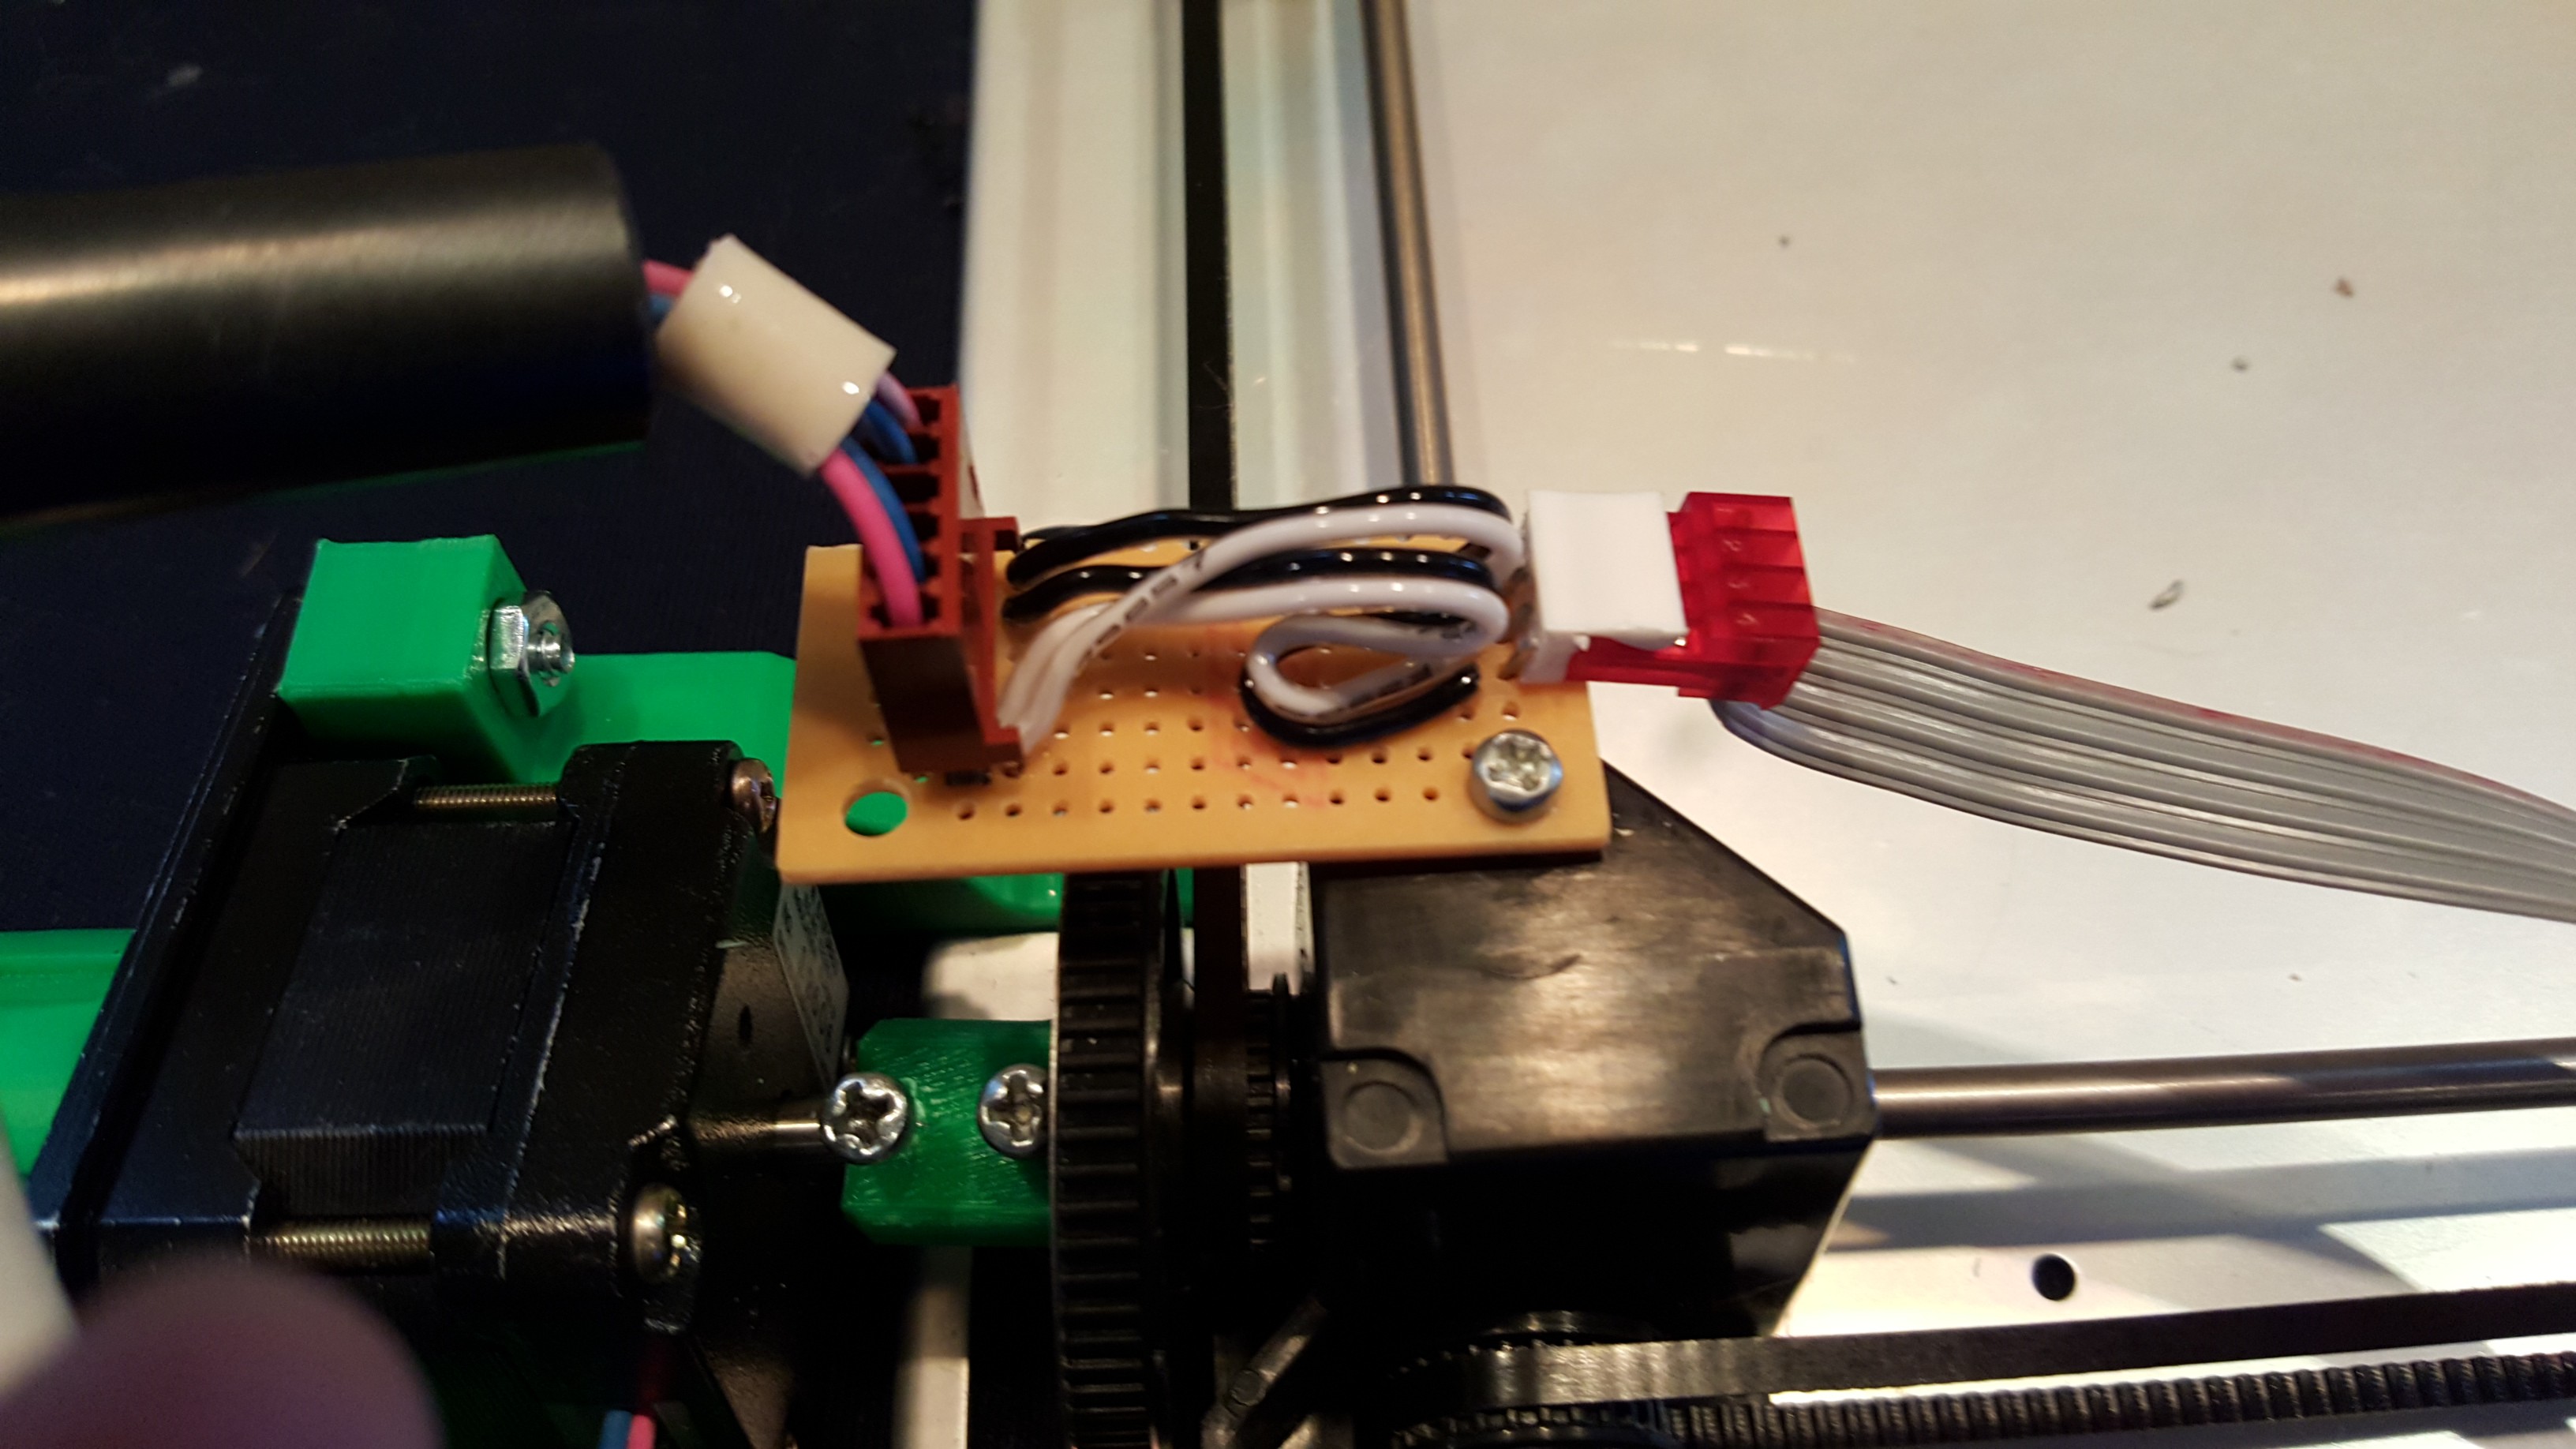
This ensures they will fit the controller board I am using. Also, I had to replace one of the shaft collars because it wore out, but that was minimal effort. Next, I wired up the control board:
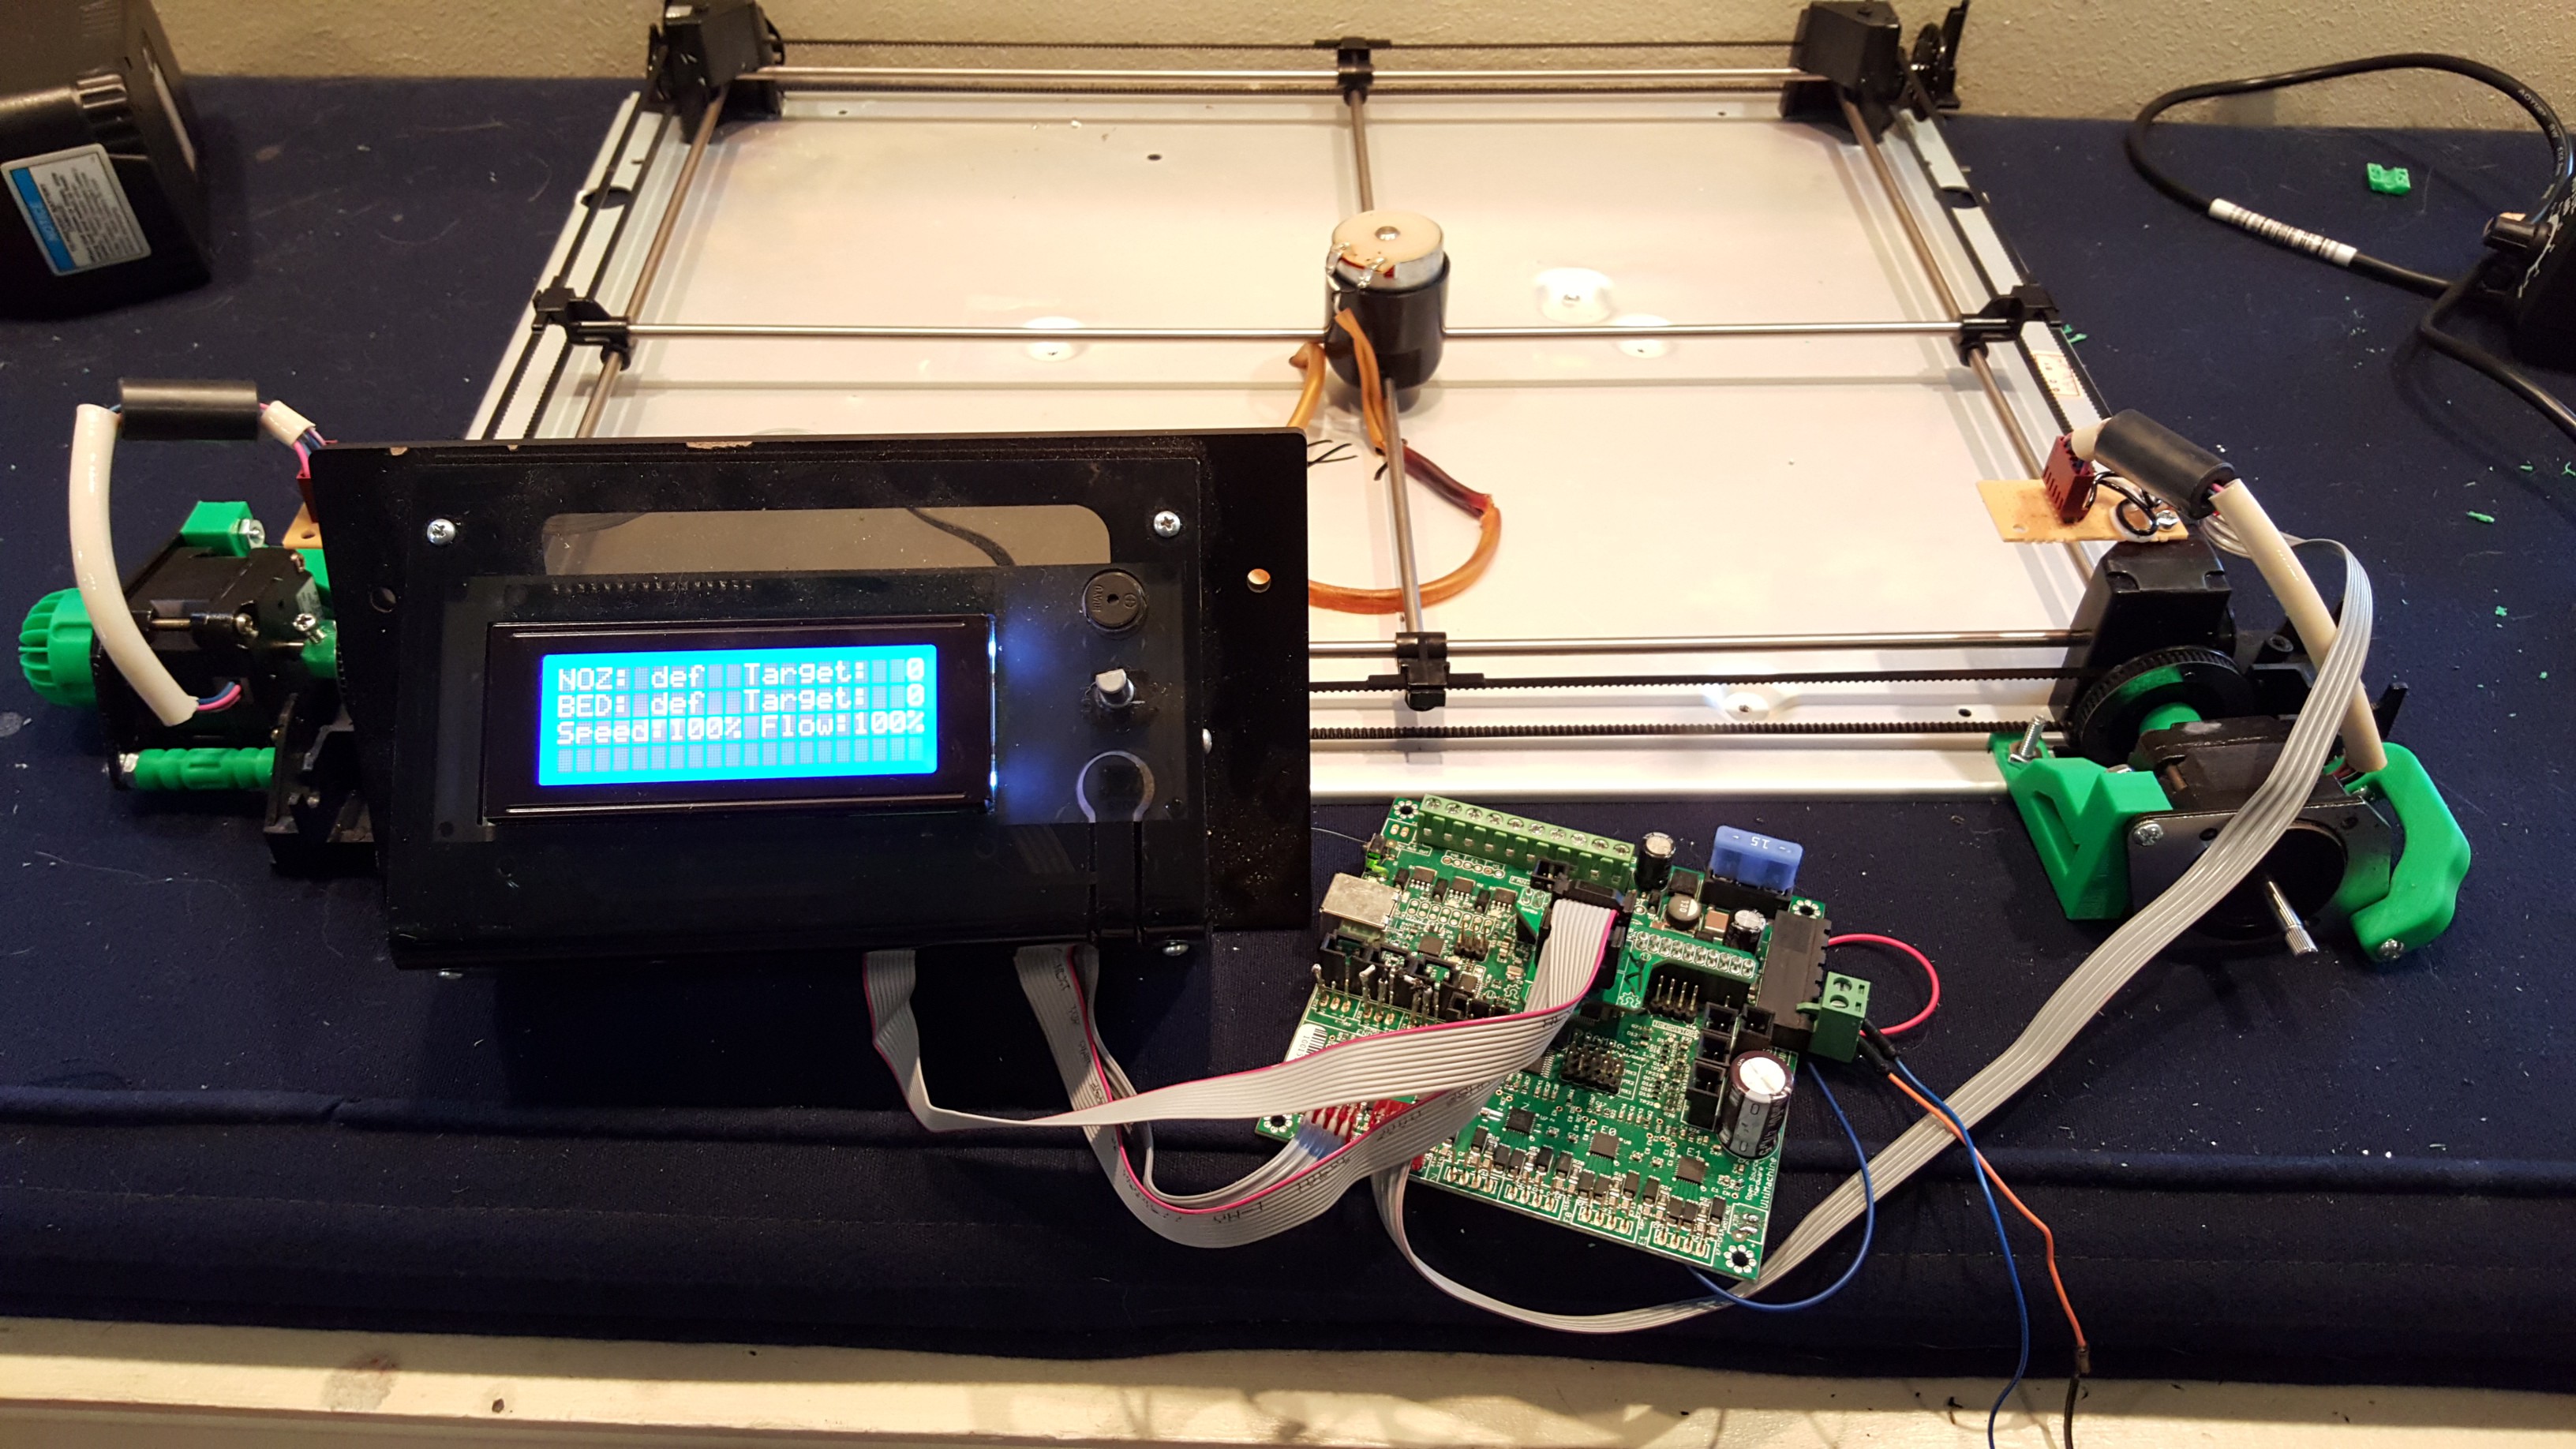
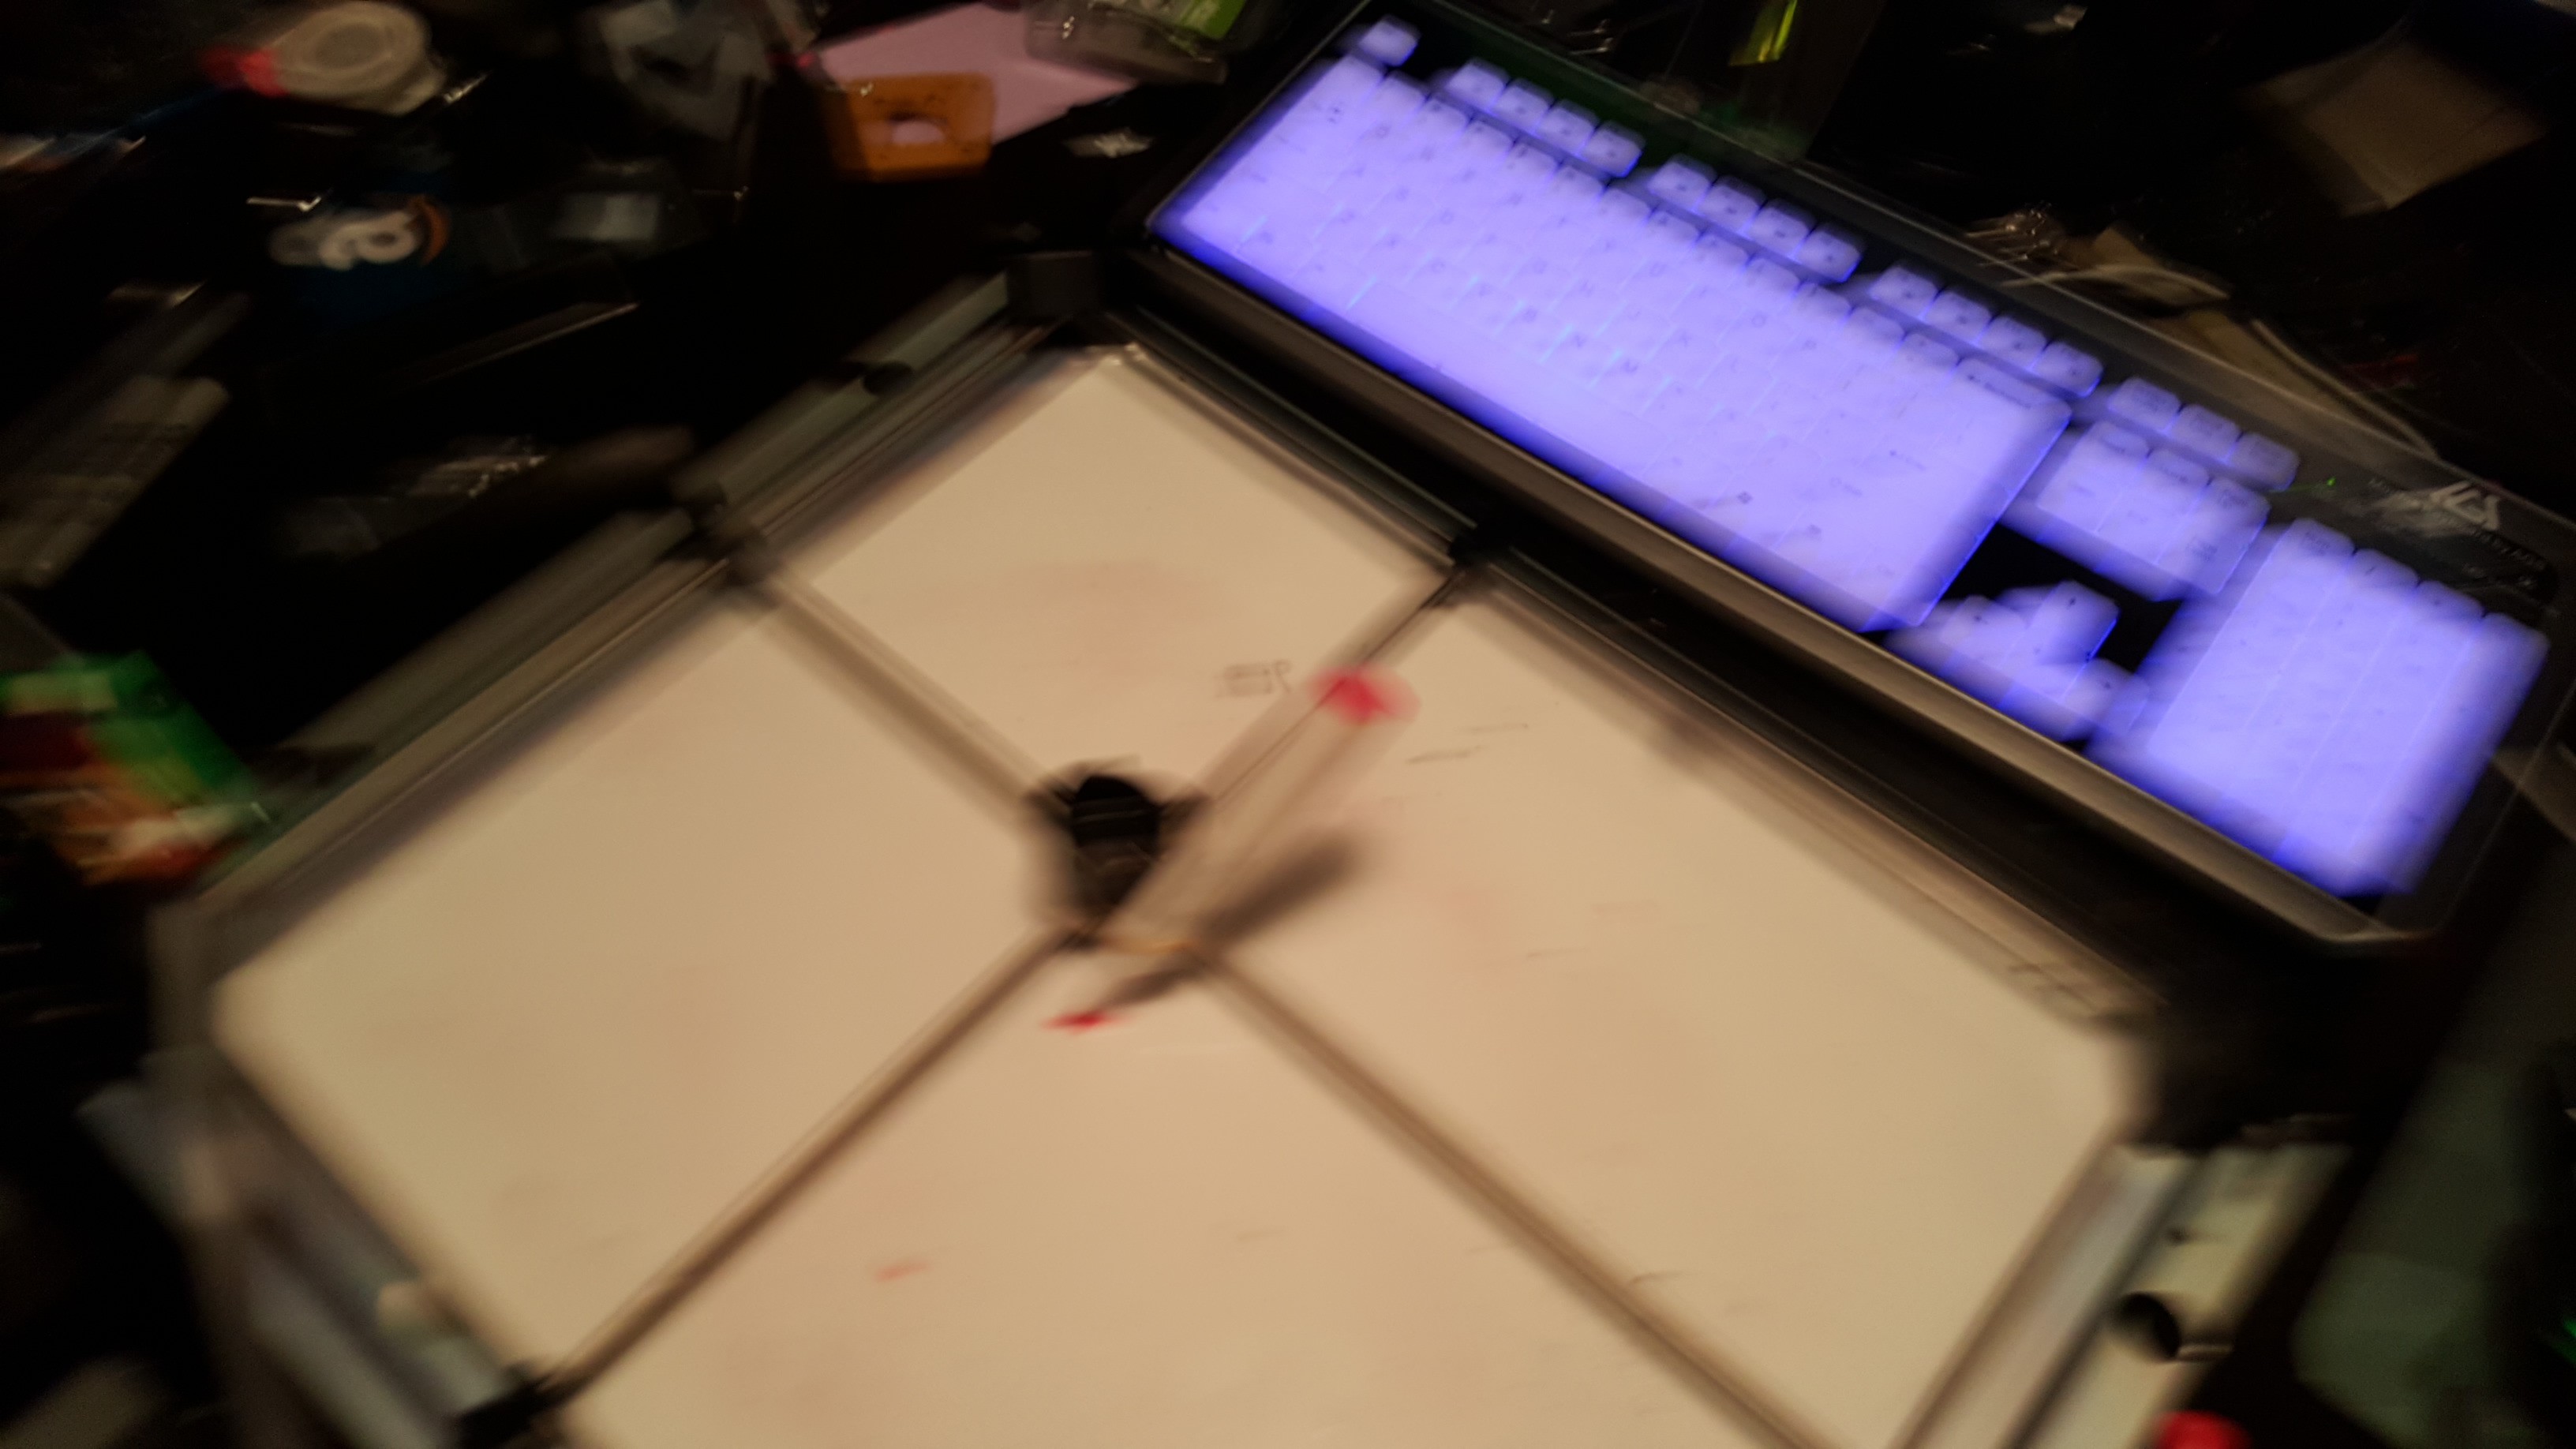
This board was taken out of my Delta style 3d printer, so obviously the firmware isn't quite ready to control the plotter. The firmware has proven to be one of the most painful parts so far. After many failed tests like this:
 I added a dry-erase board to it so I could just erase any problems and start again (I apologize for blurriness, my camera was acting weird, but you get th idea):
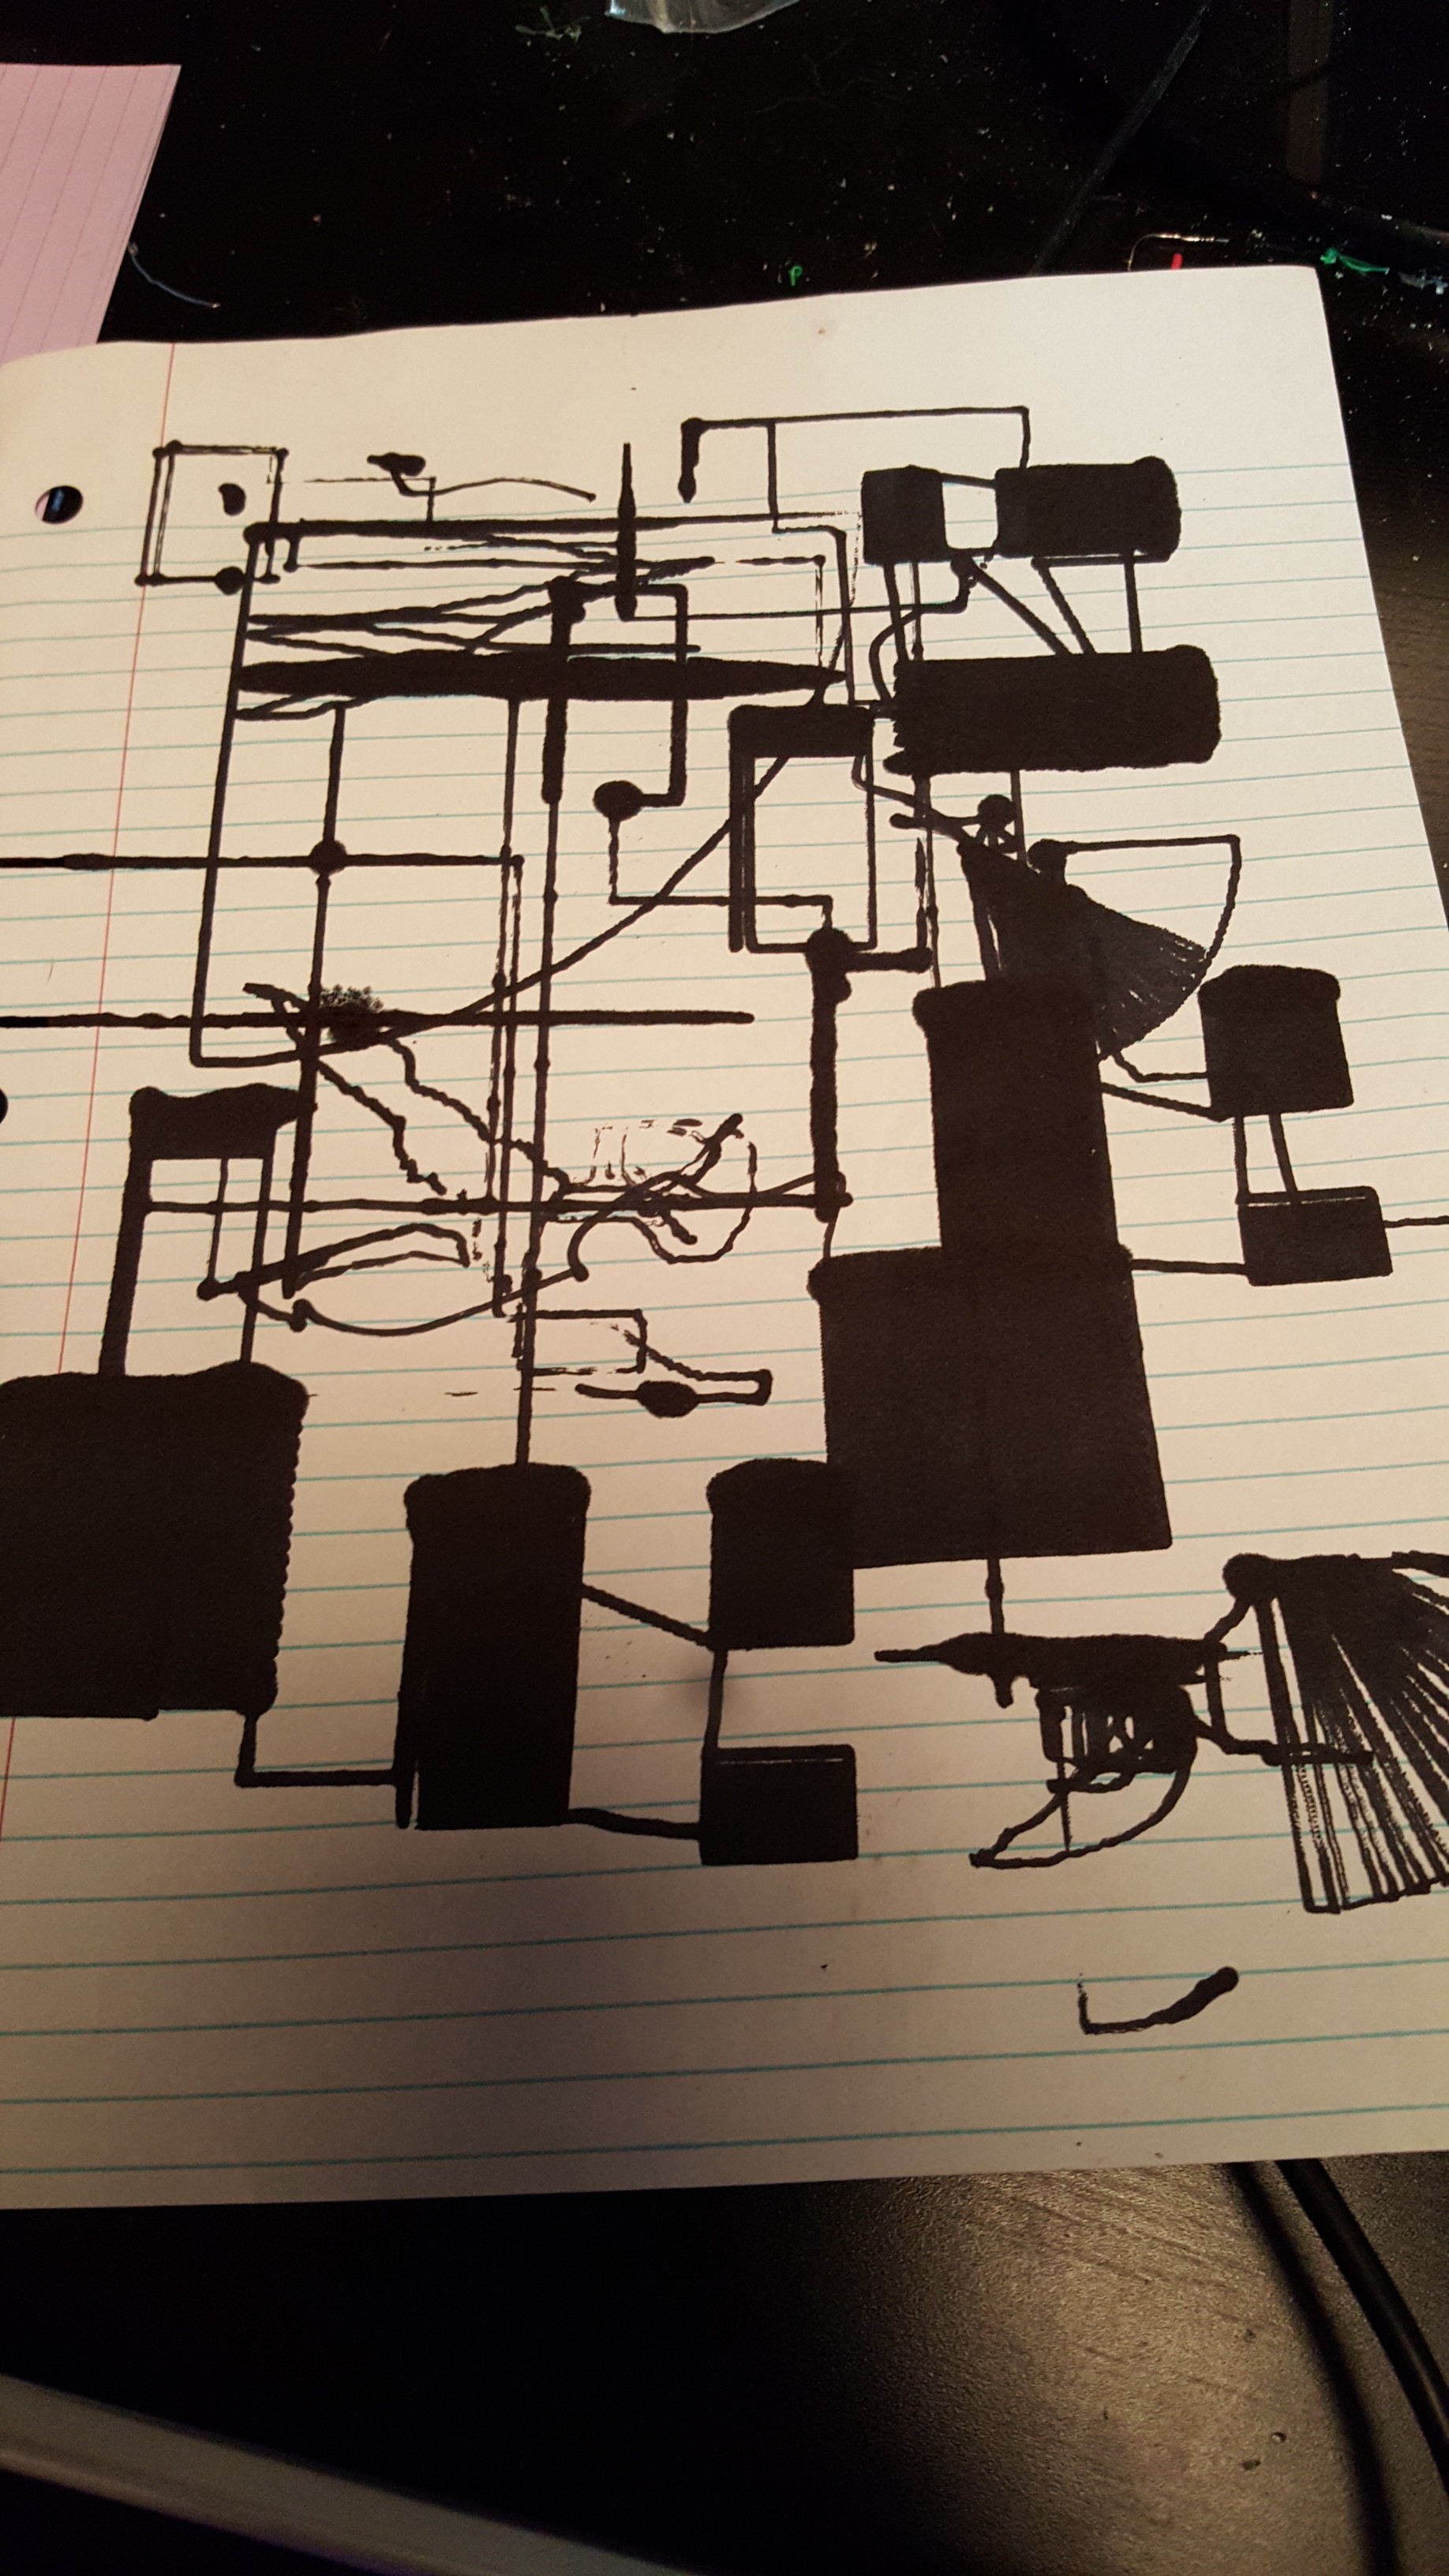
I rubber banded an expo marker to it, and was good to go. The only problem was that it was only drawing 1/4 of all of my images. I had no Idea what was causing it, it was not mechanical, or a problem w/ my Gcode, but I finally figured it out. I have the plotter configured without endstops, so I manually position the marker in the center of the image.In he firmware, I have my maximum distance in a positive direction at a really high number (1000) so I am not constrained by where I place the pen. The problem was when It want to plot quadrants 2, 3, and 4 (If you imagine the image's center point being placed on 0,0 on a coordinate plane), it would use negative numbers because it assumed the marker was at 0,0. The firmware had a limit that said it couldn't travel past 0,0 in any negative directions. I set that limit to -1000, and voila! it works:
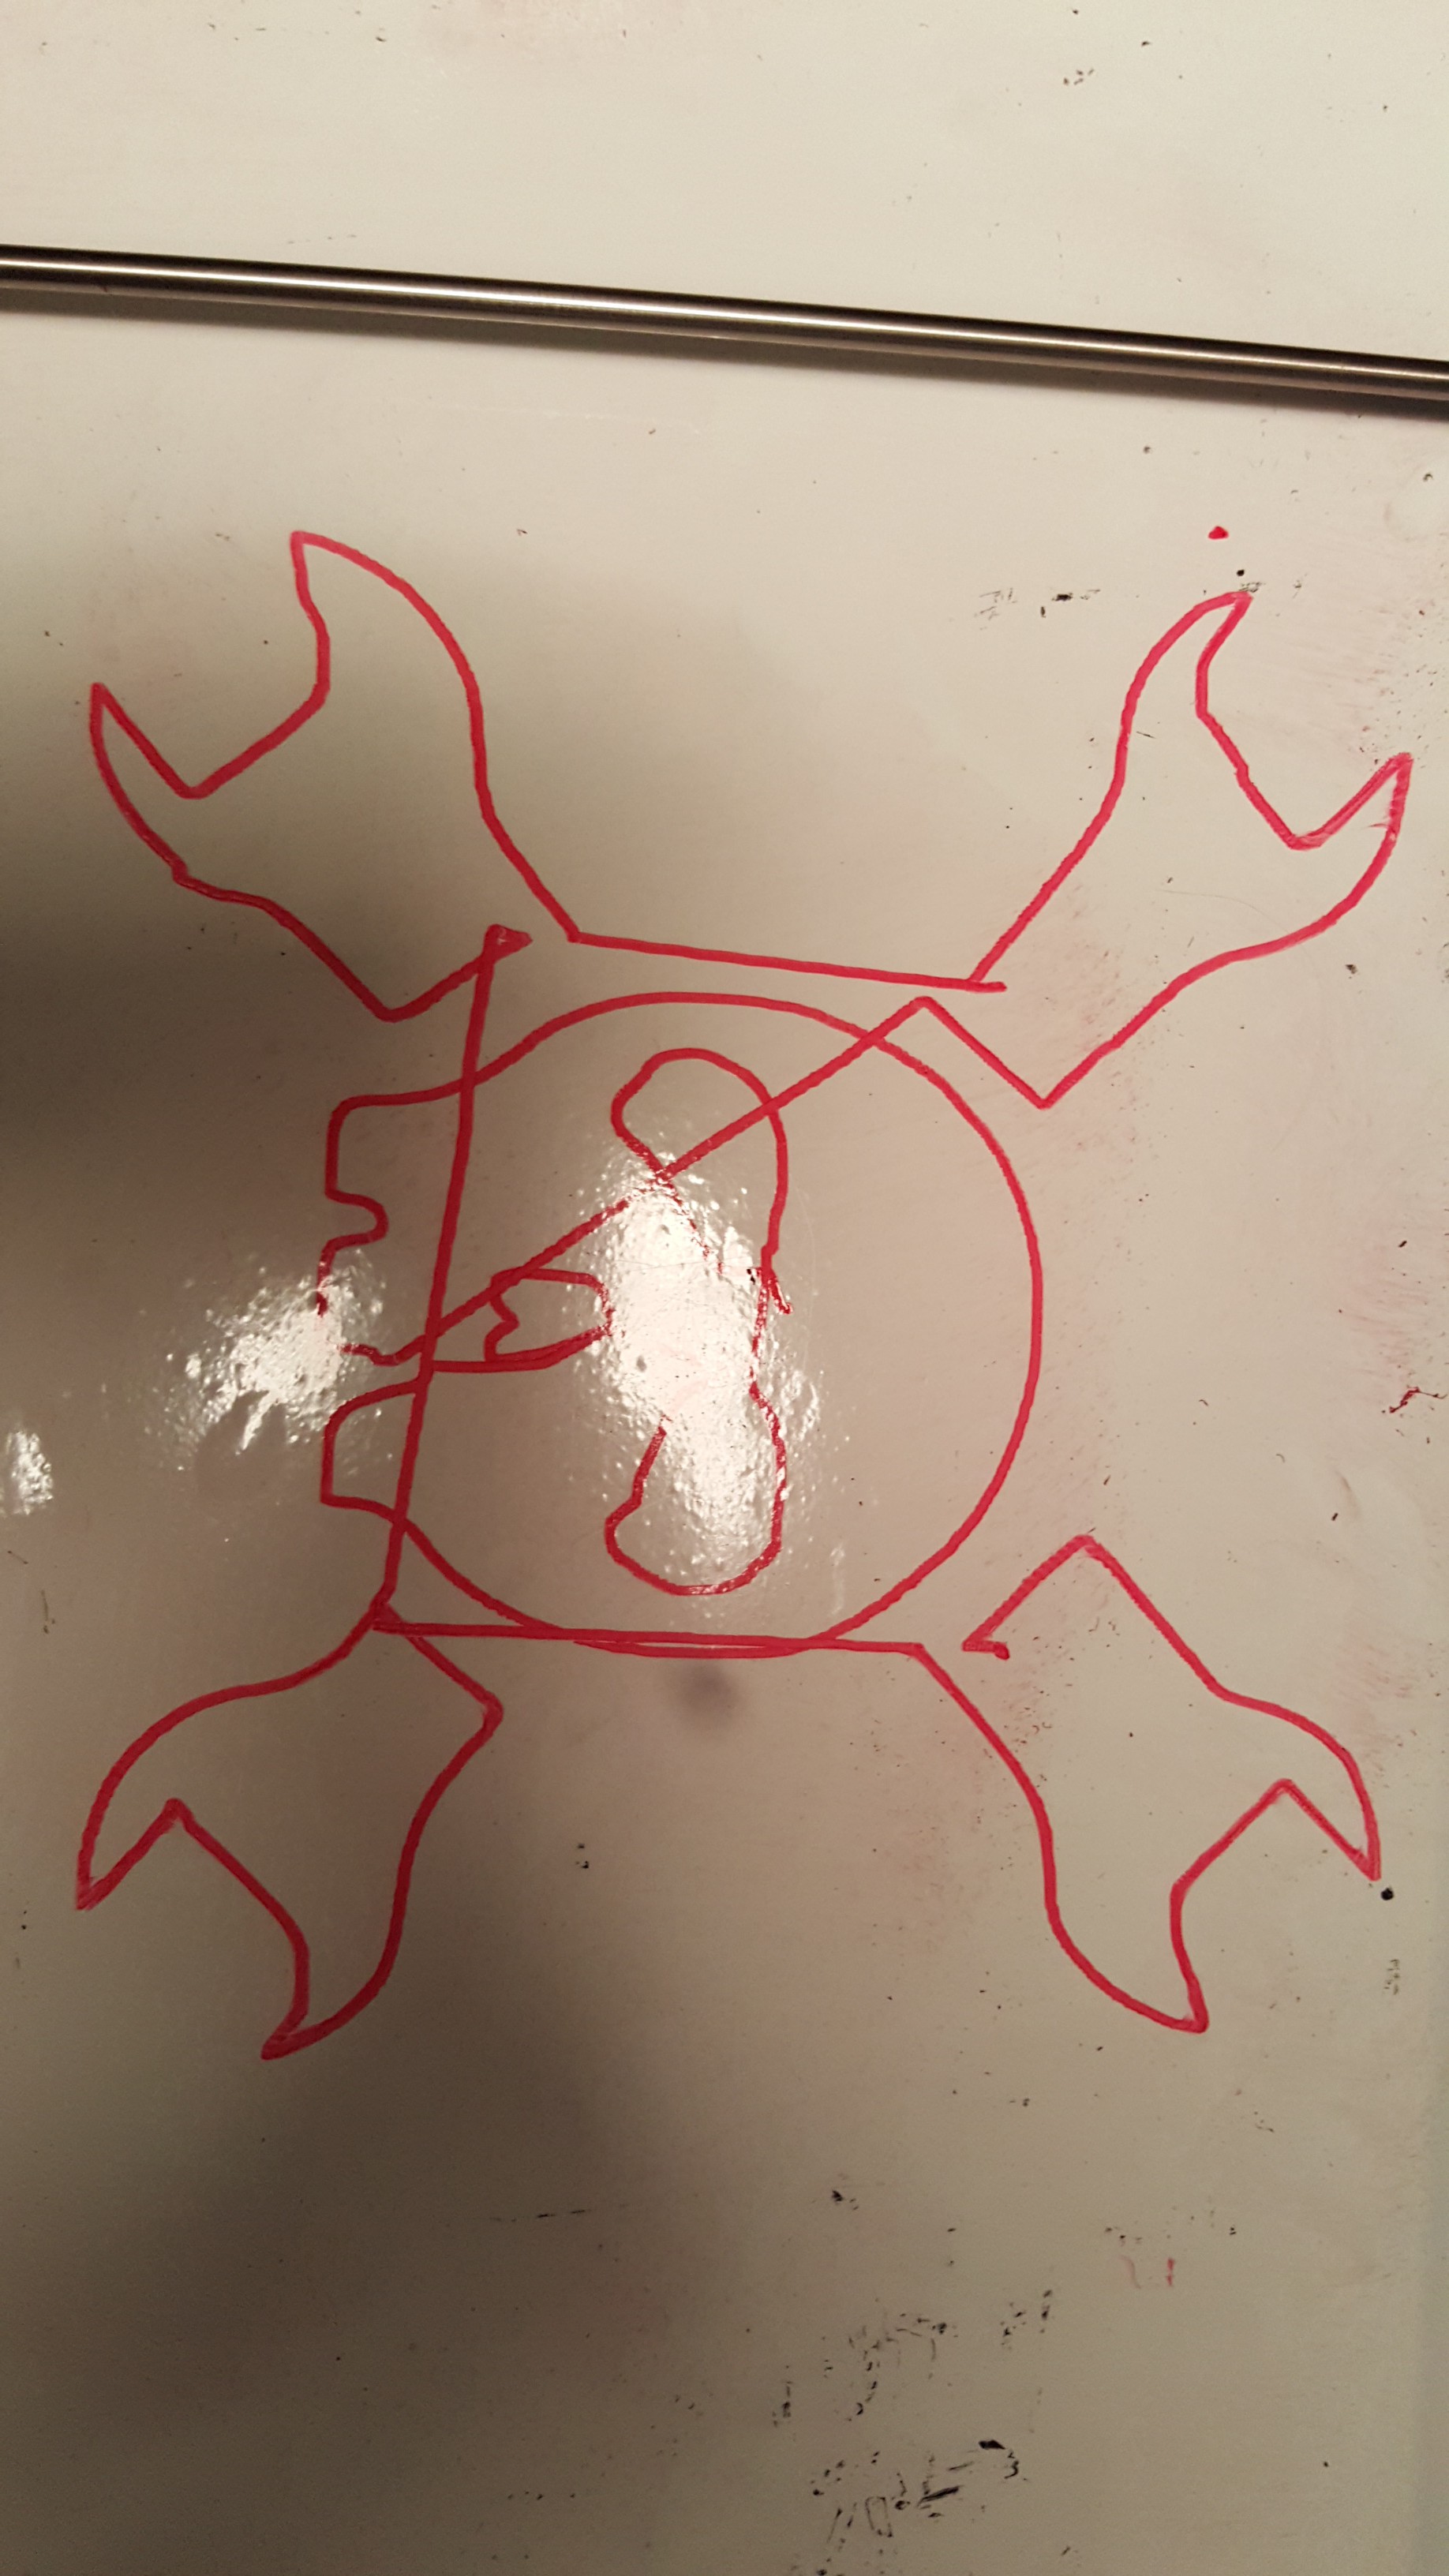
Obviously there are still some problems. There is a lot of mechanical slop in the connection between the marker and the carriage due to myself using rubber bands, so not everything lined up. Also, when it travelled in certain directions, it would angle the marker at an angle that produced more friction, leading to some parts of the image being shrunk (very evident in the tips of the wrenches). In addition to all of those problems, It cannot pick up the marker when it moves to another part of the image, so it draws large lines through the whole image. Right now I am 3D printing some attachments that should rectify this. I found a small stepper to lift the marker up and down, so I am printing parts to attach it to the carriage, as well as a tool holder with the ability to fit all sorts of different writing implements. Next updae will happen when I install those!
Discussions
Become a Hackaday.io Member
Create an account to leave a comment. Already have an account? Log In.