 Adam Curtis
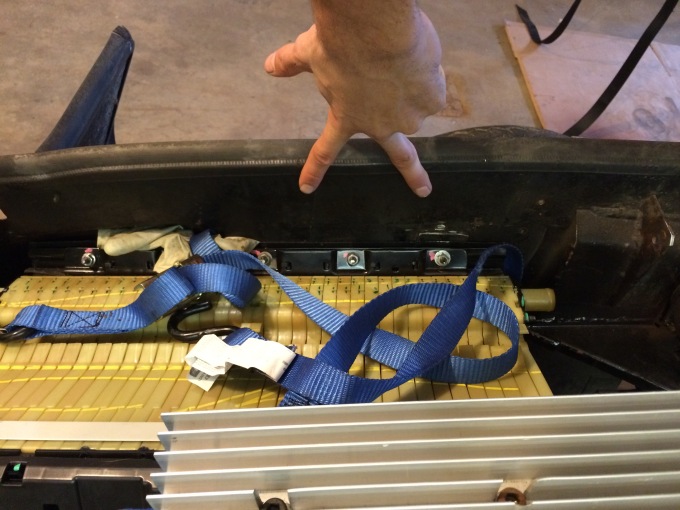
Designing for this project required many different approaches. Sometimes it was easy enough to take measurements, design the part in question and make it according to those dimensions. Other times it would be exceedingly difficult to measure all aspects of a situation in order to obtain correct angles and placement. In these cases I often use a more fluid design and prototyping method. In the case of the battery mounts I decided that I would have the weight of the batteries resting on a couple reinforced spots on the battery pack and make several tabs that bolt to the car body as well. In this case I decided that the easiest way would be to make all of the hardware that I imagined needing and then spot weld everything in its correct place while the actual batteries were holding the space they would eventually occupy.
I like to use technology to help in this process. The Notes app on my phone can integrate pictures, text and drawings into a single document, which is easy to follow.
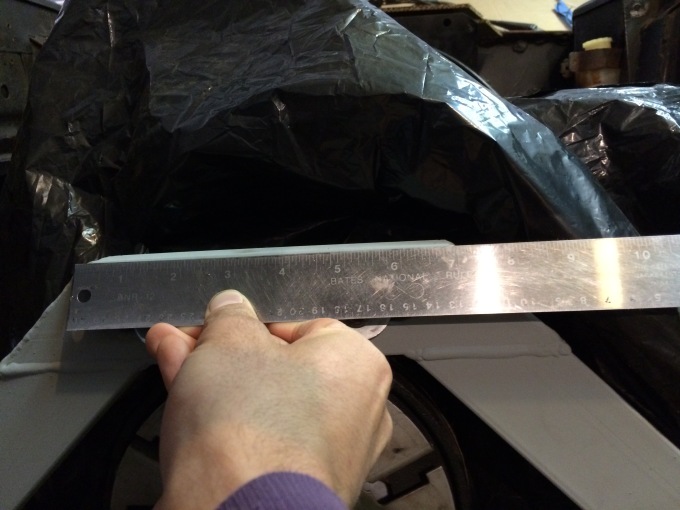
Here is an example of one way in which I prototype in the physical world.
Battery mounting hardware
Two tabs with hole offset up
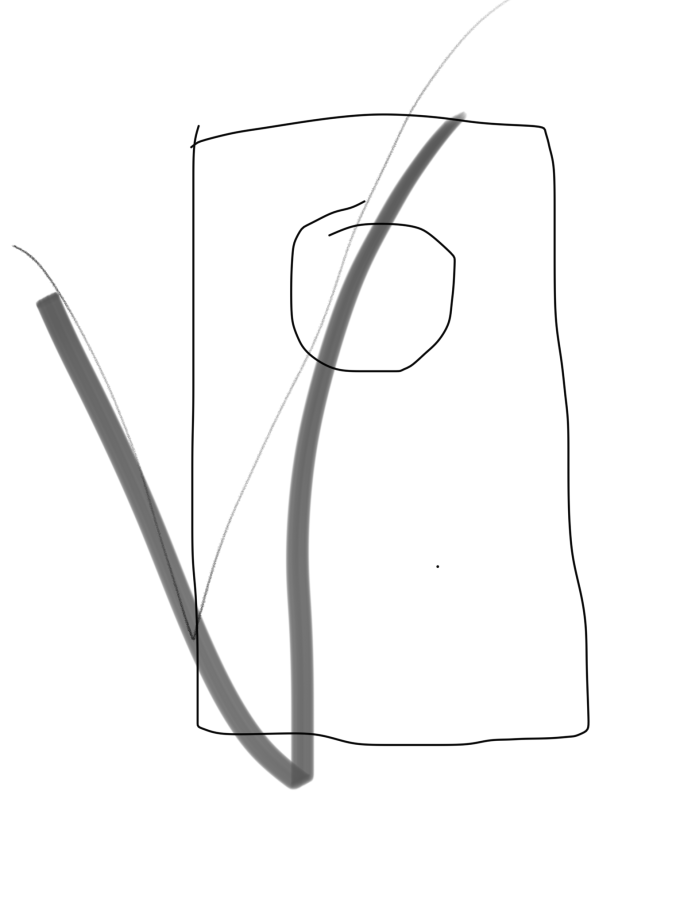
(Having completed these tabs I give it a check mark while working in the shop)
 Mount to this surface. Triangle and tab
Make triangle mount
Weld nut onto car, bolt through tab
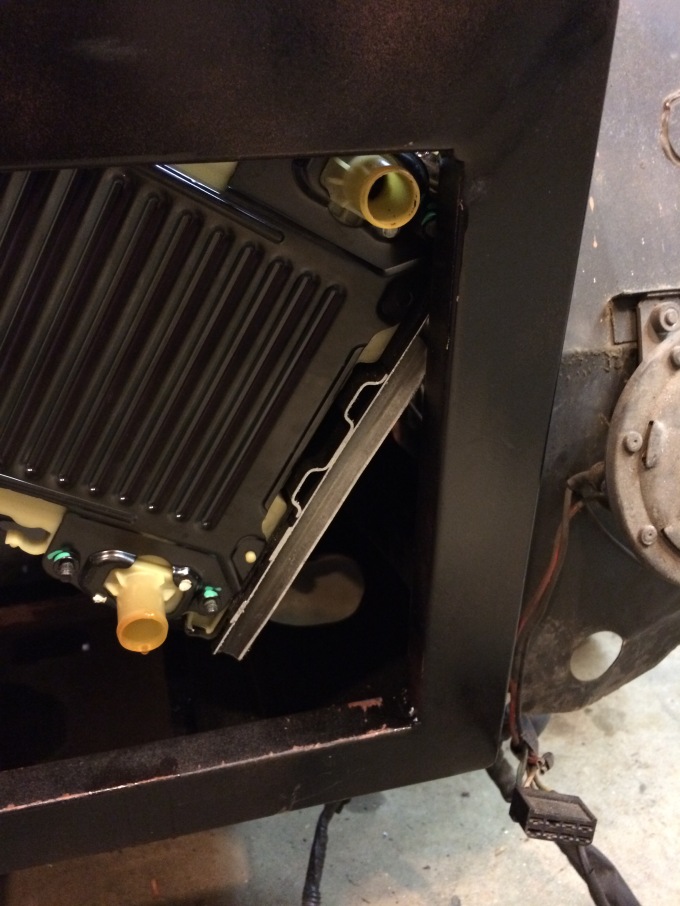
Make beefy steel pieces that mimic motor mount shape and bell housing shape to weld to sheet lining under battery sides. These sheet pieces welded to original tray. Maybe 20 gauge on the sheet with 12 or 14 gauge strip between two "pressure points"
The sheets need to be
11" x 20"
And 11" x 24"
Cut out 4 pieces of 12 or 14 Gauge measuring 4" x 4"
Motor piece

3/4 from top 1/2" slot
7.25" on top
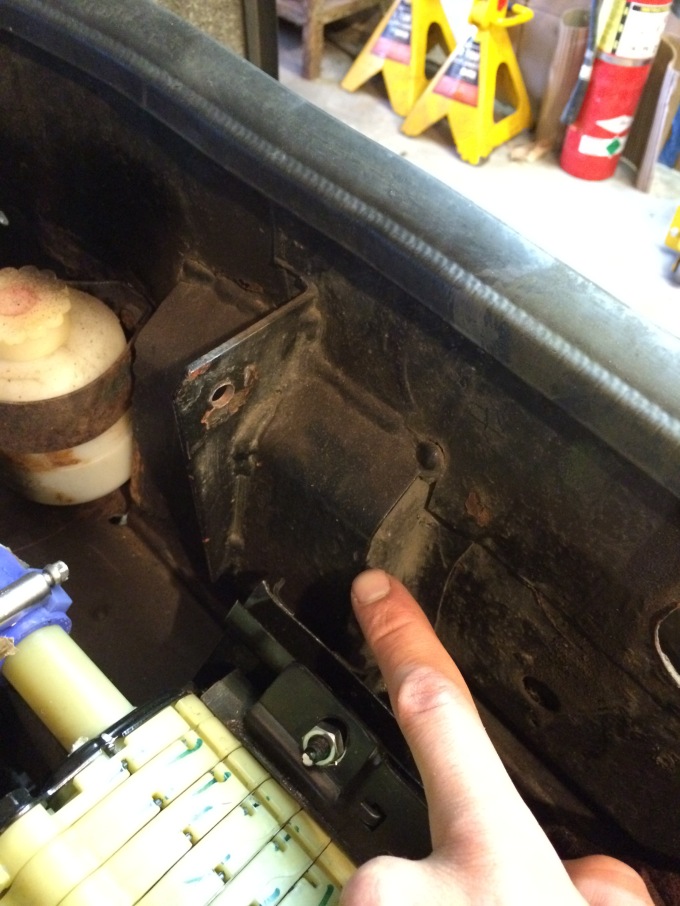
With these notes I was able to fabricate all these little parts quickly and efficiently. I returned to the garage where the car is and rested everything where it would go. After making sure everything still fit right I started tack welding everything in place. I use compressed air to cool a weld quickly when it is close to combustible material. The batteries are insulated in a thick plastic housing so I was not worries about welding near them.
Discussions
Become a Hackaday.io Member
Create an account to leave a comment. Already have an account? Log In.