 Tim Wilkinson
One trickiness of using two Raspberry PI camera is the waterproofing of the cables connecting them to the Raspberry PI. The design of the ROV puts the pressure vessel contains the cameras at the front, and the containing the brains at the back. This means the video cables must somehow be waterproofed and fed between the two.
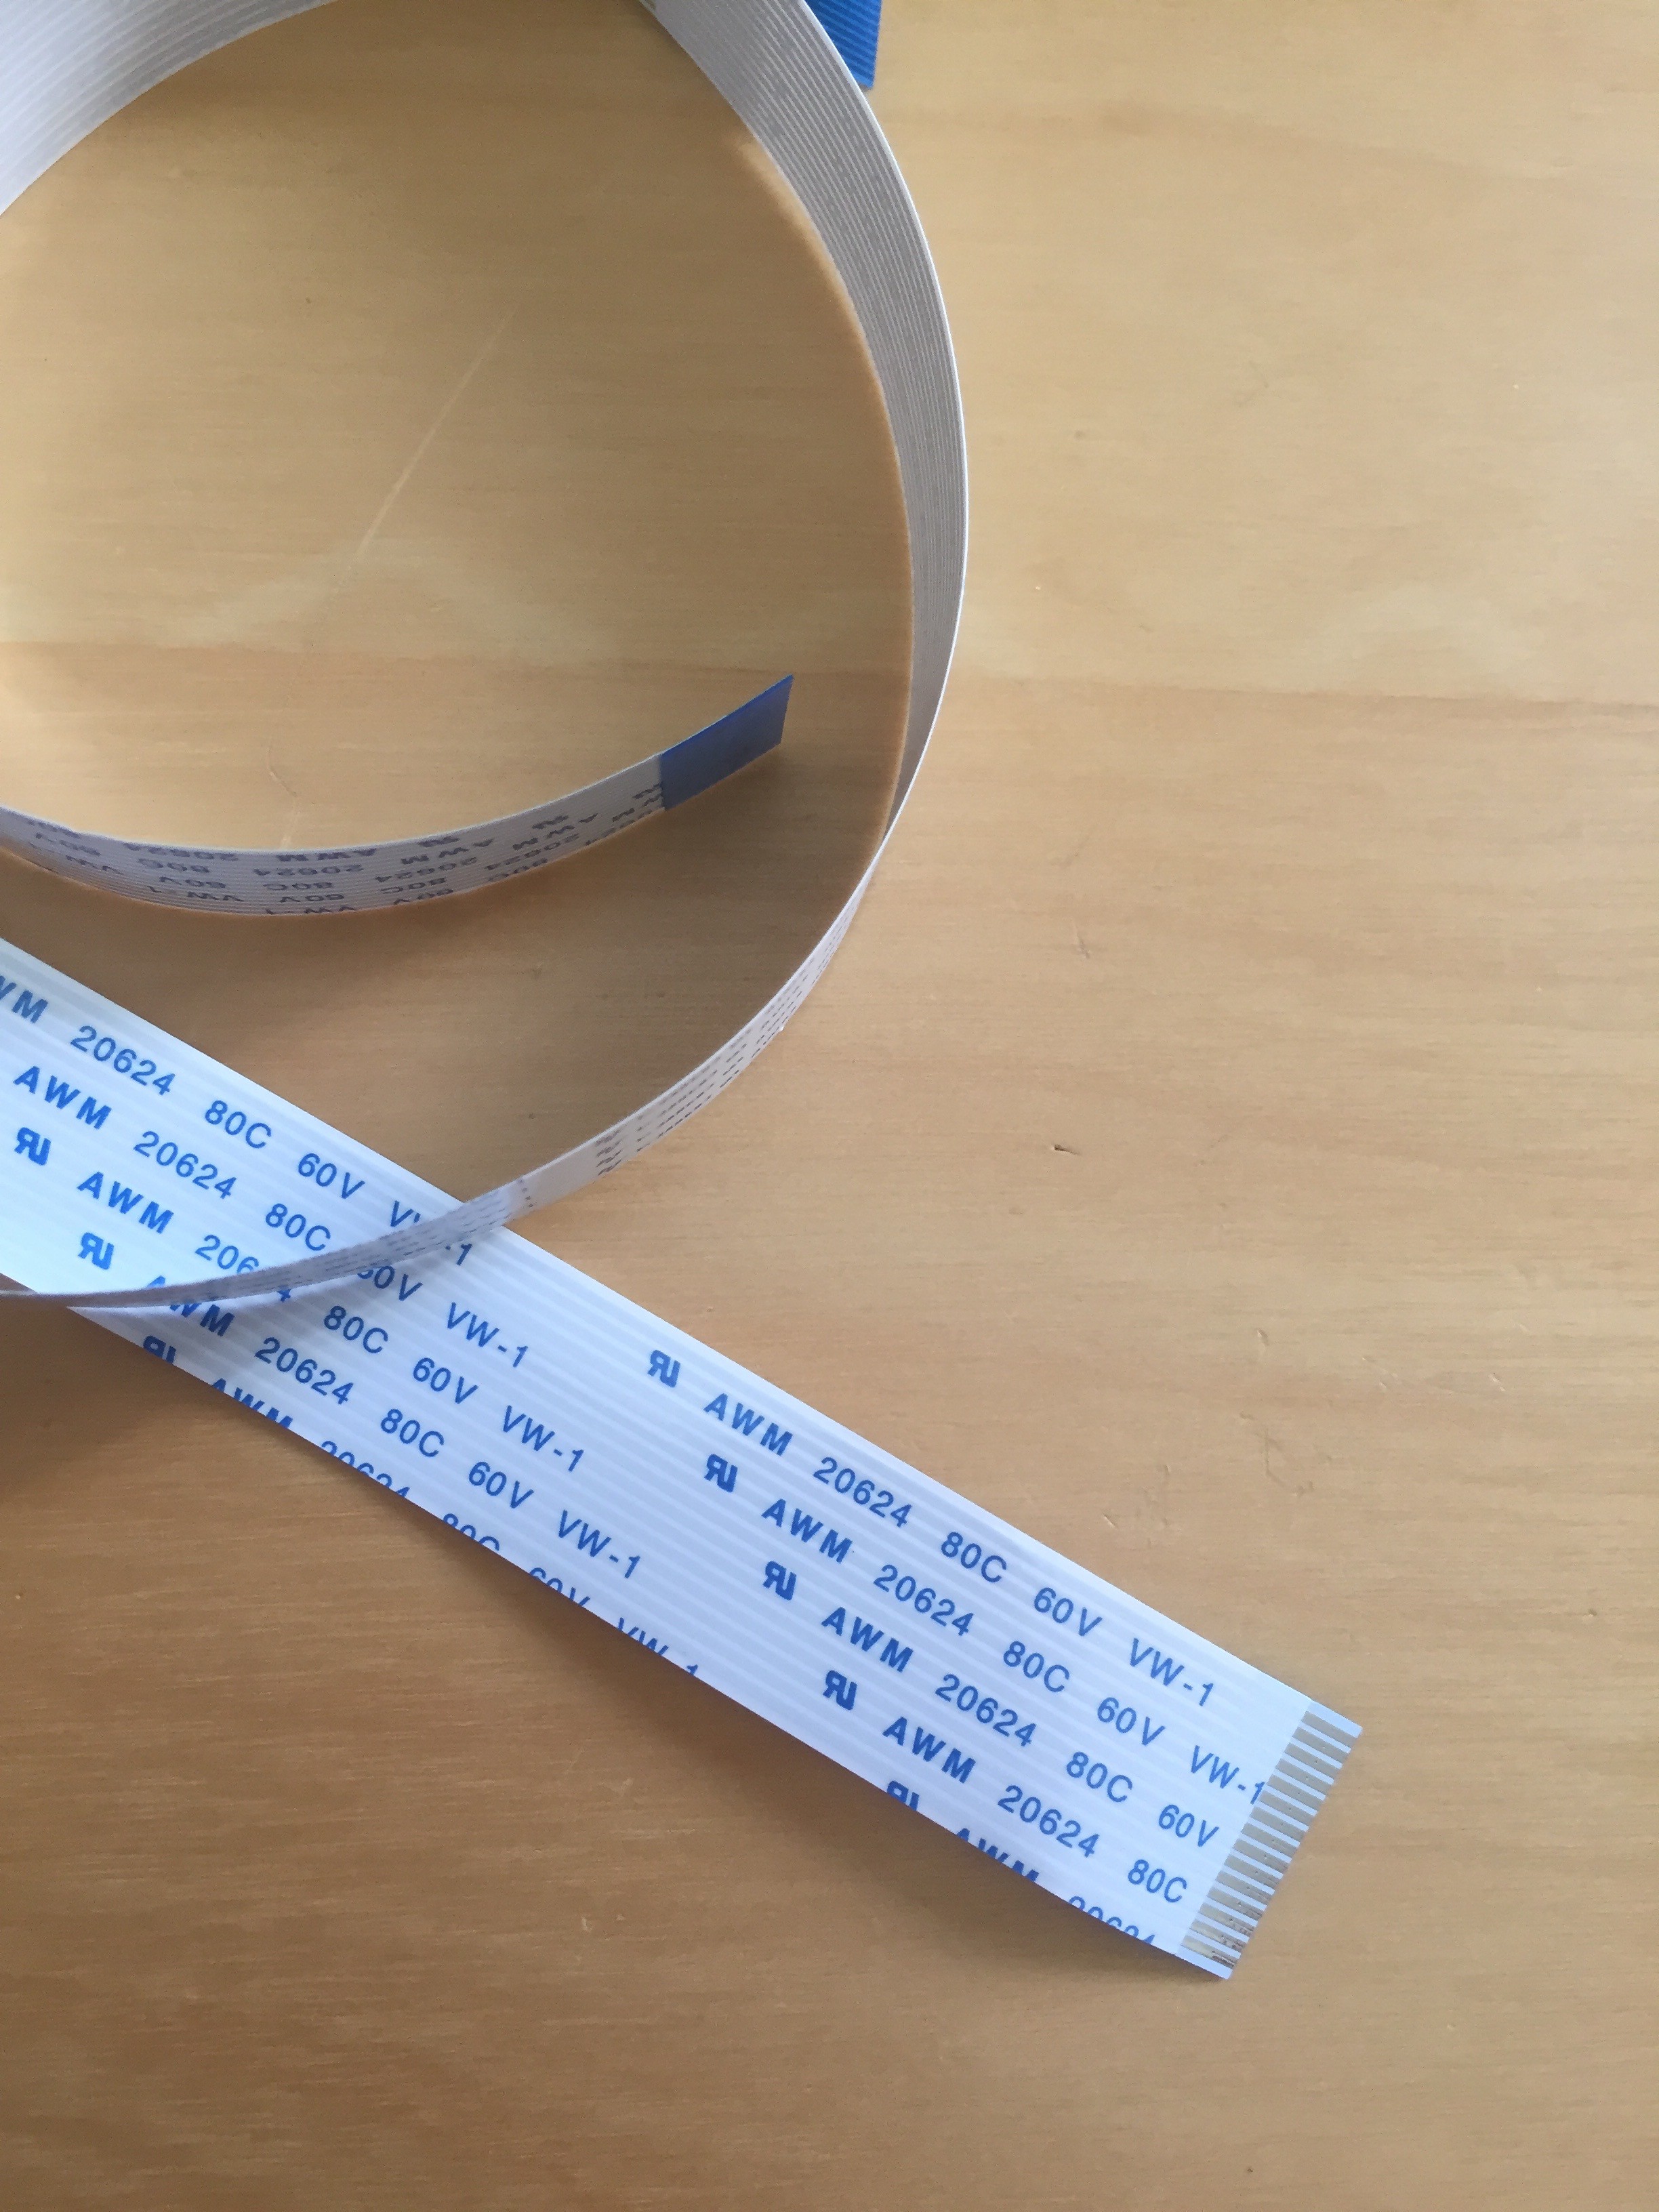
Above is the photo of the cables. While plastic coated, I don't feel comfortable just leaving them "as is" in the water. And, even if I did, there's no obvious way (to me) to penetrate the vessels with that long, flat, connector end.
The solution was to "roll" the cables around the inside of some flexible pipe. To do this I first wrapped and secured the cables around a dowel (about 1/4" in diameter) and then fed the while things through some tubing. The result looks like this:
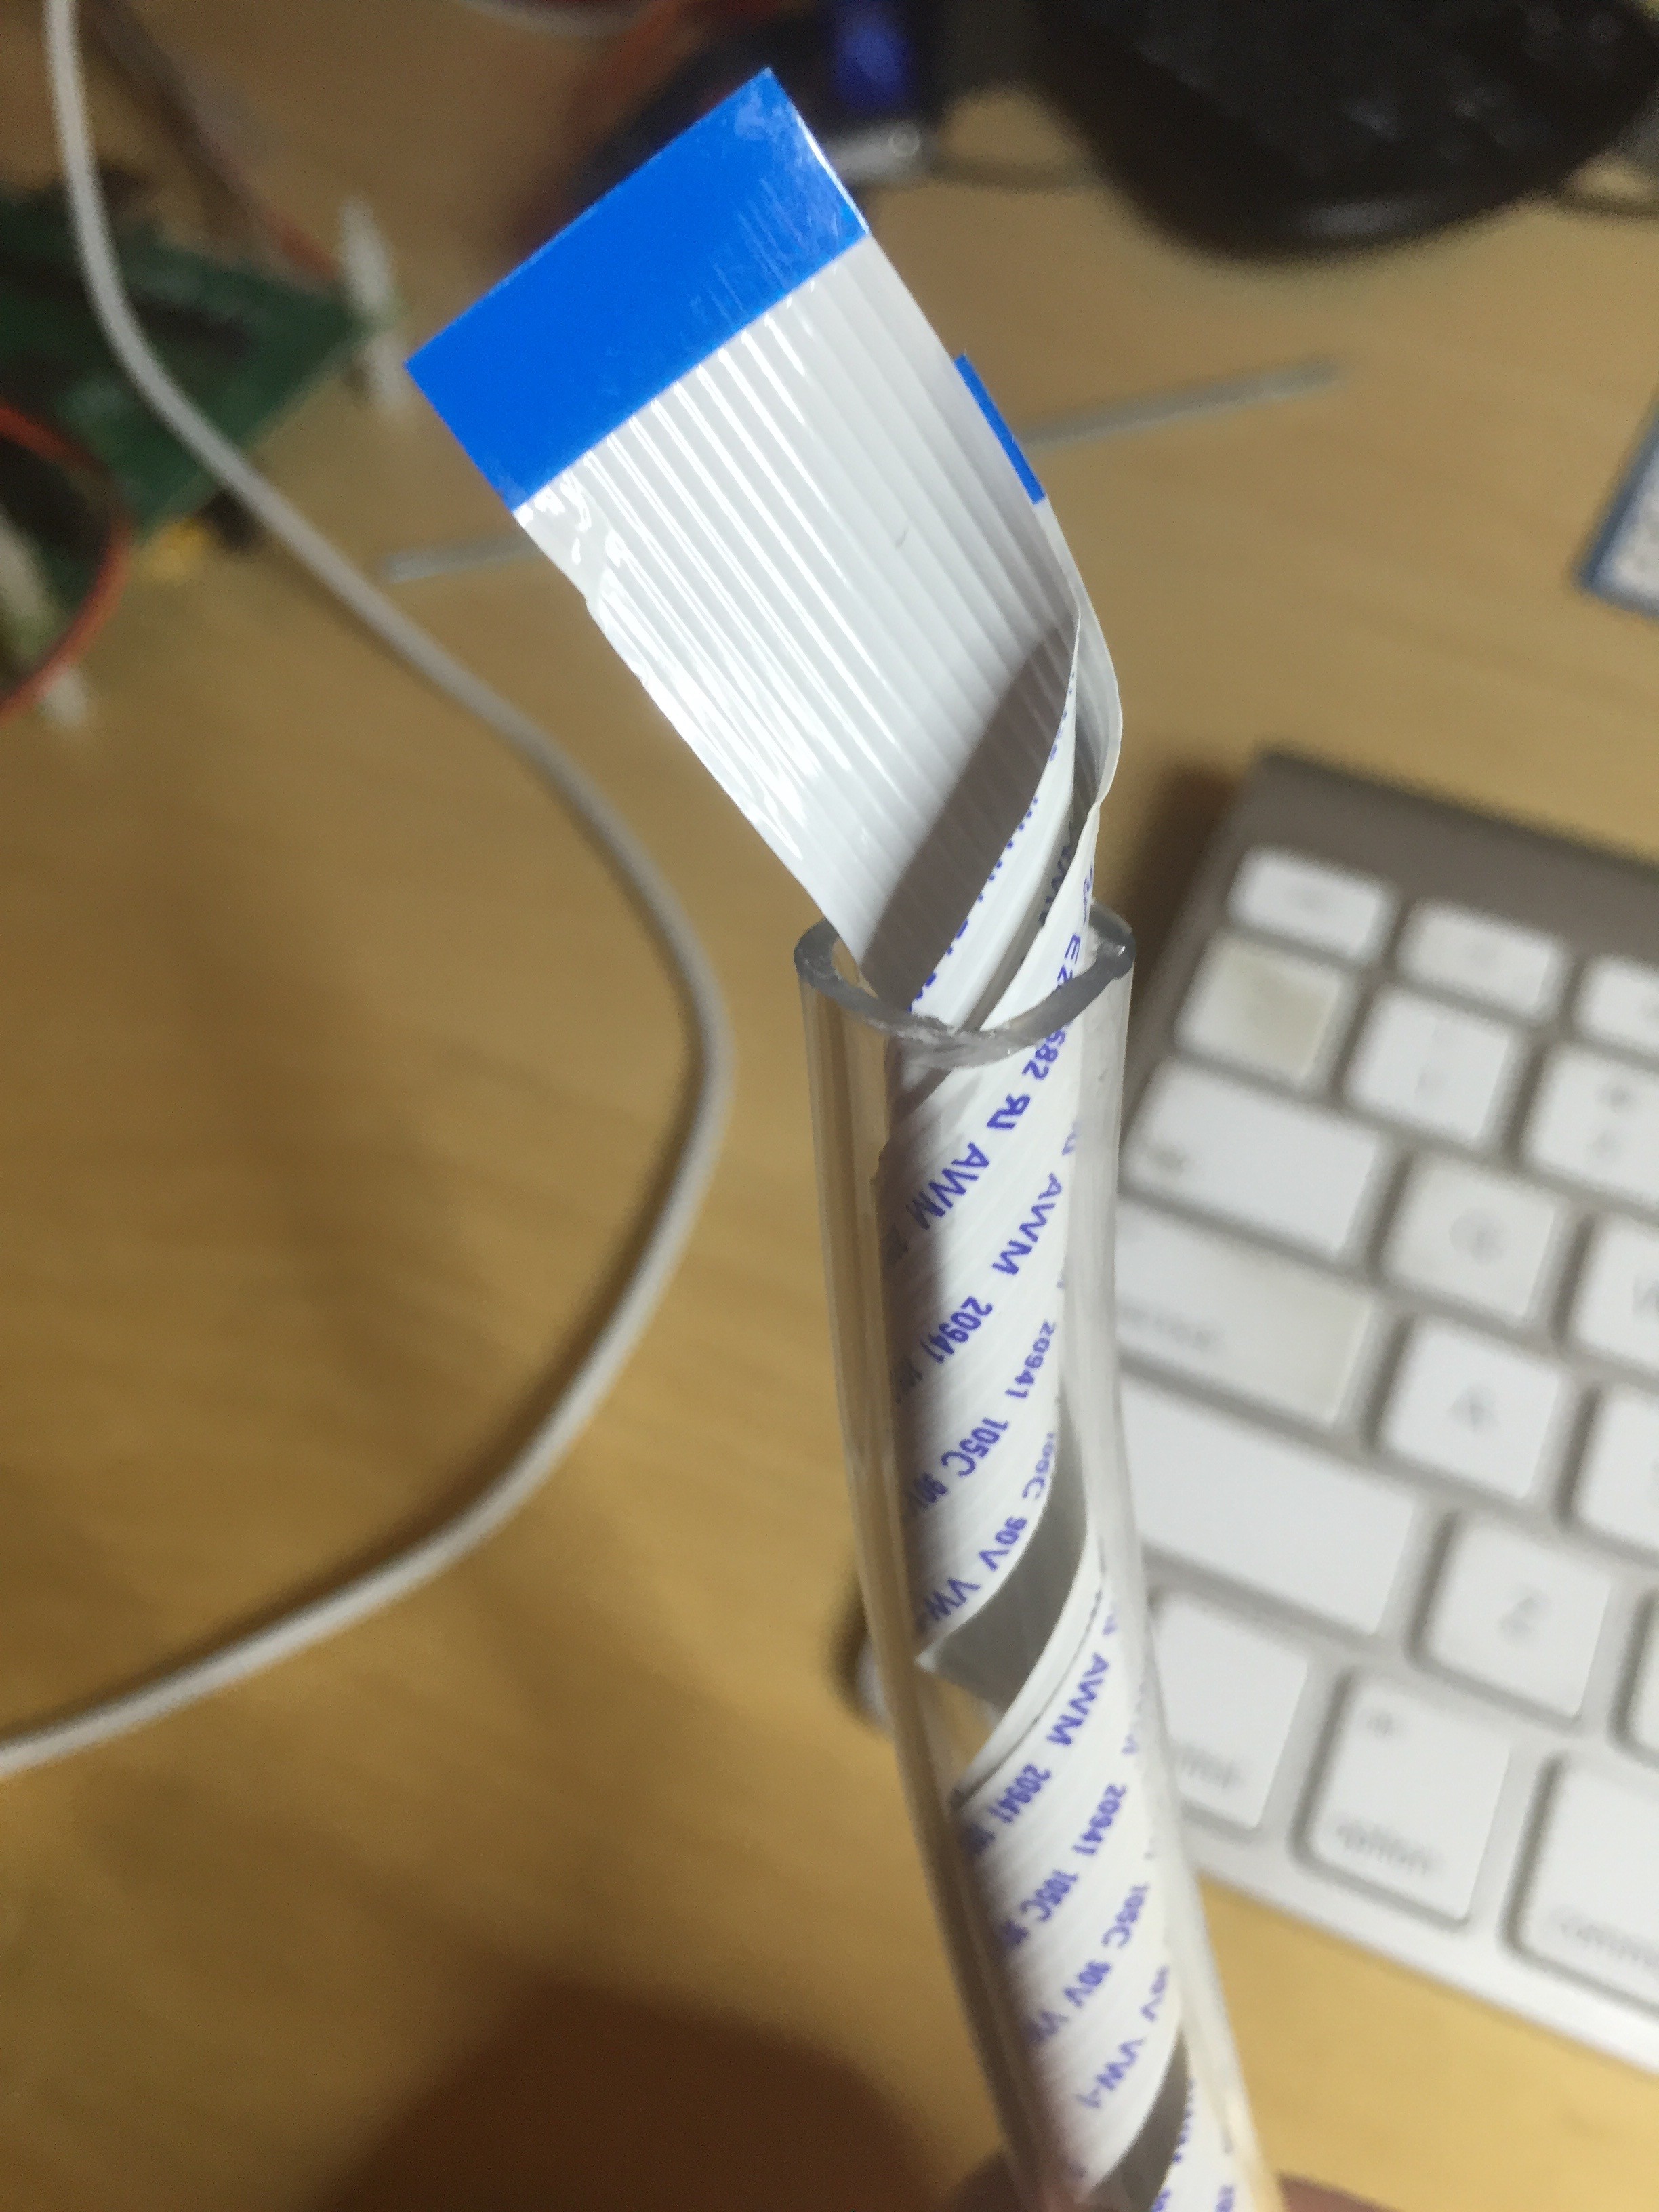
The other advantage to this method is that I can feed more normal cabling through the center of the tube (for power and servo control).
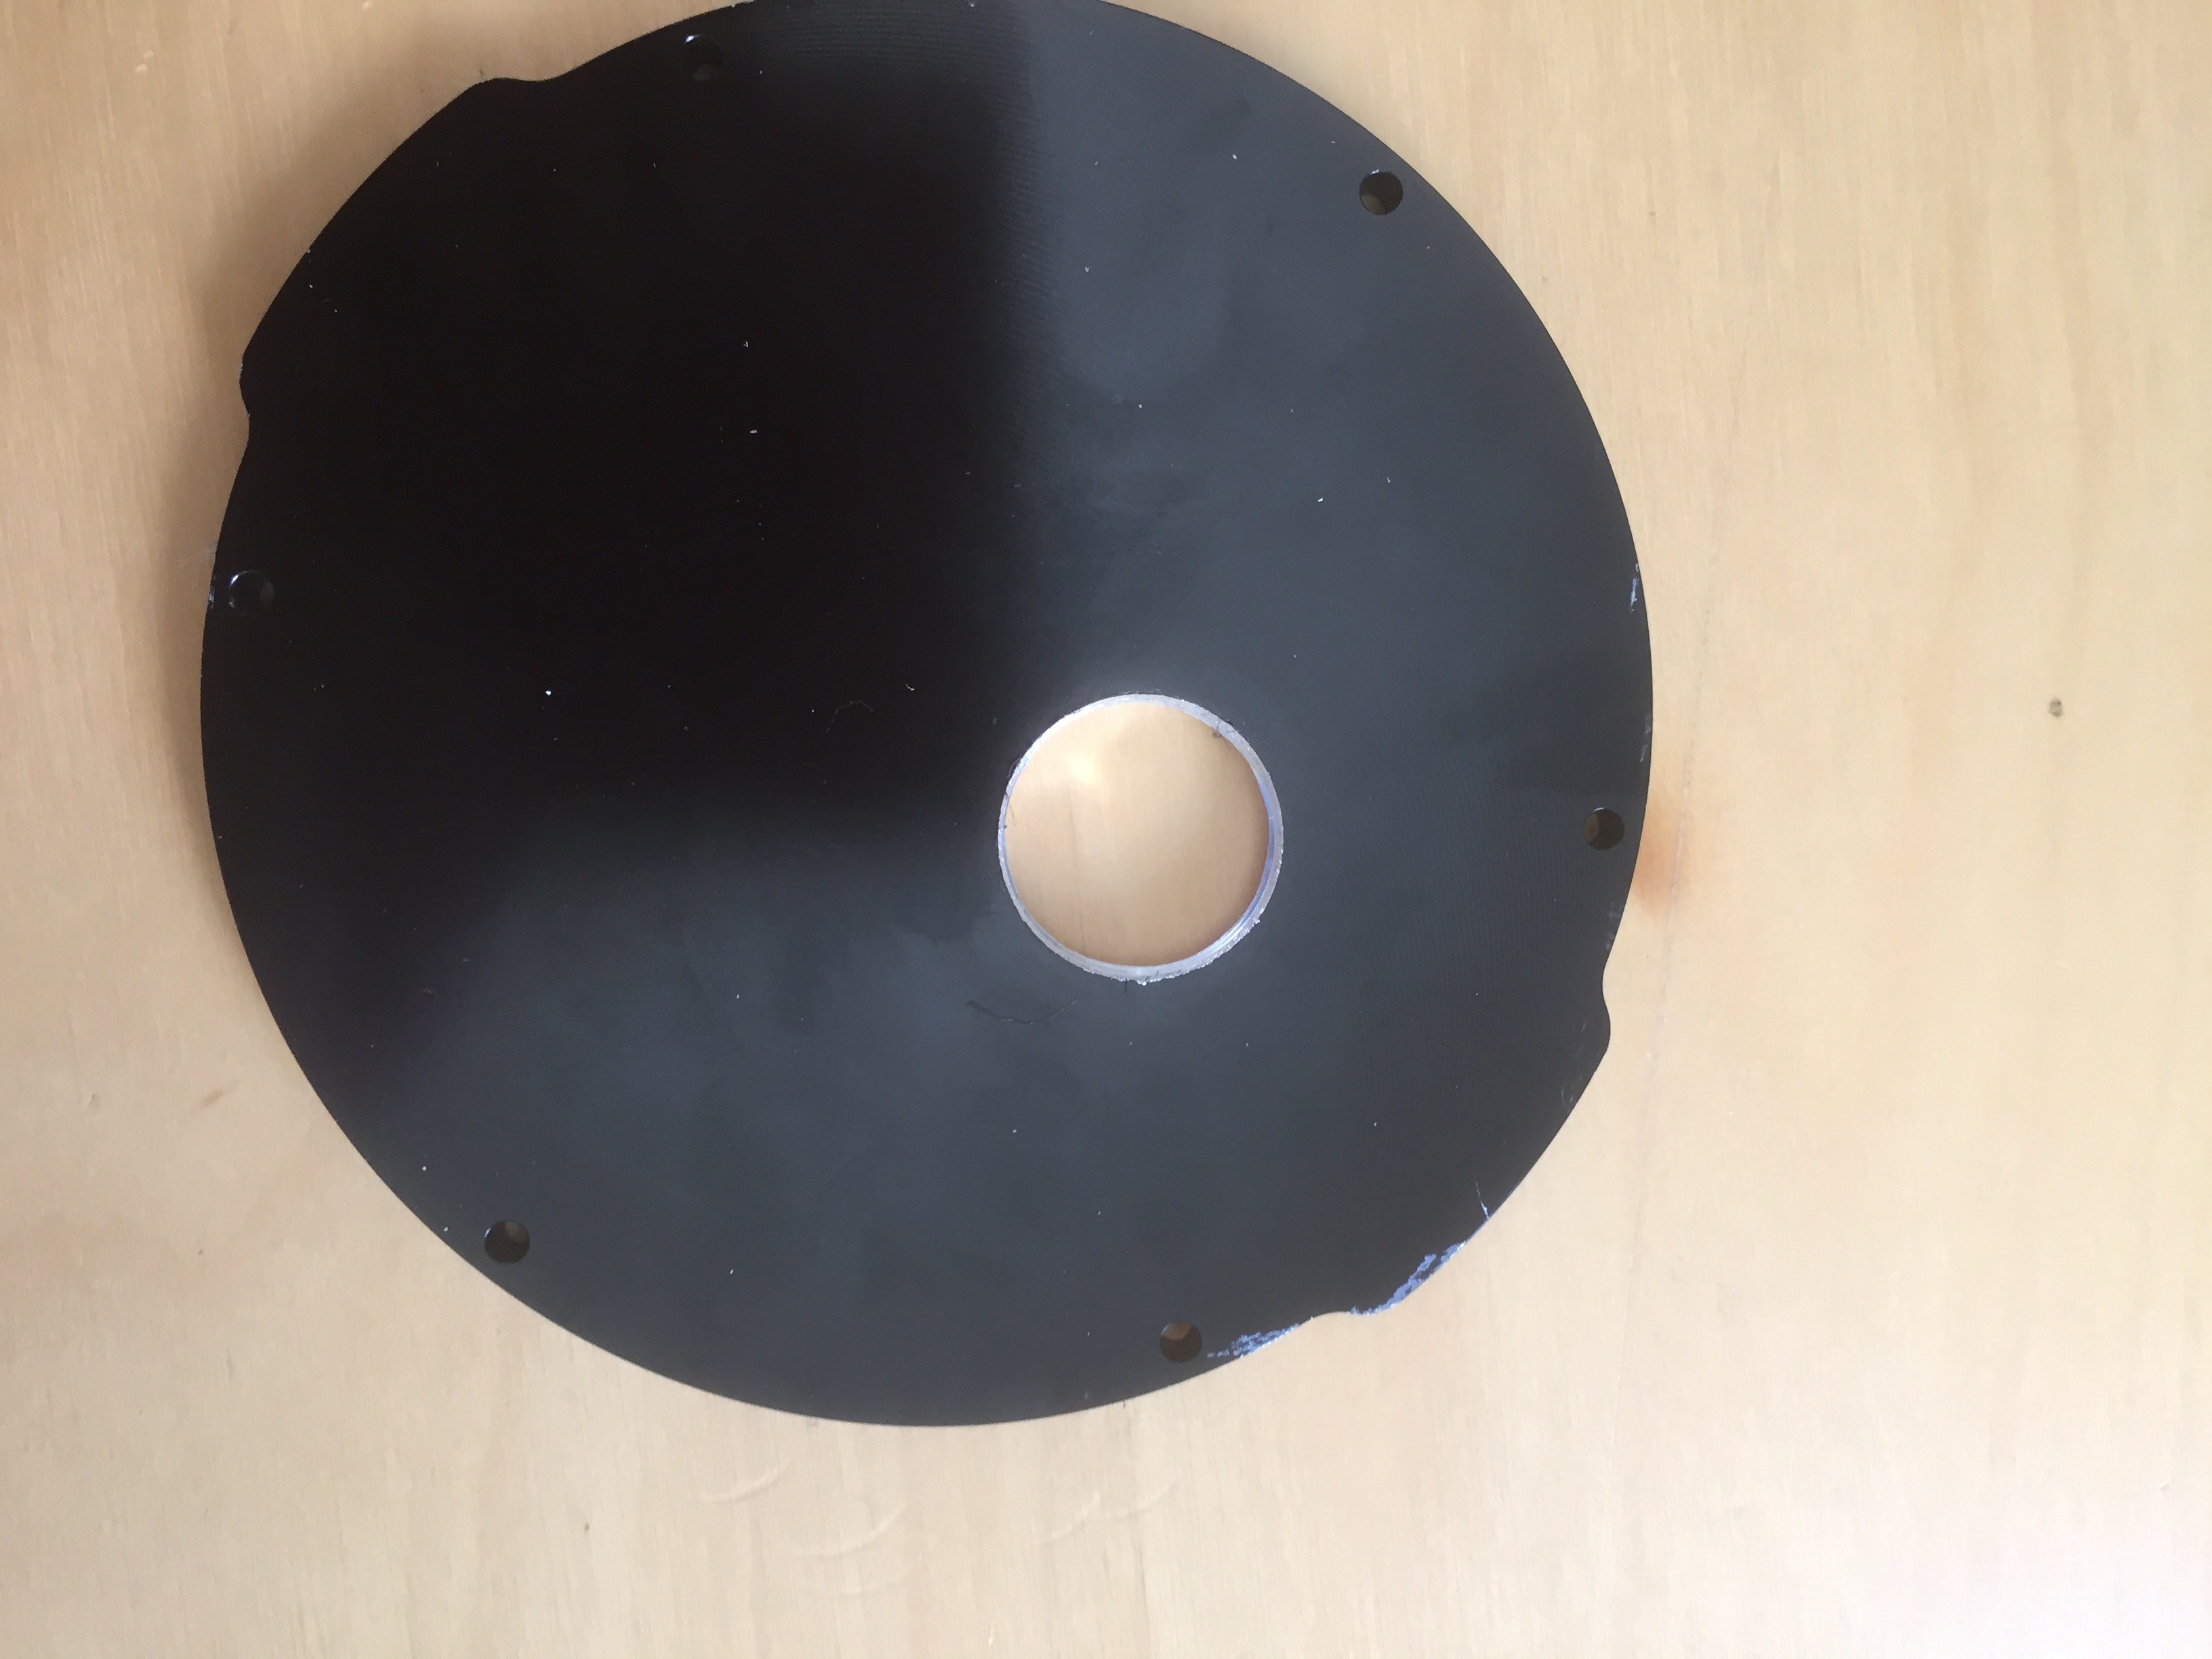
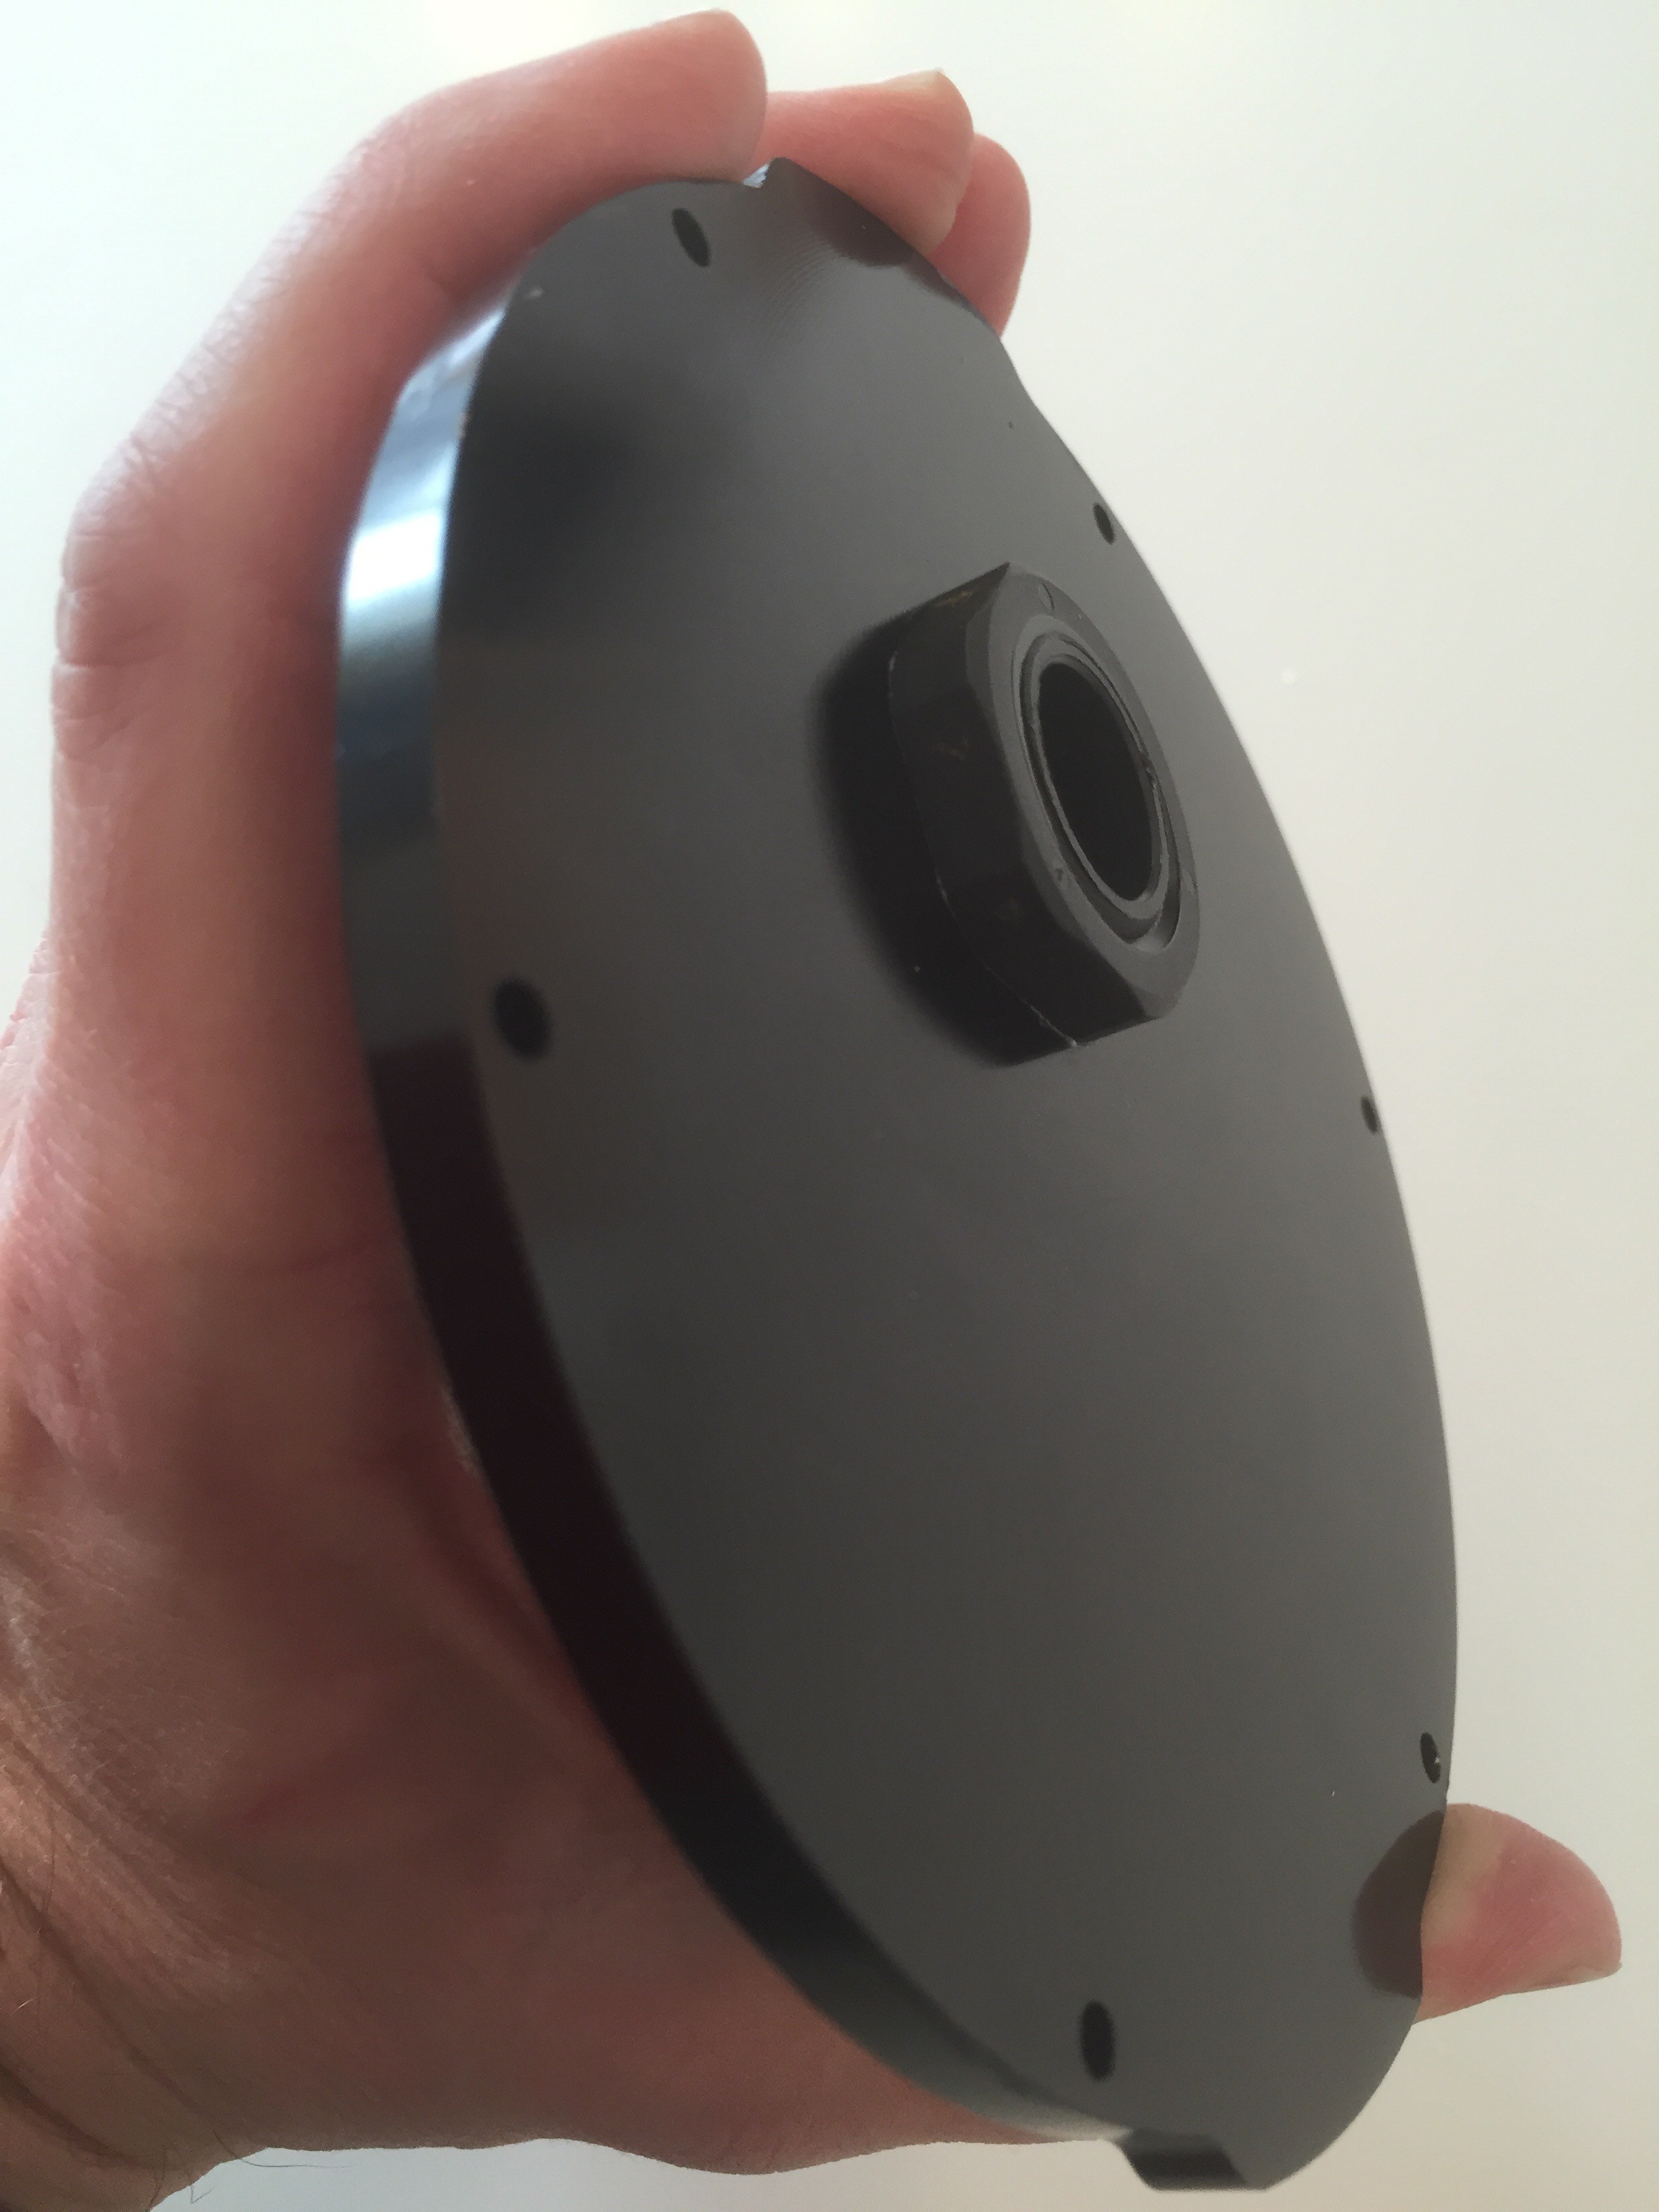
The next task was to feed this piping into vessel through the end cap. The end cap is from Blue Robotics and made of aluminum. Unsurprisingly there is no version for sale with a large enough hole in it for my piping, so I had to drill my own.
Of course, you can't just push a bit of piping though a hole and expect it to be water tight. So I needed to use a cable gland (also called a wire seal).

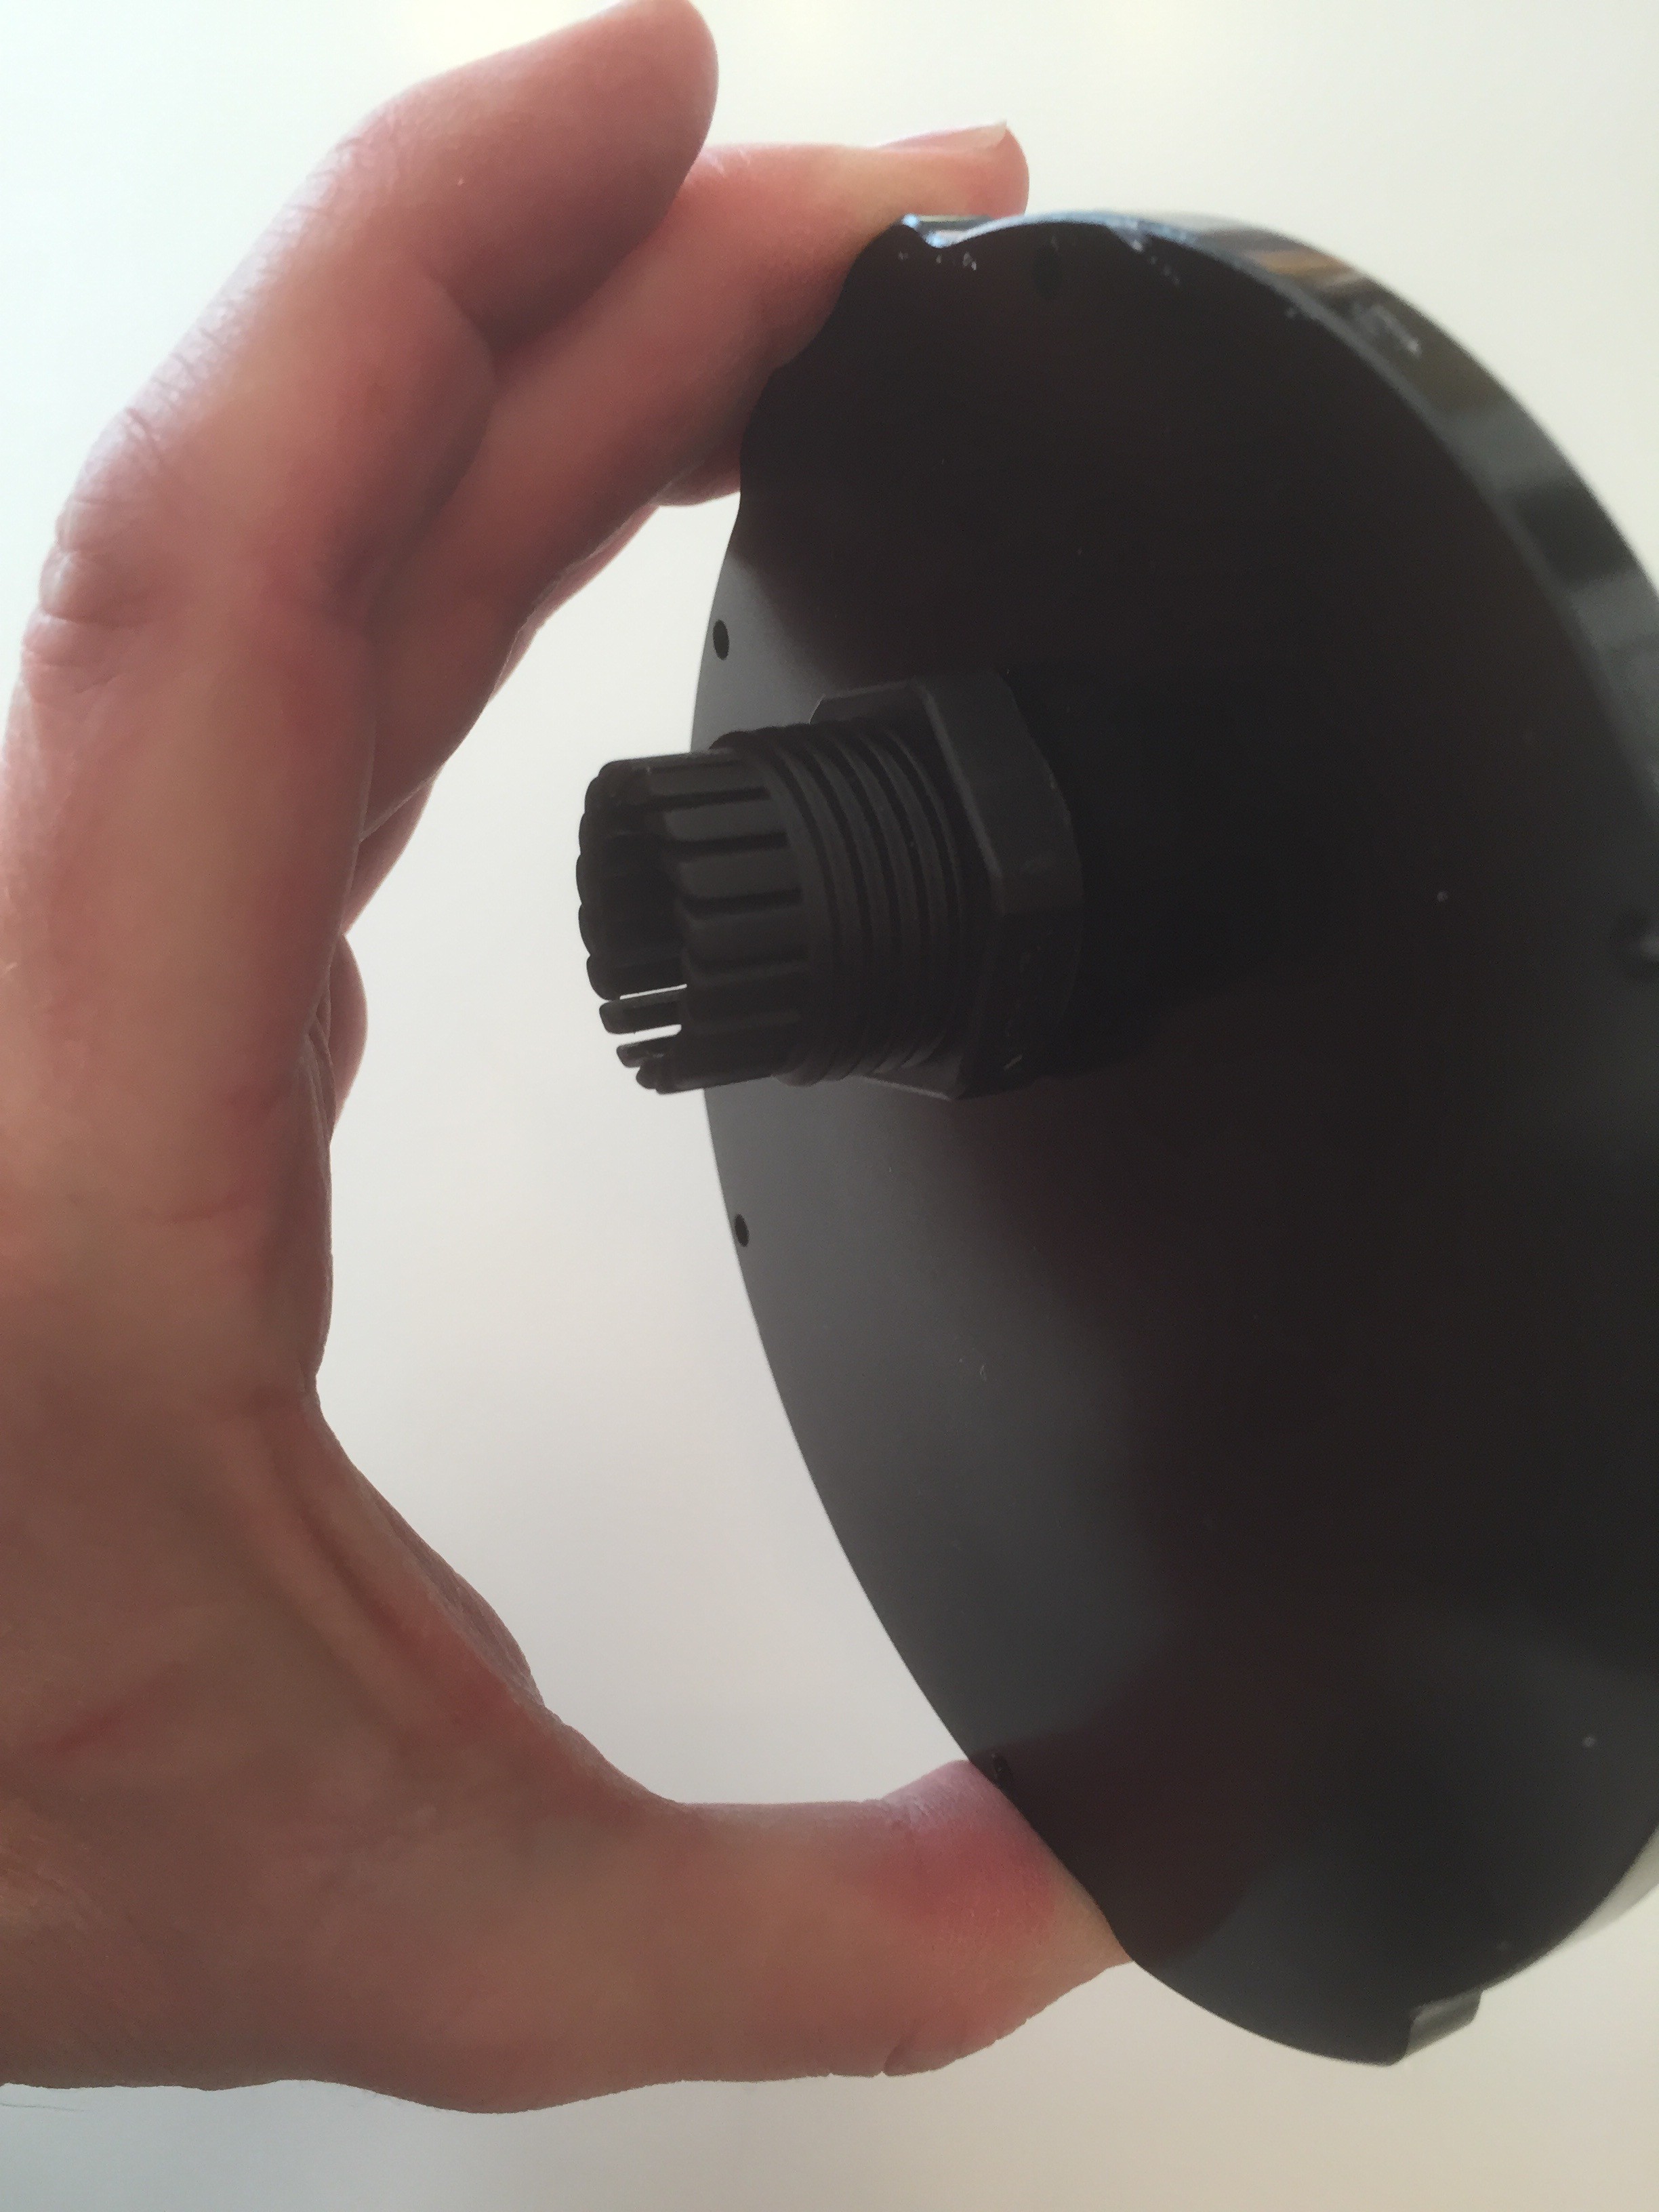
The above photo shows two cable glands, both with 3/4" screws to penetrate the end cap and both with 1/2" hole for the piping. The bottom one is a generic I bought from Amazon, the top one is from Ancor. Importantly, the Ancor version has a much longer thread for penetrating the end cap. The end cap is 1/4" thick, so the longer thread is essential. Here's the gland on the video pipe:
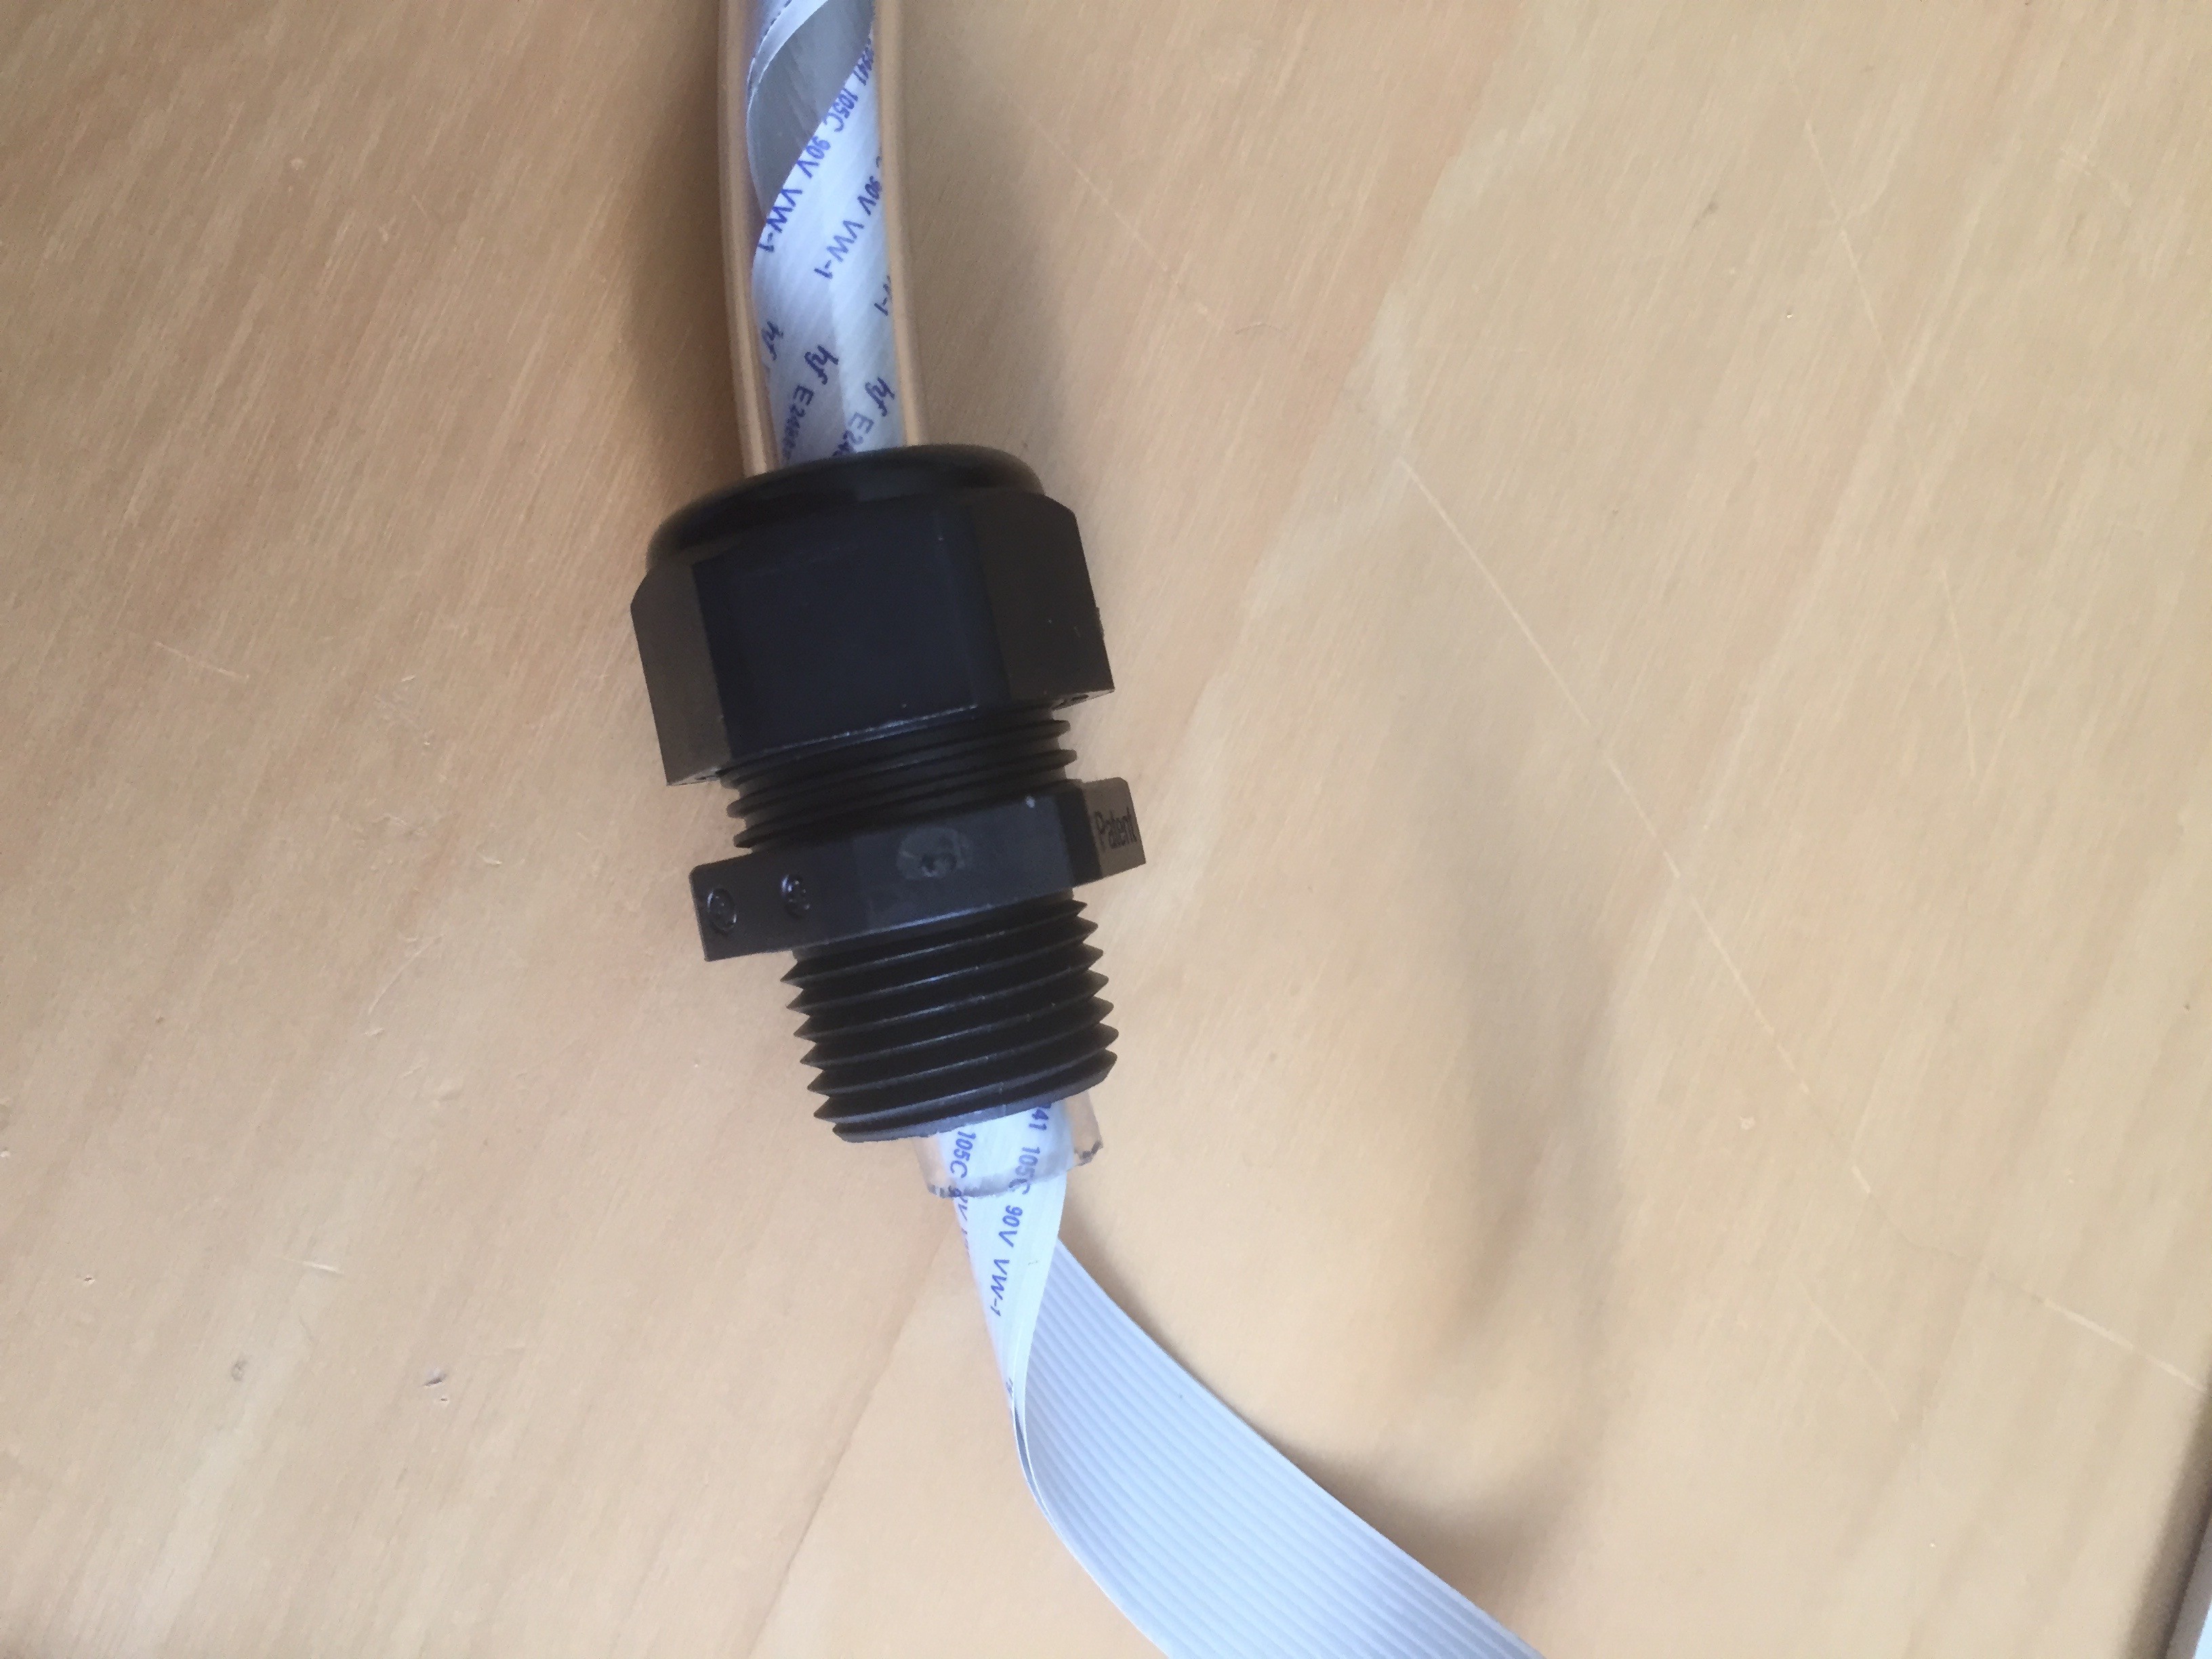
Finally, all the pieces were assembled. Although the gland was nicely snug against the aluminum hole, I added some JP Weld to bond the gland to the aluminum on the inside, and include an o-ring on the outside to prevent water leaking though any potential gaps. The result looks like this:
Now to give it 24 hours to cure, and then I can test to make sure it is waterproof. Fingers crossed.
Discussions
Become a Hackaday.io Member
Create an account to leave a comment. Already have an account? Log In.