 Maciej Witkowiak
On December 28th I did drilling and cuting into LACK shelf to make an enclosure for the panel.
First I cut into bottom of the shelf making a rectangle with about 2cm margin on each side excapt the back side with hinges. There is a thicker board there and you need at least 3cm margin. I left these margin parts on the back to make sure that the whole box will remain more or less rigid.
I tried to use Dremel rotary tool with a fiberglass cutting wheel to make a precise cut, but it wasn't a good idea. With slow rotation it can't cut the board and with high speed it burns it. It is much easier and faster to use an oscillating tool with proper wood saw blade.
Inside of the shelf there is some cardboard in a honeycomb pattern. It's easy to remove it by hand.
I had a general idea how the panel is supposed to look like, but I was to lazy to prepare a proper design with dimensions before starting this work. I decided about dimensions and made the holes at the same time.
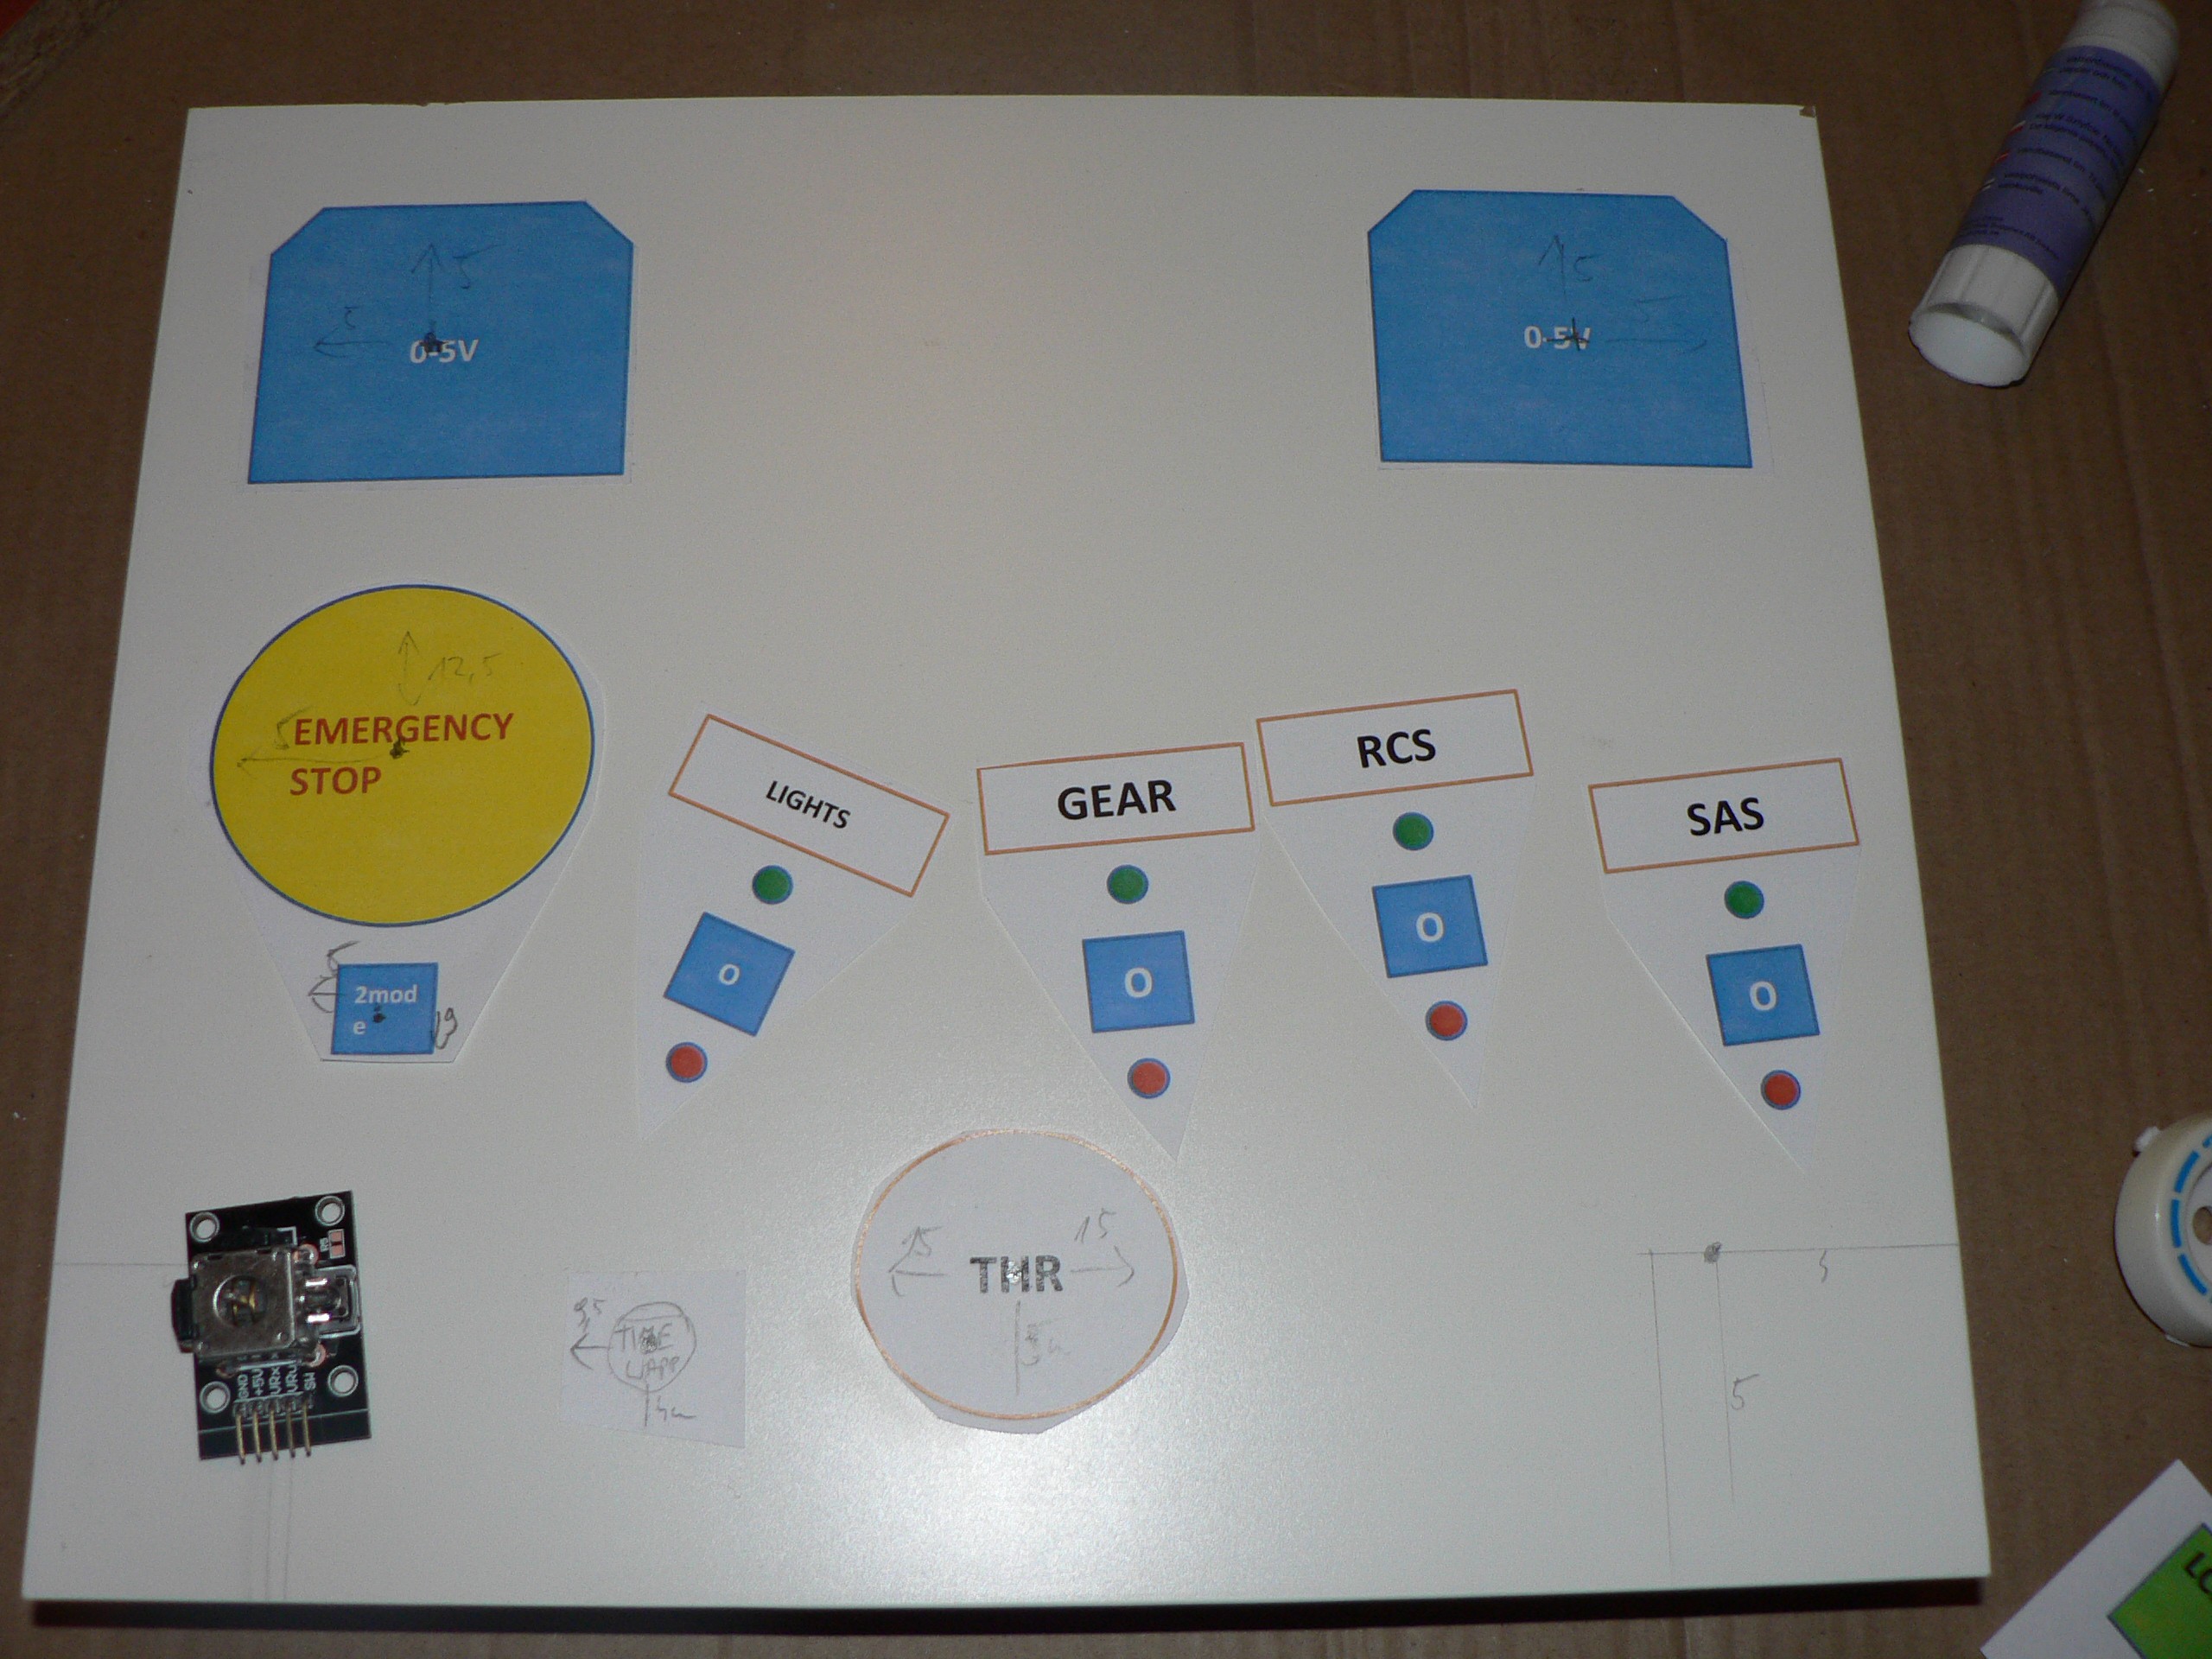
Here is the early stage prepared with paper templates.
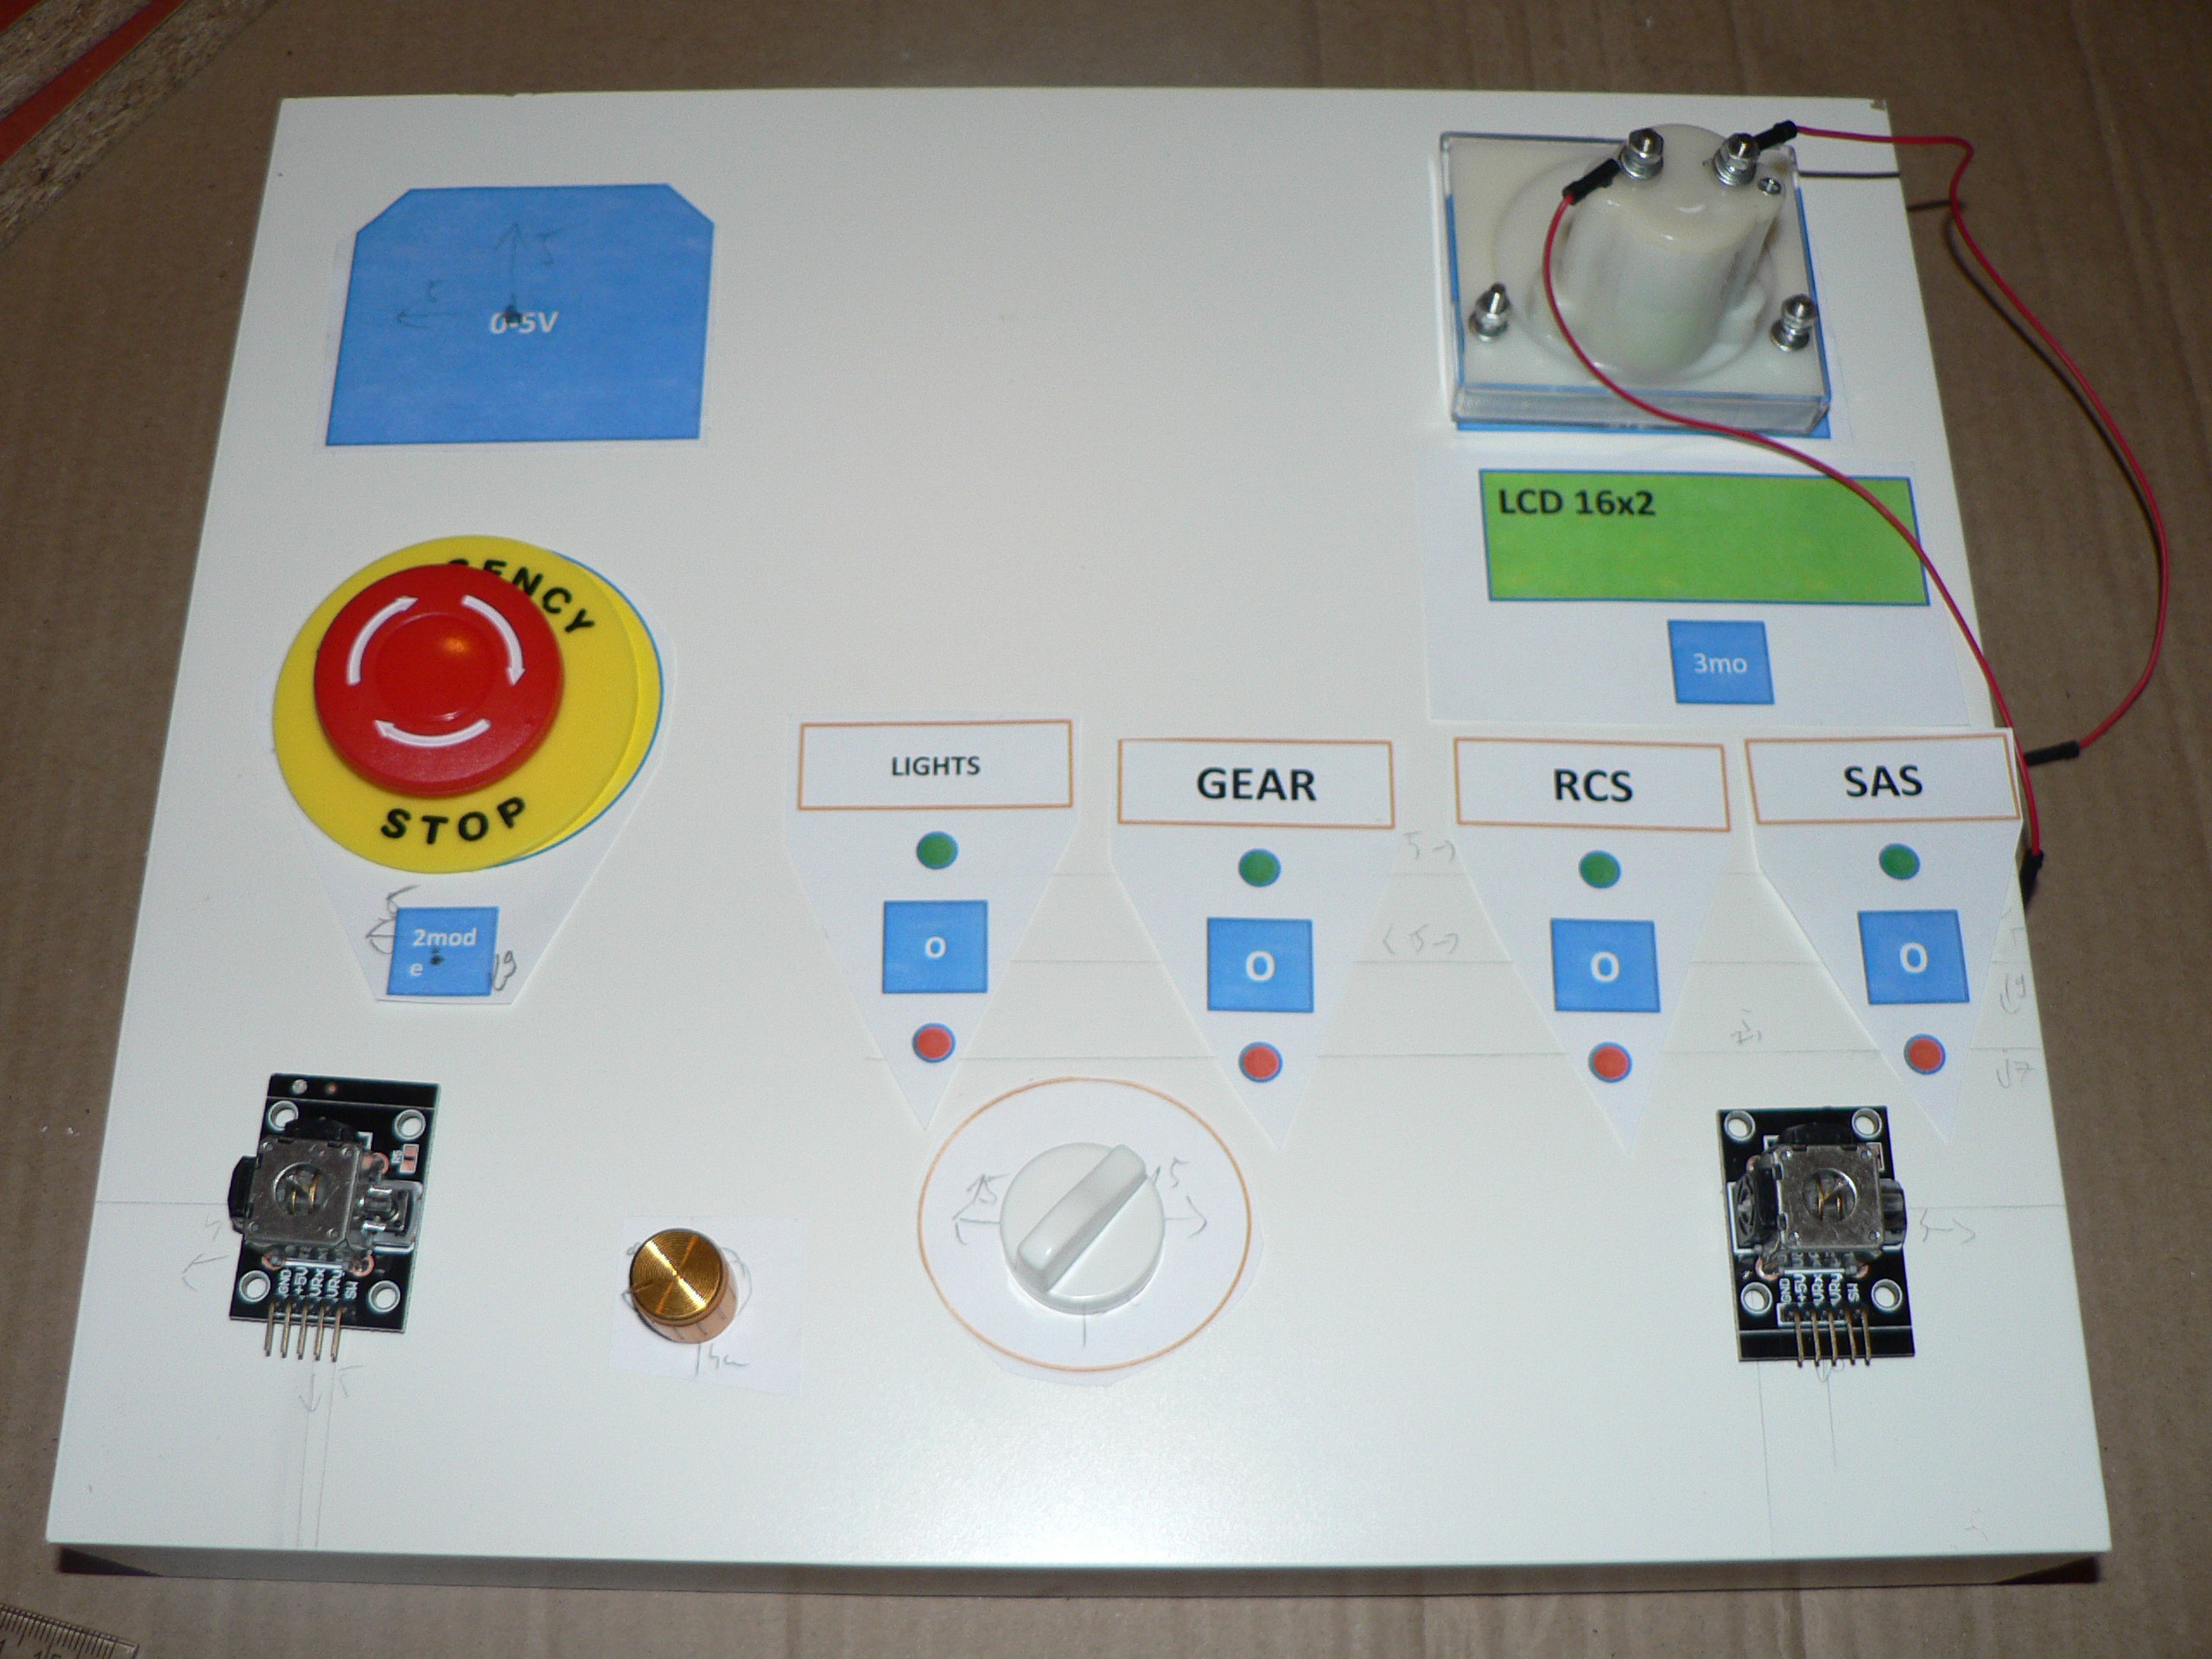
Now wIth more careful layout and actual knobs.
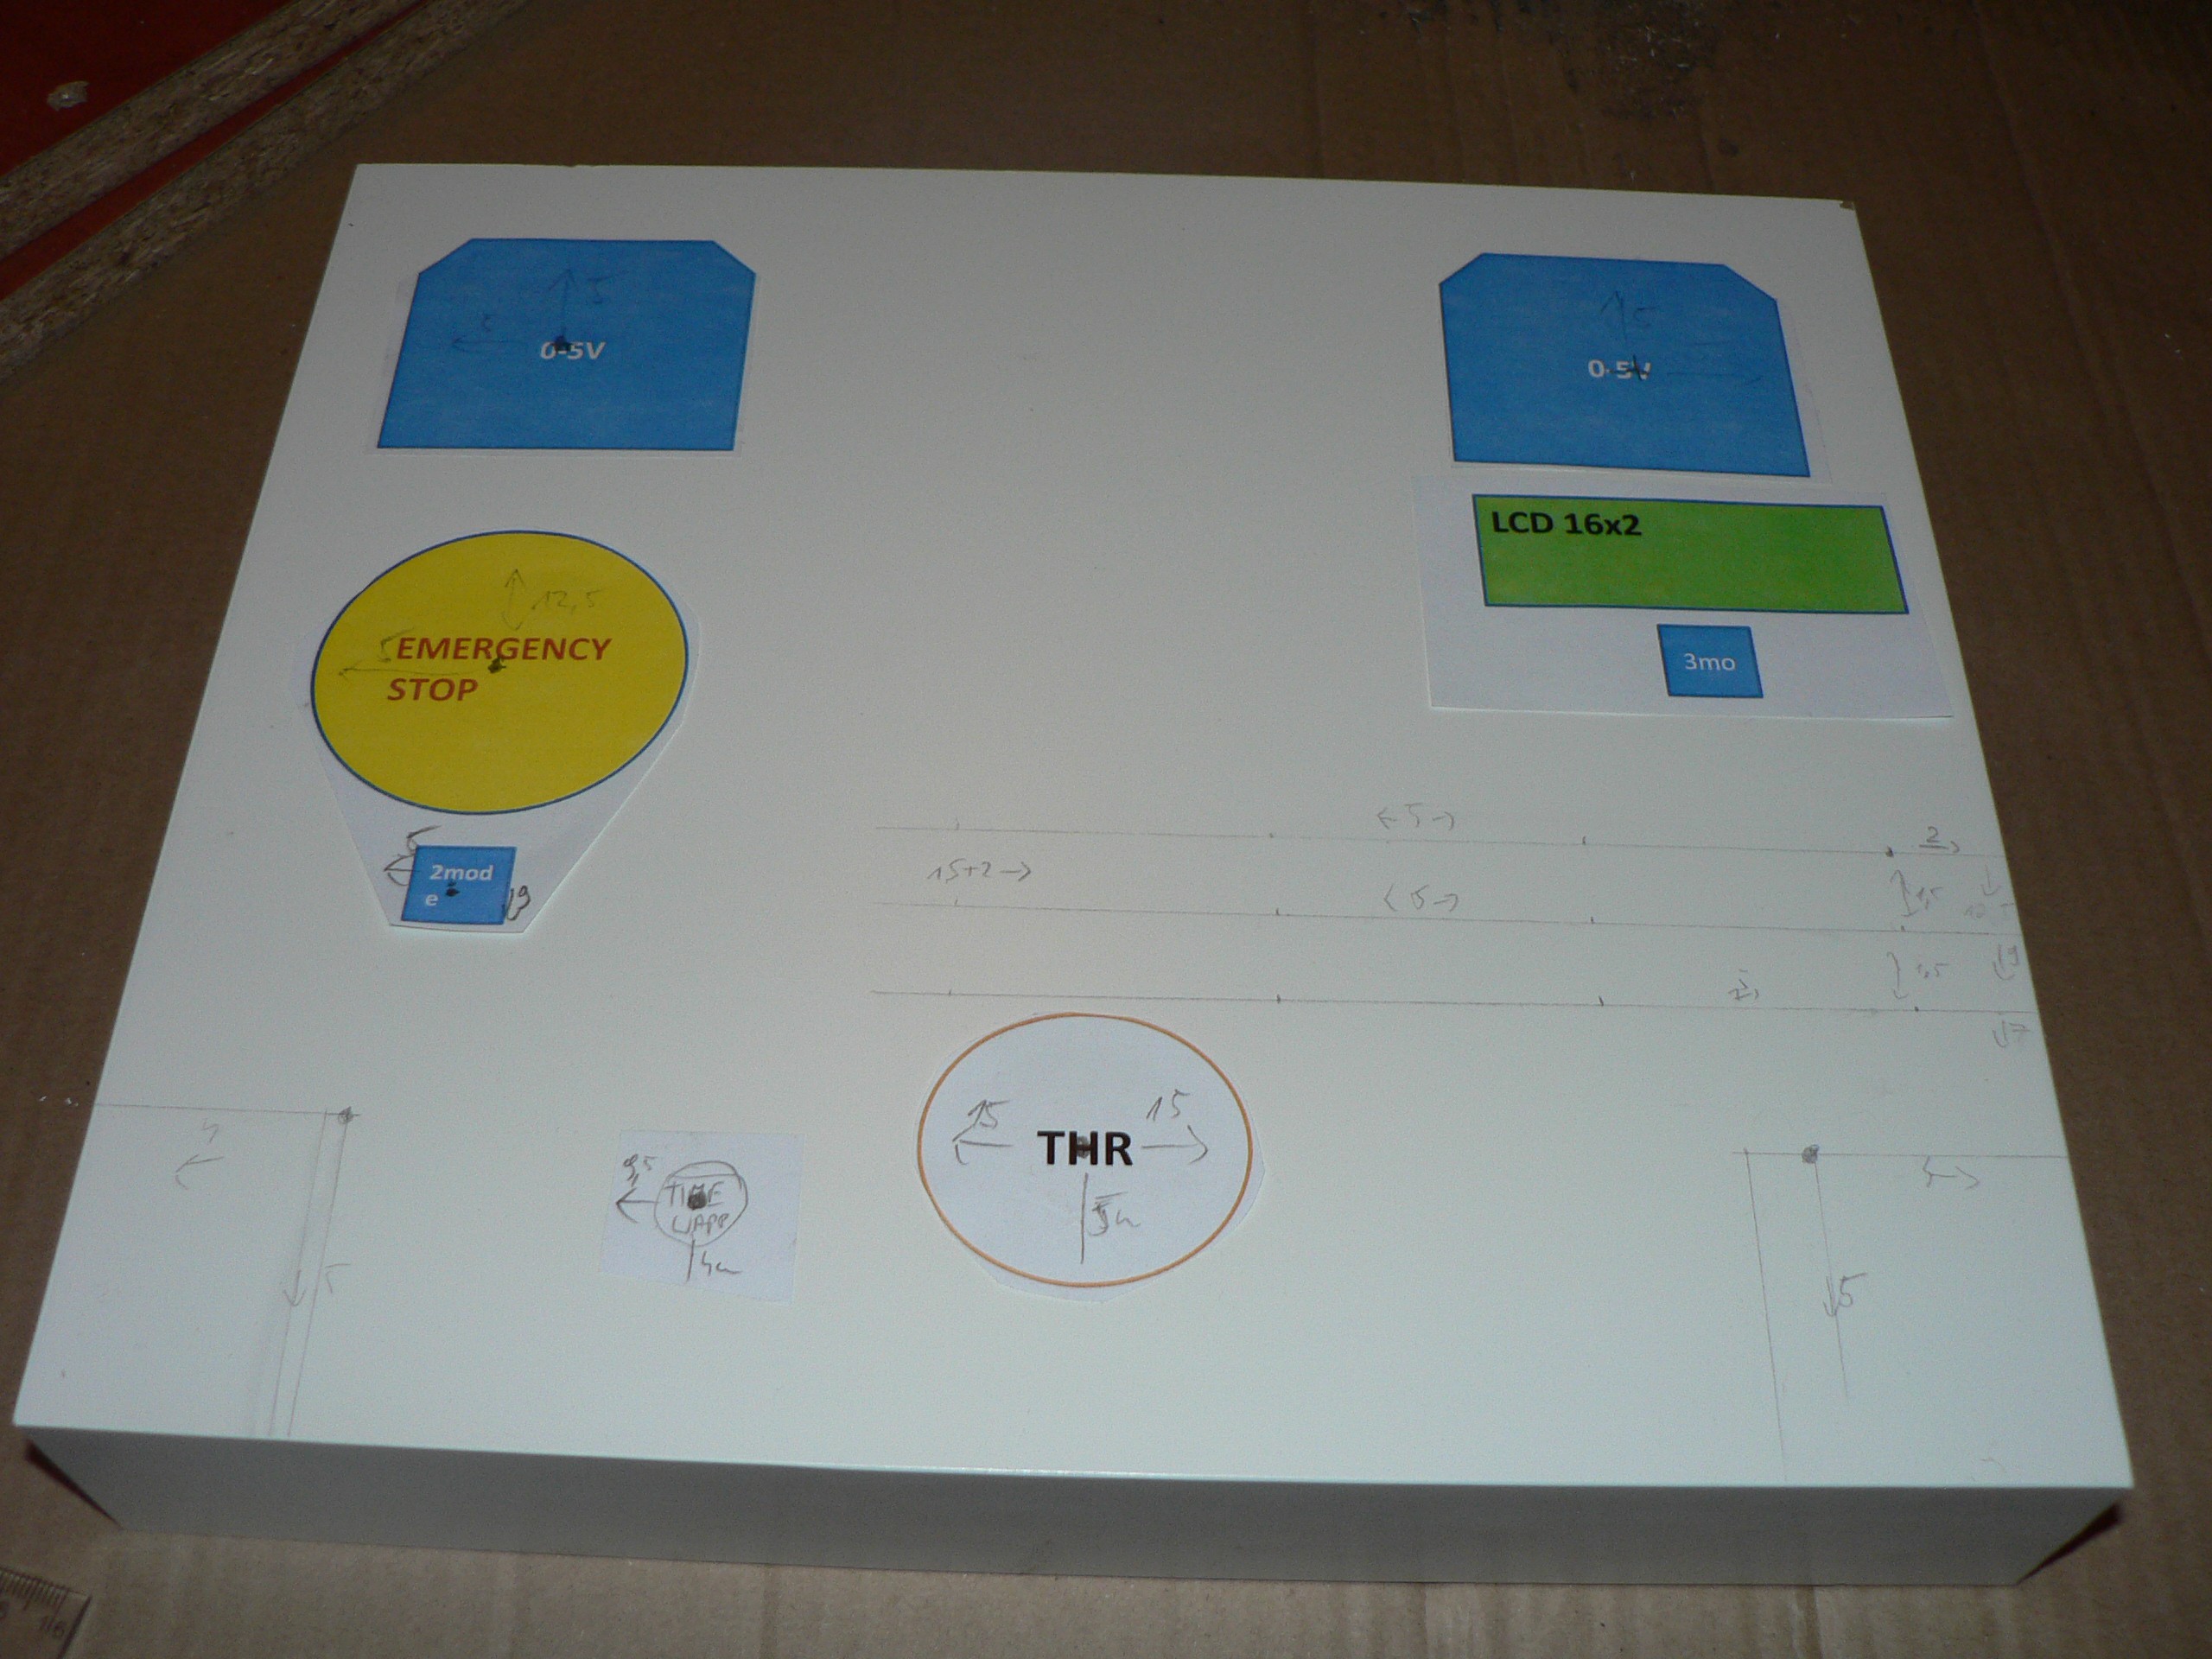
I used ruler and pencil to mark the dimensions of each component's place.
Then I started drilling and cutting. It was easy, just remember to make the holes on slow speed. I was too happy on the drill trigger. That's why joystick hole on the right looks like this:
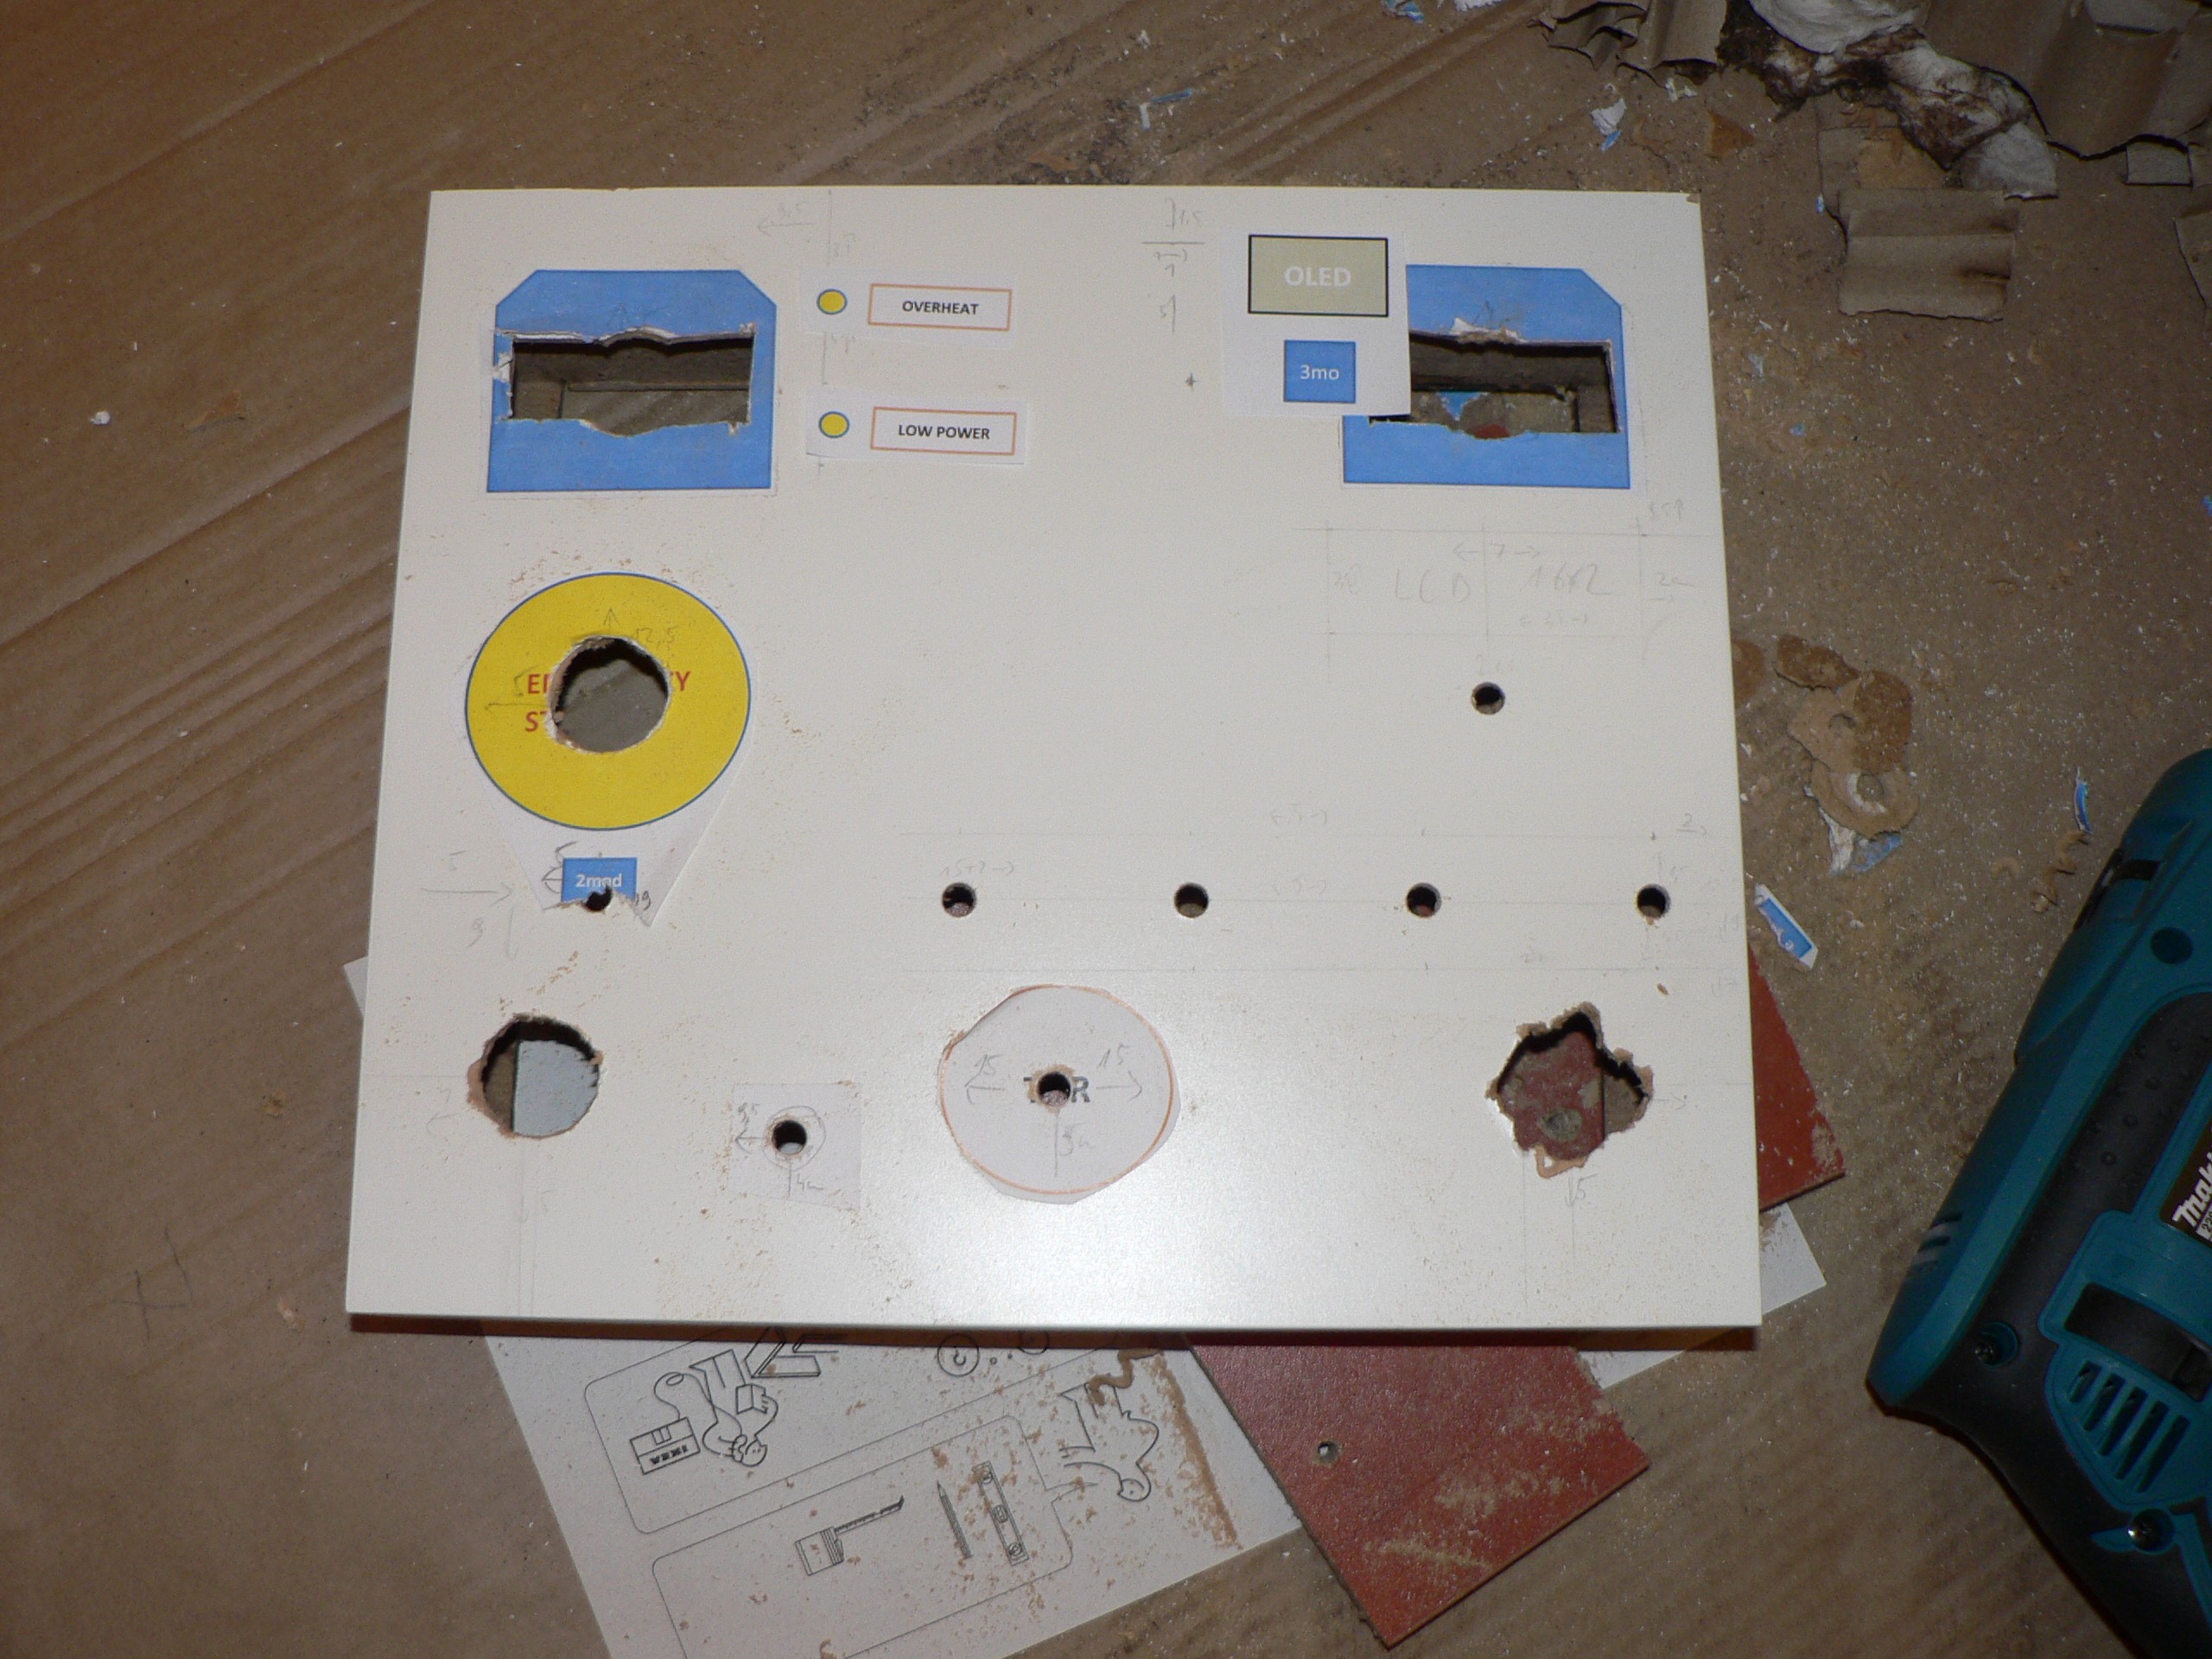
No big deal. I still didn't have clear idea how to mount joysticks.
Here is the final result. The big holes were done with 25mm diameter drill, the switch and potentiometer holes had 7mm drill bit and LEDs have 5mm holes. The hole on the side for cable has 16mm.
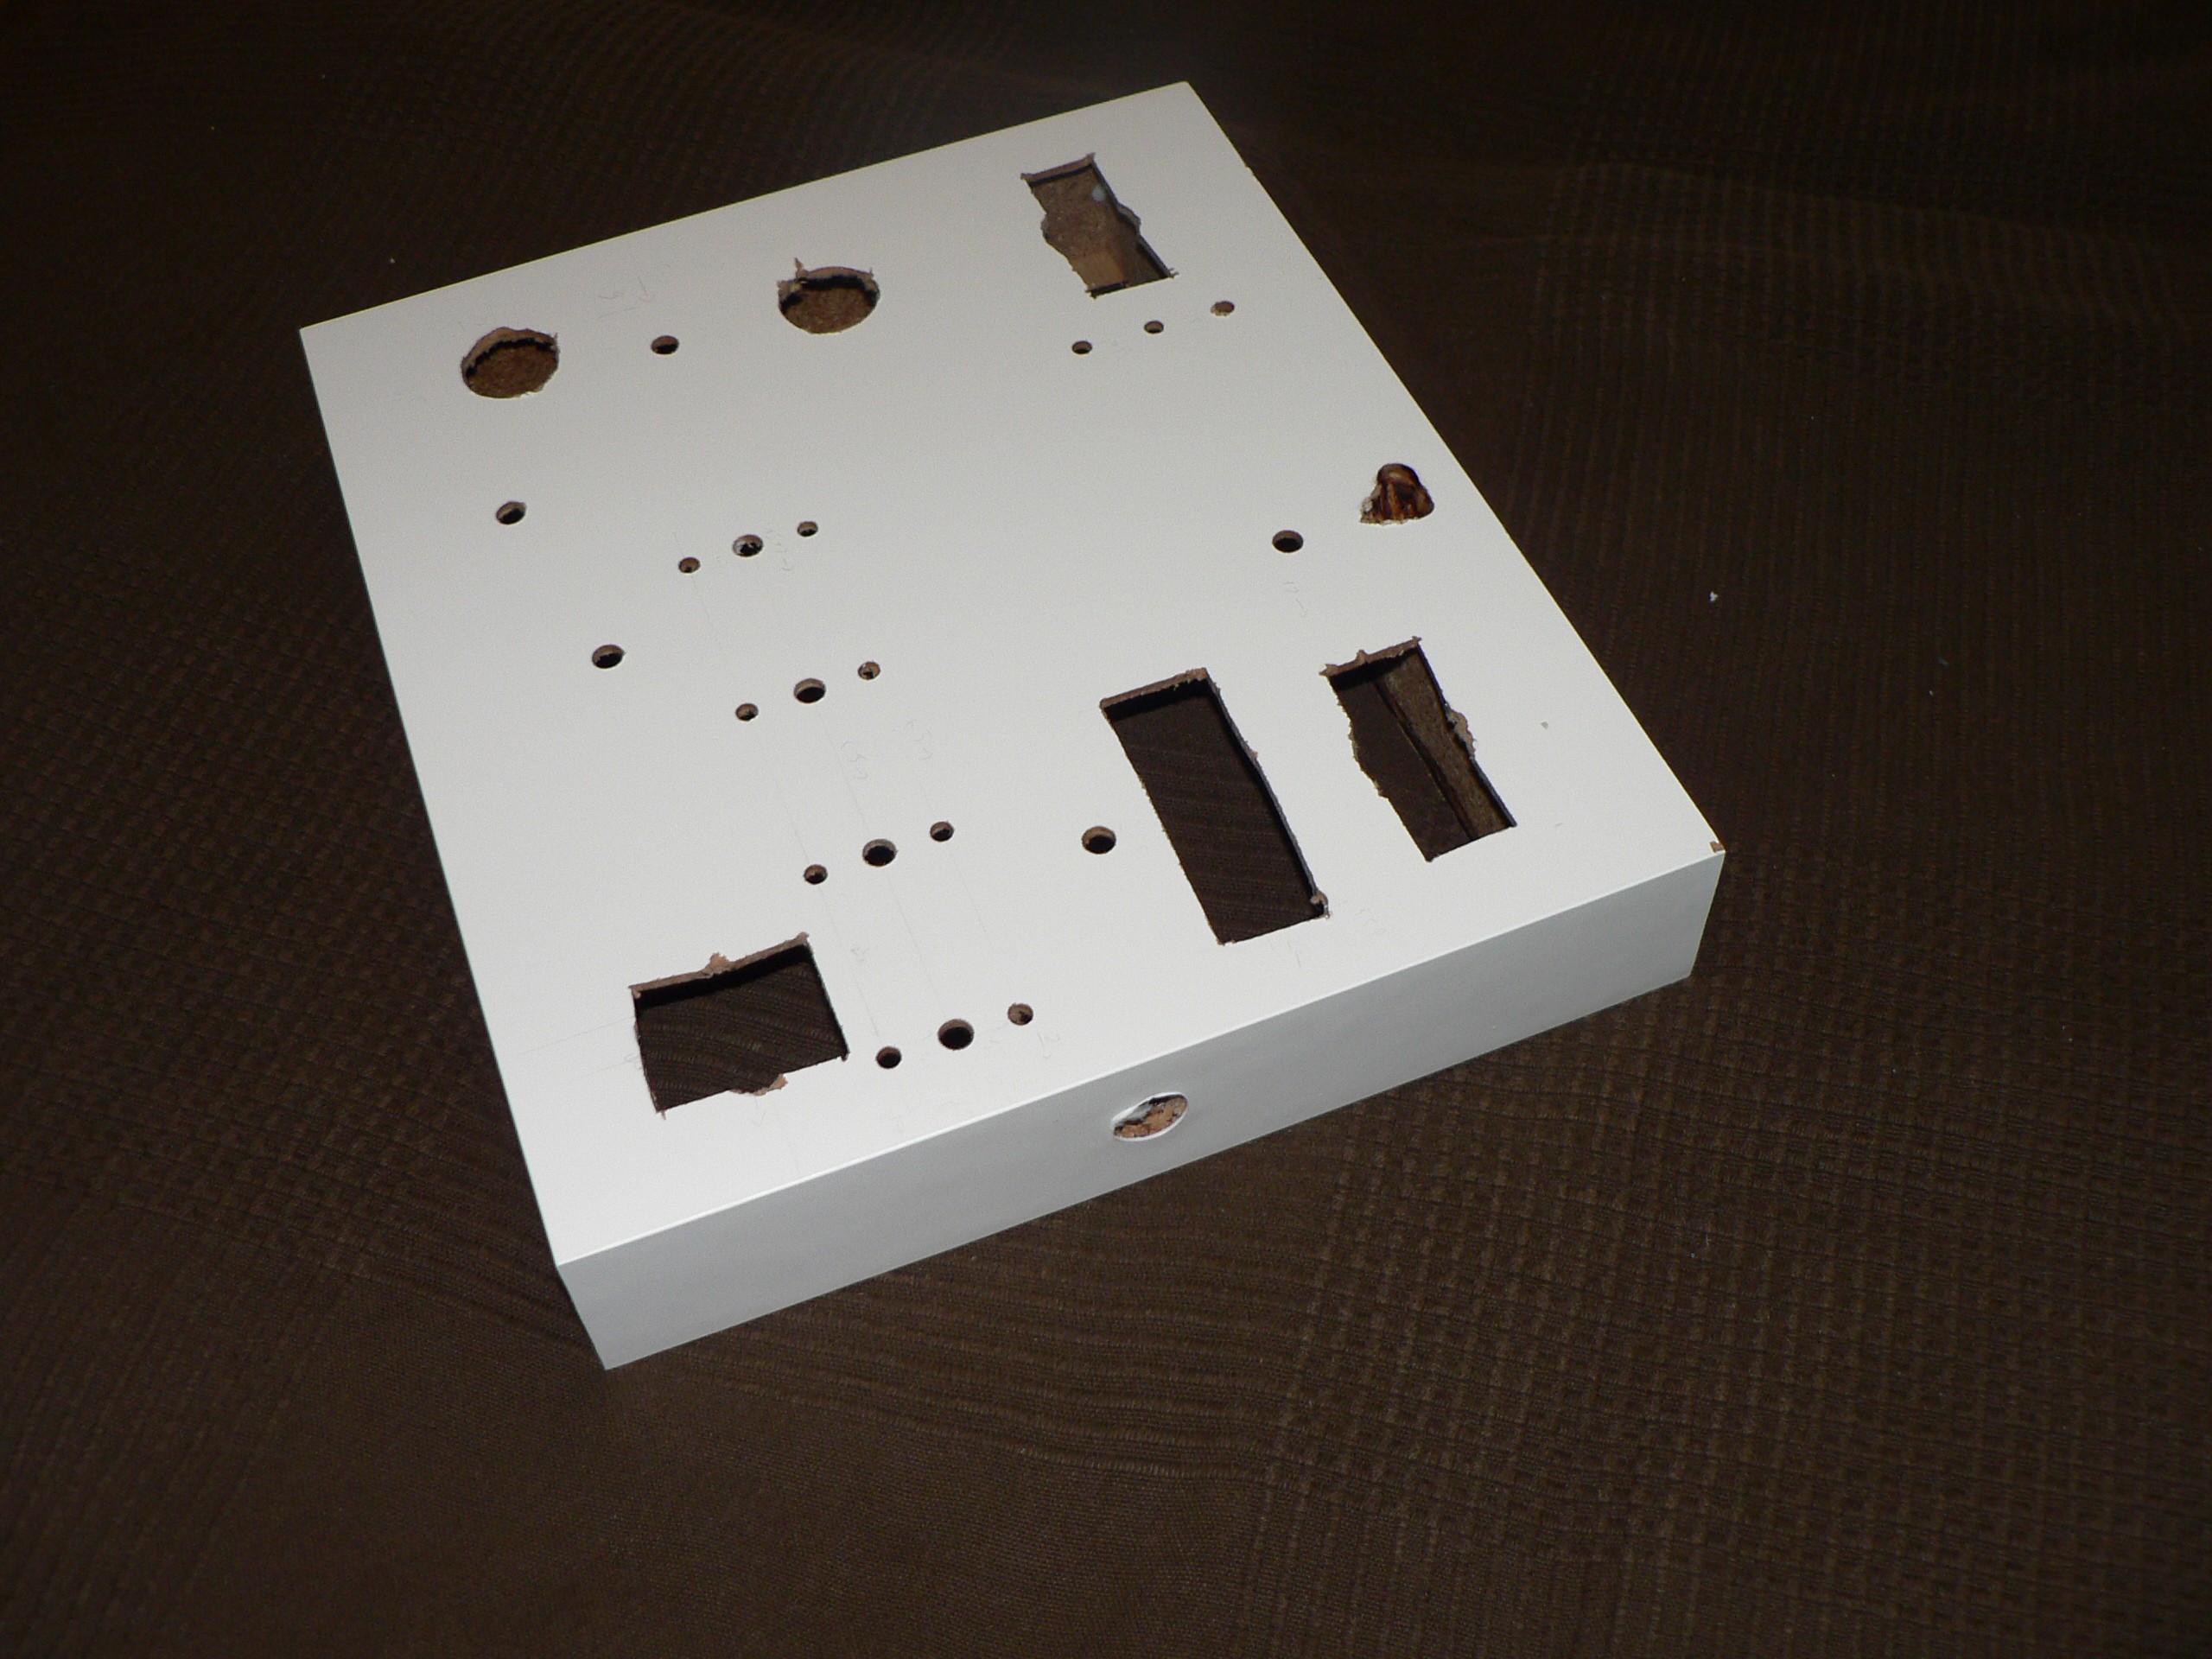
I made the ugly joystick hole recangular to try different ways of mounting them. The uneven thing on the top was supposed to be the hole for OLED screen, but I forgot about 3cm clearance so I hit the back board that made the drilling much more difficult. It will be covered somehow.
Finally, here is the picture with all the actual dimensions, all numbers are in centimeters. This as if looking on the LACK shelf from front and on top. If you try to hang it, the wall would be in the back of this picture.
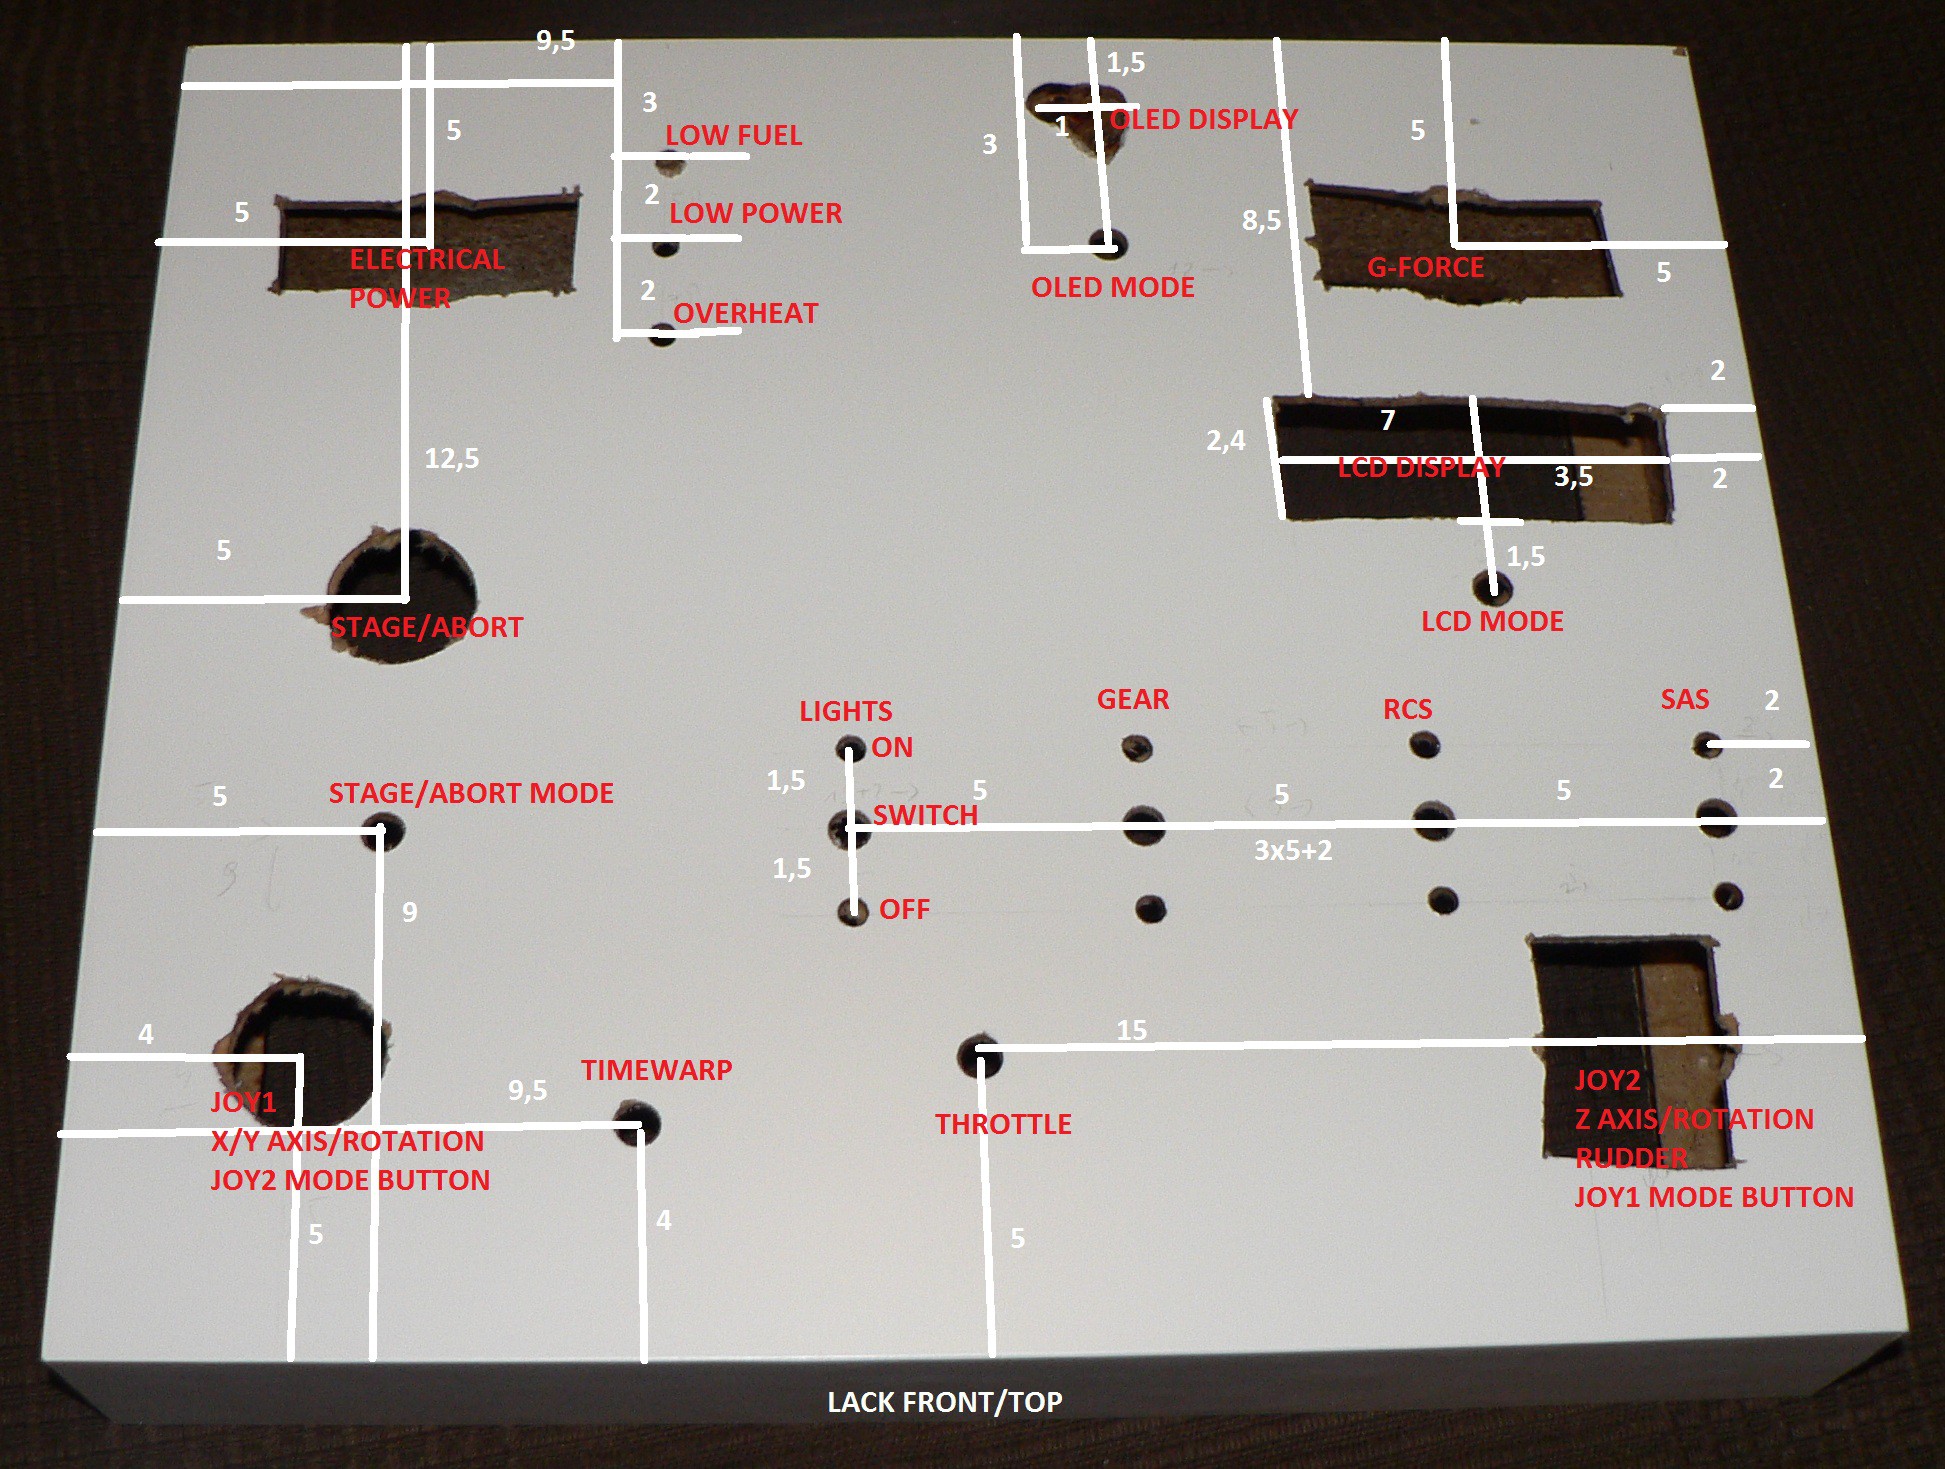
Note: the 9,5 distance should point to the middle of LOW FUEL/LOW POWER/OVERHEAT LED holes.
Discussions
Become a Hackaday.io Member
Create an account to leave a comment. Already have an account? Log In.