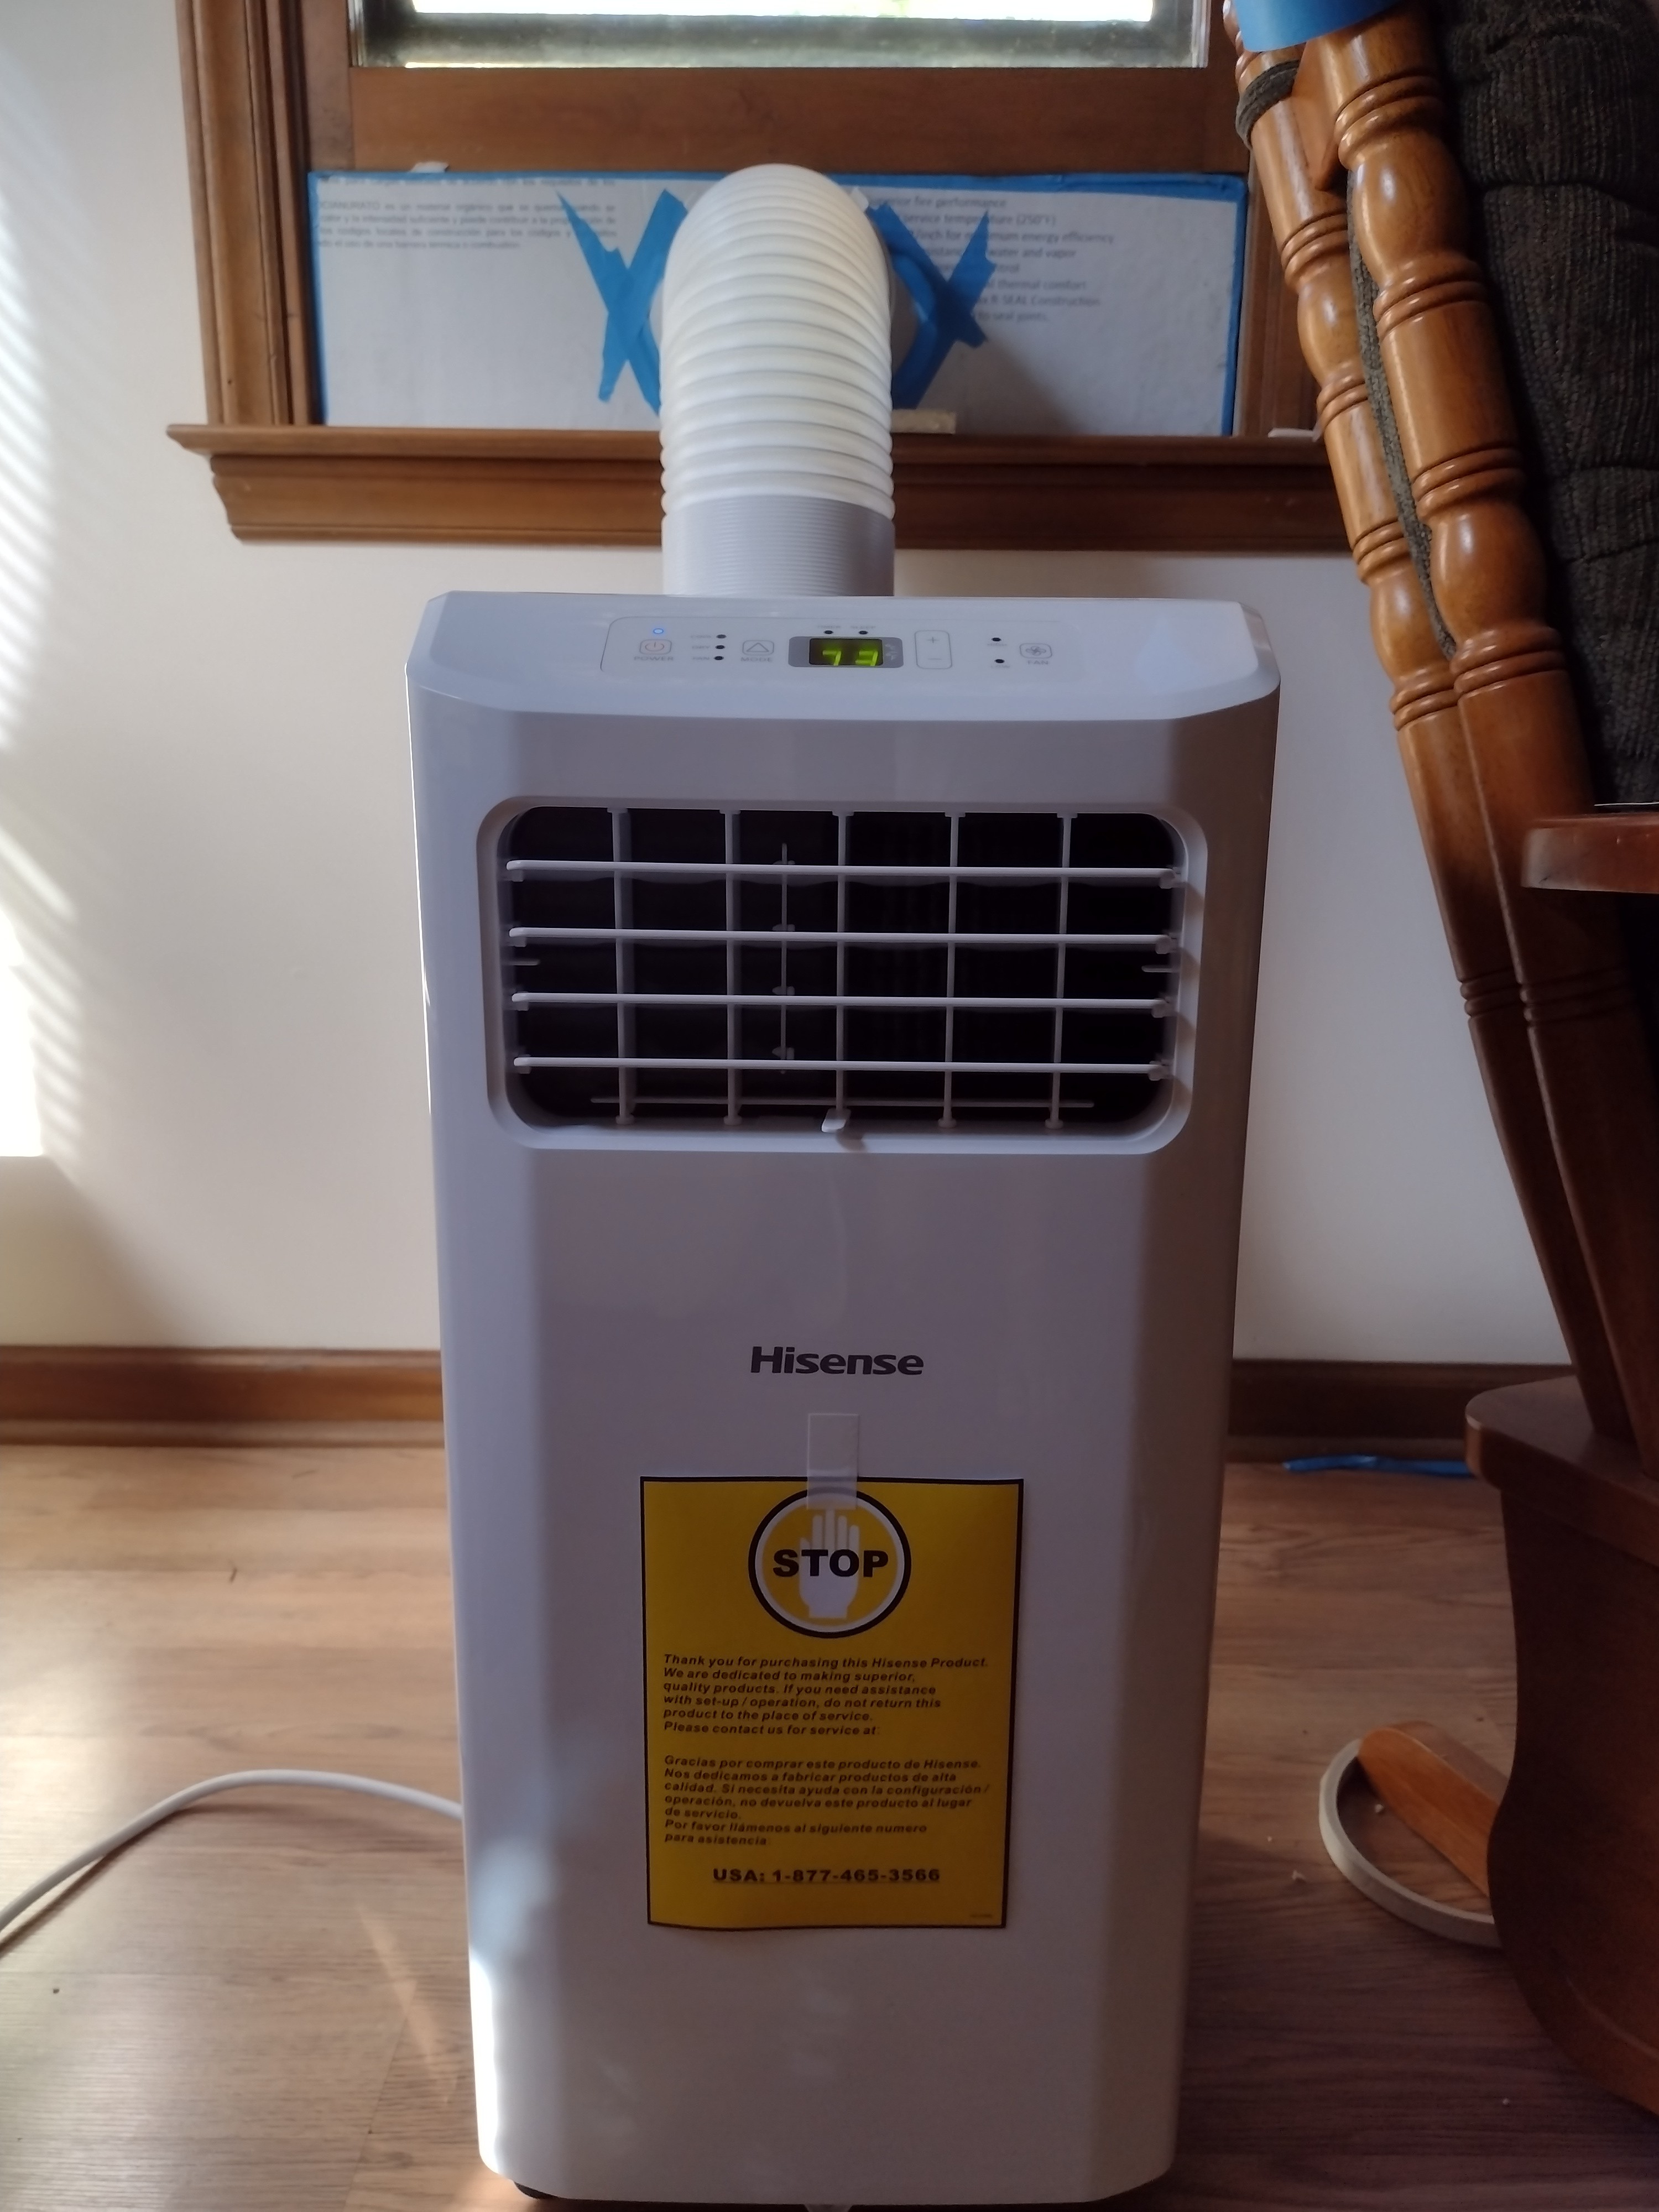
The other week, I purchased a portable air conditioner. My house does have a central heat pump, but being over 30 years old, it's living on borrowed time. My area is also hurricane prone, so I wanted something I could easily setup and power off a generator should power be lost, so I selected s small power drawl unit (it uses 795 watts or less) with an effective 5000 BTU rating.
Interesting info to know about portable air conditioners:
While this unit is fairly easy to setup and move around compared to a window a/c, it's a lot worse in terms of efficiency. A major efficiency loss of this unit is that it's a single hose unit. It pushes hot air blown though the condenser, out the exhaust hose, but the air that's sucked in to be used to cool the condenser is taken in from the conditioned space vs. using outside air.
Worse yet, pushing air out without a second hose for intake makes the conditioned space a lower pressure vs. outside of the space causing air from outside the conditioned space to seep in. But it can get even worse, it can not only pull air from outside, but also the attic that's almost certainly far hotter than the outside air! I noticed this happening when I started smelling the attic and I noticed a warm draft from the closed that hoses the central heat pump fan unit. I did some additional sealing where the ductwork goes though into the attic to help mitigate this but some air still gets pulled though.
While the effective DOE 5000 BTU rating does account for outside air being sucked it, the formulas I've seen used, plug in 95F/35C for the highest outside ambient. My attic can get 117F/47C so if there is much of any air drawl from the attic, it's even worse than 5000 BTU!
Technology Connections has an excellent video about portable air conditioners:
I would have went with a dual-hose unit, but there appeared to be none to be found at my local store. There are a few that can be found online, but they're larger units that would put a bit more strain on my generator, should a power outage occur.
The issue with the included window insert:
One of the most finicky things about the unit is coupling the exhaust nicely with the window. While the insert is designed to be flexible with a variety of window sizes, gaps are created due to extender portions sliding into the main insert, as the extender portions have to be a bit narrower in order to slide in.

Worse yet, since the insert, places the hose right at the bottom of the window, and the hose to end adapter is a bit short in length, it's difficult to get the insert security in the window as the window sill gets in the way.) The end result is using a crap load of tape to compensate, resulting in a mess and also being a pain to put in and remove (wish I had a before picture, but oh well.)
The solution:
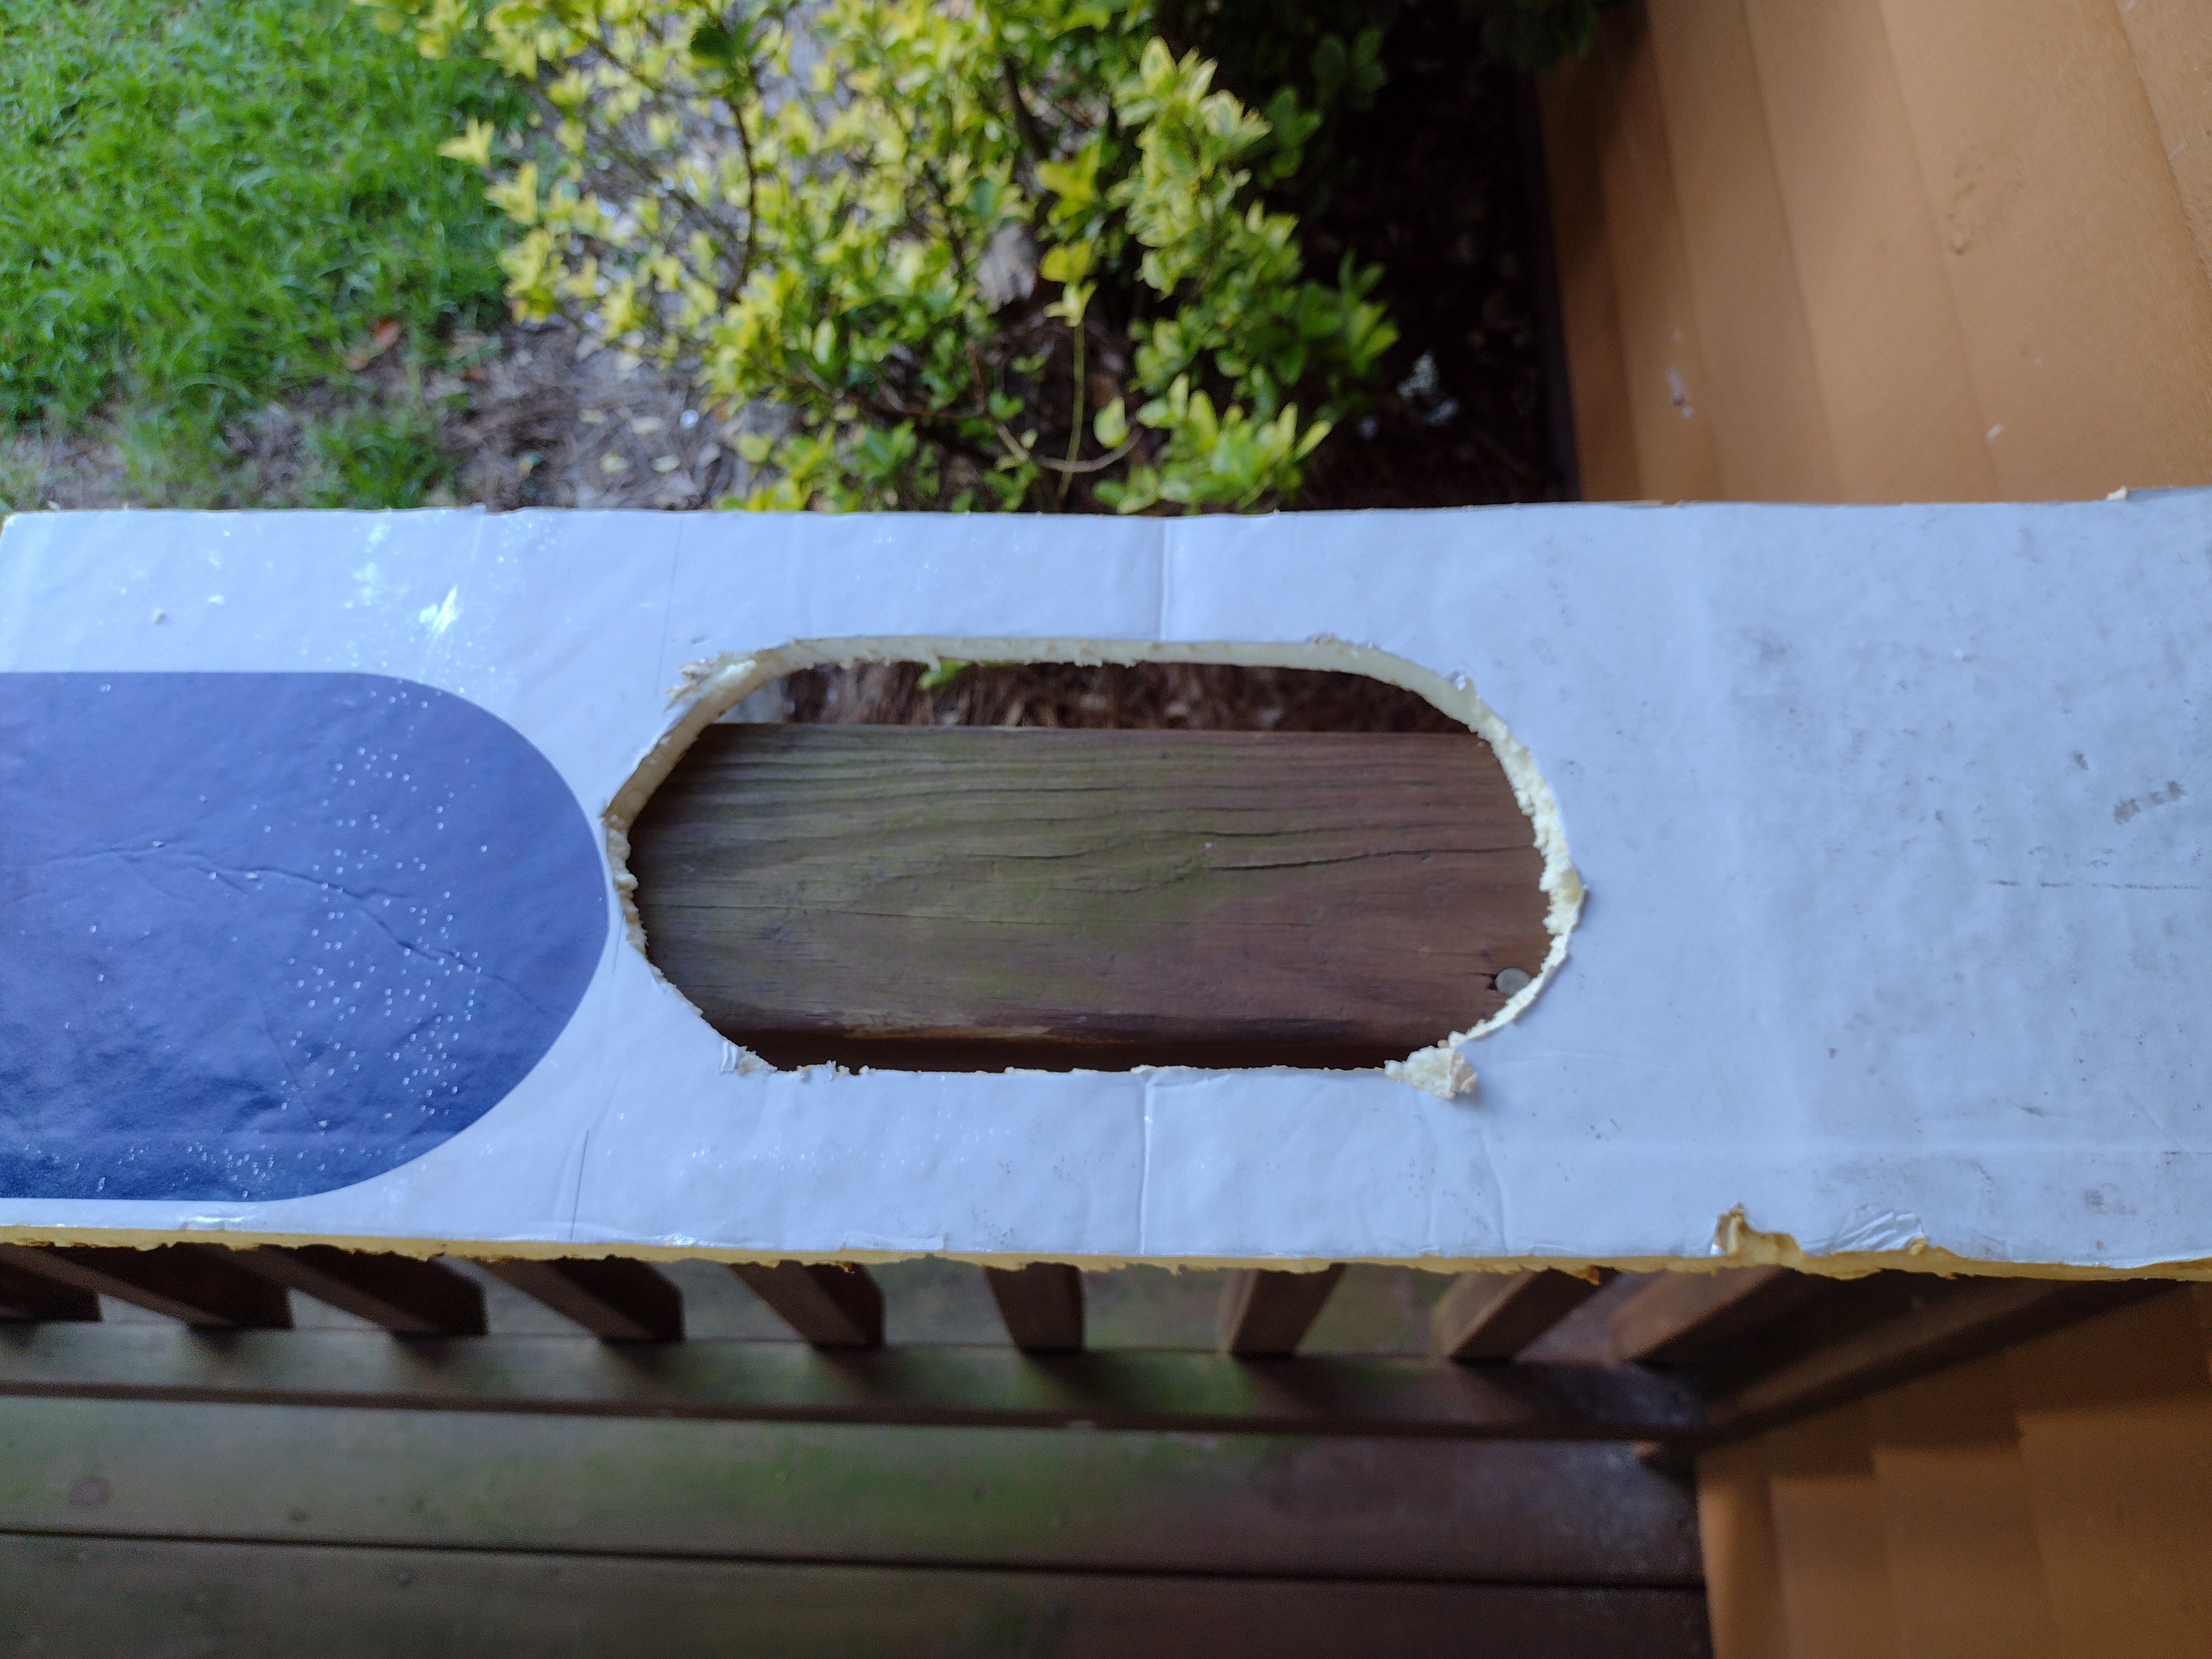
There had to be a better way I thought. I started thinking about creating a custom insert. I first thought of trying to create a perfect insert that the end adapter could clip into but then I realized I didn't have any material that's the exact thickness of the original insert that would be needed on hand. I decided on a bit rougher of a connection solution, putting the end adapter though the insert. To do so would require either making the end adapter-insert with very tight tolerances with almost no gaps but that would requiring splitting the adapter and connecting the haves around the end adapter or to make tolerances a bit looser resulting in some gaps that would allow maneuvering the end adapter into the hole of the insert.
I ended up doing the ladder, but I selected some insulating foam board I had on hand. The material has some flexibility which allowed me me to tighten up tolerances a bit to make things a little more snug, but where were some gaps left, below is the first version of the custom insert (wasn't used in the end as I fudged up the length cut):
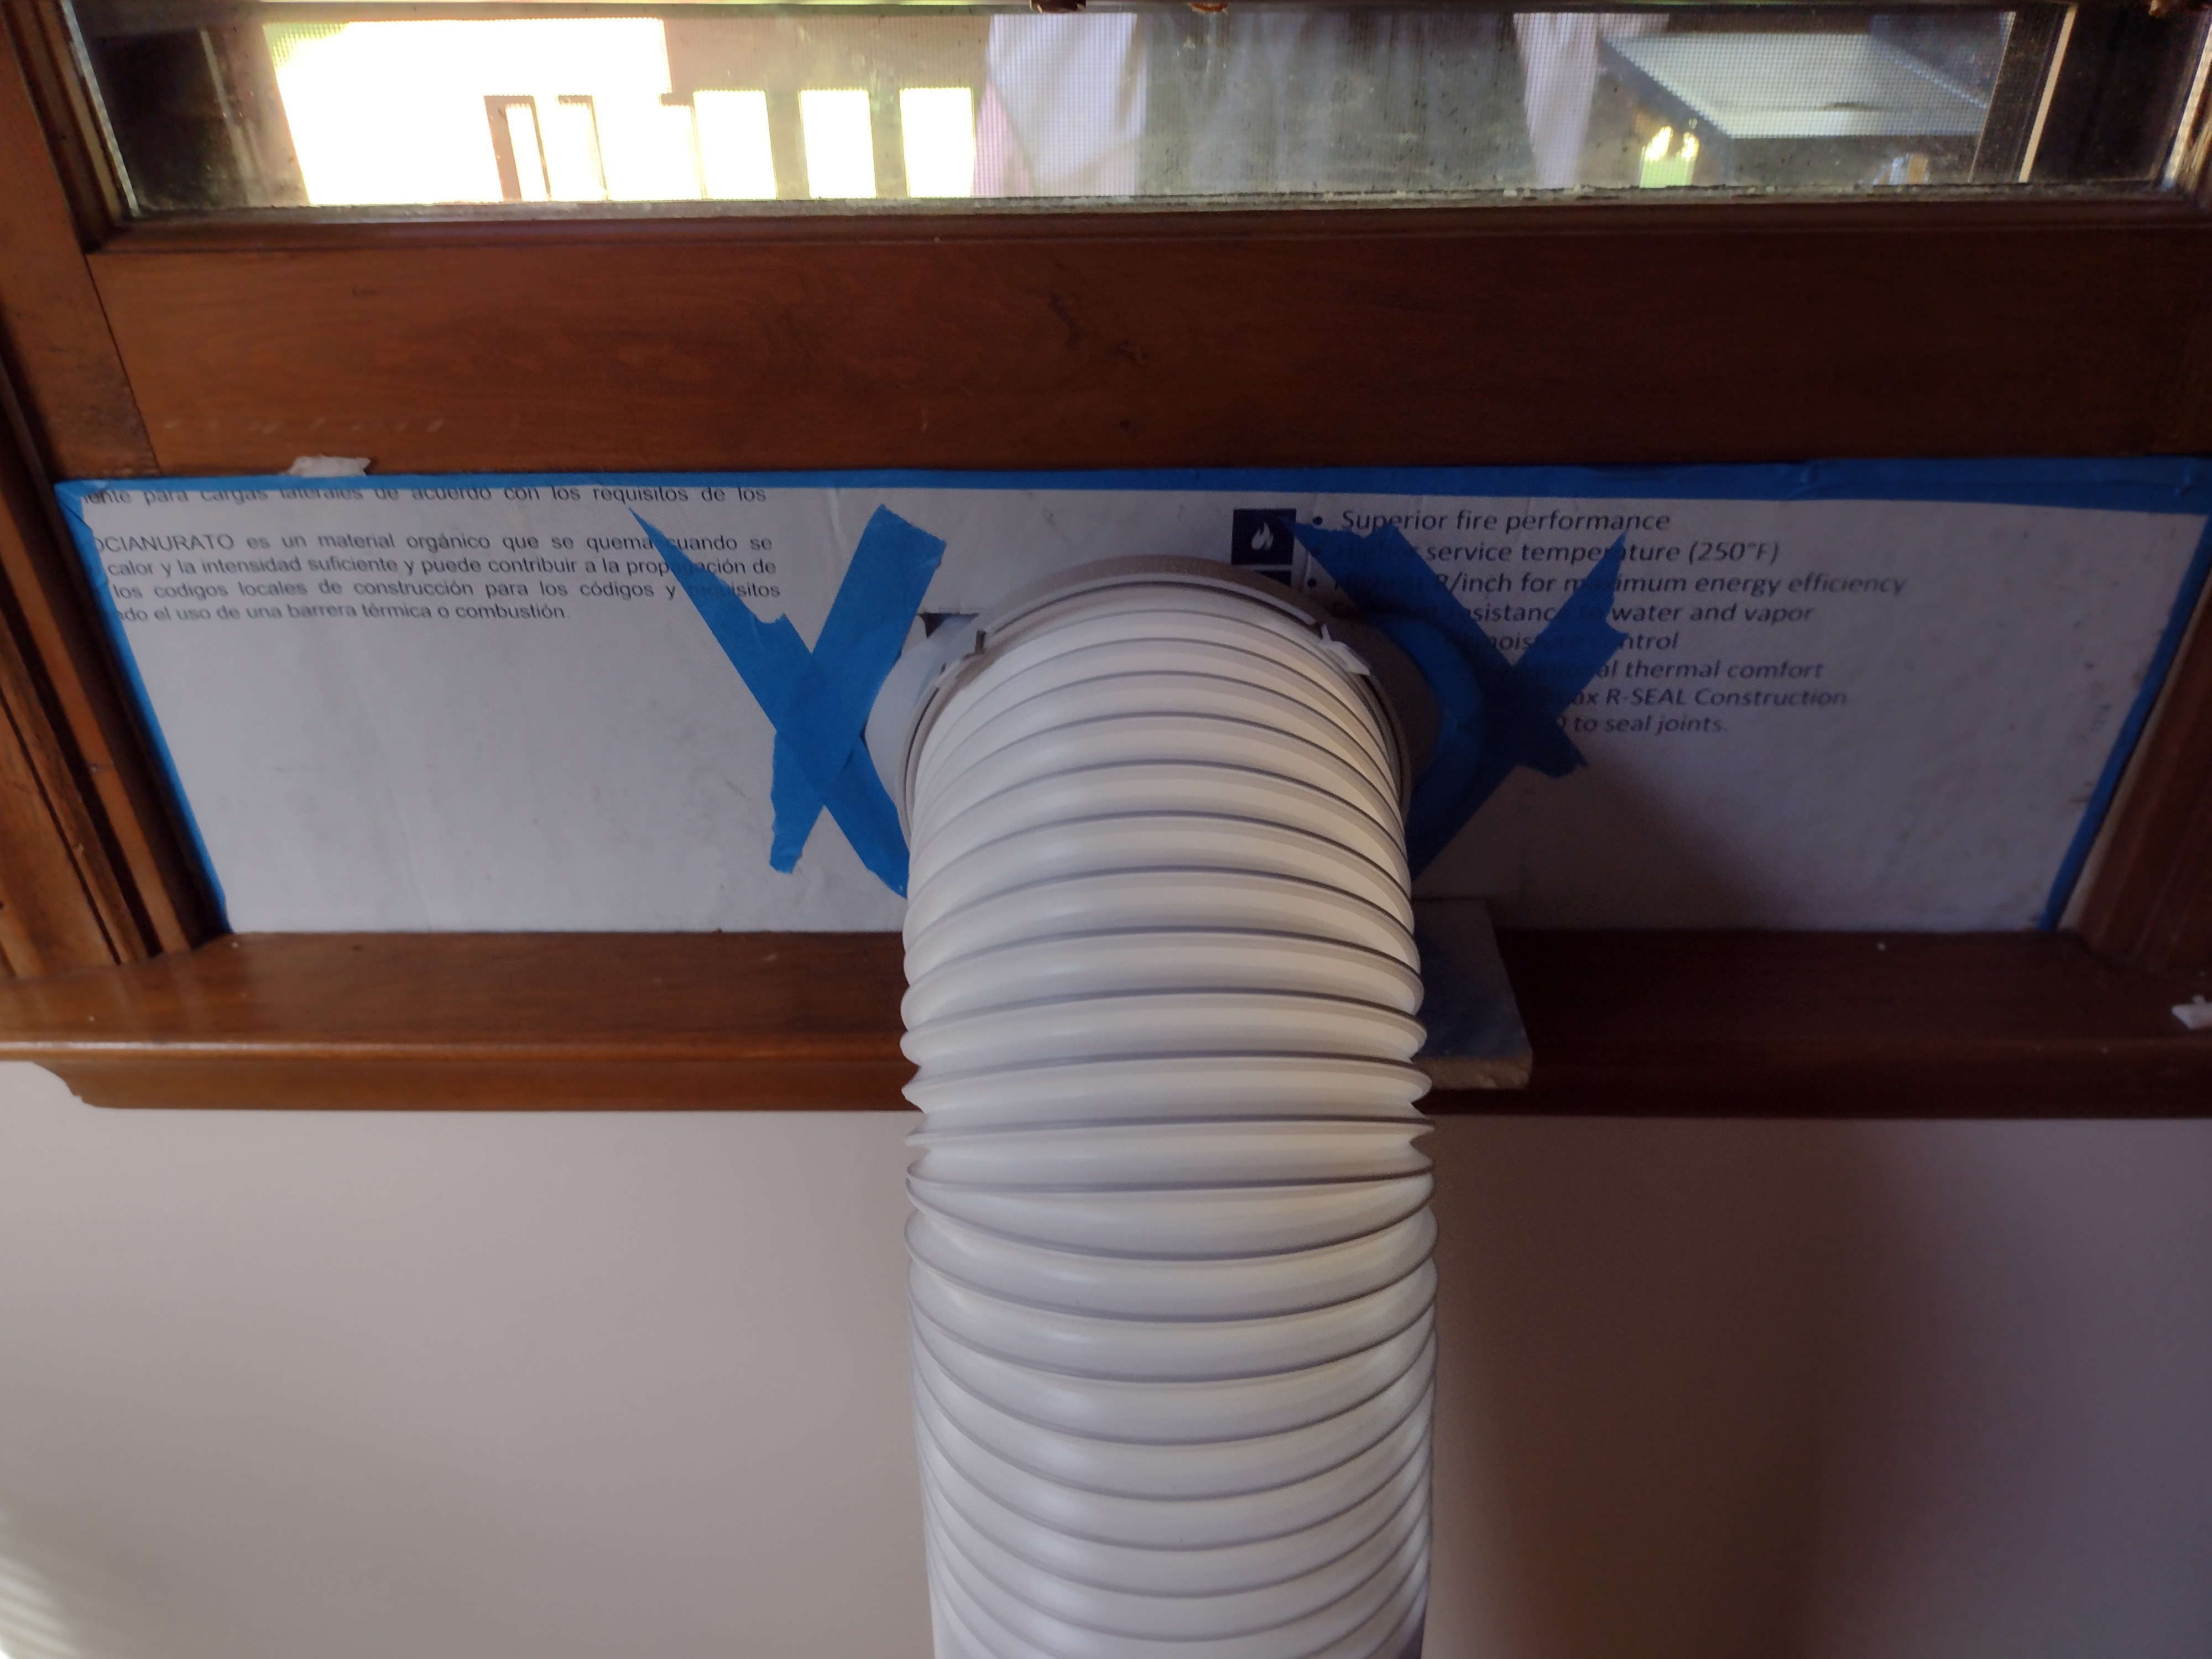
On the version that actually successfully went in, I bordered it with some blue painter's tape and added in scraps of foam board to compensate for the less than straight portions of the insert. I used some more blue tape to cover the gaps where the end adapter mates with the insert. I also stuck in a block of foam board in between the hose and the sill, as the hose assembly was pulling on the insert at an angle, causing the end adapter to not seat a well as it could. It's not perfect, but it works a lot better than the provided insert.


Discussions
Become a Hackaday.io Member
Create an account to leave a comment. Already have an account? Log In.