 helge
helgeCamera Modification
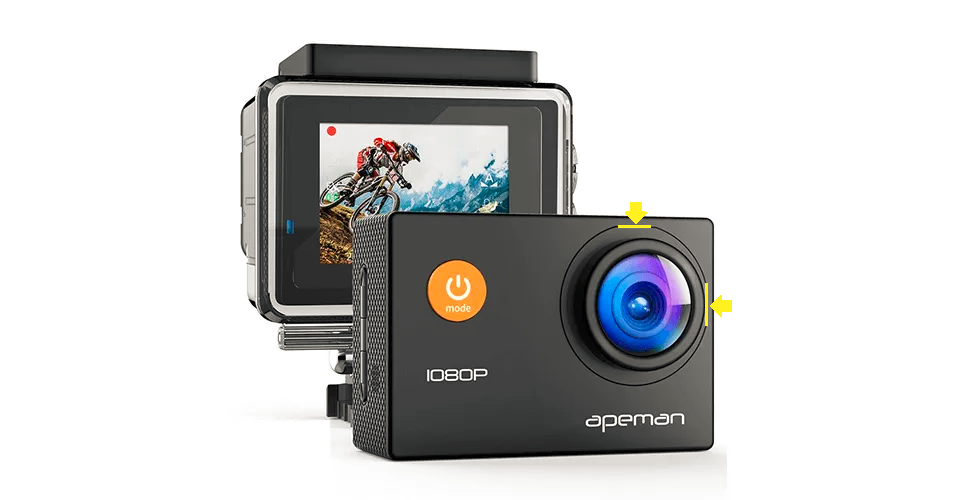
Apeman action cameras are nothing special in terms of build quality. They're not sealed and come with a water-proof case - and most importantly: they're cheap, inviting to modifications for IR photography (and perhaps also UV if one find the appropriate filters).
Thankfully, their enclosures are rather consistent. Marked below are the two linear edges where a wider blade can be inserted to pry out the bezel. Don't forget to remove the battery
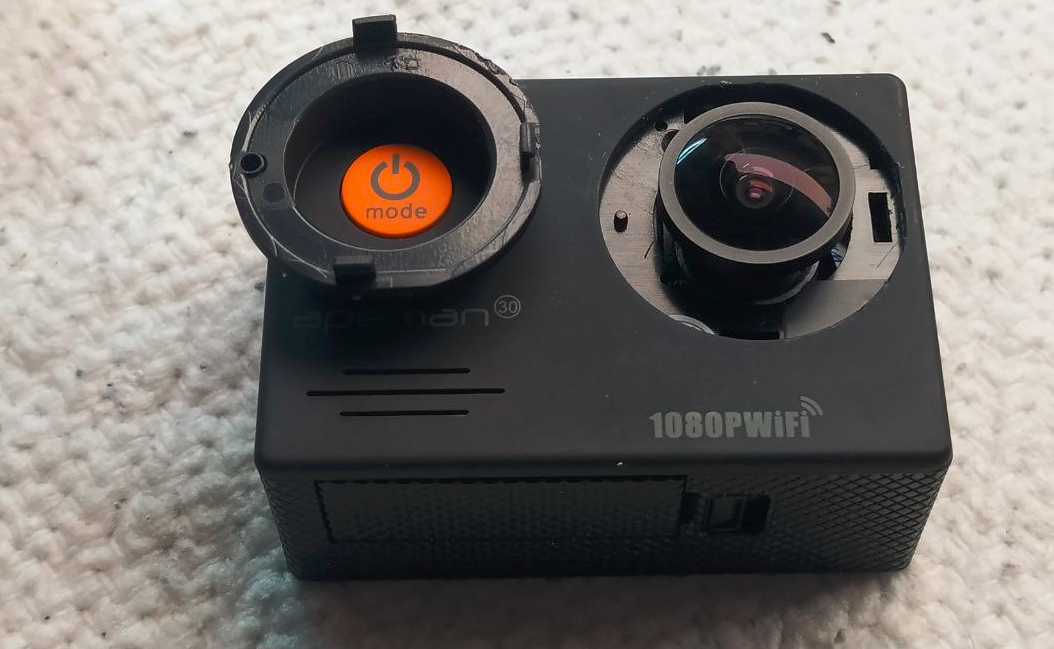
Looking down the gap between the lens (lower portion of the image with threads), a bead of tough adhesive can be seen. Hoping that it hadn't seeped too deeply into the threads, it was attacked with a narrow scalpel blade that had its tip snapped off. A 1mm wide flat head screwdriver might also work.
It was found that stabbing the bead in a row with close spacing creates enough internal shear failure for it to crumble and ultimately separate from the lower lens mount (which seems to be made of short glass fiber reinforced polymer - so don't cut all the way into it).

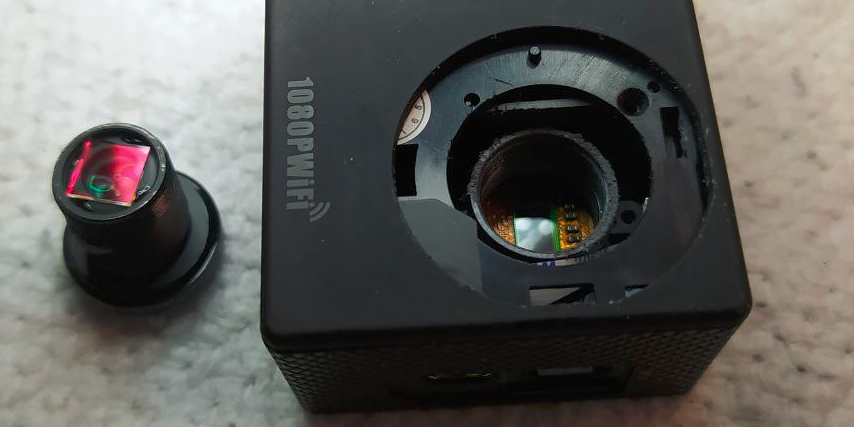
With the glue bond line broken down to the end of the lens mount, a paper towel can be wrapped around the lens, and it can carefully be grabbed with pliers and twisted. With only an incomplete single turn of glue-infused thread left, the lens can be unscrewed with moderate torque. If it does not release, the surrounding plastic can be covered with paper or several layers of aluminium foil, and the lens can be heated to 80-90°C over the course of a few minutes by using hot air from a distance.
With the lens unscrewed, its threads can be cleaned by rolling the edge of the scalpel blade into the glue residue in the threads, cutting into and squeezing the glue to embrittle it, until it comes off in short strings. This mode of failure seems to work well with this sort of glue and avoids scraping the base surfaces.
The small square optical bandpass filter can also be removed by heating the lens assembly gently with hot air, followed by pushing against the edge of the filter. Of course, at this point, the lens can also be swapped for any other lens that has been purchased separately so a longer focal length can be used in its place.
Then the lens is re-installed and threaded down to approximately its former depth.
Focus Adjustment For IR
A larger IR filter is held in front of the action camera that has its battery re-inserted and a USB cable connected. The model shown here allows file transfer mode and webcam mode. The latter is chosen, and webcamoid (https://webcamoid.github.io) is launched to view a full screen image of the camera.
The focus is manipulated until everything from infinity to ~1m is sharp. Finally, the bezel can be re-installed. I also chose to mark the IR focus lens orientation with a permanent marker across the lens edge and bezel. In the field, the lens can be adjusted by sticking a Y-shaped piece of folded scotch tape to the front to turn it.
Adding An IR Filter
As these action cameras come with lenses that have no filter threads, but an enclosure that uses a flat glass window with 34 mm diameter, a round IR filter can be placed here.
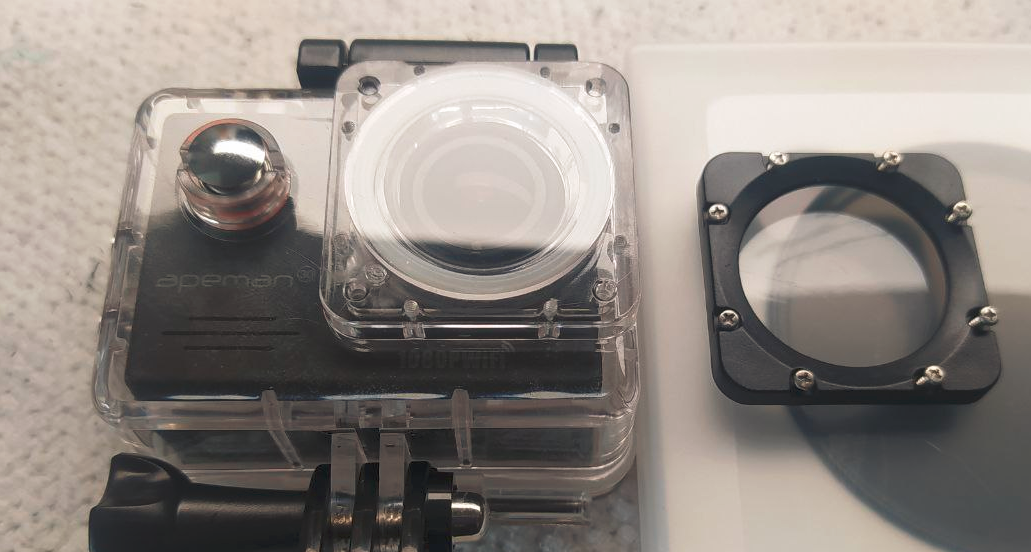
Ambient light can still enter from the edges and reflect off the rear surface of the filter, so a 21-22 mm OD, 2.5-3.5mm cross-section black o-ring can be inserted. It will conform to fill the gap between the lens housing and filter. The wide angle lens experiences some vignetting when the 3.5mm o-ring is used, so the 2.5mm version is preferable. The latter also compresses all the way such that the black filter bezel can be fully screwed down.
 Since I don't have a filter of matching size at hand right now, here's how the o-ring would sit against the front filter glass:
While ZWB1, ZWB2 and ZWB3 filters could be explored, they pass UV and IR. For UV, they need an additional IR blocking filter. HWB760 appears to be sufficiently similar to Hoya R72, and will be used here.
 At least one store on AliExpress directly offers 34mm filters.
Addendum:
With a simple diffraction grating, or even a hot embossed PET diffraction grating foil it is possible to throw the 1st and 2nd order of a solar spectrum against the wall as long as the sun shines. In the pictures below, even the texture of the wallpaper was leveraged to ensure the handheld shots would align properly.
Top: Apeman A70 with IR blocking filter removed
Mid: Apeman A70 with "720nm" (equiv. HWB720) filter installed
Bottom: Apeman A70 with 760nm (HWB760) filter installed

It's easy to glean from the lower strips in the picture above that the sensor in the A70 has color filters that still behave independently up until 770-800nm. With a 850nm filter, the resulting image is monochromatic.
This test should have been conducted with the A80 as well.
Discussions
Become a Hackaday.io Member
Create an account to leave a comment. Already have an account? Log In.