 Mirko
MirkoWe created a new Addon for Home Assistant to more easily integrate the Thread Sensor Tag into your Home Assistent setup to receive and use its Temperatur, Humidiy, Pressure and Light data to build automations and other useful things around it.
You need an Open Thread Border Router setup to connect the Thread Sensor Tag. If you do not have that you can setup a Border Router using the Home Assistant SkyConnect Dongle or a nRF52840 USB Dongle
Setup Thread Border Router using nRF52840 USB Dongle
To setup a Open Thread Border Router with the nRF52840 USB Dongle you need the RCP Firmware. You can relatively easy flash the nRF52840 Firmware to the USB Dongle by following this steps:
- Make sure you have the nrfutils installed on your computer. If not you can follow this [guide](https://www.nordicsemi.com/Products/Development-tools/nrf-util)
- Plugin the nRF52840 USB Dongle and press the reset button. The red LED will fade in and out to show that the device is in the right state.
- Download the Firmware ZIP
- Run the following command to flash the nRF52840 USB Dongle
nrfutil dfu usb-serial -pkg ot-rcp.zip -p /dev/ttyACM0
Make sure the Path and USB port are corerct. On windows just replace '/dev/ttyACM0' with `COMx`.
If you want to build the latest version of the firmware yourself you can follow the official nordic guide
Setup Home Assistant
You can use the flashed nRF52840 USB Dongle or the SkyConnect from Home Assistant to open a OpenThread Border Router network.
Setup OpenThread Border Router
- Connect the flashed nRF52840 Dongle to the Home Assistant Device
- Open your Profile Settings on the bottom left sidemenu and scroll down to the setting to enable the Advanced Mode
- Go to Settings -> Add-ons and press the ADD-ON STORE button on the bottom right
- Search for and install OpenThread Border Router AddOn
- Open the OpenThread Border Router AddOn and configure it as follows.
- Select the Device in the Device section
- Set the Baudrate to 115200
- Uncheck/disable the OTBR Firwall option and press save.
- Enable Show disabled ports
- Enter 8080 as OpenThread Web Port
- Enter 8081 as OpenThread Rest Api Port
- Press save to save the setting and go to the info tab
- Press start to boot up the OpenThread Border Router
Install the MQTT AddOn
To see the Thread Sensor Tag as a device in Home Assistant we also need to enable the MQTT Broker functionality.
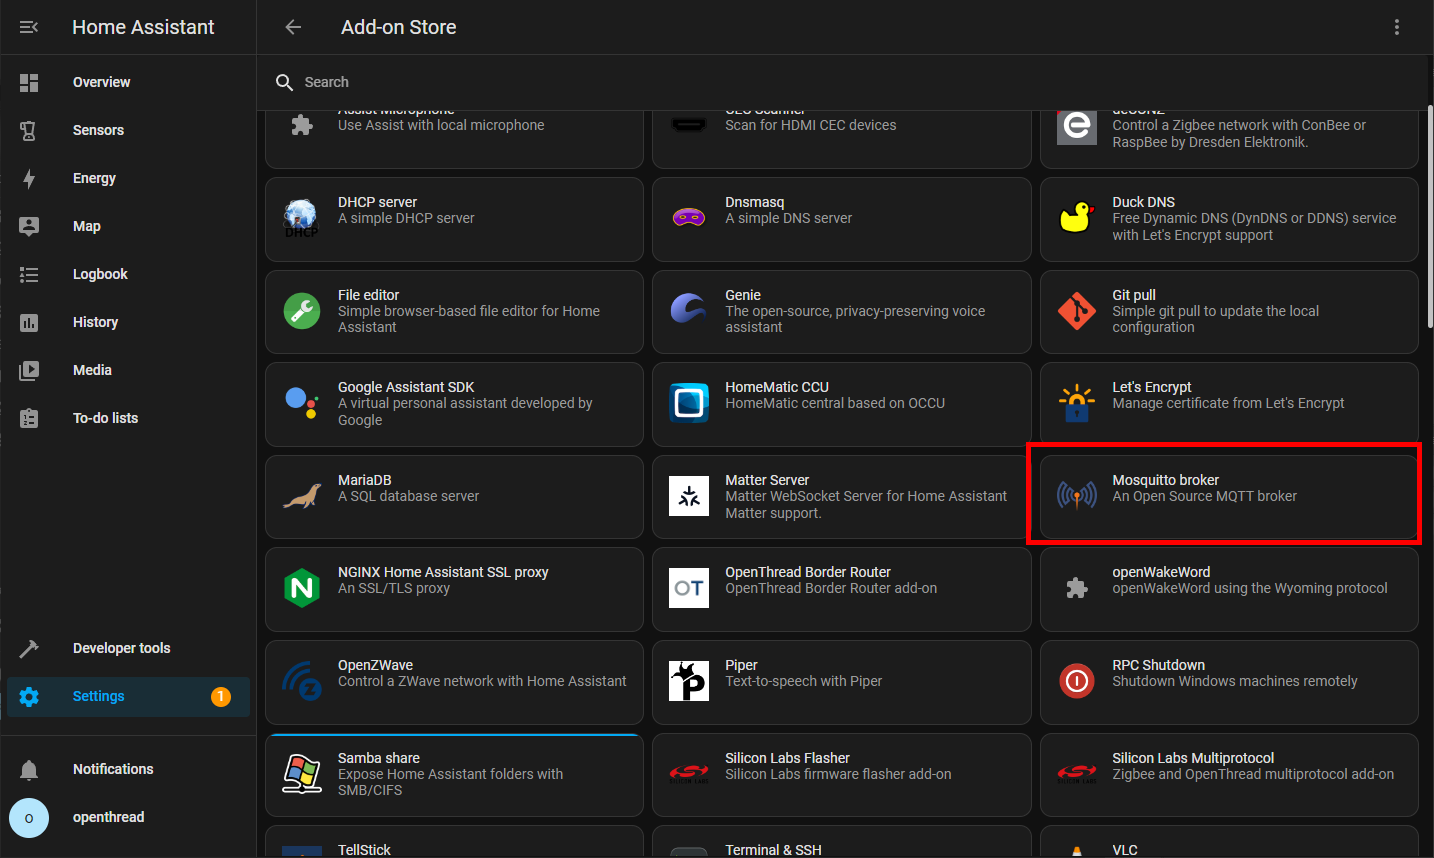
- Go to "Settings -> Add-Ons" and press "ADD-ON STORE"
- Search for Mosquitto MQTT Broker and install it
- In the Info Tab Start the AddOn
Install the Thread Sensor Tag UDP to MQTT AddOn
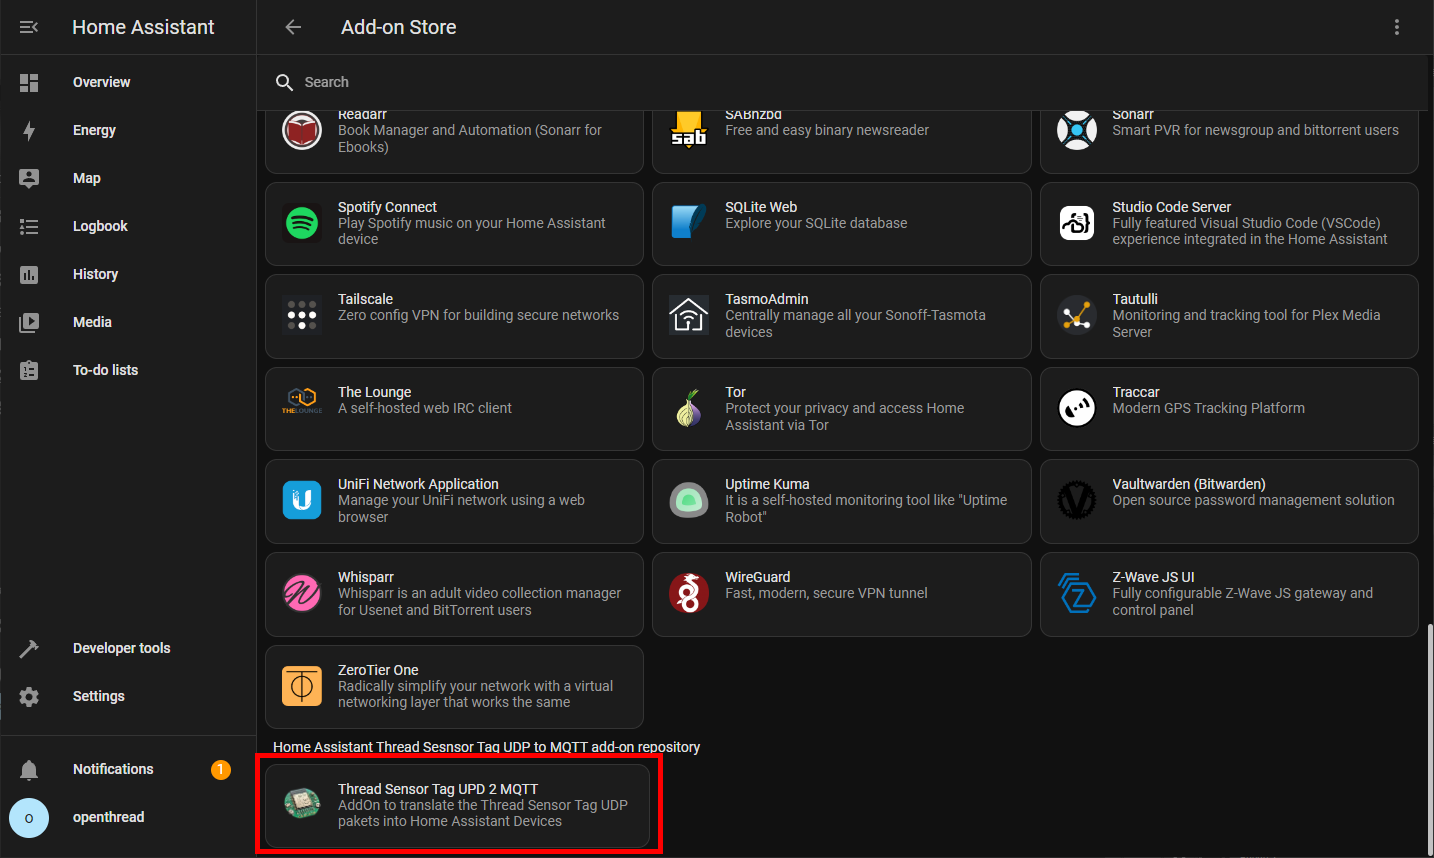
- Navigate to Settings -> Add-ons and press ADD-ON STORE
- Click on the three dots on the top right -> repositories
- Add https://github.com/open-thngs/home-assistant-sensor-tag-addon and press add
https://github.com/open-thngs/home-assistant-sensor-tag-addon - Scroll down until you see the "Thread Sensor Tag UPD 2 MQTT" and install it (you might have to refresh the page)
- Start the AddOn in the Info Tab
Connect the Thread Sensor Tag
- Put a battery into the Thread Sensor Tag
- Go to the WebGUI (http://homeassistant:8080/) of the OpenThread Border Router
- Go to Commission menu entry
- Type ABCDE4 into the PSKd and press commission
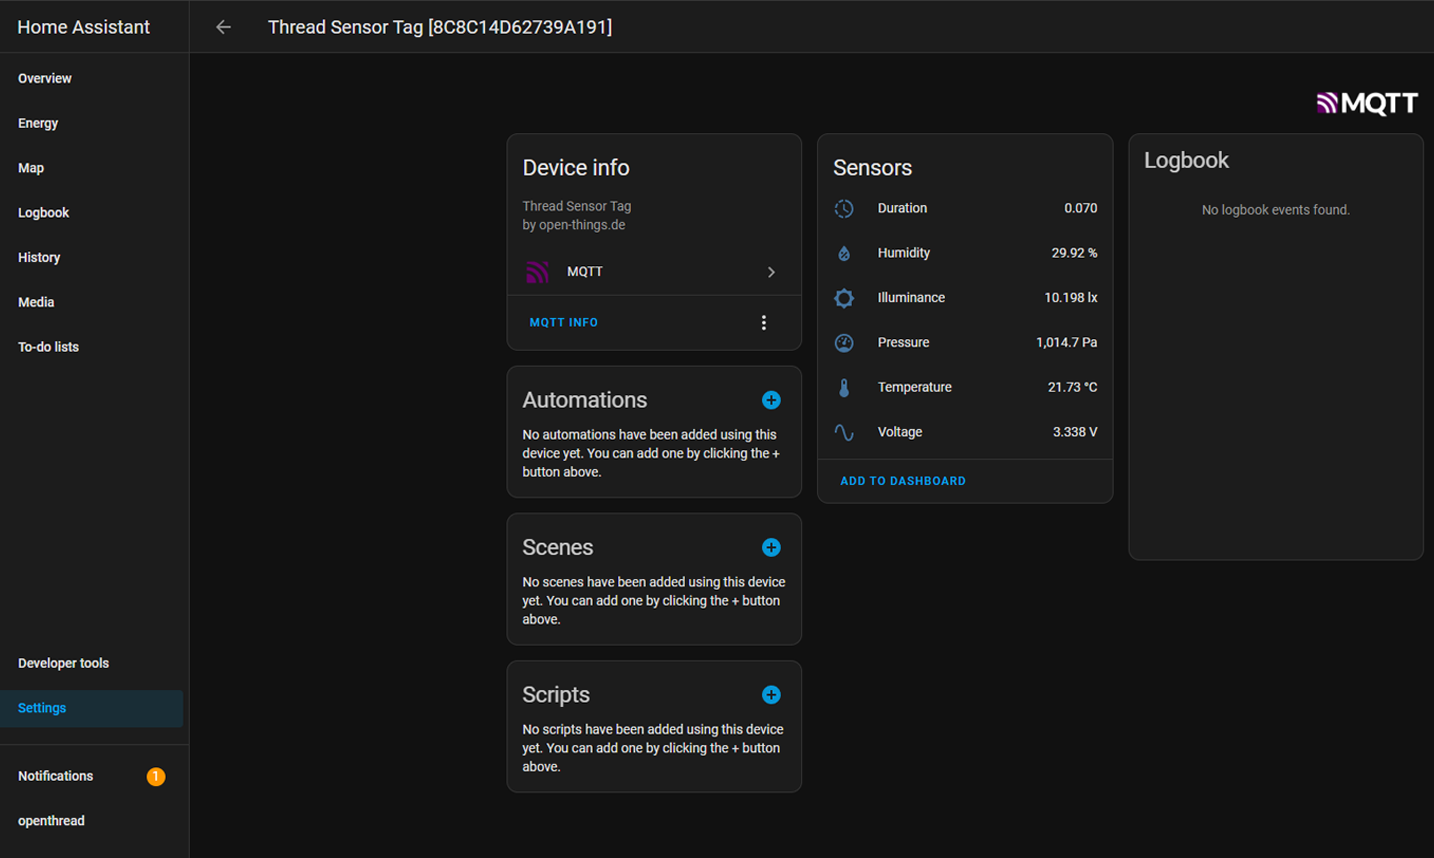
Once the Device is successfully commissioned into the Thread Network it will start sending out UDP pakets. The AddOn will read the UDP Pakets and translate them into Devices in Home Assistant. You can find the Thread Sensor Tag now as a Device in your Home Assistant.
Go to Settings -> Devices & Services and click on Devices in the Top Tab menu. In the List of devices you should see a Thread Sensor Tag. It might take a few minutes to first see it. You can always check in the Open Thread Border Router WebGUI under Topology if there is a client connected to the network.
Discussions
Become a Hackaday.io Member
Create an account to leave a comment. Already have an account? Log In.