
INTRODUCTION:-
We all have various automatic houses and places and are very fascinating and attractive so today I am going to tell you how you can make your own home automation with the use of ESP8266 and Blynk app. It is very easy to make and program for person who are in Arduino and robotics. Along this we will be using some other basic stuff to make it working.
Blynk app sends and receives data over a secured and encrypted protocol for which it needs access to internet and same for the ESP8266, it also needs constant wifi connection so as to control devices attached to it. 5v relays will be used to control 220v/110v AC devices.
DESCRIPTION:-
ESP8266 is another most common IOT platform microcontroller which is used widely among hobbyist to make different and interesting projects. It comes in various models like Wi-Fi, Wi-Fi + Bluetooth and Bluetooth. Today we are using the most commonly one available in the market that is Wi-Fi one.
Blynk app is available for free on google paly store or any other app store. It is free to use and comes with various functions to perform but it comes with limited amount of energy which is required to perform operations. So if you want more actions to be performed than you have to create your own home server for which link is given (https://github.com/blynkkk/blynk-server)
*NOTE:- SPEED OF DATA TRANSFERRED DEPENDS UPON THE SPEED OF YOUR CONNECTION AND CORRECT INITIALS OF THE ENCRYPTED KEY YOUE RECEIVED ON YOUR E-MAIL ID.
FEATURES AND APPLICATIONS:-
- Accessible from any part of world
- Easy to use
- No limit of devices but restricted to pins on microcontroller
- Low price
- Can be used in small projects and home automation.
COMPONENTS NEEDED:-
- NodeMCU ESP8266 and its cable
- Relay module
- Bread board
- Jumper wire
- AC Bulb and holder
CIRCUIT DIAGRAM:

First take the power lines onto the bread board from microcontroller
VCC/5v-->+ line and GND--> - line.
Then connect the relay module to the power lines on bread and also to 220/110V AC supply as shown in above diagram.
Now connect SIGNAL PIN OF RELAY MODULE TO ESP8266 PIN
Now connect Ac bulb in series with relay module AC supply as shown above.
CODE:-
//put this code in the ide of arduino from this line
//blynk library link
//https://github.com/blynkkk/blynk-library
#define BLYNK_PRINT Serial
#include <ESP8266WiFi.h>
#include <BlynkSimpleEsp8266_SSL.h>
// You should get Auth Token in the Blynk App.
// Go to the Project Settings (nut icon).
char auth[] = "authentication token received on email id";
// Your WiFi credentials.
// Set password to "" for open networks.
char ssid[] = "wifi id";
char pass[] = "password";
void setup()
{
// Debug console
Serial.begin(9600);
Blynk.begin(auth, ssid, pass);
}
void loop()
{
Blynk.run();
}
WORKING:-
As the code starts it initializes the pin to which the relay module is connected and then waits for the data received through Wi-Fi.
After it receives the value it then turn on or off the bulb according to the value received through blynk app.
PCB DESIGNING:-

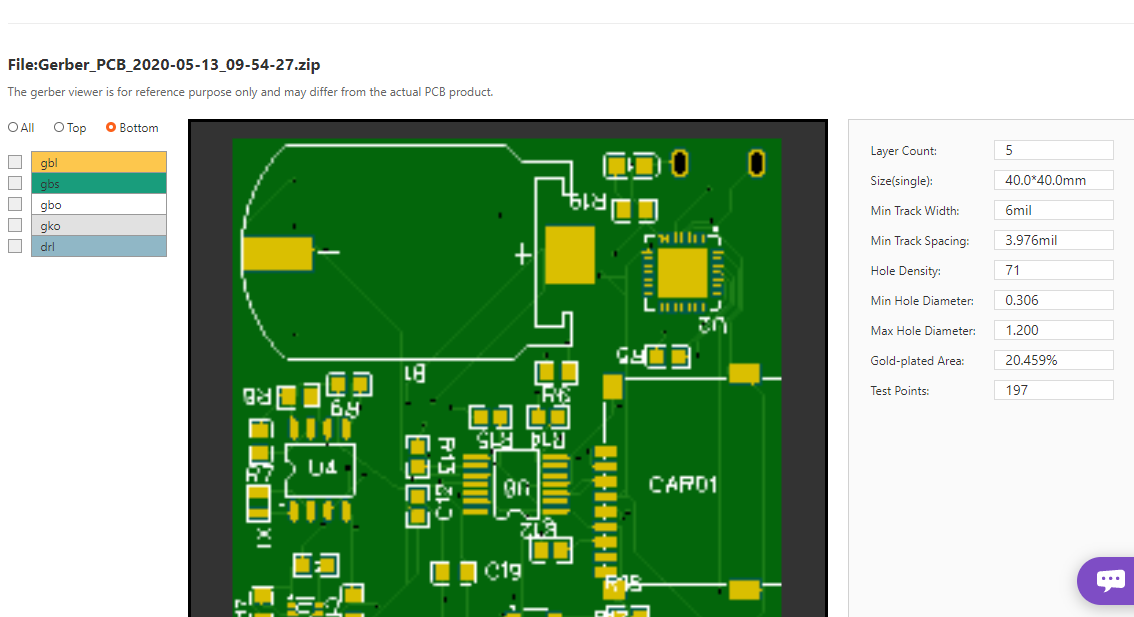

Now as we have developed our circuit and ordering it. For ordering PCB, I would prefer you NextPCB which is a great website for ordering custom PCB with high quality and precision on time delivery. Ordering PCB online in various sites are a step towards developing our own circuit. NextPCB provides very easy and fast delivery of PCB in different masks and paste with professional look. Also, they send you the picture of your PCB before shipping it to you, Now that very exciting….The Gerber File for the PCB is given below. You can simply download the Gerber File and order the PCB from :Gerber Viewer of NextPCB
Go to get your discount: NextPCB
#arduino #arduinouno #arduinoproject #arduinomega #arduinonano #arduino duo
Discussions
Become a Hackaday.io Member
Create an account to leave a comment. Already have an account? Log In.