-
Foam Boat
02/06/2021 at 07:19 • 0 commentsThis article is about the Foam Boat that I made. I used a foam packaging material from an electronic device that my father purchased a few month ago.
1. Toy
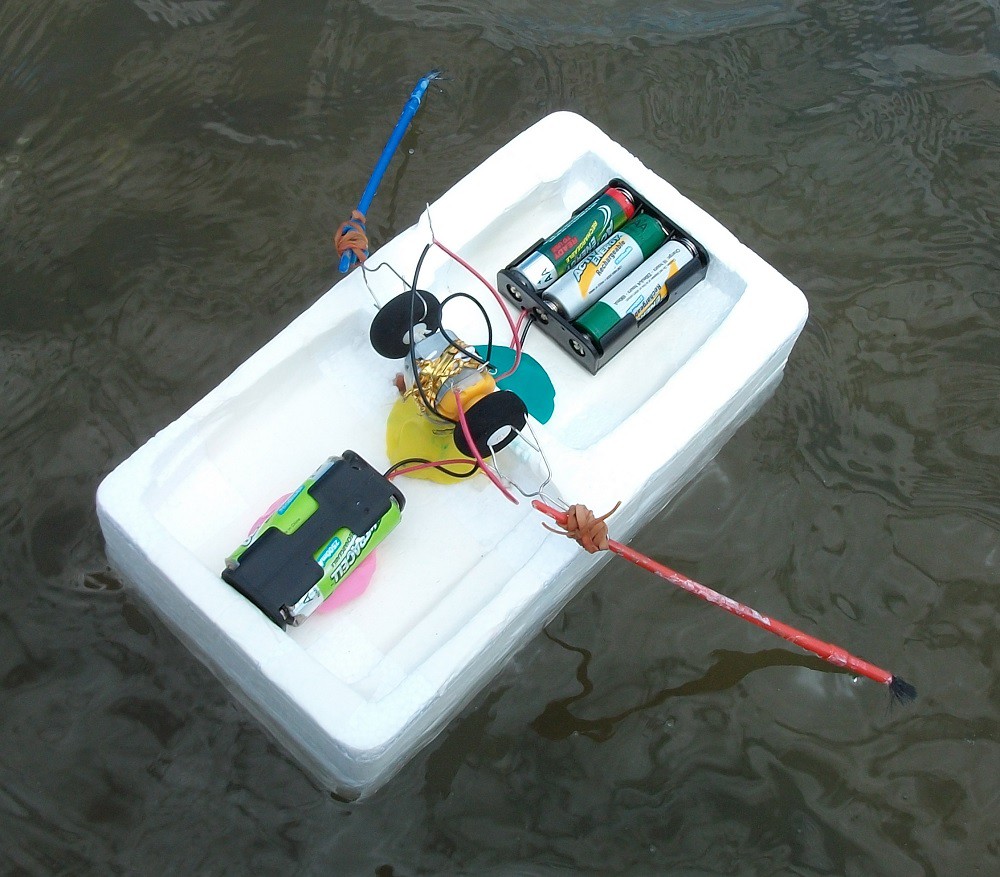
You can see the toy boat that I made from two brushes and dual wheel movement motor.
![]()
I used five 1.5 V AA batteries that can supply 7.5 V (1.5 V * 5 = 7.5 V). I also used a plasticine instead of blue tack because I do not have blue tack. The motor is attached to the foam packaging with a metal spring. However, you can use other materials.
Video - Raymond Island, Victoria, Australia:
2. Testing
On the photo you see that the rotation angle separation between two paint brushes is almost zero or very small. Such alignment would shift the centre of mass of the wheel paint brush spades structure, putting too much mass on one side of this structure and would thus impede the rotational movement of the spades/two wheels.
![]()
Thus you see in the video that difference of the rotational angle of the two paint brush spades is 180 degrees of Pi radians:
-
Remote Control Robot
07/08/2020 at 02:02 • 0 commentsThis two motor robot was initially published in this article many years ago:
https://www.instructables.com/id/Two-Motor-Robot/
I contacted the author of this Instructables and purchased this robot:
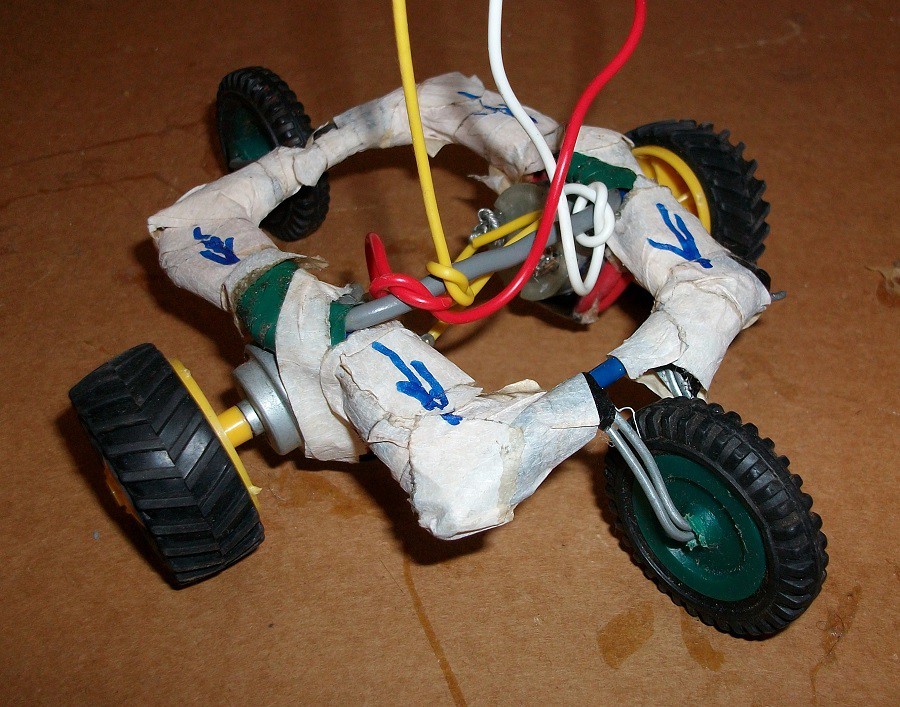
![]()
You can see on the photo that I made a few minor modifications. The white wire is connected to Terminal 1 of the left motor and the red wire is connected to Terminal 1 of the right motor. Terminal 2 of each of the two motors are both connected to the yellow wire.
I used a remote control from an old 1990s toy car and attached it to this robot. You can see the outcome in this video:
The same author published another article about one the two robots on Hack A Day:
https://hackaday.io/page/7307-drawing-robot
Step 1: Attaching the Wires
I connected the robot to an old ear phone cable. Then I soldered the three wires from the earphone cable/motor to remote control switch:
![]()
When the box is closed the red level half circle is pressing on both red and white terminals/soldered joints. The top fixture (the one with the screw) is connected to positive battery terminal. Triggering of the red lever (shown in the video) switches between proving power to left or right motor. The yellow cable is connected to negative terminal of the two 1.5 V AA battery power supply.
I also inserted a 3 cm stripped copper cable piece to connect the two 1.5 V AA batteries together:
![]()
The fixed remote control circuit is show below:
![]()
The red lever controls were either power is supplied to the left or right motor.
The circuit above was drawn with: https://easyeda.com online circuit drawing and PCB design software.
Step 2: Switch Contacts Fixing
The switch was initially not working properly and needed modifications.
The top copper fixture was conducting/providing current to both fixtures at the bottom and thus needed be be raised to stop both motors from turning ON when the red lever is set in mid position.
Trial 1:
Because I did not have a washer. I tried using a nut as shown in the photo below;
![]()
This was a wrong decision. The nut was very thick and none of the two motors were turning ON.
Trial 2:
I found a small piece of metal fixture in my inventory with a hole in it.
![]()
I cut a bit off with pliers so that it had the same shape as a washer:
![]()
This modification proved to work. The following video shows that the two motors are never both ON at the same time:
Step 3: Circuit 2
I modified the remote control to allow speed changing of the motor:
![]()
This circuit above could have been the original remote control circuit. I do not remember. On the left side of the remote control you can see a hole that was used for the missing red knob to switch between different speeds of the toy car.
Implementation of Circuit 2:
The brown cable is connect to Terminal 2 of both motors.
![]()
Connecting the brown cable to white wire will provide the motors with 1.5 V supply and connecting the brown cable to yellow wire will provide the motors with 3 V supply, thus increasing the robot movement speed.
Step 3: Circuit 3
I also came up with a third circuit that can be used to switch the directions of the motors with just one switch (Motor3).
![]()
This circuit also allows turning ON of just one motor per switch setting (Motor 1 and Motor 2).
-
Recycled Variable Resistors
04/03/2020 at 07:33 • 0 commentsThis project shows how to make a box for old variable resistors.
You can use old variable resistors from old appliance for the following applications:
Tools:
- voltage reference,
- finding a resistor value for transistor biasing,
- substitute to a real resistor if you do not have one in stock,
- using voltmeter to measure resistance value of resistors.
Devices (variable resistors alone):
- low current power supply.
- cheap light dimmer with bright LED.
Devices:
- offset trimmer circuits for instrumentation amplifiers,
- voltage sources or current source output control,
- filter or voltage controller filter (VCF) frequency control,
- amplifier or voltage controlled amplifier (VCA) control,
- oscillator or voltage controller oscillator (VCO) frequency control.
This is the device that I made many years ago:
![]()
Step 1: Attach the Variable Resistors
I used an electric drill to drill the holes:
![]()
I soldered the wire to variable resistors with a soldering iron. I made a knot just before inserting the wire into box holes so that is does not disconnect from variable resistor contacts if someone pulls it.
Step 2: Make the Box
i made a box from old transmission wire encasement/boxes/pipes:
![]()
I used screws to attach the separate parts of the box.
![]()
This could be a good idea if you need a box for an old electronic circuit that you made.
-
Audio Transformer Mixer
03/13/2020 at 15:59 • 0 commentsThis is a simple audio transformer mixer than I made from a transformer that had two input channels.
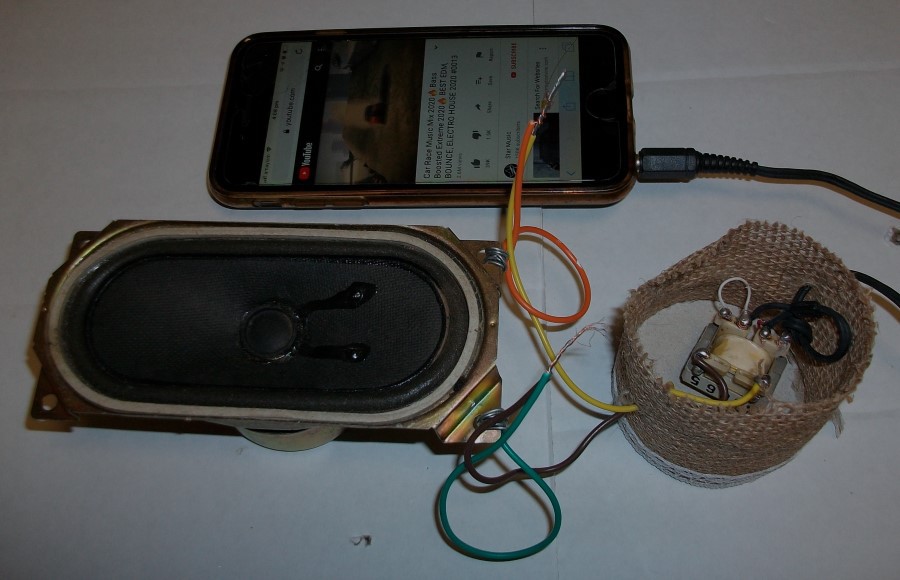
![]()
This circuit is risky because there are mutual voltages between the two inputs. The first input coil in transformer is getting induced current from the second input coil and vice versa. That means the left input can receive current from right input even if they are completely disconnected. If you Google transformer models on the internet you will find that there are voltage sources at the input of transformers that are induced currents coming from transformer outputs.
However, I decided to take this risk and build this circuit hoping that the input impedance (resistance) will reduce the impact of those mutually induced currents.
You can see this circuit working in the videos below:
This circuit mixes the left and right of two stereo channels because I did not have two music sources.
If you are going to build this circuit than keep in mind that you should check the connection between transformer nodes to ensure that the left channel/first channel is not connected to right channel/second channel. This will damage your audio output. You need to identify the ground of each channel and leave the each of two grounds disconnected because one of the outputs could be a differential output and shorting it to ground might damage to audio amplifier.
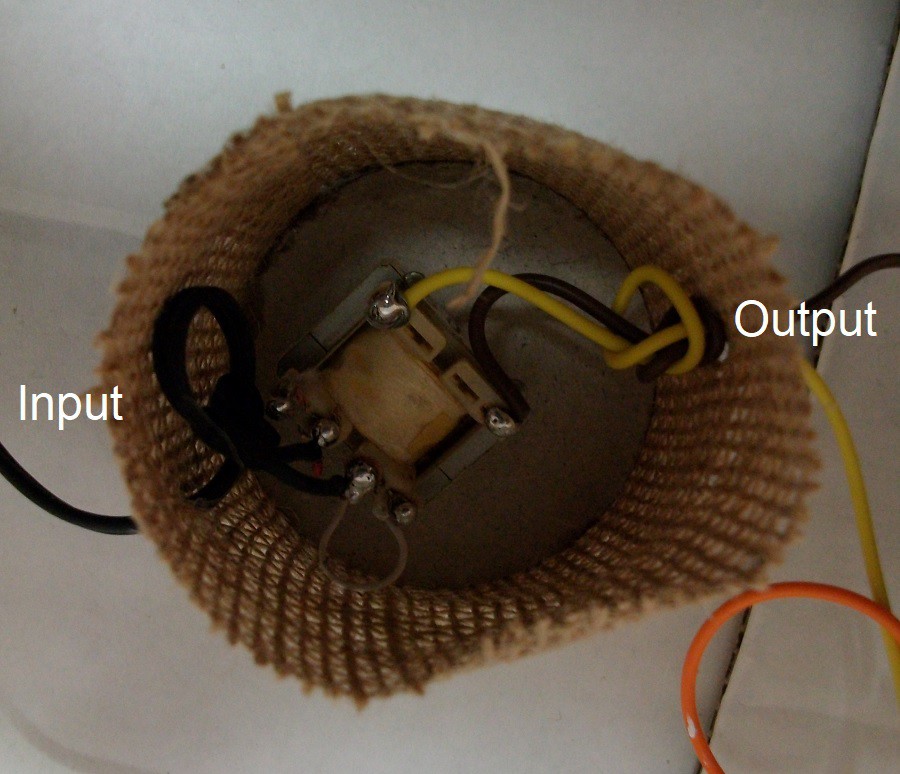
You can see in the photo below how I attached the wires.
![]()
Making holes in this box was easy because the box is not made from a hard and strong material:
![]()
Recycled Components's pages
We design new ideas and uses from recycled components.

